Creating 3D Shapes in After Effects with Cinema 4D Renderer
Introduction to 3D Shapes in After Effects
After Effects allows you to create and manipulate 3D shapes using the Cinema 4D Renderer. This method enables you to add depth, lighting, and realistic effects to shape layers. By combining extrusion, lights, and a camera, you can make your 2D designs more dynamic.
Step 1: Create a New Composition
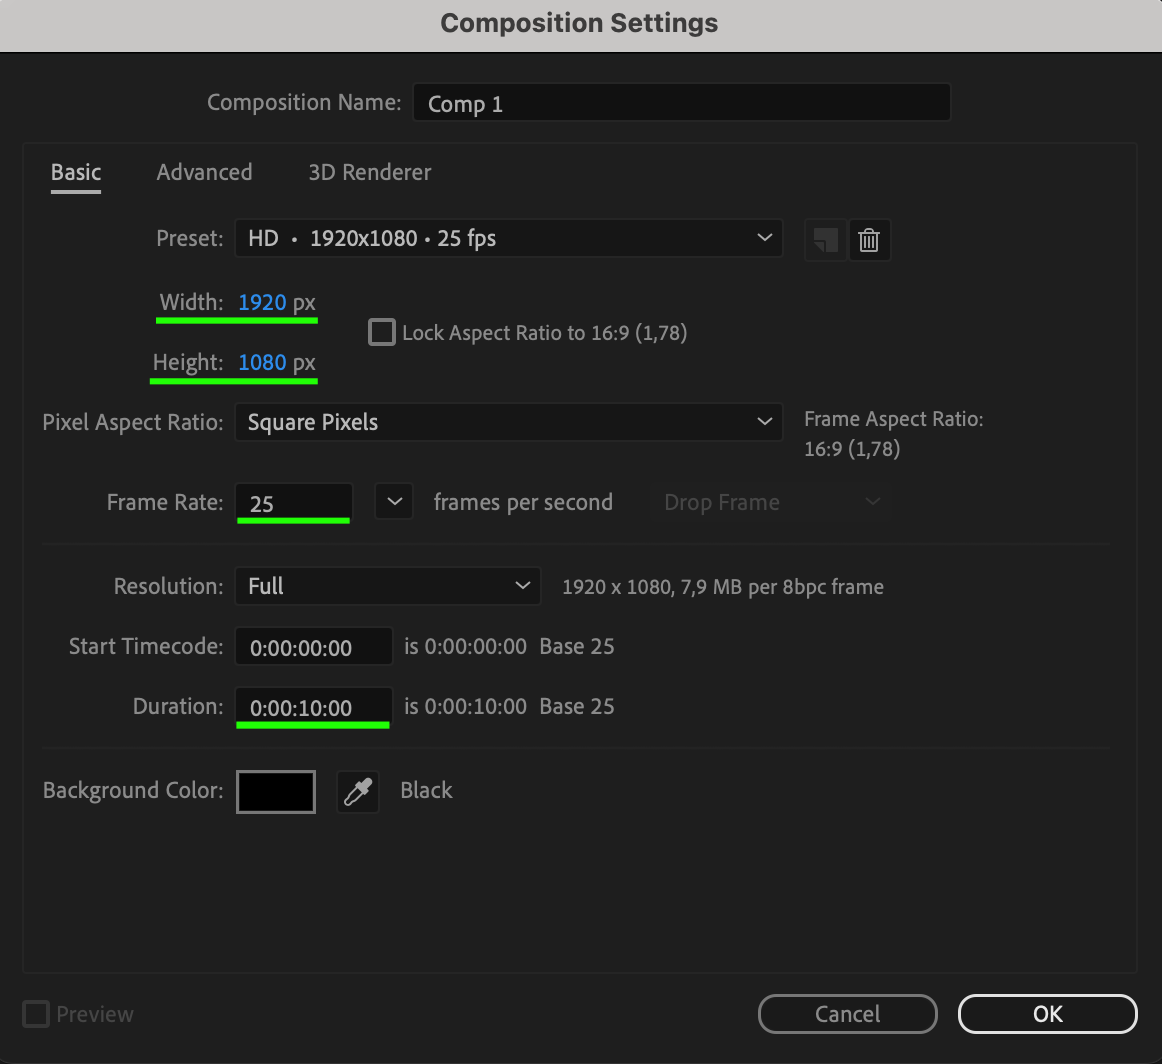
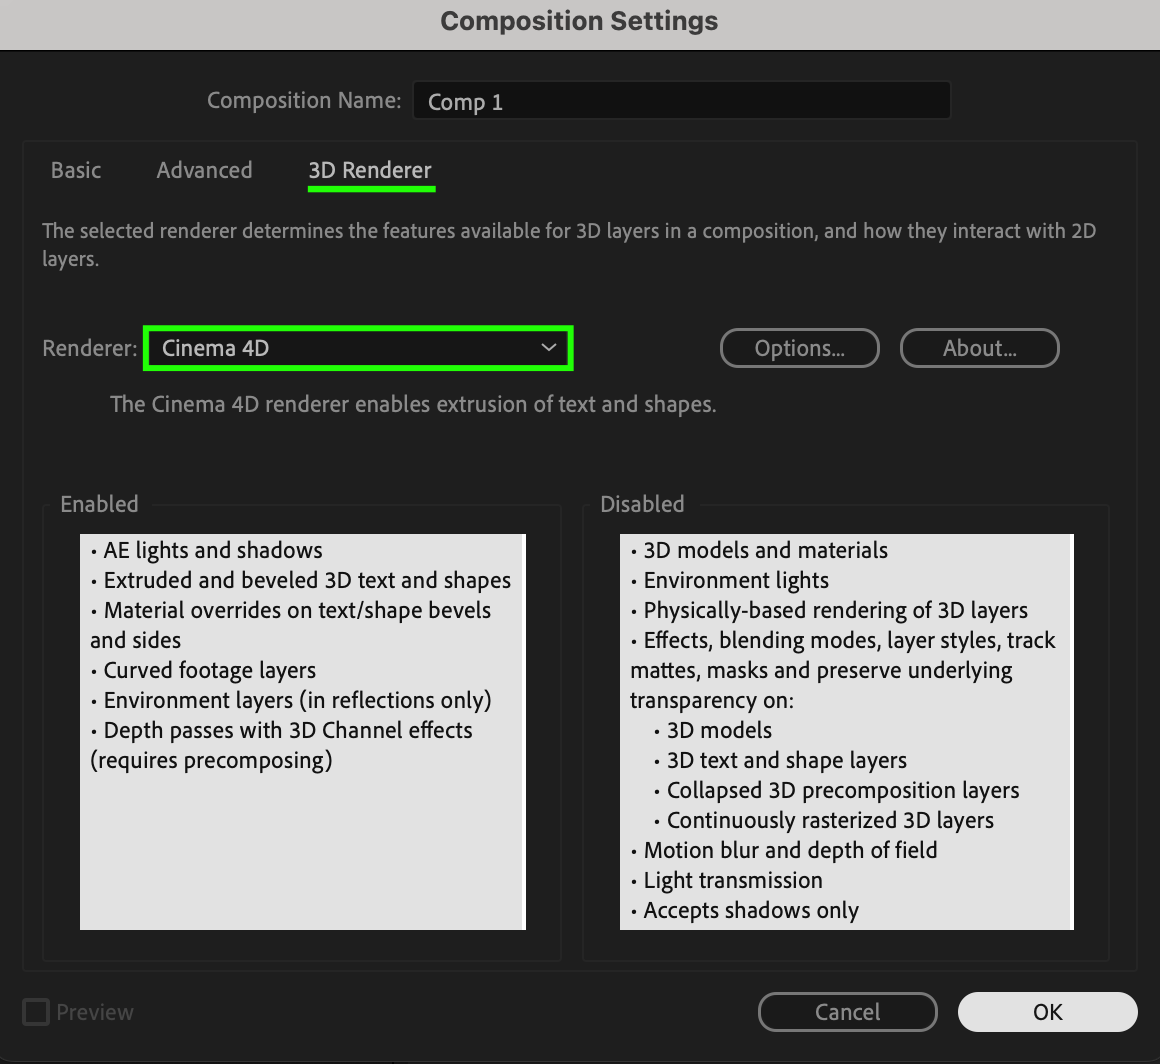
Go to Composition > New Composition and set the frame rate to 25 fps. Open Composition Settings, go to Renderer, and select Cinema 4D. This unlocks extrusion depth and other 3D features.
 Step 2: Create a Shape Layer and Enable 3D
Get 10% off when you subscribe to our newsletter

Select the Shape Tool (Q) and choose Ellipse. Draw a circle with no fill and a white stroke of 26 px. In the Timeline, enable the 3D switch (cube icon) to turn the shape into a 3D object.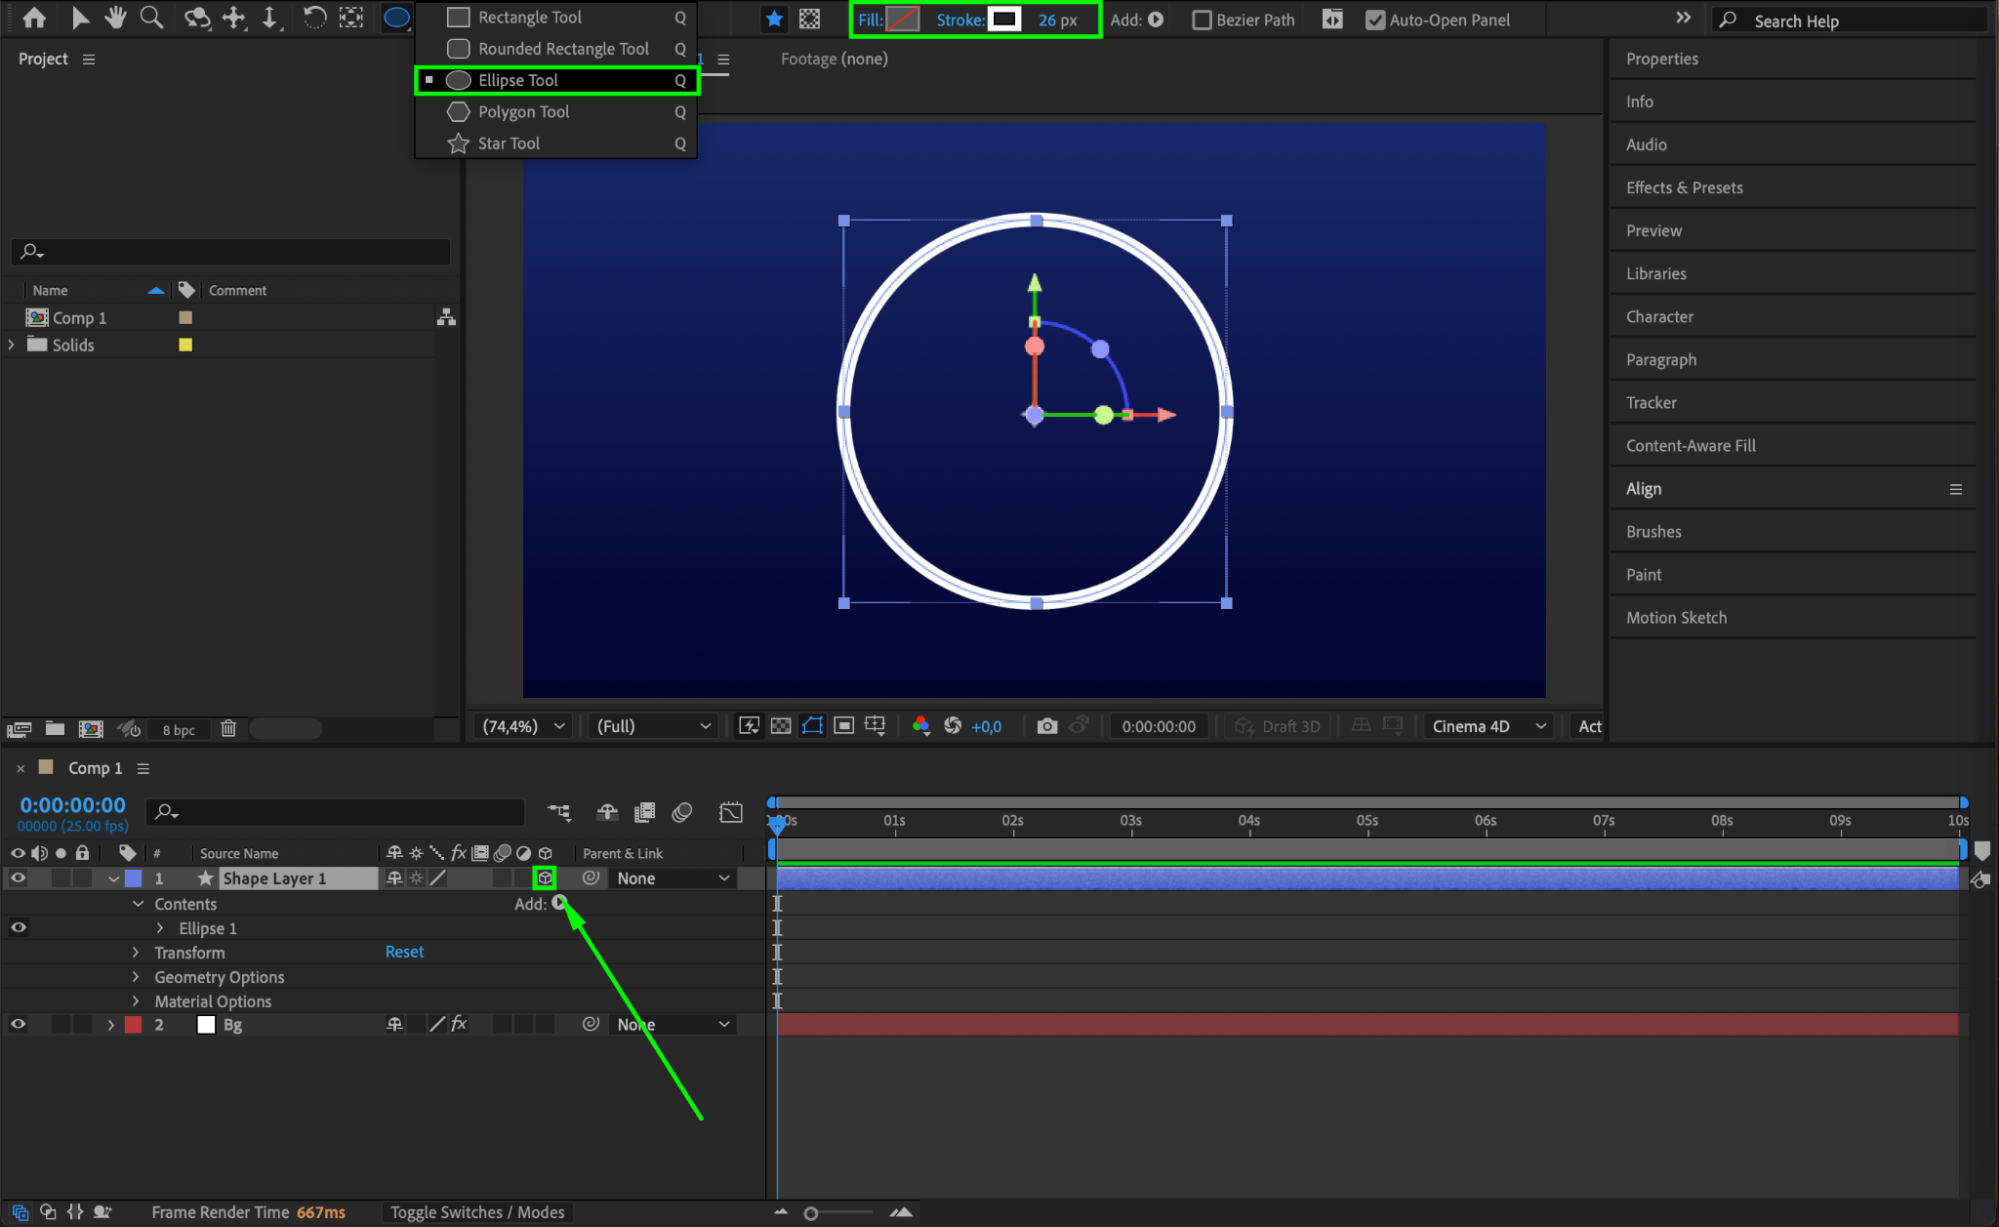 Step 3: Adjust Extrusion Depth and Rotation
Expand the shape layer properties, go to Geometry Options, and set Extrusion Depth to 205. Adjust the Y Rotation to tilt the shape and see its 3D form.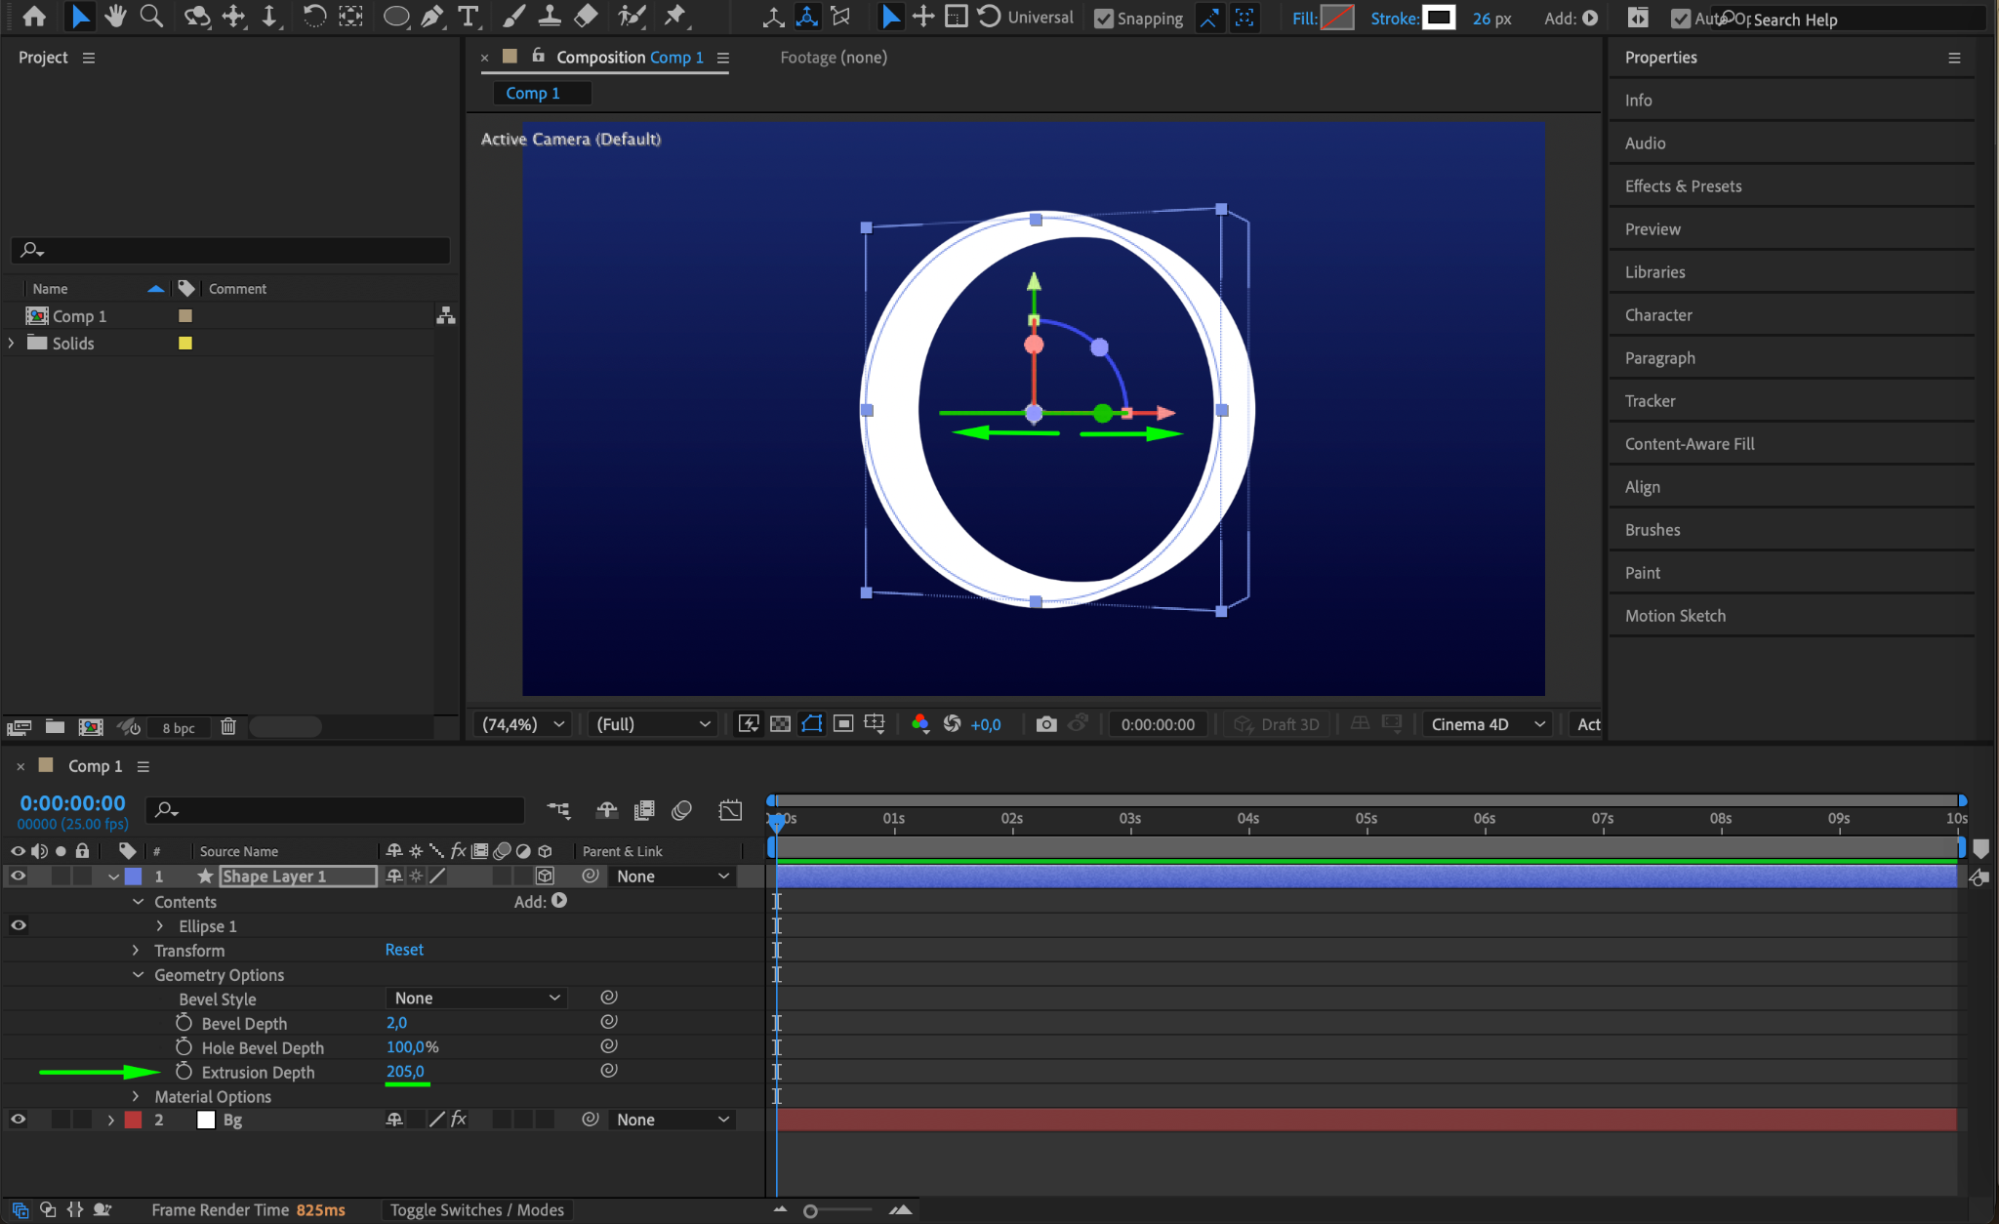 Step 4: Add the First Light Source
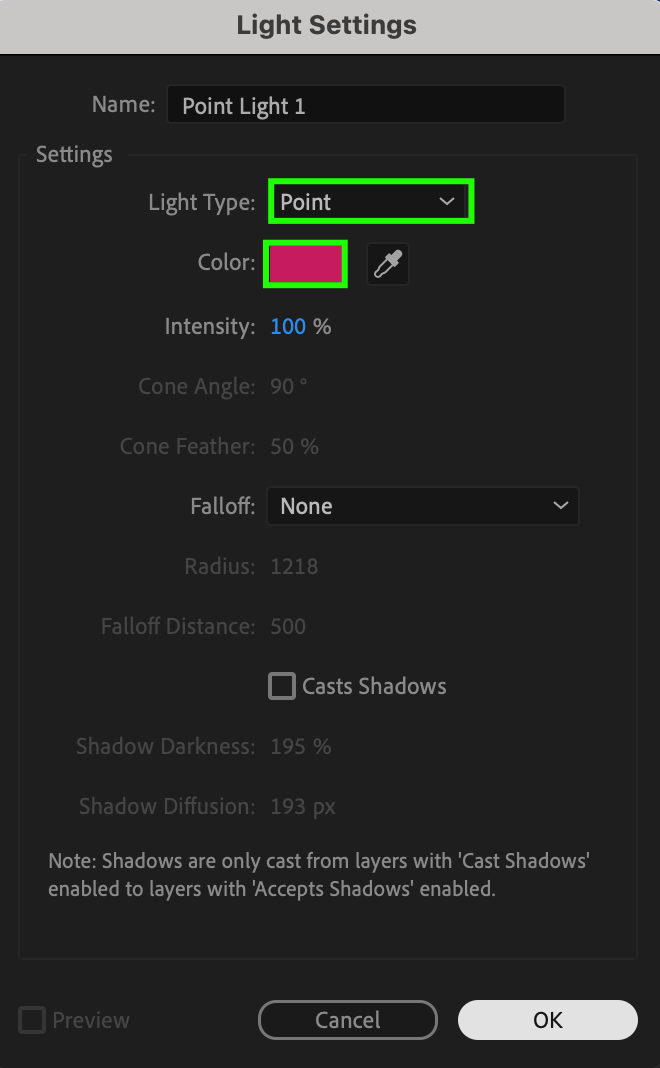
Go to Layer > New > Light, select Point Light, and set the color to pink. This will add depth and shadows to the shape.
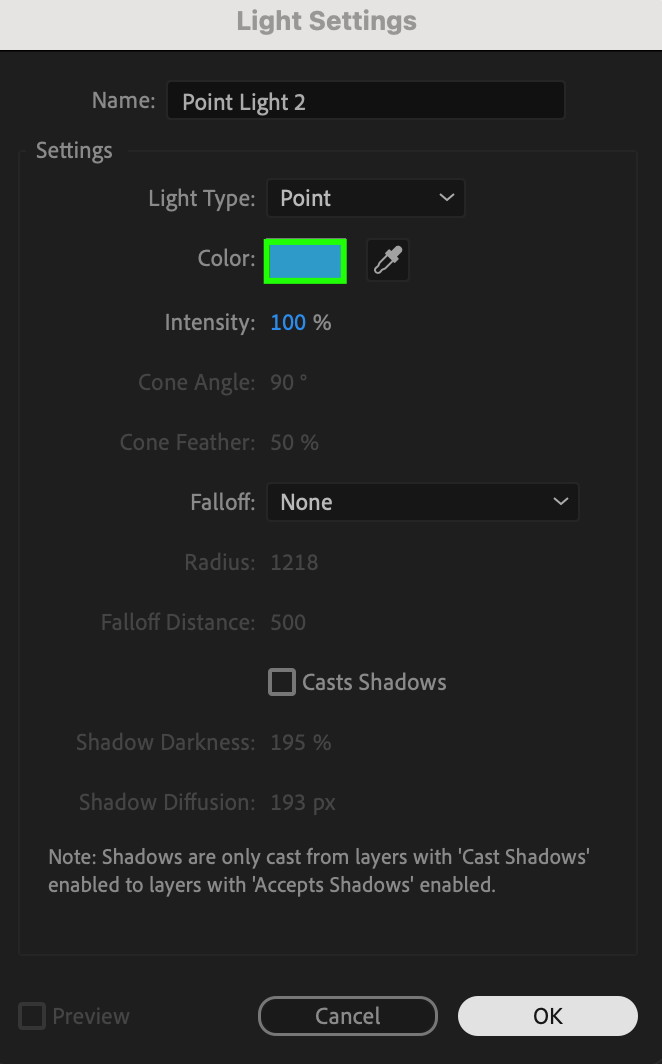
 Step 5: Add a Second Light Source
Repeat Layer > New > Light, but this time, set the color to blue. This creates a contrast and enhances the 3D effect.
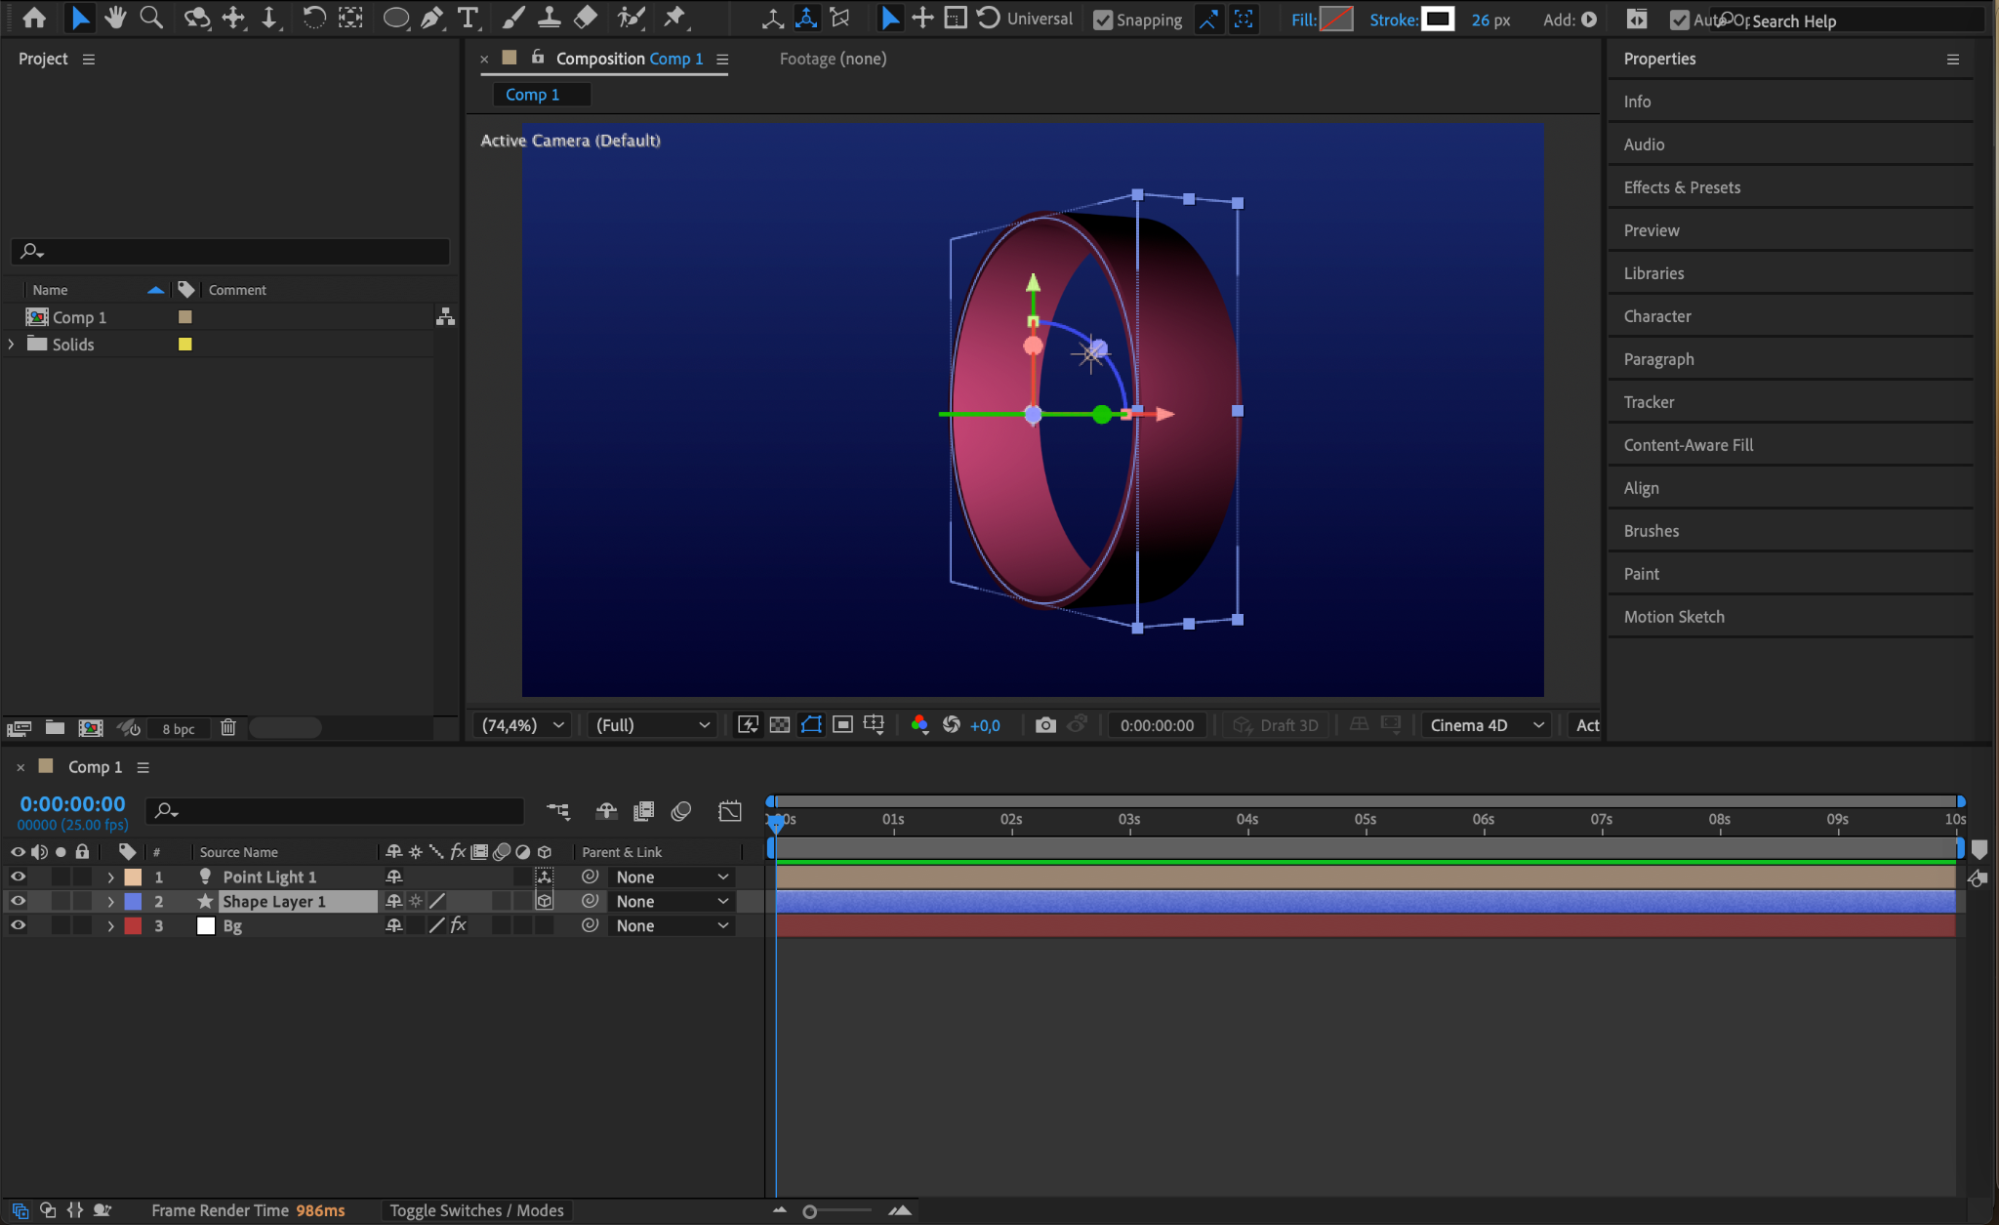
 Step 6: Duplicate and Adjust Lighting
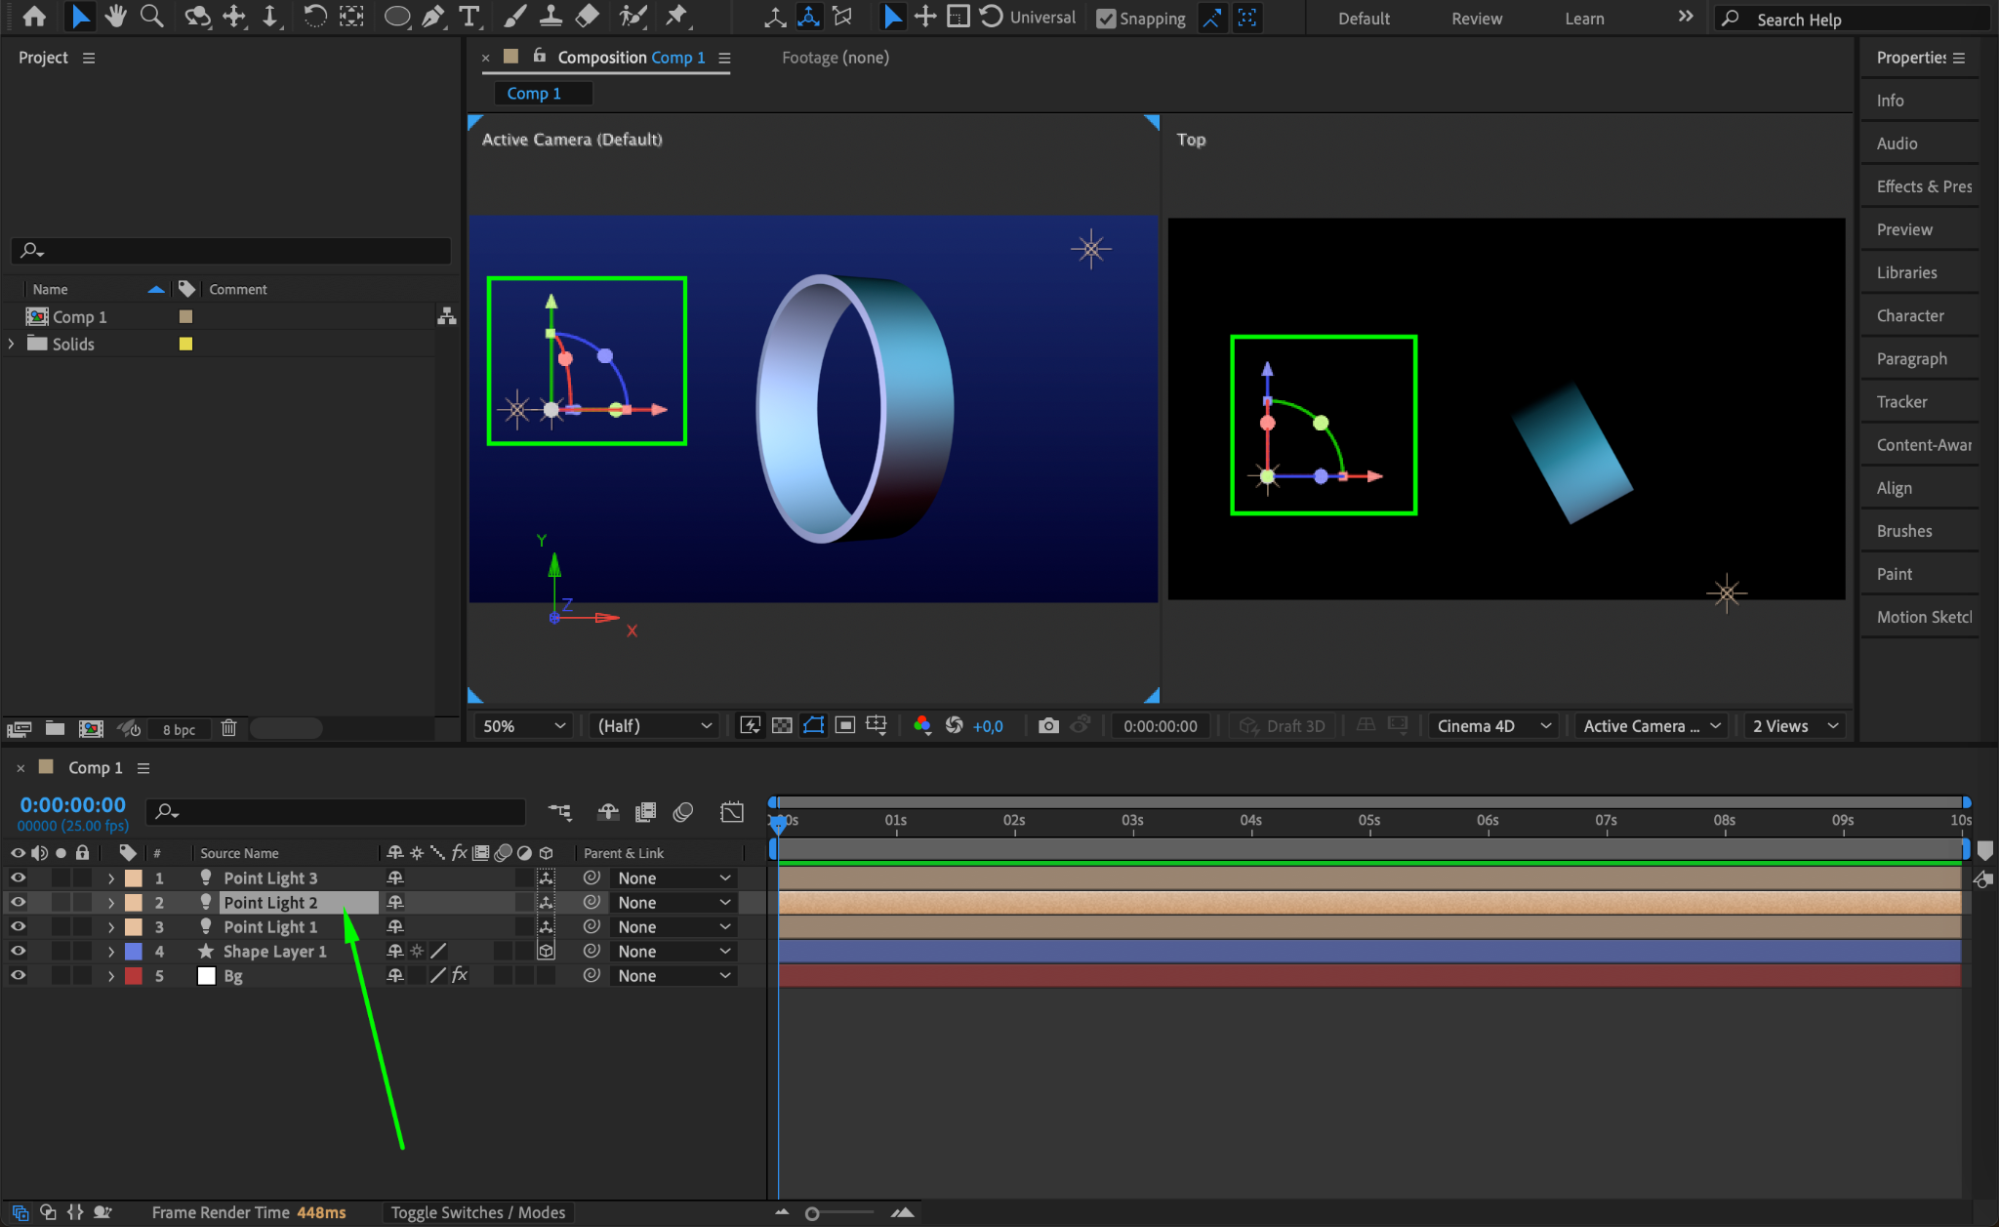
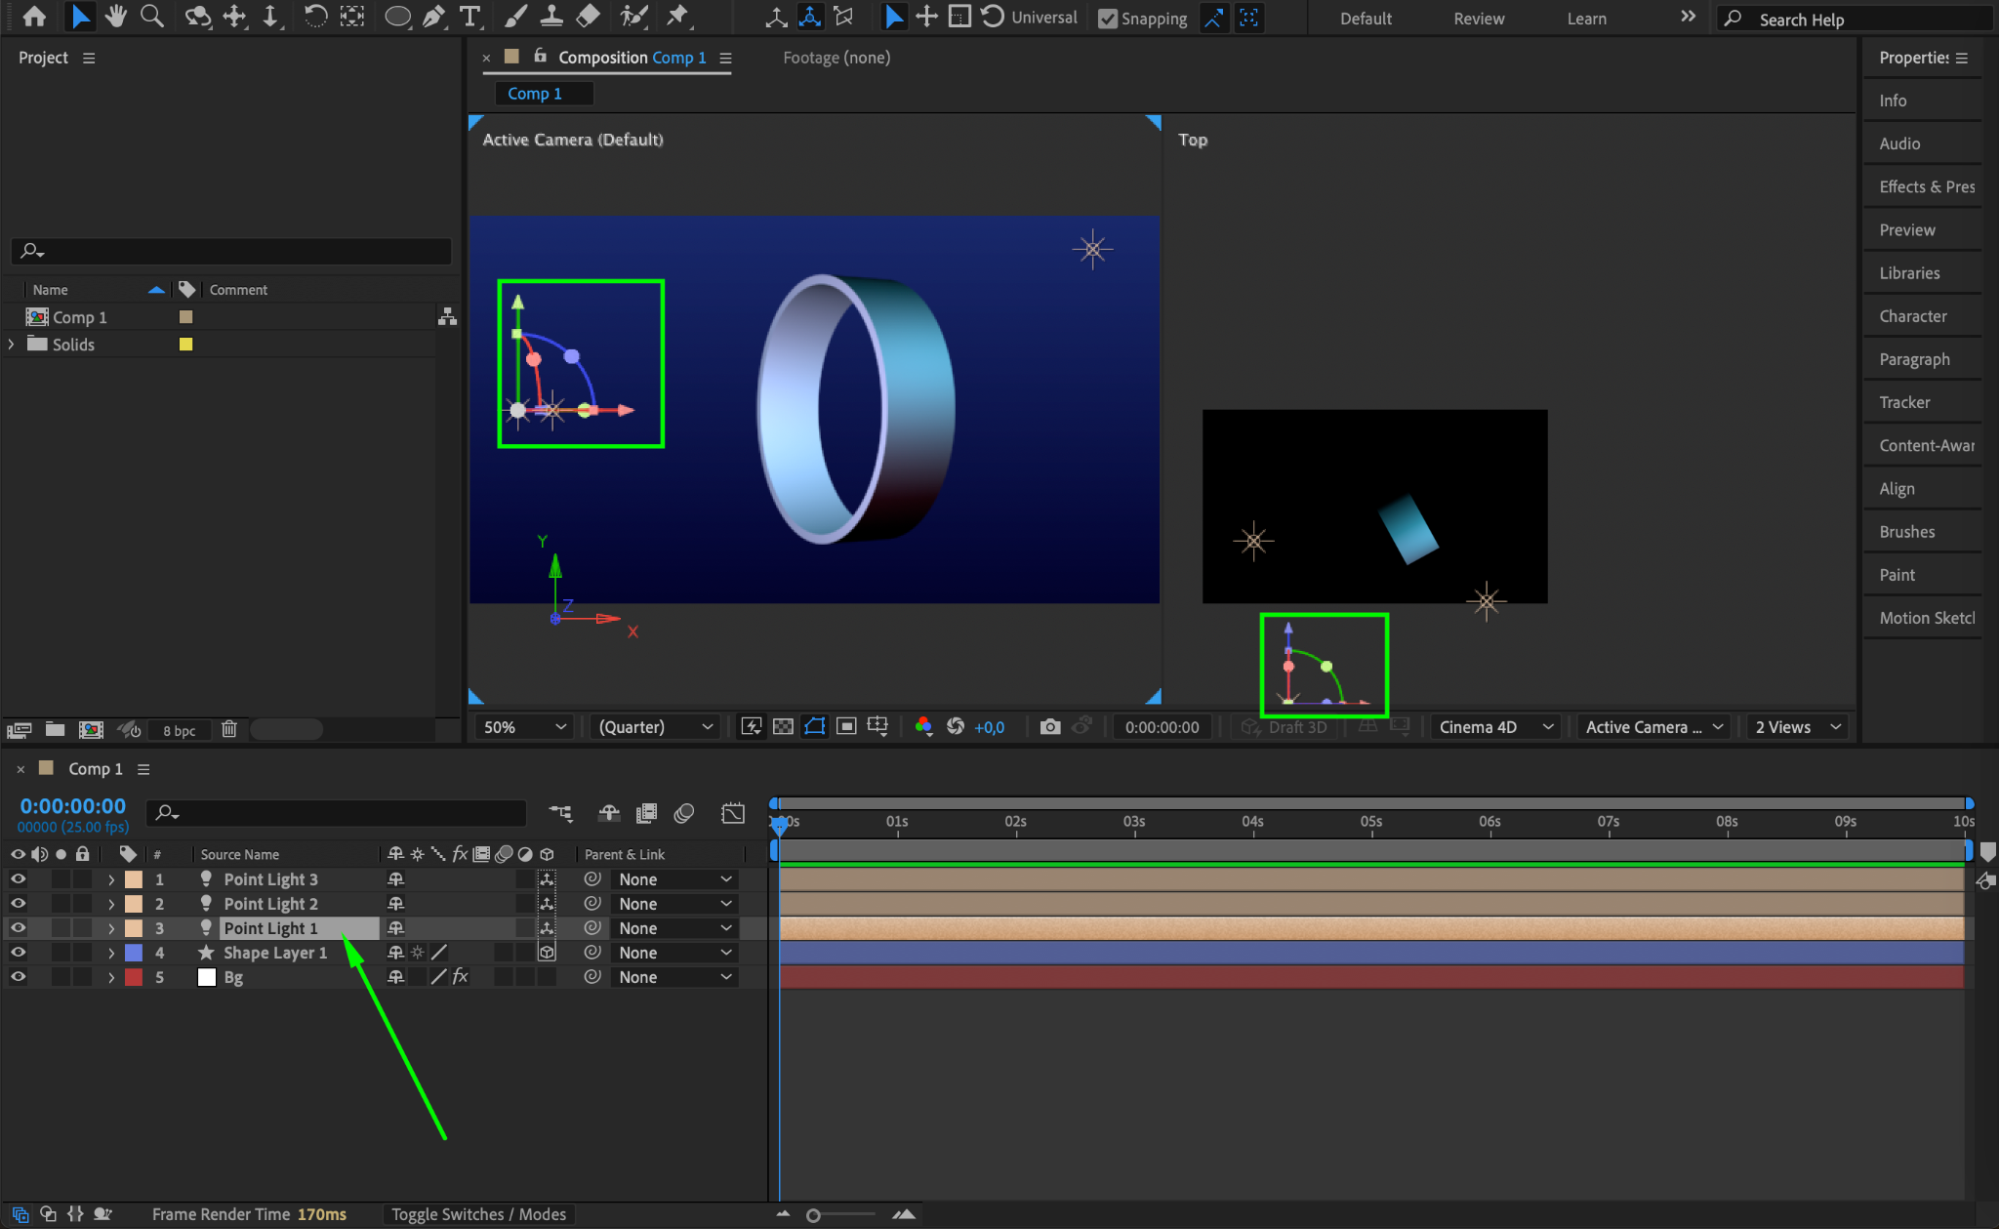
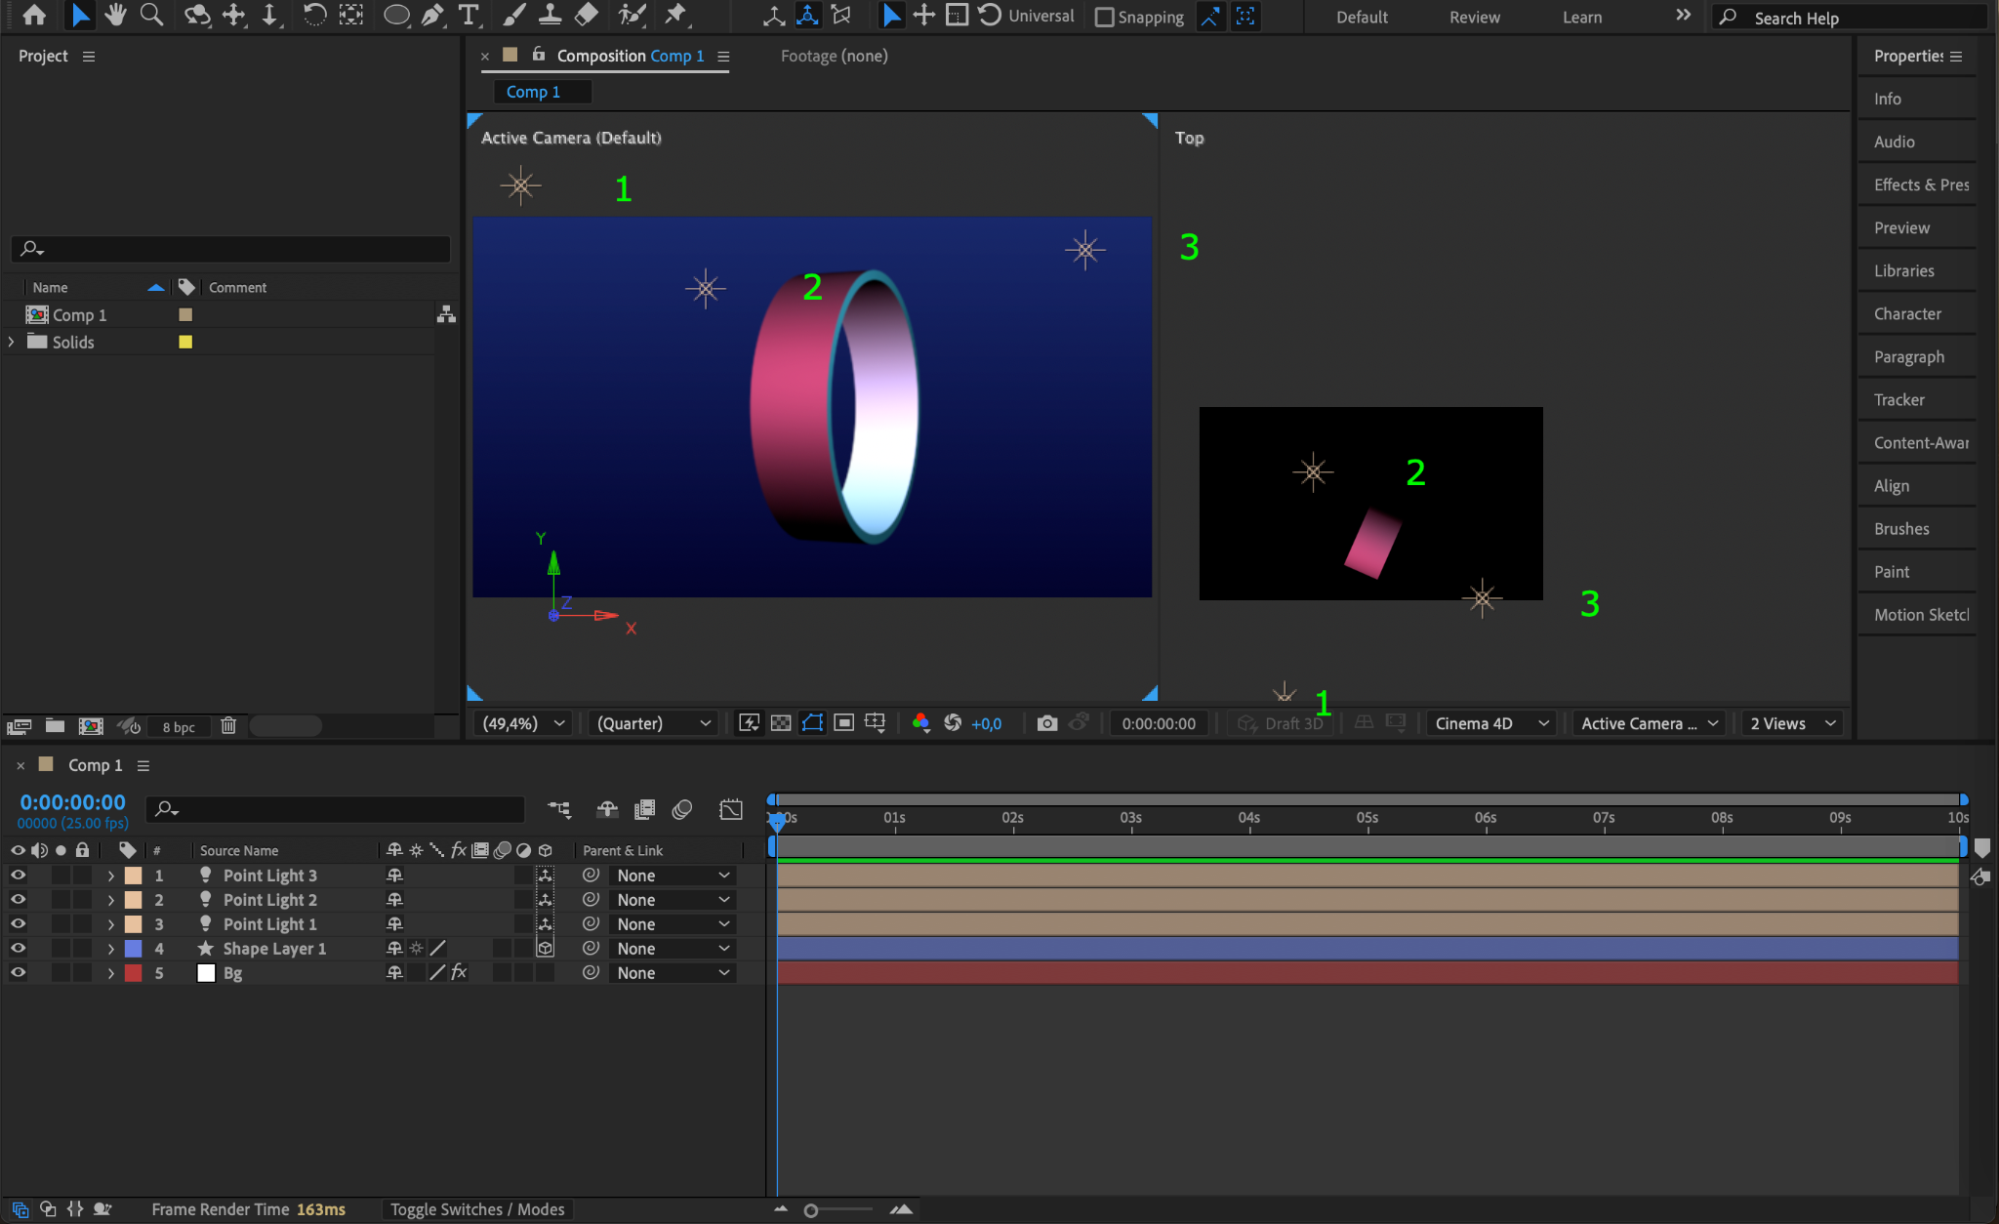
Duplicate the second light layer to add more brightness and depth. Adjust the position of all light sources to create a balanced look.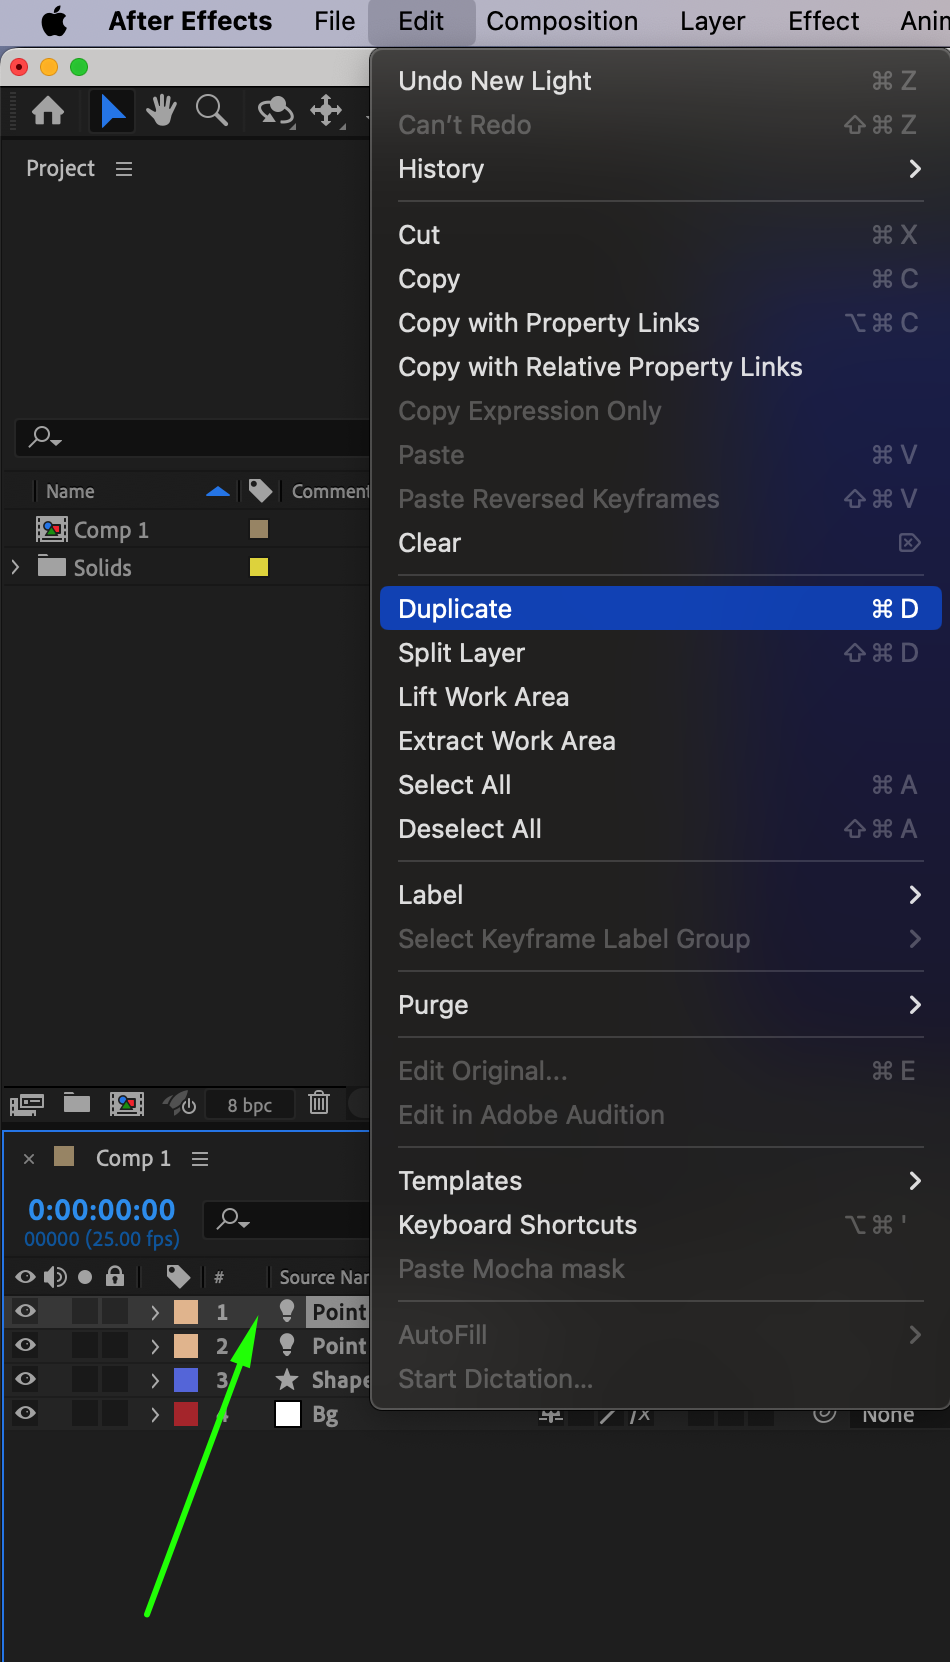 Step 7: Set Up Camera Views
At the bottom of the Composition Panel, change the view to Active Camera & 2 Views. This helps position the lights correctly around the shape.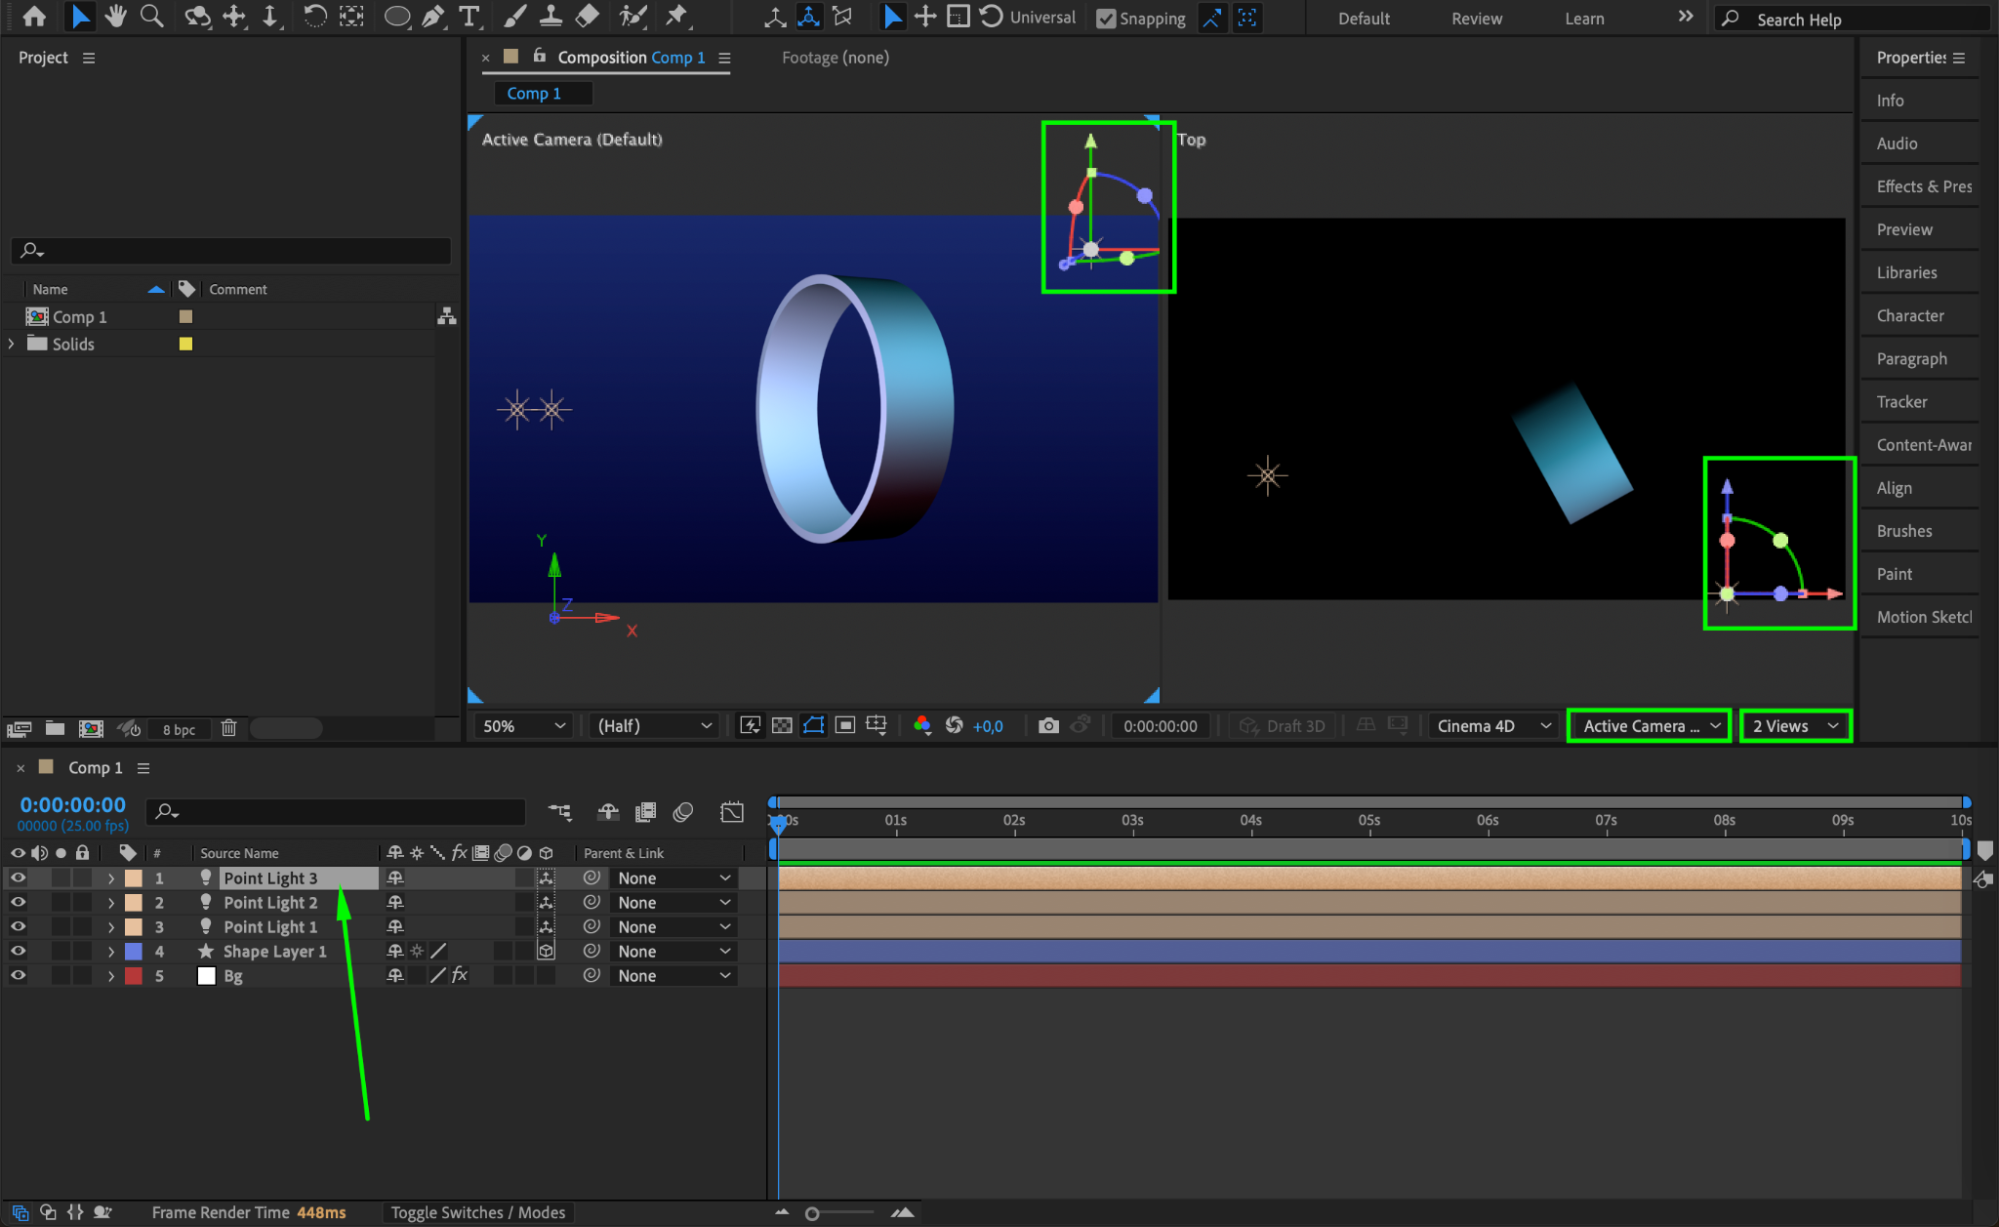
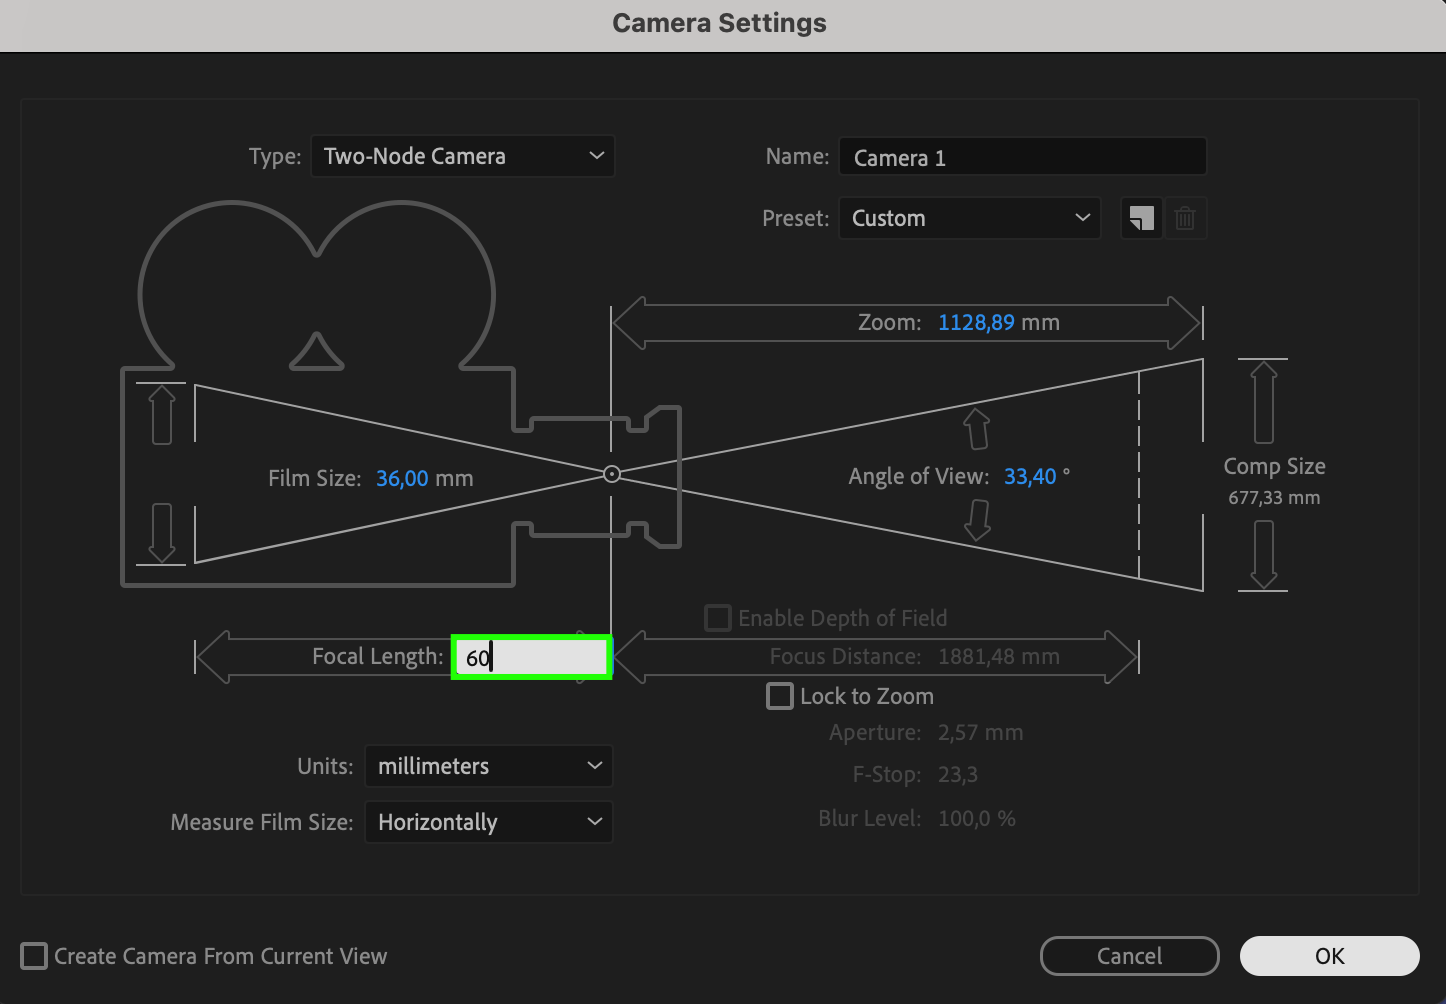
 Step 8: Add a Camera for Depth Control
Go to Layer > New > Camera, set the Focal Length to 60, and adjust its position to get the best perspective of the 3D shape.
 Step 9: Animate the Camera for a Dynamic Look
Select the Camera Layer, press “P” for Position, and add keyframes to move the camera over time. This creates smooth motion around the shape.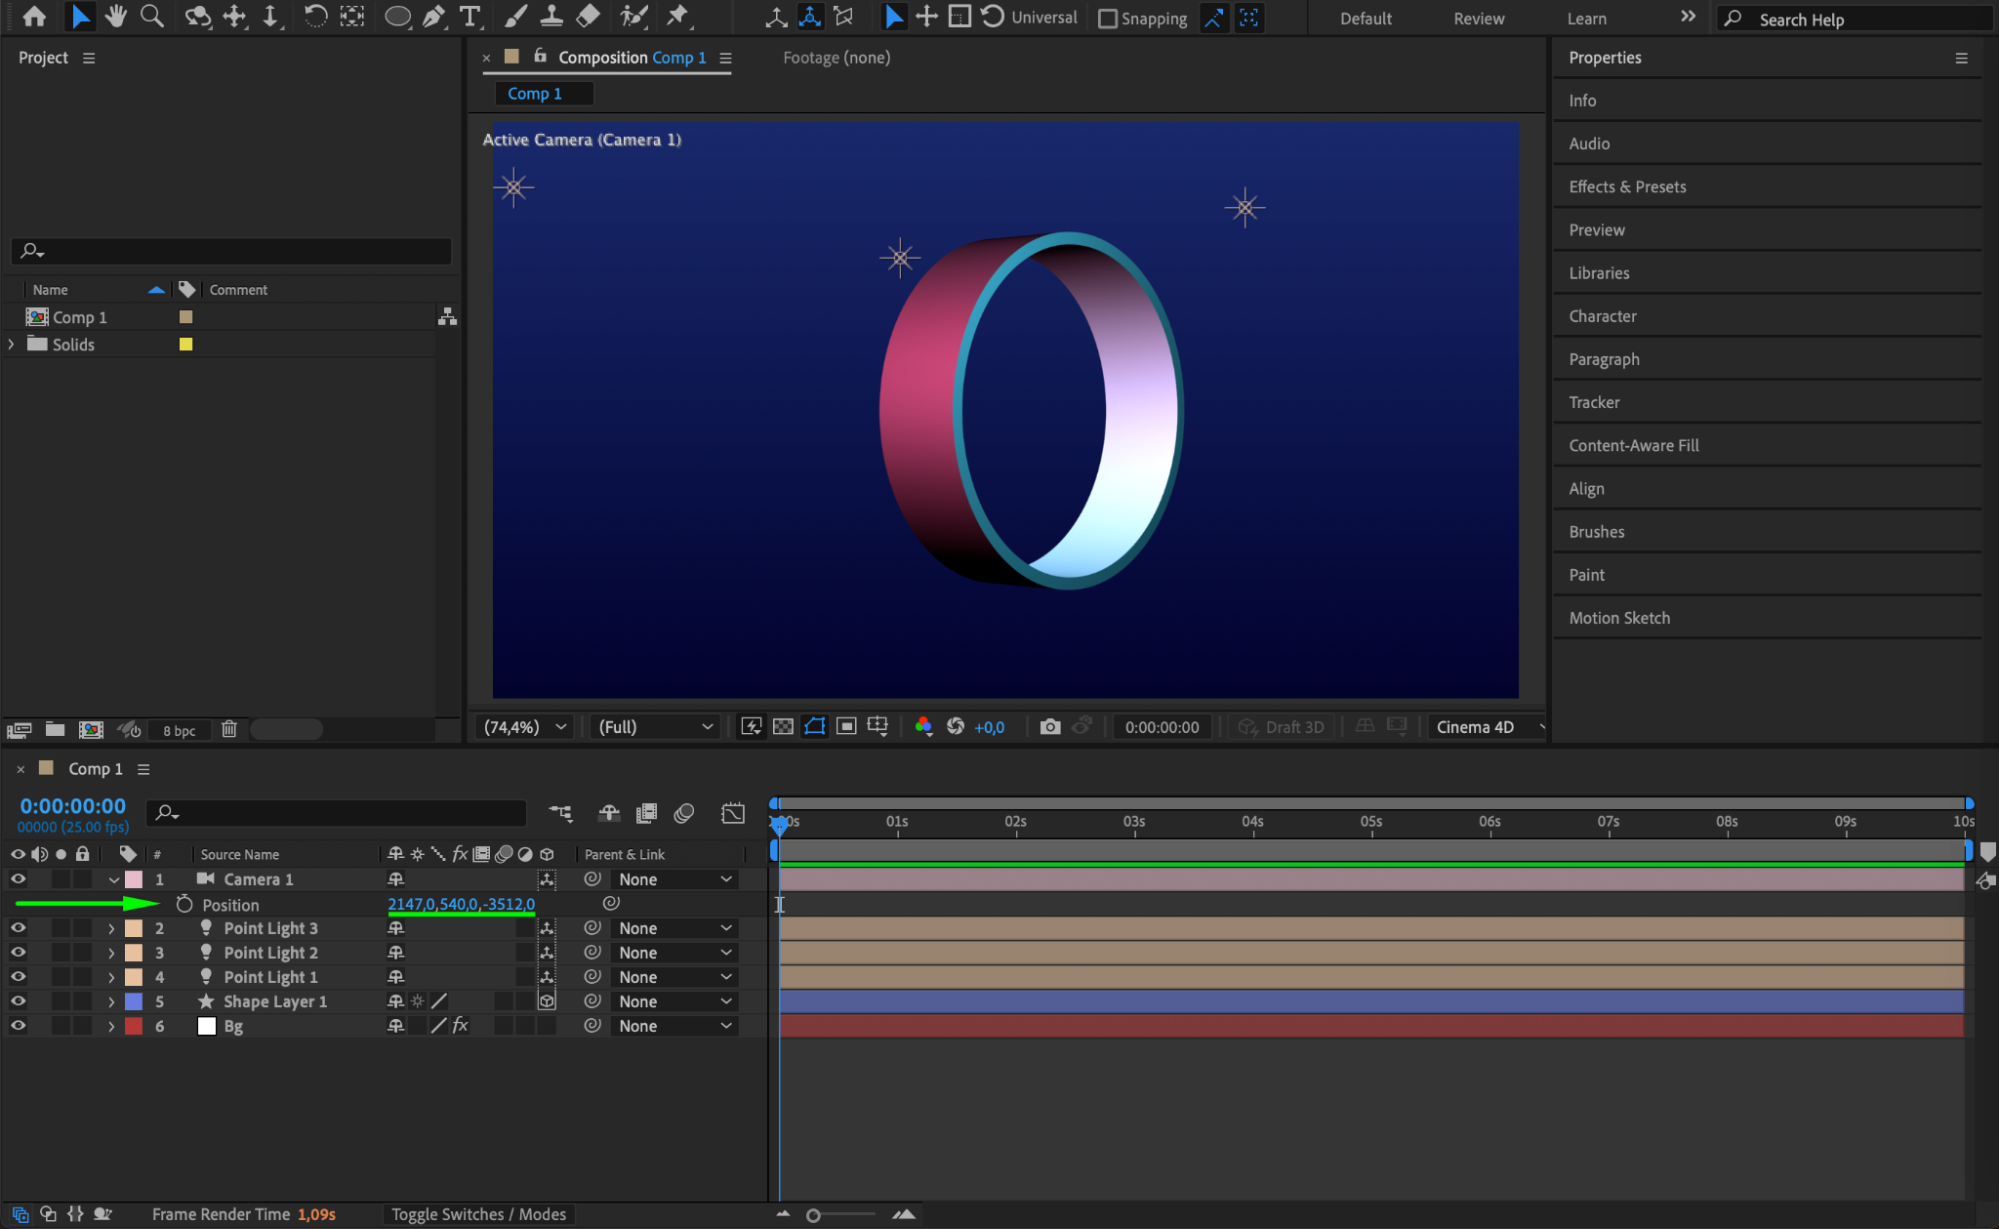 Step 10: Preview and Adjust
Press Spacebar to preview the animation. Adjust lighting, extrusion, and camera movement if needed for a more realistic effect.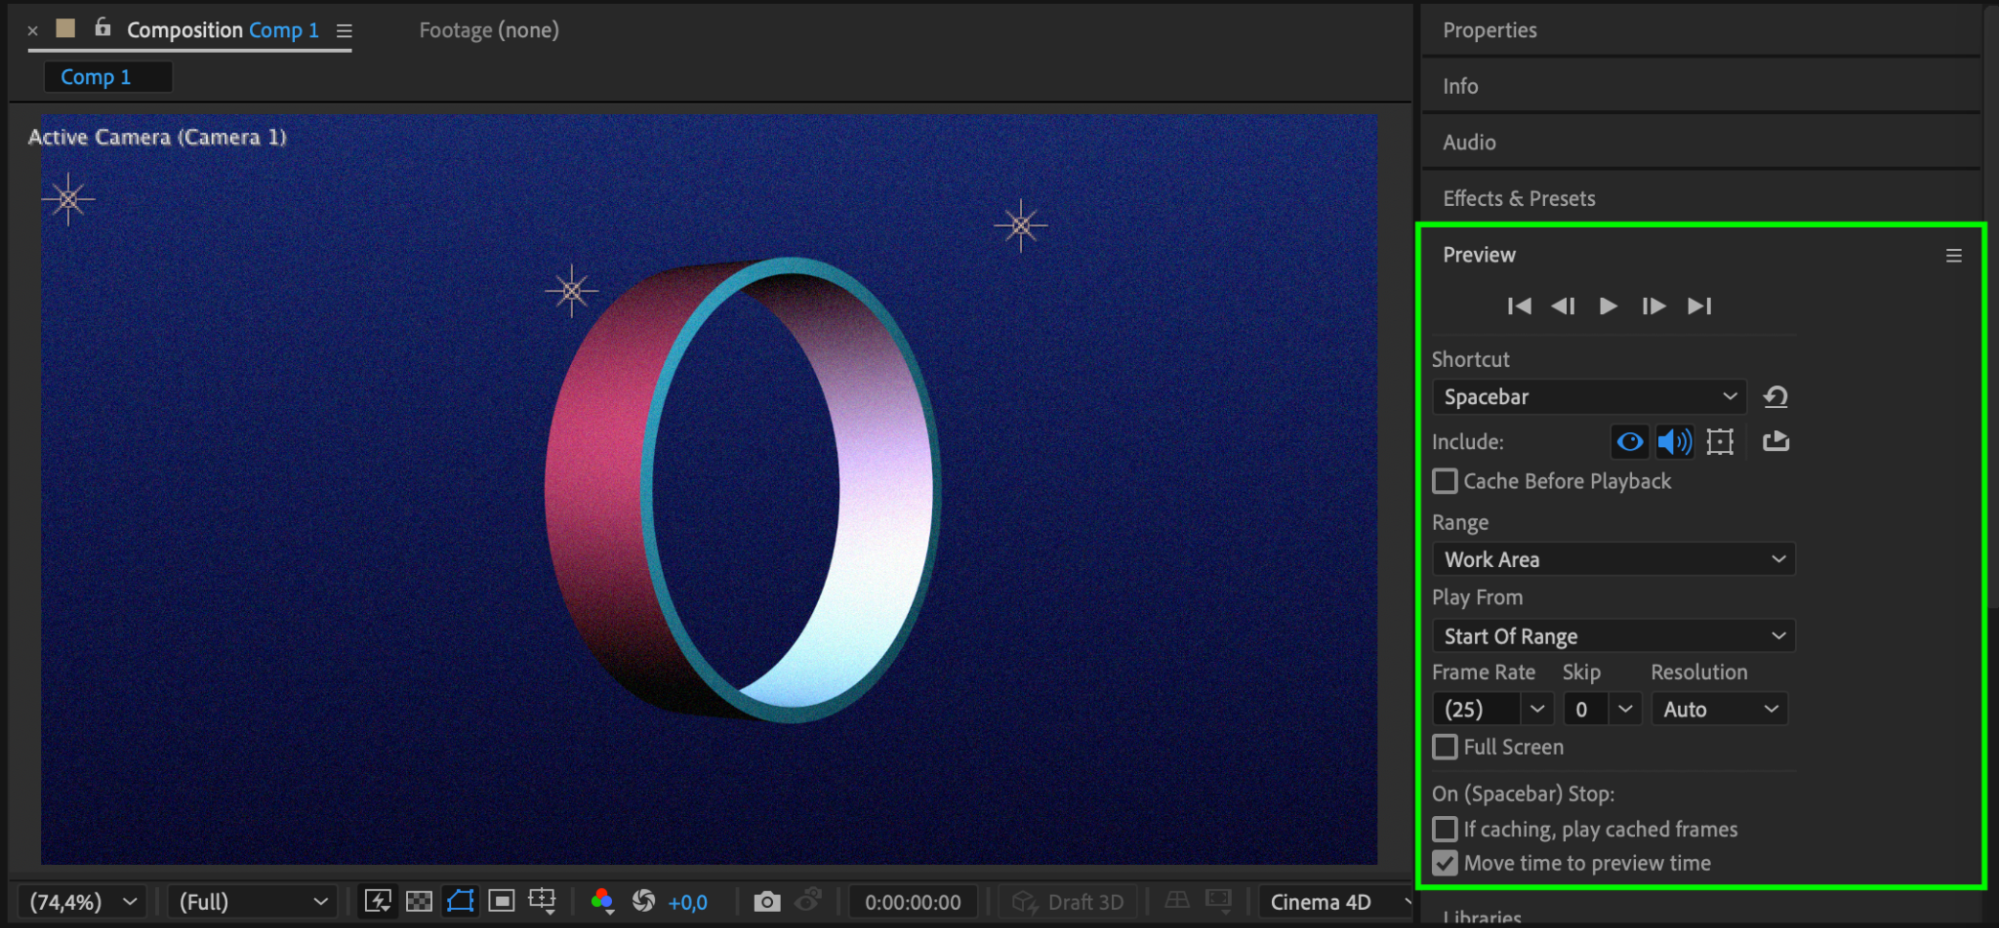 Step 11: Render the Final Animation
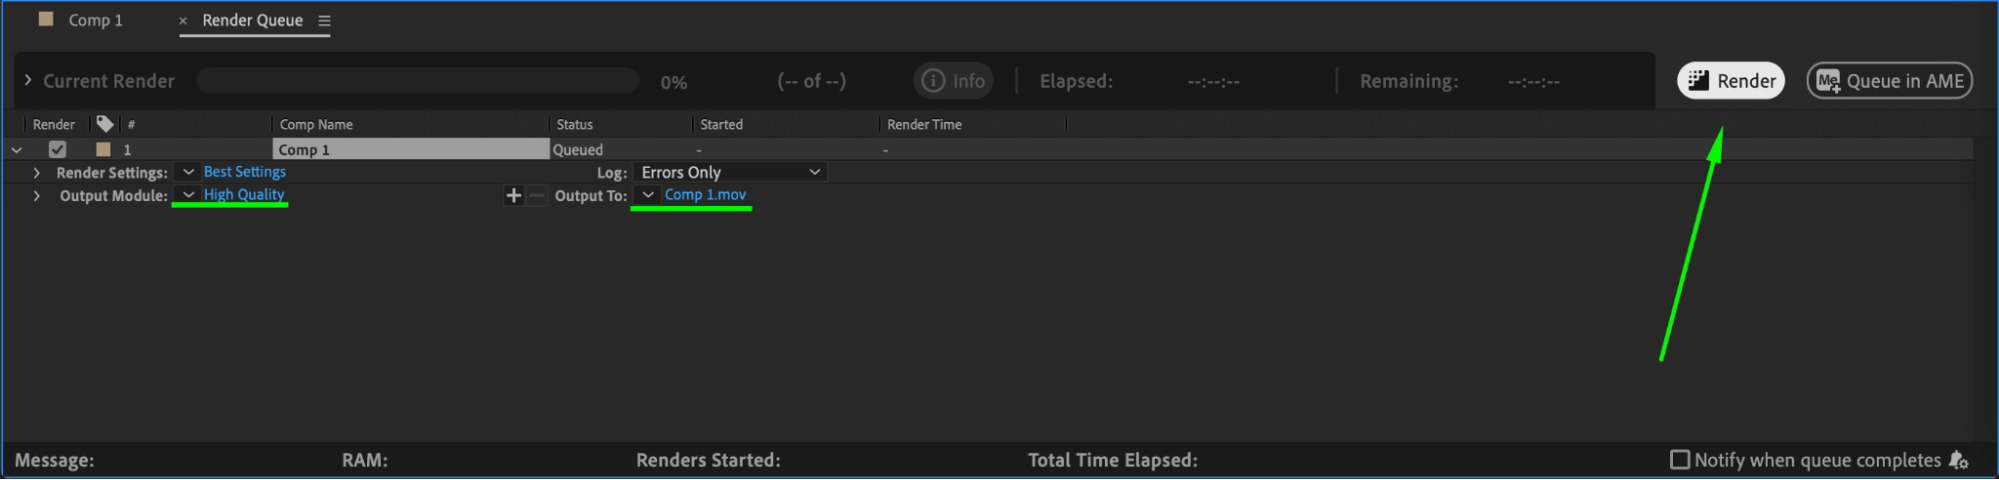
Go to Composition > Add to Render Queue, adjust settings if necessary, and export your animation.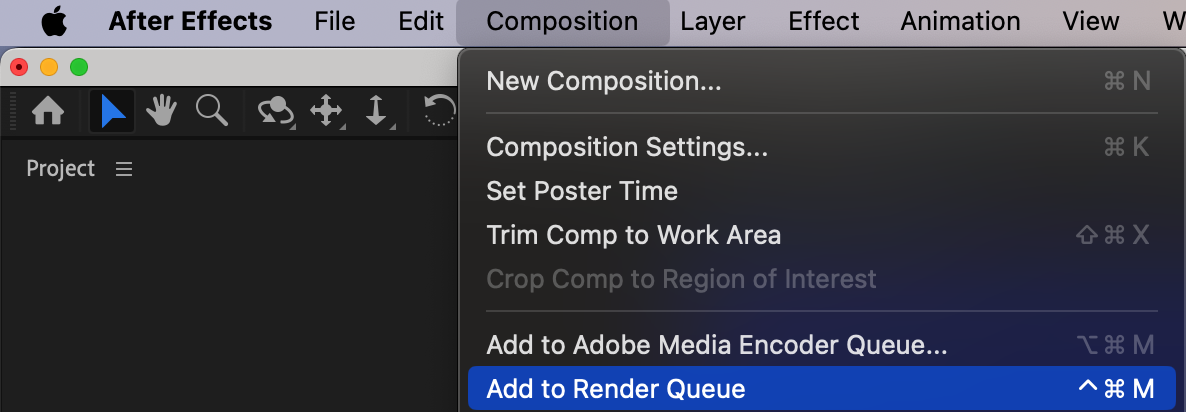
 Conclusion
Creating 3D shapes in After Effects with the Cinema 4D renderer is a simple yet powerful way to add depth and realism to your projects. By combining extrusion, lighting, and camera animation, you can bring your designs to life with smooth, professional-looking effects.
Our Bestsellers


