Mastering Background Creation in After Effects
Introduction – A Comprehensive Guide to Crafting Dynamic Backgrounds
Are you ready to take your animations to the next level? Our step-by-step guide is designed to empower you with the skills needed to create visually stunning and dynamic backgrounds in After Effects. From the initial setup of your composition to the final export, each stage is carefully crafted to help you unleash your creative potential.
Step 1: Setting Up
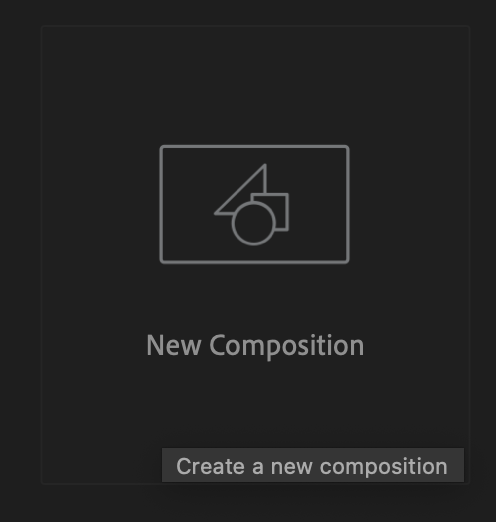
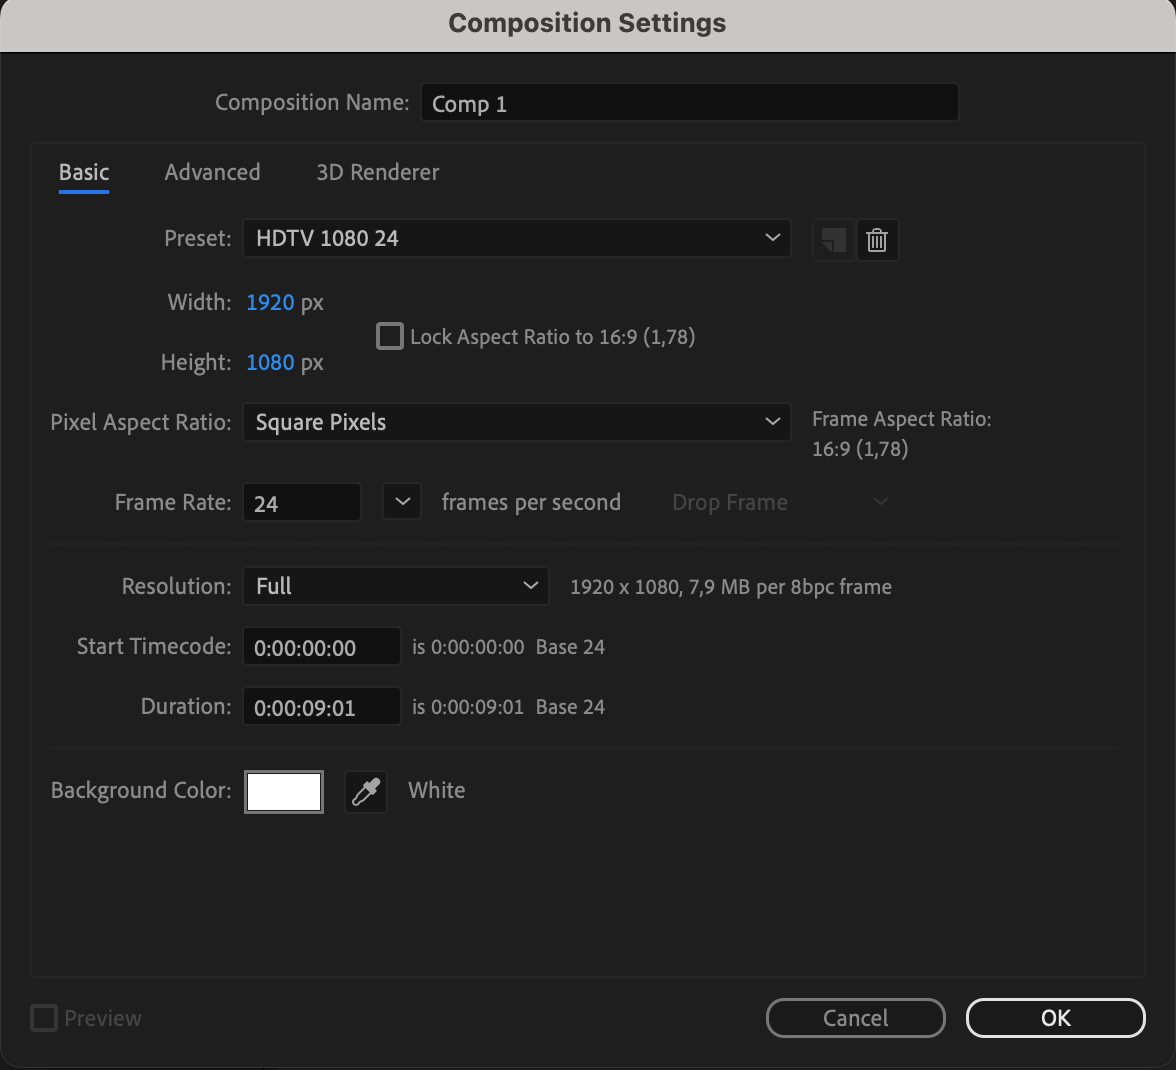
To start creating a background in After Effects, the first thing you need to do is set up a new composition. You can easily do this by heading to the Composition menu and selecting New Composition. Here, you can specify the dimensions, frame rate, and duration that best suit your project.
Step 2: Choosing a Base
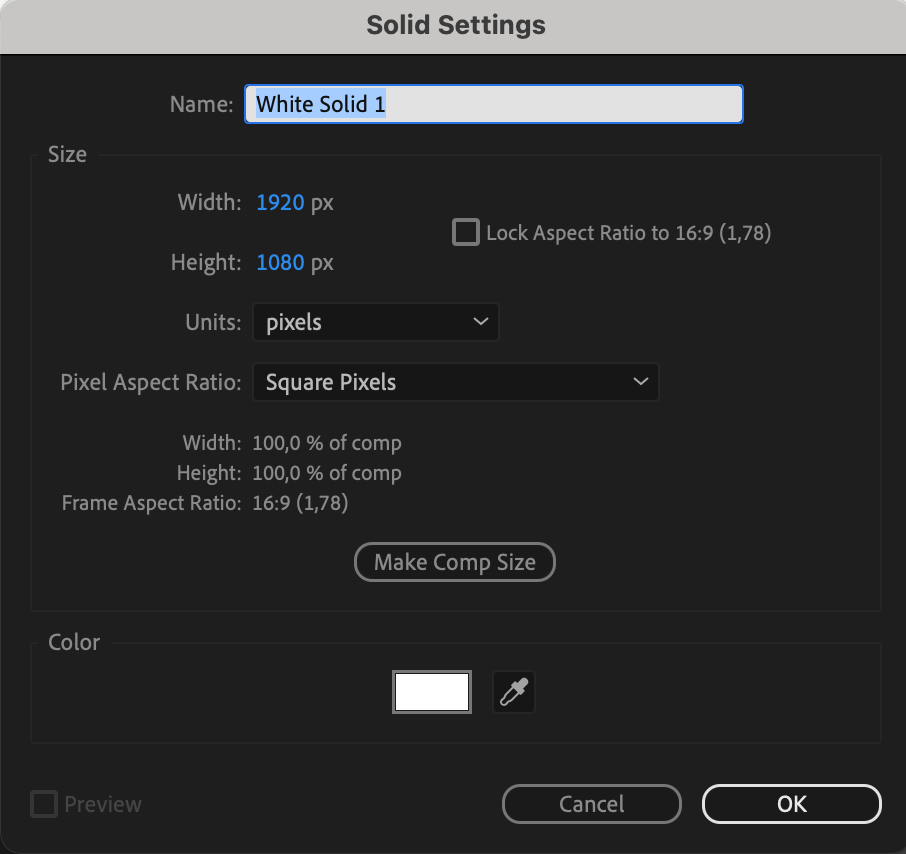
After you’ve created your composition, the next step is to select a solid layer. By right-clicking on the timeline and choosing New > Solid, you can establish a base for your background.

Step 3: Applying Effects
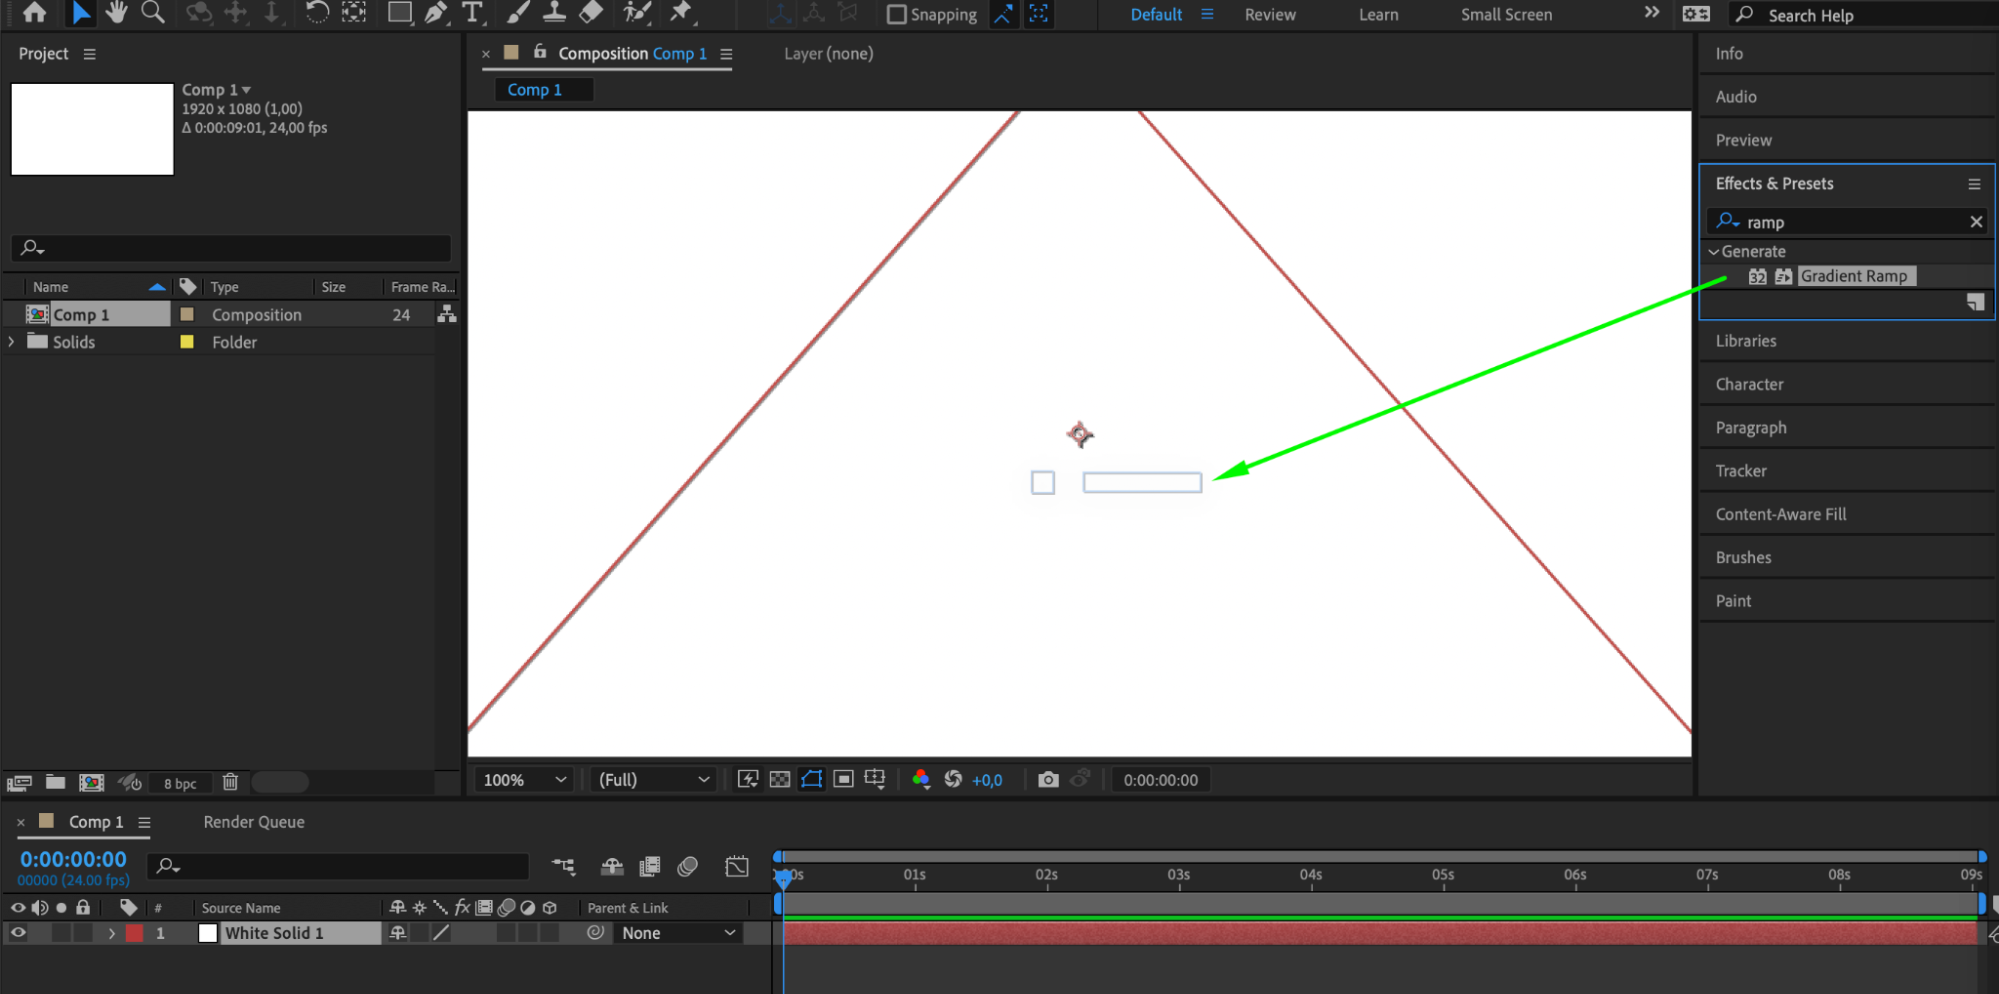
Once your solid layer is in place, it’s time to get creative with different effects. Experiment with tools like Gradient Ramp, Fractal Noise, or Colorama to achieve the desired look and feel for your background.
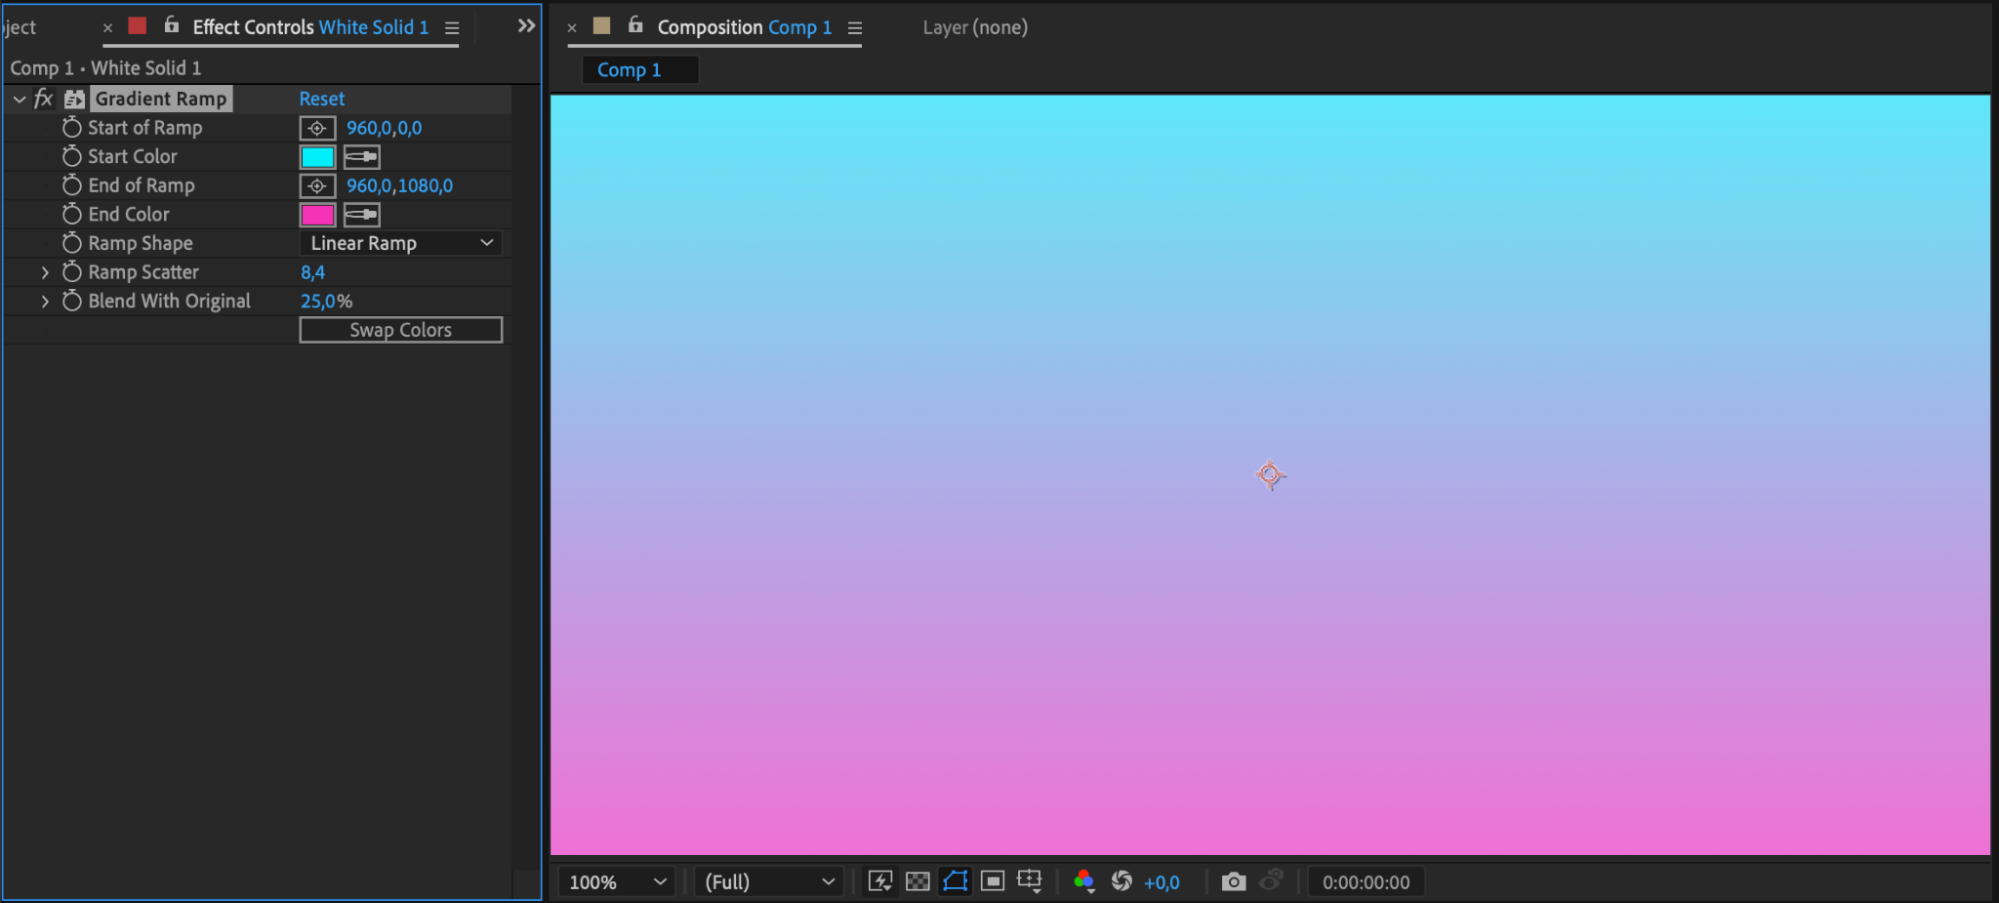
Step 4: Adding Elements
Enhance your background further by incorporating shapes, graphics, or patterns. Utilize After Effects’ shape tools to create geometric patterns, textures, or illustrations that complement your project.

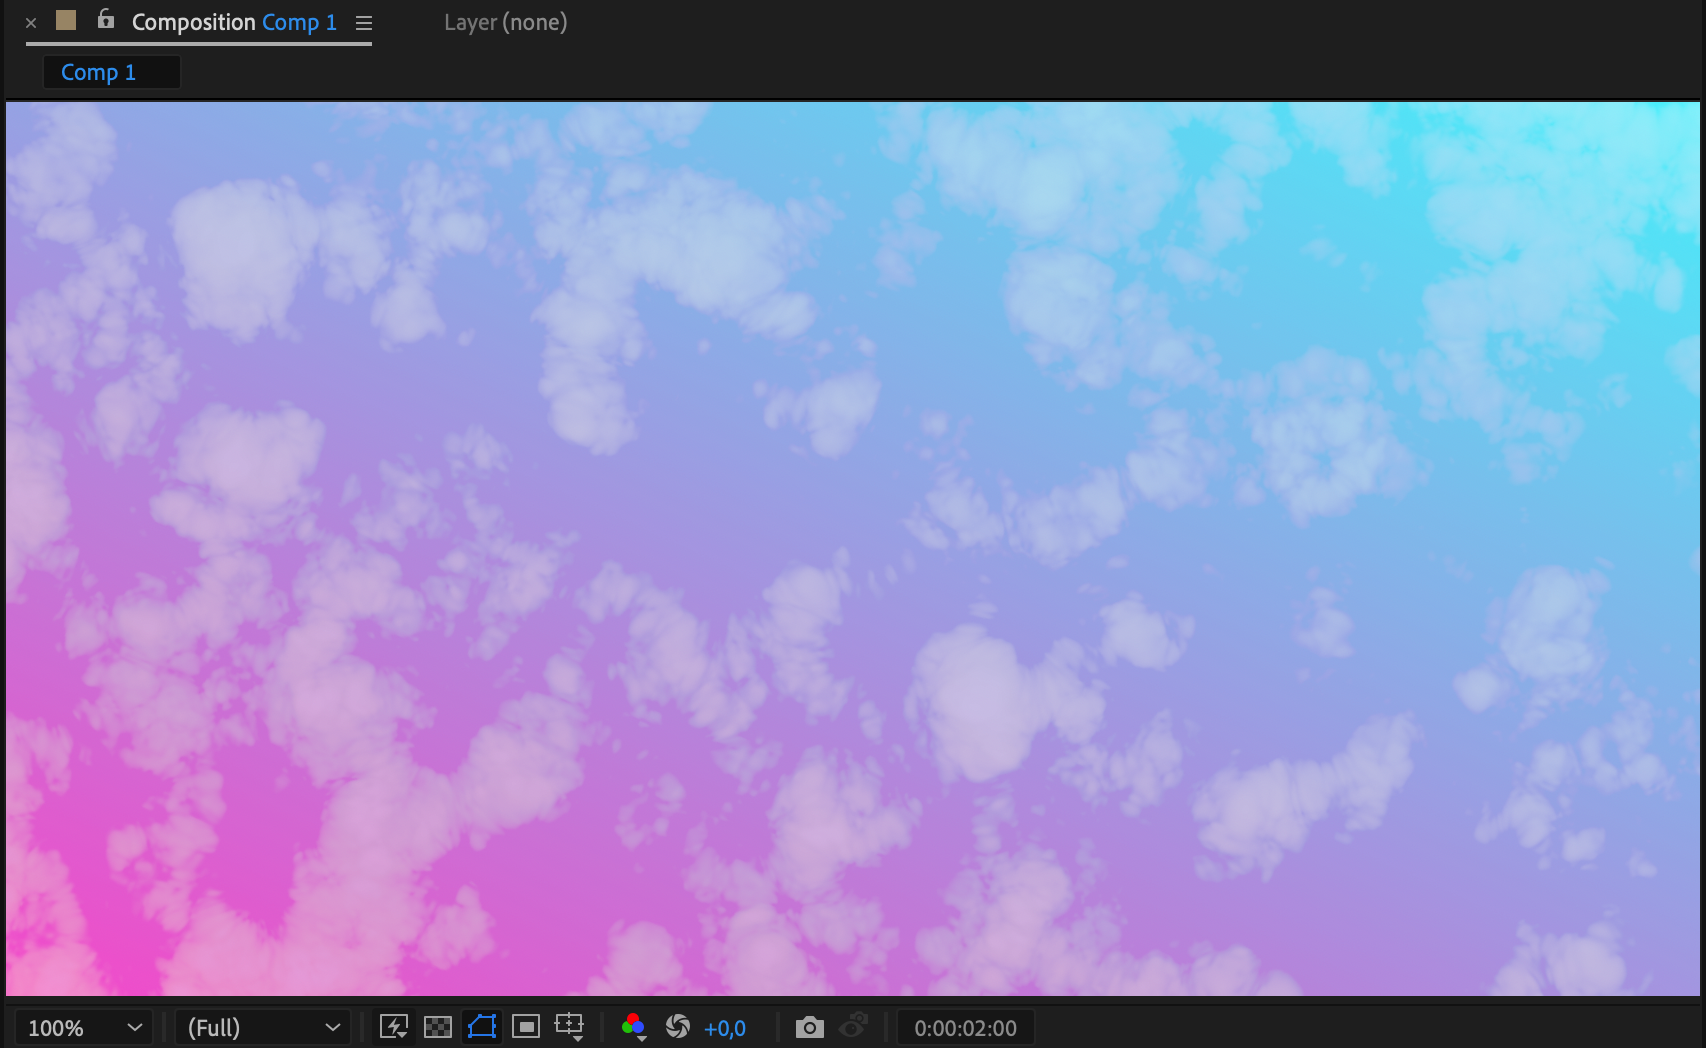
Step 5: Introducing Animation
To make your background more engaging, consider adding animations or subtle movements. Play around with properties like scale, position, opacity, or rotation of the layers to add depth and movement. Insert keyframes to animate your composition. Use the hotkey U to open all the created keyframes across all layers.

Step 6: Playing with Blending Modes
Blending modes in After Effects offer a world of possibilities for creating unique effects. Try out different modes to see how they can enhance the overall visual appeal of your background.

Step 7: Perfecting and Previewing
Once your background is taking shape, take the time to refine the elements and make any necessary adjustments. Preview your composition to ensure that the background harmonizes with the rest of your project.
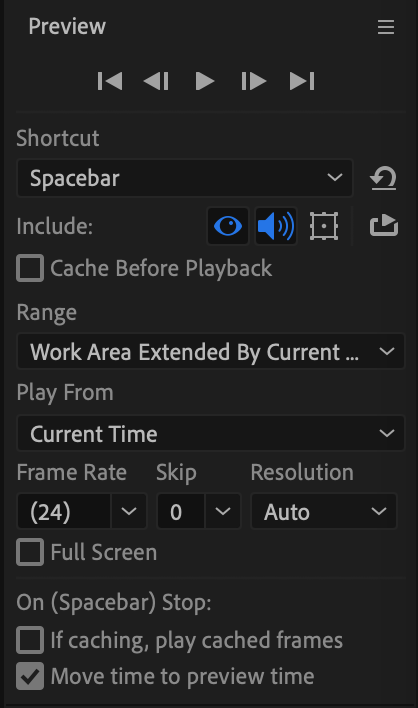

Step 8: Saving and Exporting
When you’re satisfied with your background design, save your work and export it in the preferred format. Use the Render Queue in After Effects to export your composition in various formats for sharing or further use.
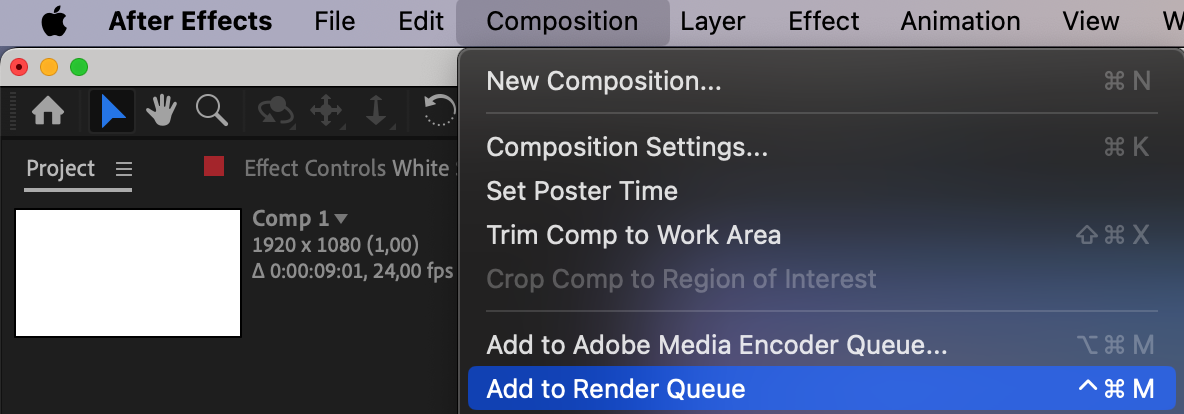

By following these steps and exploring different effects and techniques, you can create a visually captivating background for your animations in After Effects. Remember to embrace your creativity, be open to new ideas, and strive to make your background truly unique and eye-catching.
Conclusion: Crafting Your Unique Canvas
Mastering background creation in After Effects is an empowering journey that unleashes your creative potential. From the initial setup to the final export, each step plays a crucial role in crafting visually captivating and dynamic backgrounds for your animations. By following this comprehensive guide, you’ve acquired the skills to set the stage, infuse creativity through effects and animations, and perfect your background’s visual appeal. As you embark on your creative endeavors, remember to let your imagination soar, explore diverse techniques, and create backgrounds that are truly distinctive and eye-catching. Elevate your animations by making your mark on the canvas of visual storytelling in After Effects.

