Creating a Camera Flash Effect in After Effects
Introduction
A camera flash effect can add a dramatic or cinematic touch to your videos or photos. It is often used in music videos, interviews, and documentary-style edits. In this guide, we will create a realistic camera flash effect using the Lens Flare effect and simple animations in After Effects.
Step 1: Import Your Footage
Open After Effects and import your video or photo by going to File > Import > File. Drag it onto the timeline to use it as the base for the flash effect.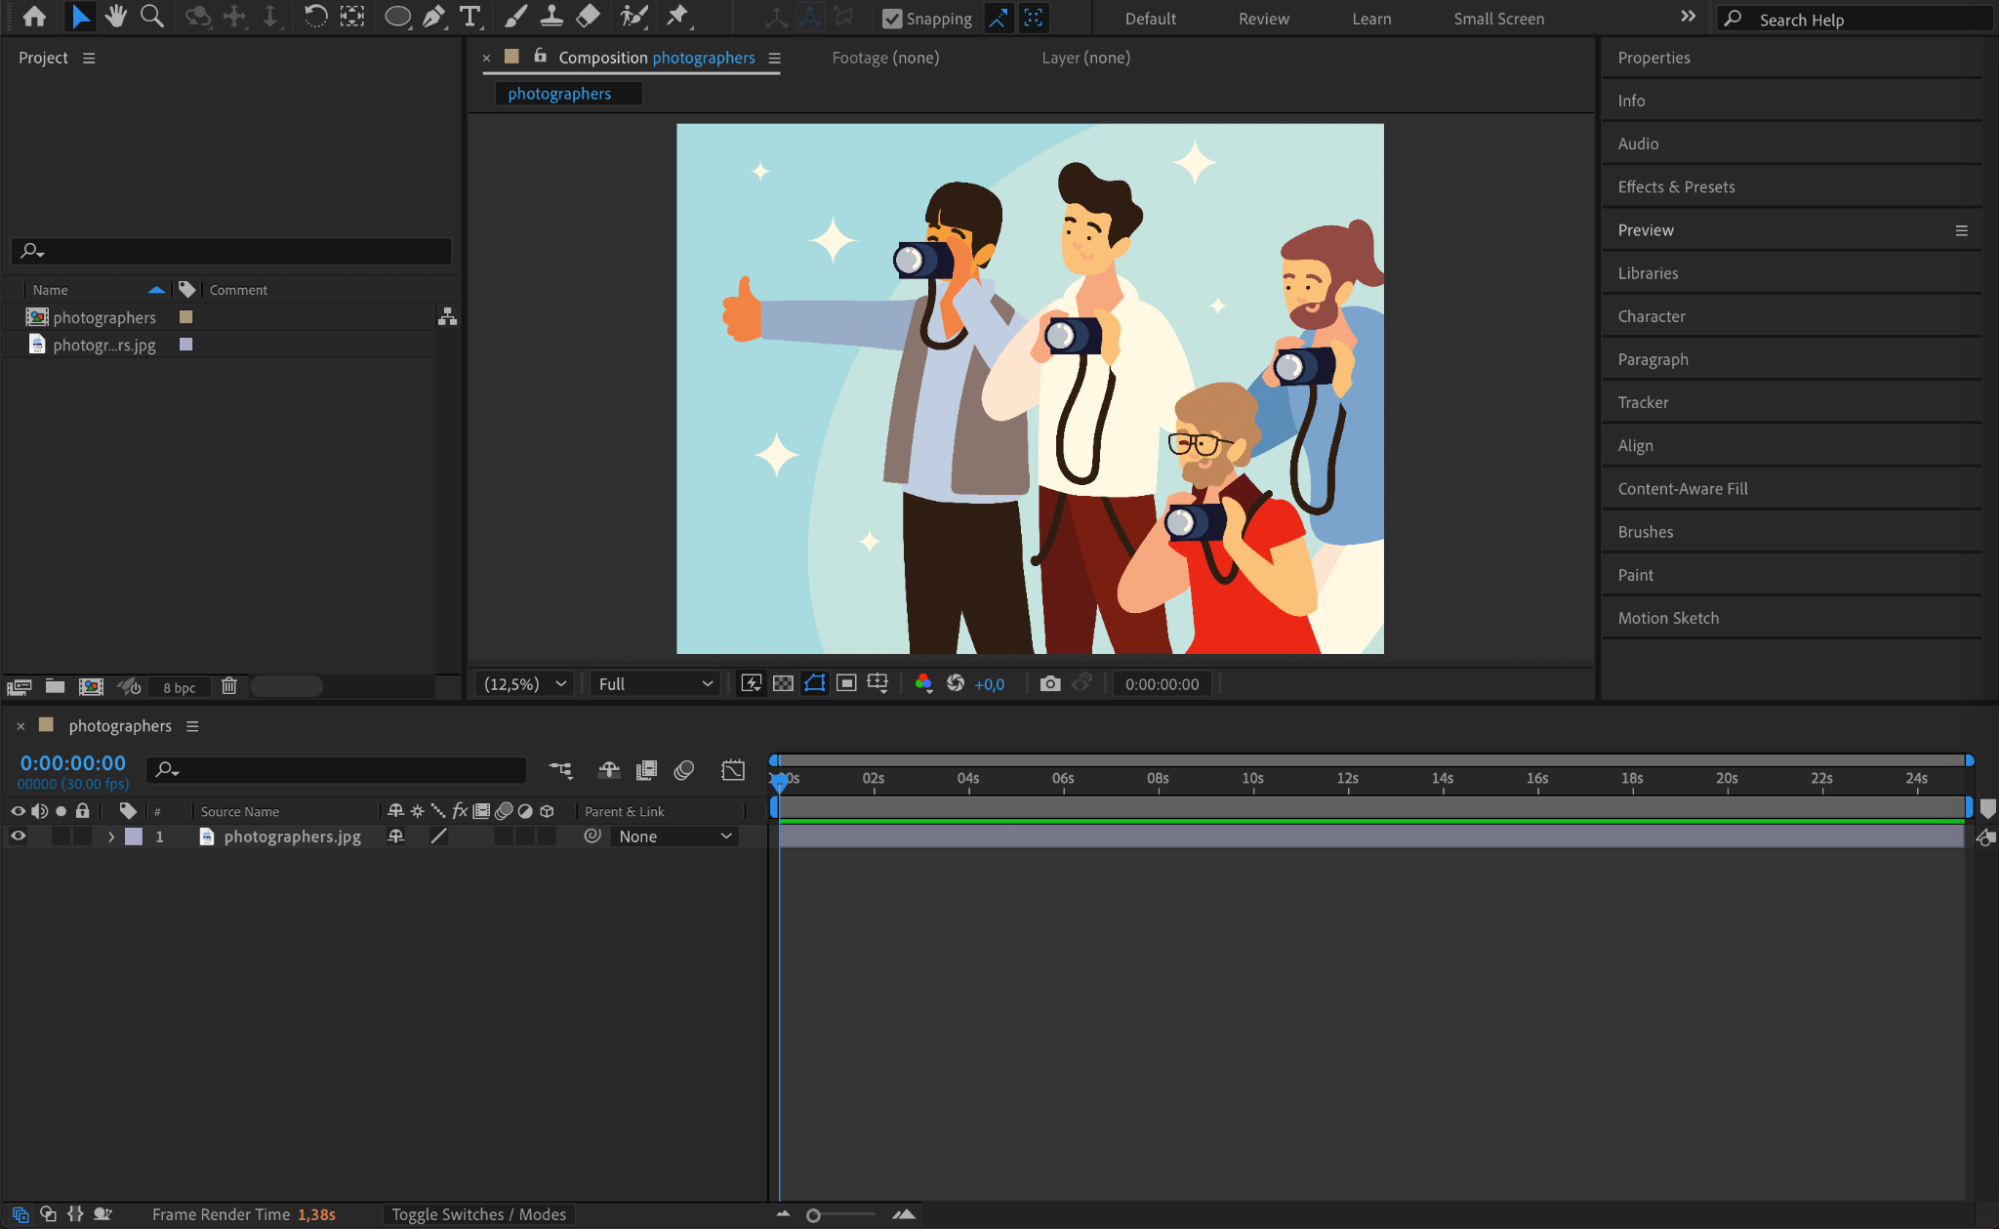 Step 2: Create a Black Solid Layer
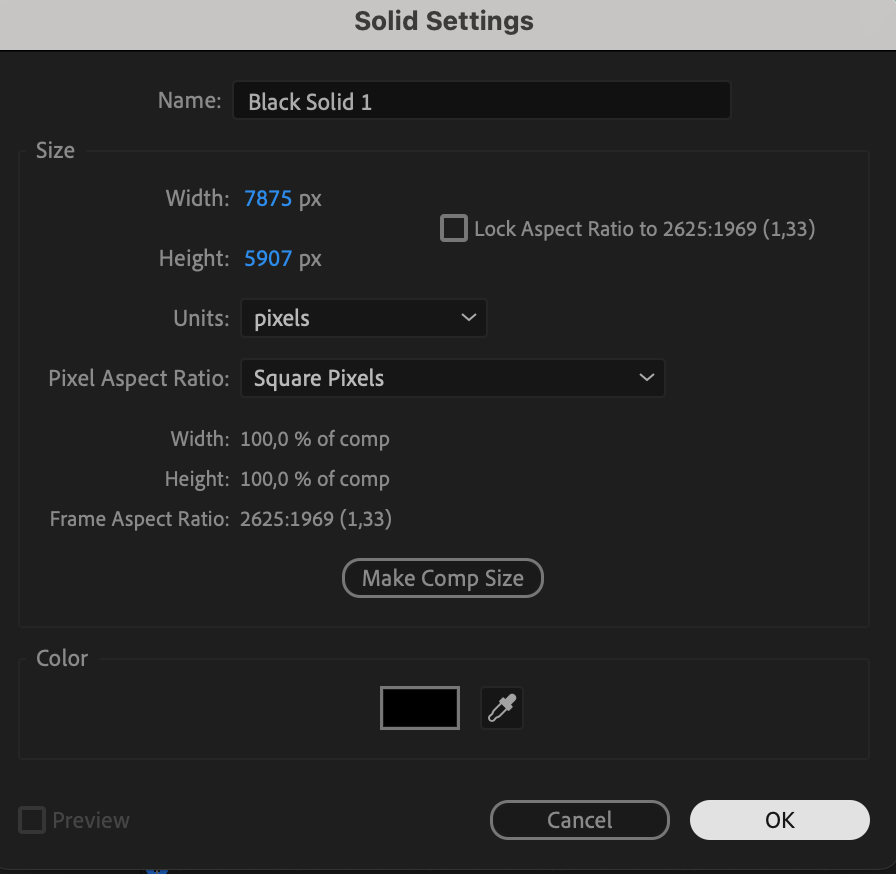
Go to Layer > New > Solid and choose a black color. This layer will hold the lens flare effect. Make sure the solid covers the entire composition.
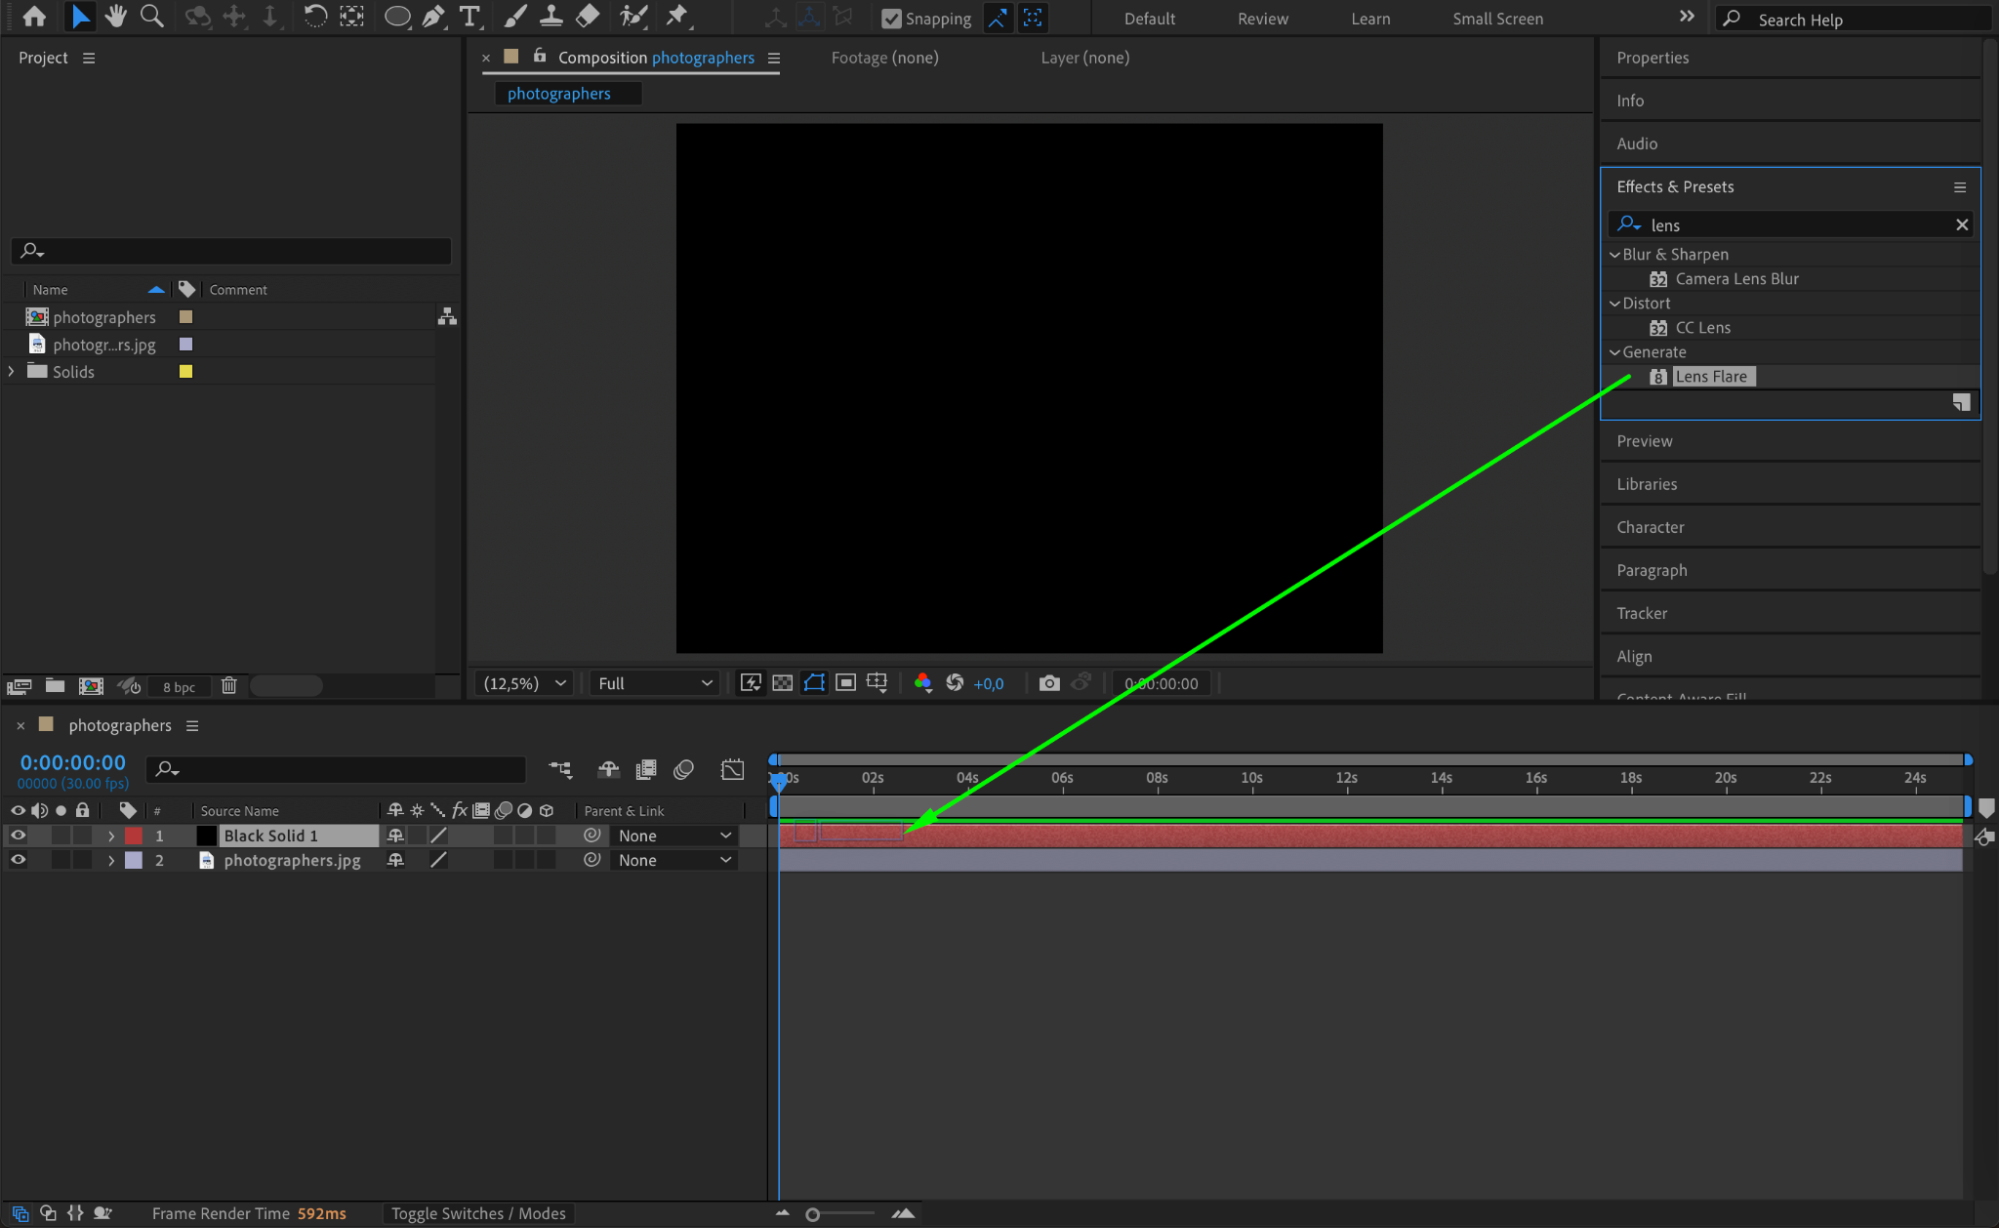
 Step 3: Apply the Lens Flare Effect
Open the Effects & Presets panel and search for Lens Flare. Drag it onto the black solid layer. This effect will simulate the camera flash.
 Step 4: Adjust the Lens Flare Settings
In the Effect Controls panel, choose a suitable Lens Type from the options available. Set the Lens Center to the desired position, such as near the edge of the composition or directly on a camera lens in the scene. Change the Blend Mode of the solid layer to Add for a natural look.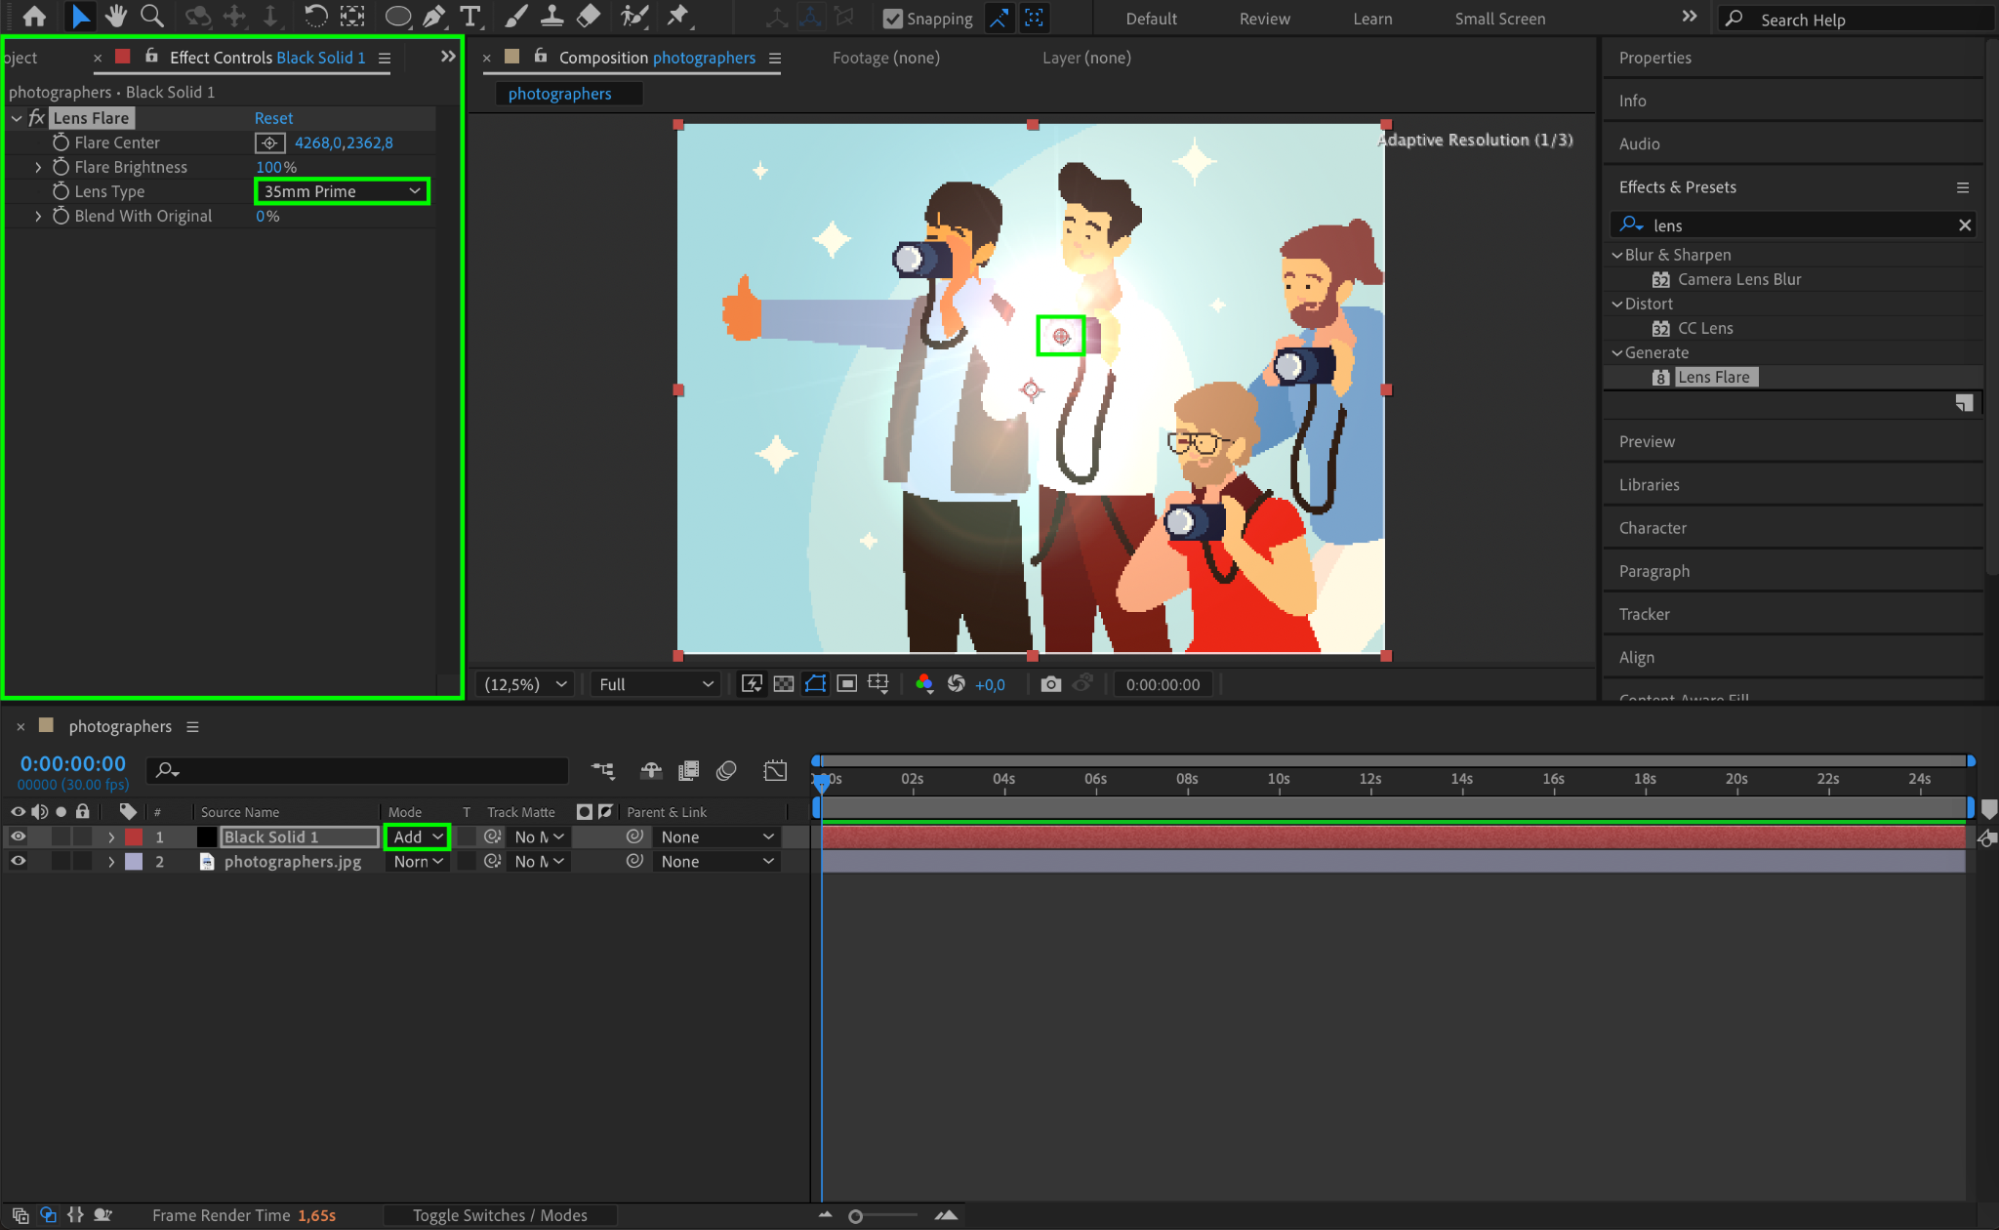 Step 5: Duplicate the Effect for Multiple Flashes
If you want multiple flashes in different locations, duplicate the Lens Flare effect by pressing “Ctrl/Cmd + D”. Adjust the positions to create variations in the composition.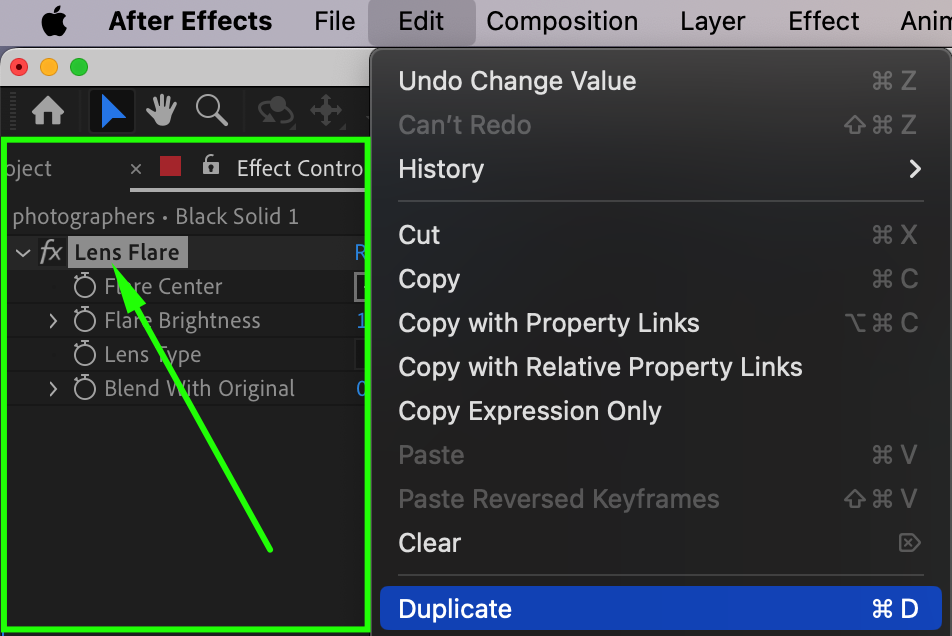 Step 6: Animate the Flash Brightness
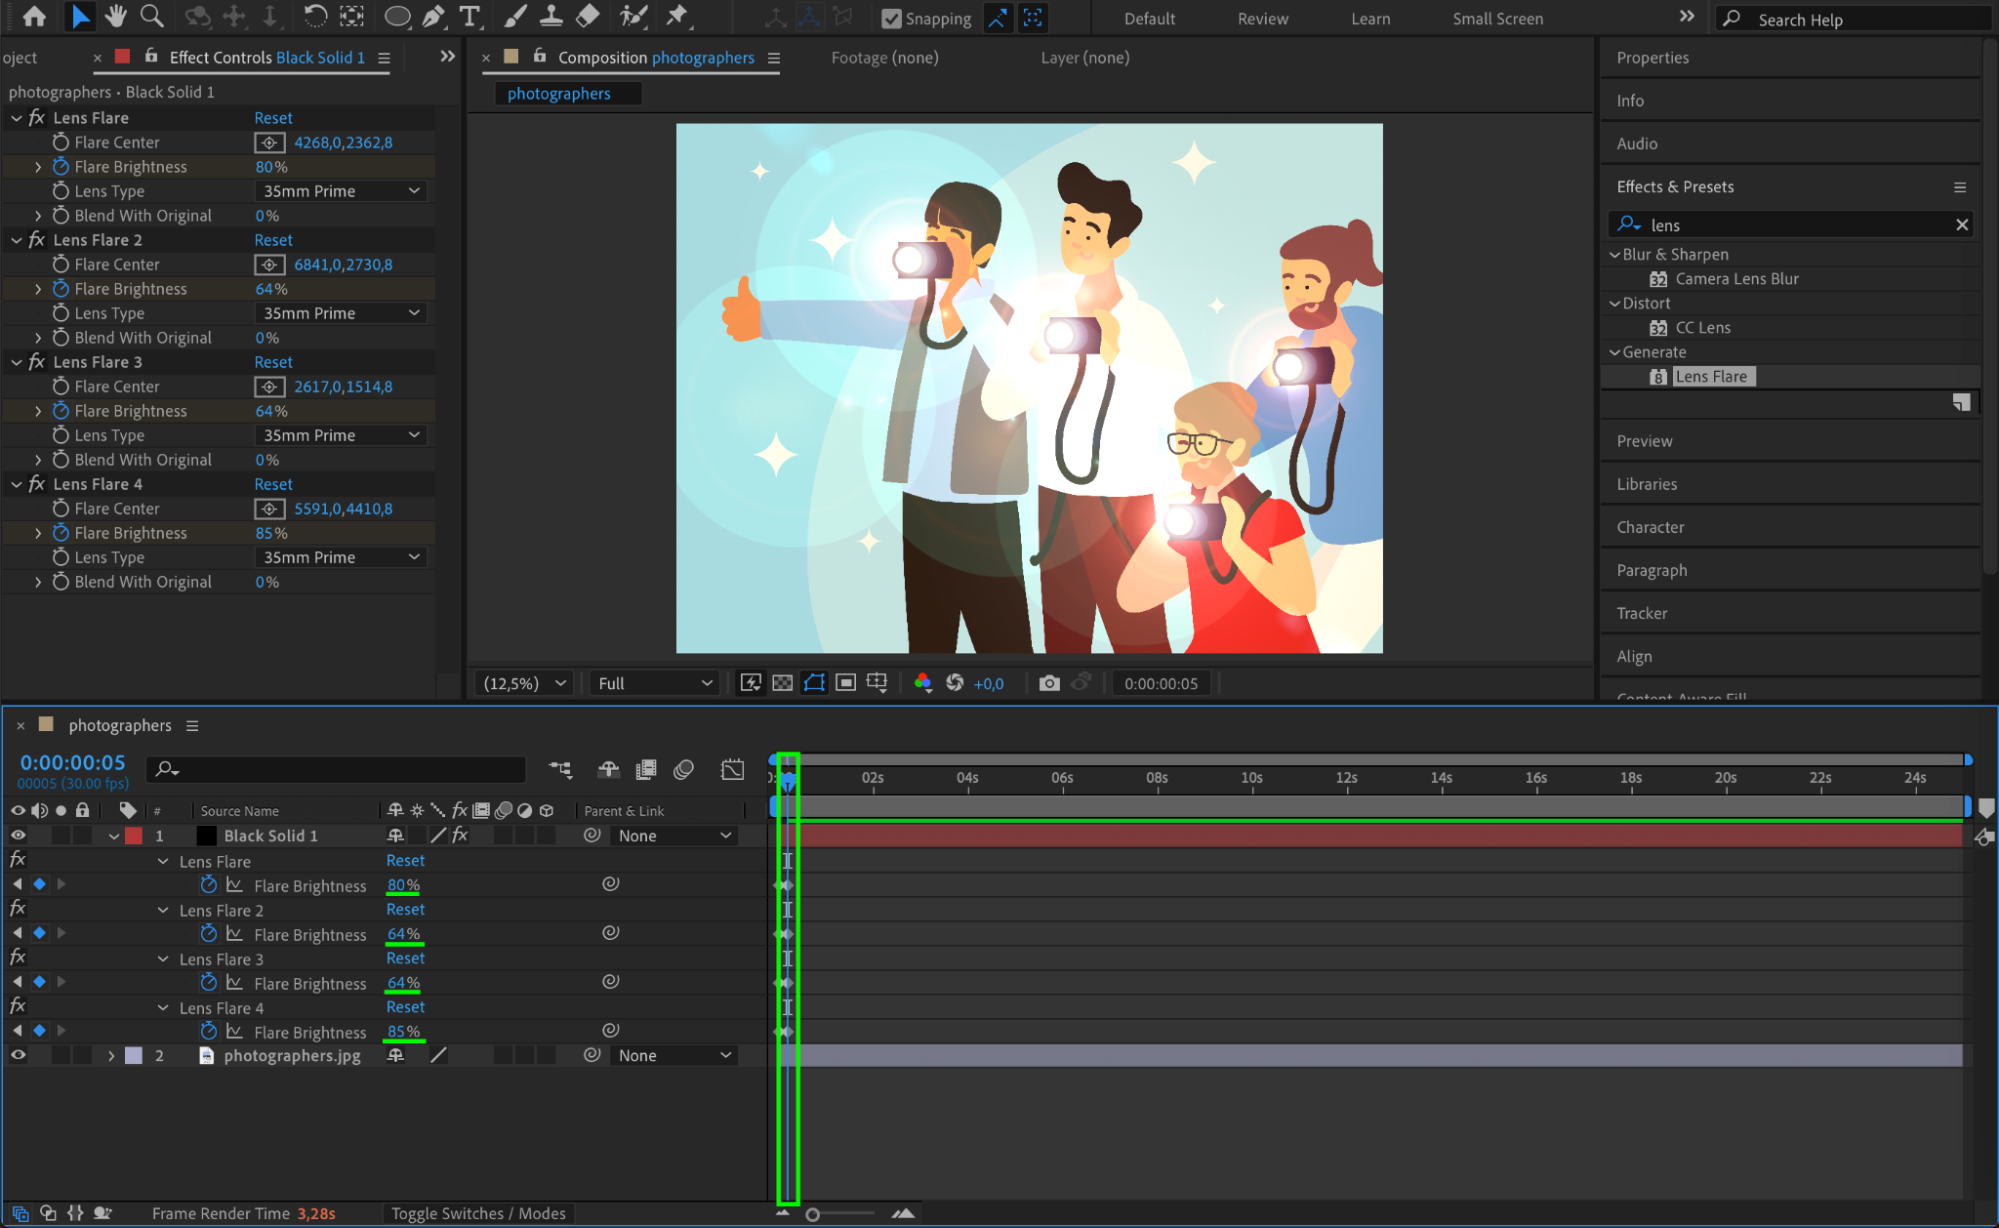
In the Effect Controls panel, click the Stopwatch next to Flare Brightness and set the value to 0 at the starting position. Move the CTI (Current Time Indicator) a few frames forward and increase the brightness to 80-120 for a strong flash effect.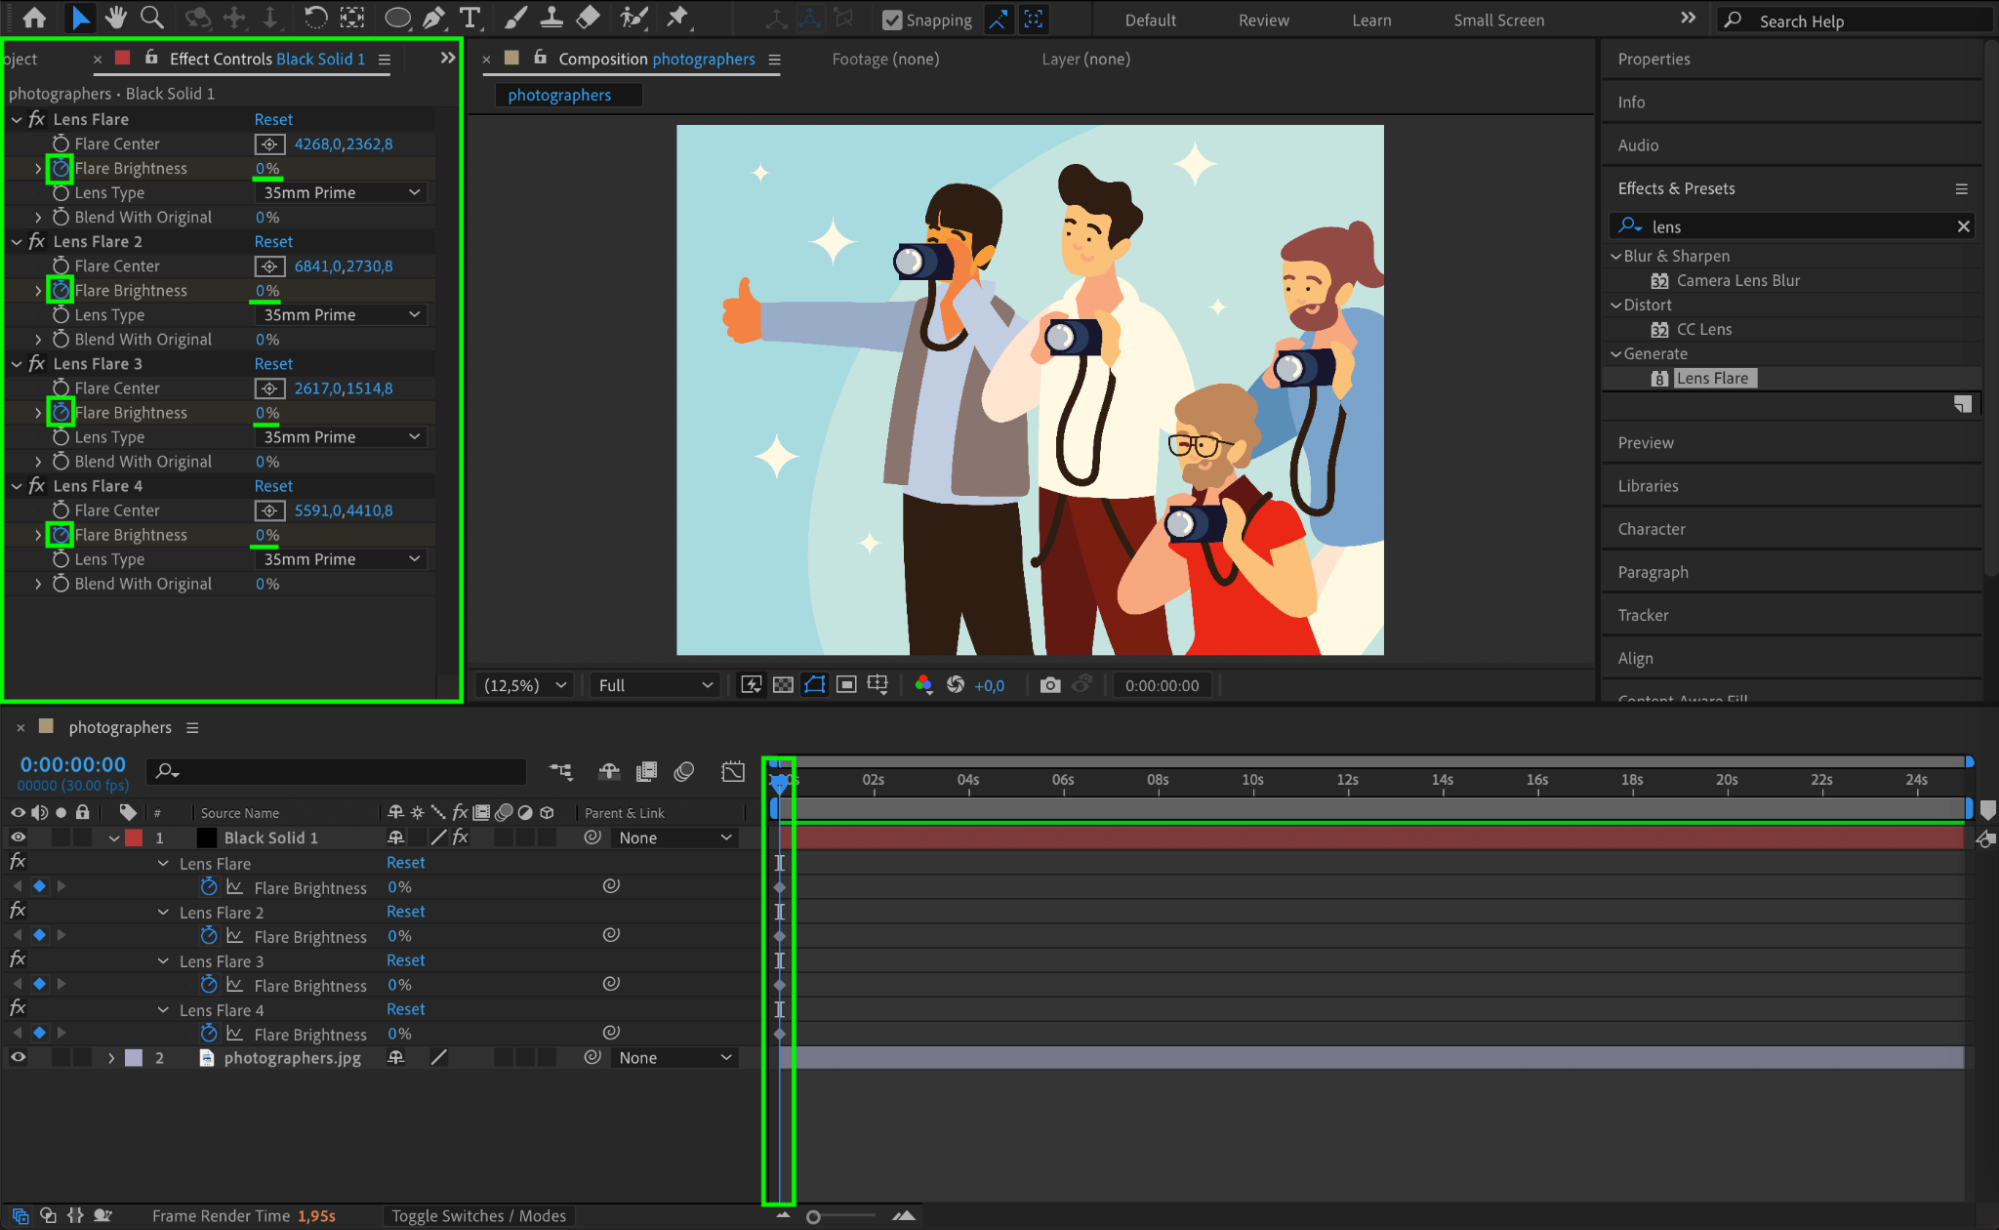
 Step 7: Add a Looping Expression
To make the flash effect repeat, hold Alt/Option and click the stopwatch next to the animated Flare Brightness property. Type the following expression:
loopOut()
This will make the flash effect loop automatically.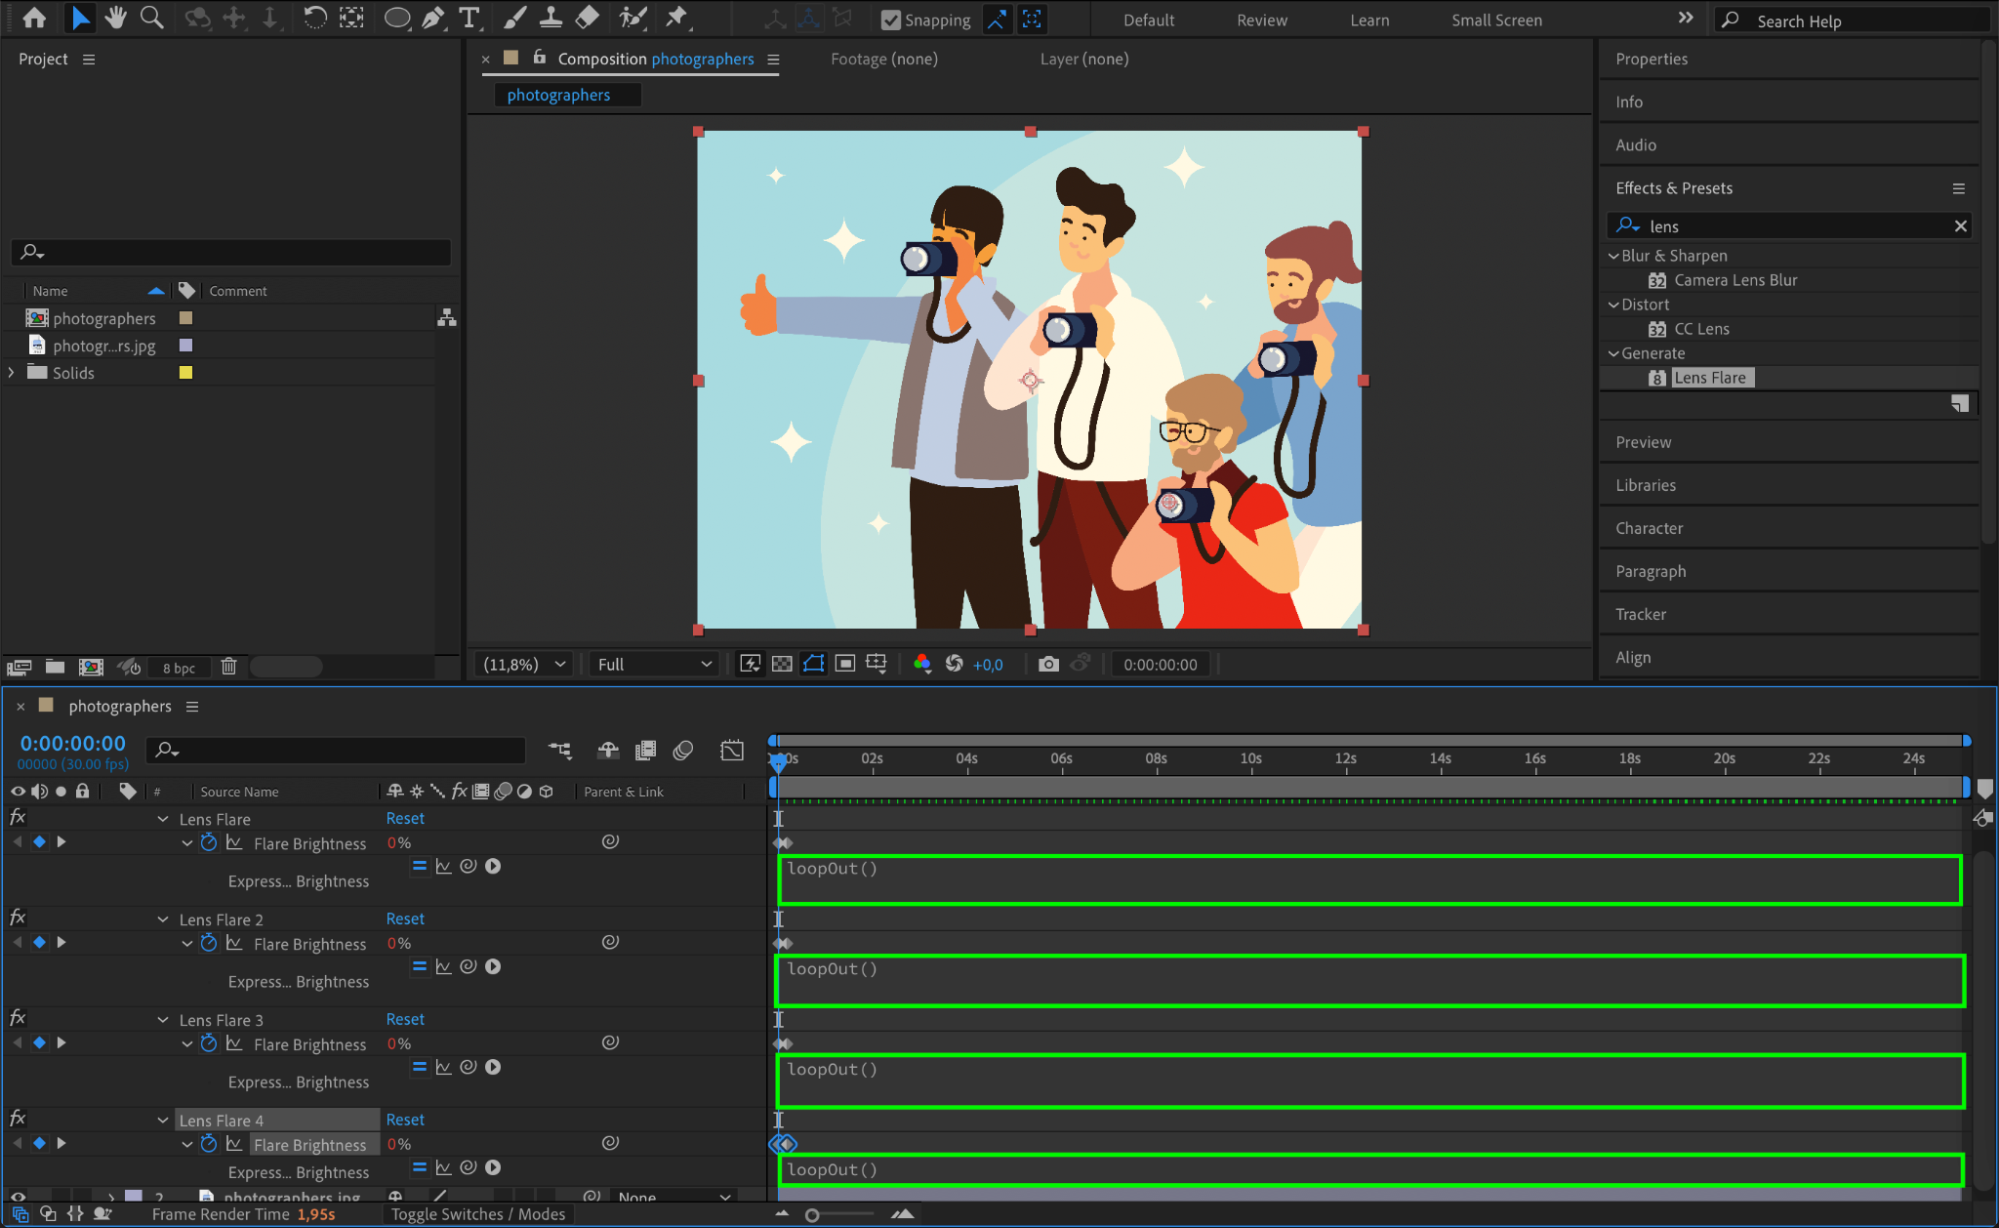 Step 8: Offset the Keyframes for Random Timing
If you have multiple flashes, move the keyframes of each Lens Flare effect to different positions on the timeline. This prevents all flashes from happening at the same time, creating a more natural effect.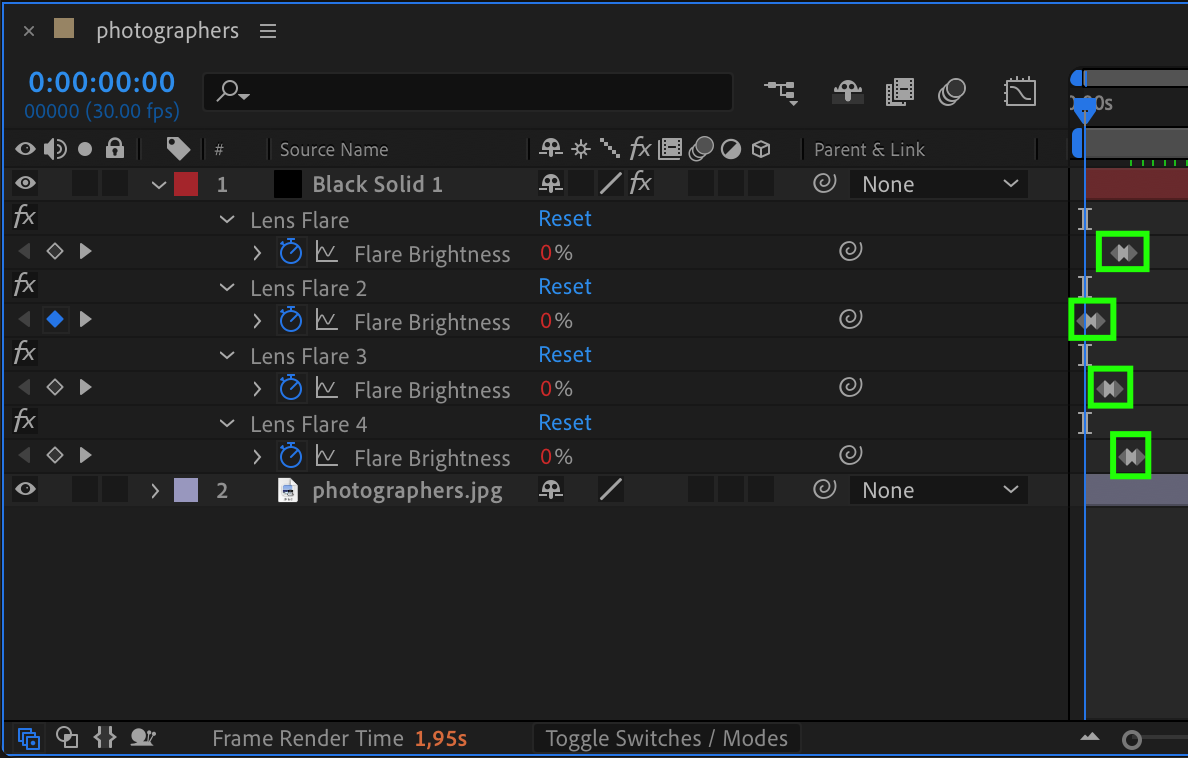 Step 9: Preview the Animation
Press Spacebar to preview the animation. Adjust the brightness, timing, or position of the flashes if necessary.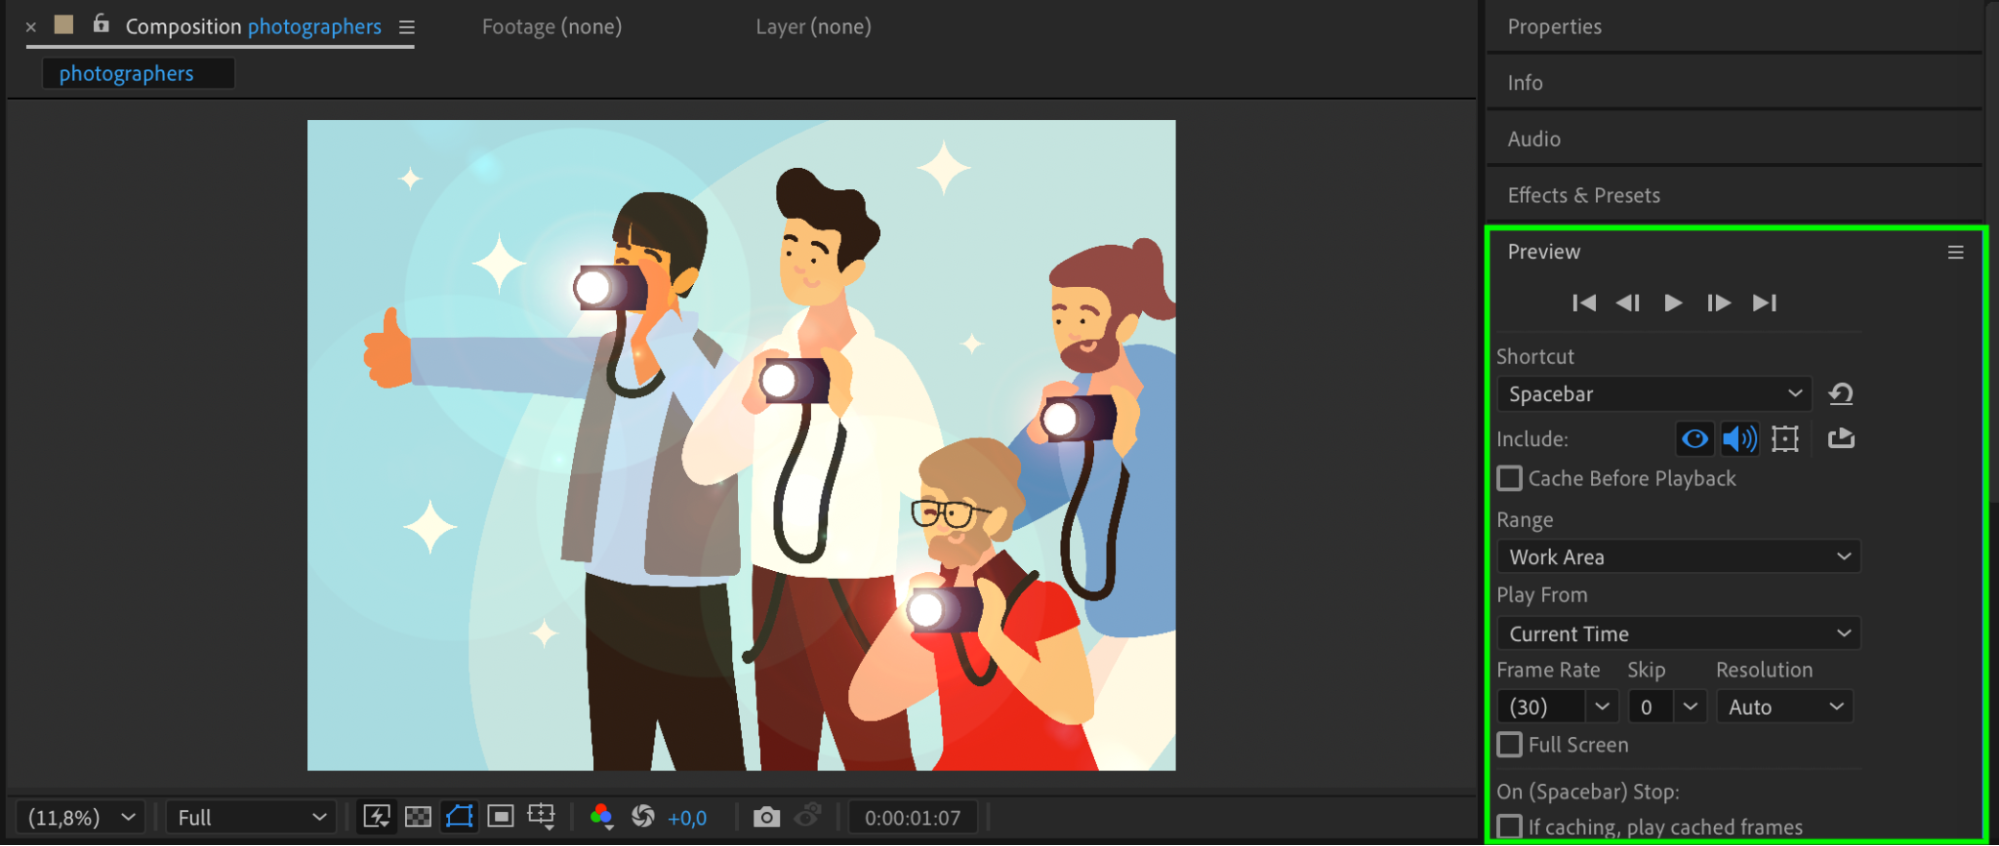 Step 10: Render the Final Effect
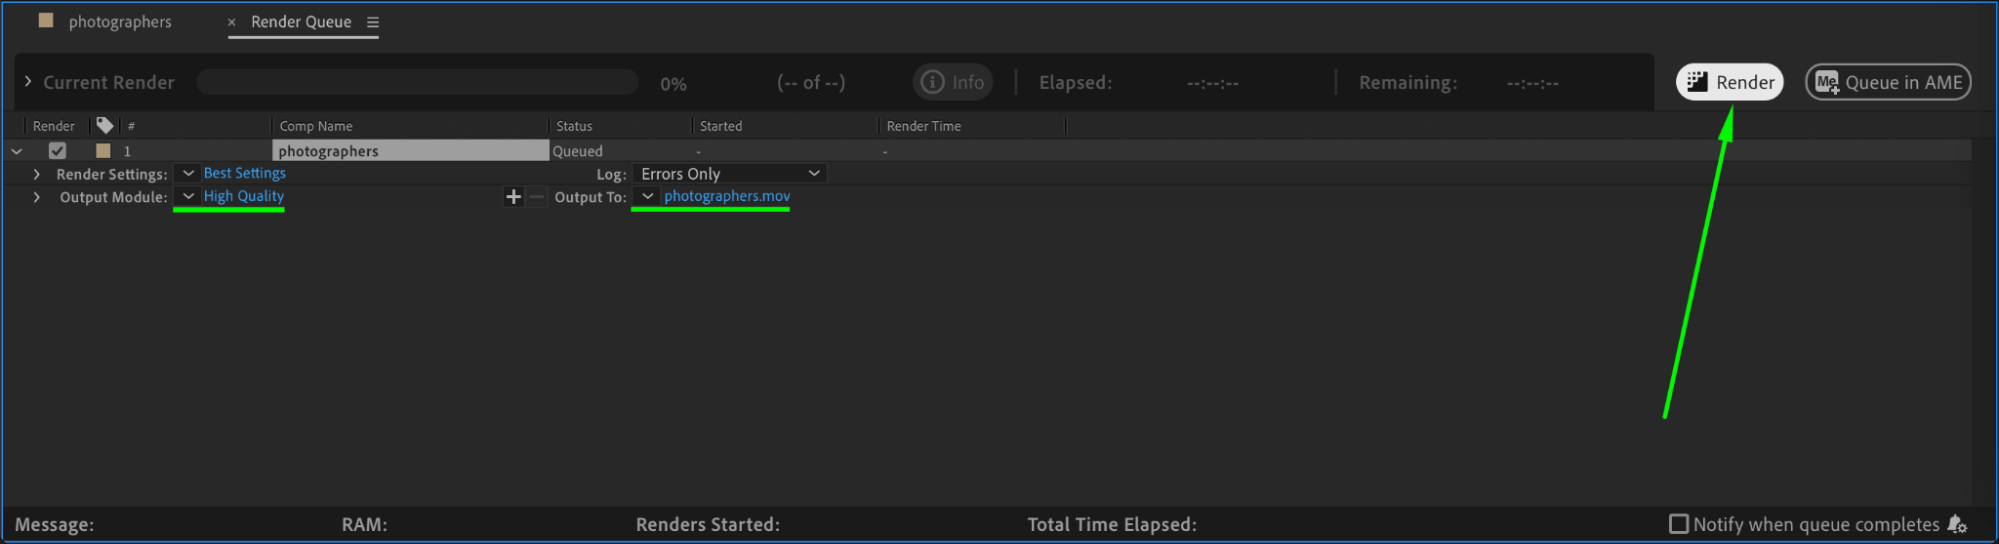
Once satisfied, go to Composition > Add to Render Queue, choose your format settings, and render the final video.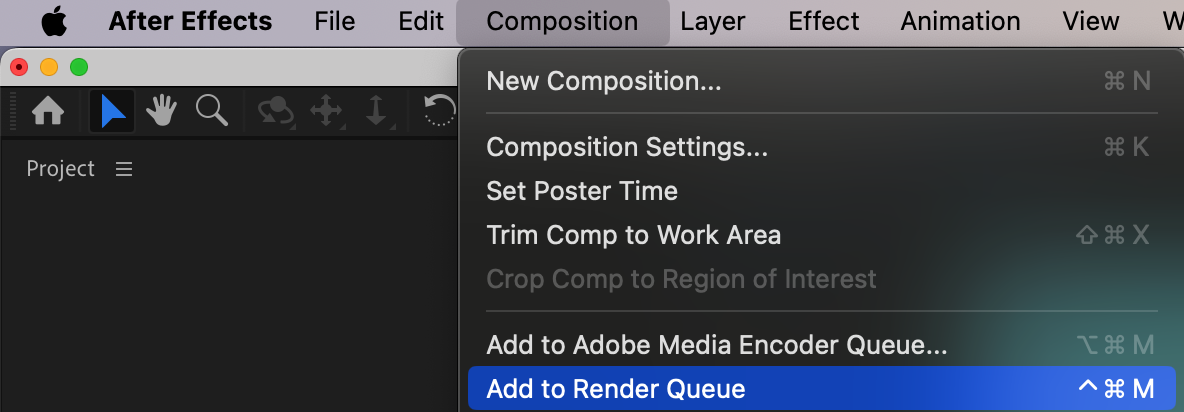
 Conclusion
Creating a camera flash effect in After Effects is simple yet effective for enhancing your videos. By using the Lens Flare effect with animation and looping expressions, you can create realistic and dynamic flash effects for various scenes. Experiment with different positions and intensities to get the best result.
Get 10% off when you subscribe to our newsletter

Our Bestsellers


