Creating a Galaxy Effect in After Effects
Introduction
A galaxy effect can add depth and a cosmic feel to your motion graphics. In this guide, you will learn how to create a galaxy scene in After Effects using gradient backgrounds, star fields, and glow effects.
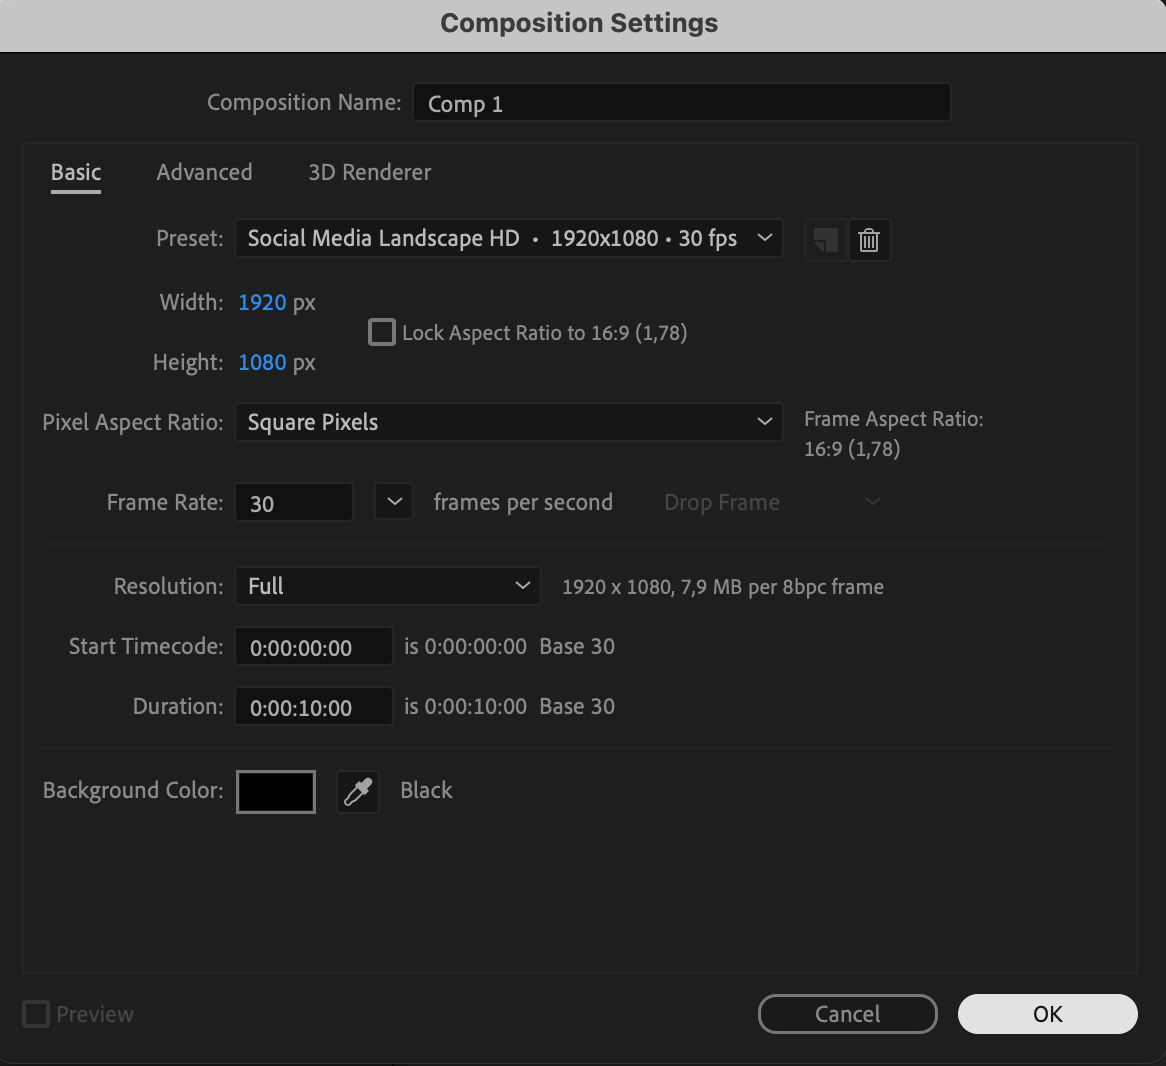
Step 1: Create a New Composition
Open After Effects and create a new composition with your preferred resolution and frame rate. A 1920×1080 composition at 30 fps works well for most projects.
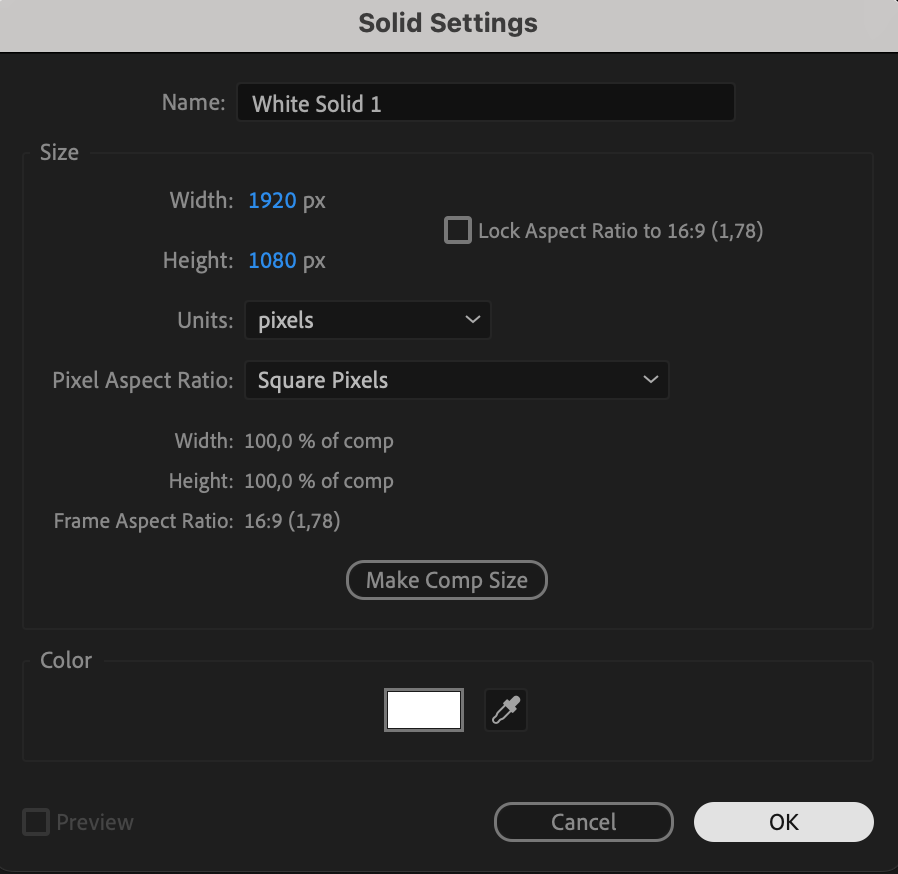
 Step 2: Create the Background
Go to Layer > New > Solid and choose any color. This solid will serve as the base for the galaxy background.
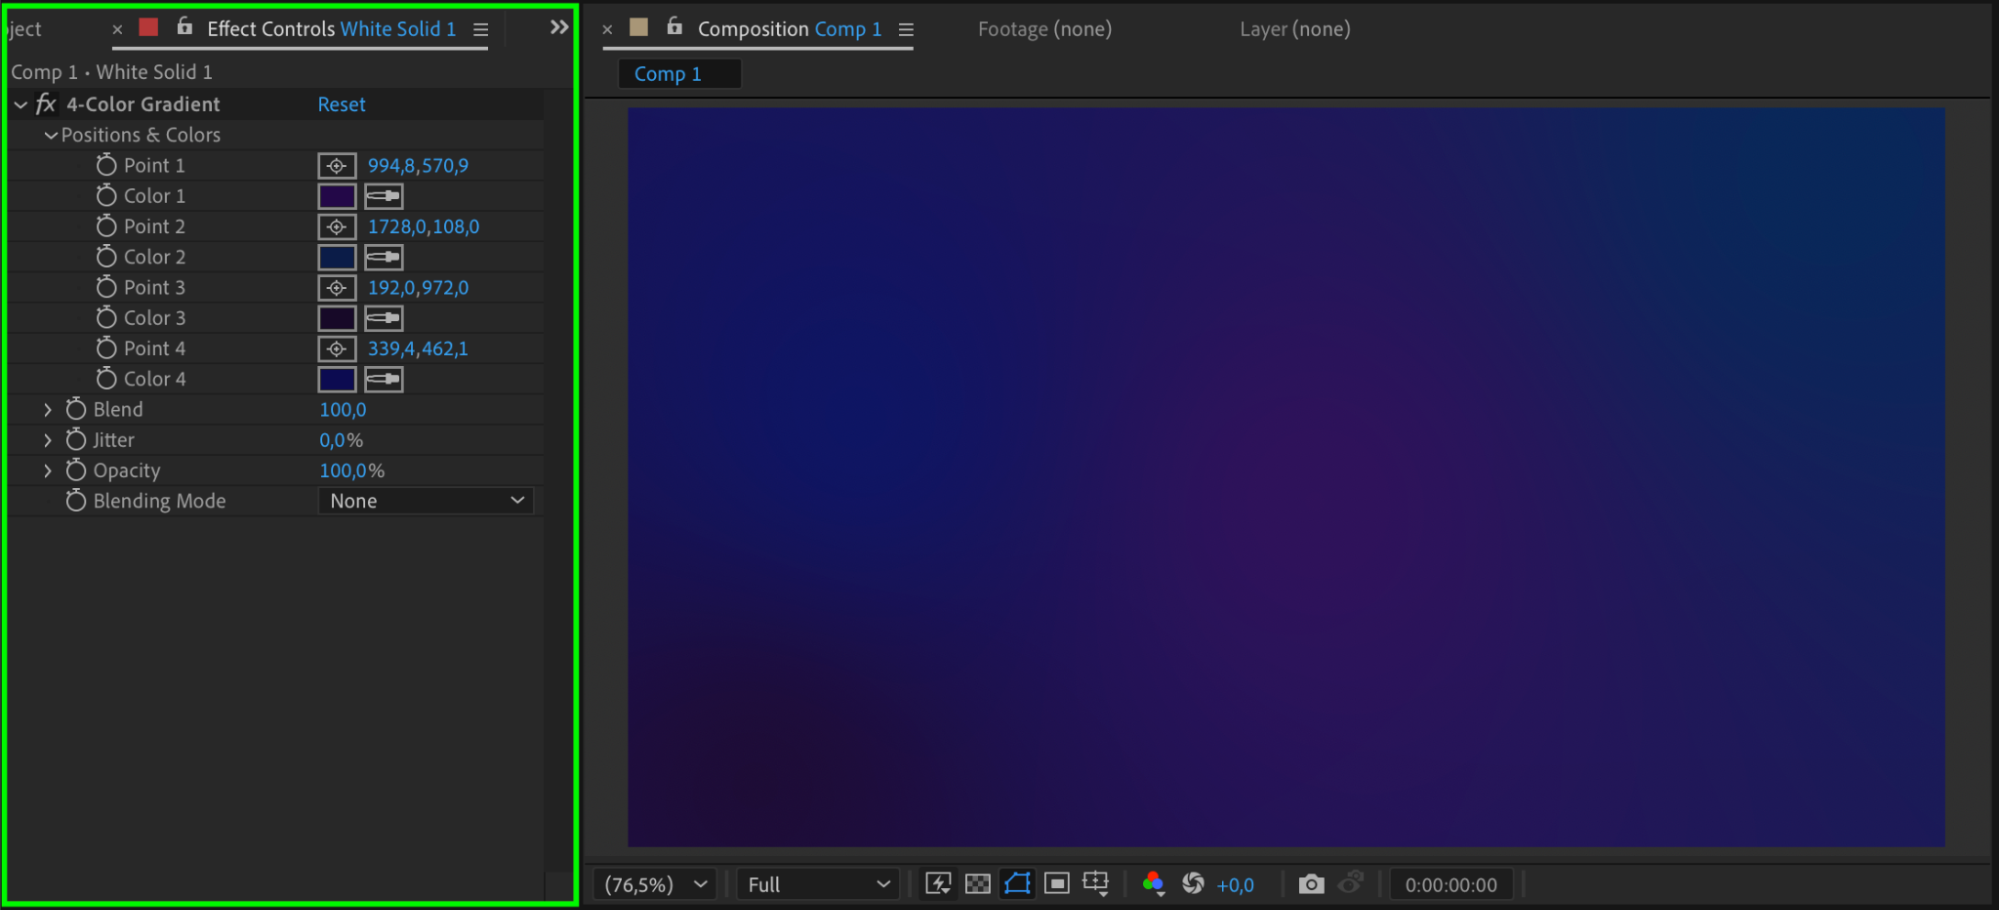
 Step 3: Apply a 4-Color Gradient
Select the solid layer and apply the 4-Color Gradient Effect from the Effects & Presets panel. Choose dark blue and purple tones to create a deep space look. Rename the layer to BG for better organization.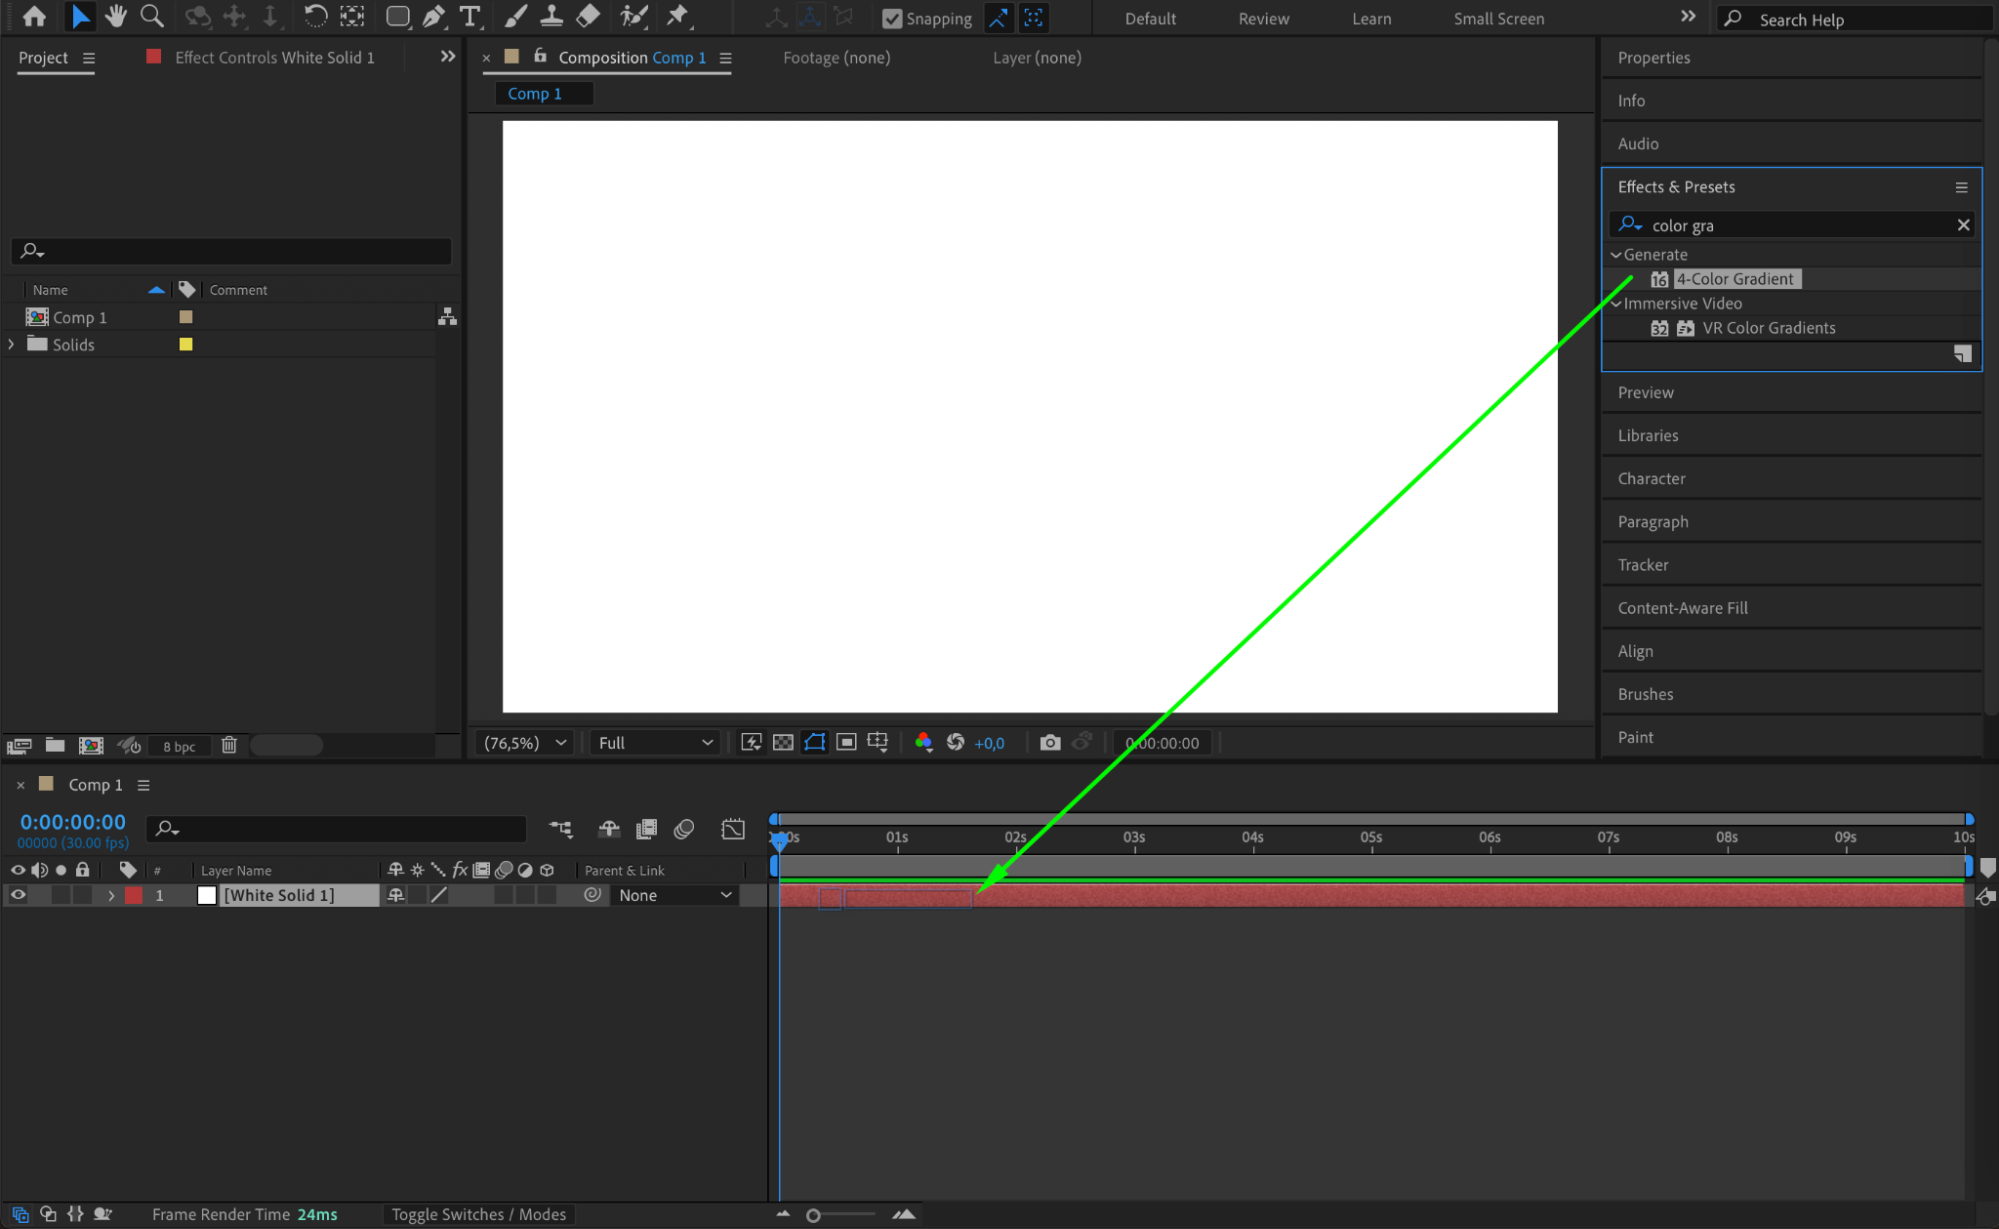
 Step 4: Add a Star Field
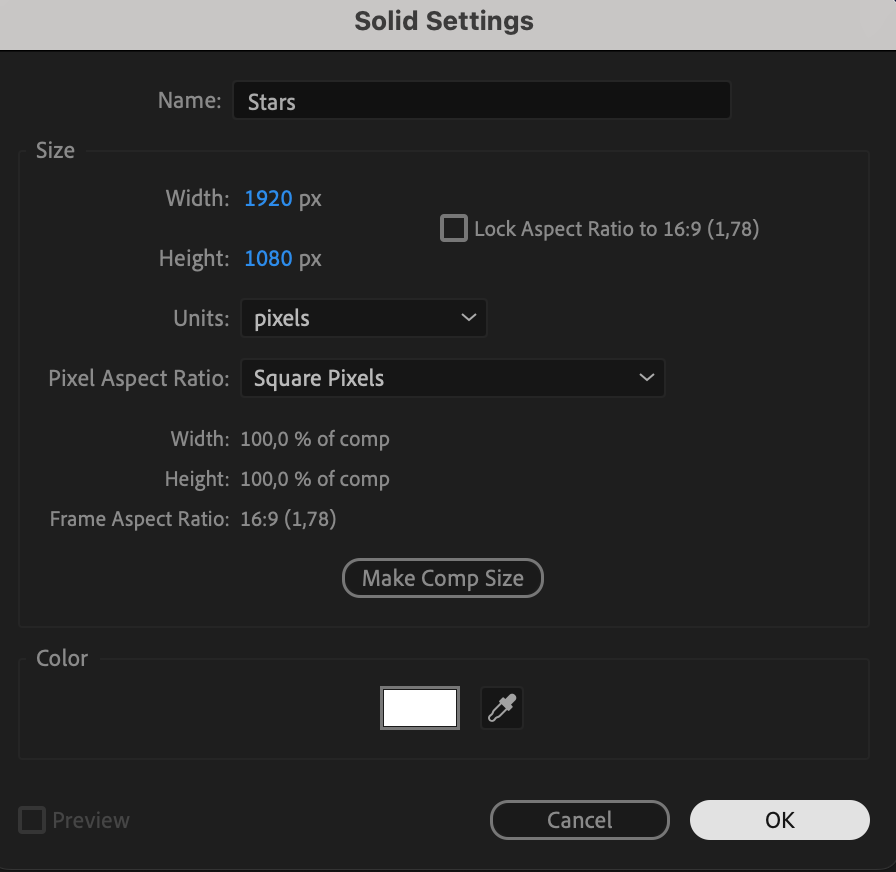
Create another solid by going to Layer > New > Solid, choose white as the color, and rename it Stars.
 Step 5: Apply the CC Ball Action Effect
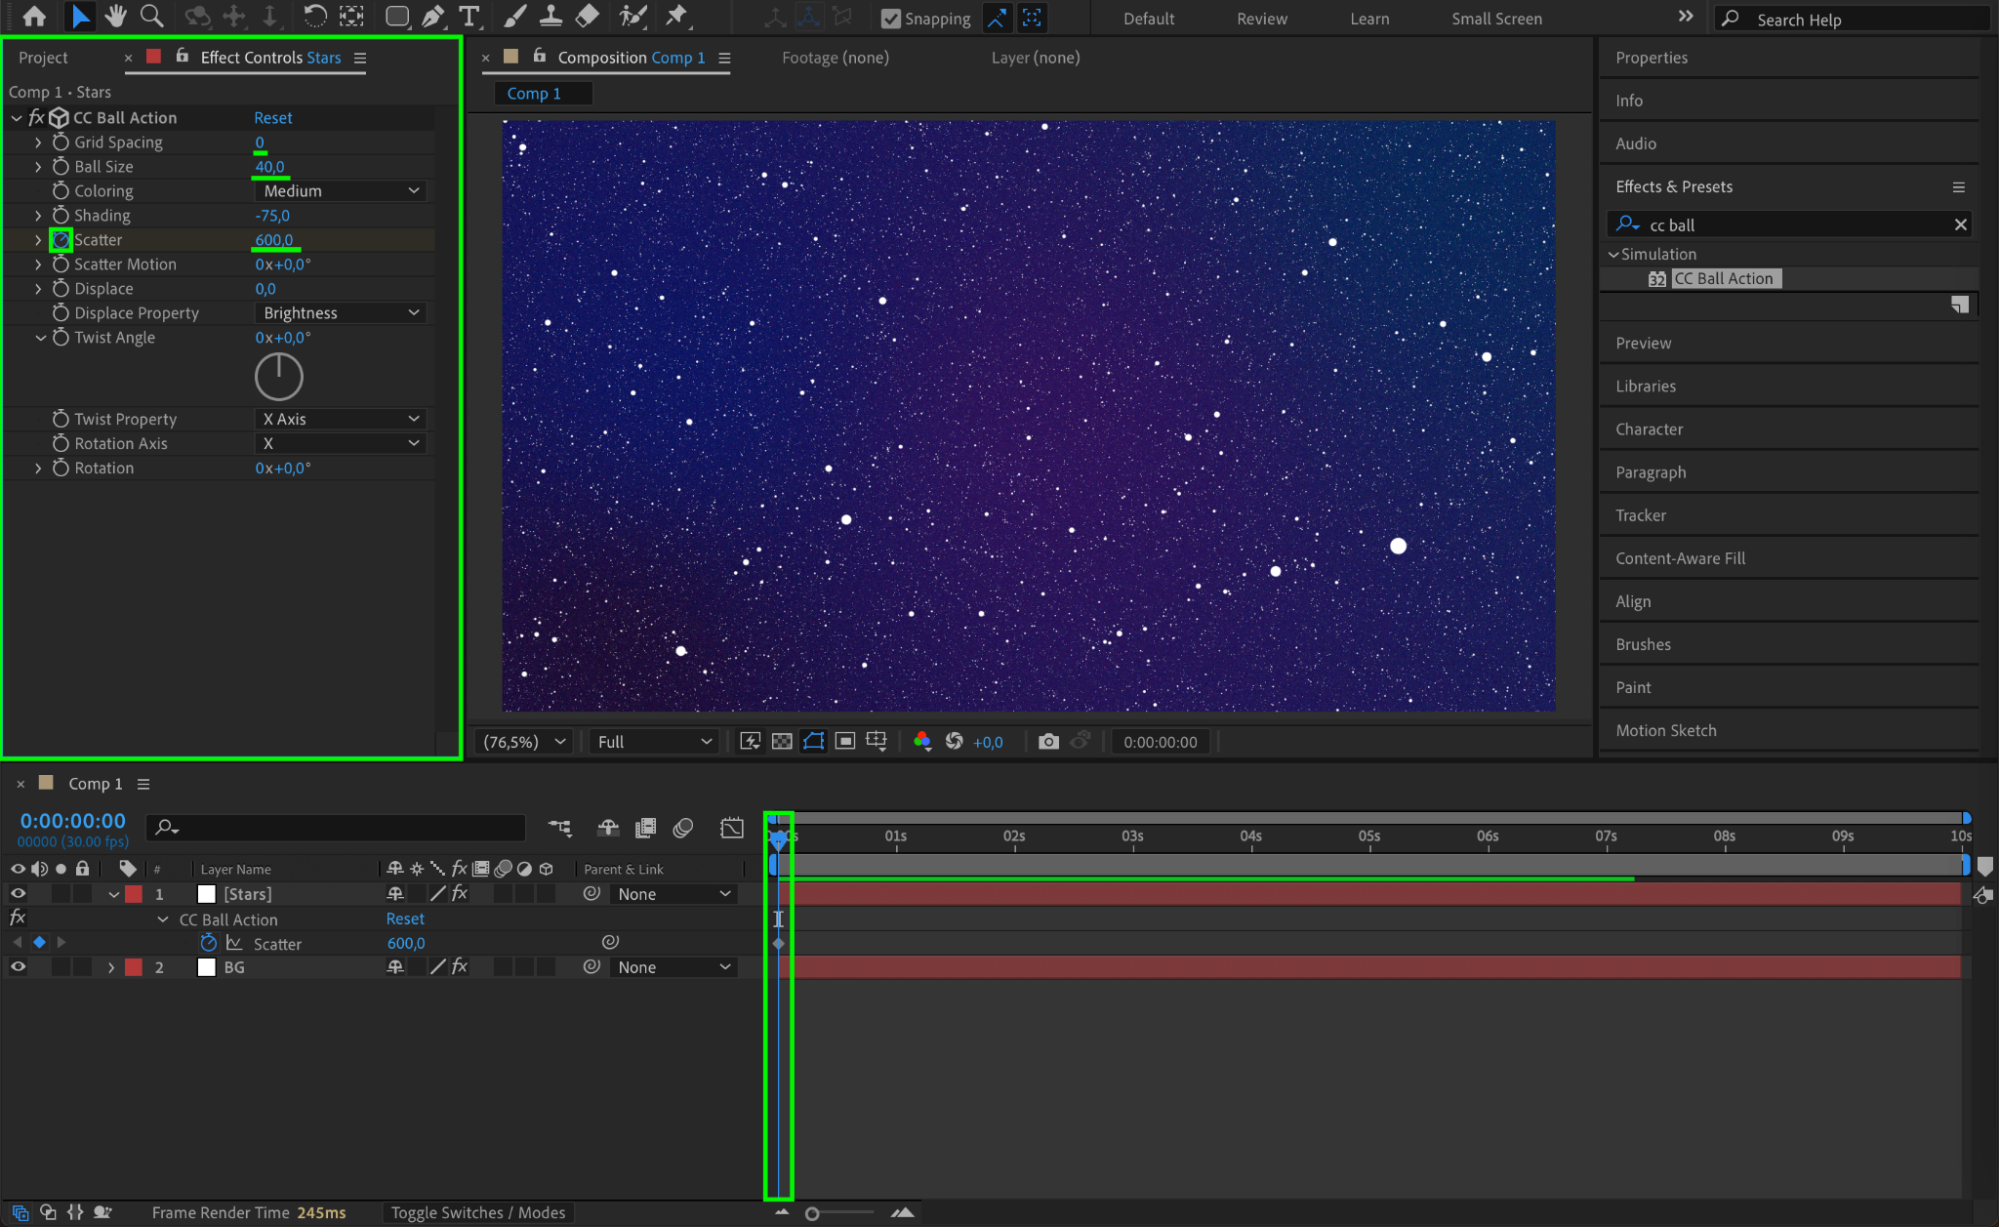
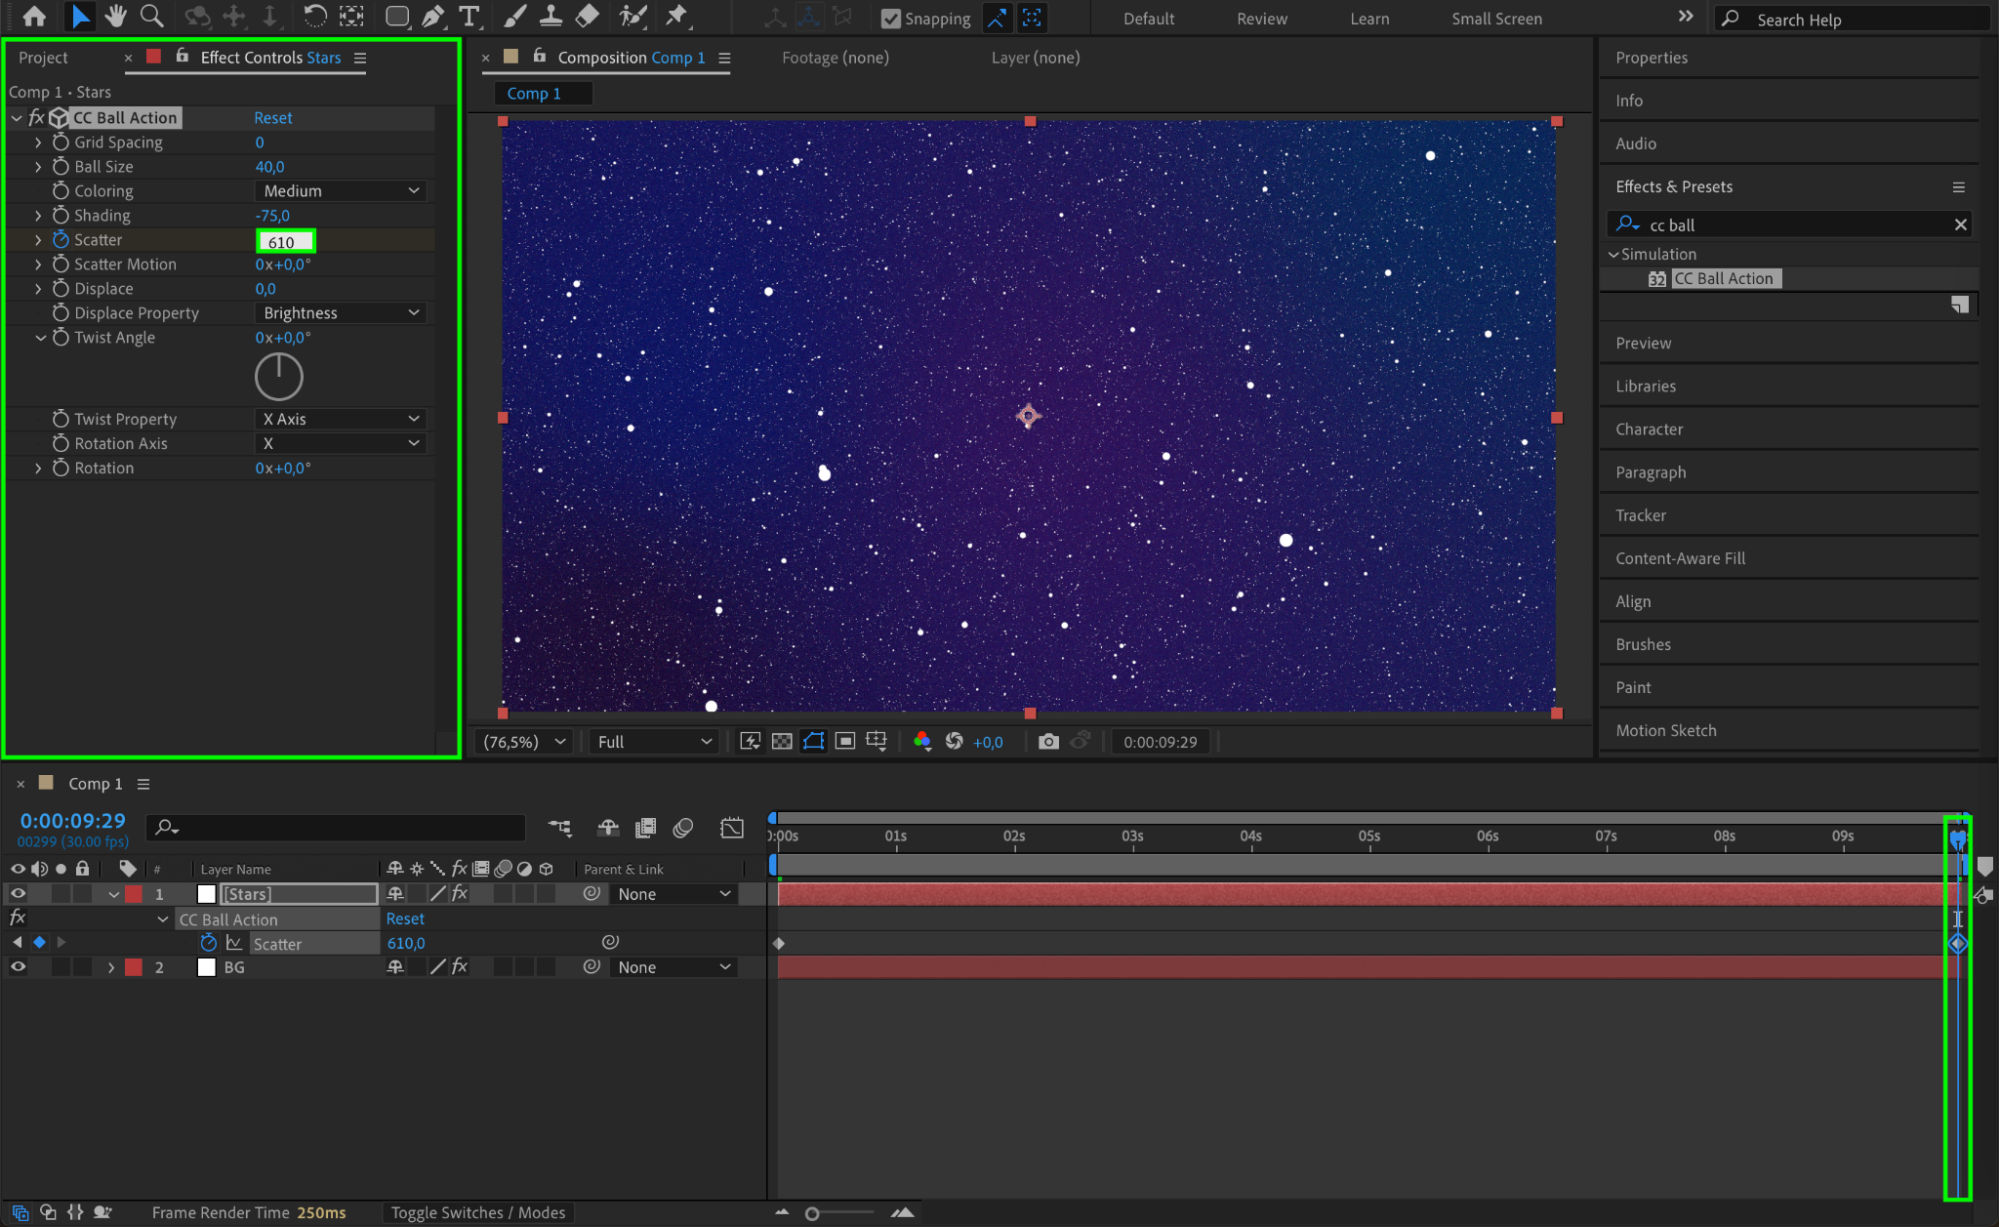
With the Stars layer selected, apply the CC Ball Action Effect. Adjust the Grid Spacing to 0 and set the Ball Size to 40. To add movement, set the Scatter property to 600 at the start of the timeline and animate it to 610 at the end.
 Step 6: Add a Glow Effect
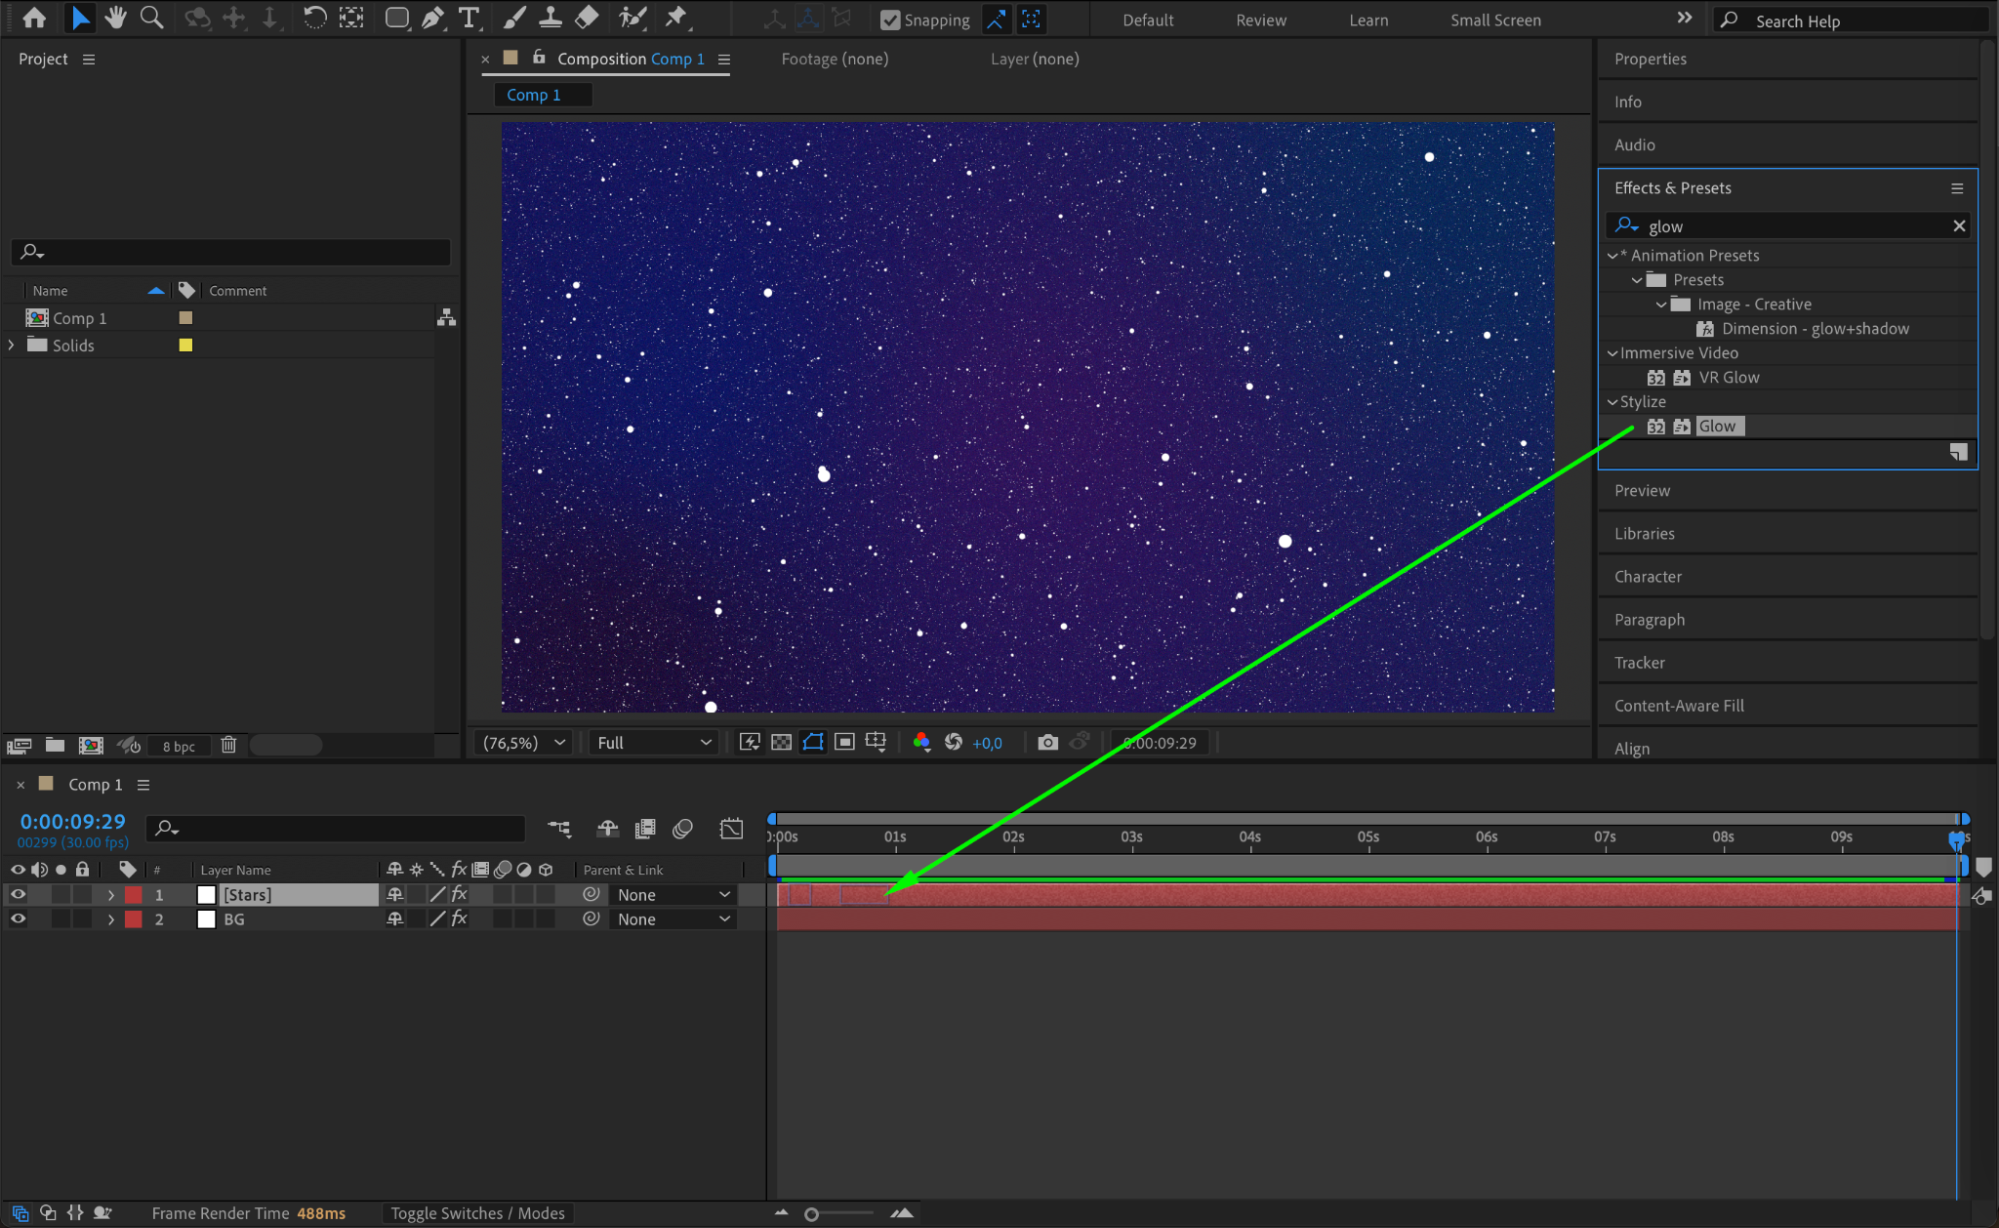
Enhance the stars by applying the Glow Effect from the Effects & Presets panel. Adjust the Glow Threshold, Radius, and Intensity until the stars have a soft, radiant glow.
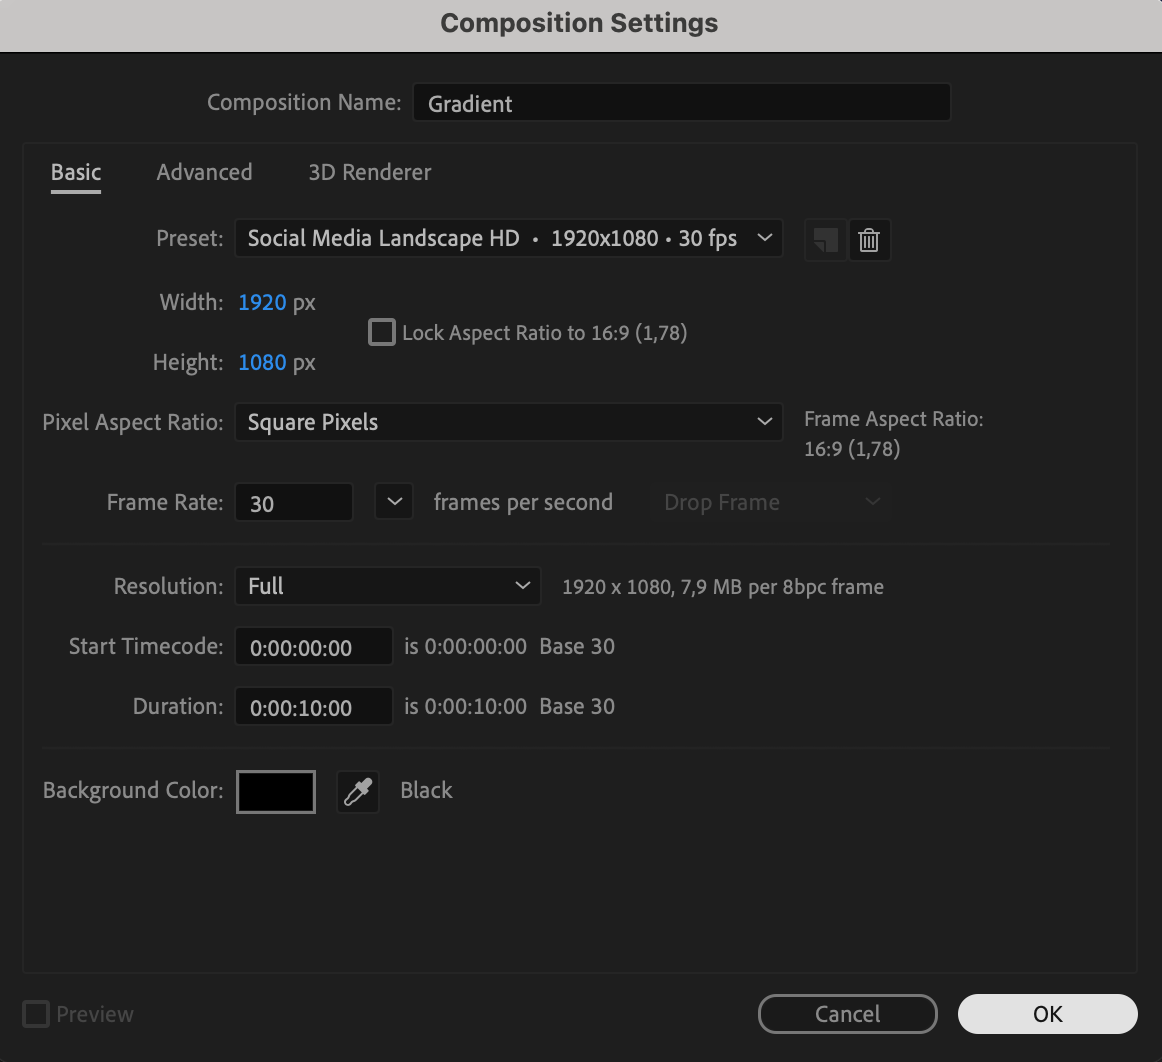
 Step 7: Create a Gradient Overlay
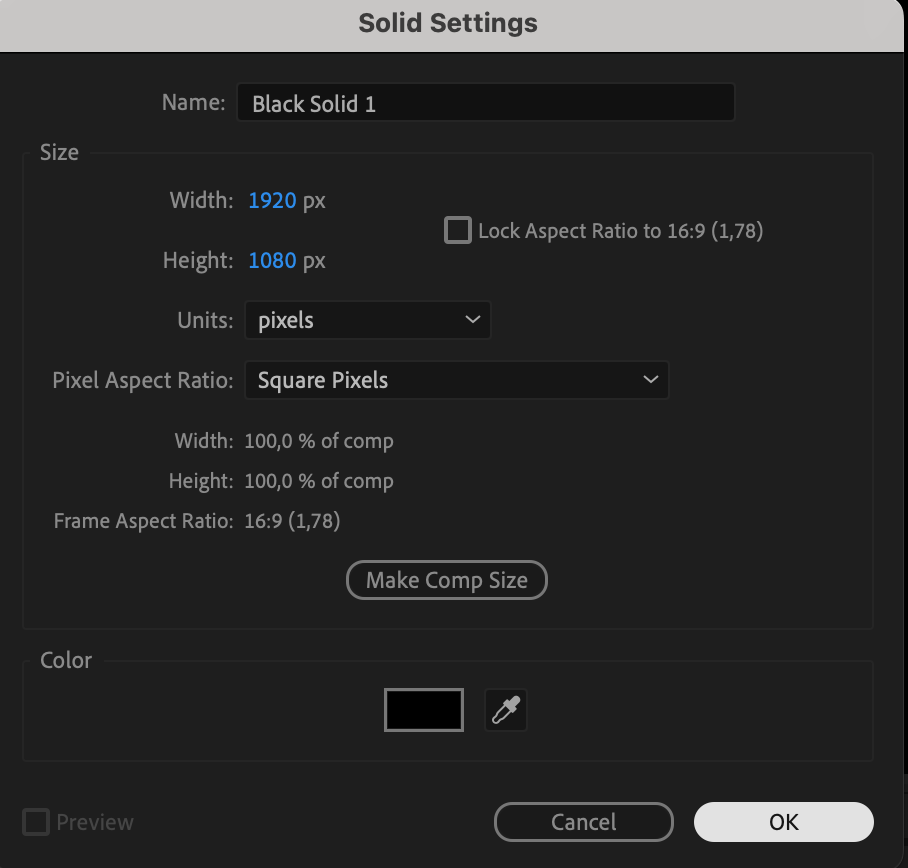
Go to Composition > New Composition and name it Gradient. Then, create a new solid layer in this composition.

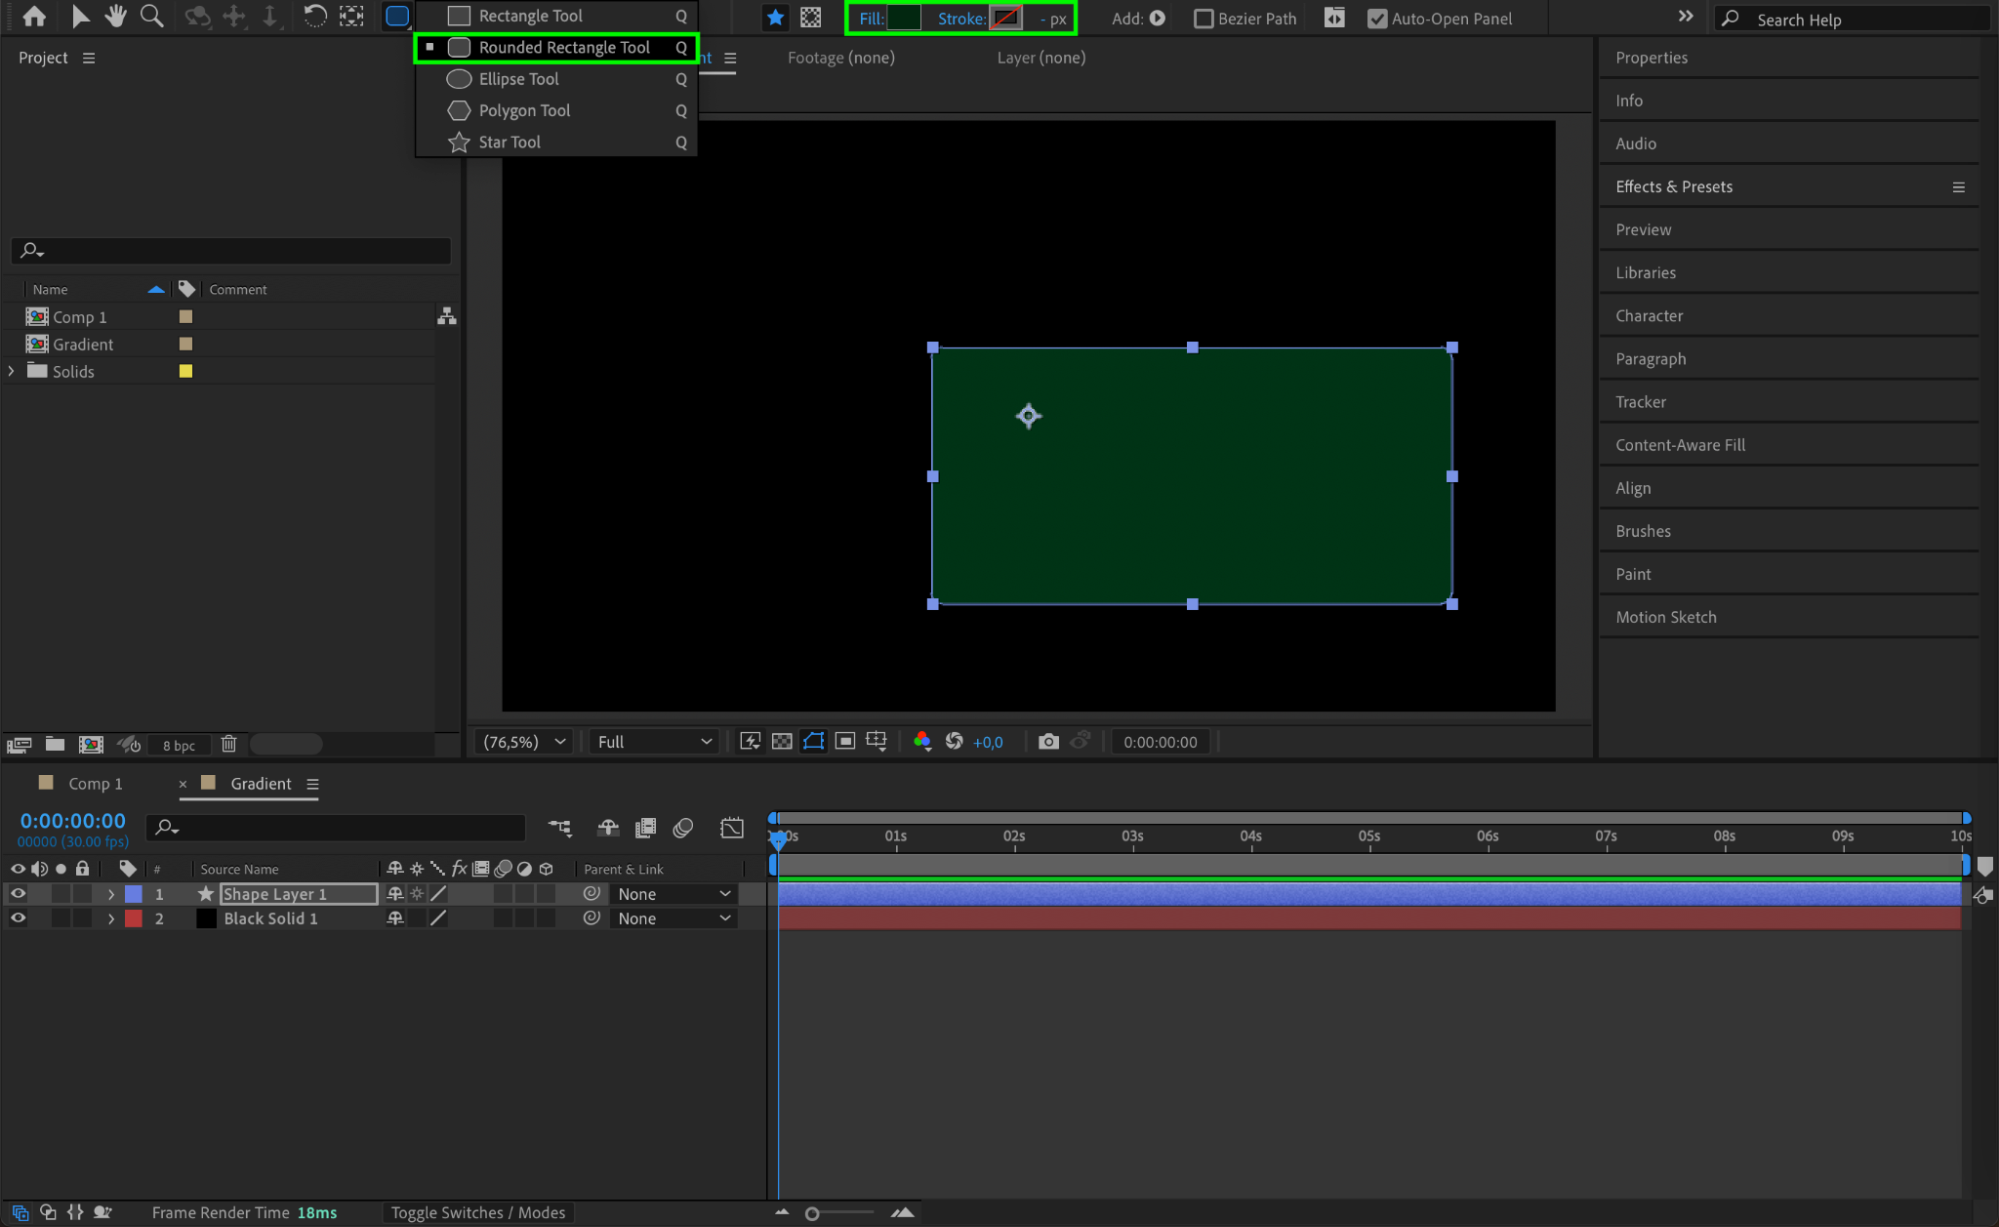
 Step 8: Add a Shape Layer
Select the Rectangle Tool (Q) and draw a dark green shape over the solid. This will be used to create a subtle space haze effect.
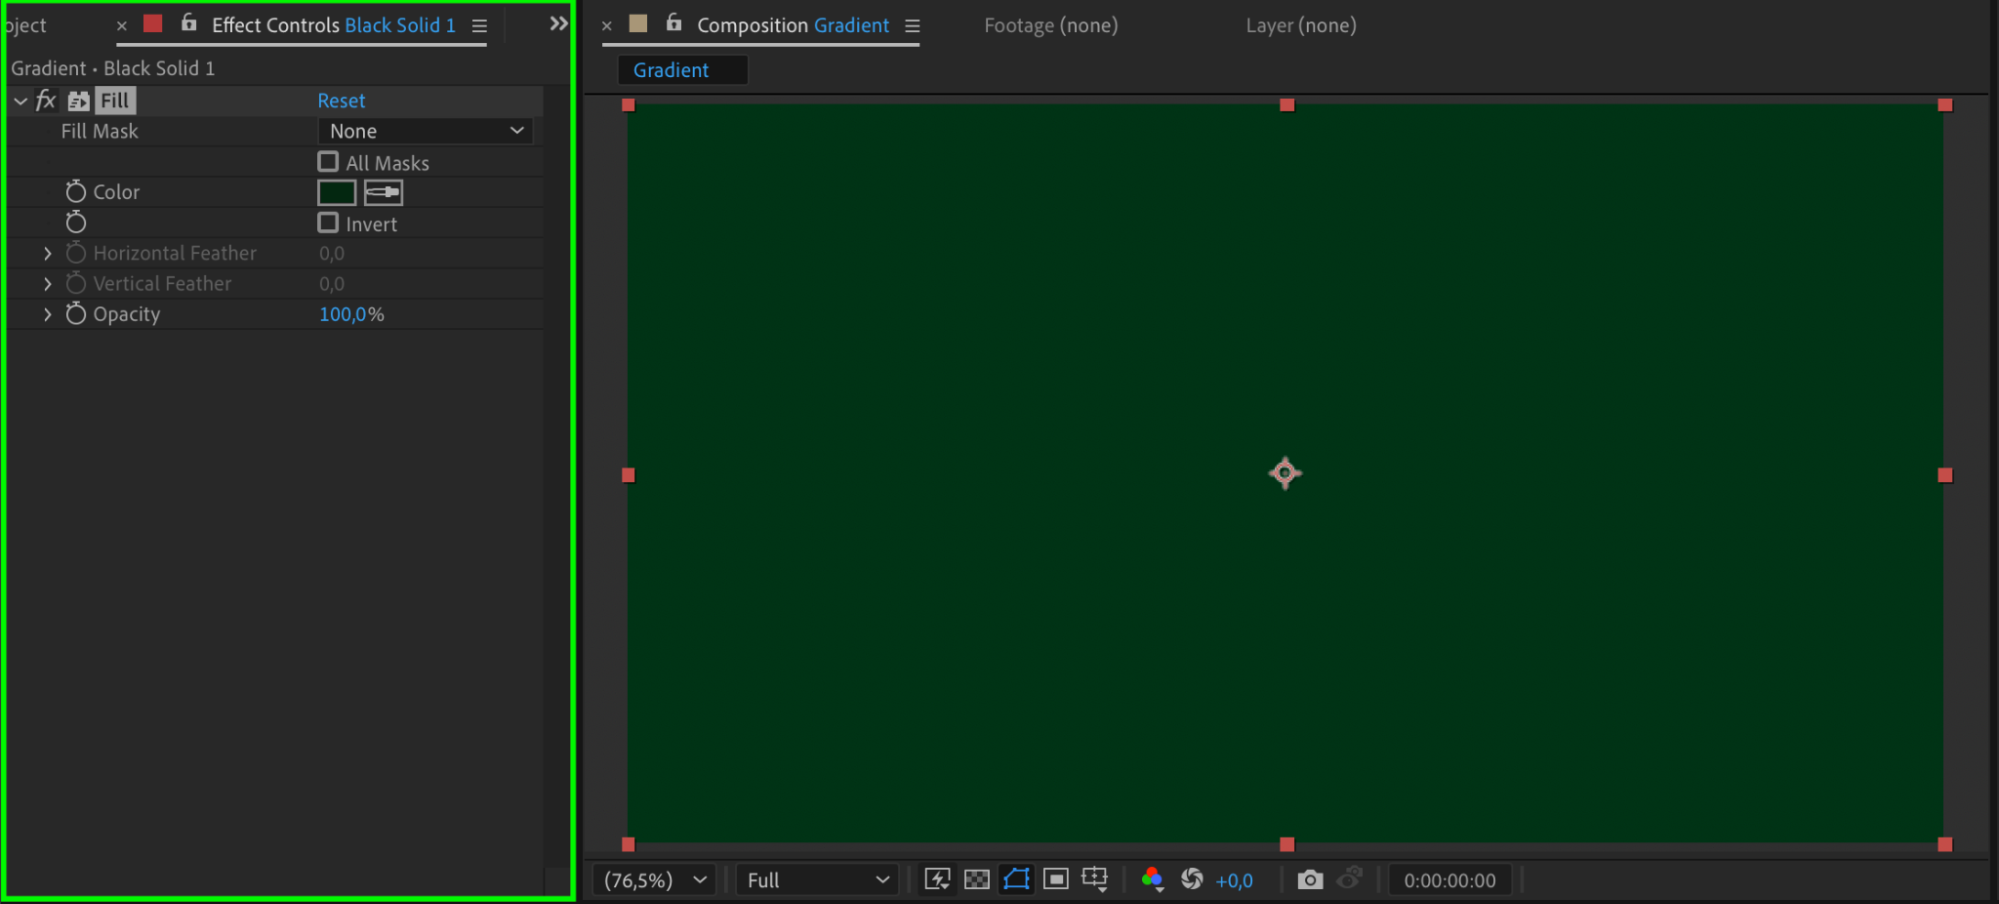
 Step 9: Apply the Fill Effect
Select the solid layer, then apply the Fill Effect from the Effects & Presets panel. Use the Eyedropper tool to match the color of the shape.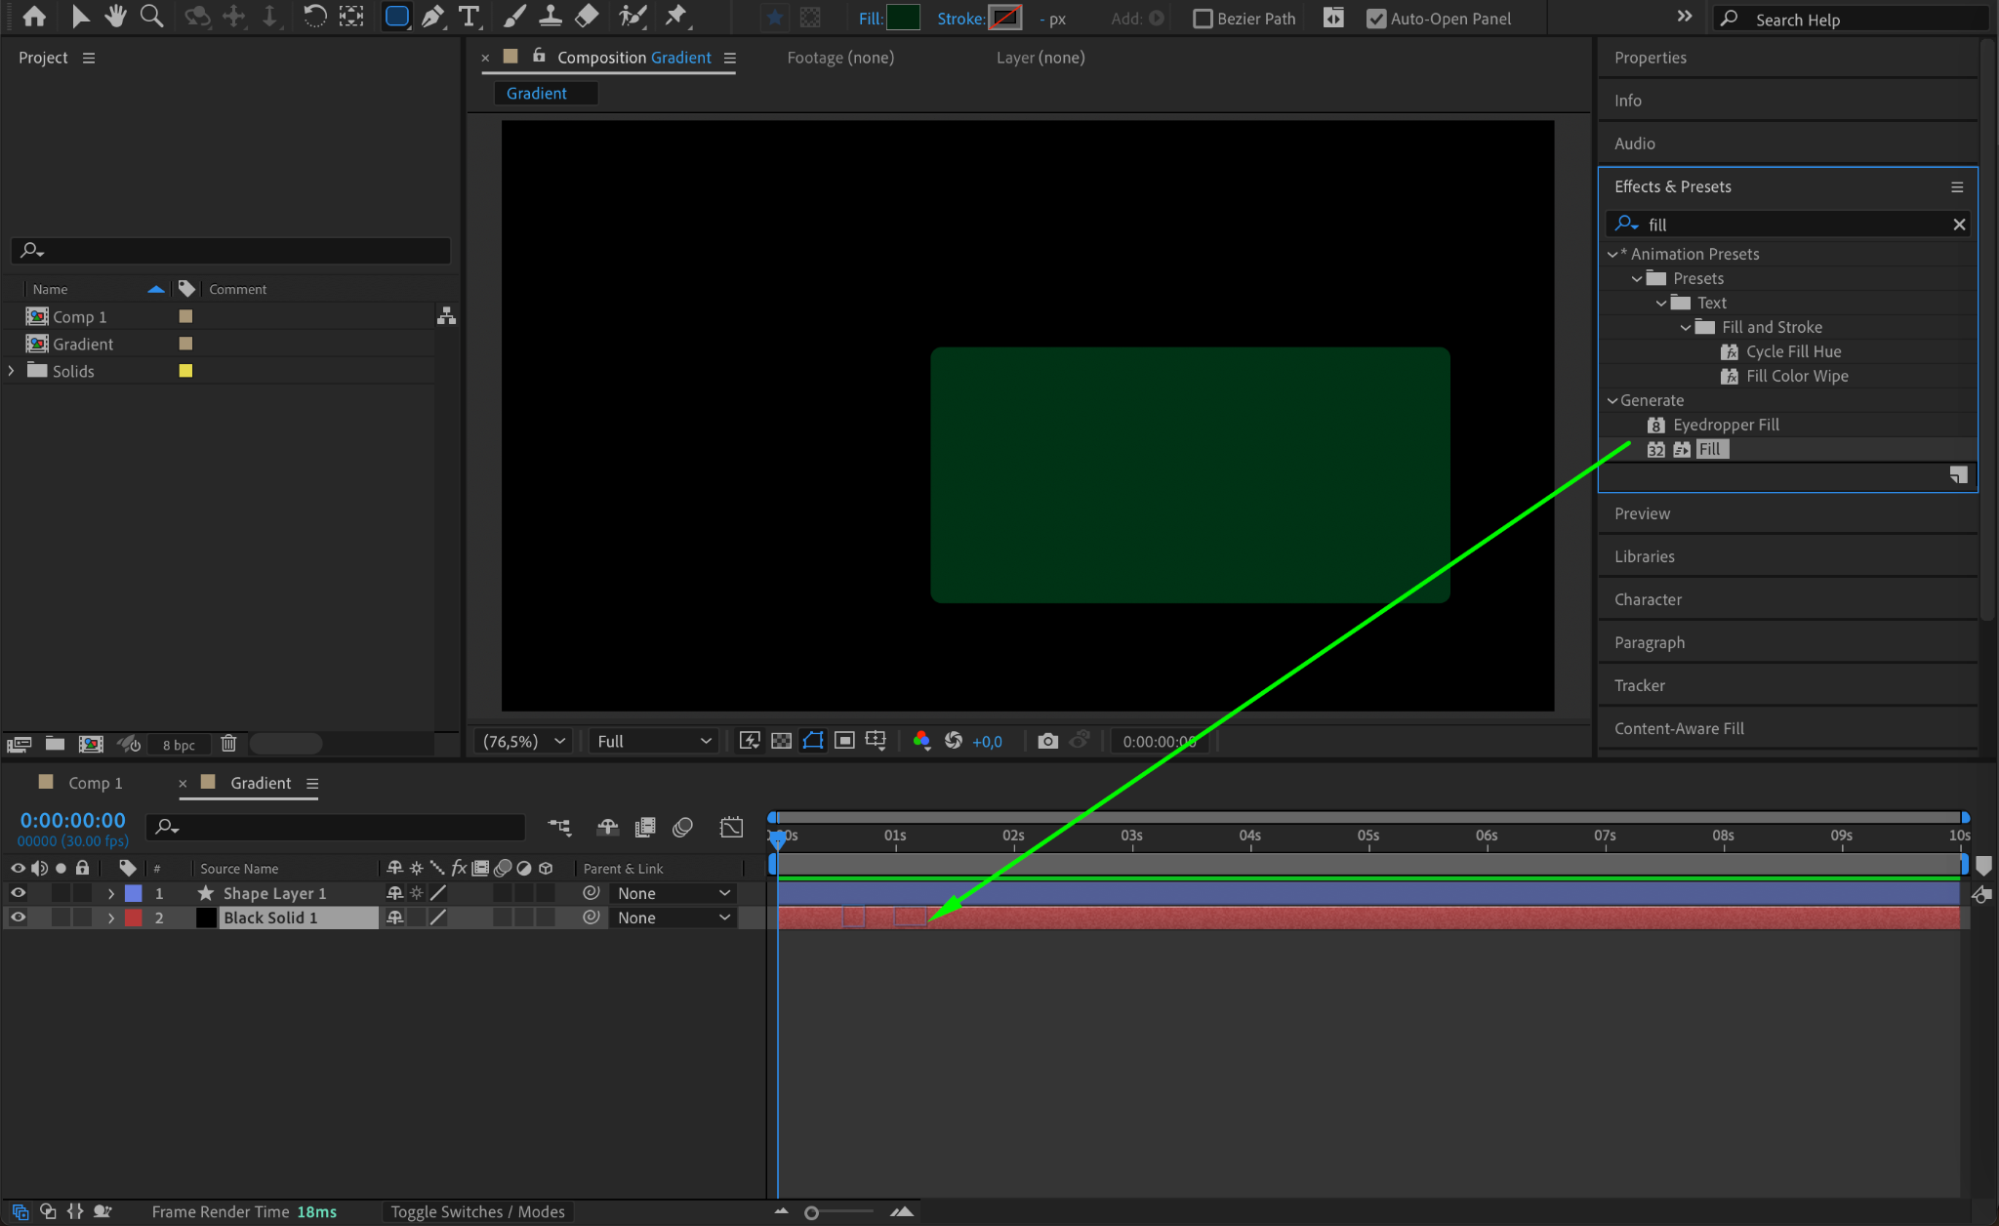
 Step 10: Set Track Matte for Transparency
In the Track Matte column, select the Alpha Matte Inverted option for the solid layer. This will allow the shape layer to act as a mask, creating a soft gradient effect.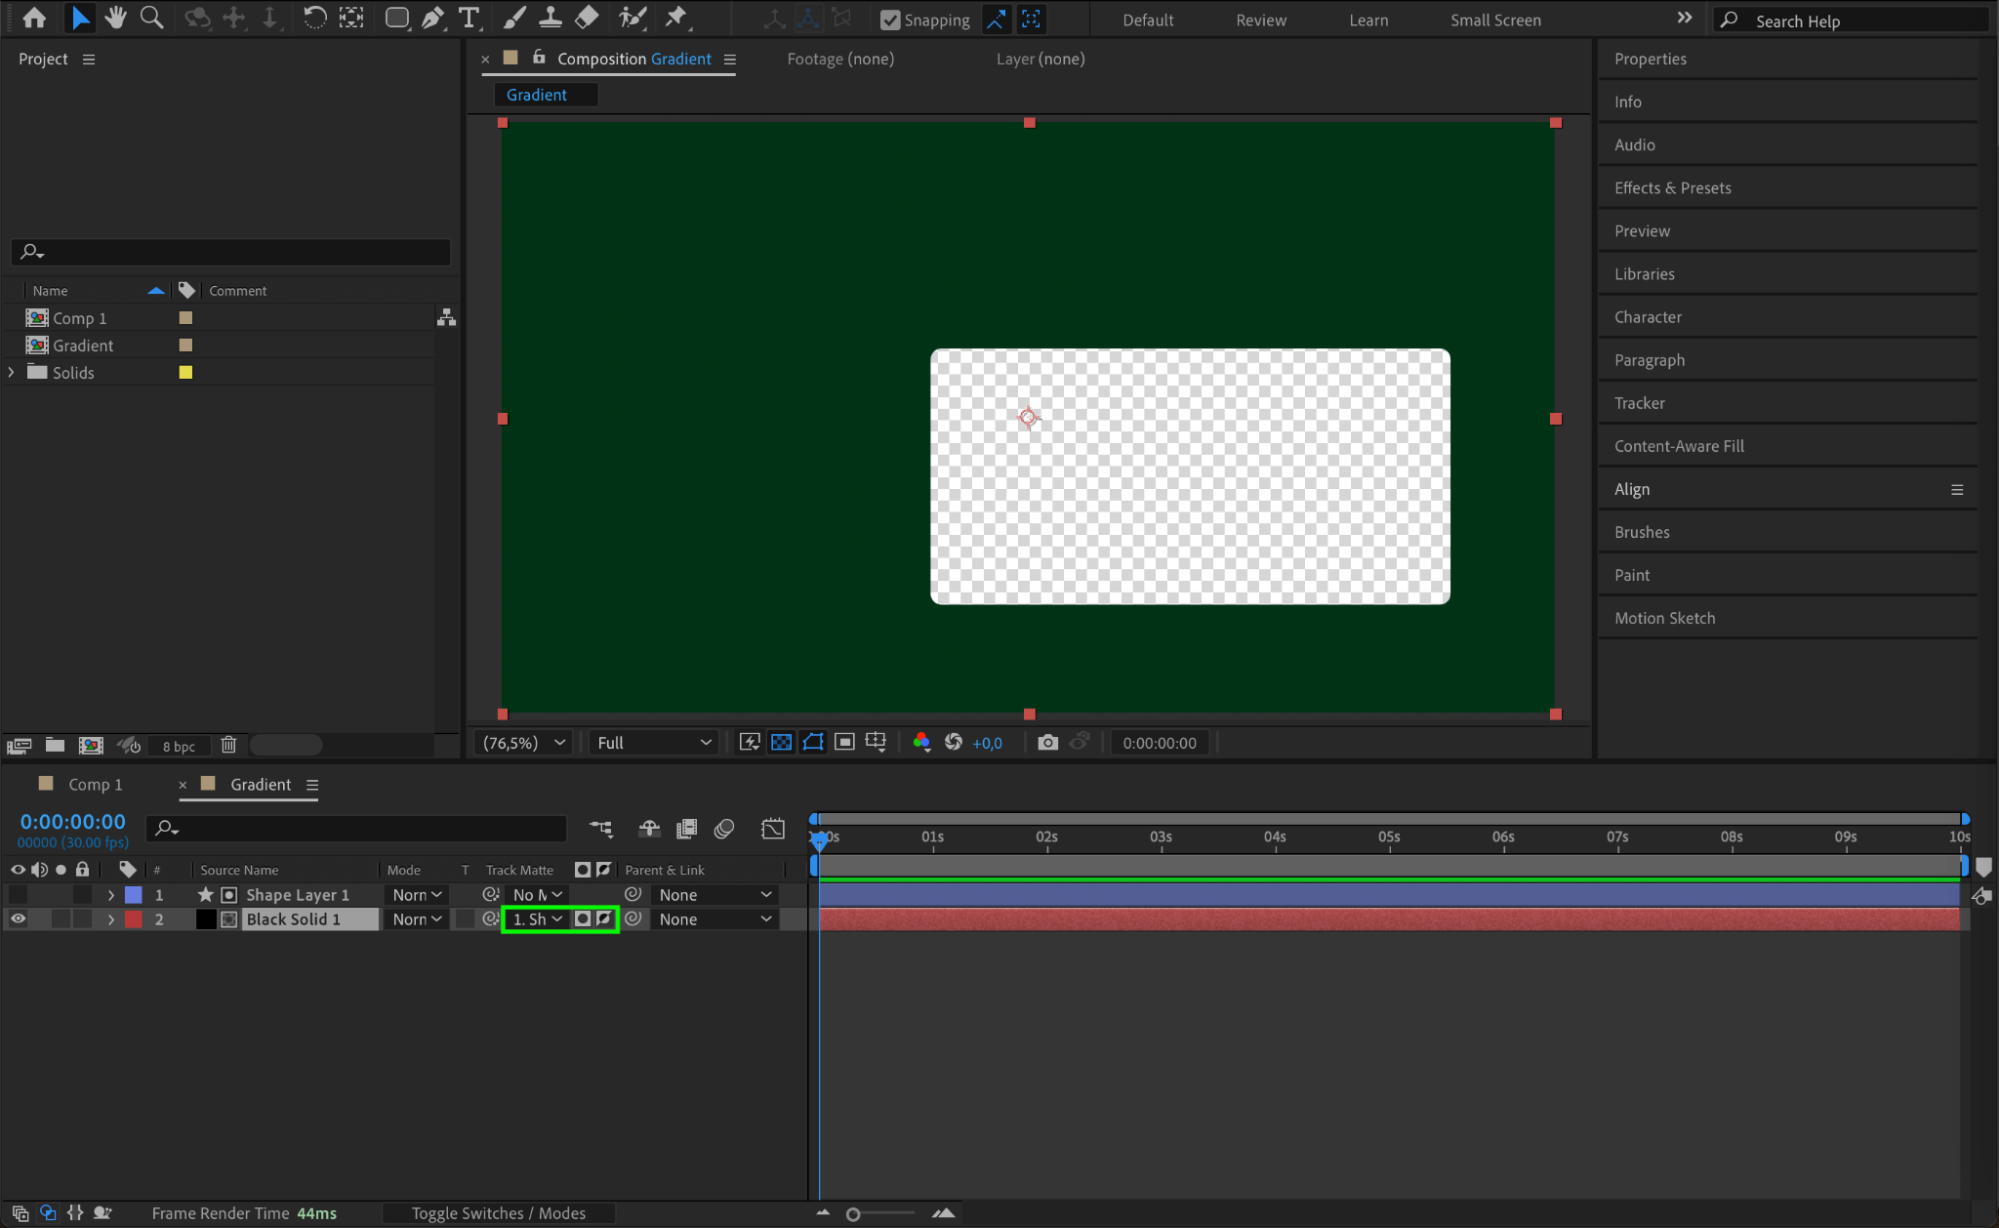 Step 11: Add the Gradient Composition to the Main Composition
Return to the main composition and drag the Gradient Composition onto the timeline.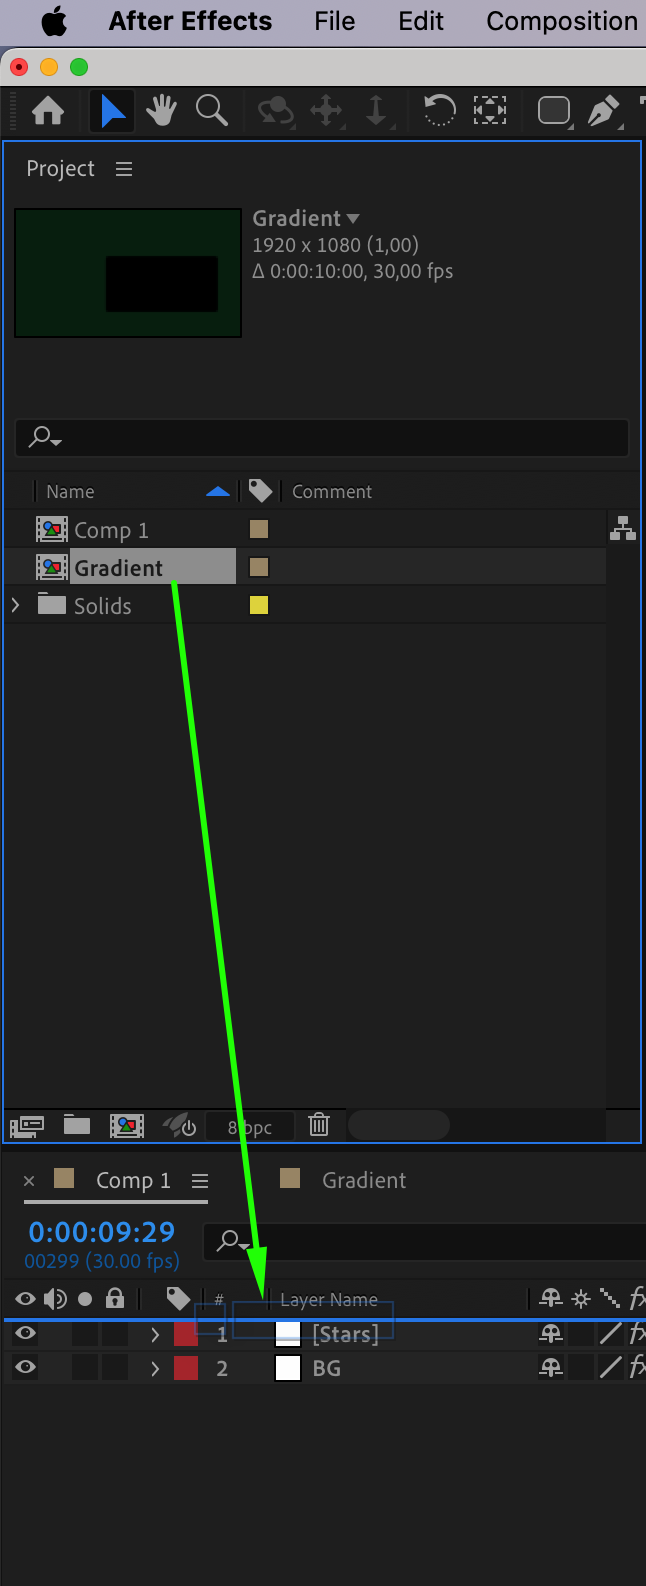 Step 12: Apply Gaussian Blur
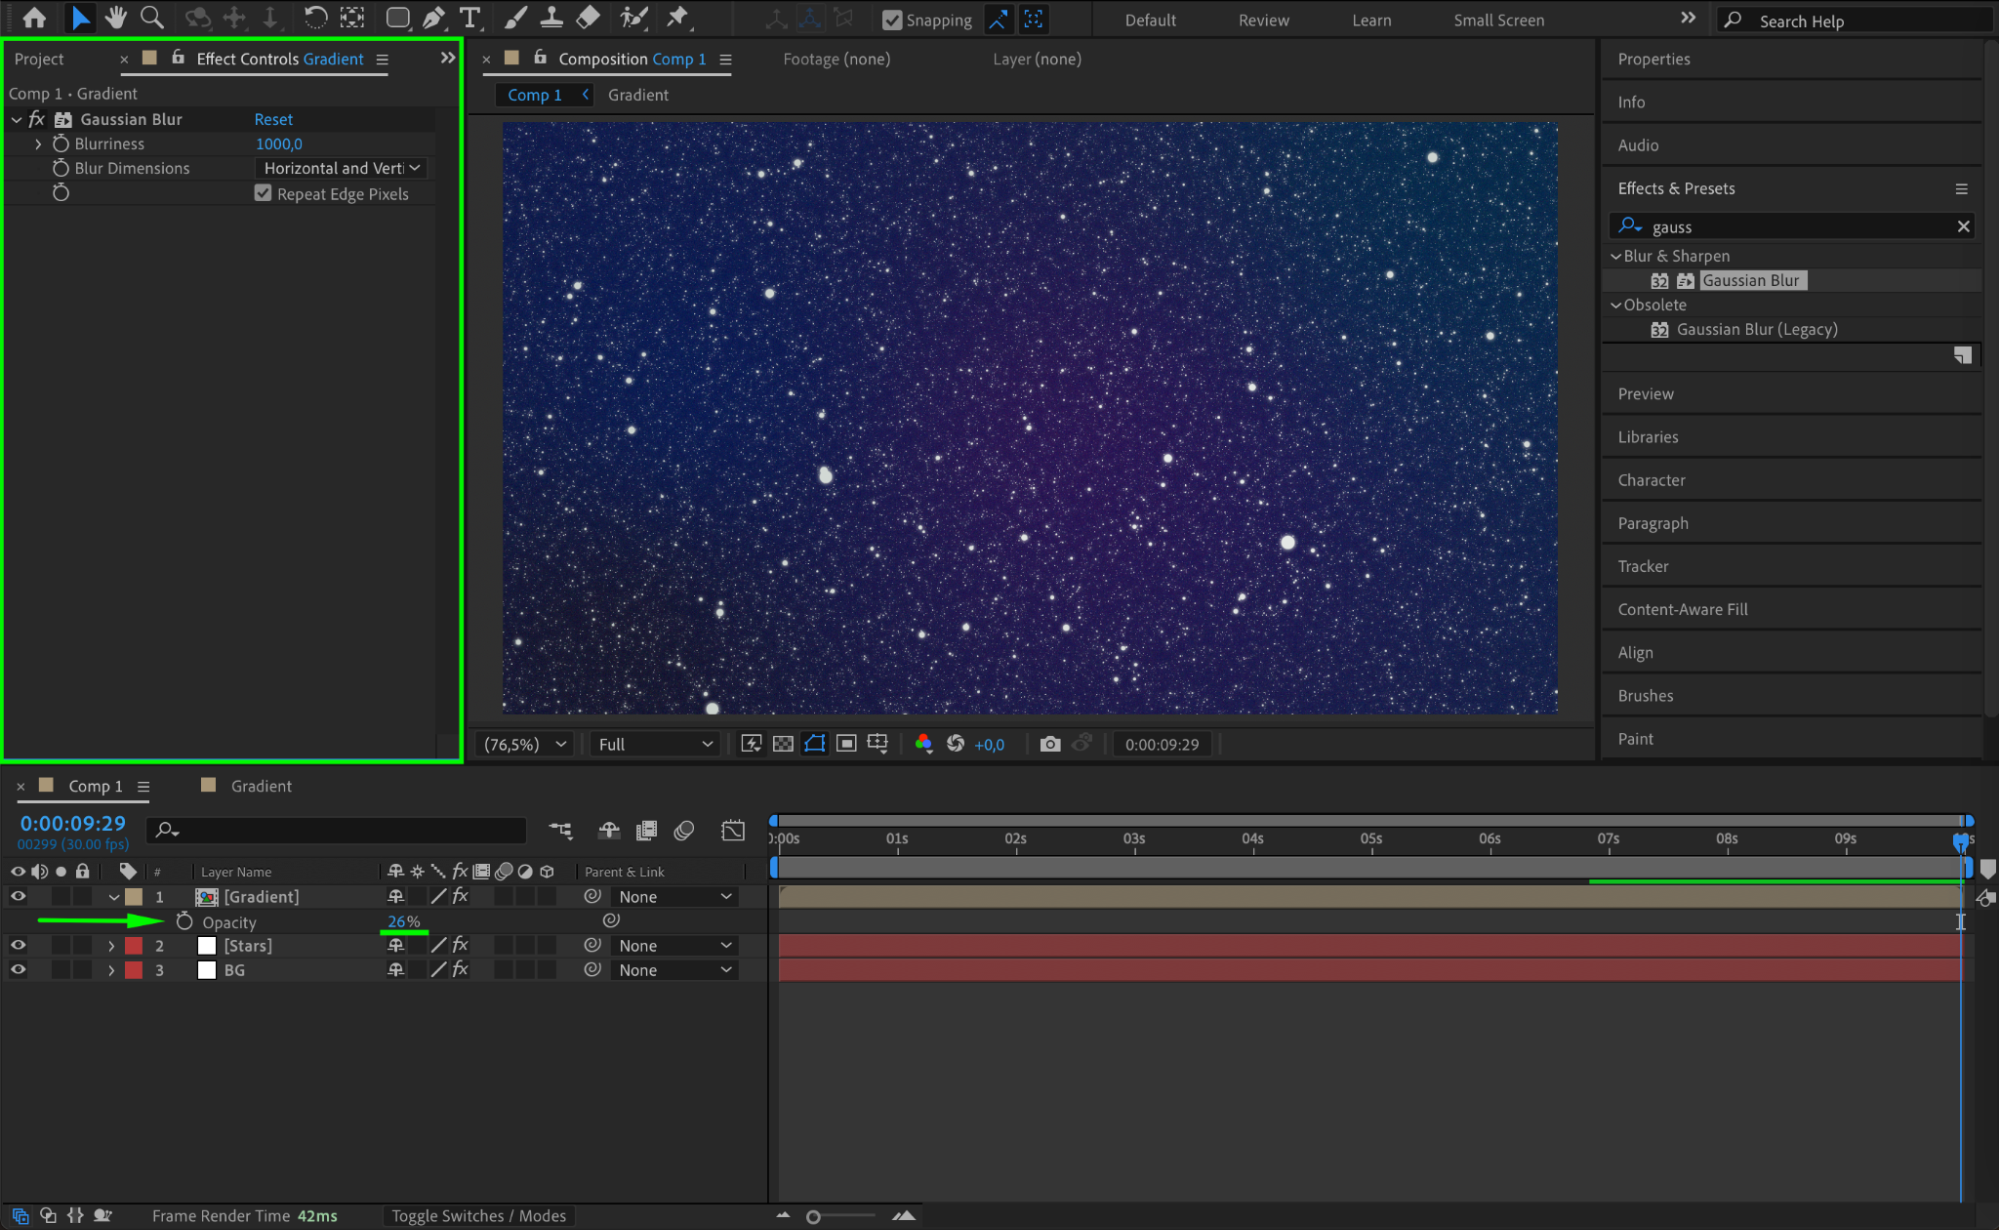
Select the Gradient Layer and apply the Gaussian Blur Effect. Set the Blurriness to 1000 to create a smooth, soft glow. Lower the Opacity to 26% to make it blend subtly into the background.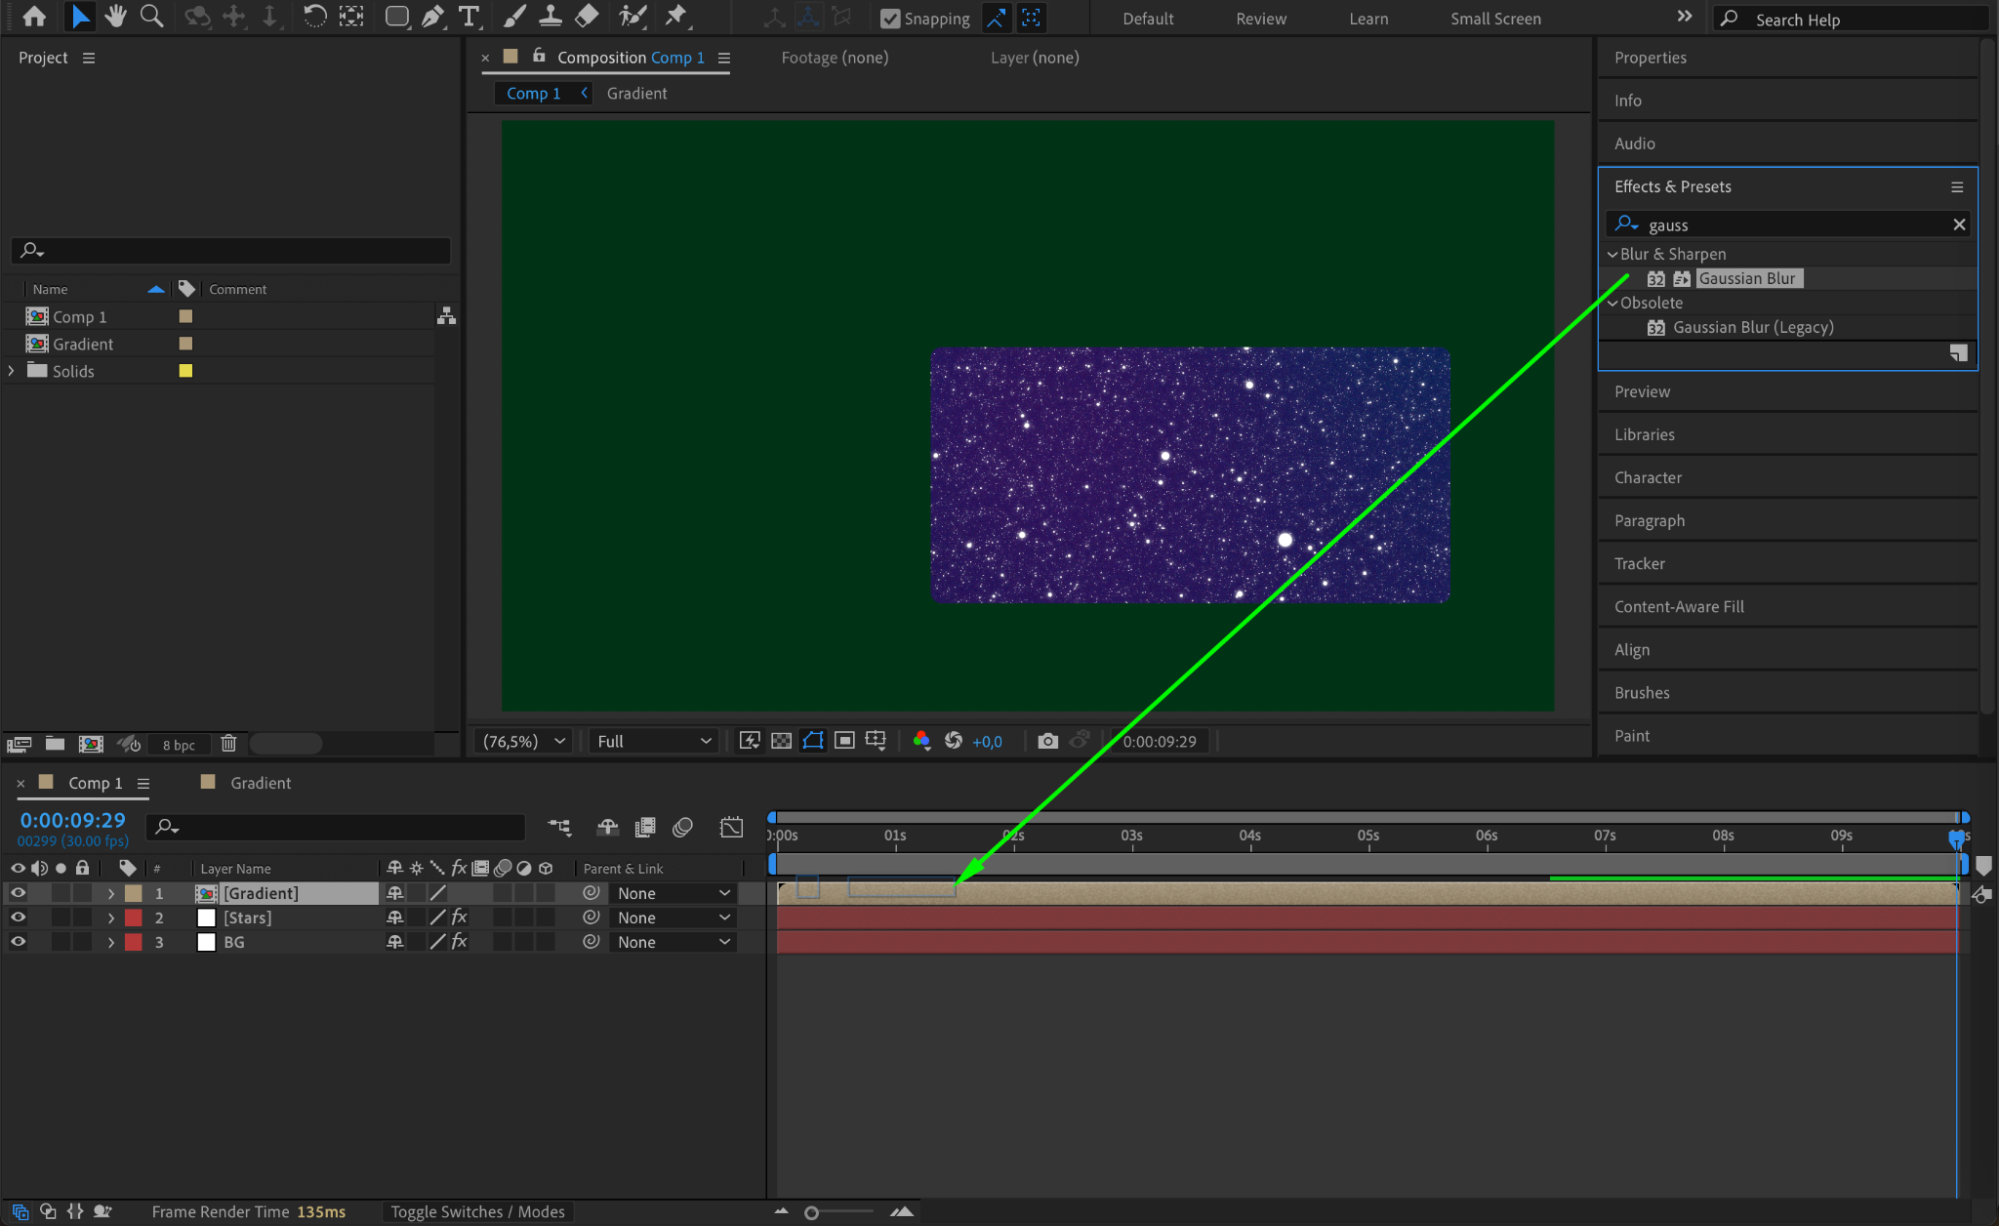
 Step 13: Preview the Animation
Press the Spacebar to preview the animation. Adjust any settings as needed to refine the look of your galaxy.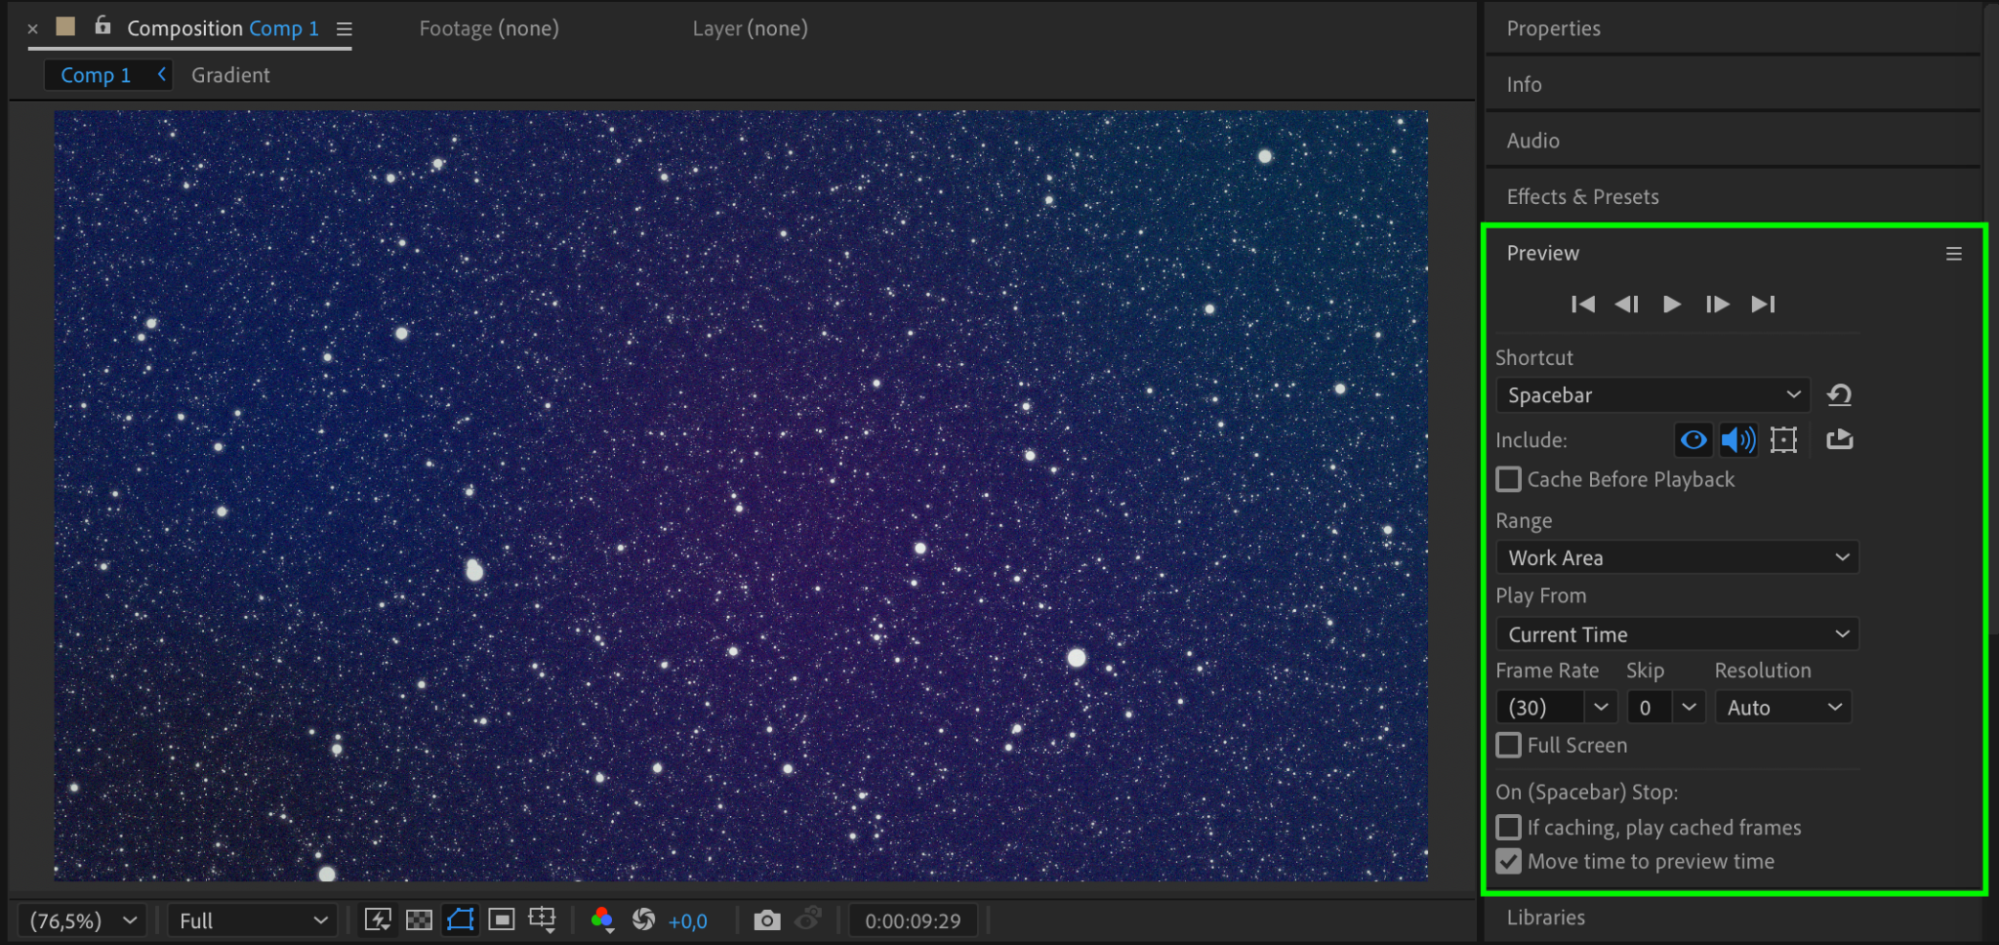 Step 14: Render the Final Output
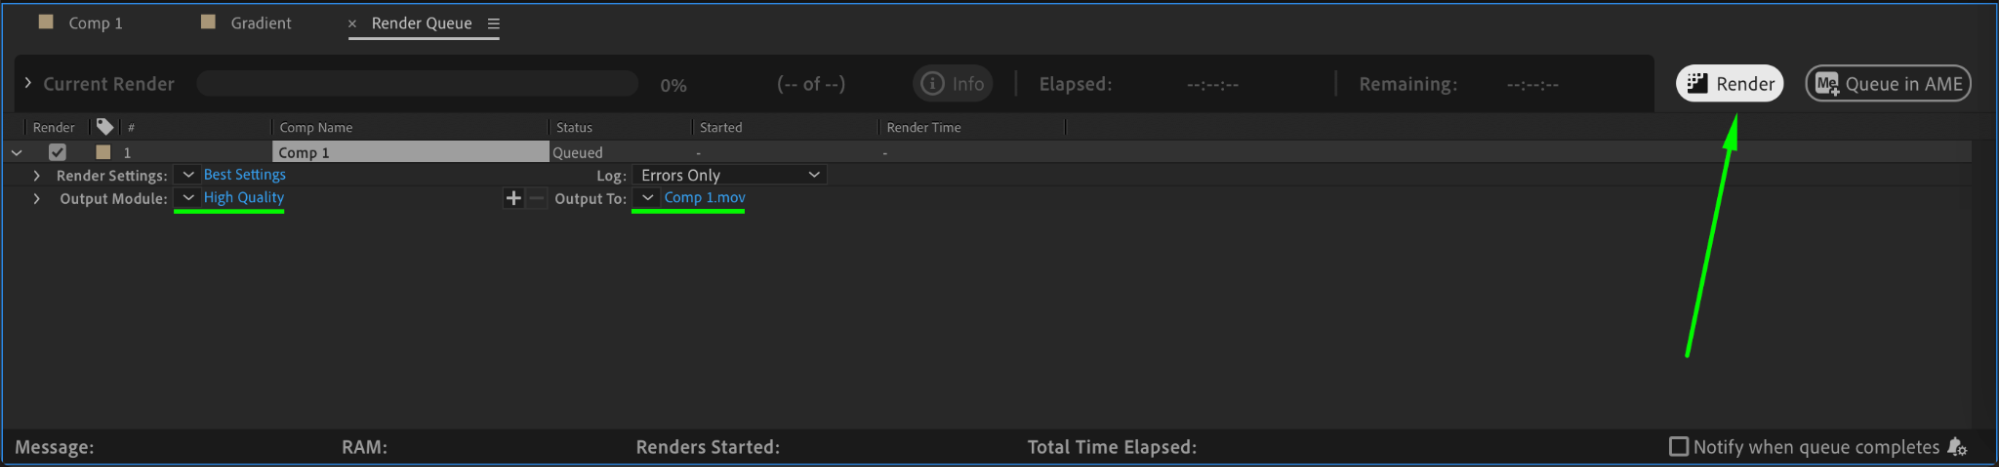
Once satisfied, go to Composition > Add to Render Queue, set your output format and settings, and export your galaxy animation in high quality.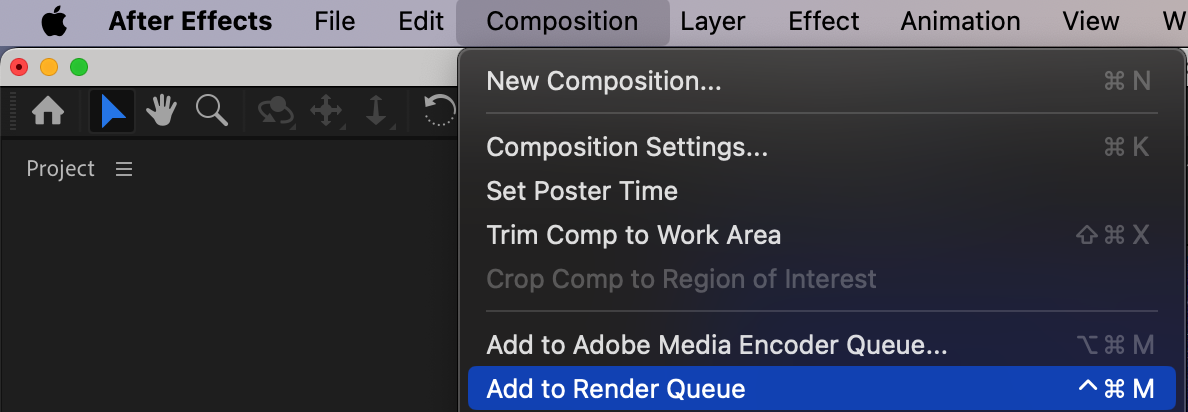
 Conclusion
By following these steps, you can create a beautiful galaxy effect in After Effects. Using gradient backgrounds, star fields, and glow effects, you can produce a realistic cosmic scene perfect for sci-fi projects, motion graphics, or backgrounds.
Get 10% off when you subscribe to our newsletter

Our Bestsellers


