How to Create a Stunning Montage in After Effects
Introduction: Crafting a Captivating Montage
Creating a montage in After Effects is a great way to showcase a collection of moments or products in a visually captivating way. After Effects is a powerful software that offers a wide array of tools and features for video editing and motion graphics. With its user-friendly interface and extensive capabilities, it’s the perfect choice for crafting dynamic and visually stunning montages.
Get 10% off when you subscribe to our newsletter

Step 1: Organizing your footage
Before diving into After Effects, take the time to organize your footage. Create a separate folder for your montage project and arrange your clips in a logical order. This will ensure a smooth editing process and make it easier to locate specific clips when needed.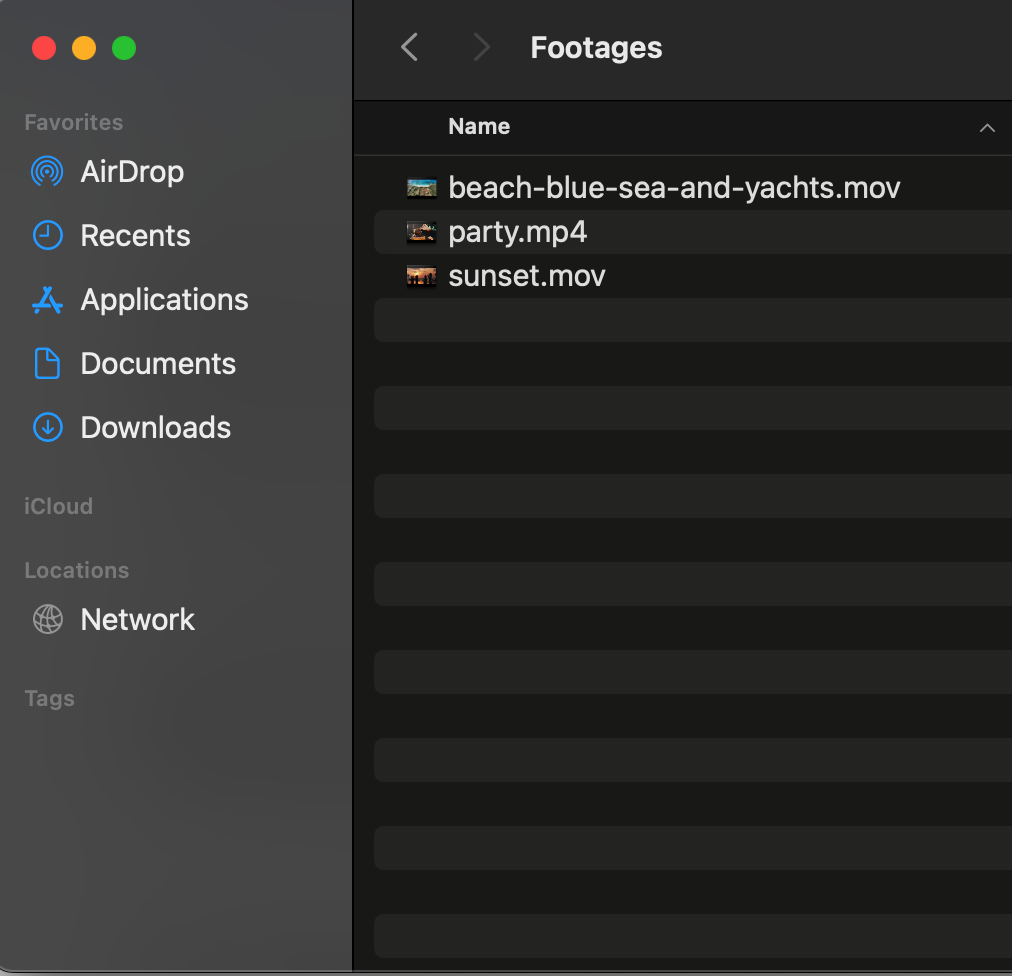 Step 2: Importing your footage
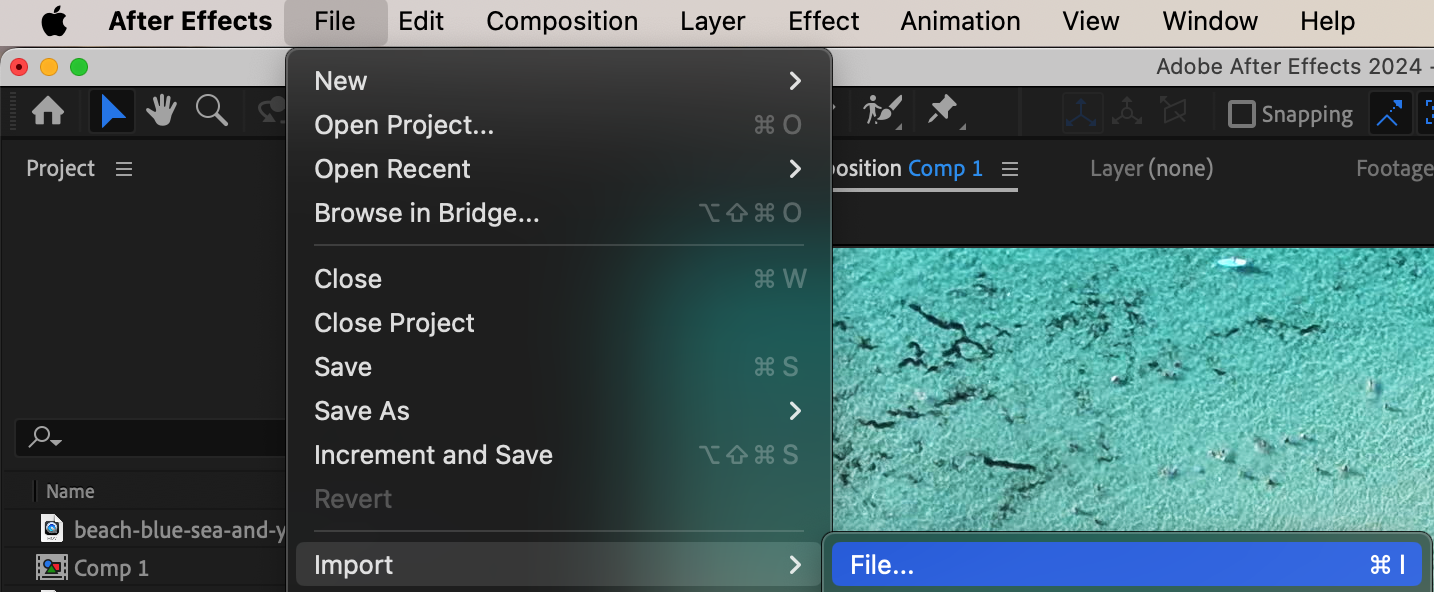
Once your footage is organized, import it into After Effects. Simply go to File > Import, select your footage files, and click Open. After Effects supports various video formats, so make sure your clips are compatible.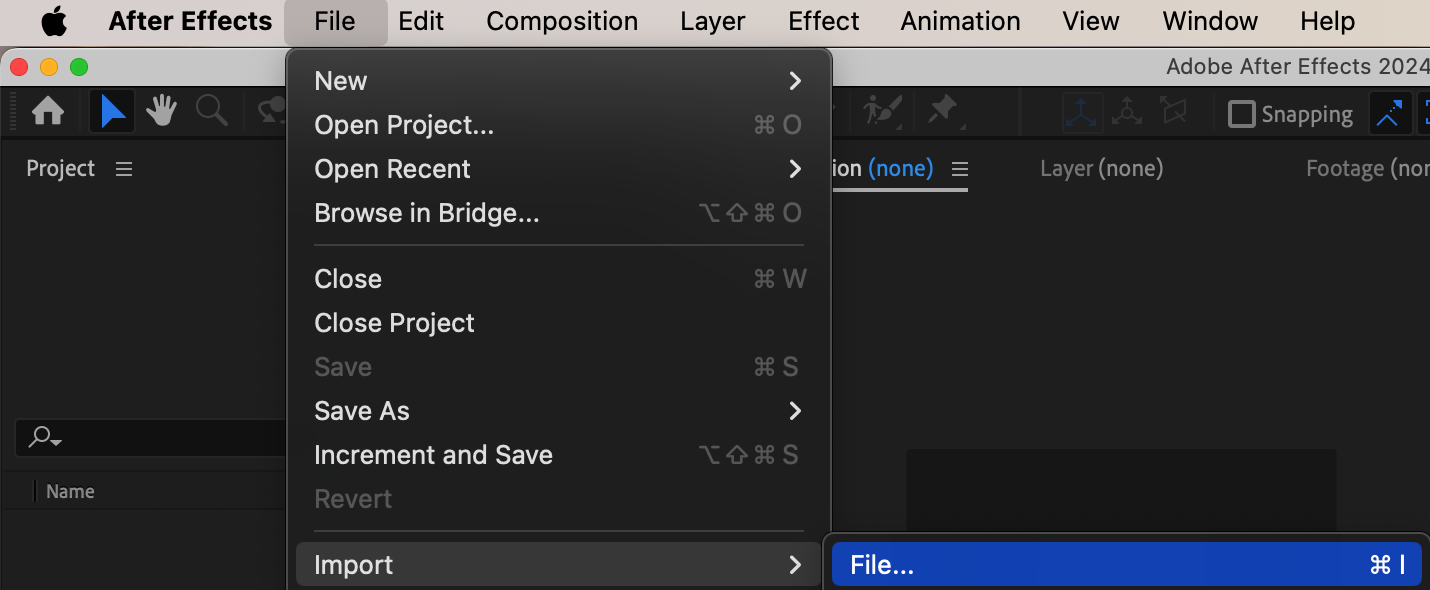 Step 3: Setting up your composition
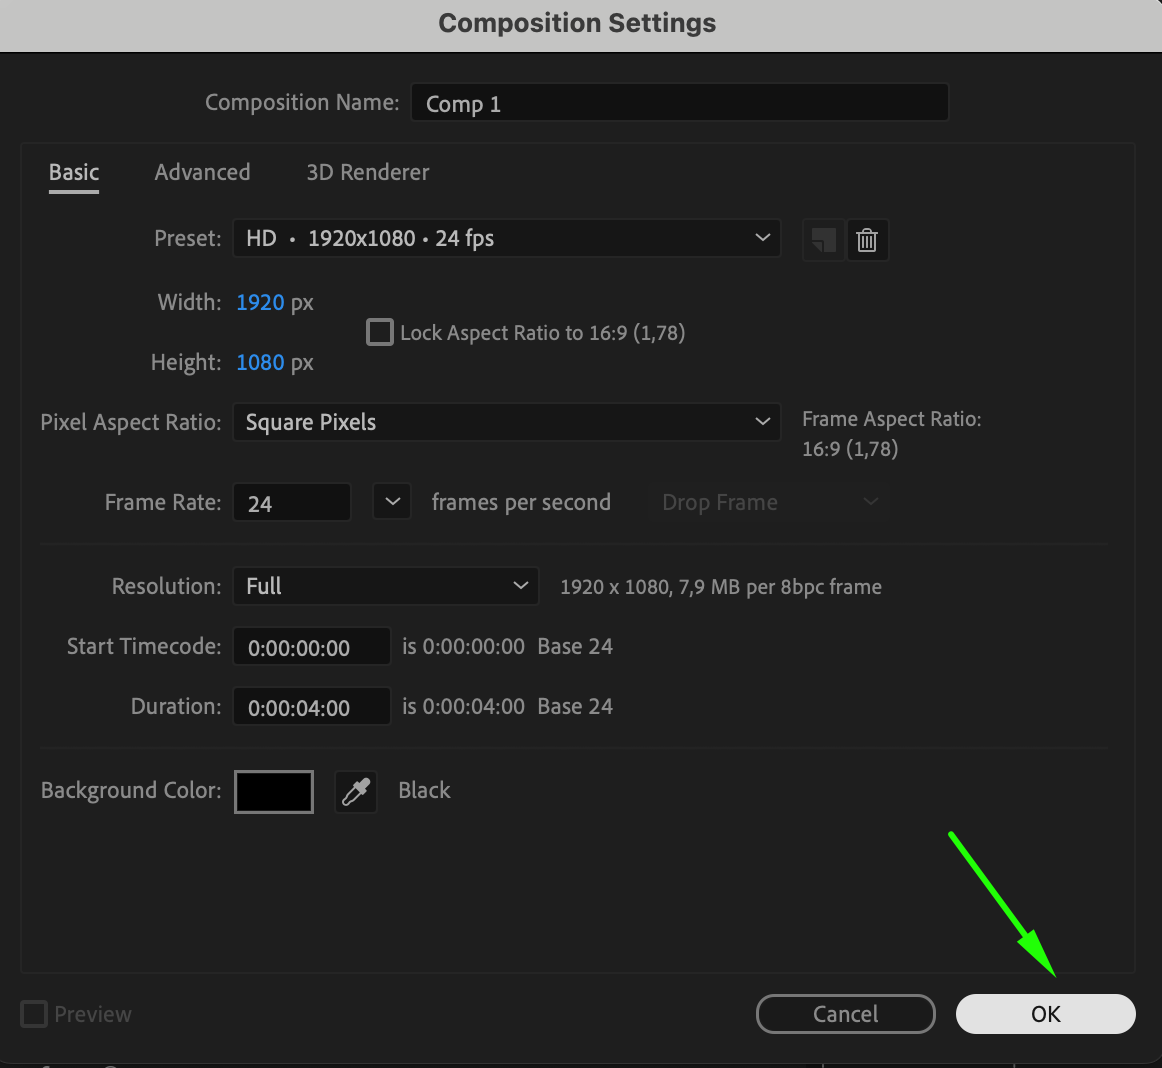
After importing your footage, create a new composition where you will assemble your montage. Go to Composition > New Composition and set the desired settings for your composition, including the resolution, frame rate, and duration. Consider the platform where you will be sharing your montage, such as YouTube or Instagram, and adjust the settings accordingly.
 Step 4: Assemble Your Montage
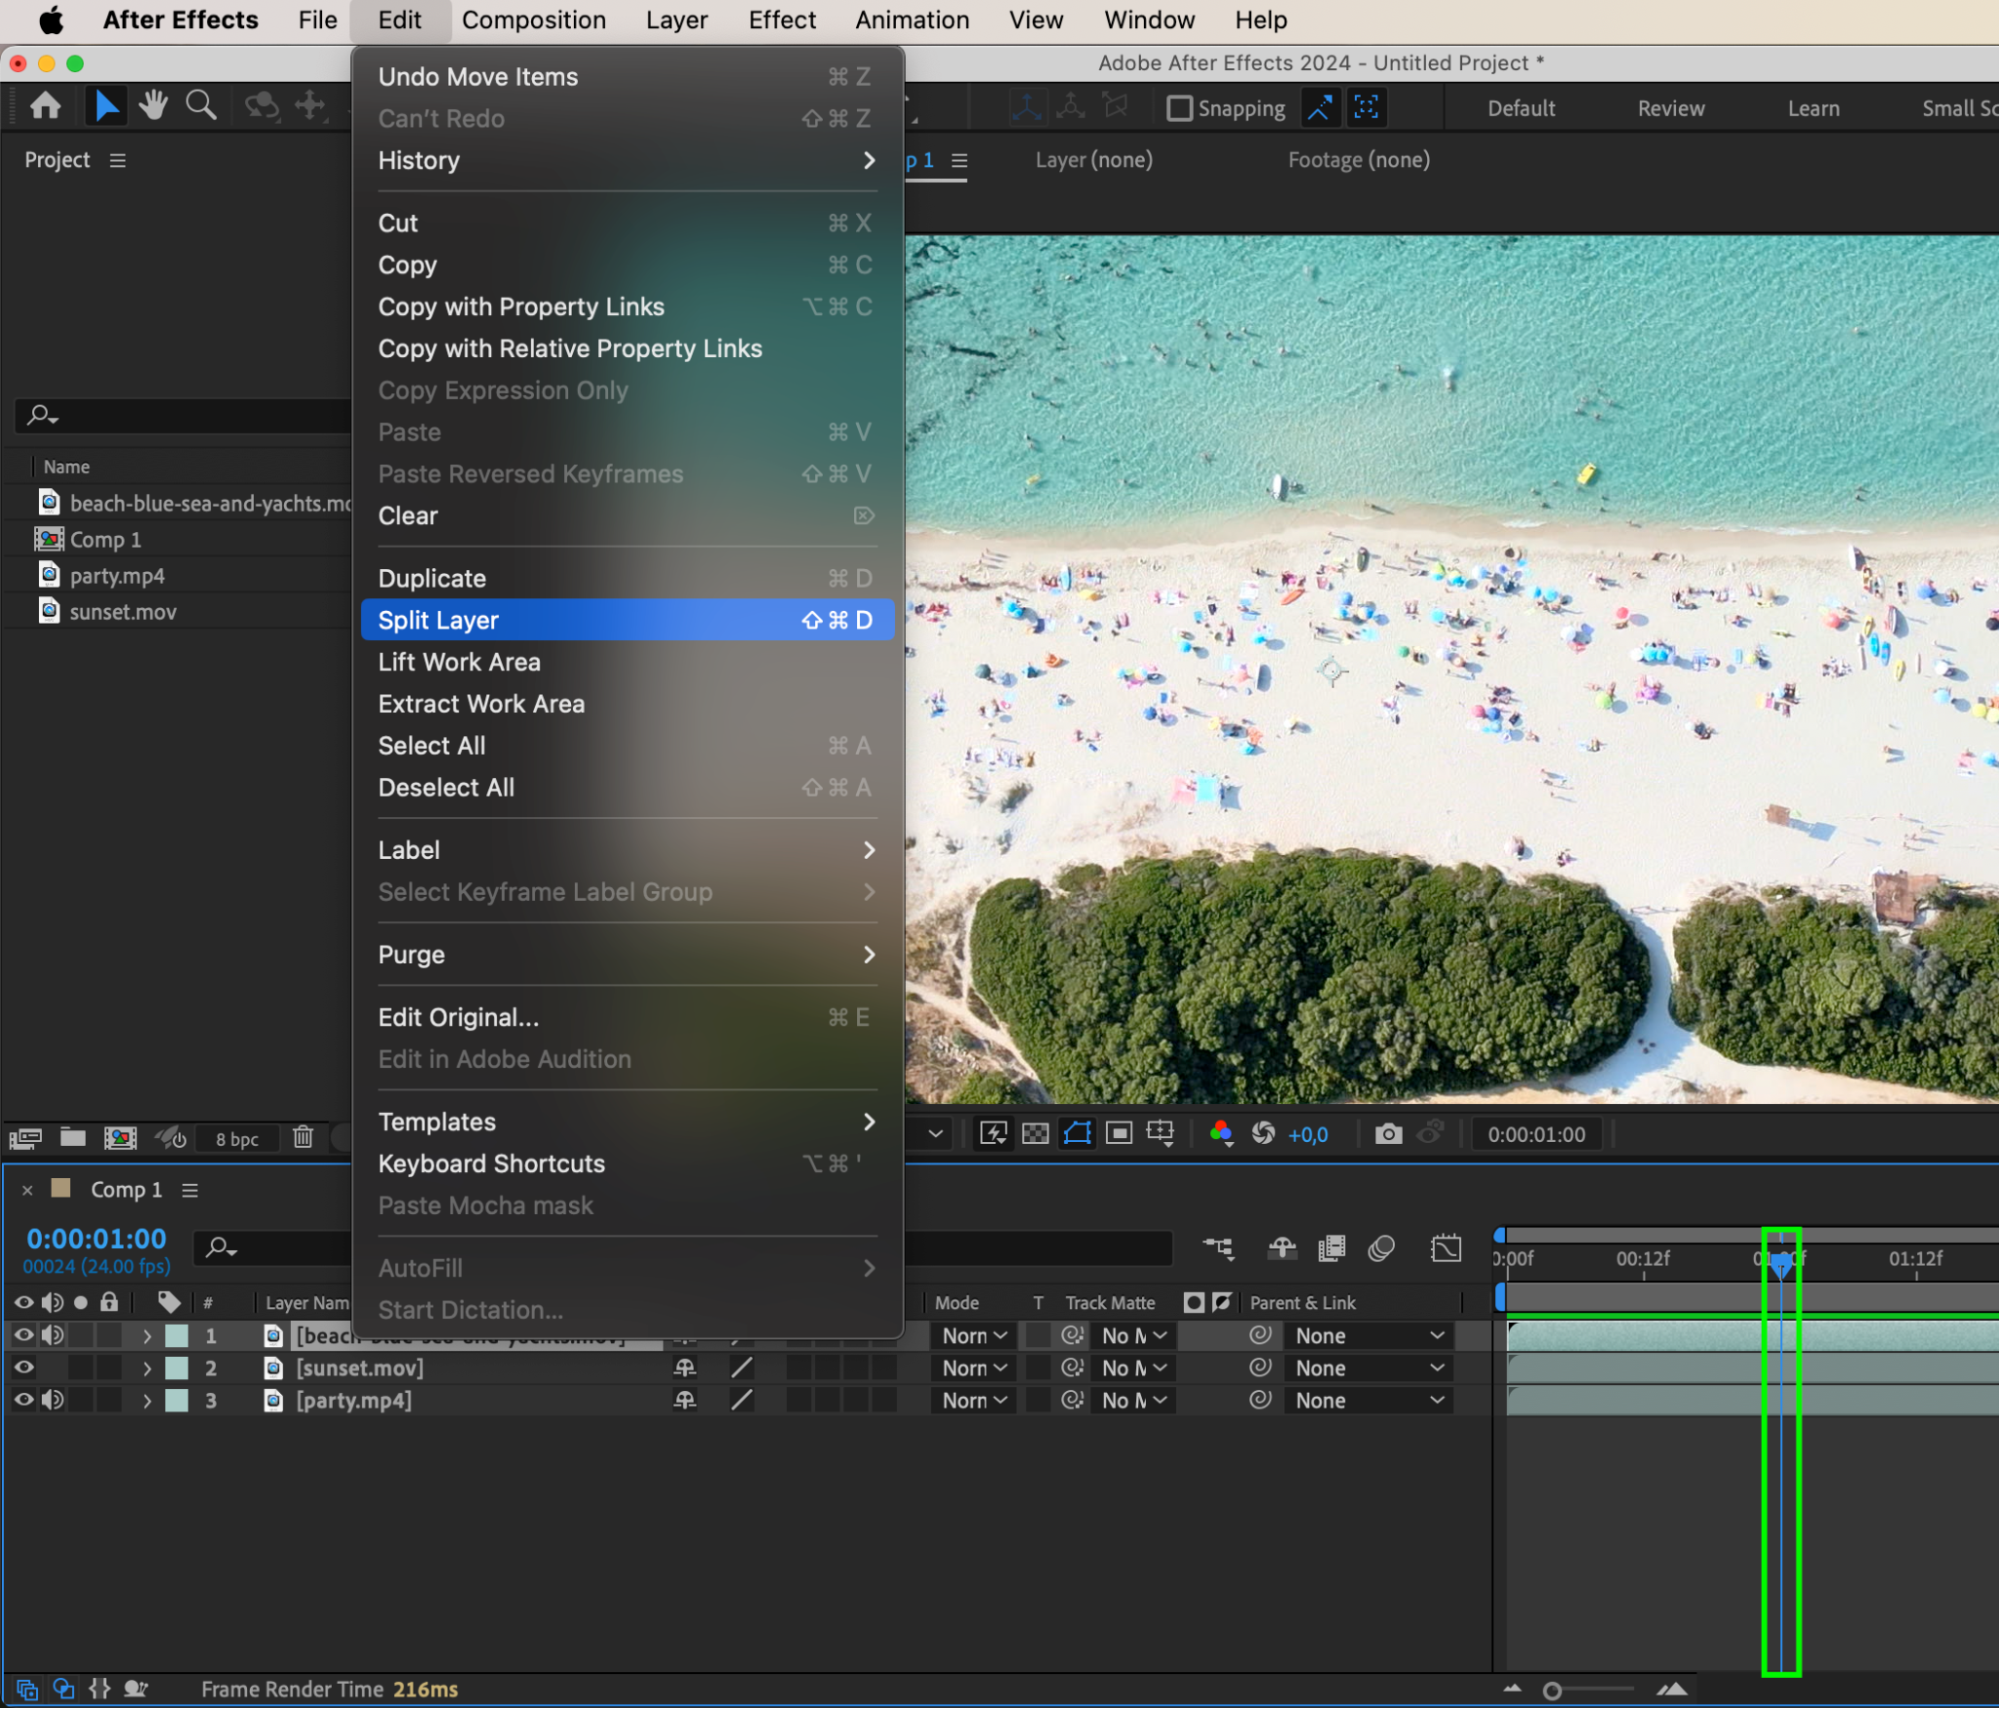
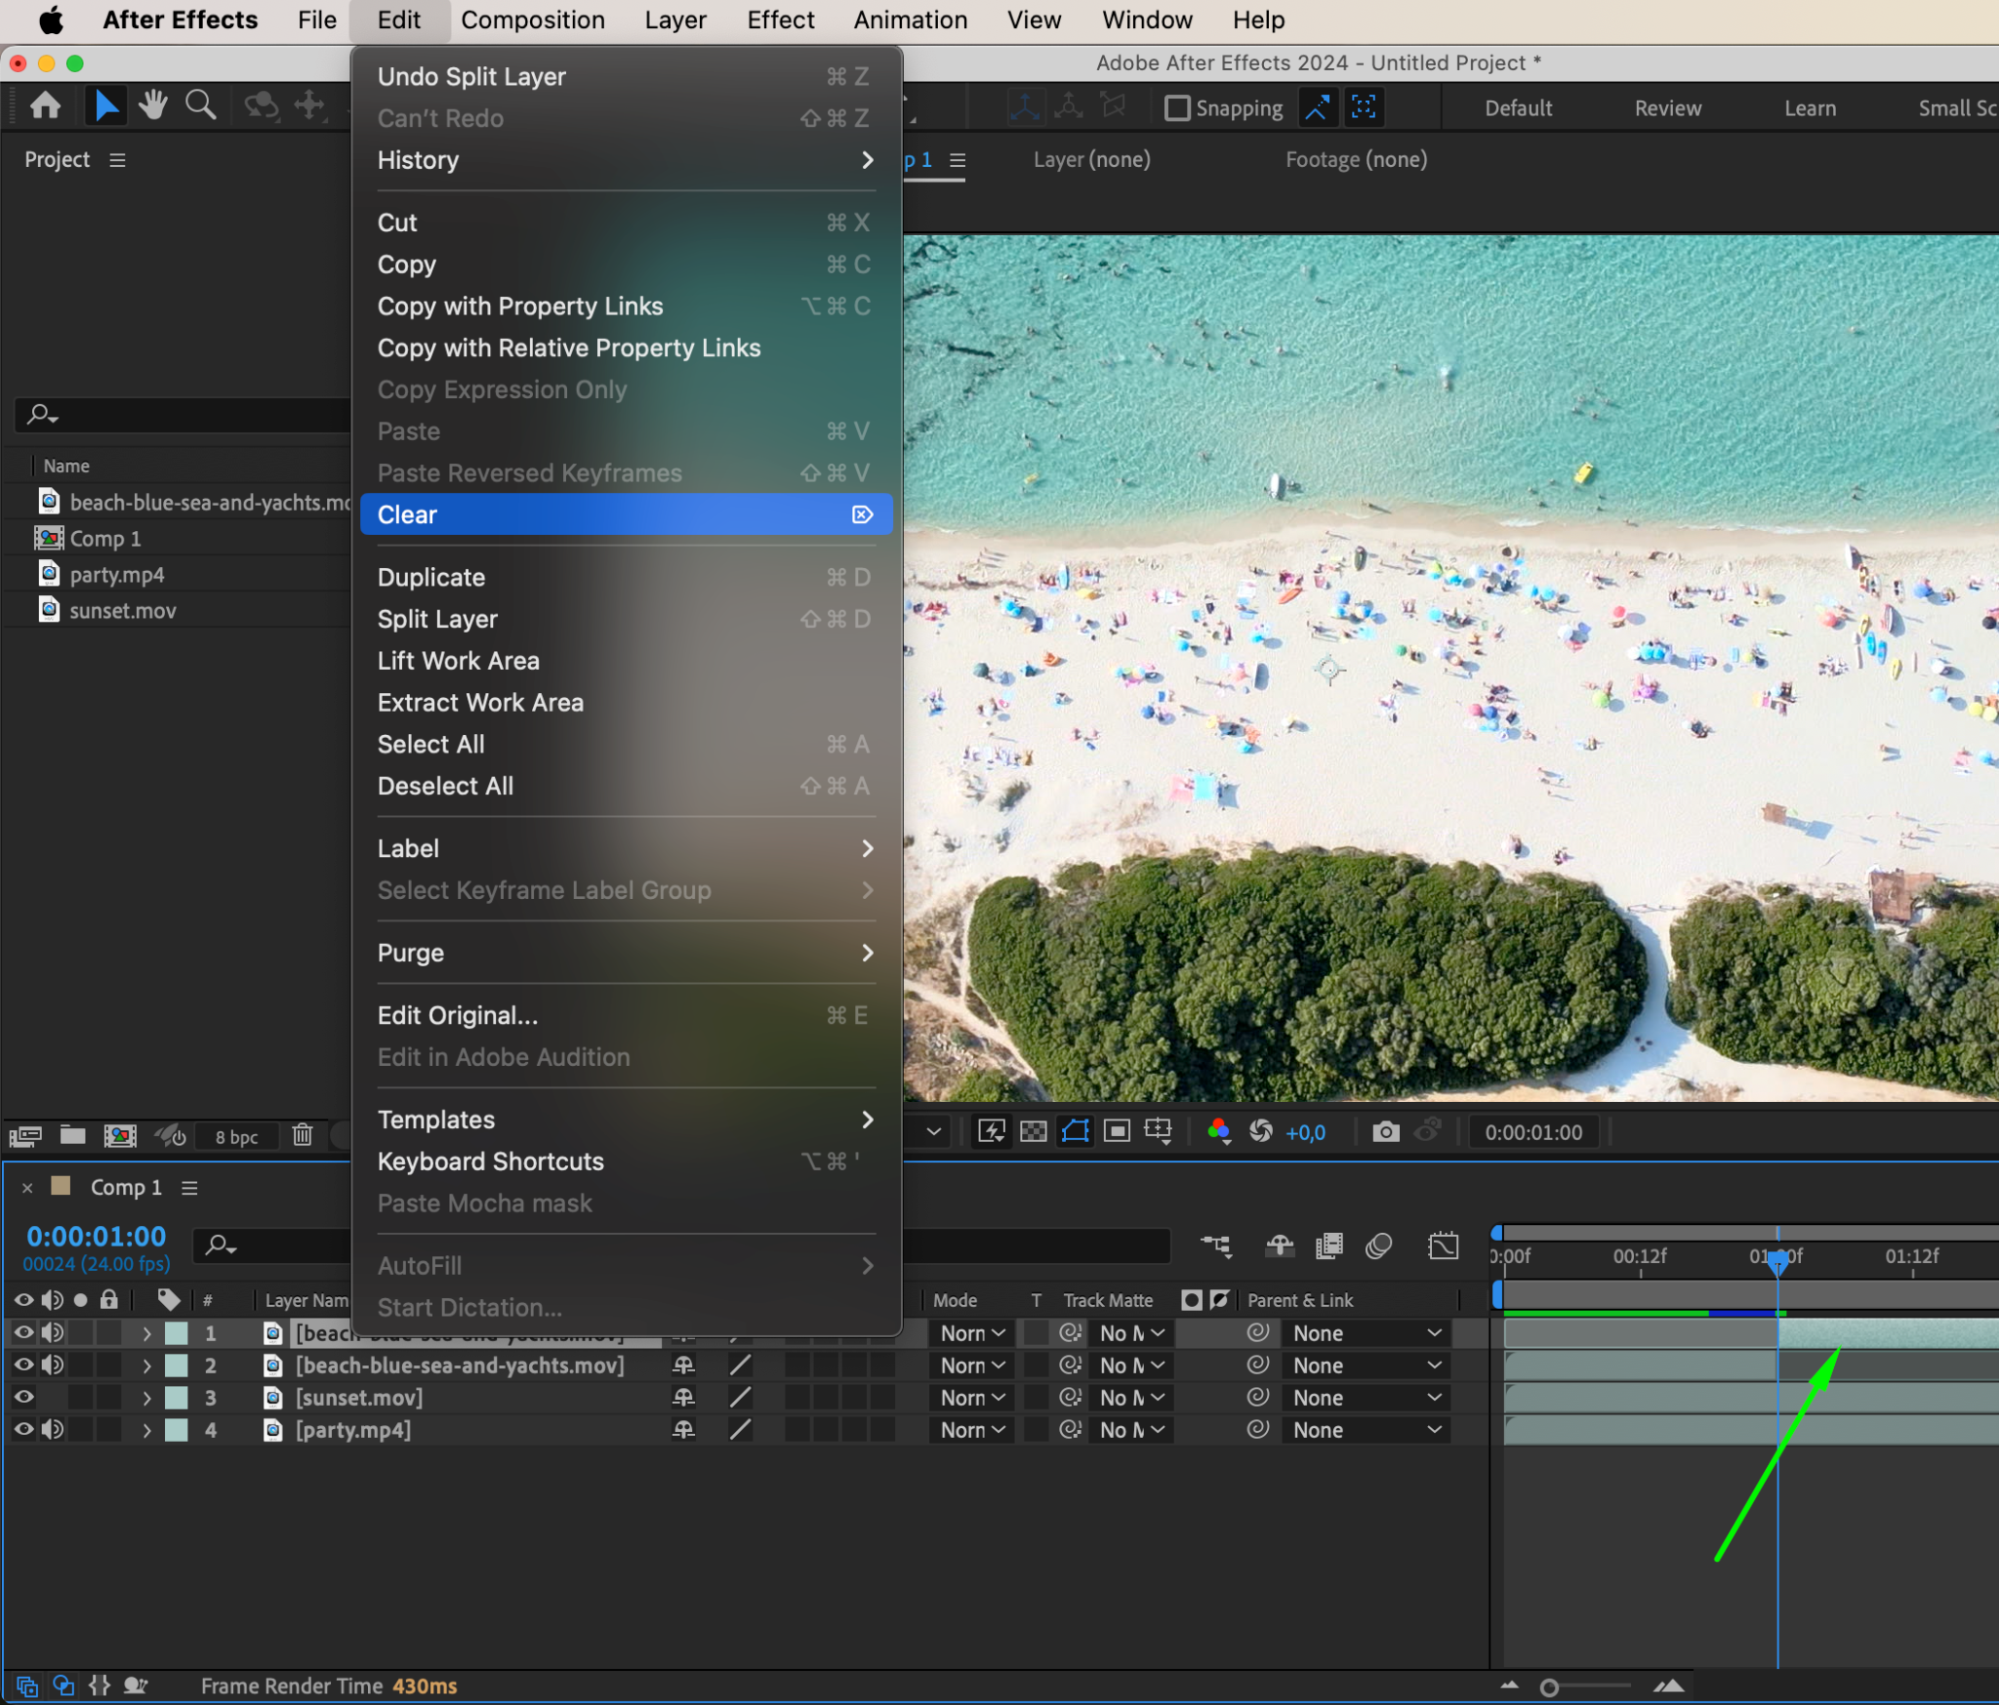
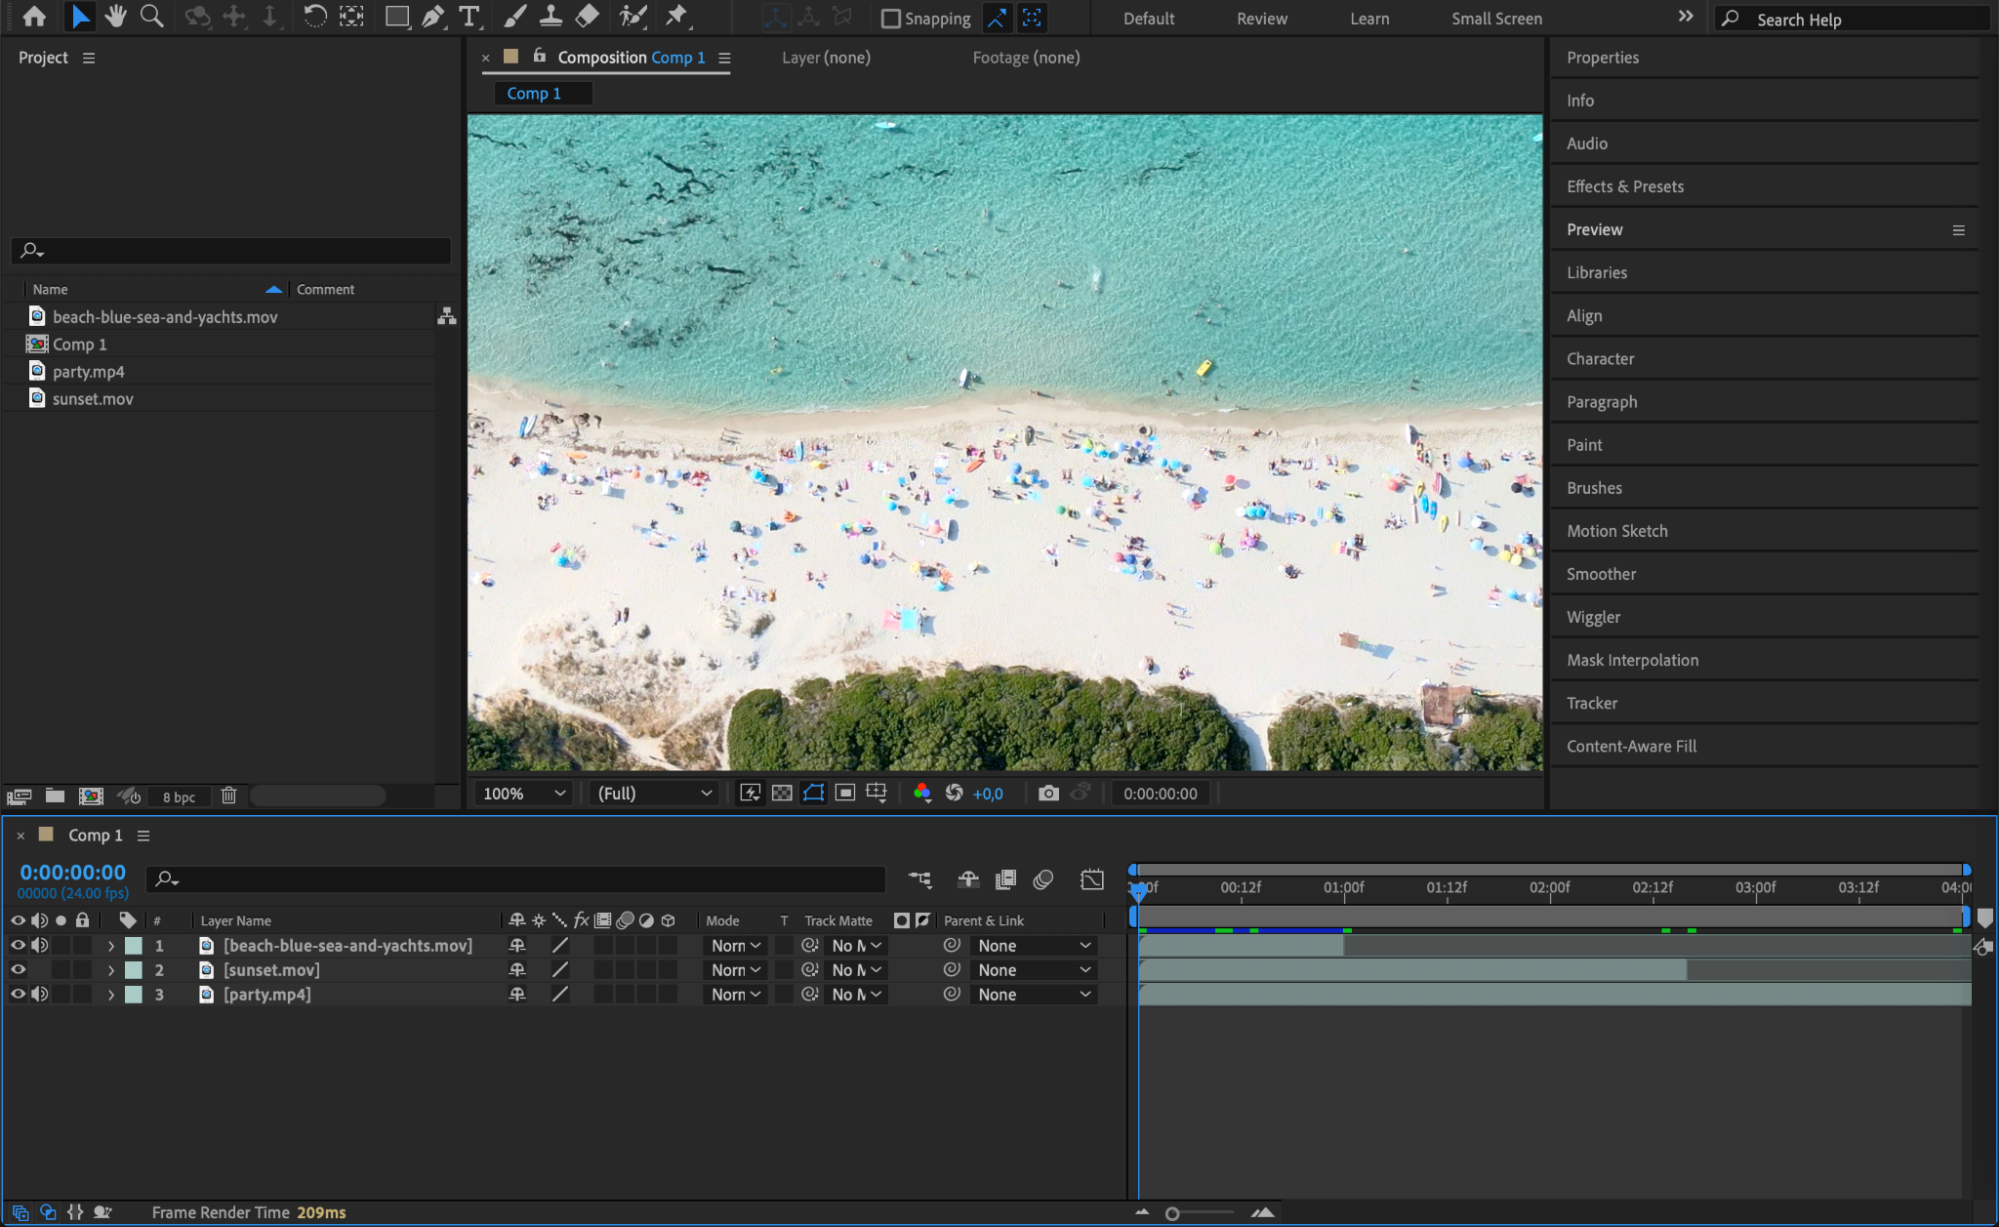
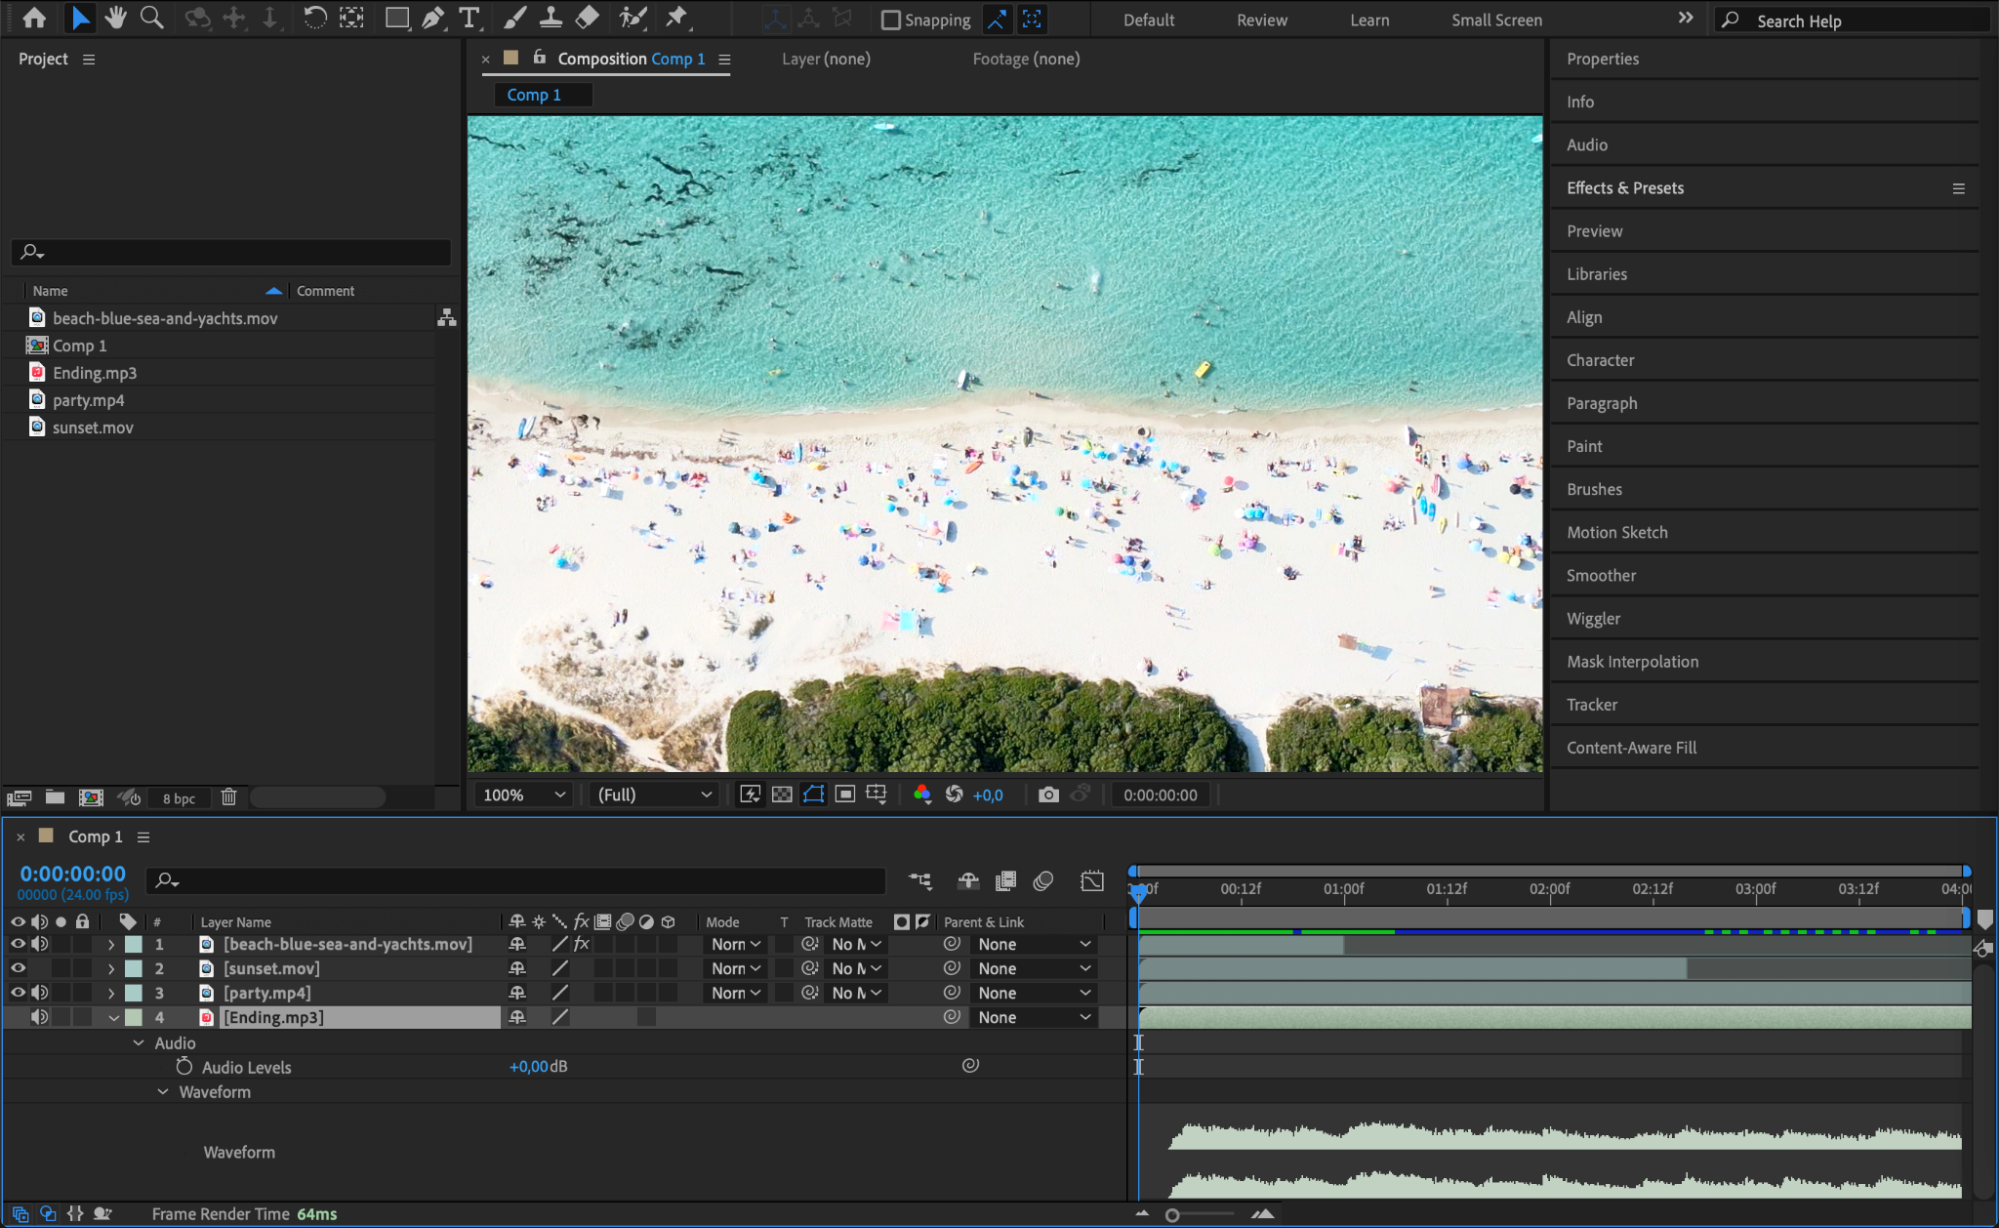
Begin assembling your montage by dragging your footage clips onto the timeline in your composition. Arrange them in the desired sequence and adjust their duration as needed. Use the shortcut “Ctrl/Cmd + Shift + D” to split layers and the “Delete” key to remove unwanted sections. This step involves arranging your clips to tell a cohesive story or highlight key moments.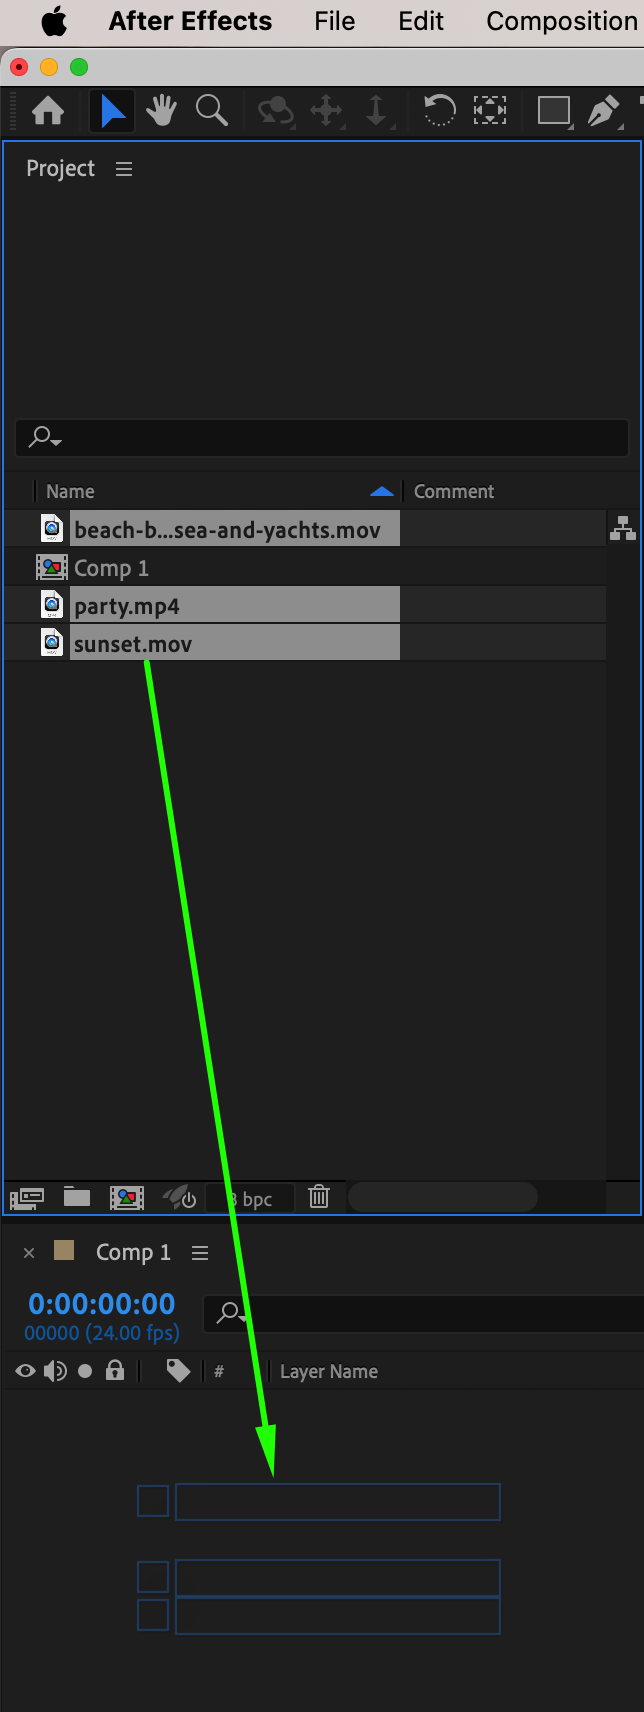
 Step 5: Adding effects and transitions
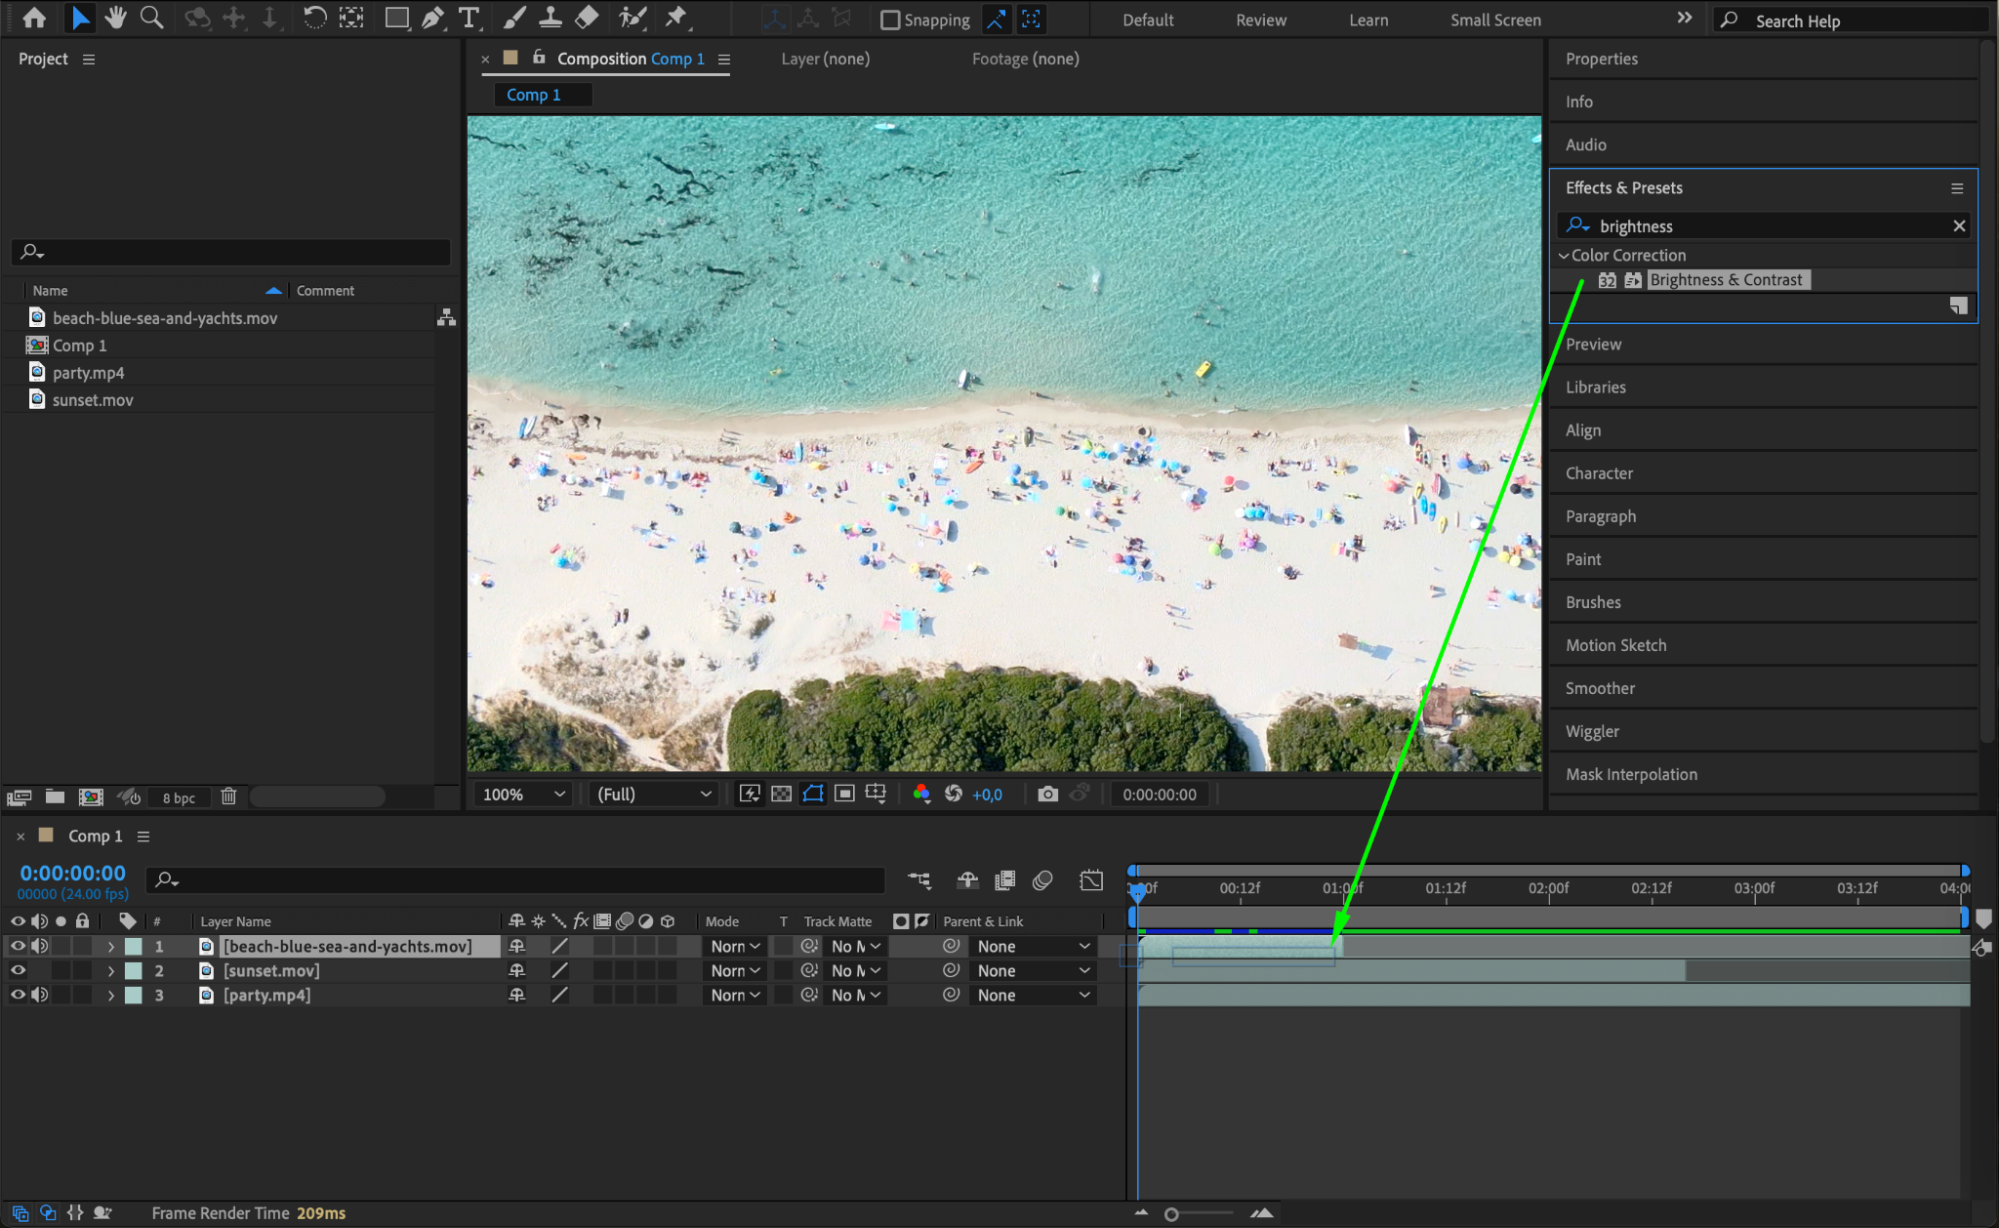
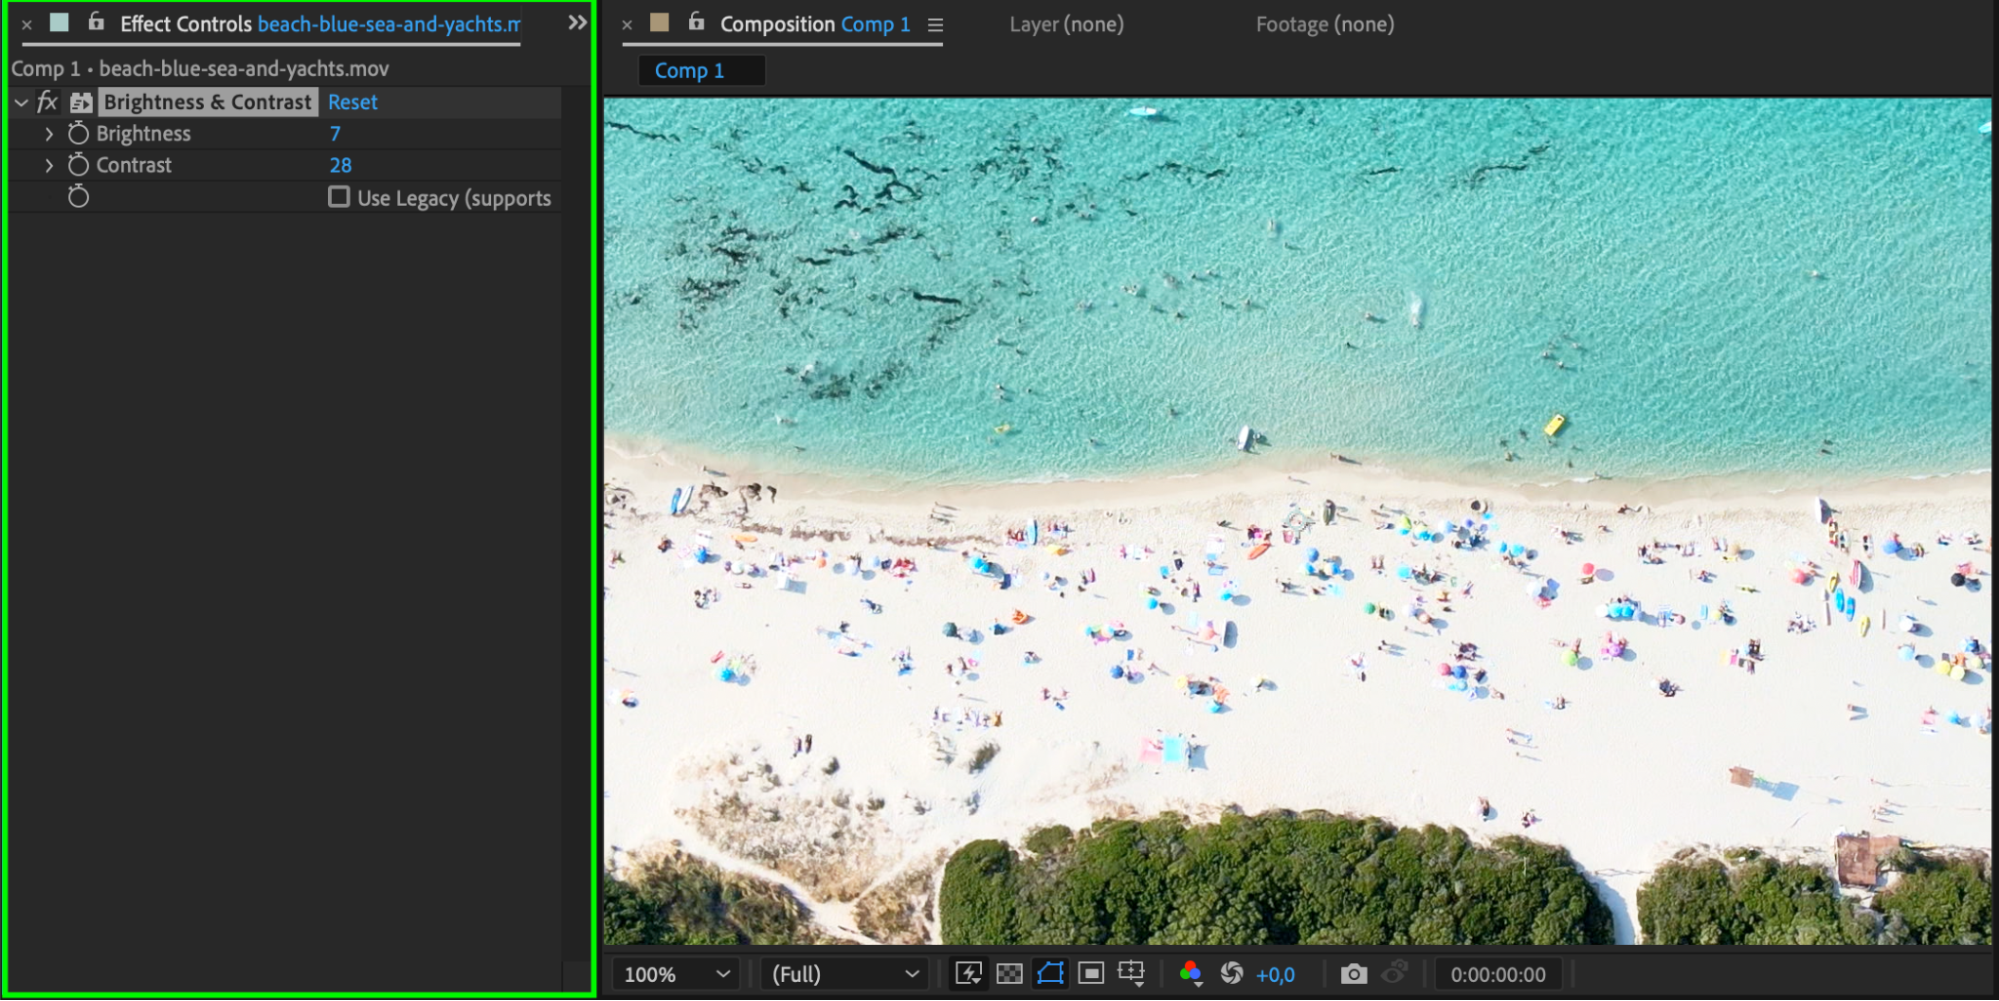
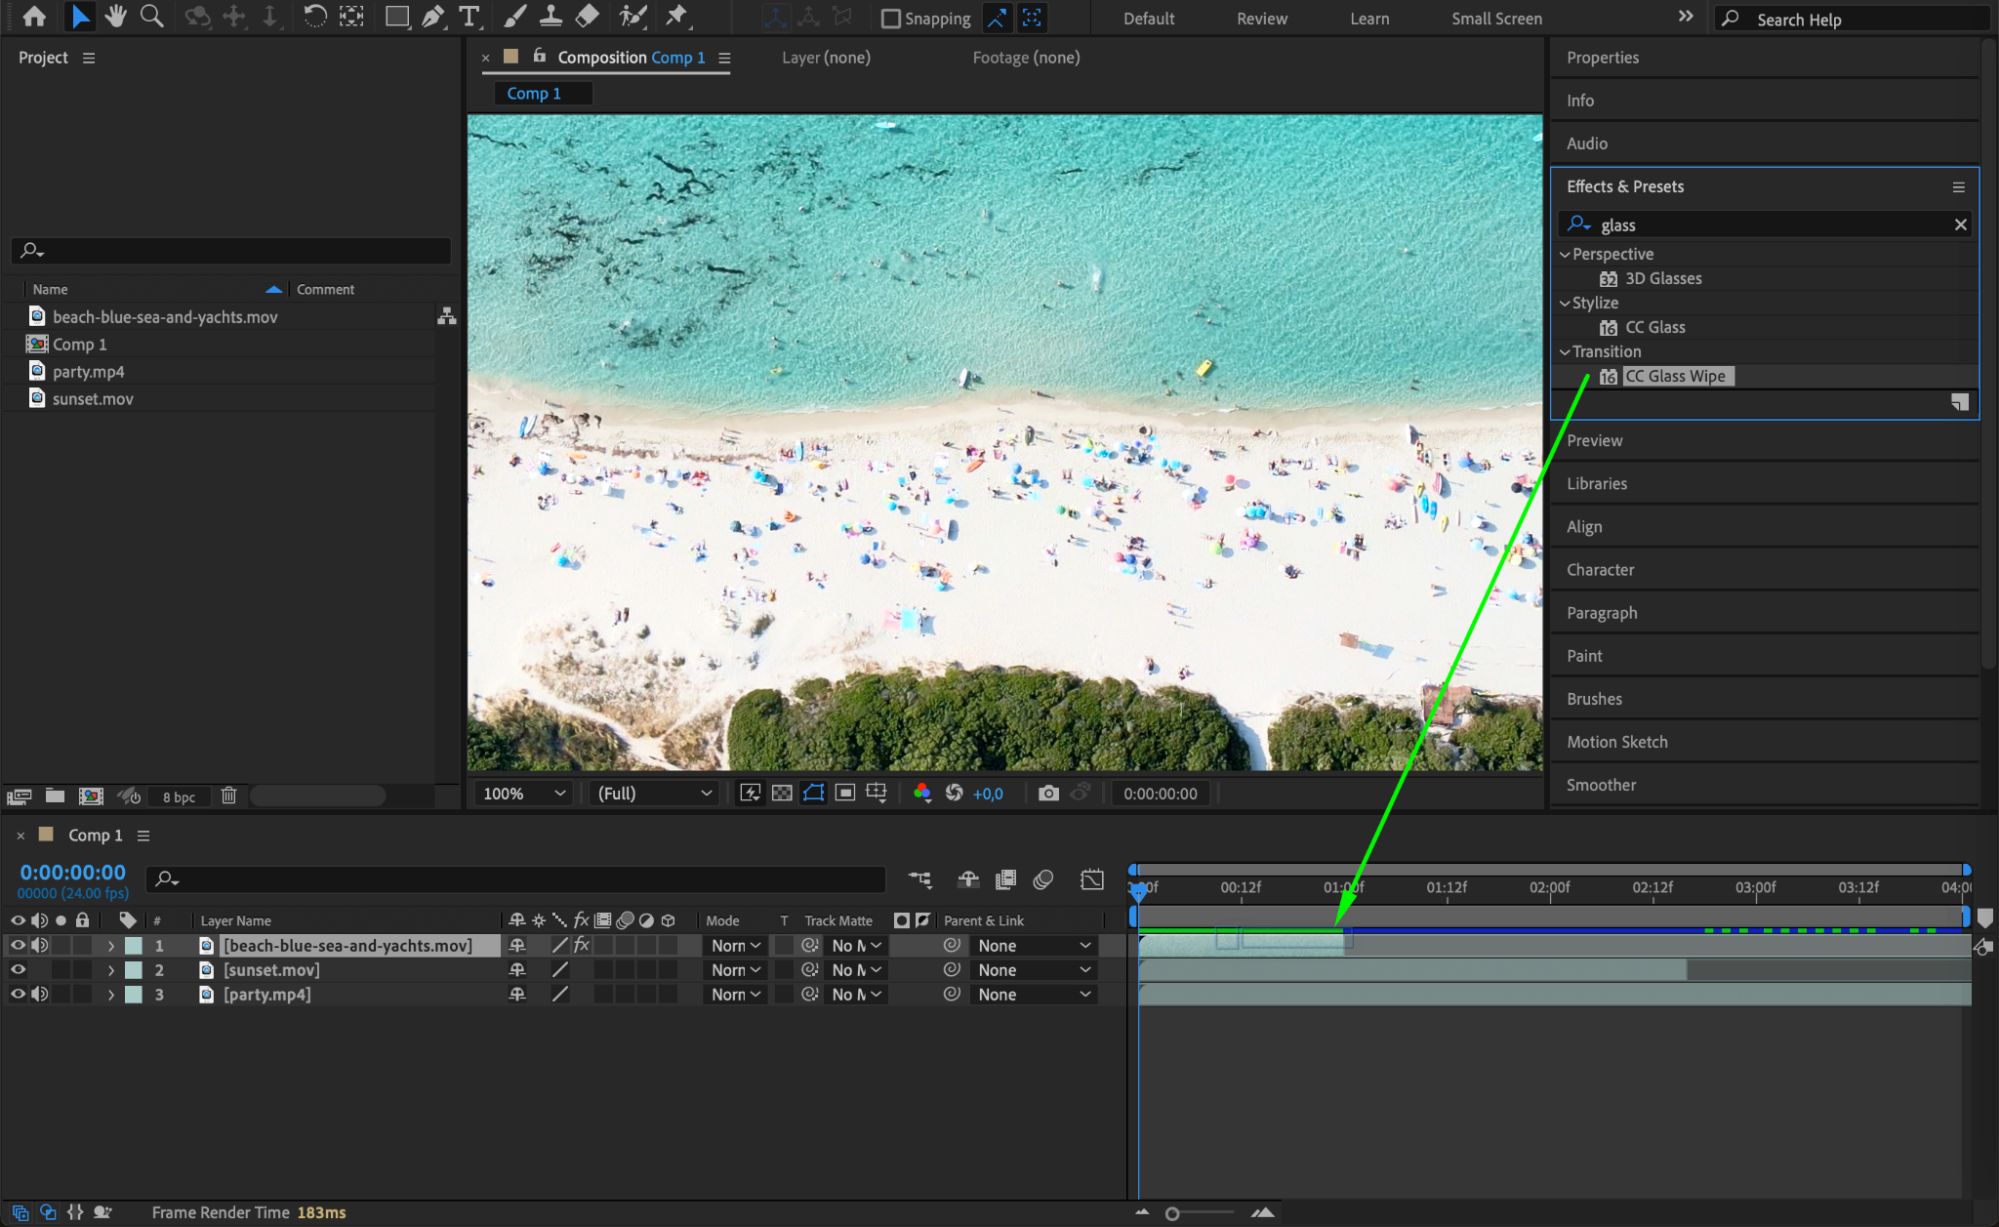
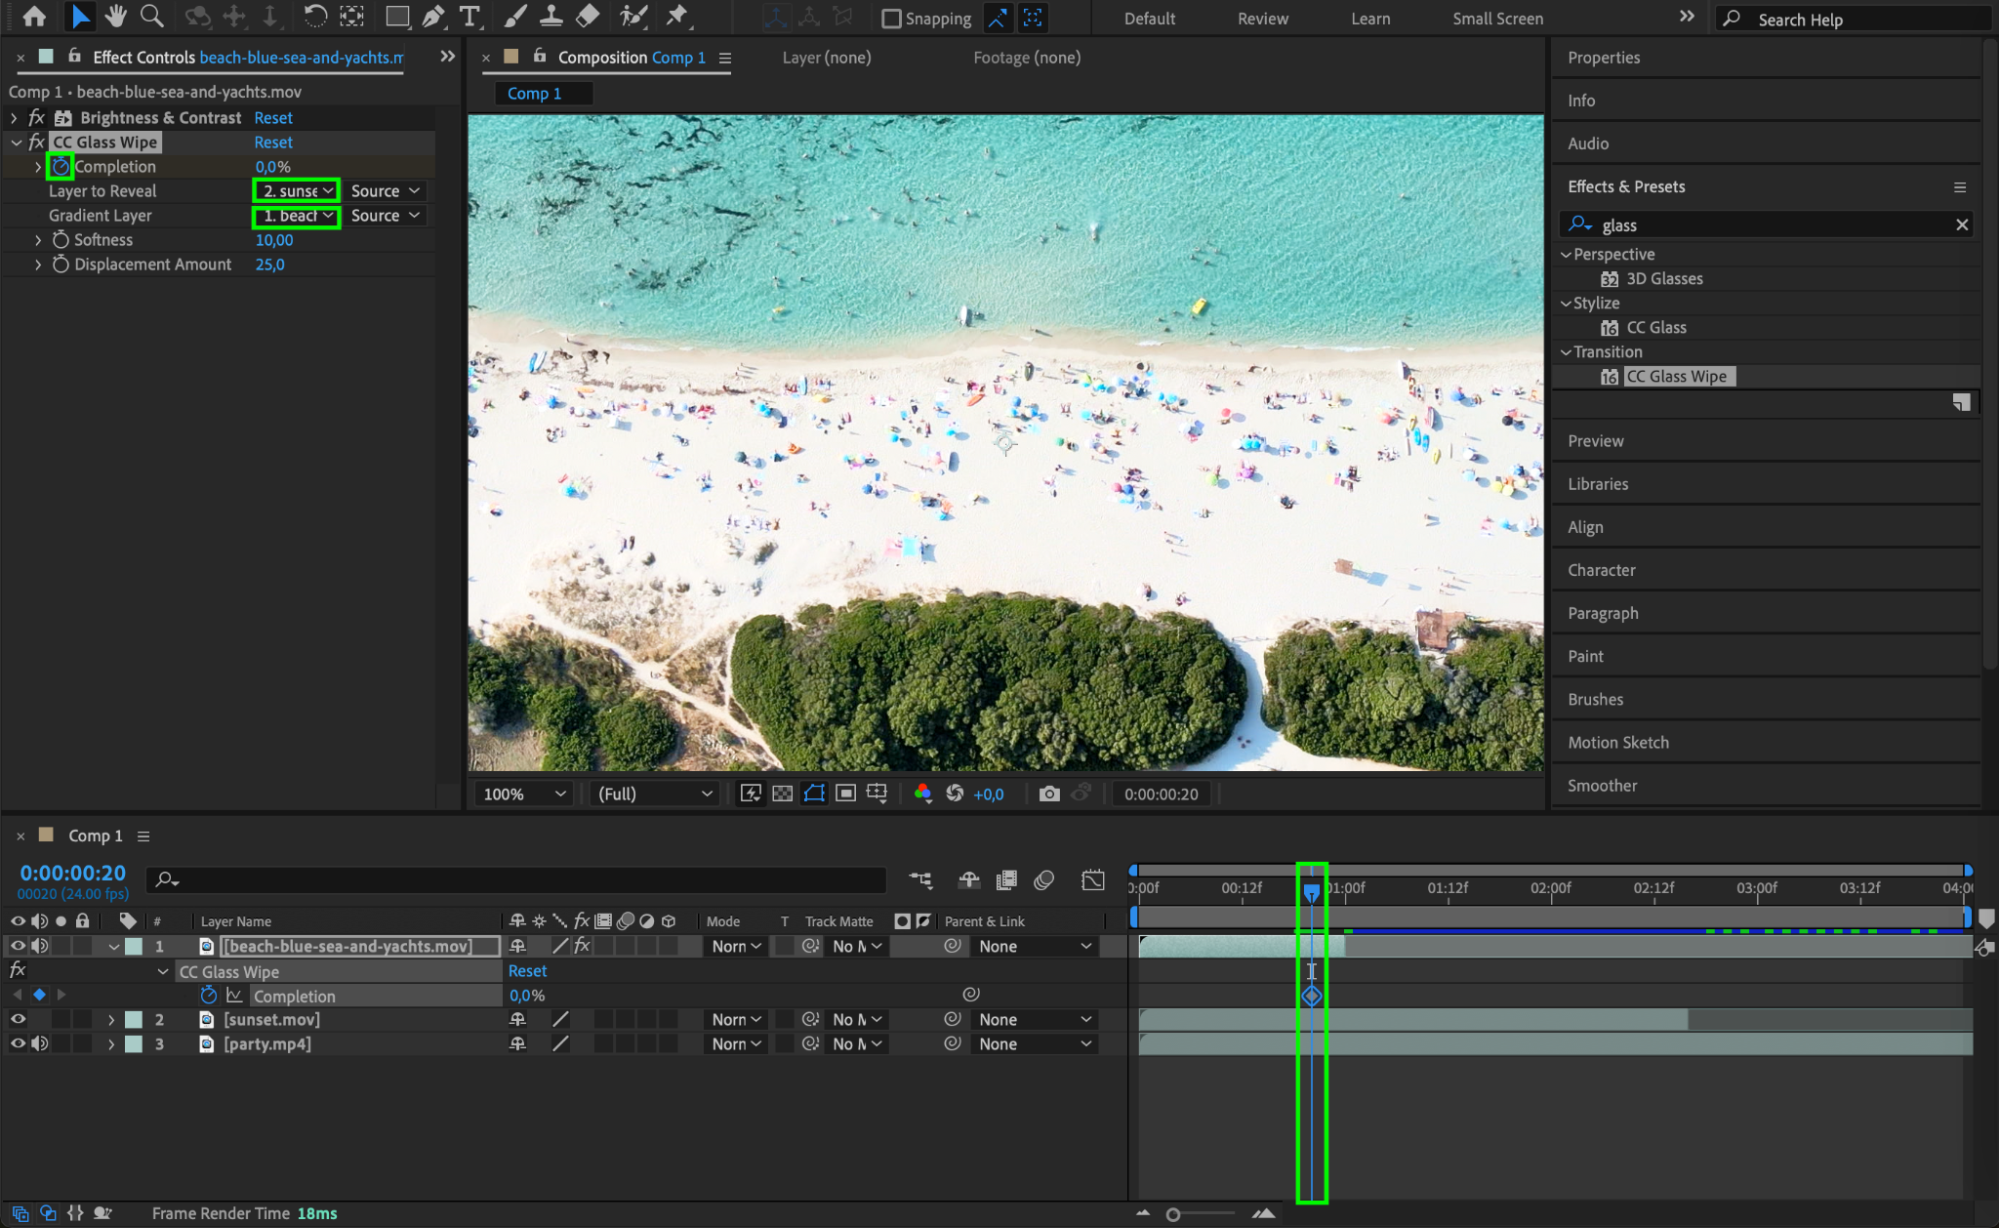
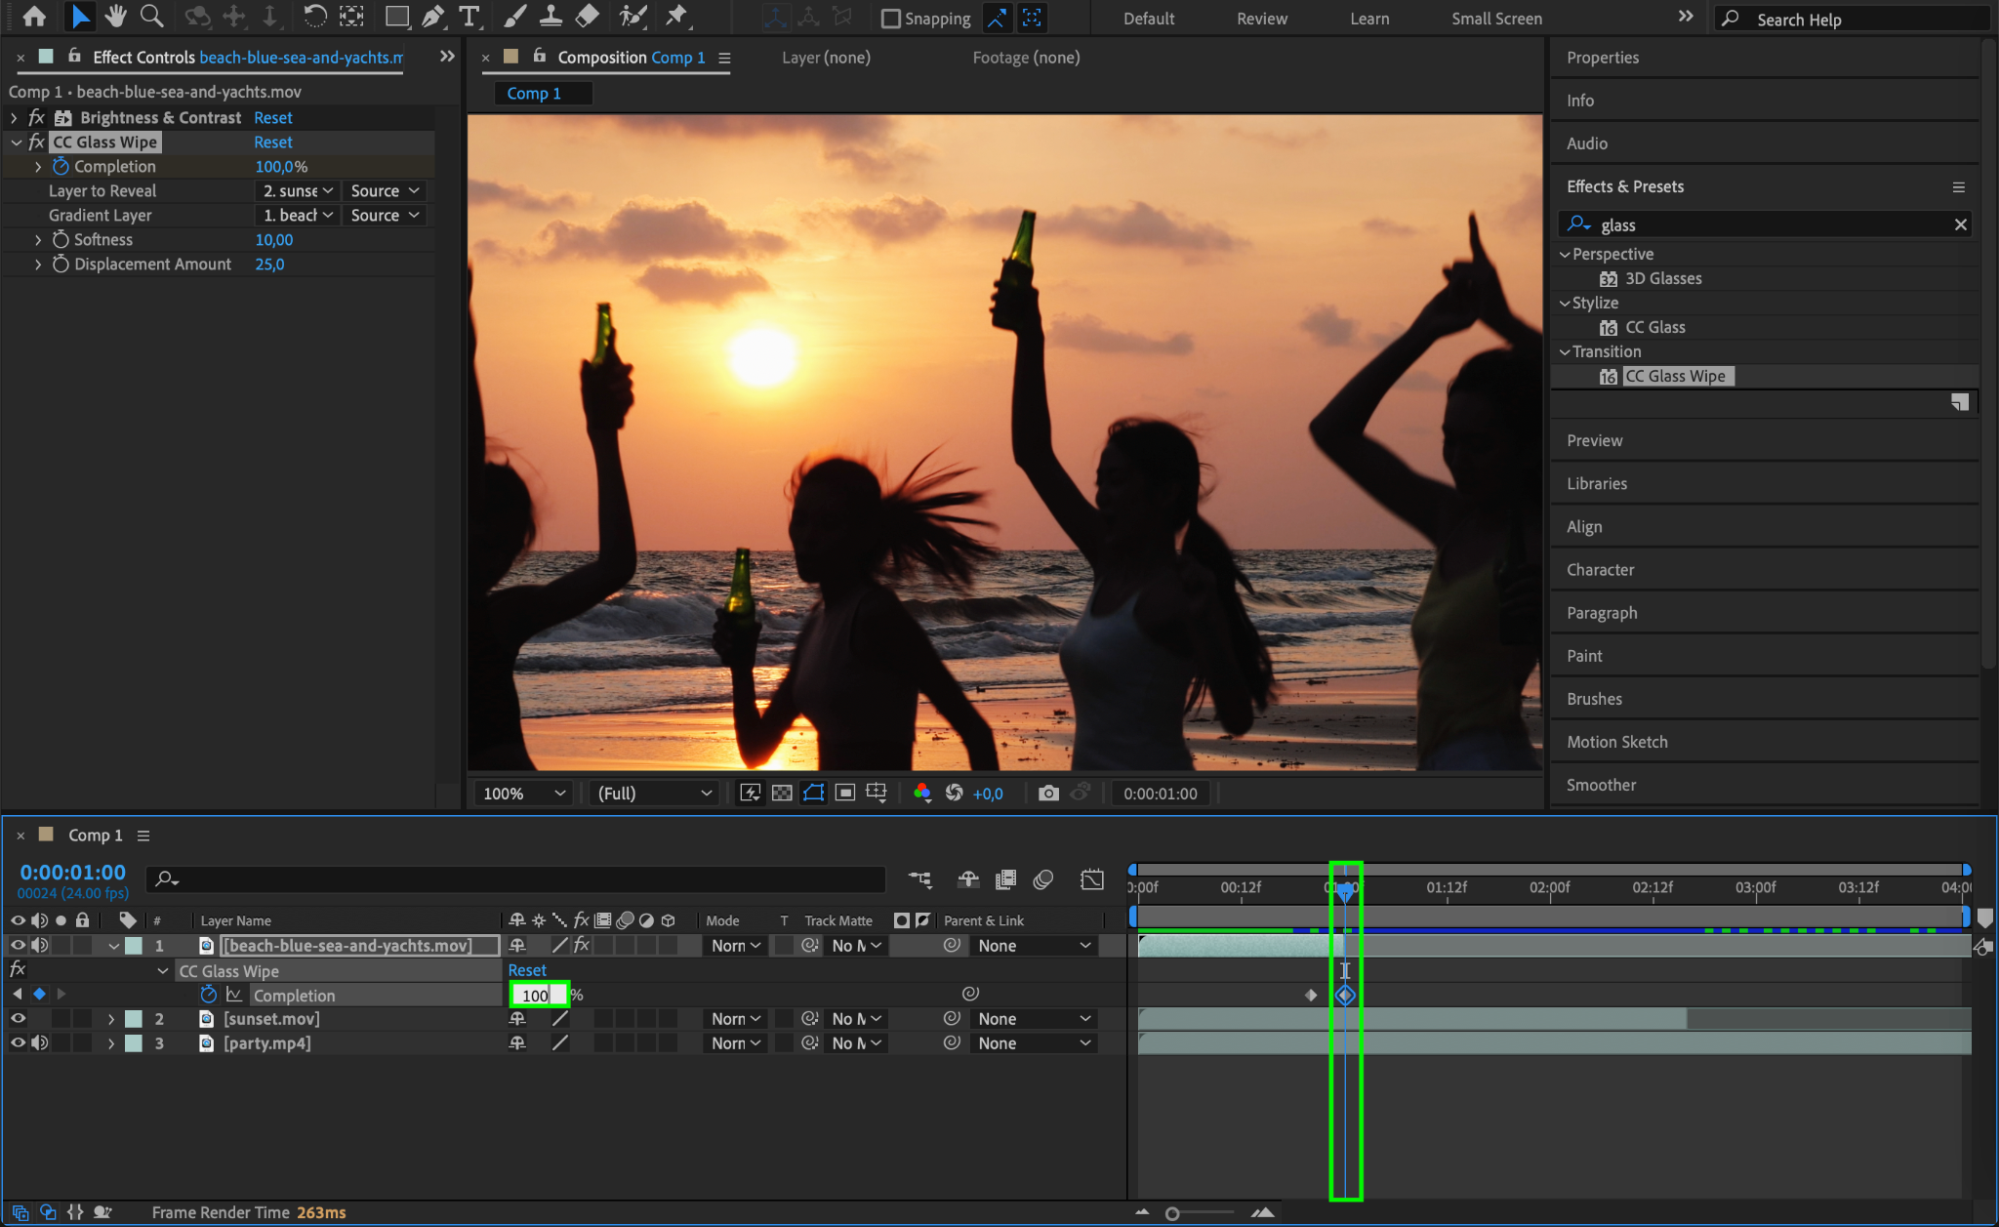
To add visual interest and enhance the flow of your montage, experiment with various effects and transitions. After Effects offers a wide range of built-in effects and presets that you can easily apply to your clips. Try out fade-ins, fade-outs, wipes, and other transitions to create smooth and visually pleasing transitions between your clips.
 Step 6: Add Music and Sound Effects
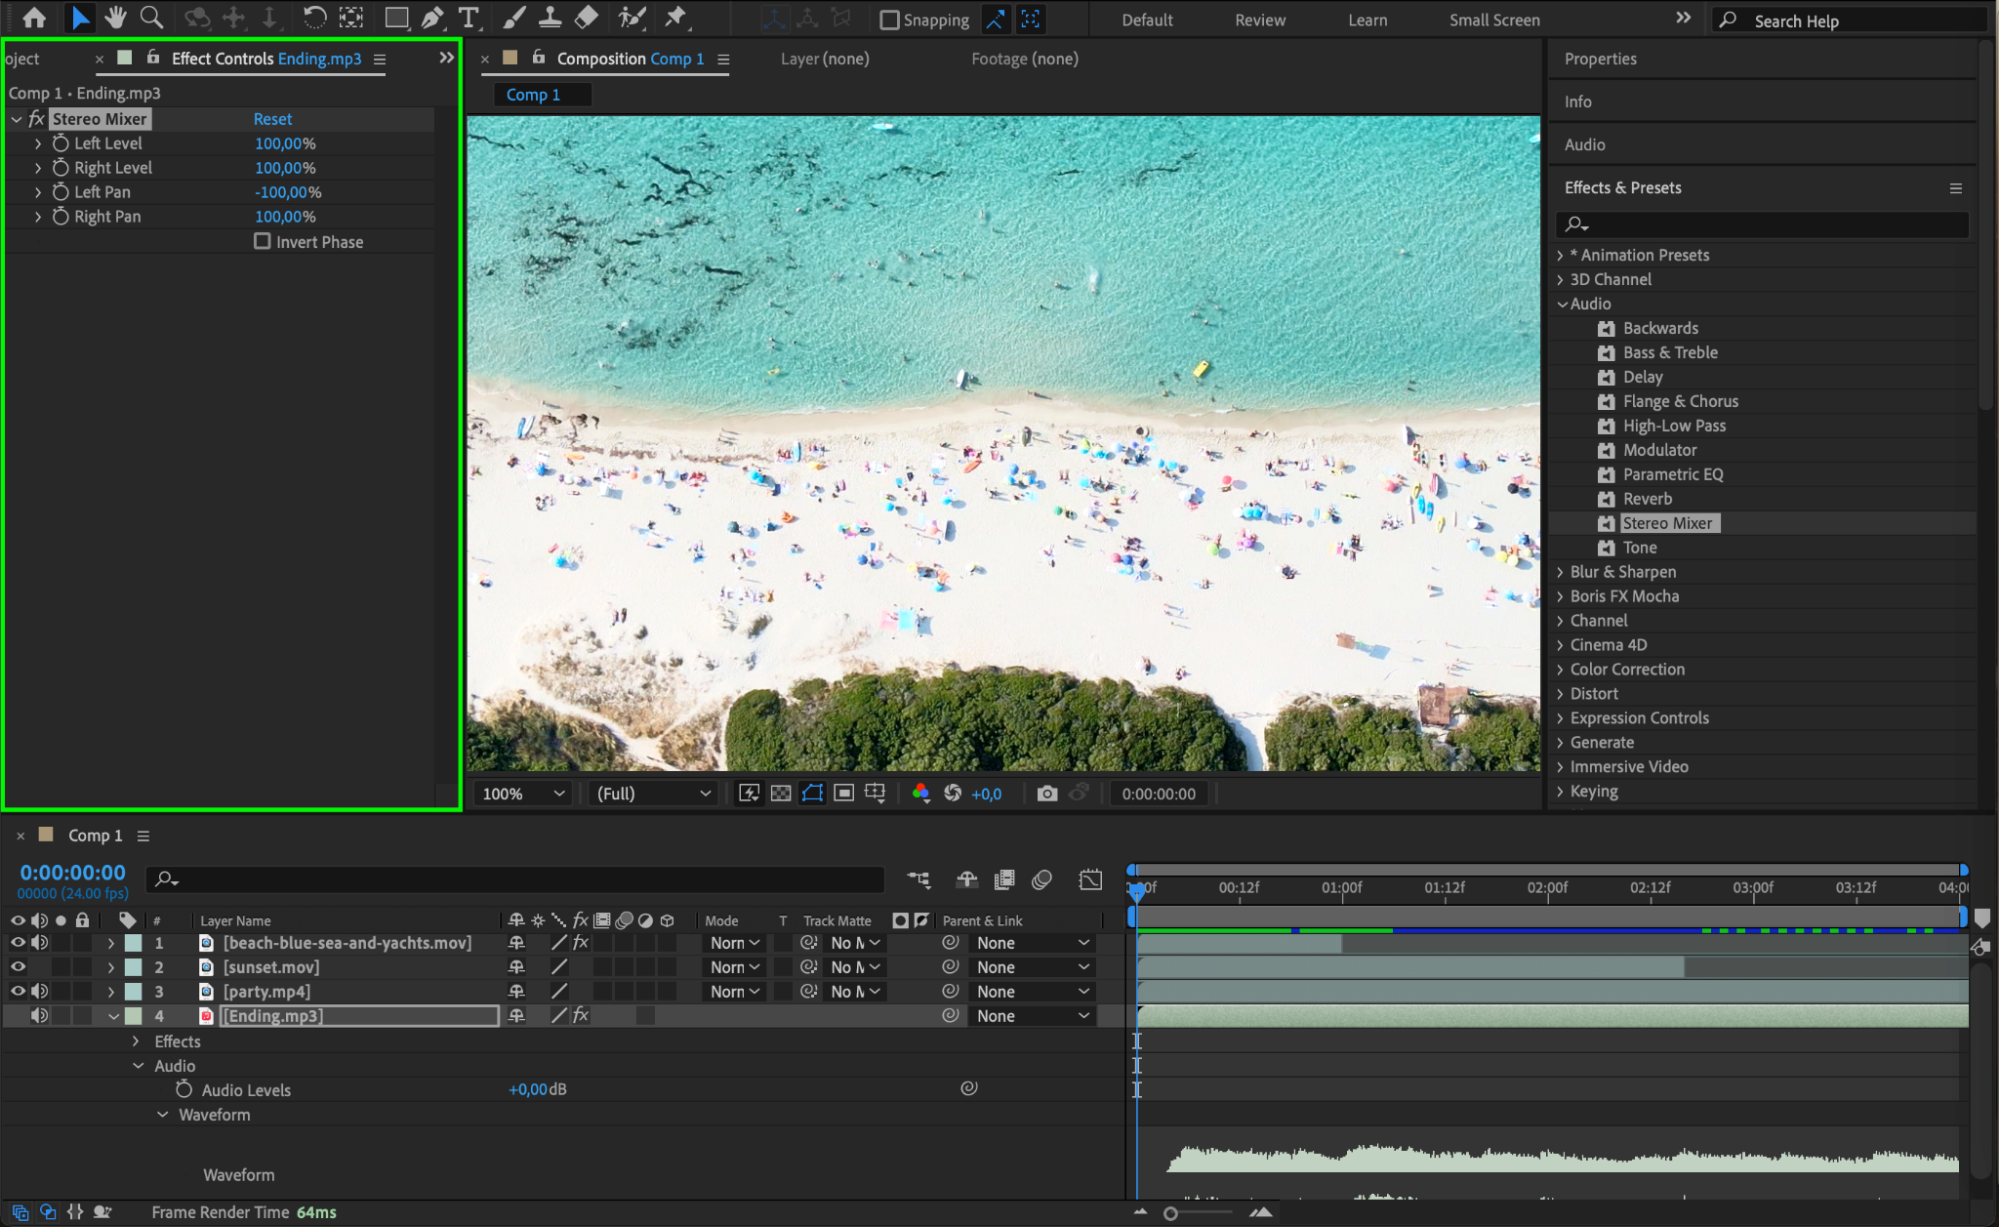
A well-chosen soundtrack can elevate your montage. Import your audio files into After Effects and drag them onto the timeline. Use After Effects’ audio effects to fine-tune the sound. Properly integrated audio adds depth to your montage and complements the visual elements.


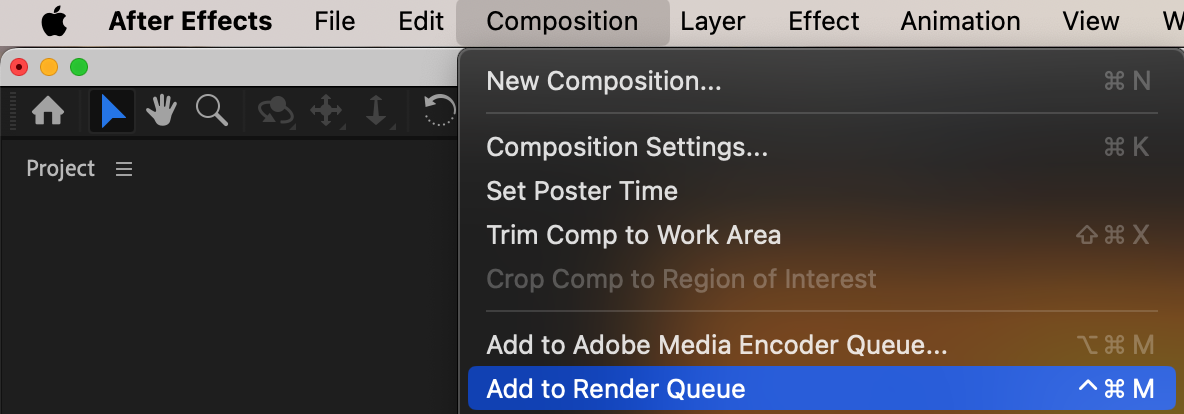
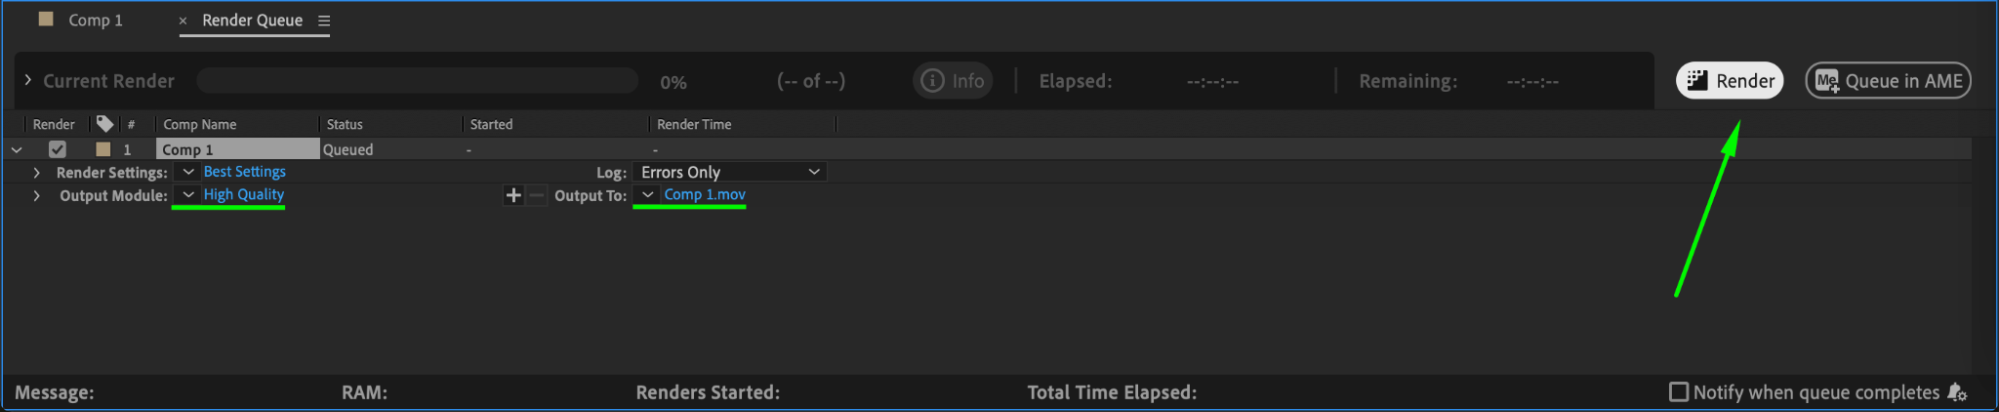
Step 7: Finalizing and exporting your montage
Once you are satisfied with your montage, it’s time to finalize and export your video. Preview your composition to ensure everything looks and sounds as intended. Then, go to Composition > Add to Render Queue, choose the desired output settings, and click Render. After Effects will render your montage into a video file that you can share with others.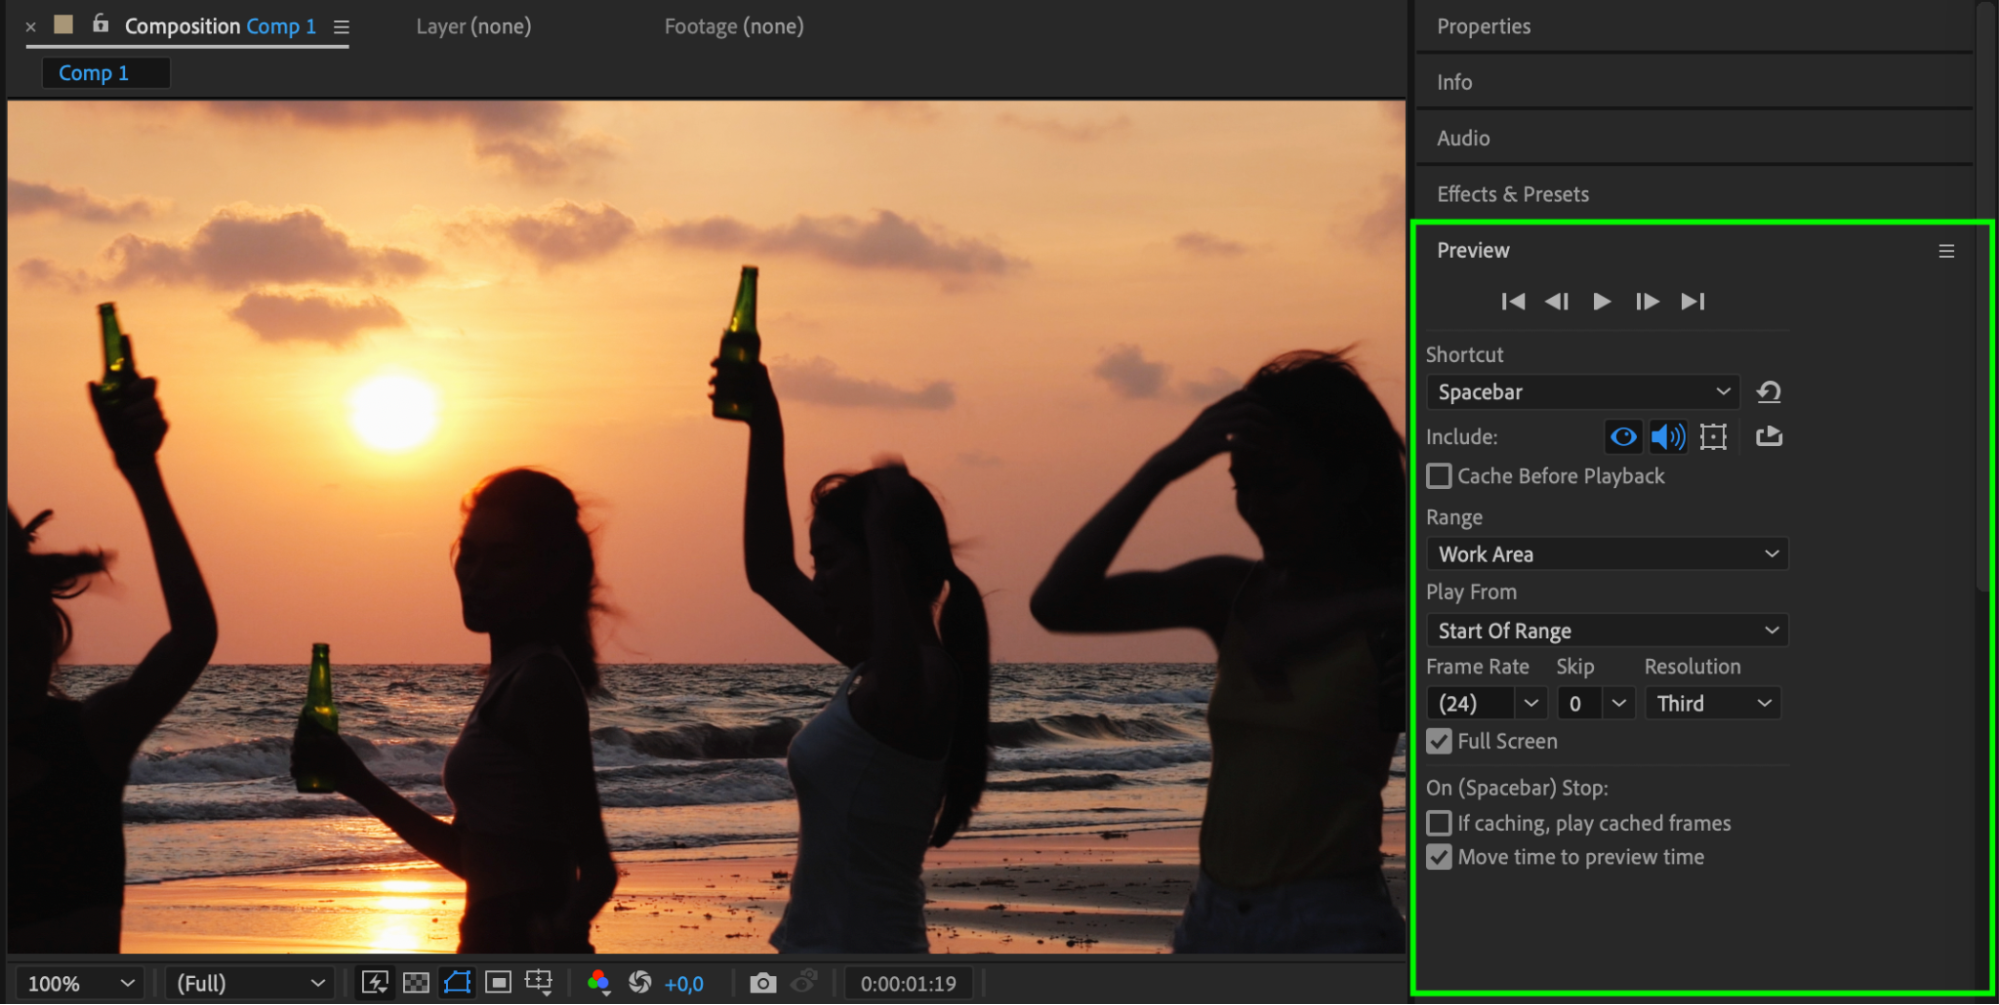
Conclusion
Creating a montage in After Effects gives you the flexibility to unleash your creativity and produce visually captivating videos. By following these steps, you’ll be able to create montages that engage and impress your audience. So, grab your footage, fire up After Effects, and start crafting your next masterpiece!
Our Bestsellers


