How to Create and Animate a Motion Path in Adobe After Effects
Introduction to Motion Paths in Adobe After Effects
Creating dynamic motion graphics is a vital skill for any video designer. One powerful technique in Adobe After Effects is the use of motion paths, which allow you to animate objects along a specific trajectory, adding depth and movement to your compositions. In this tutorial, we’ll guide you through the process of creating and refining a motion path in After Effects, helping you elevate the quality and engagement of your video projects.
Step 1: Import Your Footage or Composition
The first step in creating a motion path is to import your video footage or composition into After Effects. To do this, go to the “File” menu, select “Import,” then choose “File” from the dropdown. 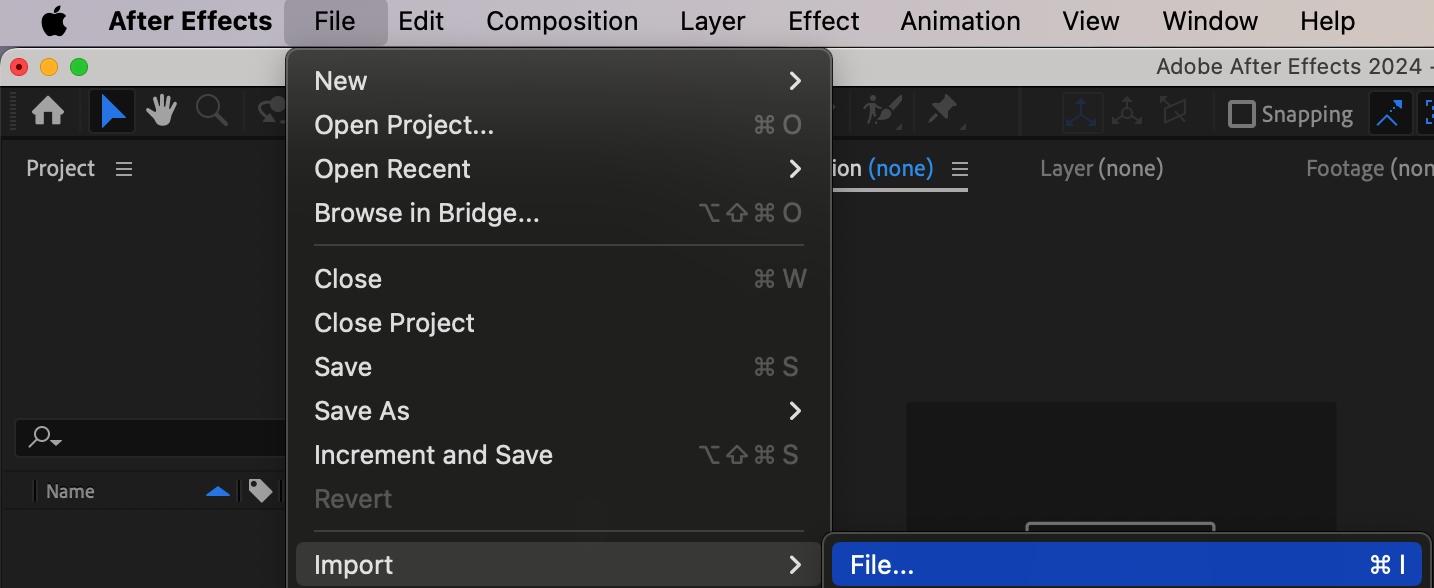 Step 2: Create a New Composition
Get 10% off when you subscribe to our newsletter

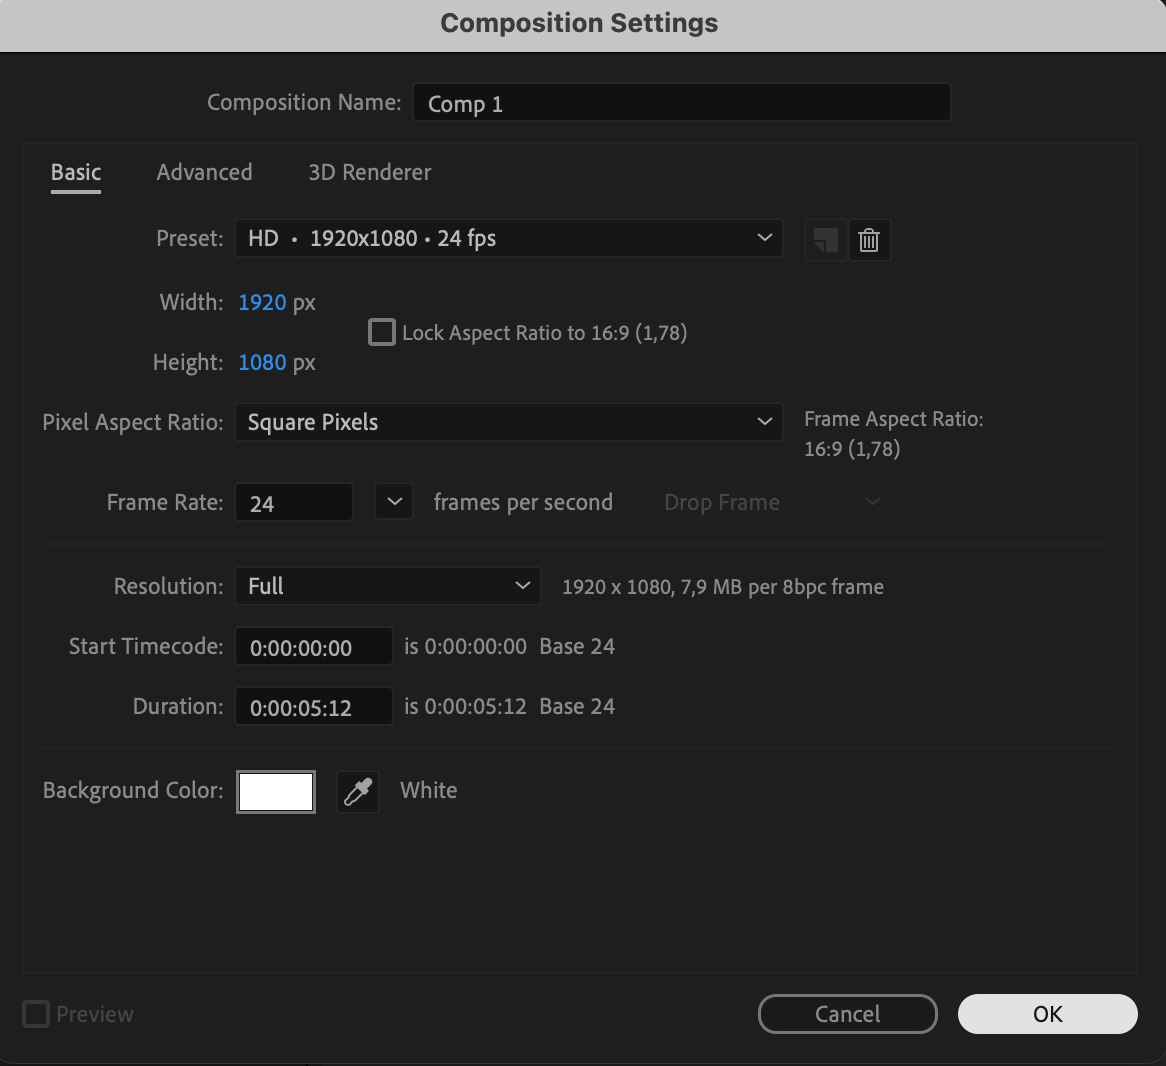
Next, you’ll need to create a new composition. Go to the “Composition” menu and select “New Composition.” Here, you can set the resolution, duration, and frame rate that best suit your project. After configuring these settings, click “OK” to create your composition. This step establishes the workspace where your motion path animation will take place.
 Step 3: Place the Object on the Timeline
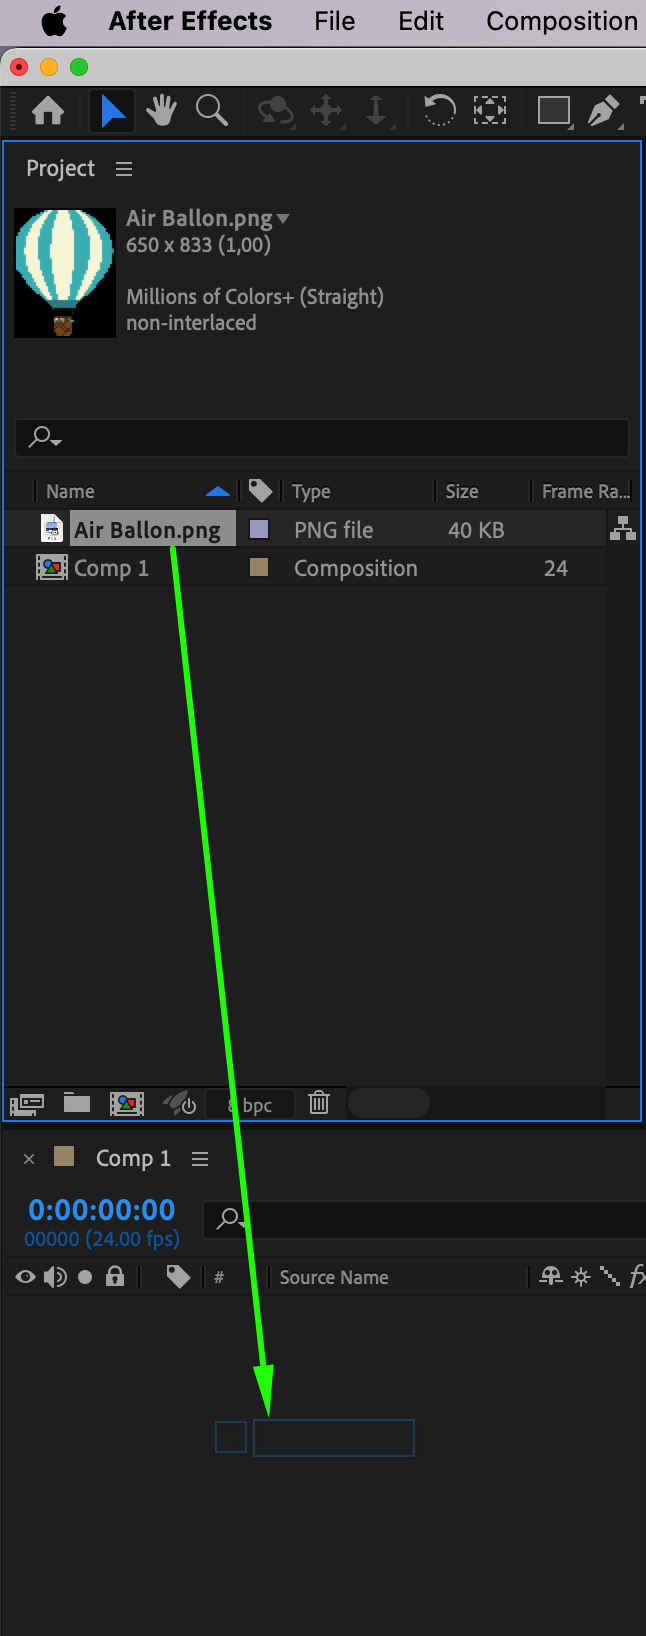
Now, place the object you want to animate along the motion path onto the timeline. This object could be text, an image, or a shape. You can create the object directly within After Effects using the shape or text tools, or you can import it from external sources.
 Step 4: Create a Null Object
To manage and control the motion path, you’ll use a null object. A null object is an invisible layer that acts as a control point for other layers in your composition. To create one, go to the Layer menu, select New, and choose Null Object. This will create a new null object layer in your timeline. The null object layer will serve as the anchor for your motion path, allowing you to animate other layers relative to its position and movement.
Step 5: Link the Object to the Null Object
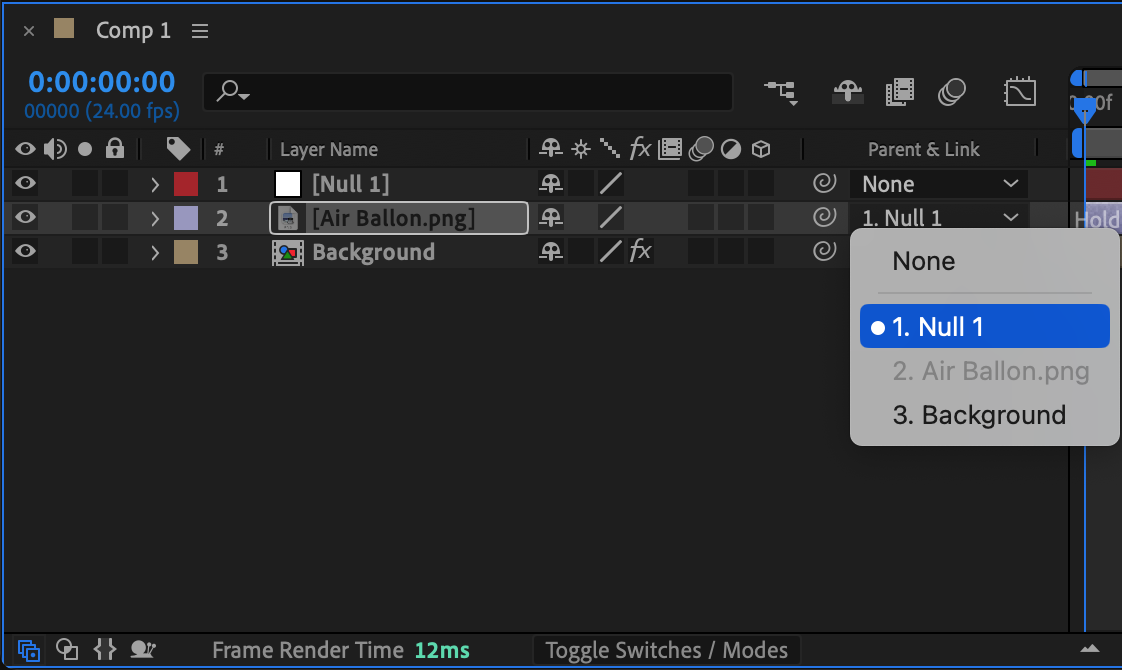
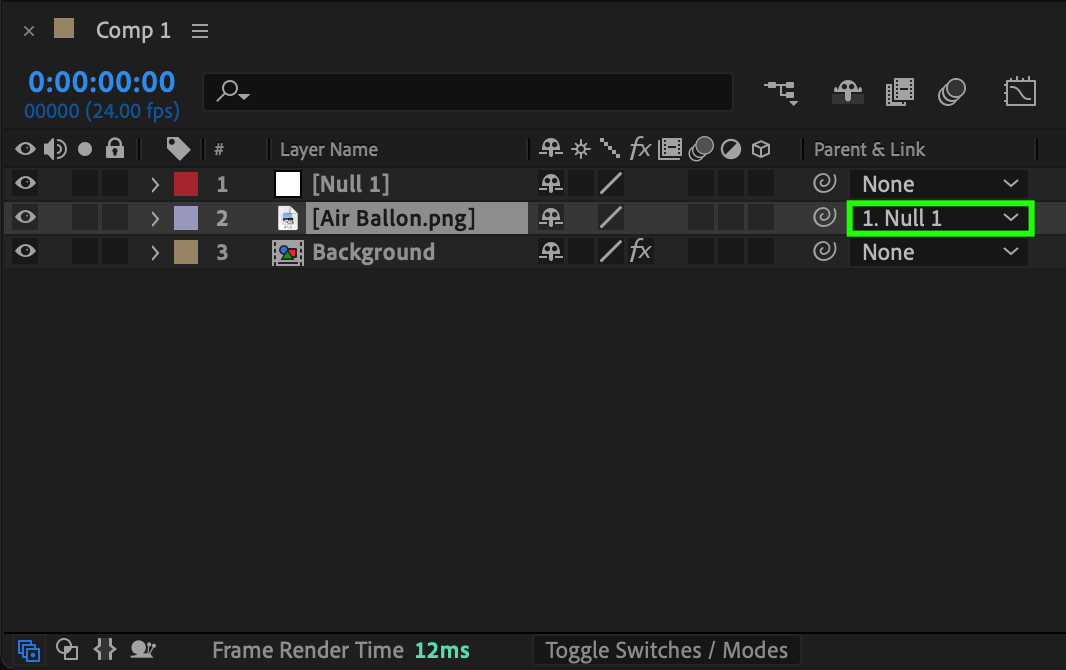
With the null object in place, the next step is to link your main object to the null object. In the timeline, select the layer of the object you wish to animate. Locate the pick whip icon (a swirl icon) next to the Parent property and drag it onto the null object layer. Alternatively, you can use the “Parent & Link” column to establish this connection. This step ensures that your object follows the motion path dictated by the null object.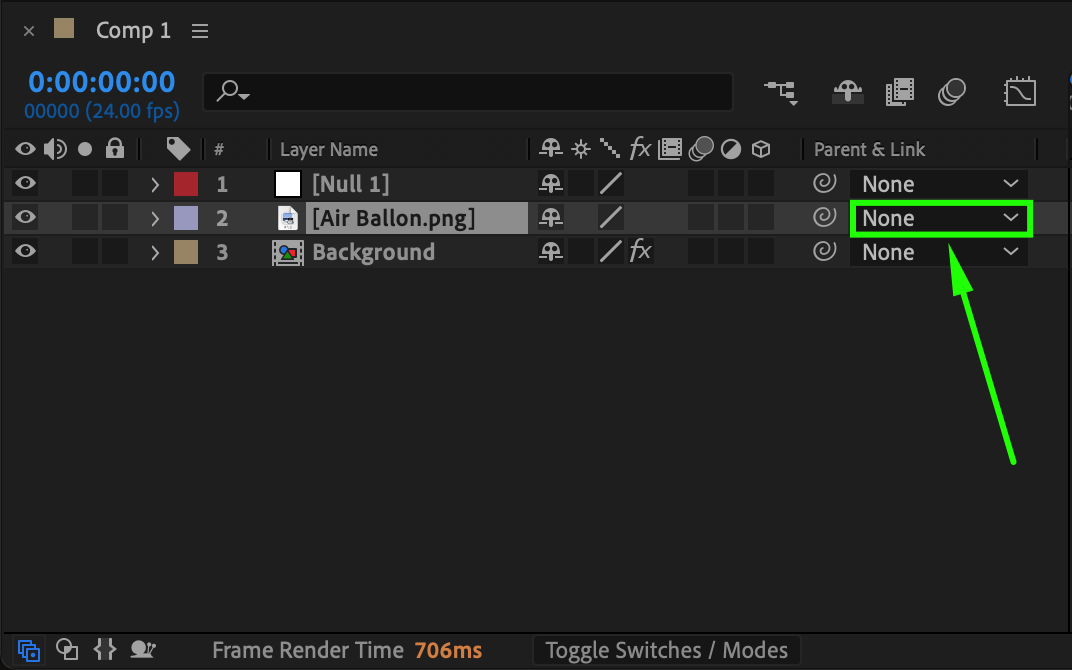
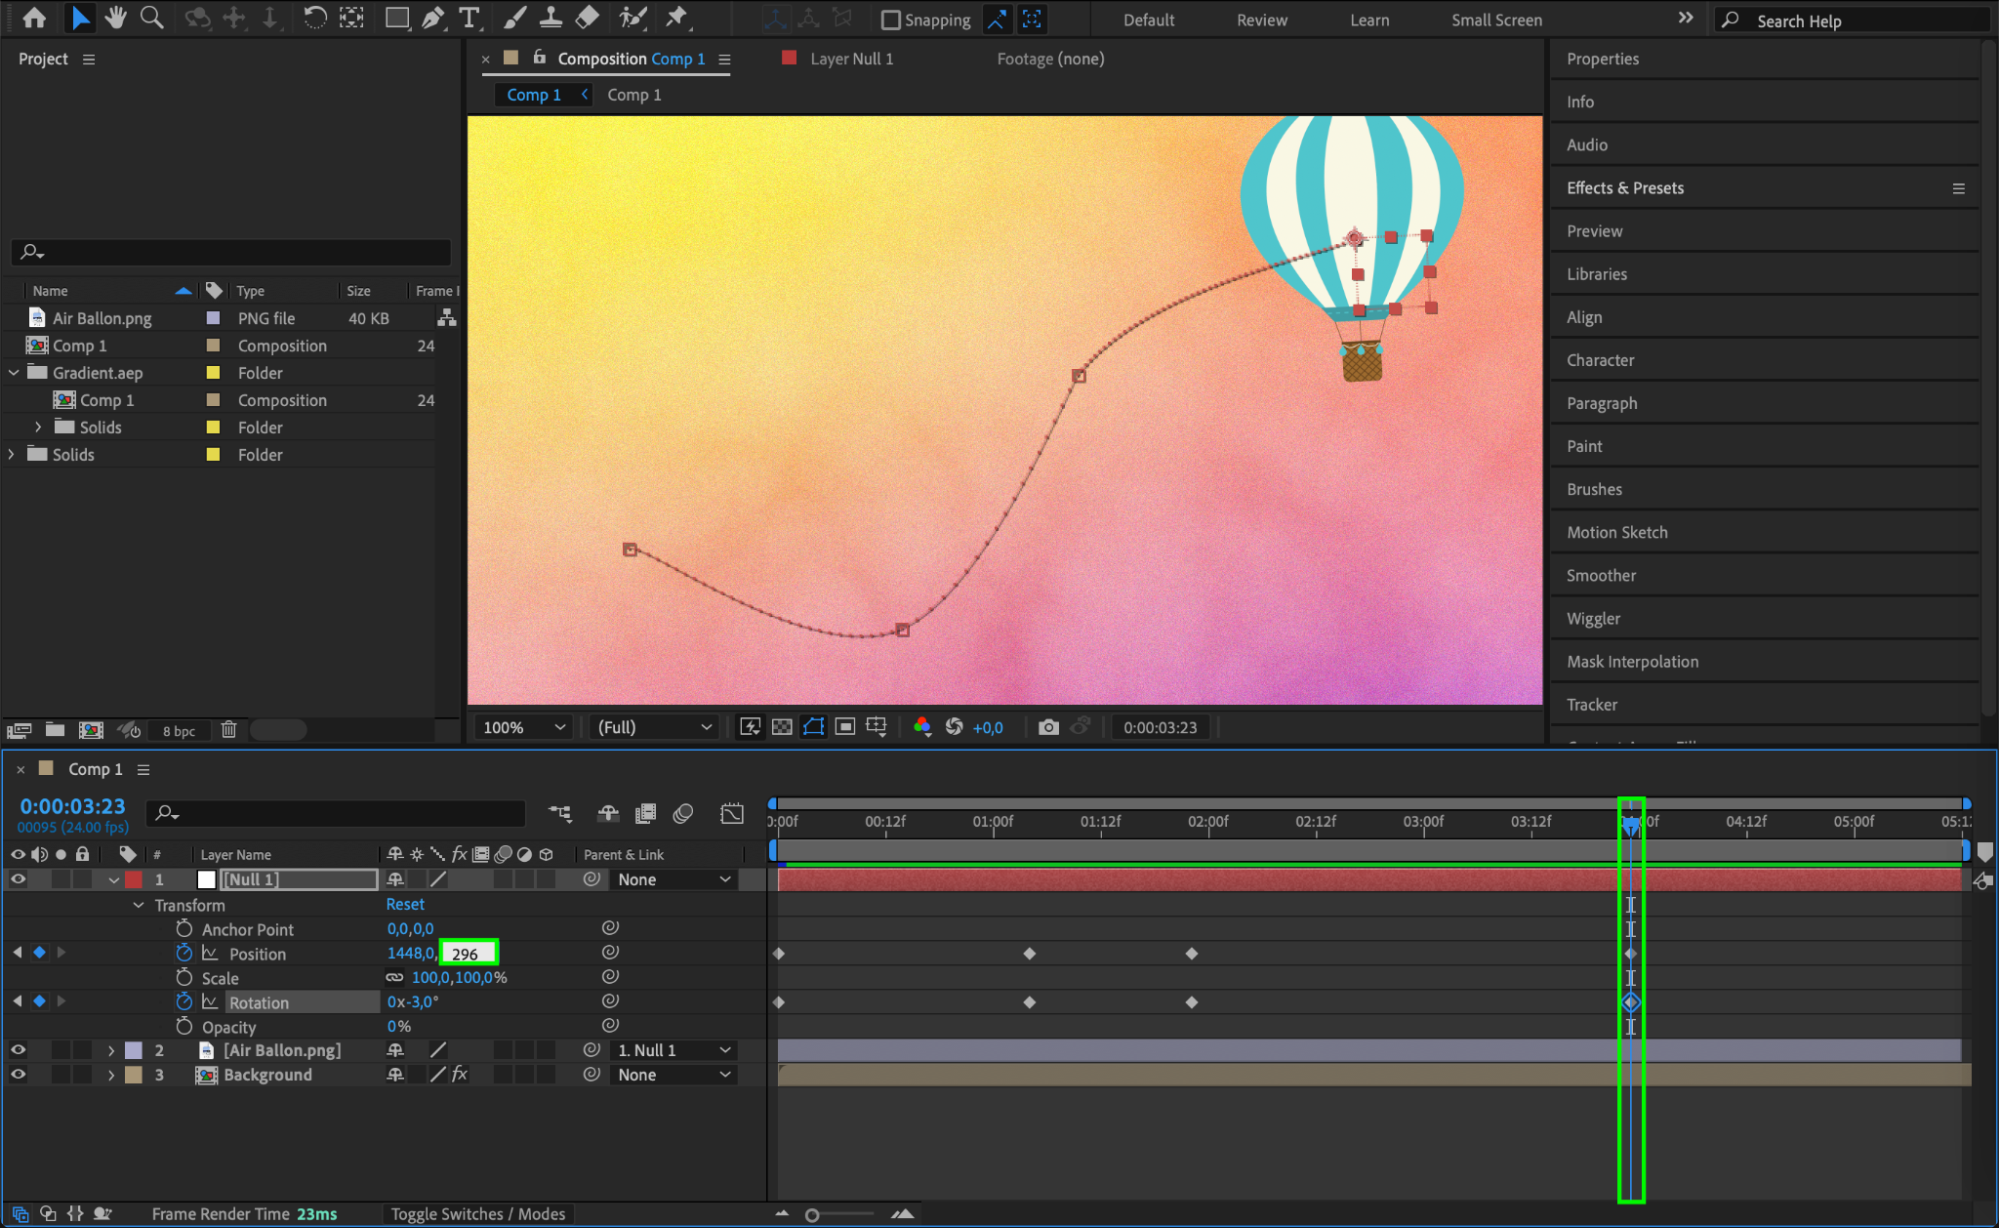
 Step 6: Create the Motion Path
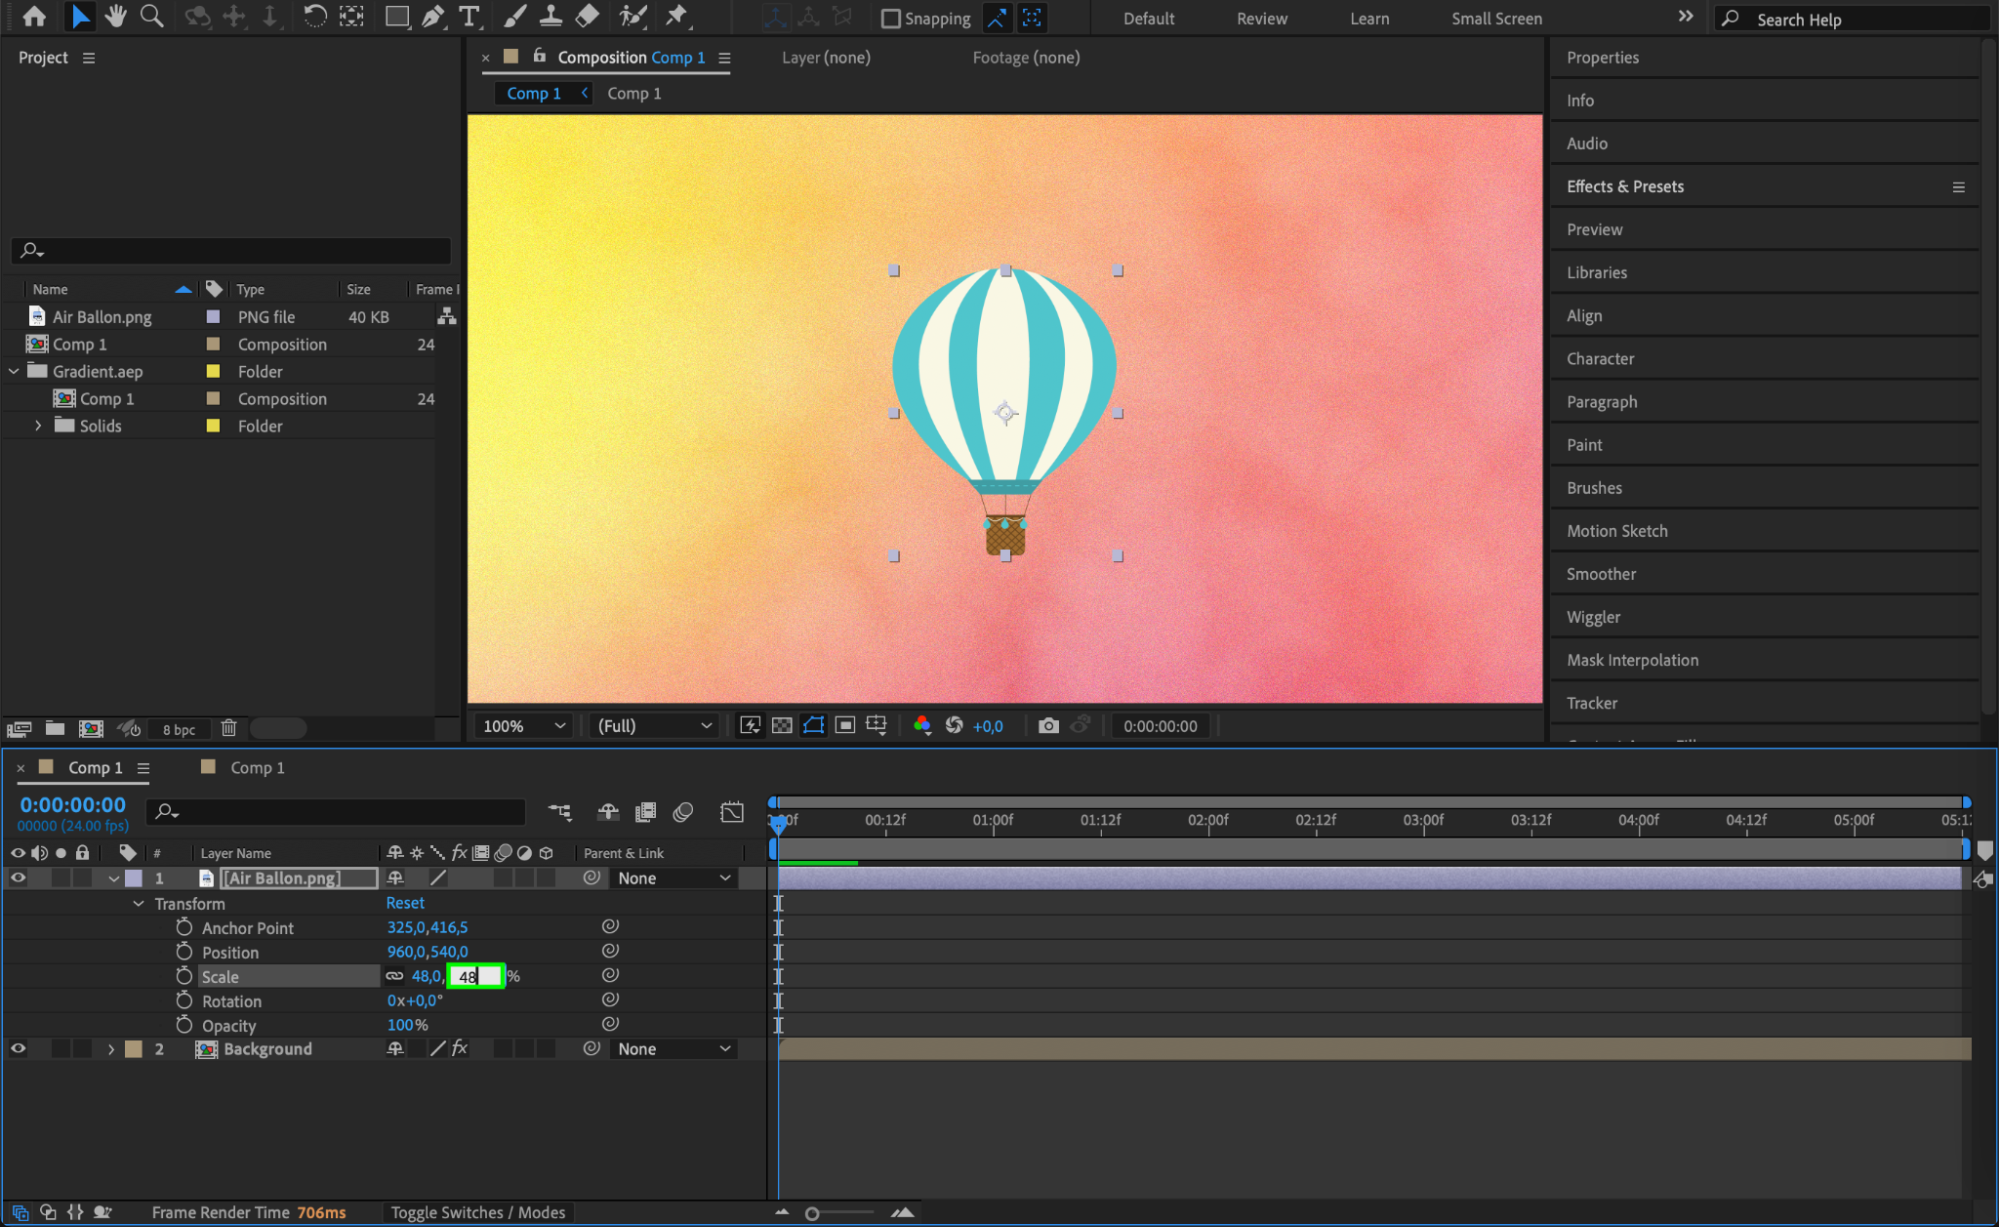
To create the motion path, select the null object layer in the timeline and expand its properties by clicking the arrow next to its name. Under the “Transform” section, you can animate various parameters such as Position, Scale, Opacity, Rotation, and Anchor Point. Start by setting the first keyframe by clicking the stopwatch icon next to the parameter you wish to animate. Then, move the Current Time Indicator forward on the timeline and adjust the parameter values to create additional keyframes. This sequence of keyframes will form your motion path.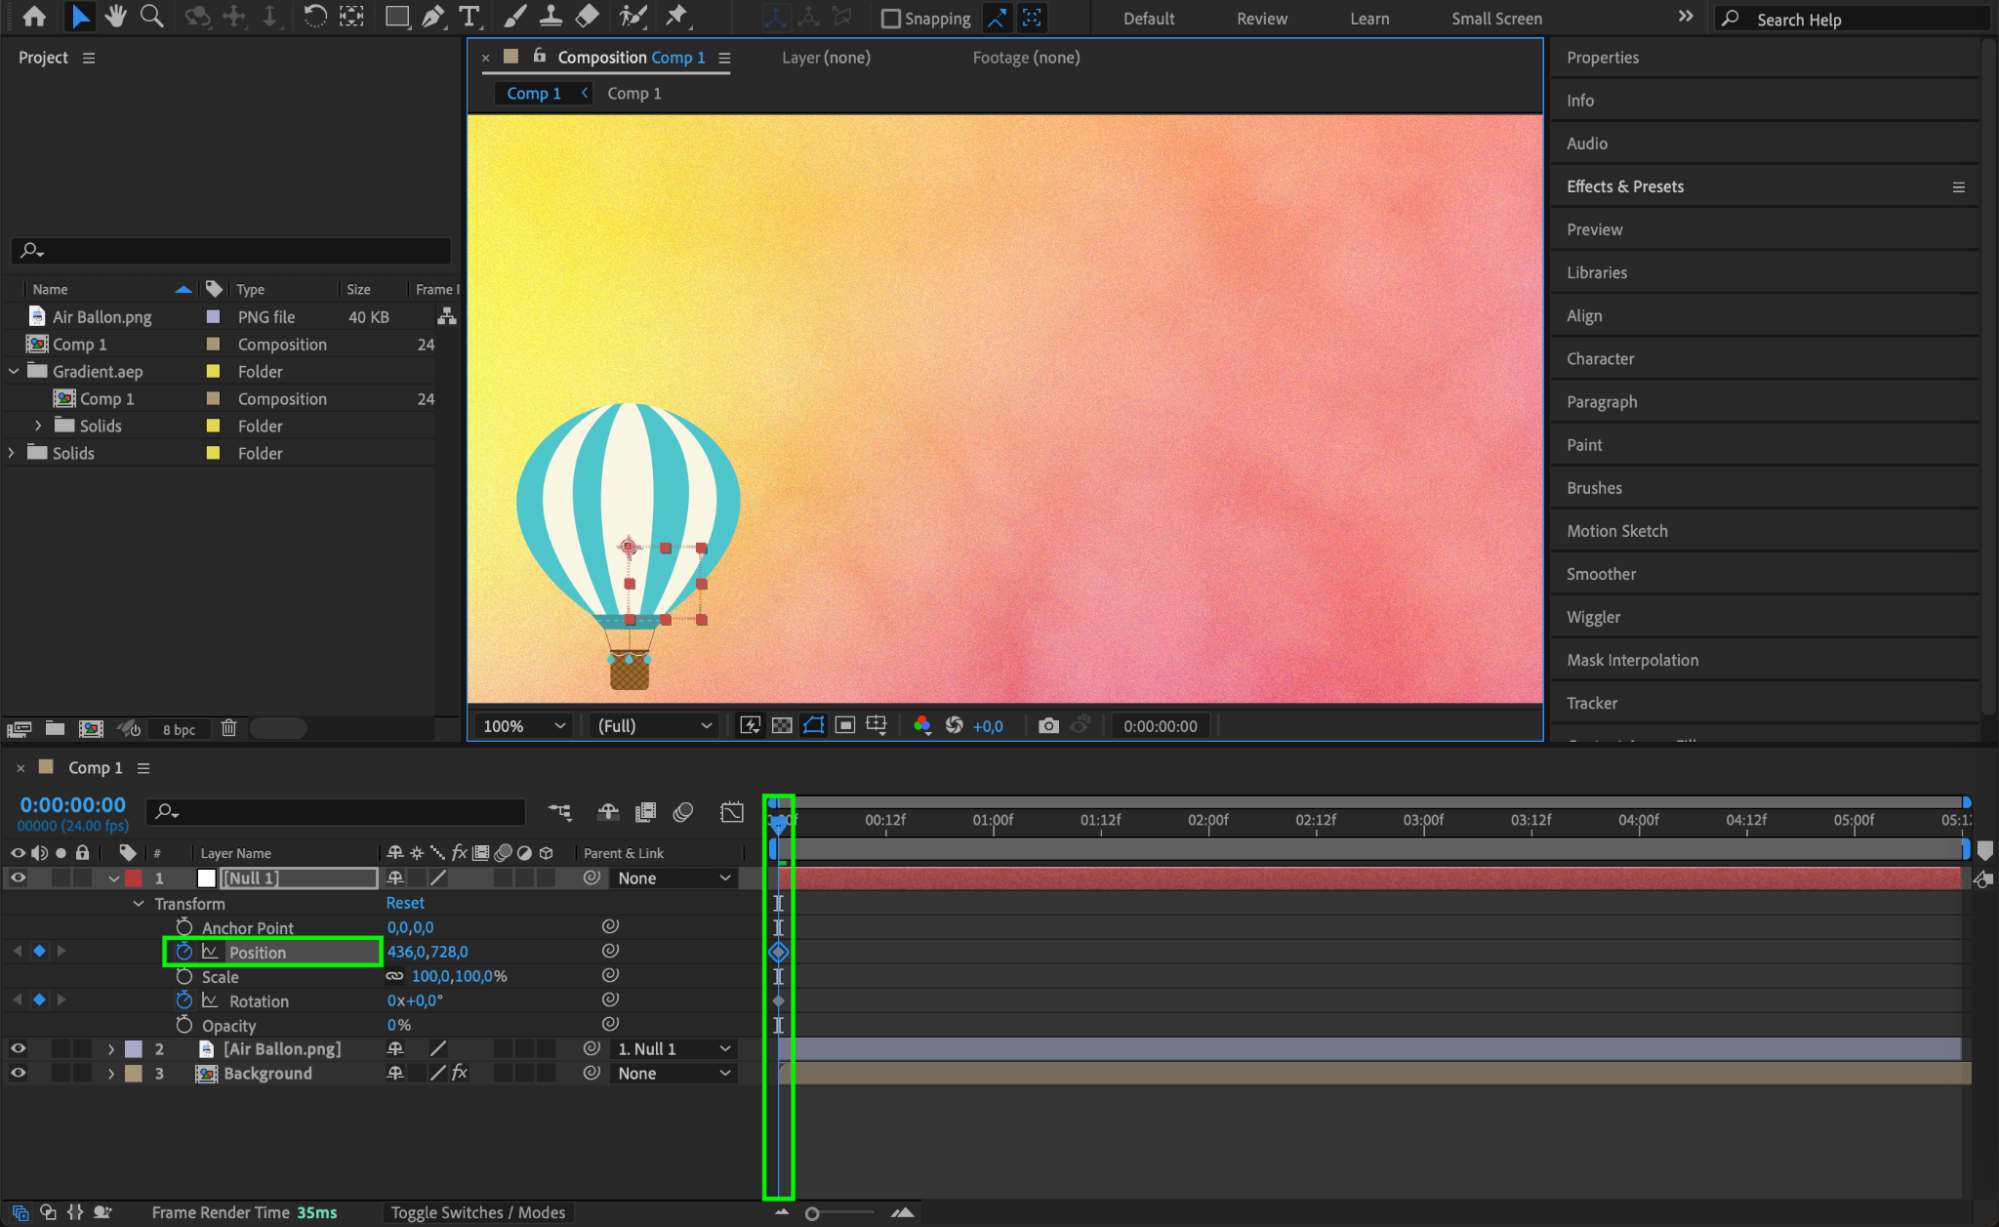
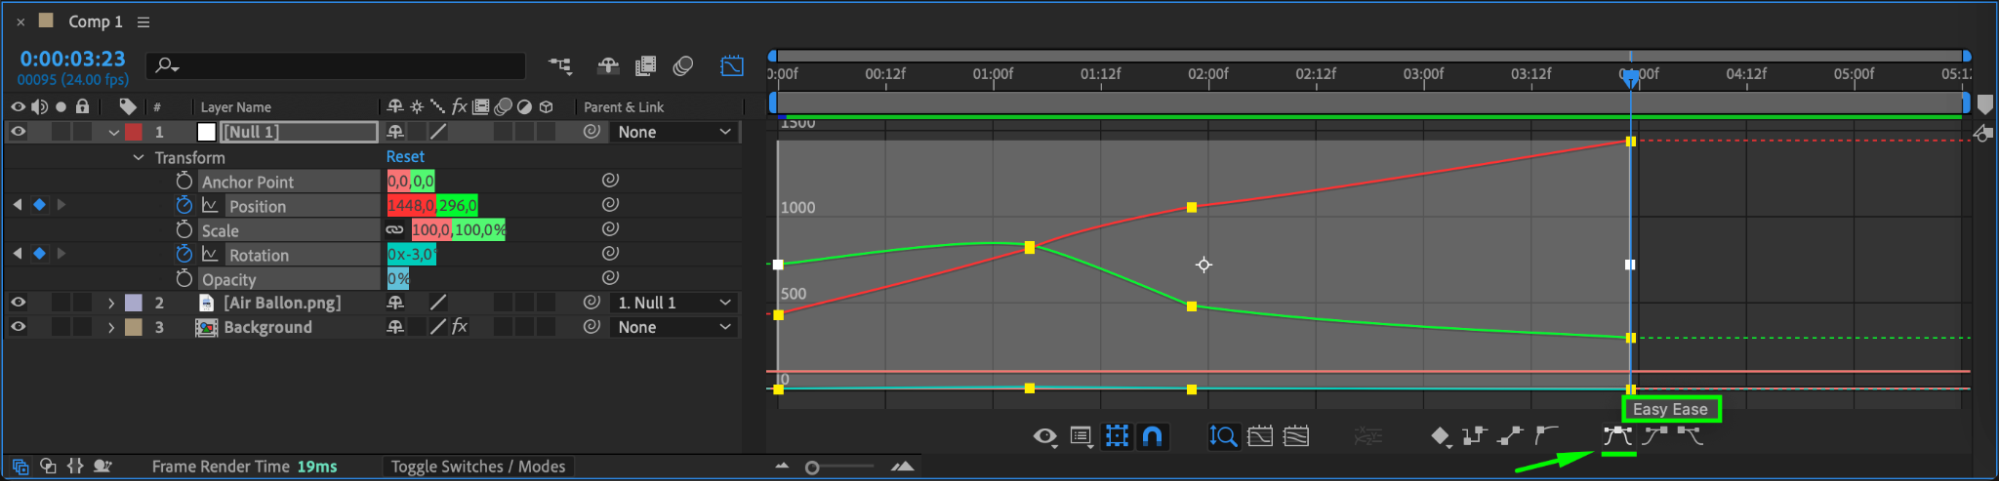
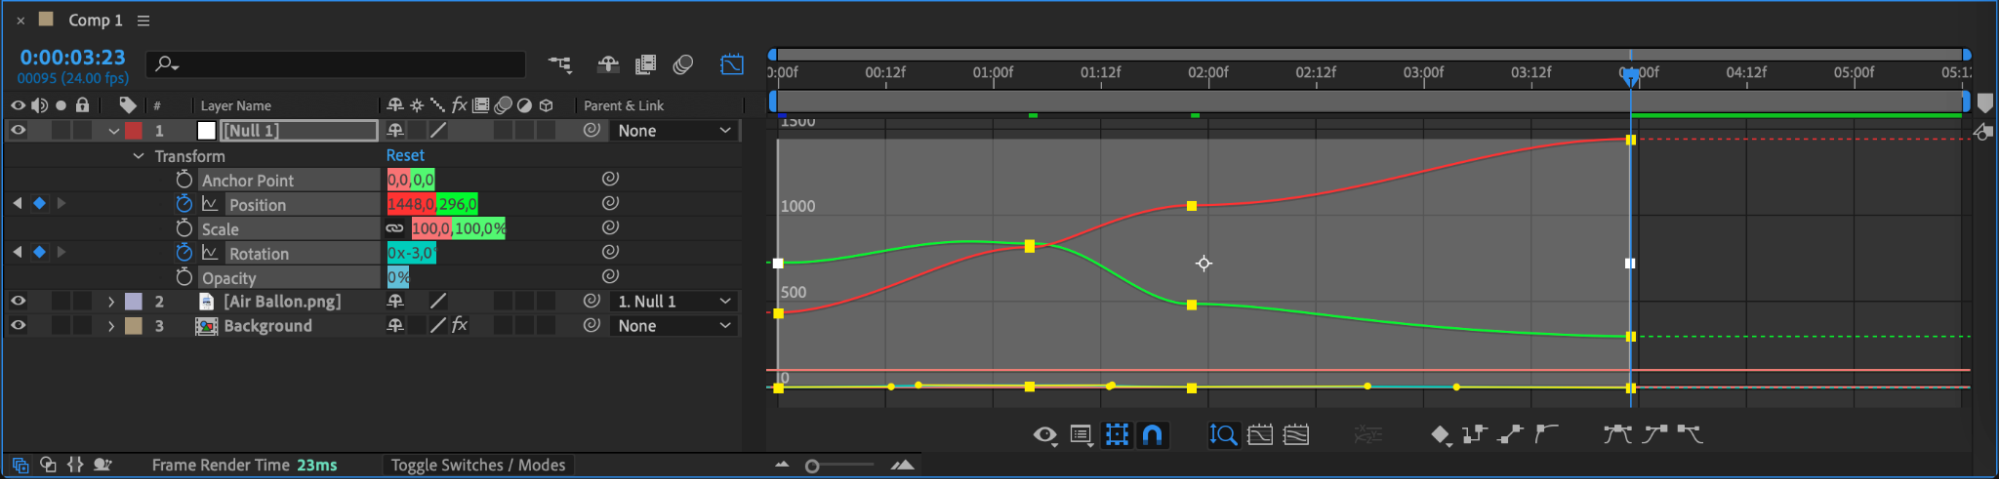
 Step 7: Refine the Motion Path
After setting up your initial motion path, you can refine and customize it to achieve smoother and more precise animation. Adjust the position keyframes directly on the timeline to fine-tune the motion path. For more control, use the Graph Editor, which offers a visual representation of your motion. The Graph Editor allows you to create smooth curves and apply easing effects to adjust the speed and acceleration of your animated object along the path. By manipulating the graph, you can achieve more fluid and natural movements in your animation.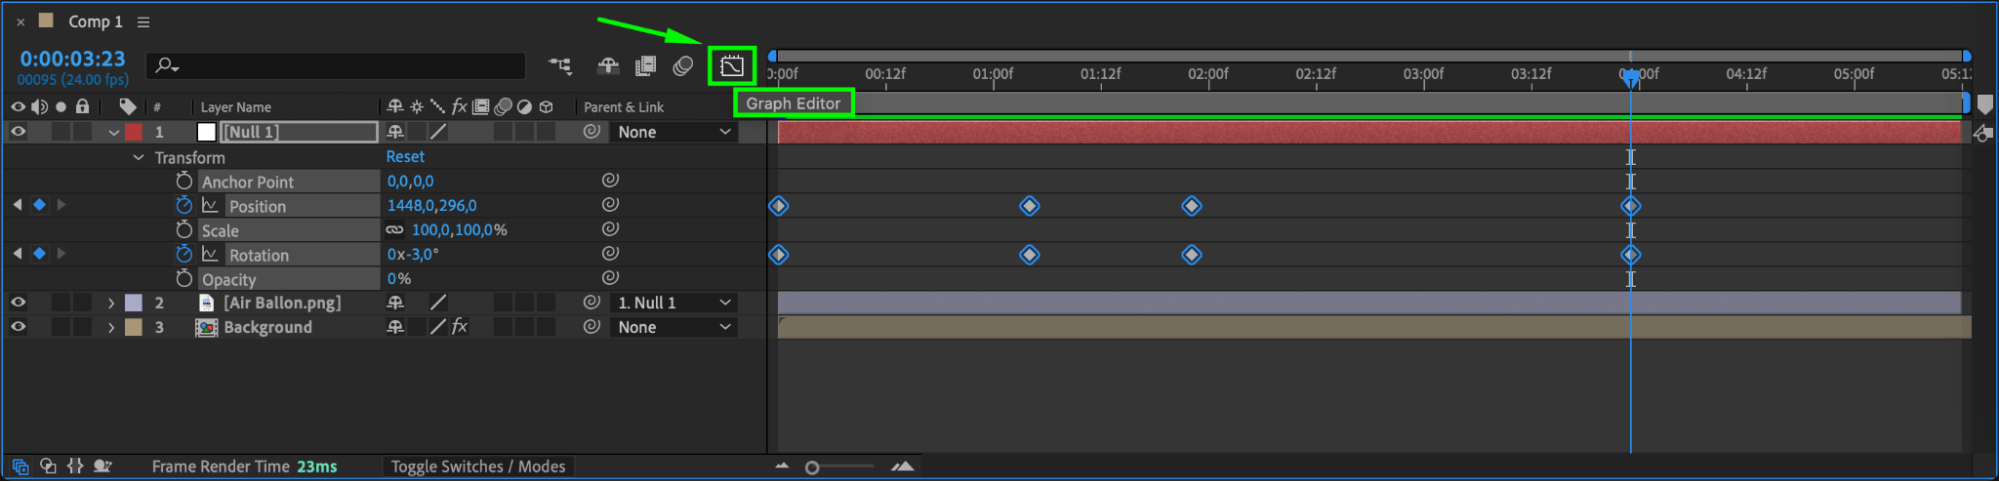
 Step 8: Preview and Refine
Before finalizing your animation, preview it to ensure everything looks as expected. You can scrub through the timeline or press the spacebar to play the composition. If the motion path doesn’t look quite right, return to the timeline to adjust the keyframes until the animation flows smoothly and meets your vision.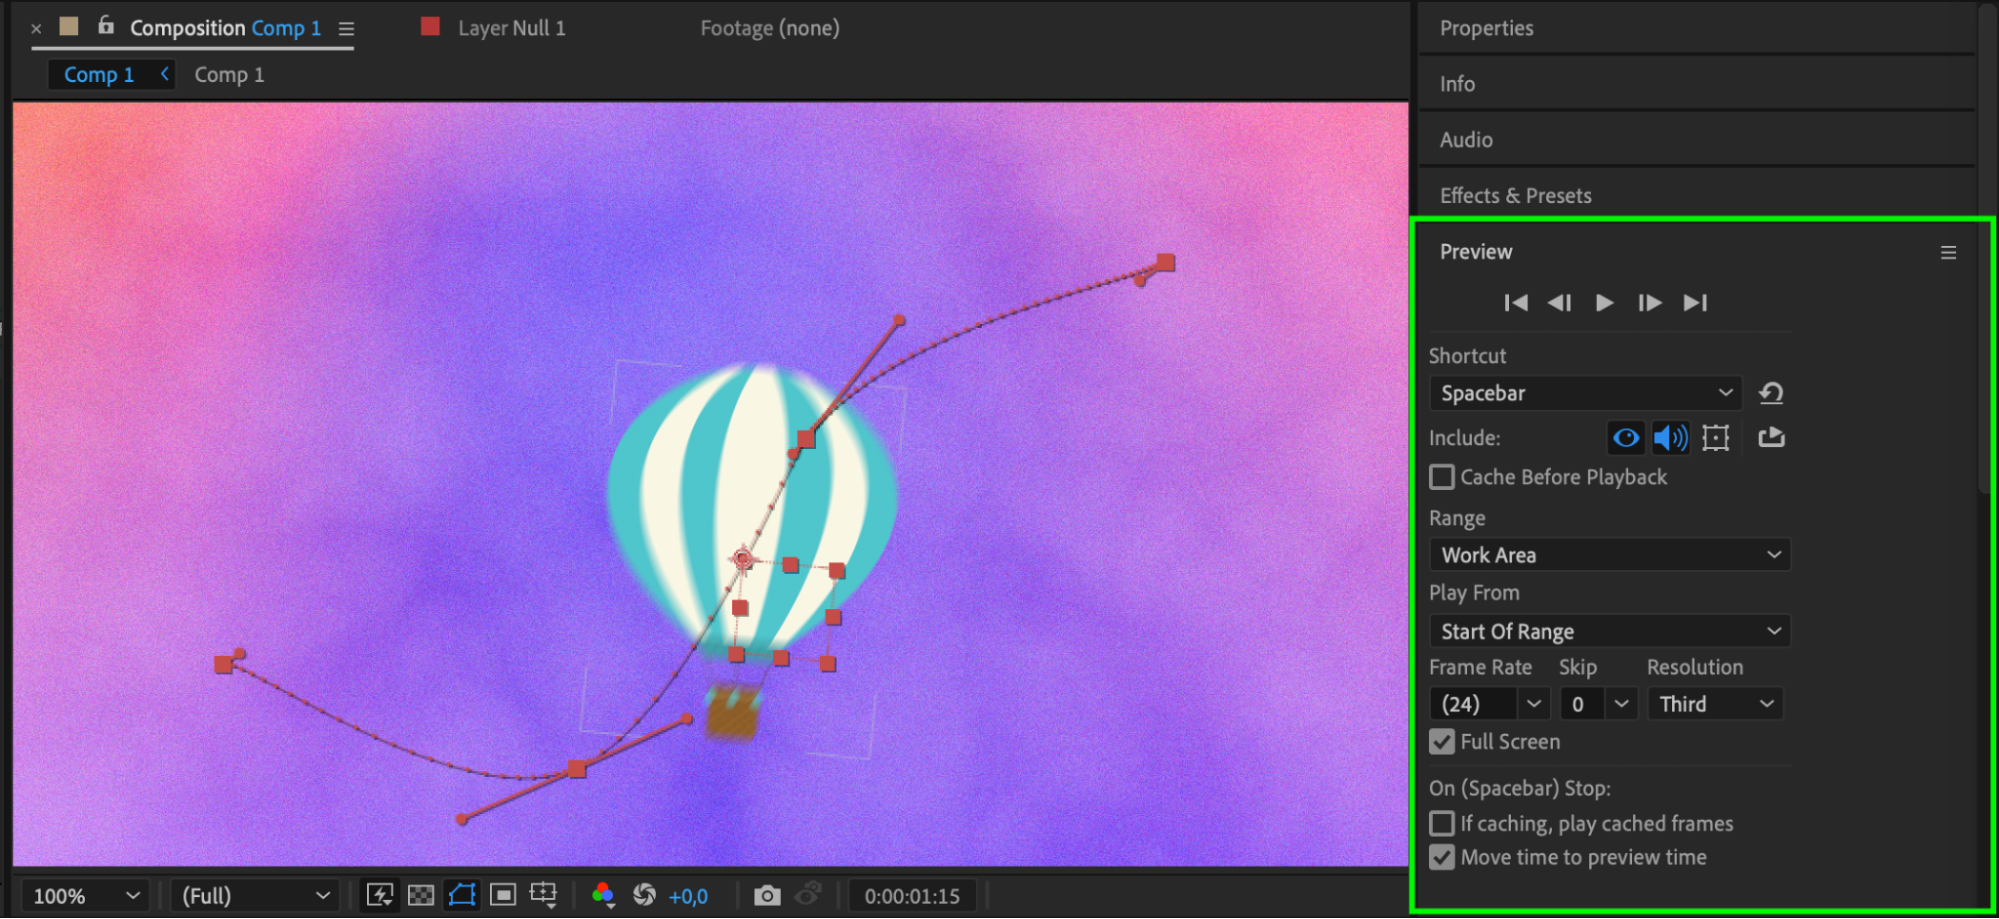 Step 9: Export Your Animation
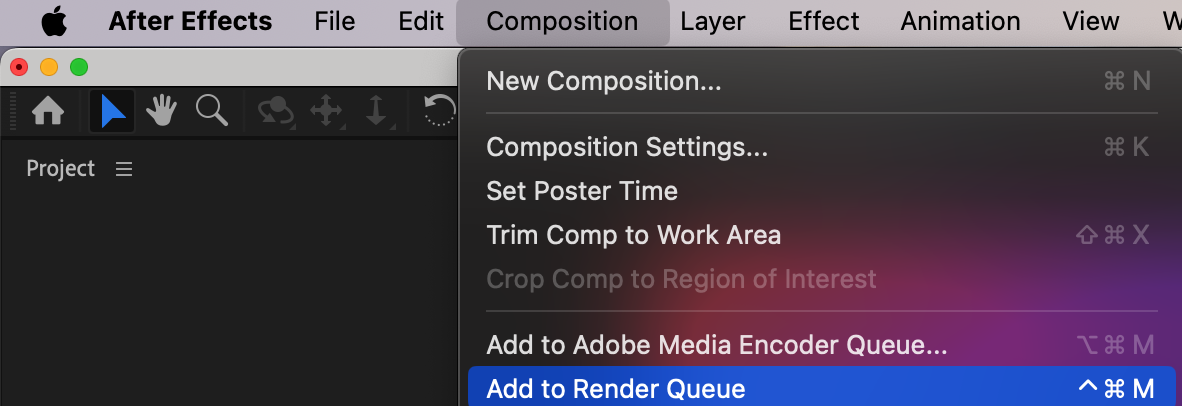
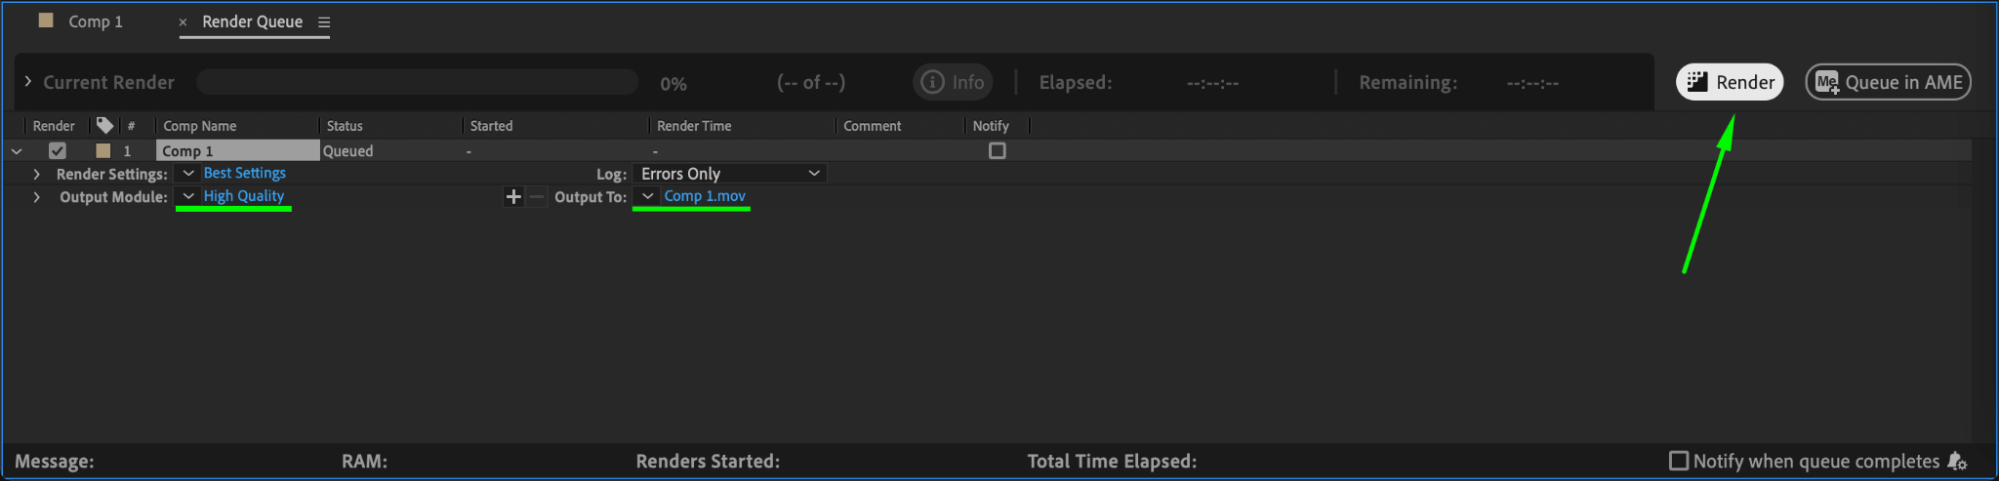
Once you’re satisfied with your motion path, it’s time to export the final composition. Go to the “Composition” menu and select “Add to Render Queue.” Configure the render settings, choose your desired output format, and click “Render” to export the video. Your motion path animation will be included in the final render, ready for use in your projects.
Conclusion
By following these steps, you can create captivating motion paths in Adobe After Effects, bringing your video projects to life with dynamic animations. Experiment with different paths, timing, and effects to achieve unique and compelling results. Dive into After Effects, and let your creativity soar with motion paths!
Our Bestsellers


