Creating a Seamless Pattern in After Effects
Introduction
Patterns are widely used in motion design to create visually appealing backgrounds and loops. In this tutorial, you will learn how to create an animated pattern in After Effects using shape layers, keyframe animations, and the CC Repetile effect.
Step 1: Create a New Composition
Get 10% off when you subscribe to our newsletter

Start by creating a new composition. Set the width and height to 600×600, the frame rate to 30 fps, and the duration to 1 second and 20 frames. This will serve as the base for the animated pattern element.
 Step 2: Create a Rounded Rectangle Shape
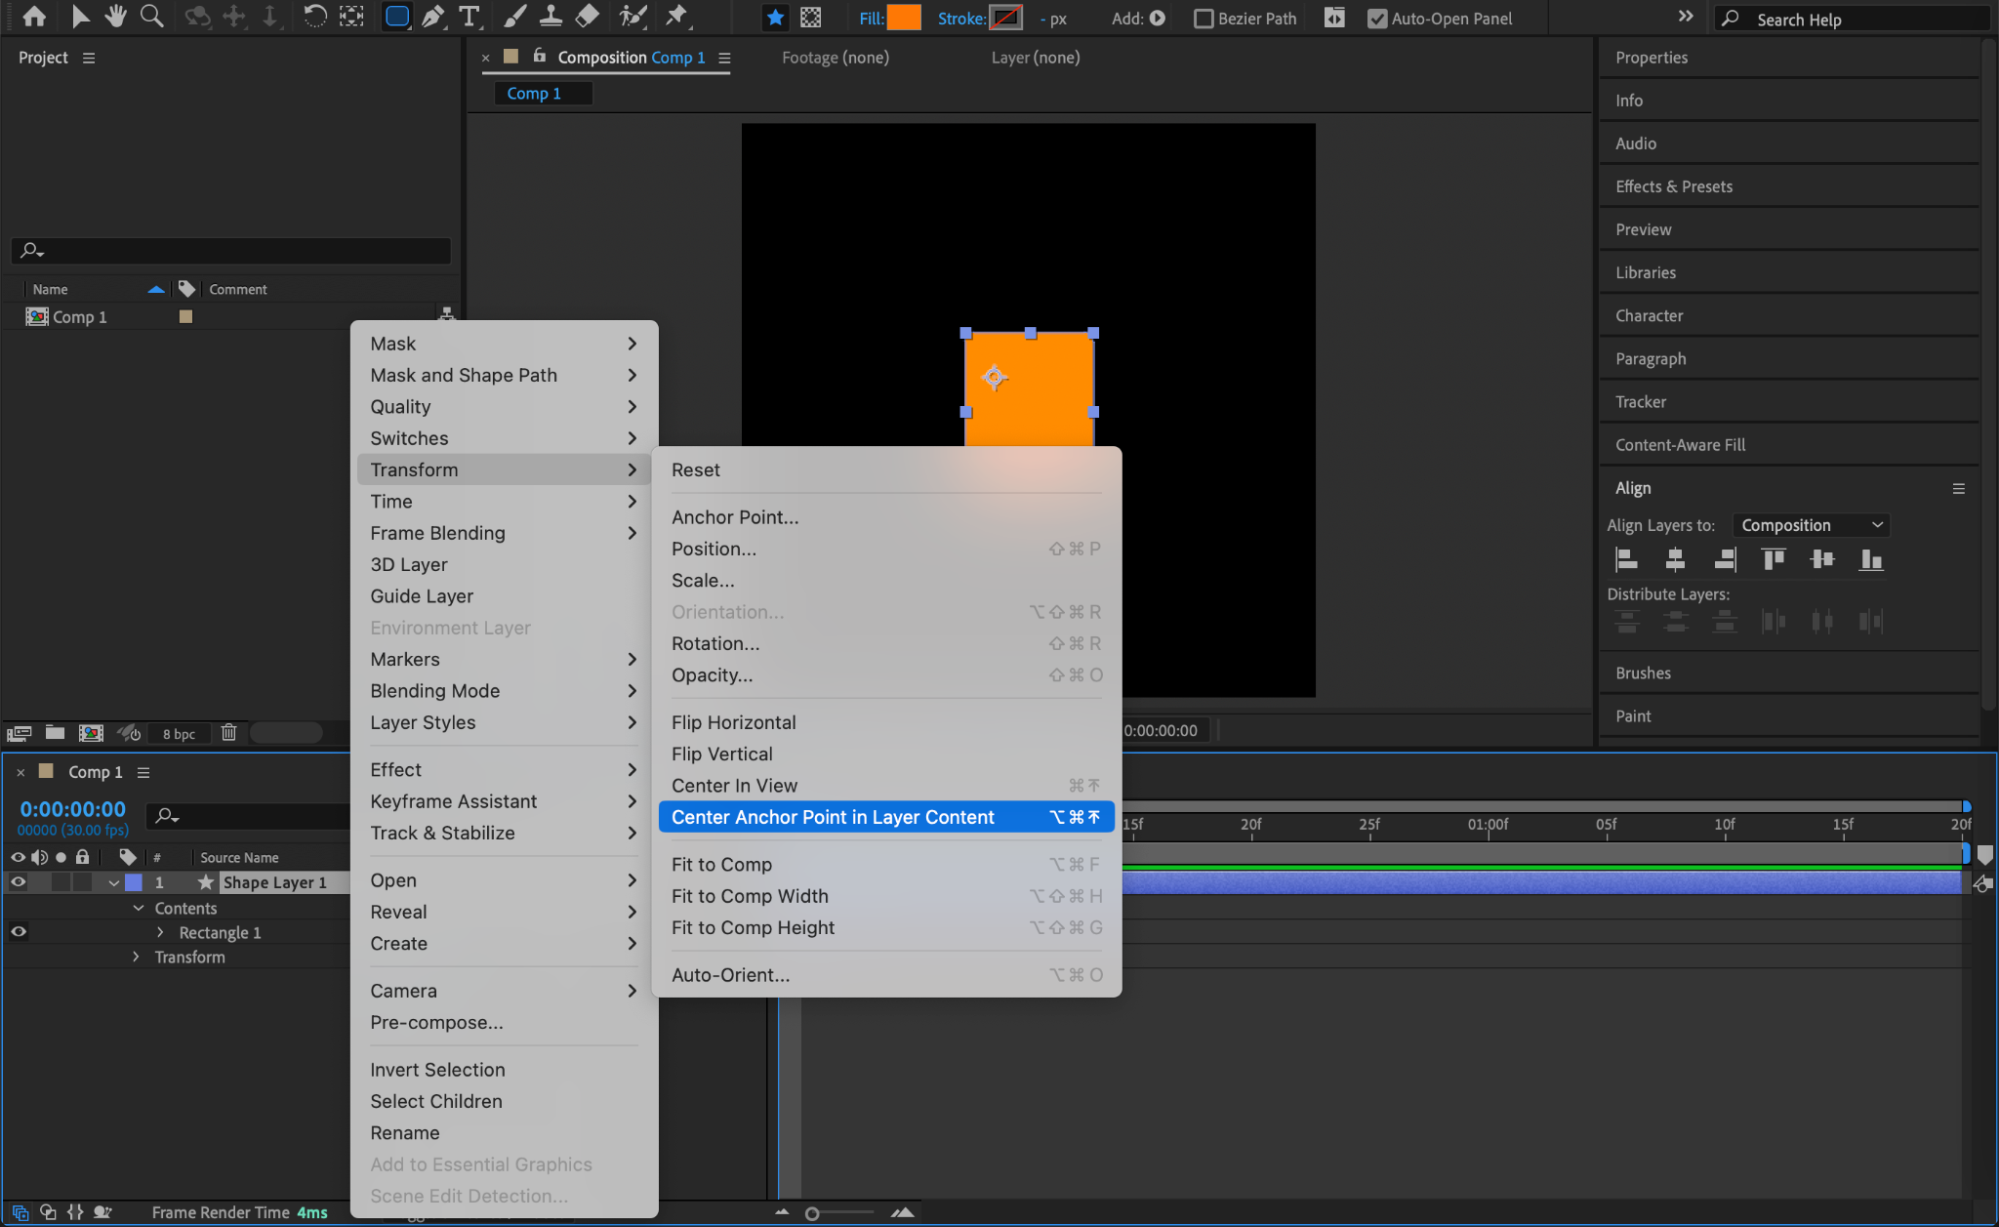
Select the Rounded Rectangle Tool (Q) and draw a shape with an orange fill color, no stroke. Align it to the center both vertically and horizontally. Then, right-click the layer and go to Transform > Center Anchor Point in Layer Content to keep transformations accurate.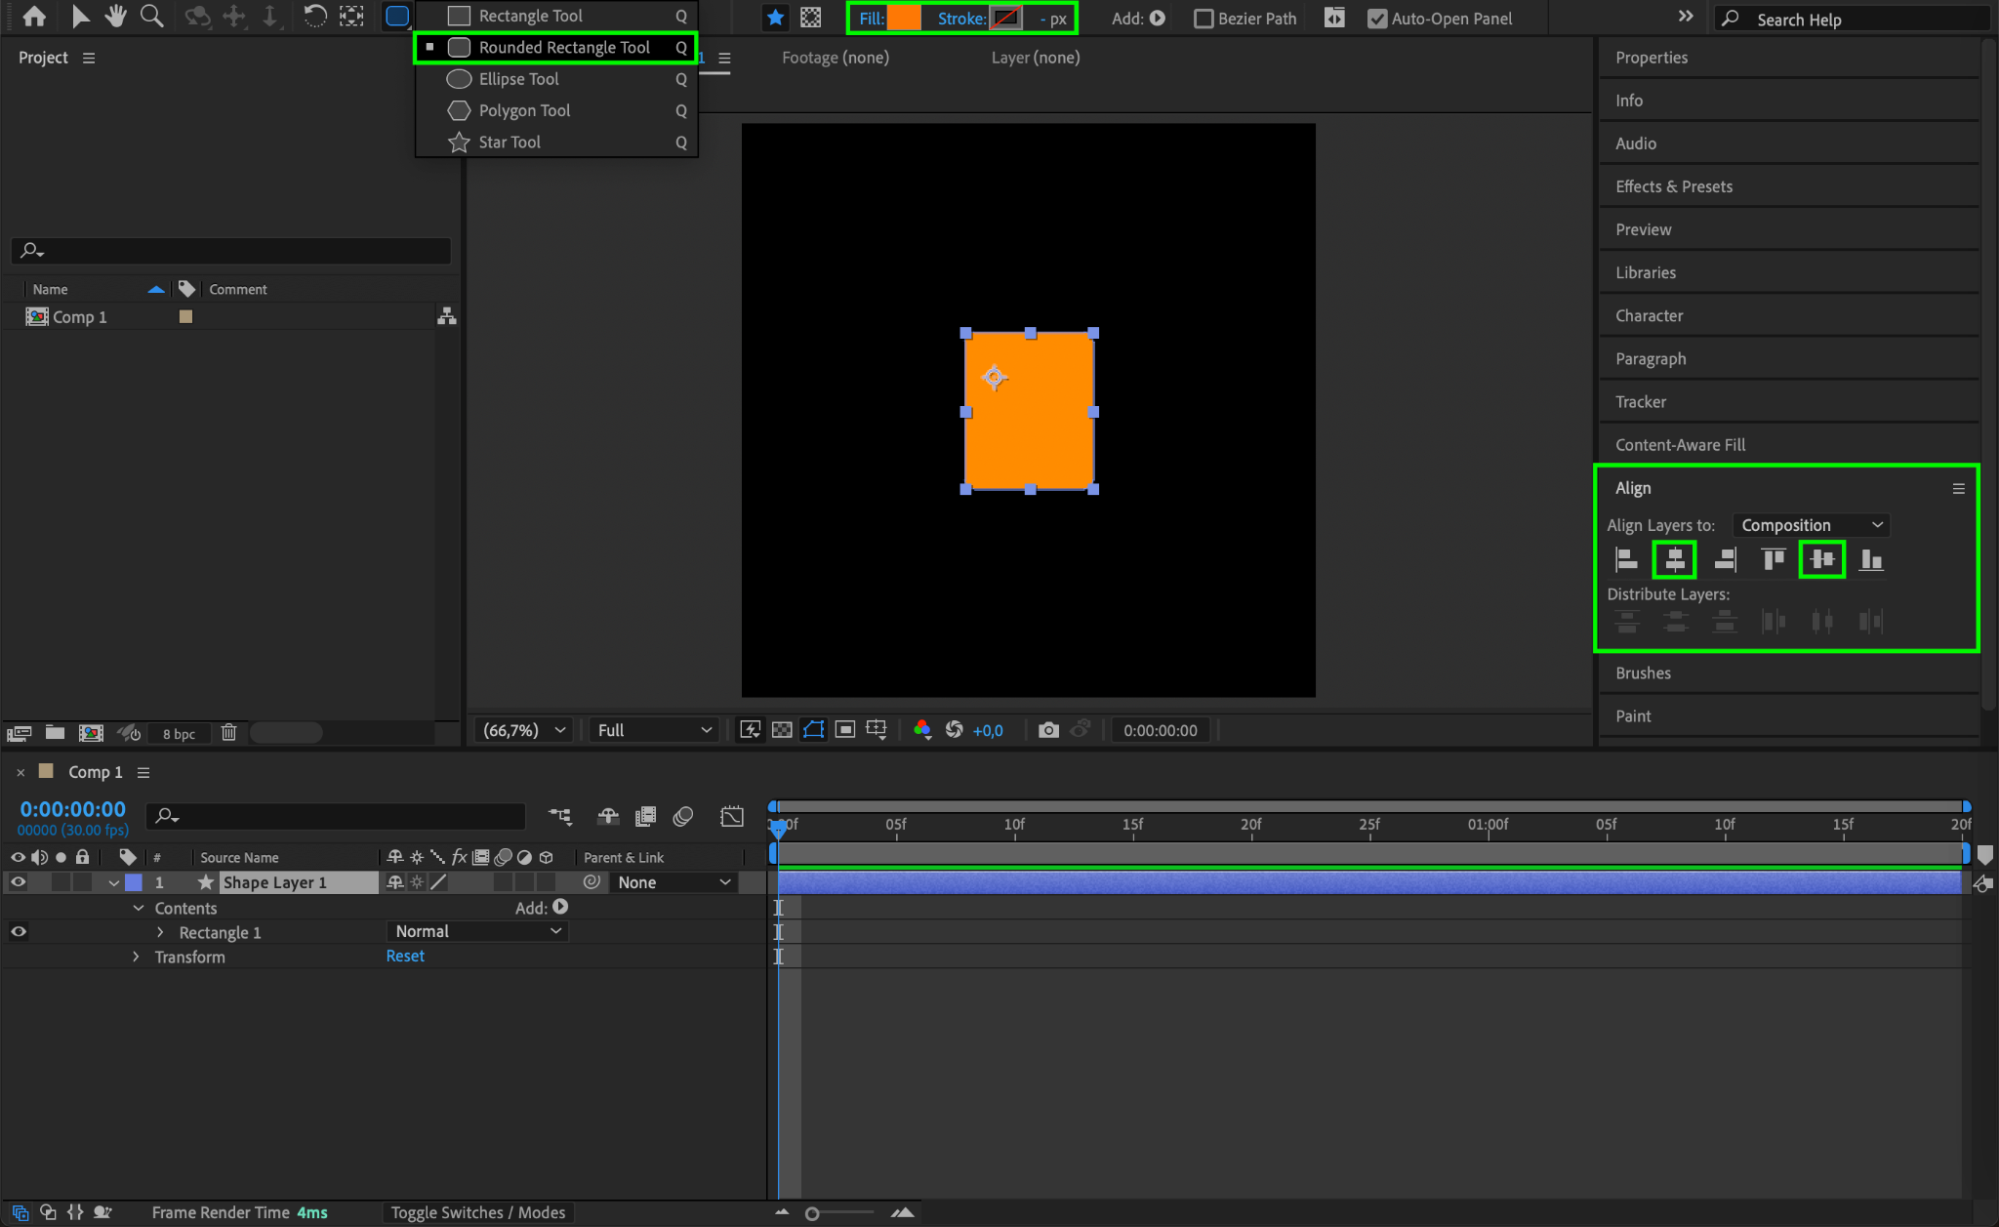
 Step 3: Animate the Shape’s Size
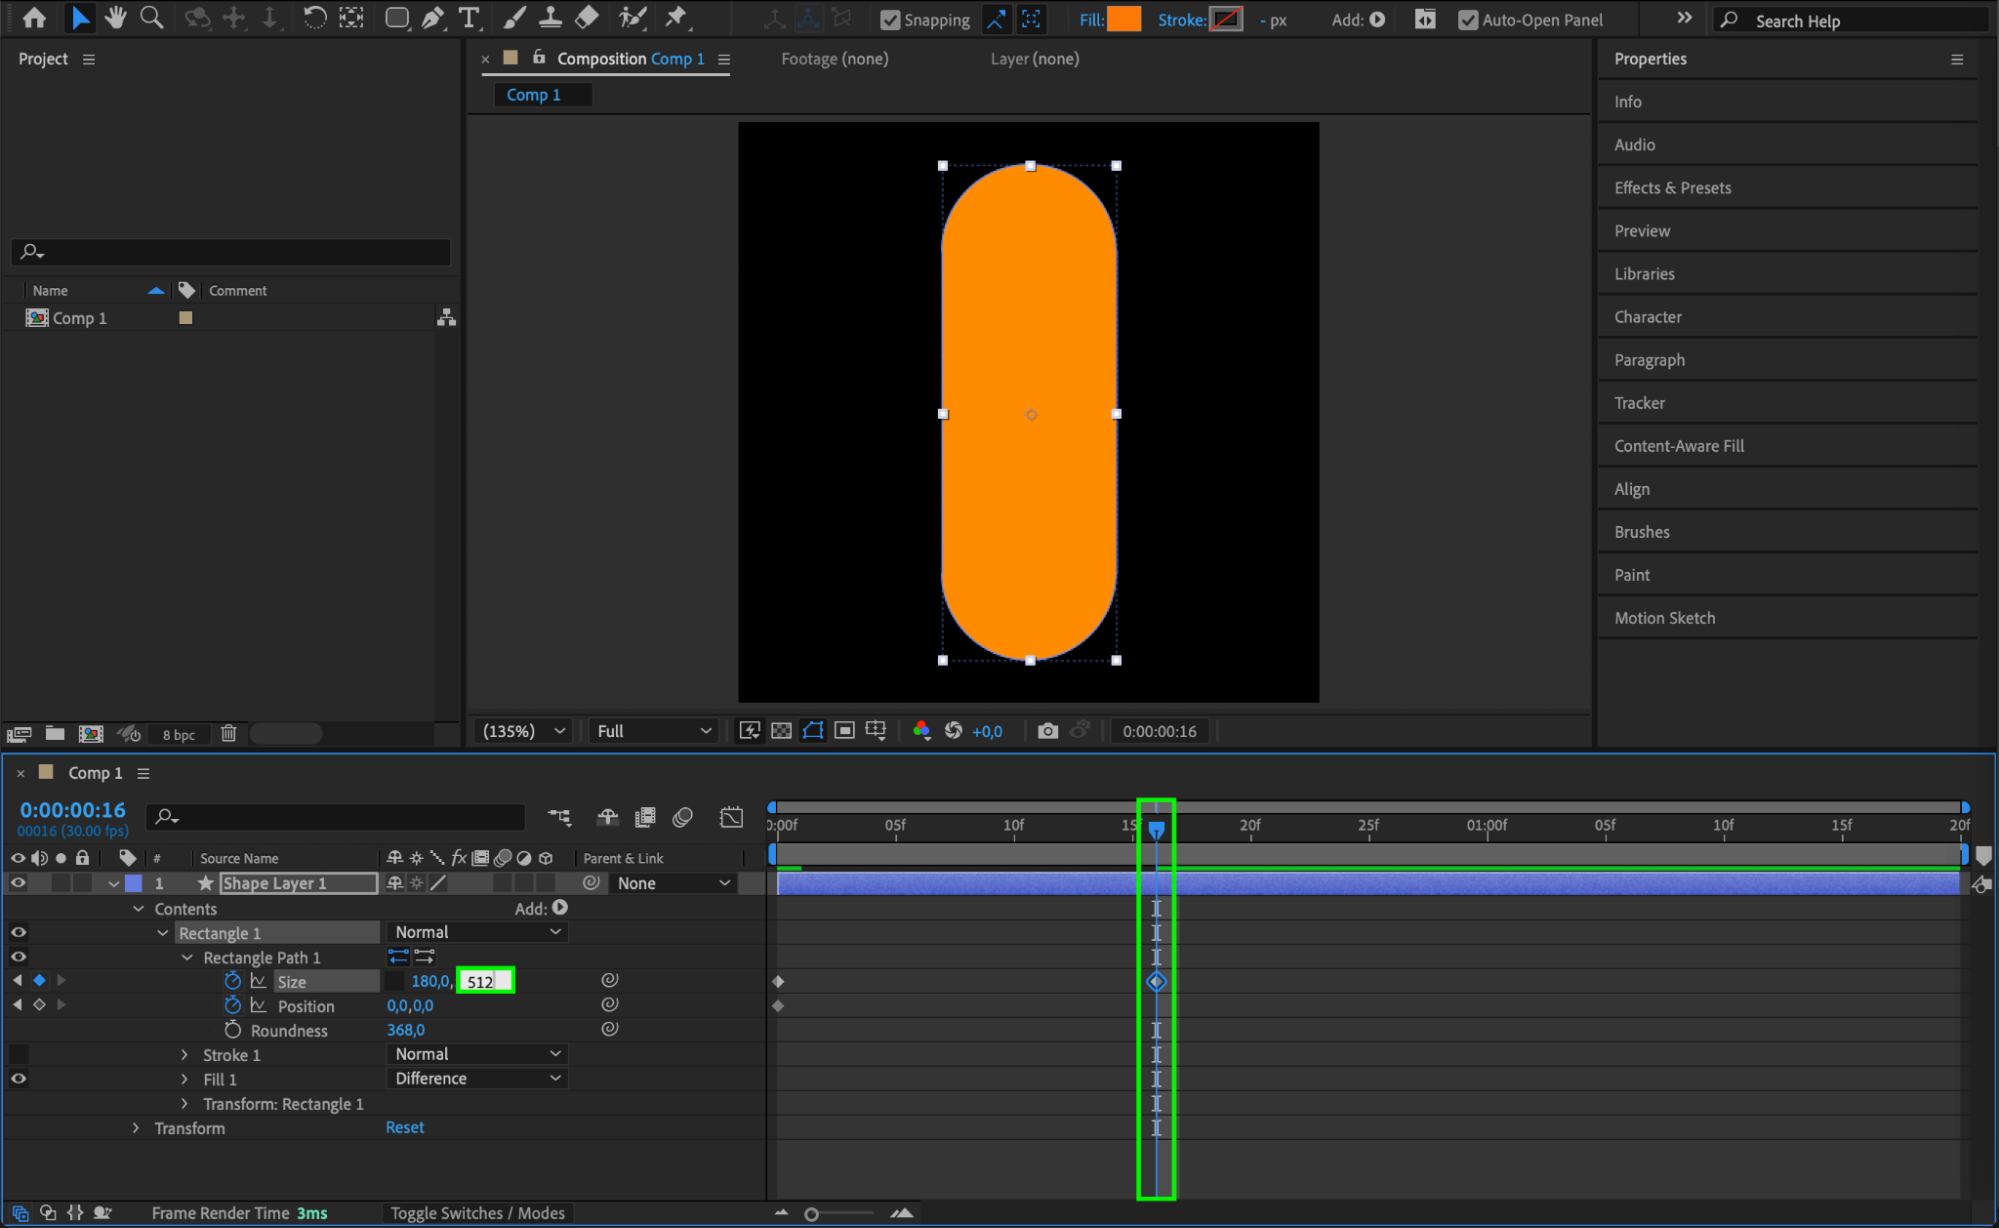
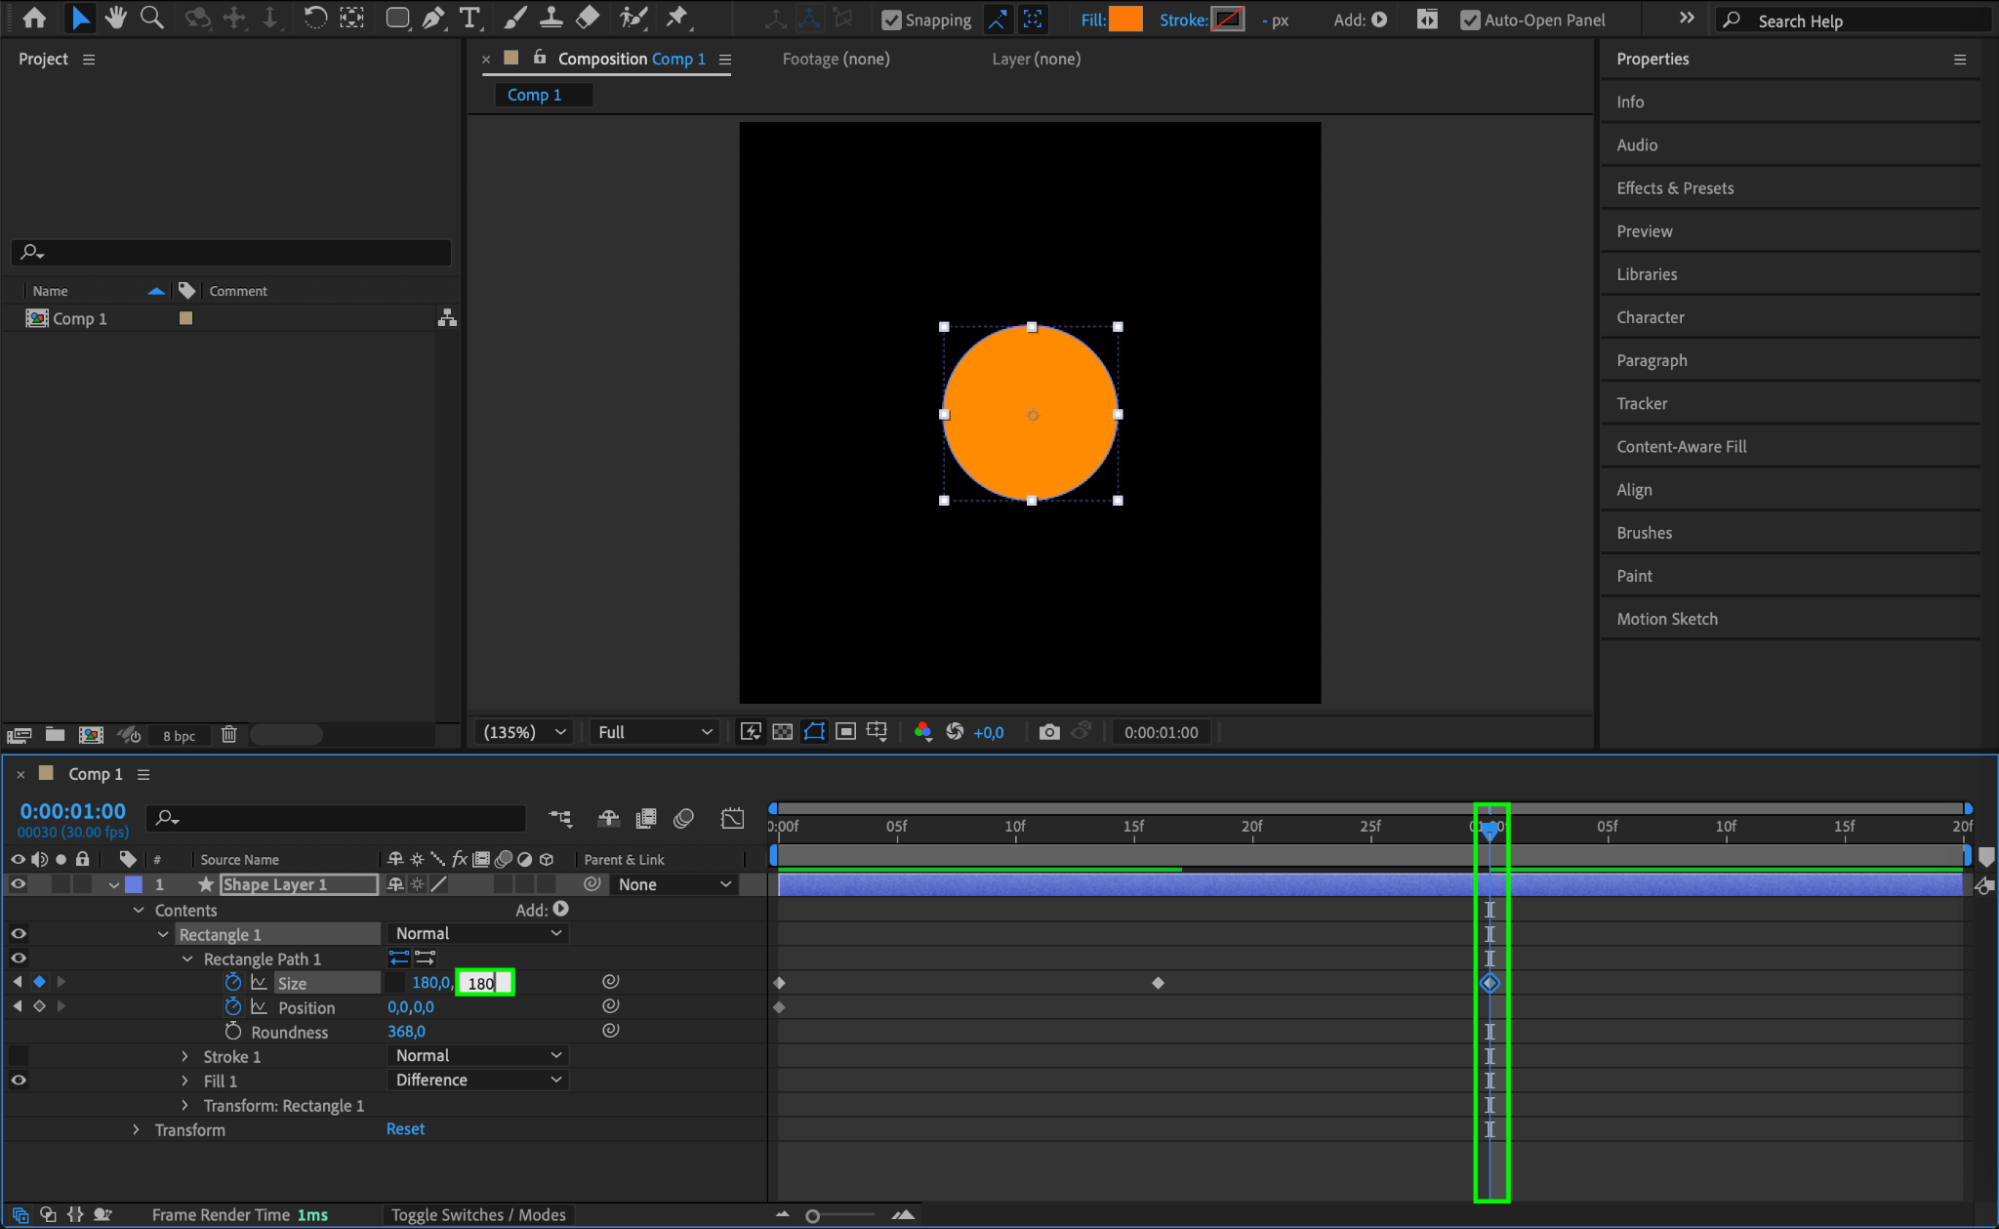
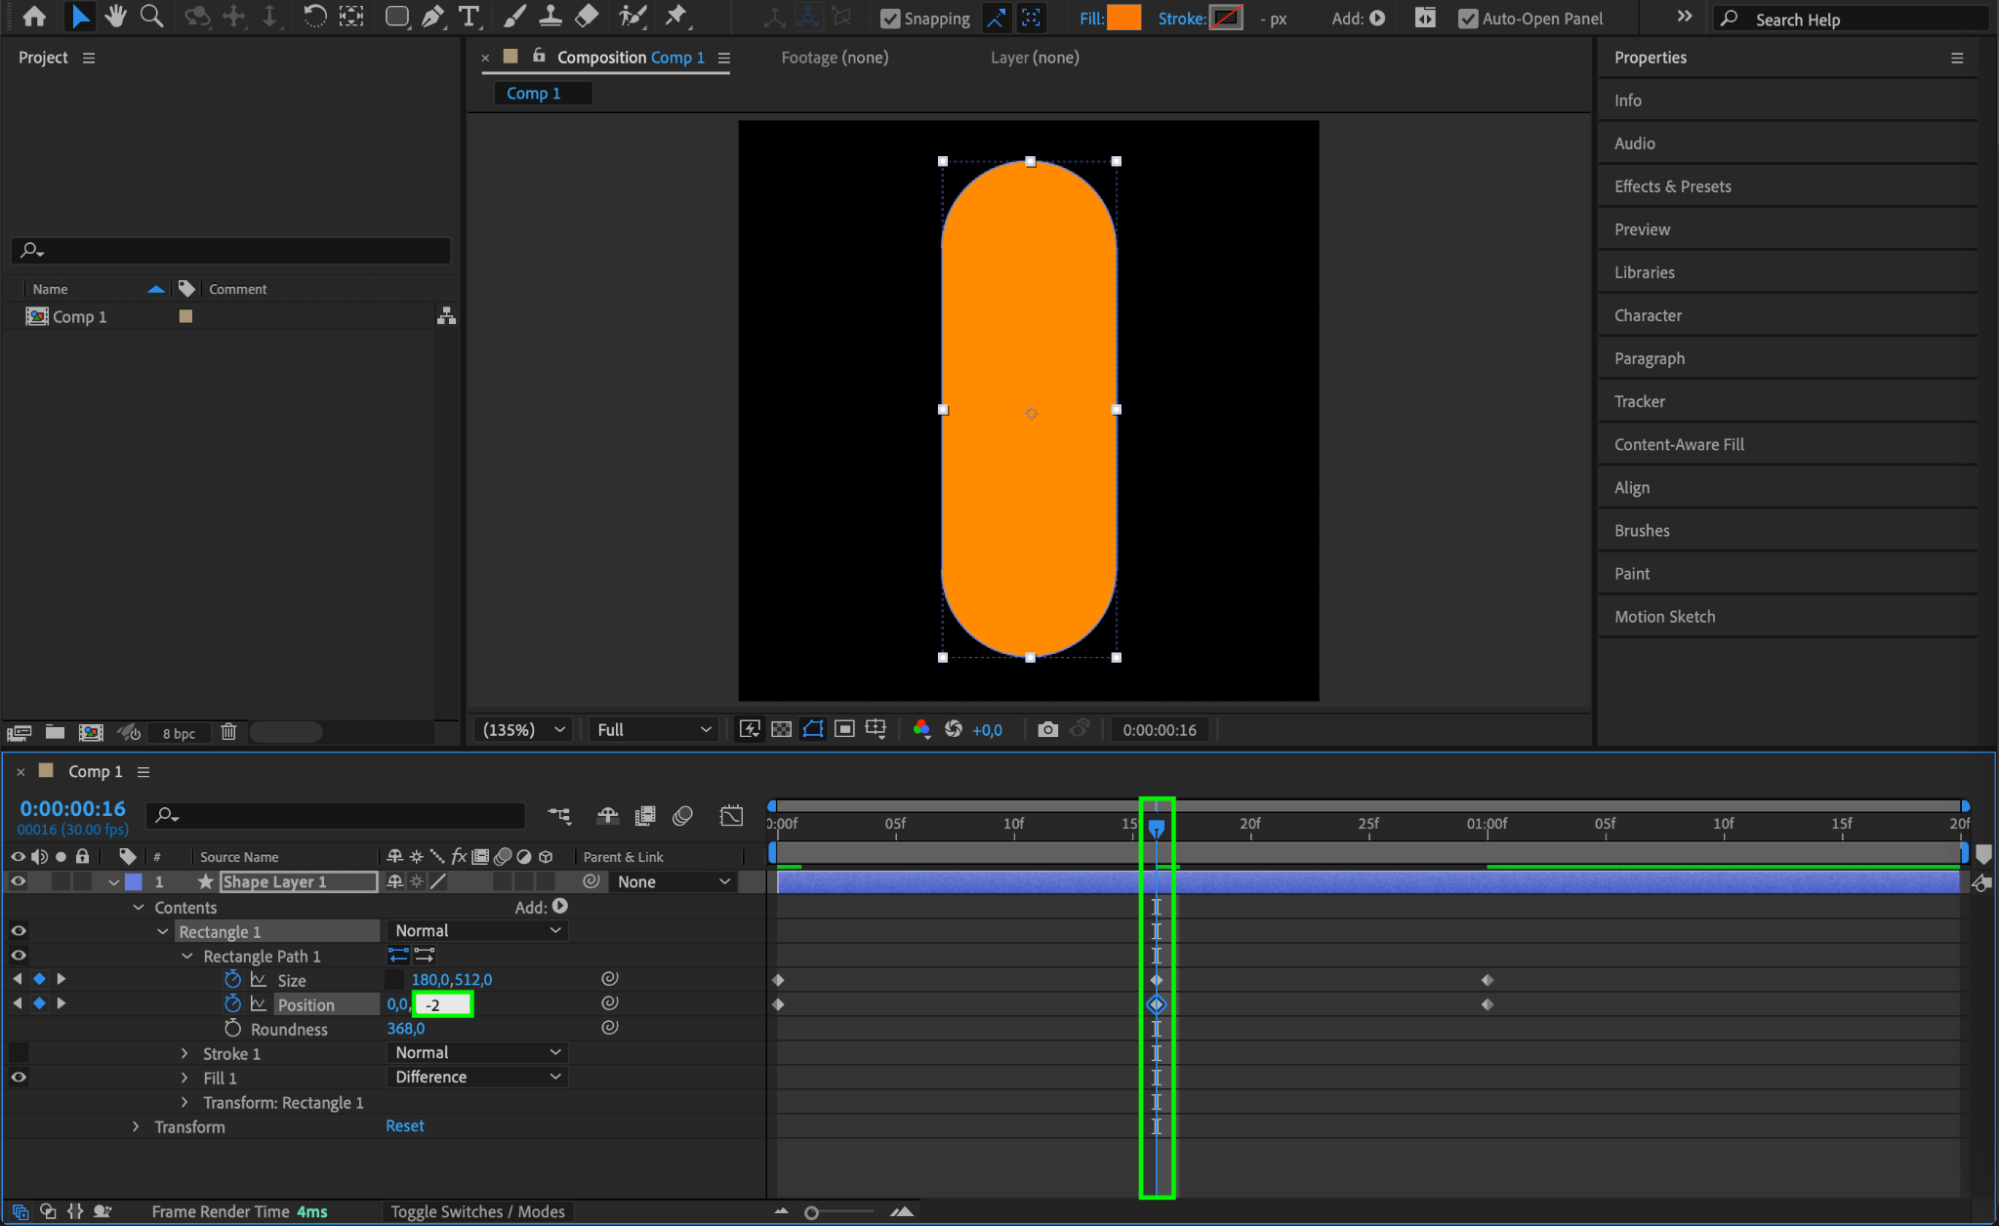
Expand the shape layer properties and adjust Roundness to 368. Set the Position to (0,0) and Size to (180,180) at the beginning of the timeline (first position). Move a few frames forward (second position) and set the Y value of Size to 512. Move the CTI further (third position) and reset the Size back to (180,180).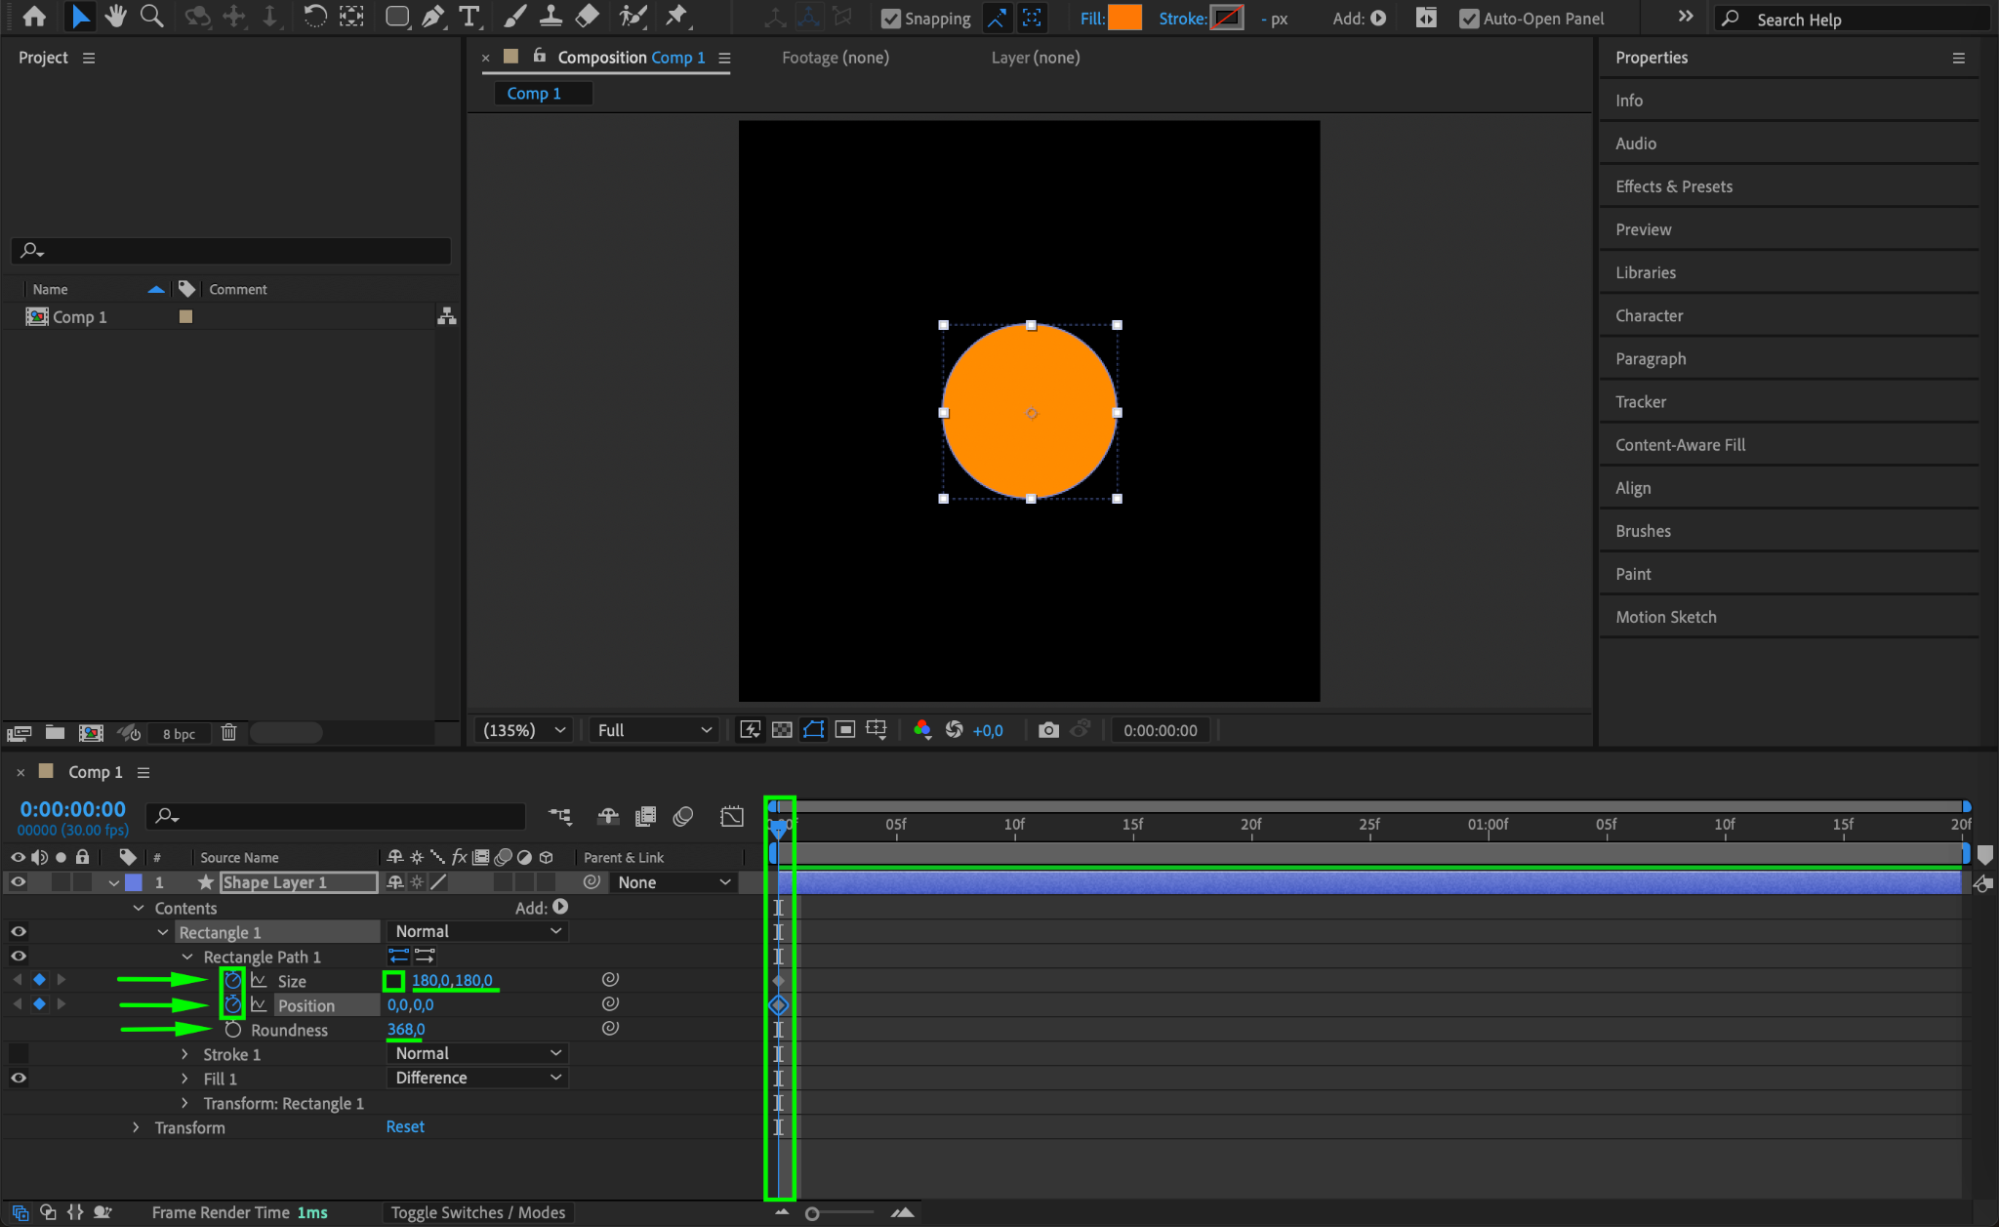
 Step 4: Adjust the Position Animation
At the third position, change the Y Position to -176. At the second position, set the Y Position to -2. This movement will create a dynamic bouncing effect.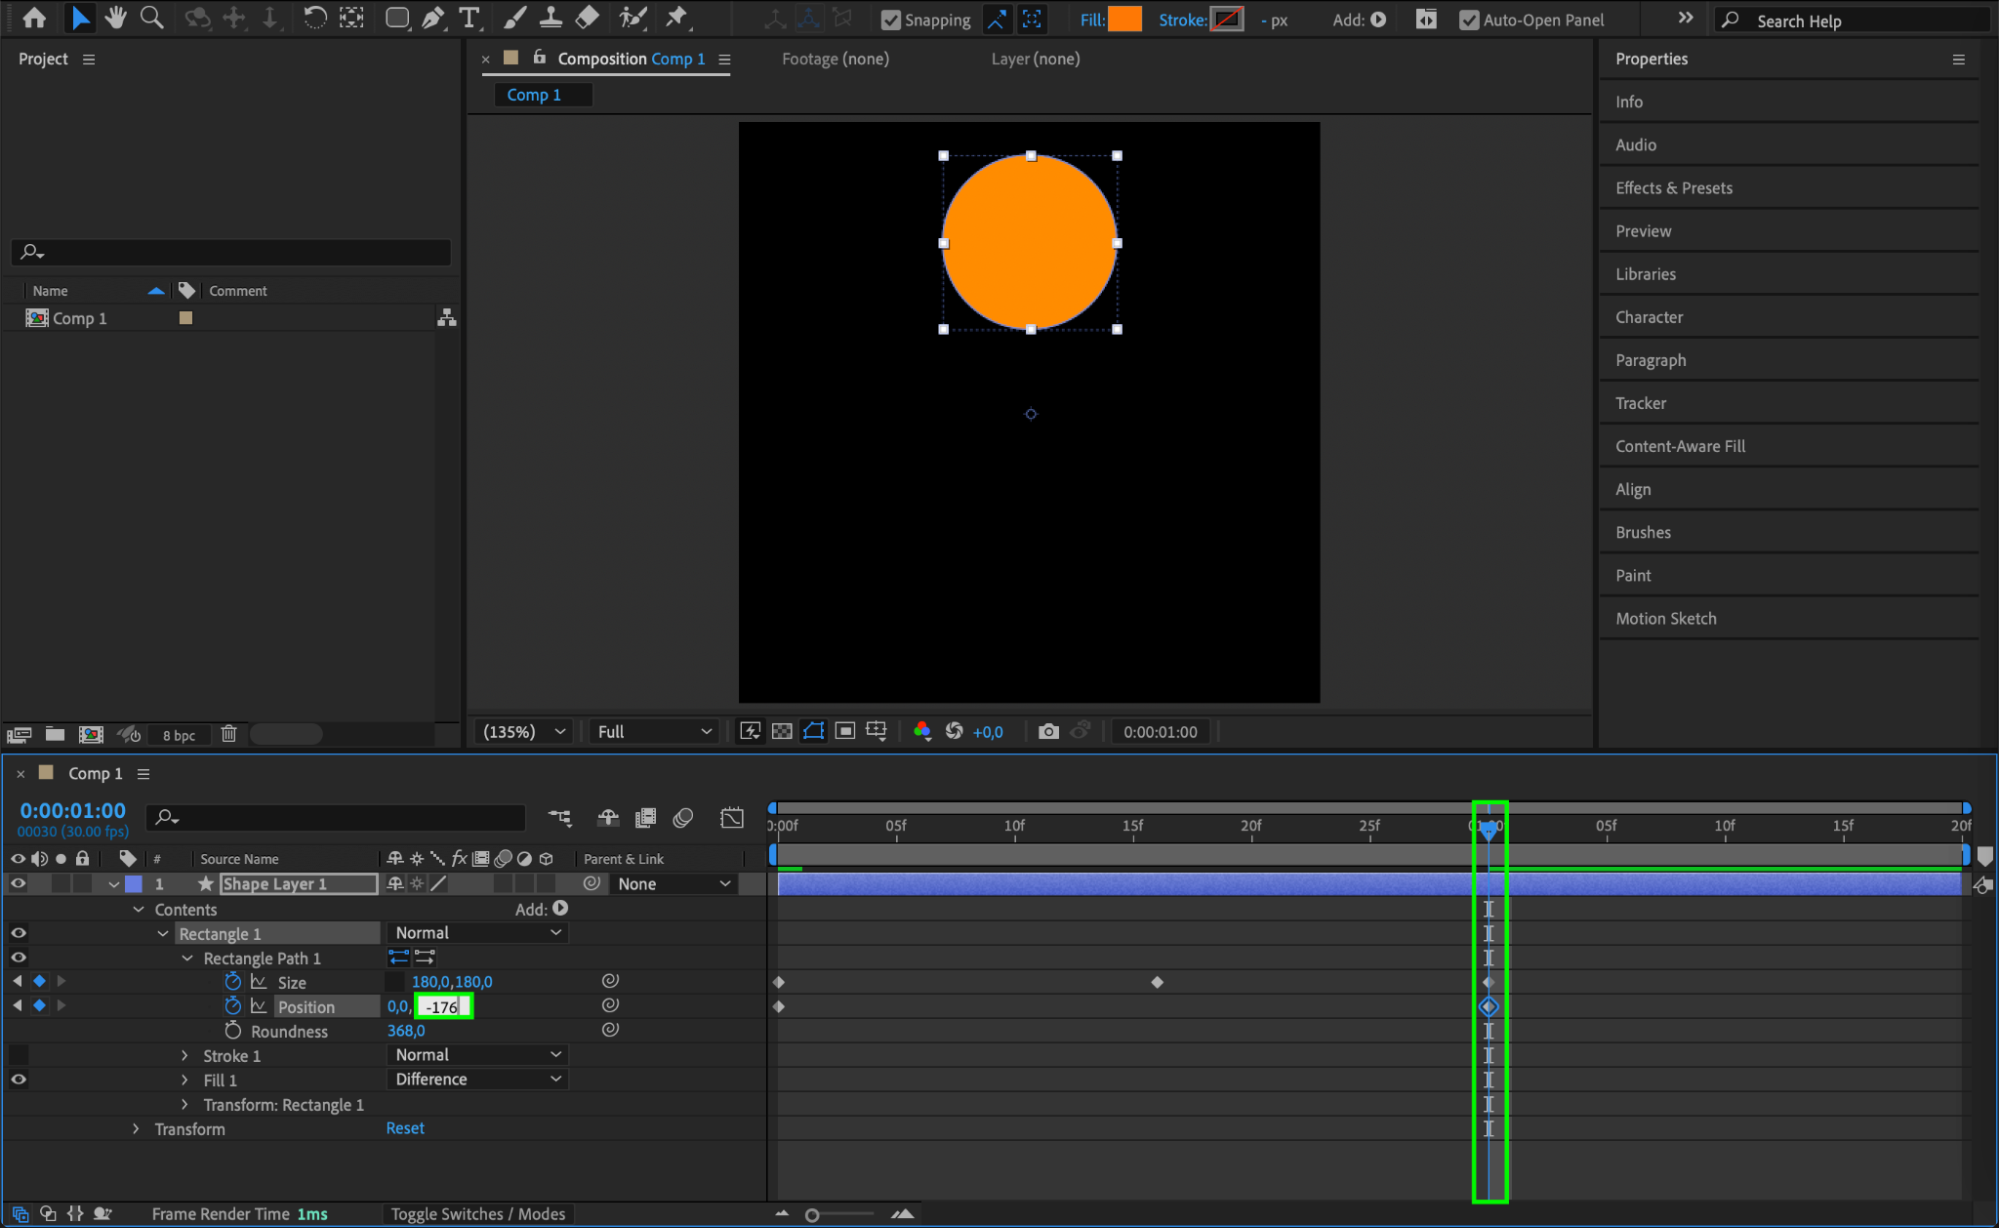
 Step 5: Apply Easy Ease for Smooth Motion
Select the keyframes at positions 1 and 3, then right-click and choose Easy Ease to make the animation more natural and fluid.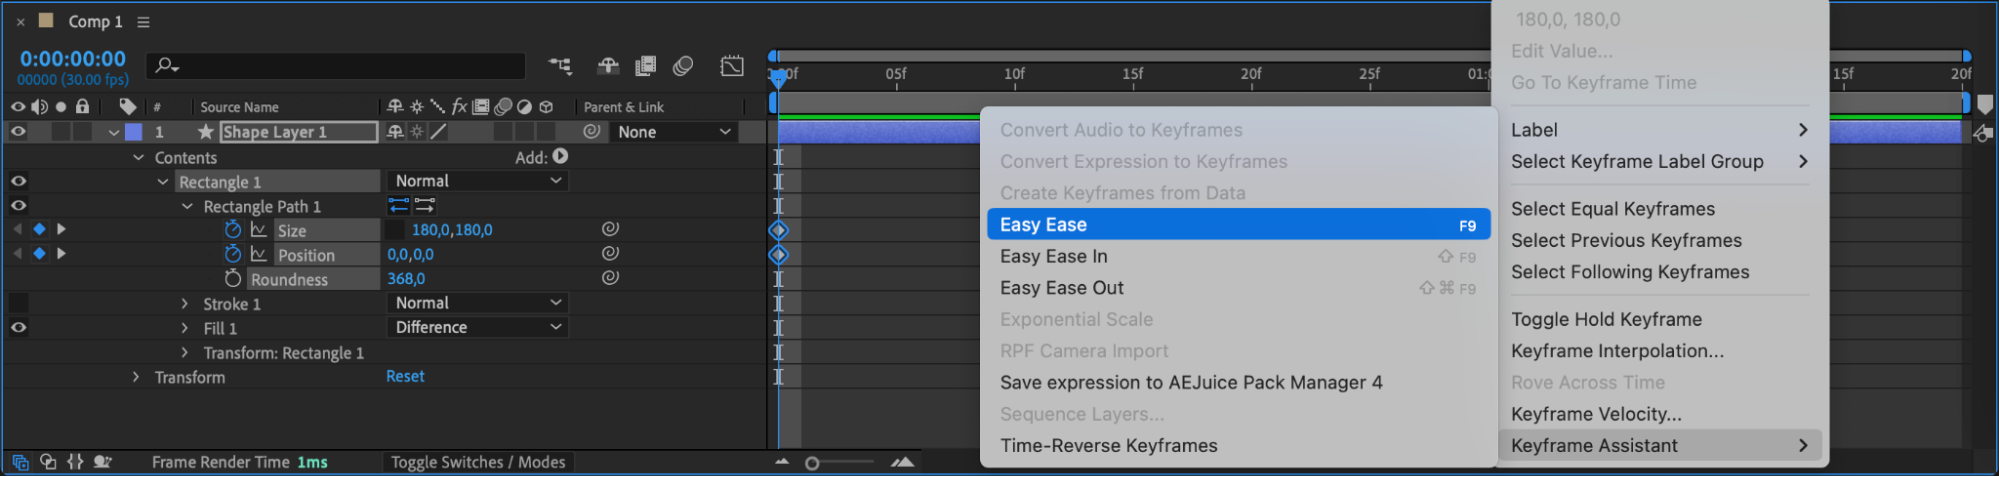 Step 6: Shrink the Shape at the End
Move the CTI forward and set the Size to (0,0) to create a shrinking effect at the end of the animation.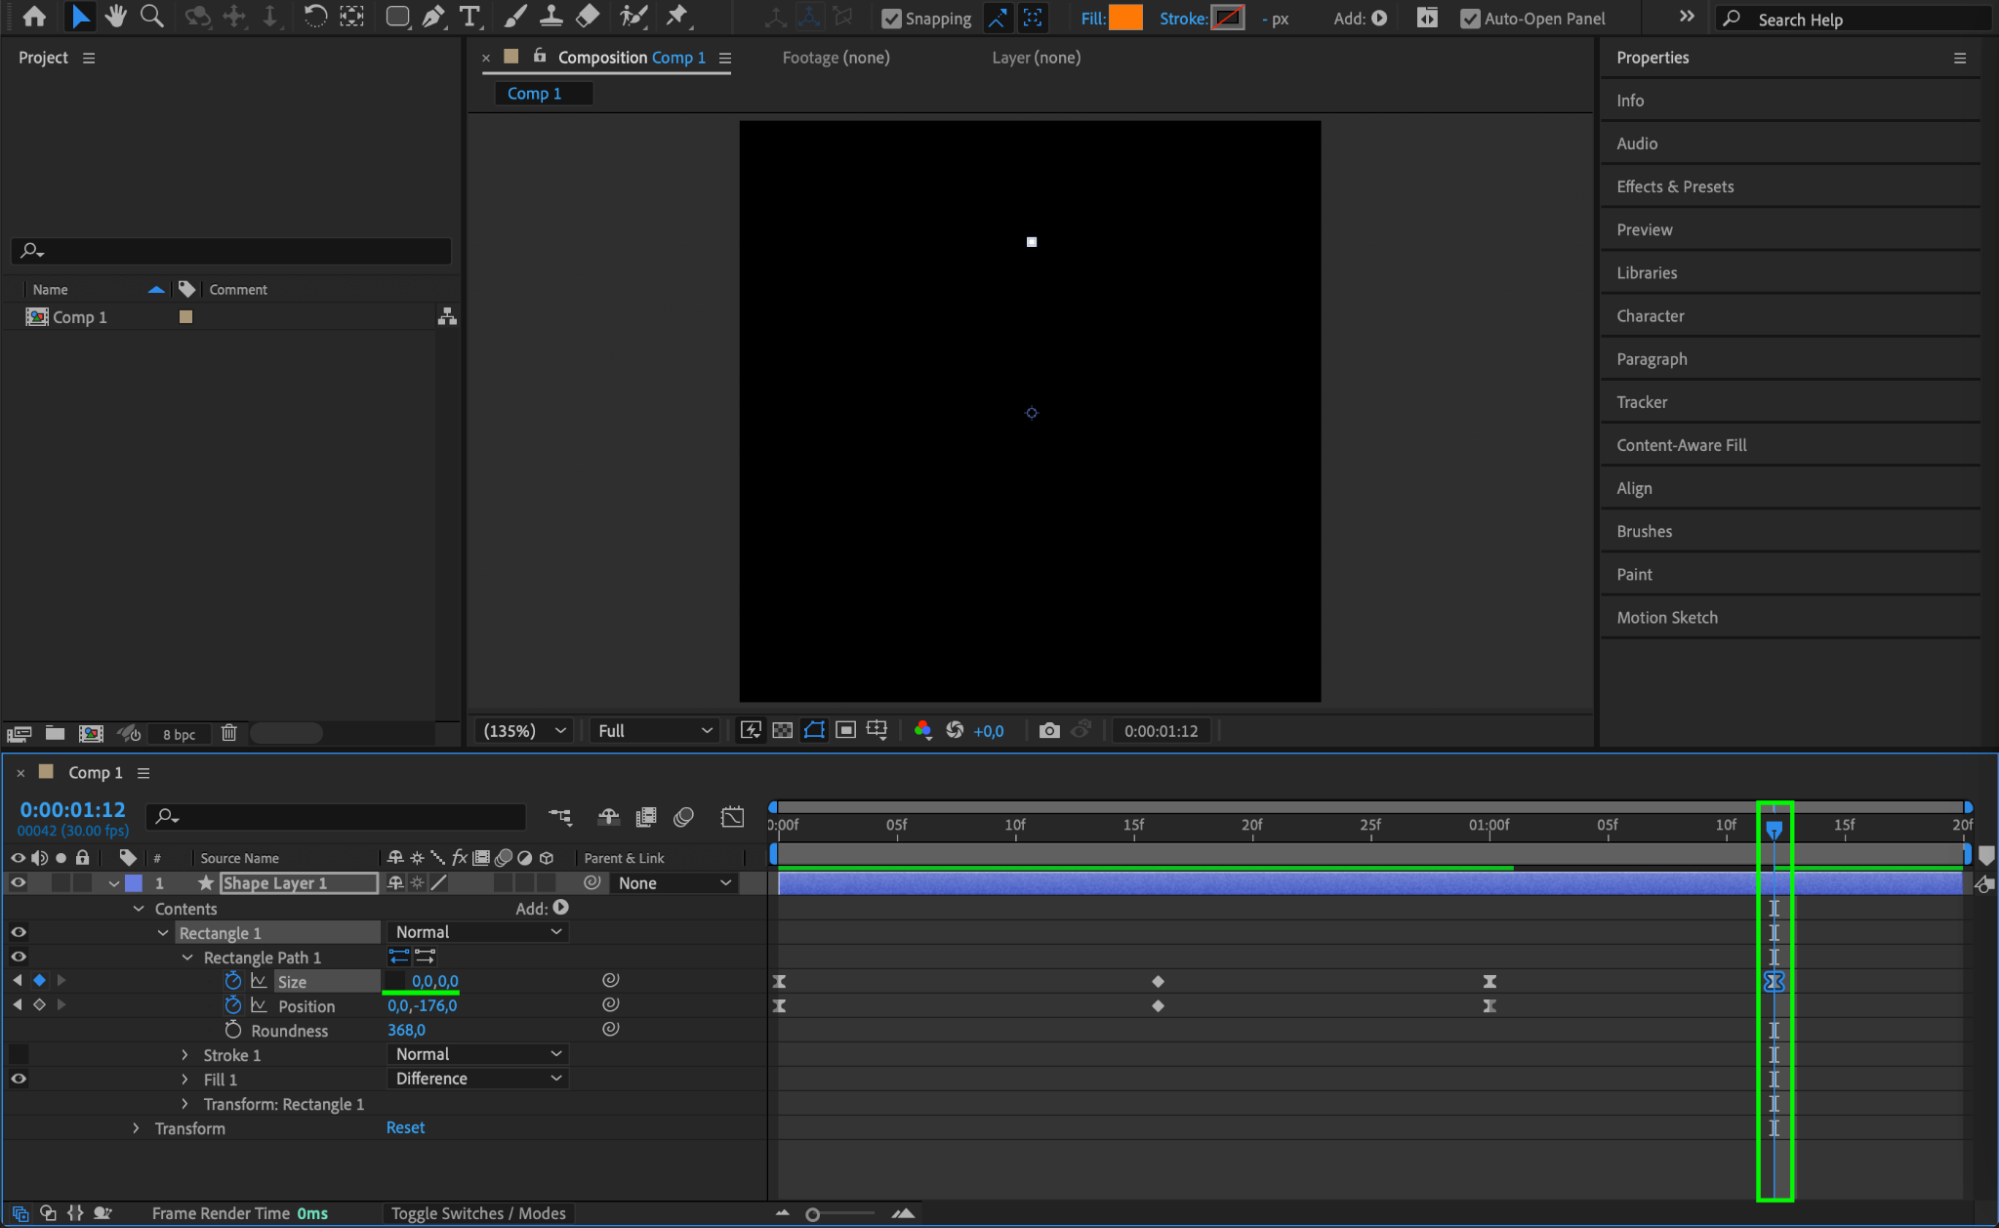 Step 7: Duplicate and Stagger Layers
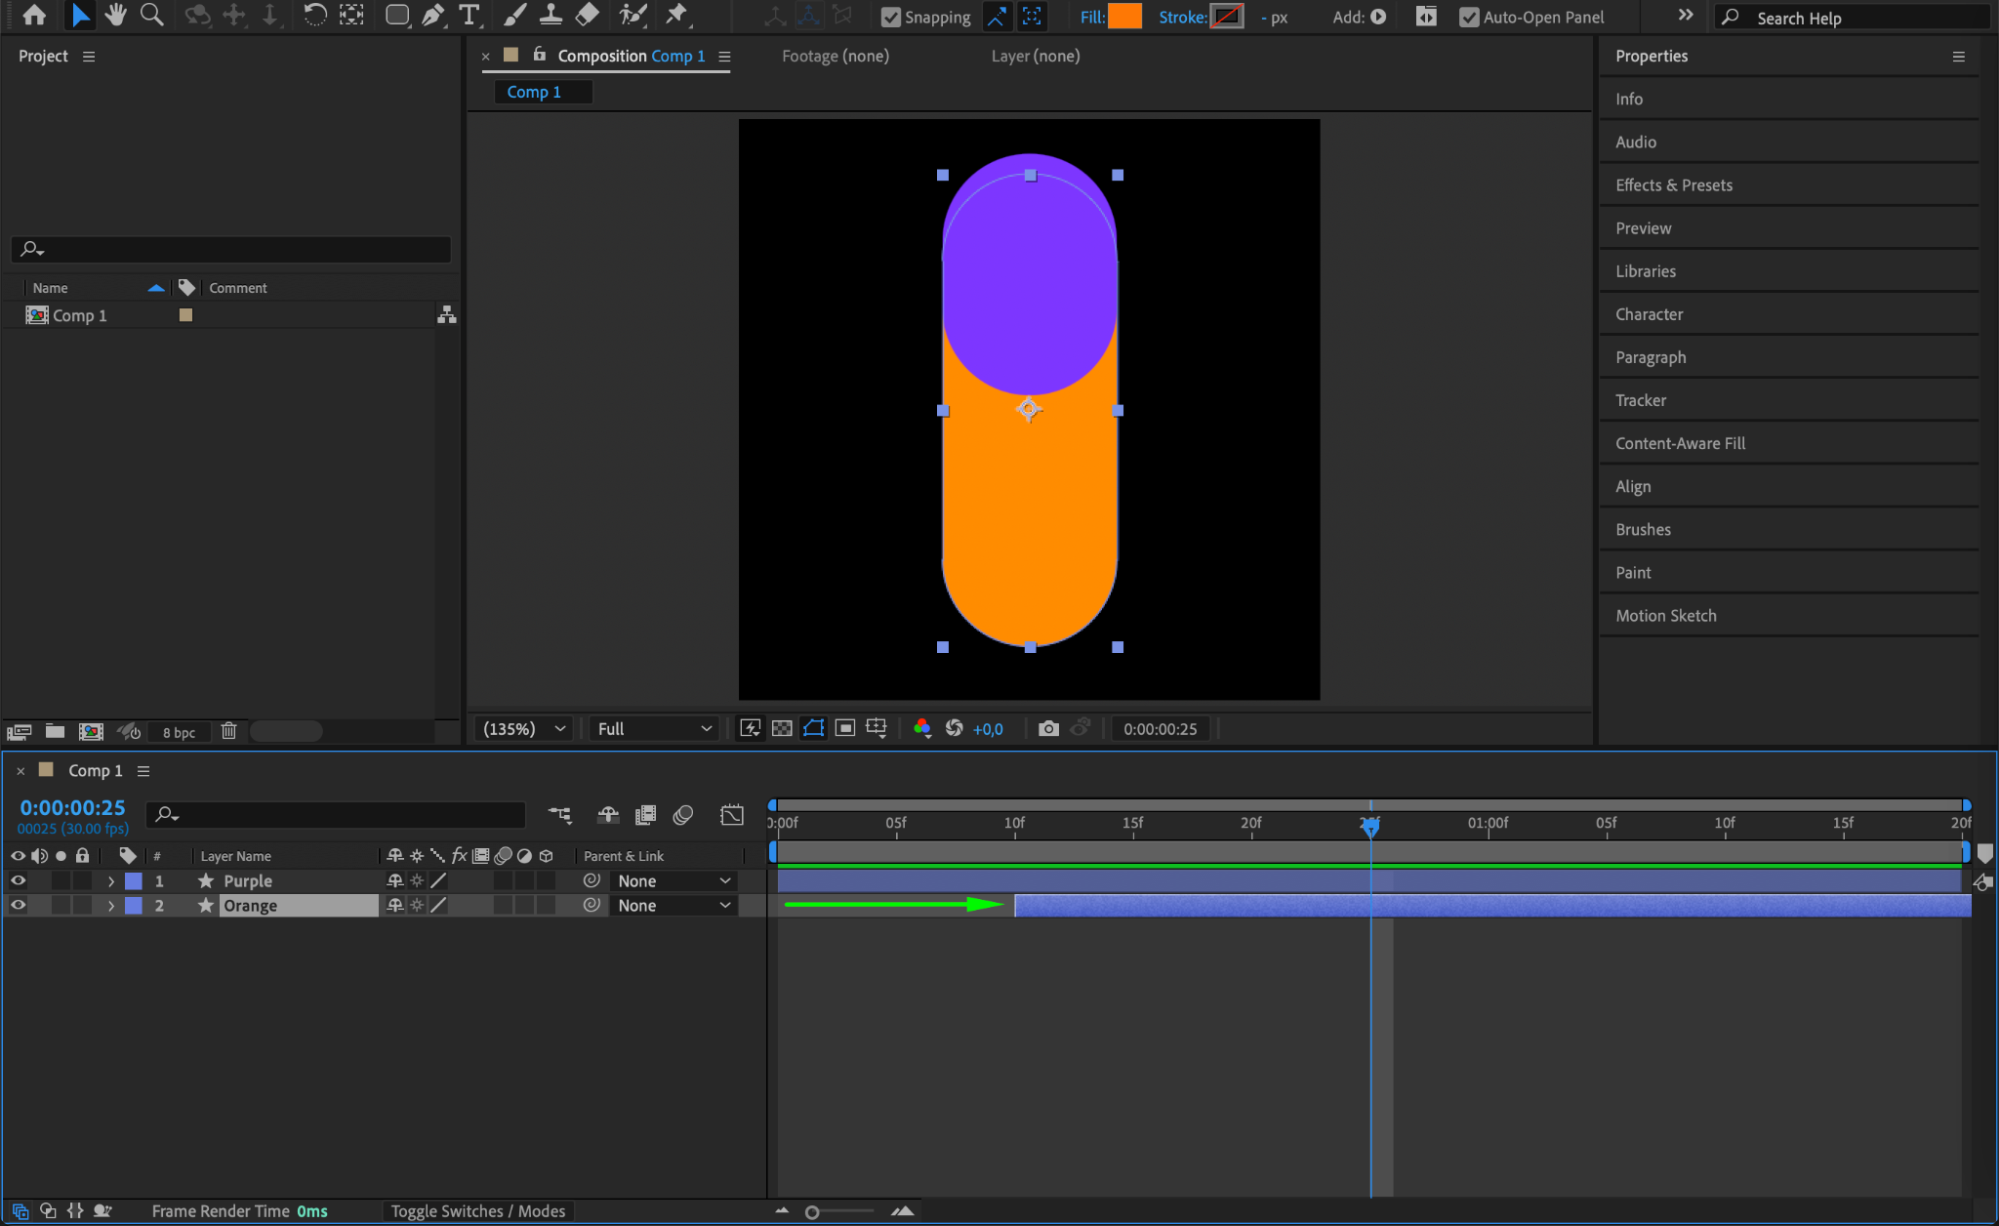
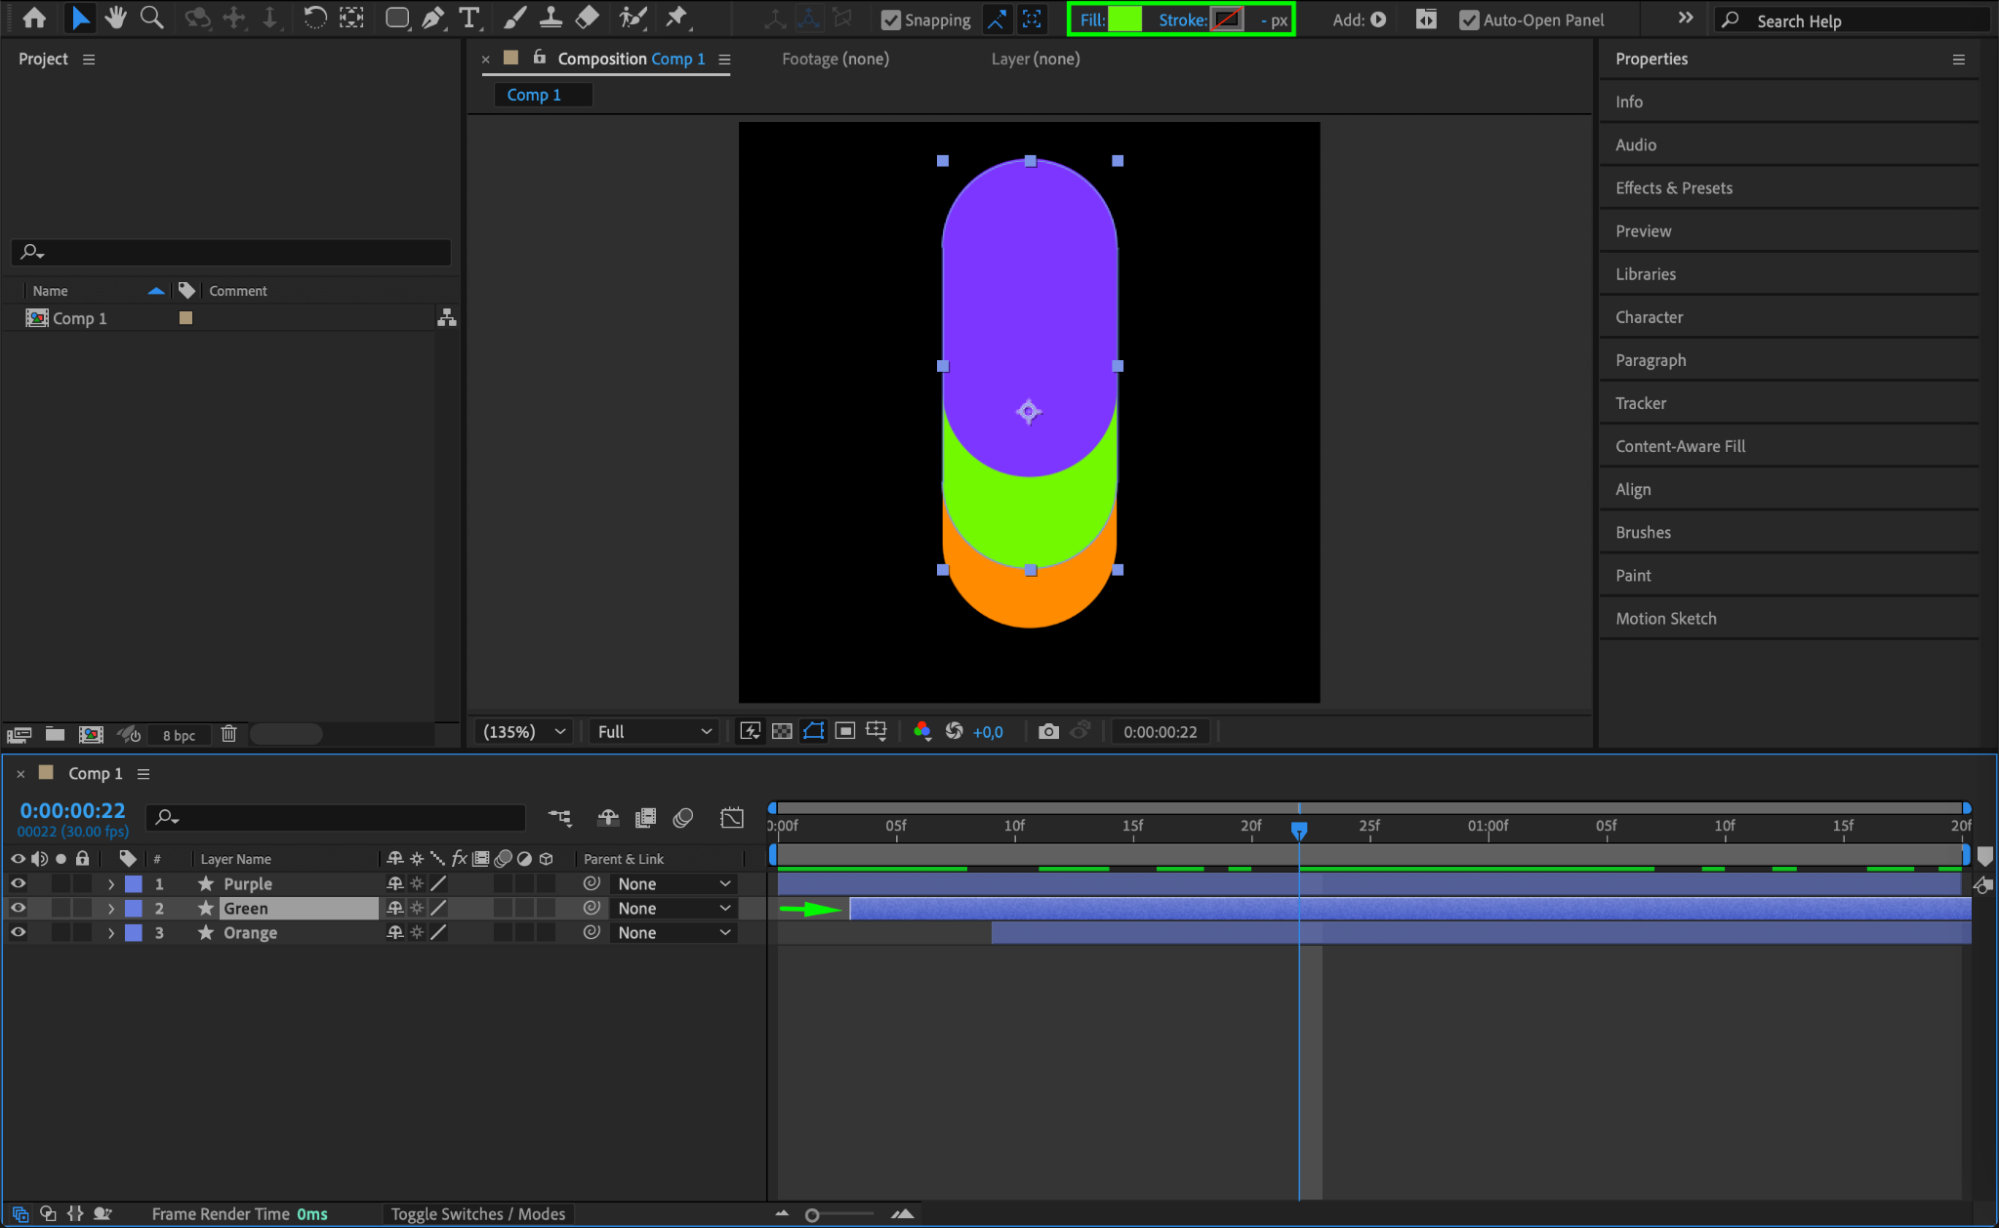
Duplicate the shape layer twice, change their colors, and offset them slightly in the timeline to create a layered animation effect.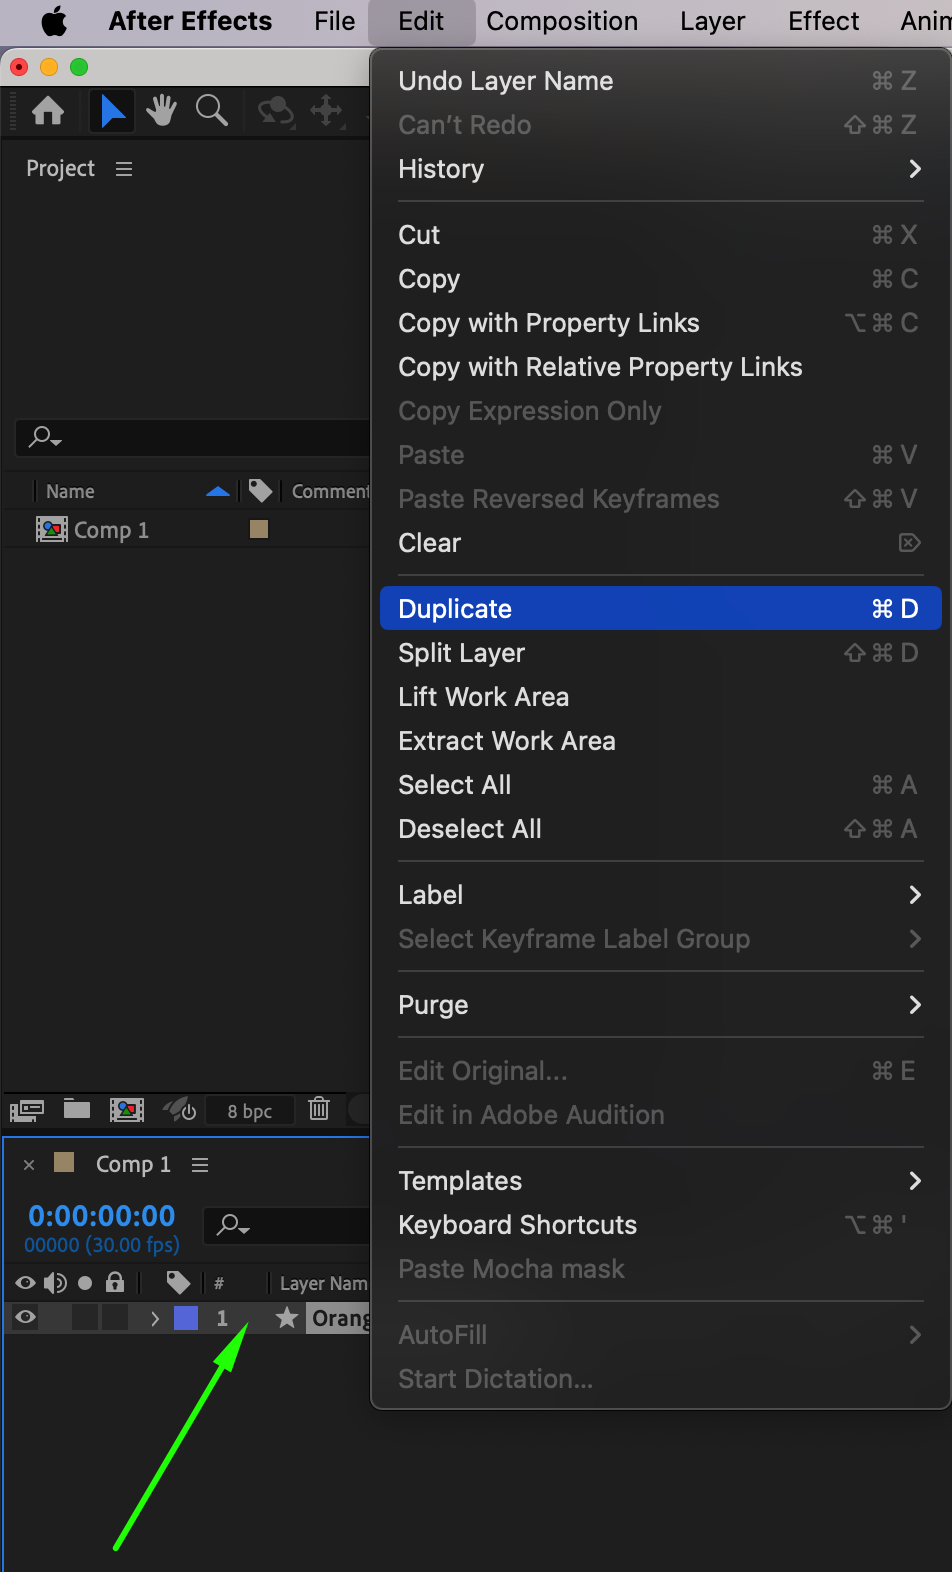
 Step 8: Create a New Composition for the Pattern
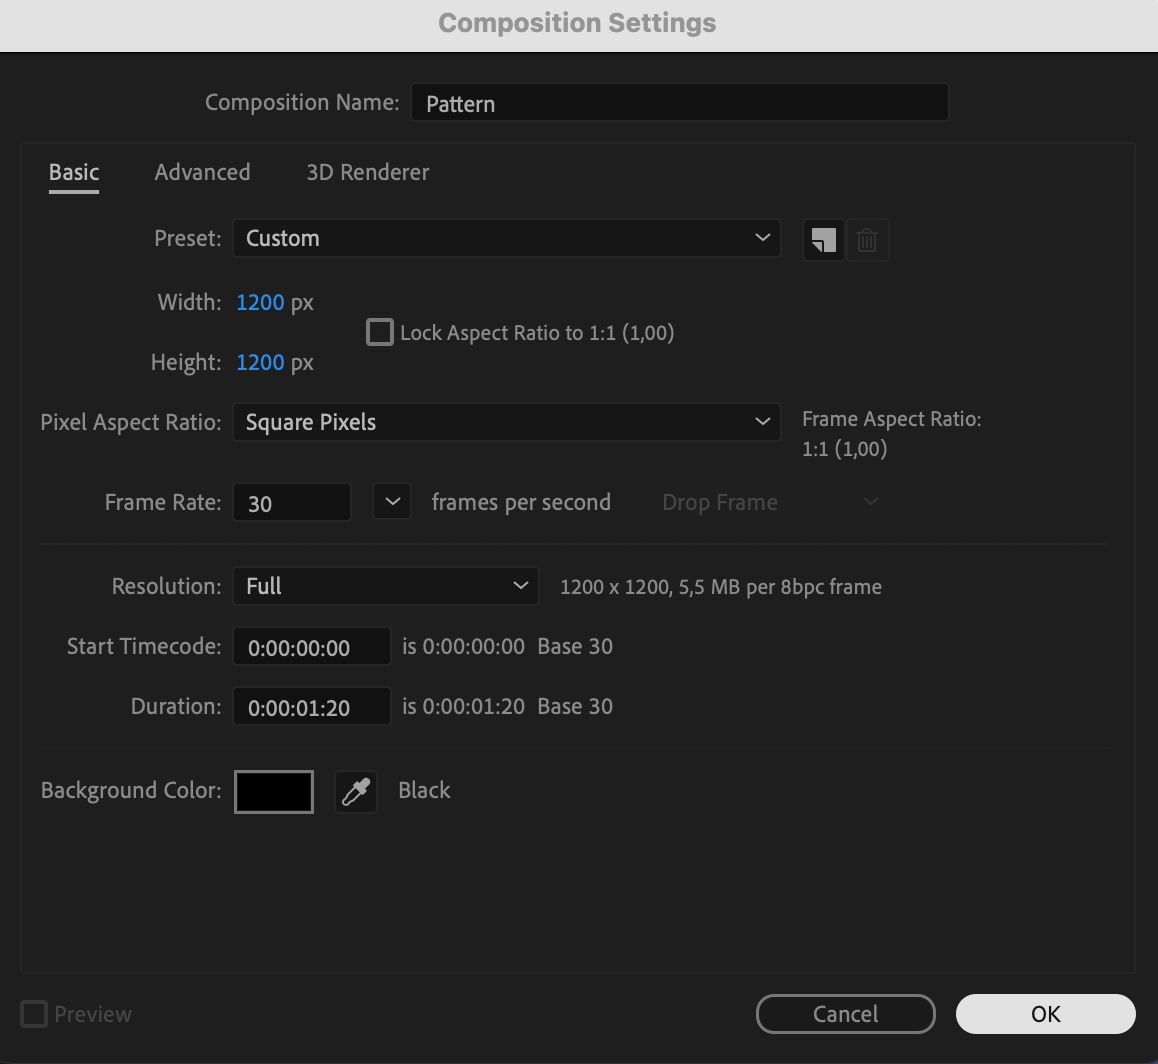
Create a new composition with dimensions 1200×1200. This will be the final pattern workspace.
 Step 9: Add a Background Layer
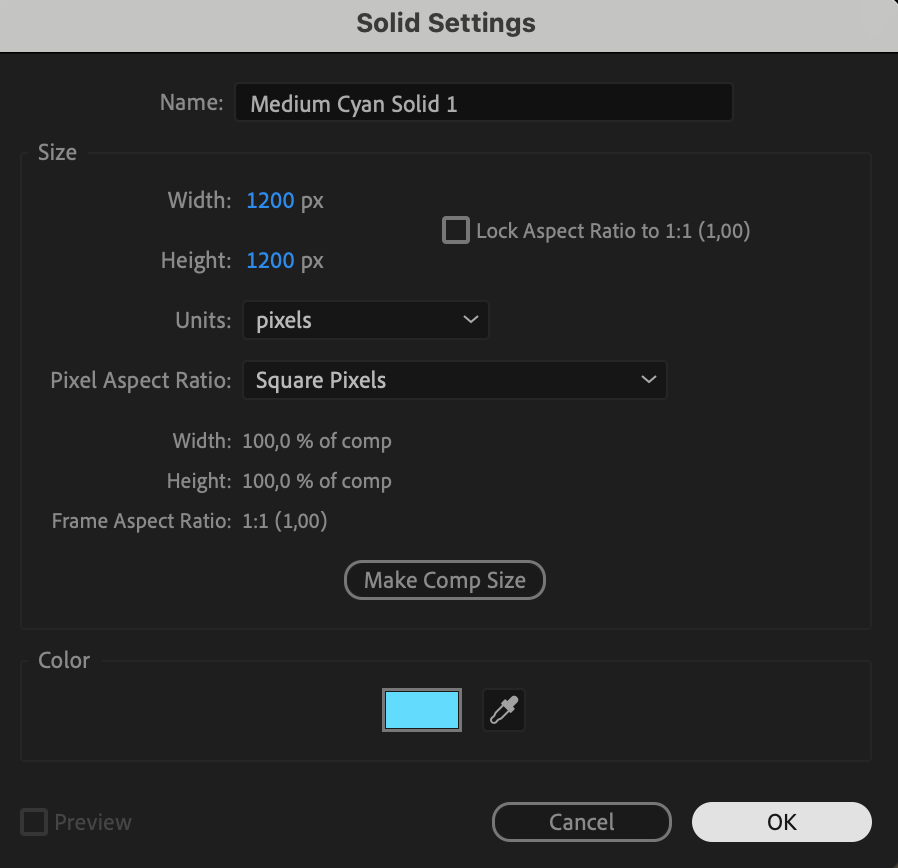
Go to Layer > New > Solid and select a background color of your choice. This will serve as the base for your pattern.
 Step 10: Apply the CC Repetile Effect
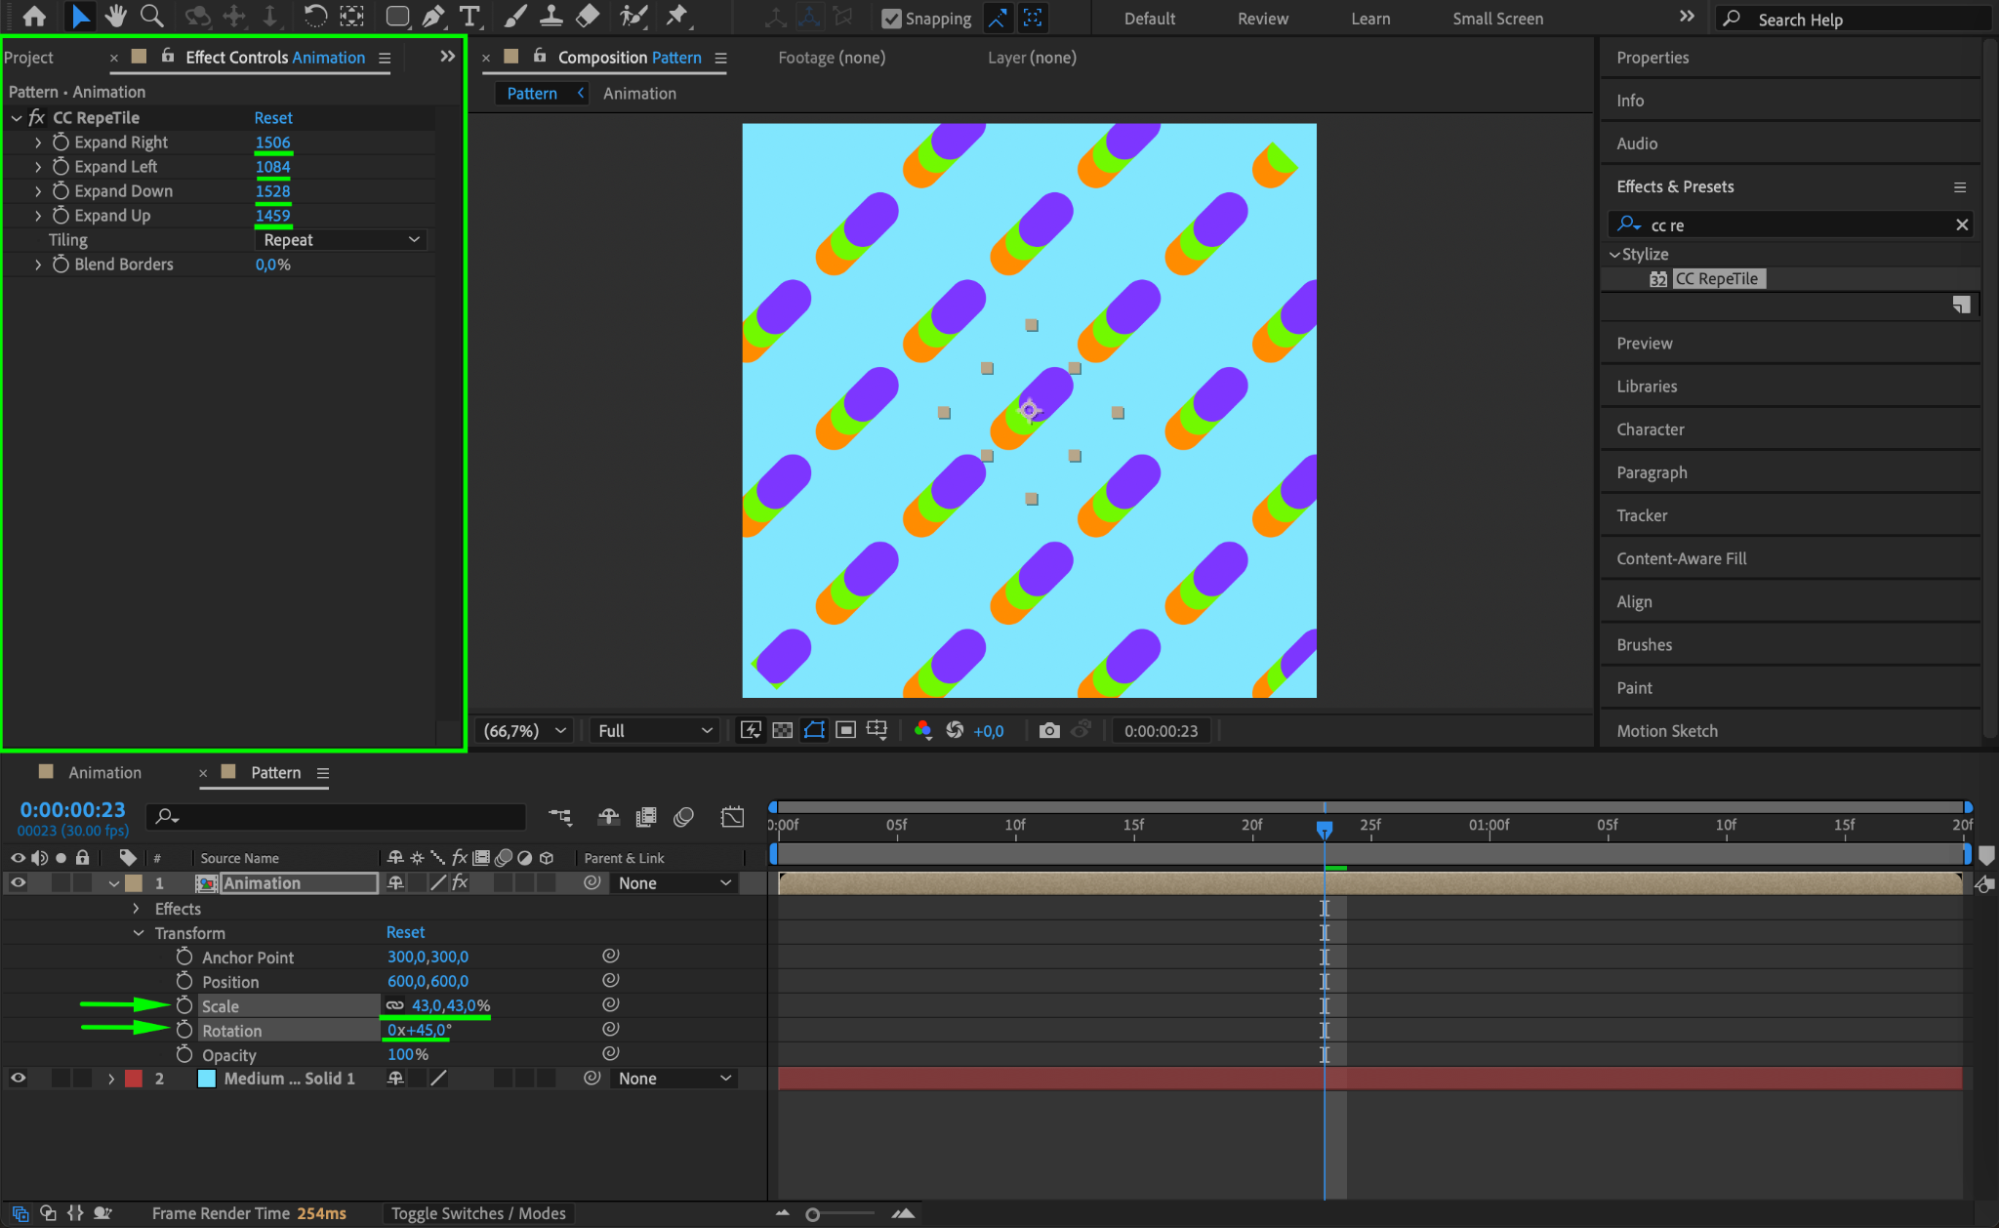
Drag your animated shape composition into the new composition. Then, go to the Effects & Presets panel and apply CC Repetile. In the Effect Controls, adjust the following settings:
Expand Right: 1506
Expand Left: 1084
Expand Down: 1528
Expand Up: 1459
Additionally, tweak the Scale and Rotation to get a seamless pattern.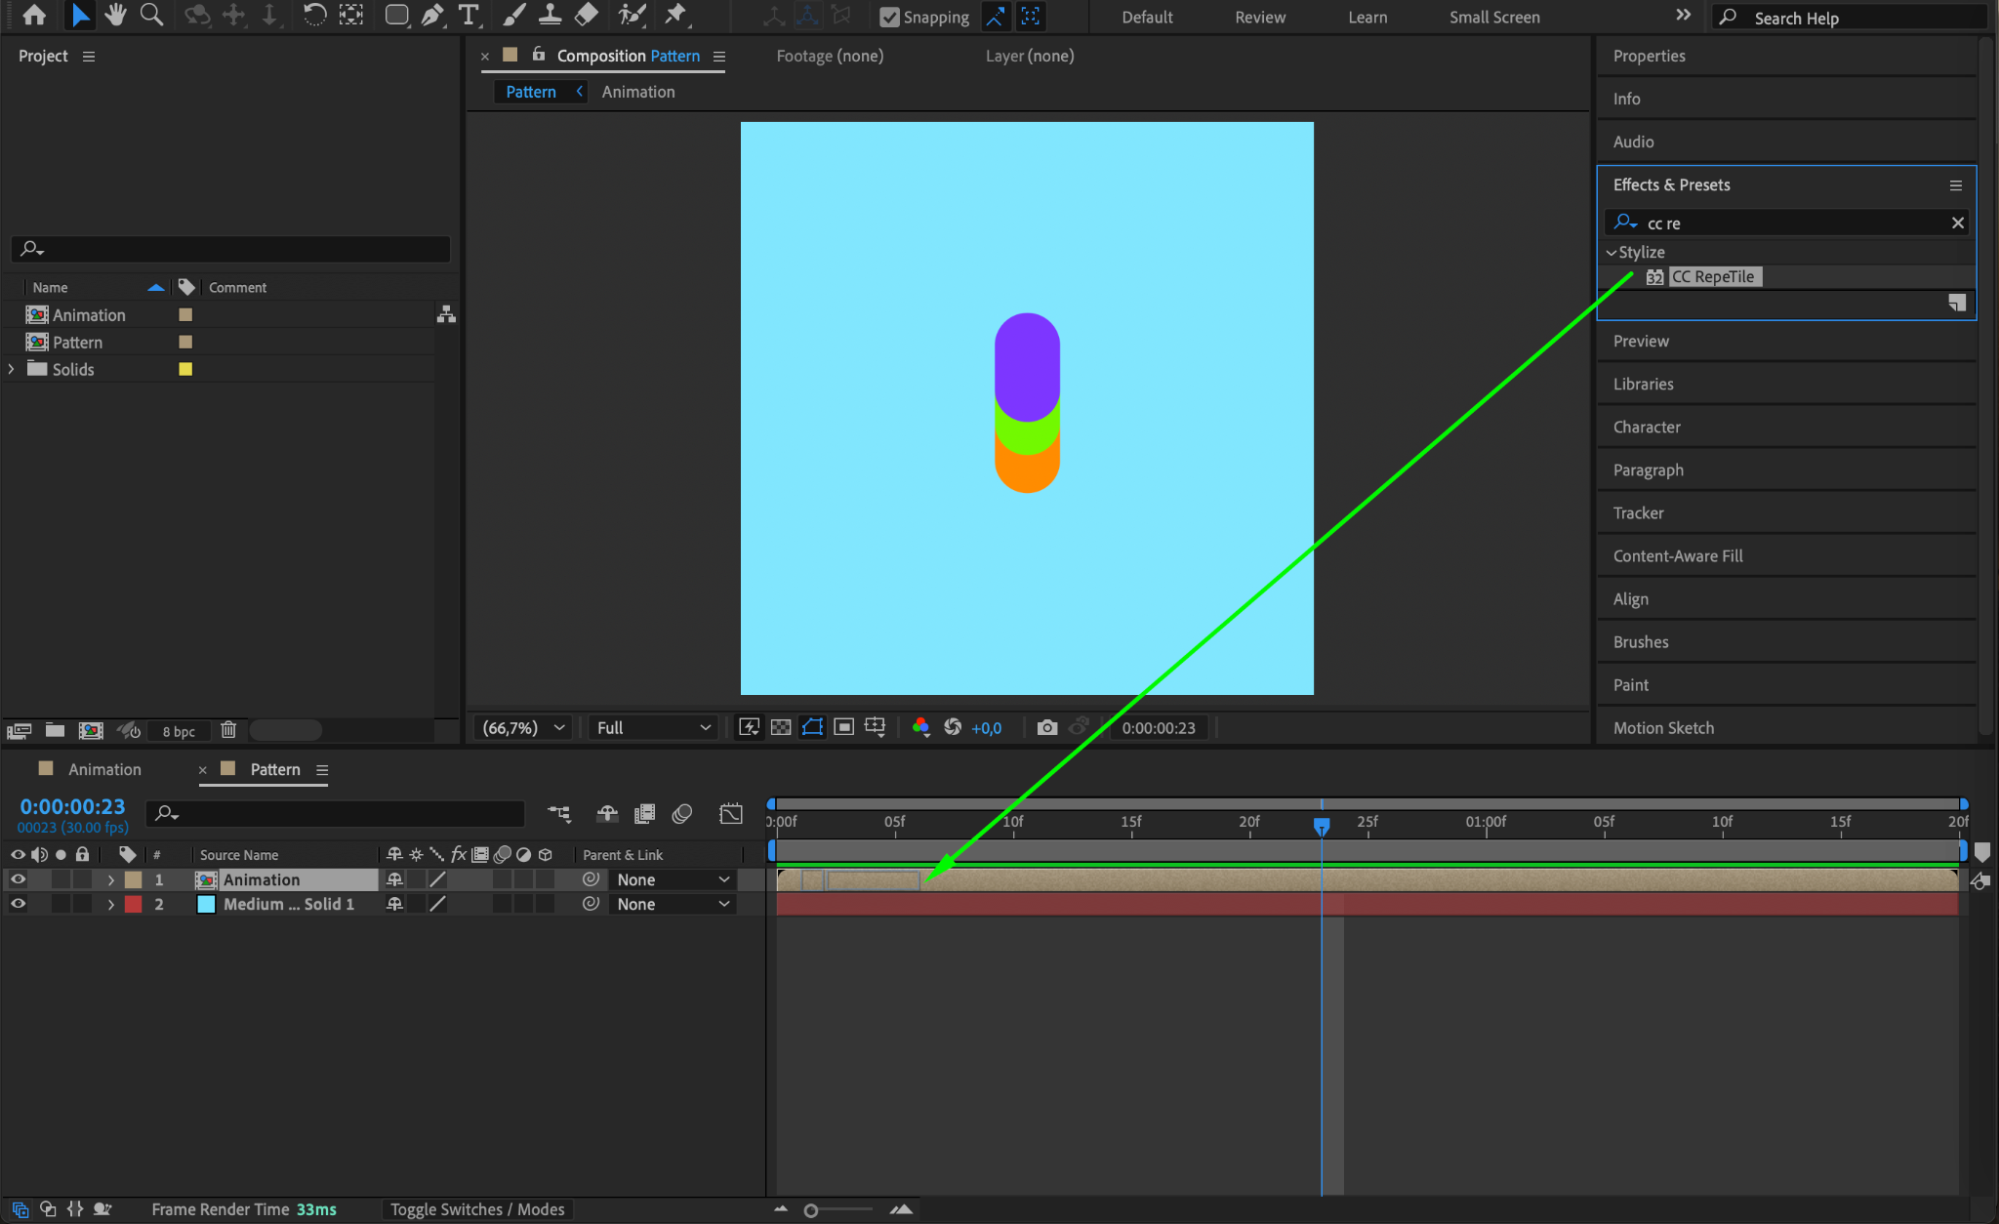
 Step 11: Duplicate and Arrange Layers
Duplicate the layer multiple times and adjust their positions to fill the canvas with a seamless pattern. Experiment with different placements for a more intricate design.Step 12: Preview the Animation
Press the Spacebar to preview the animation and check how the shapes interact as a pattern. Make any necessary adjustments.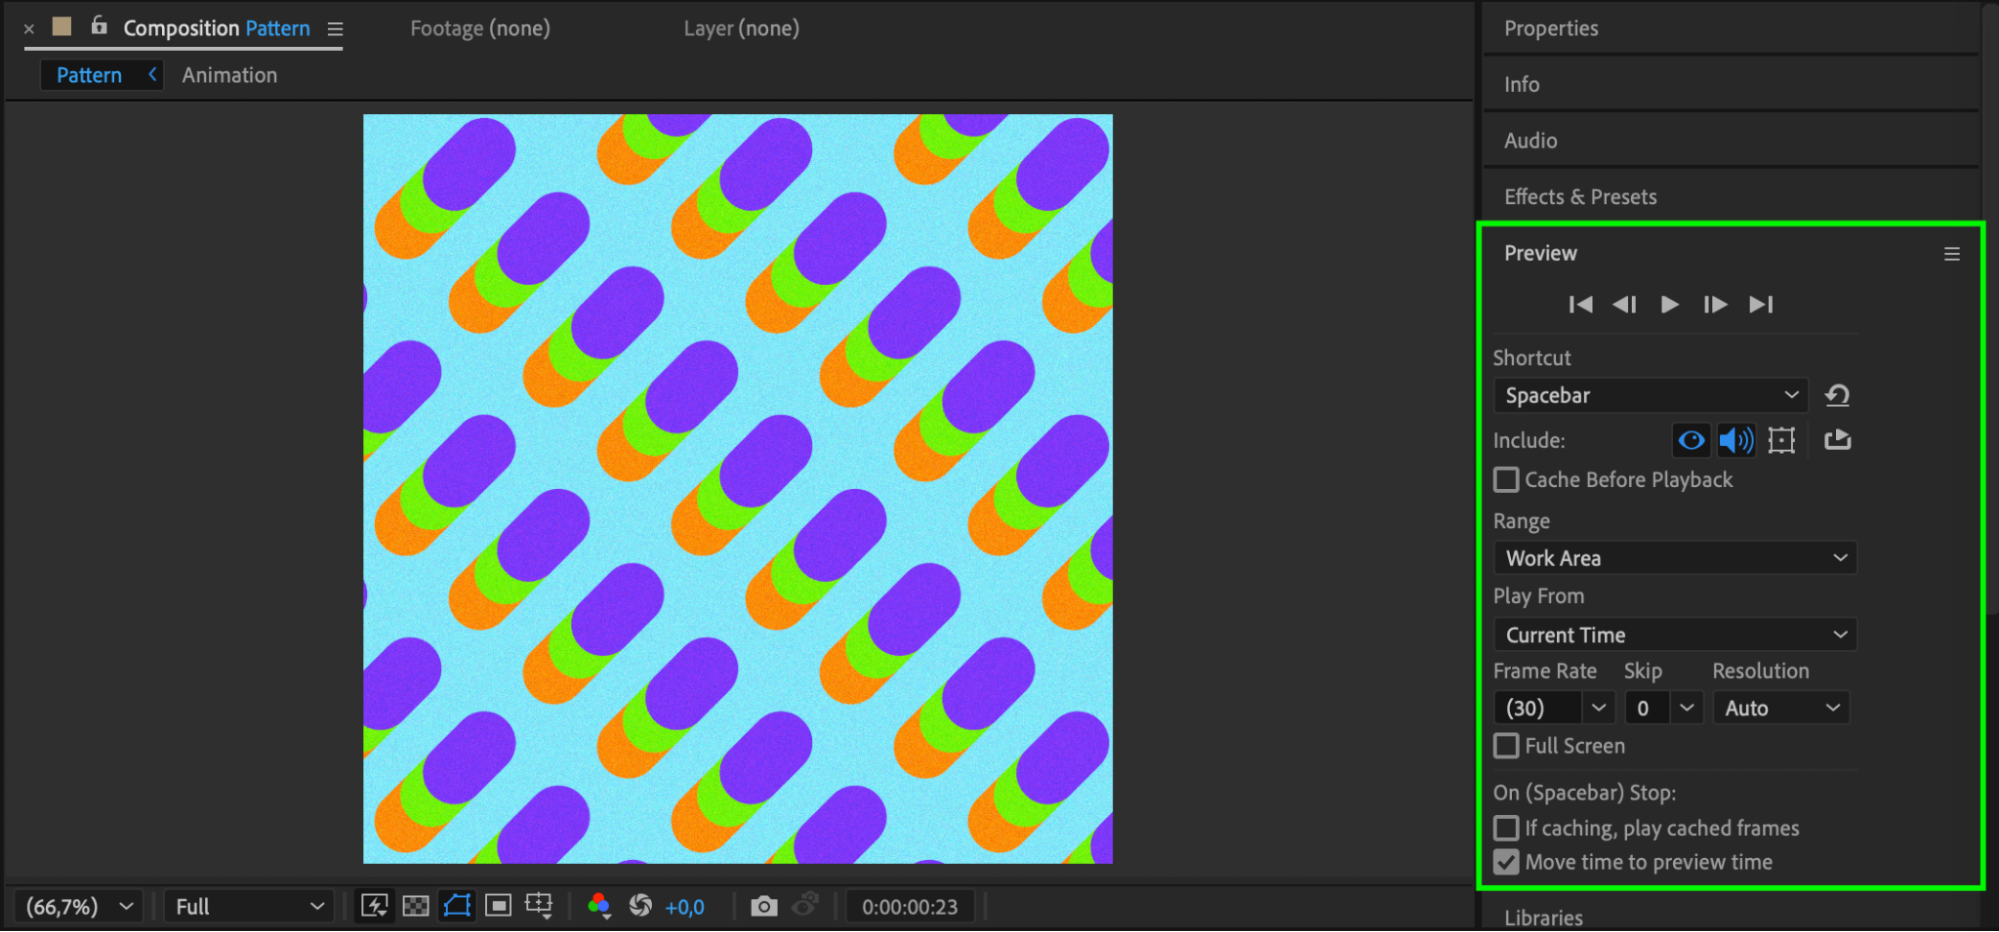 Step 13: Render the Final Animation
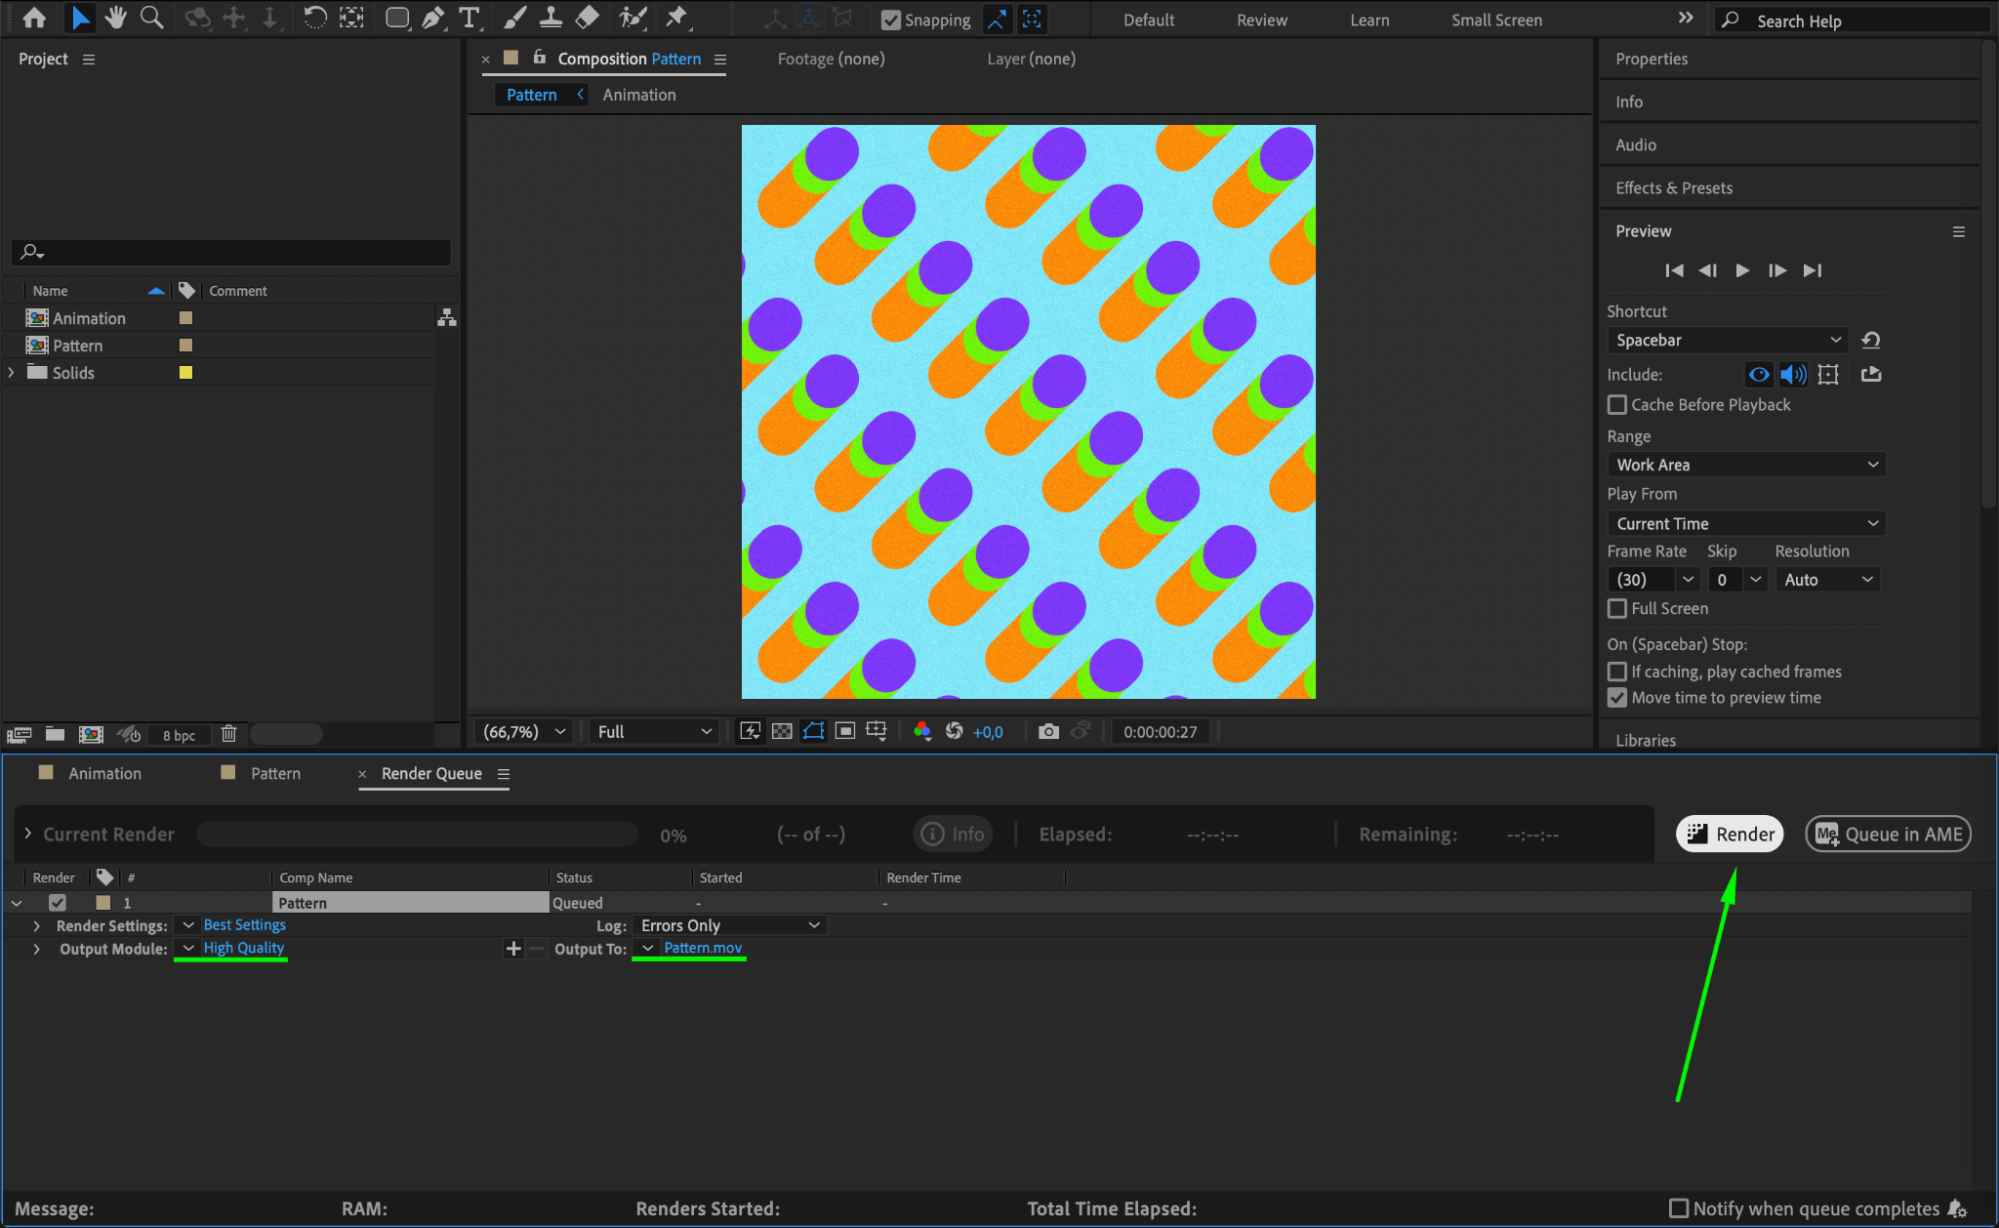
Once satisfied, go to Composition > Add to Render Queue, set the desired output format and settings, and render your final pattern animation.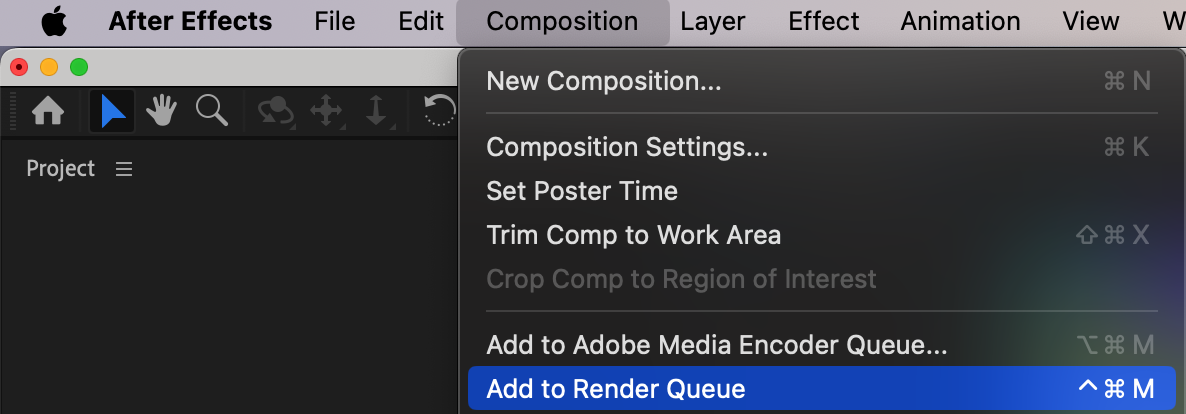
 Conclusion
By following these steps, you can create a visually engaging and dynamic pattern in After Effects. With keyframe animation, shape layers, and the CC Repetile effect, you can generate unique looping designs perfect for backgrounds and motion graphics projects.
Our Bestsellers


