Step-by-Step Guide to Creating a Plane Crash Scene in After Effects
Introduction – Crafting a Plane Crash Visual Effect
Simulating a plane crash in After Effects is an engaging way to explore video compositing, VFX, and animation techniques. By integrating layers, explosion footage, and realistic color effects, you can create an impactful and believable crash scene. This guide walks you through the steps needed to make a professional-looking plane crash sequence
Get 10% off when you subscribe to our newsletter

Step 1: Import Your Footage
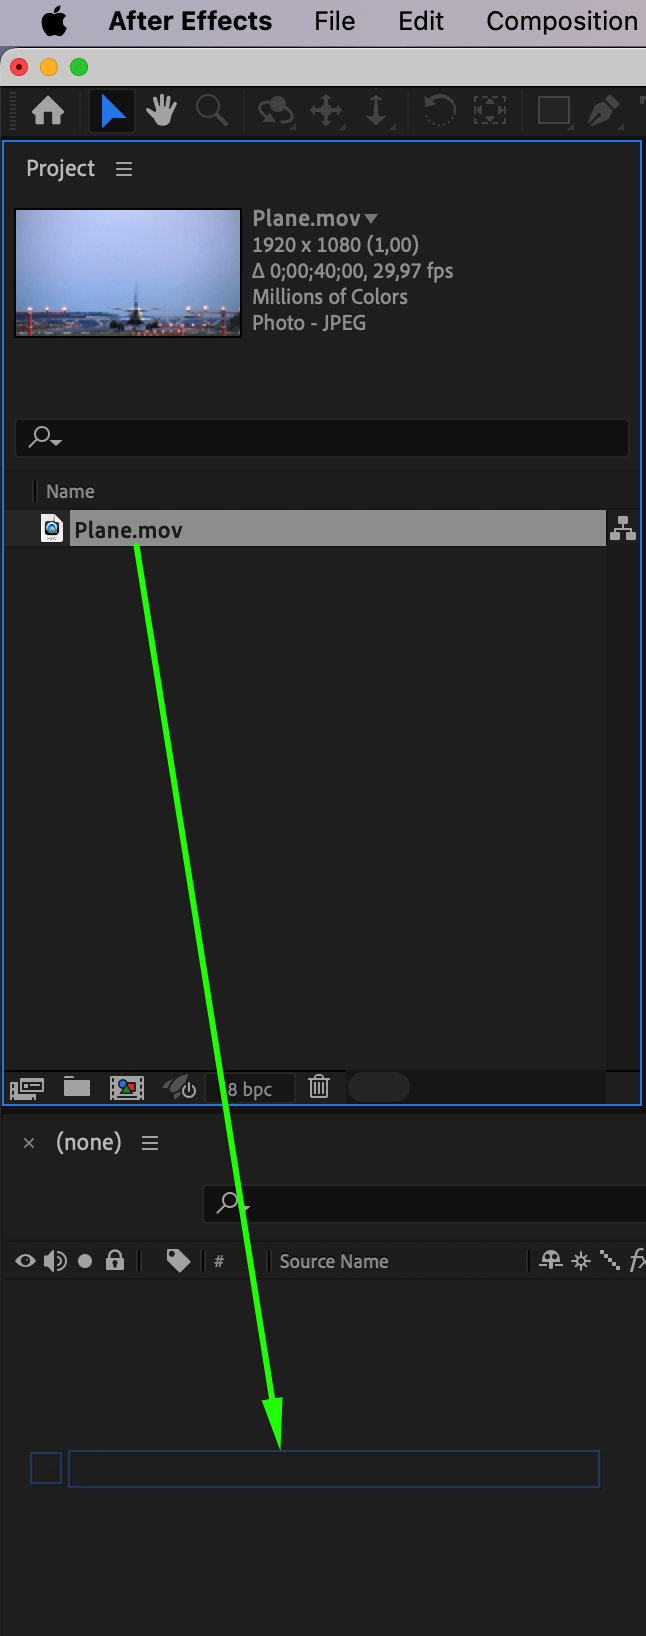
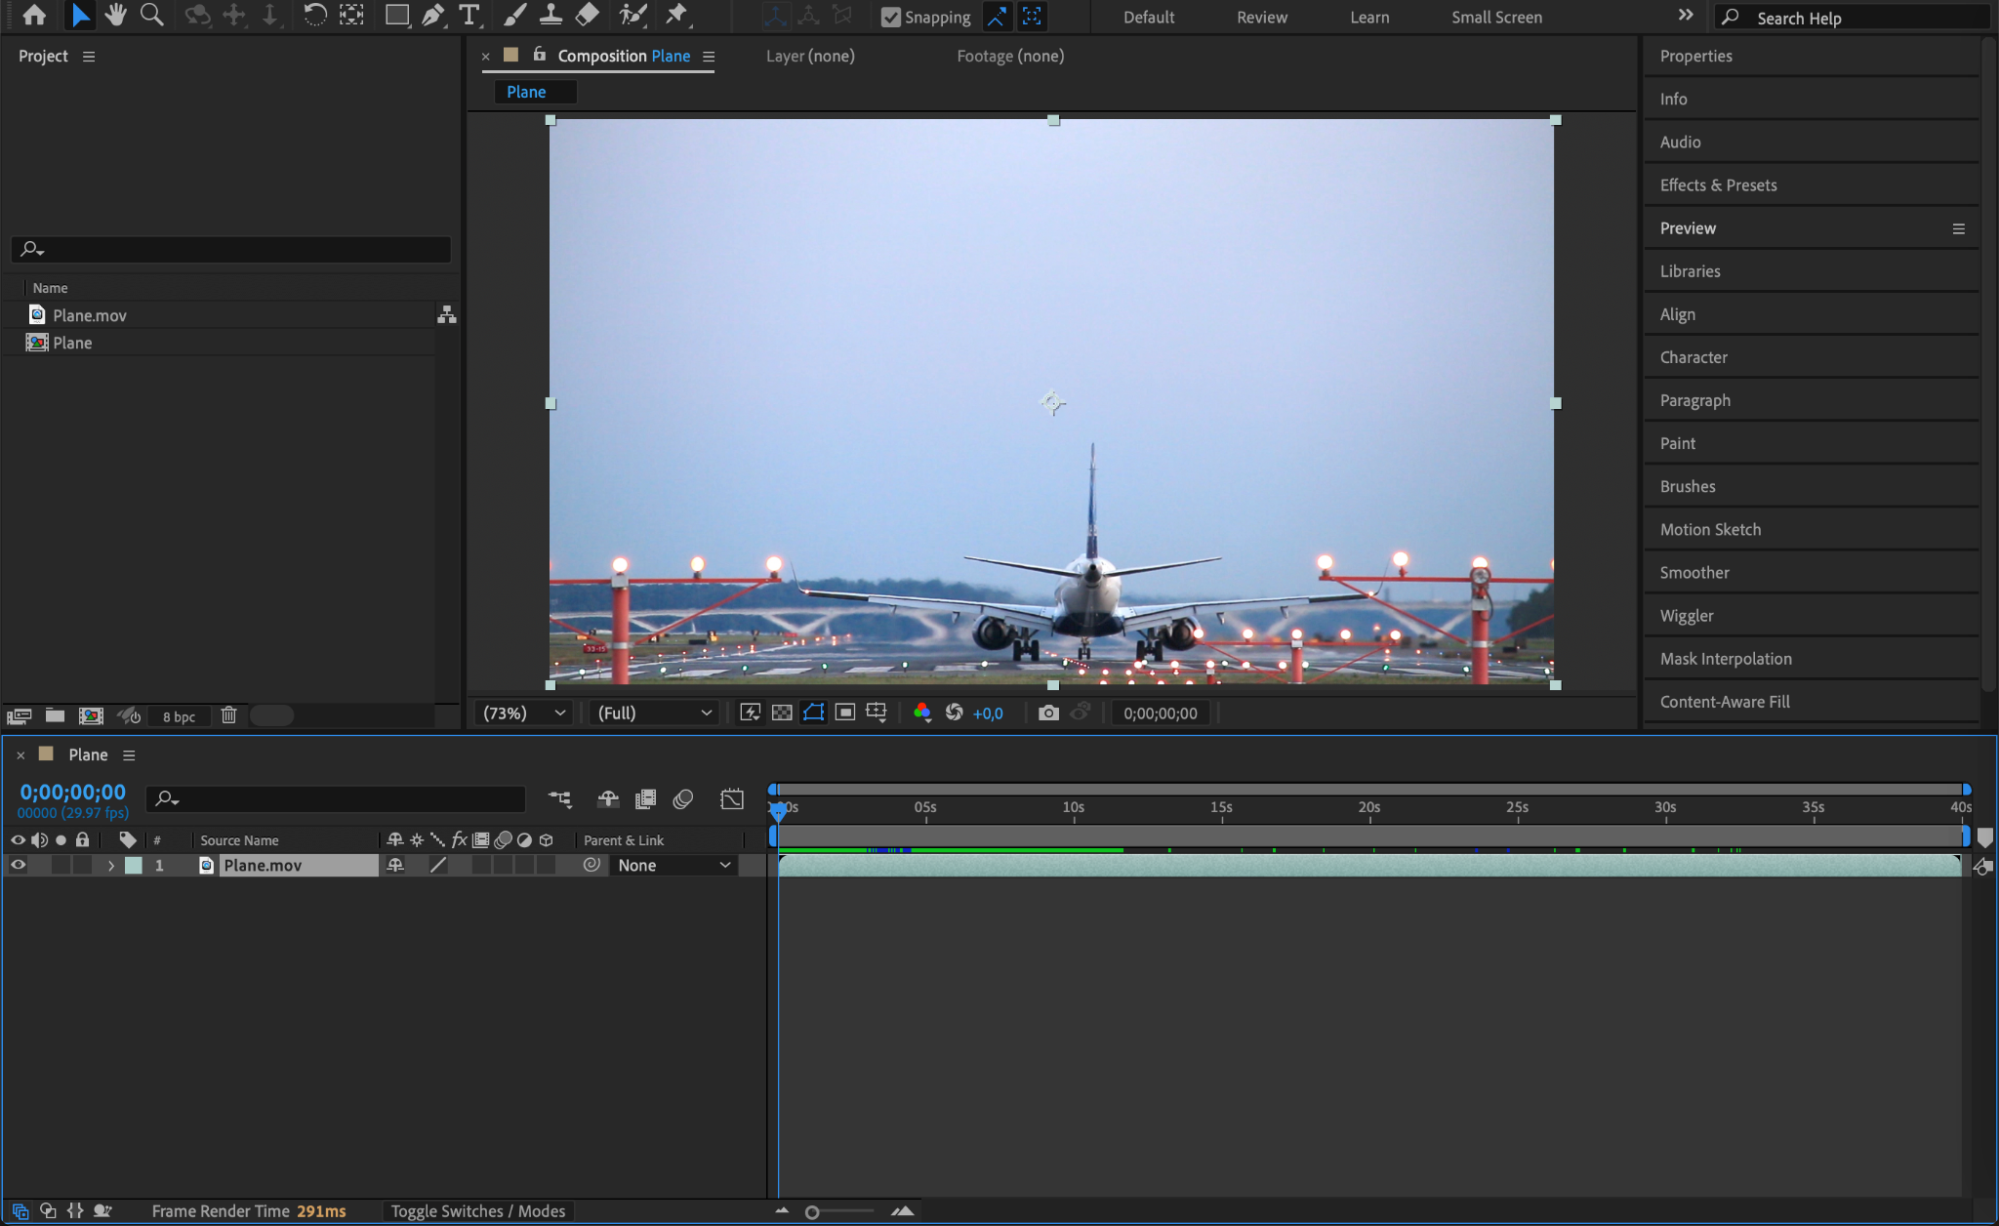
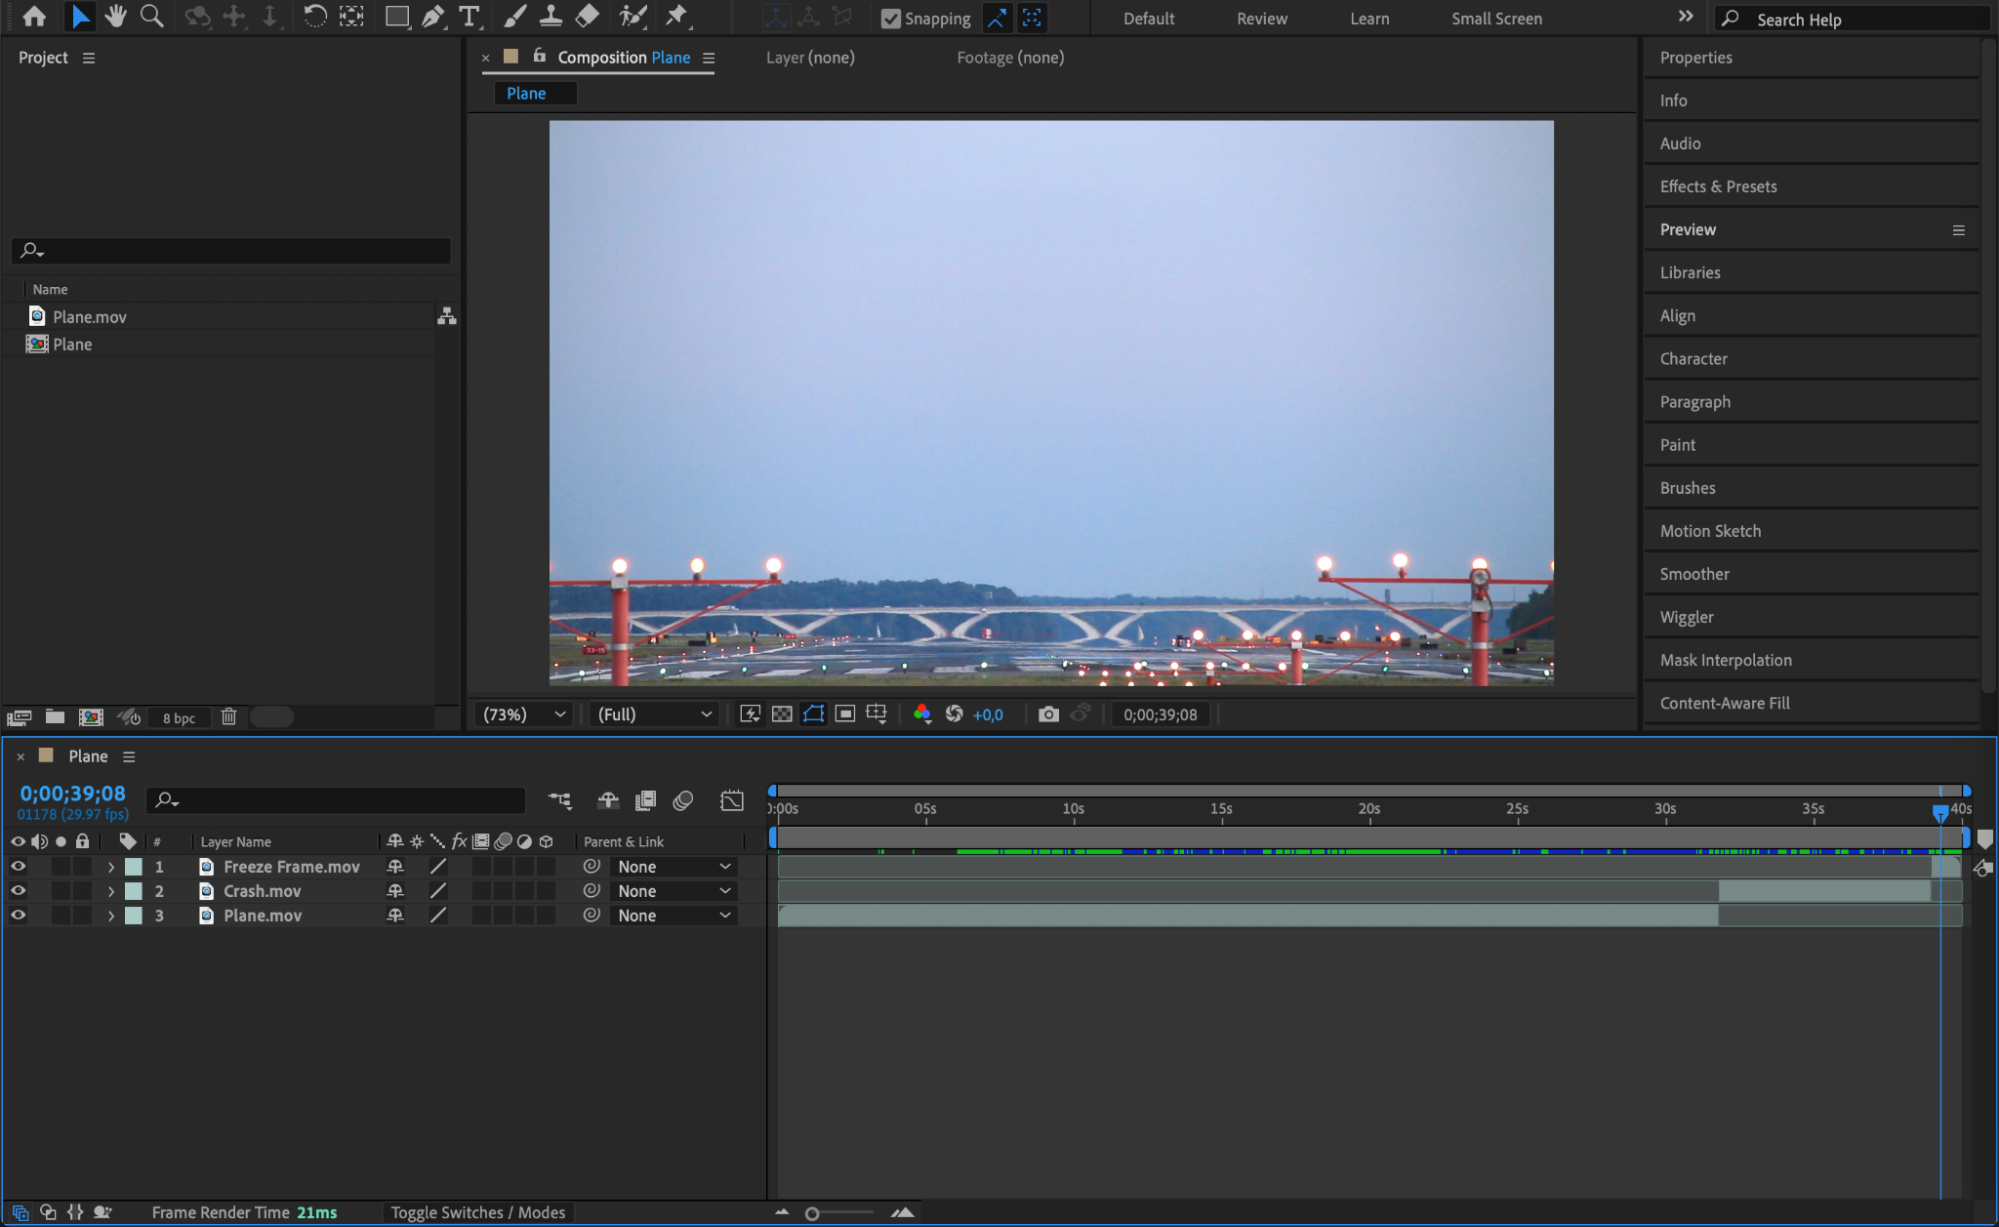
Start by importing your video footage of a plane (e.g., a plane taking off). Go to File > Import > File, select your video file, and click Open. Drag the footage onto the timeline to begin working on your composition.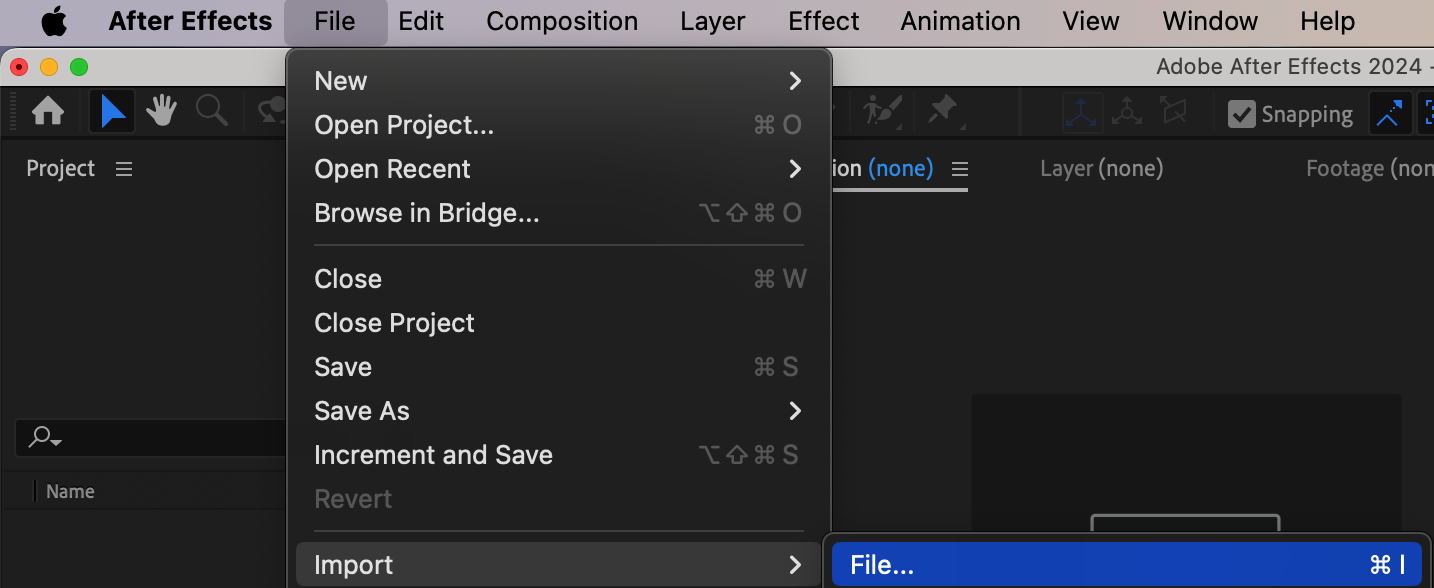
 Step 2: Split and Organize Your Video Layers
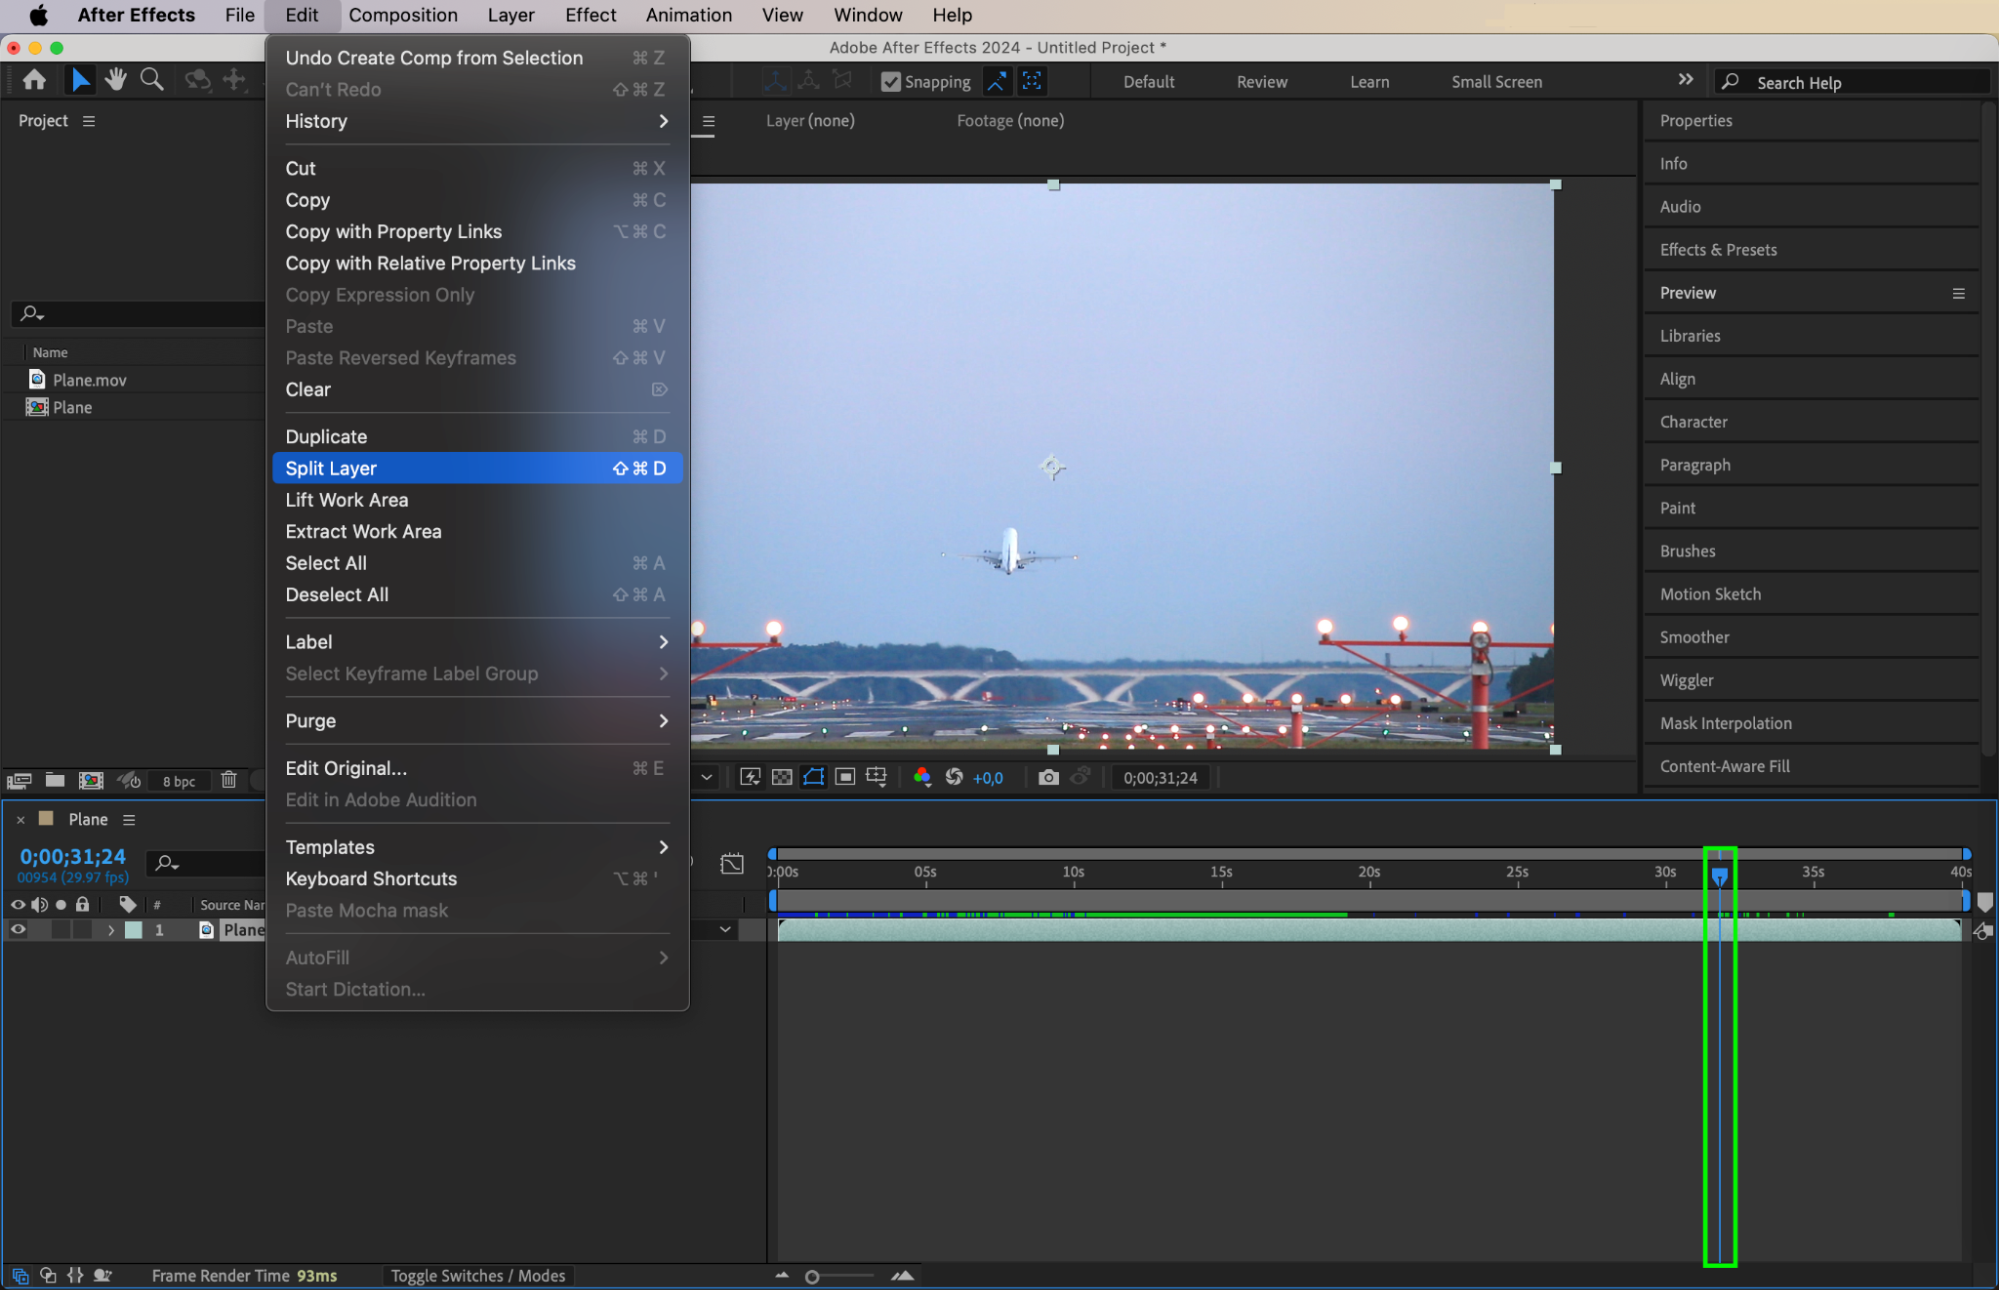
On the timeline, split the video layer where you want the crash to occur. Also, split it where the plane is fully airborne, leaving a clean background shot. Rename the layers for convenience: name the first part Plane, the second part Crash, and the background layer Freeze Frame. This will make it easier to keep track of your edits.

 Step 3: Prepare the Freeze Frame Layer
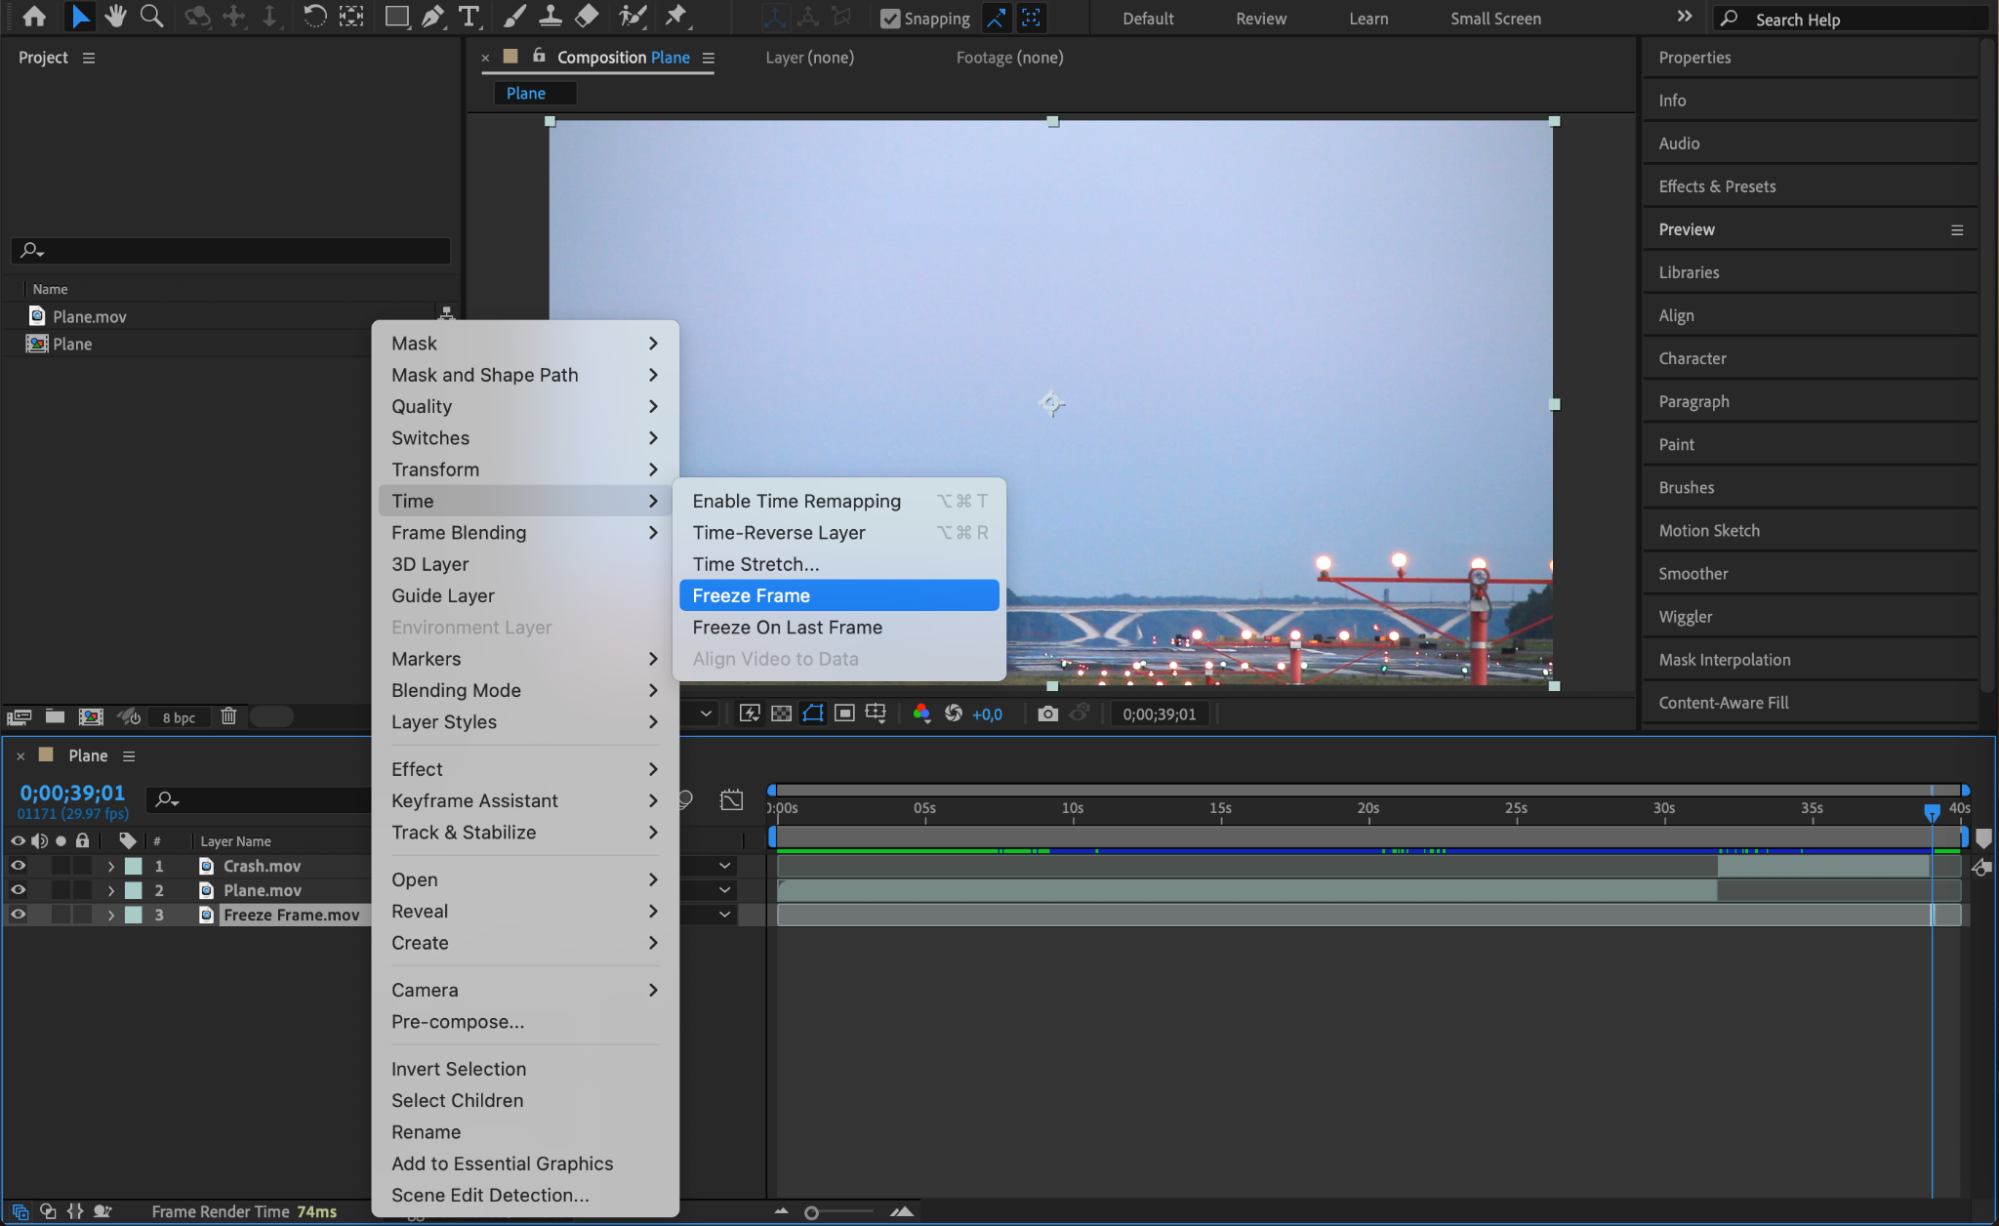
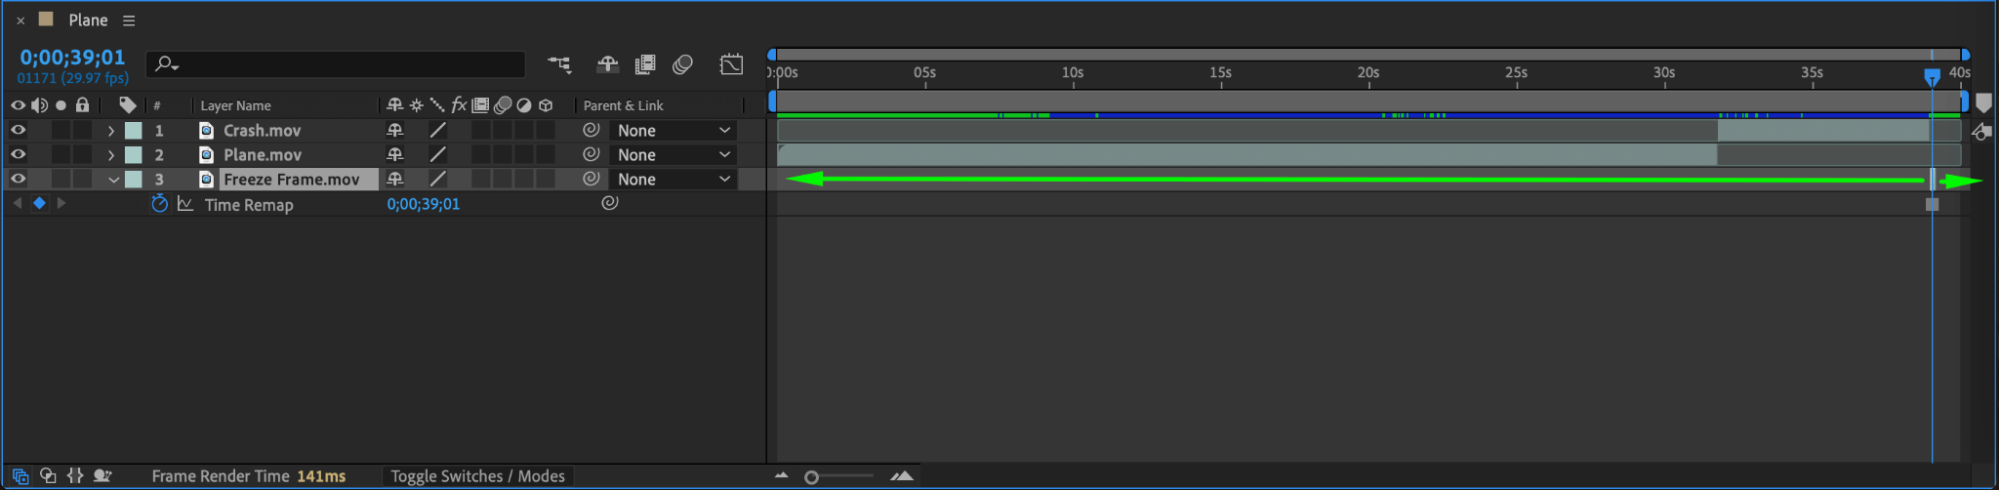
Move the Freeze Frame layer to the bottom of the timeline. Select it, go to Time > Freeze Frame, and extend its duration by dragging its edges on the timeline to match the length of the composition. This layer will serve as the static background for the crash sequence.
 Step 4: Trim the Crash Layer
Select the Crash layer, move the CTI (Current Time Indicator) to the exact frame where the explosion will begin, and split the layer again. Delete the unnecessary portion after the crash to ensure a clean composition.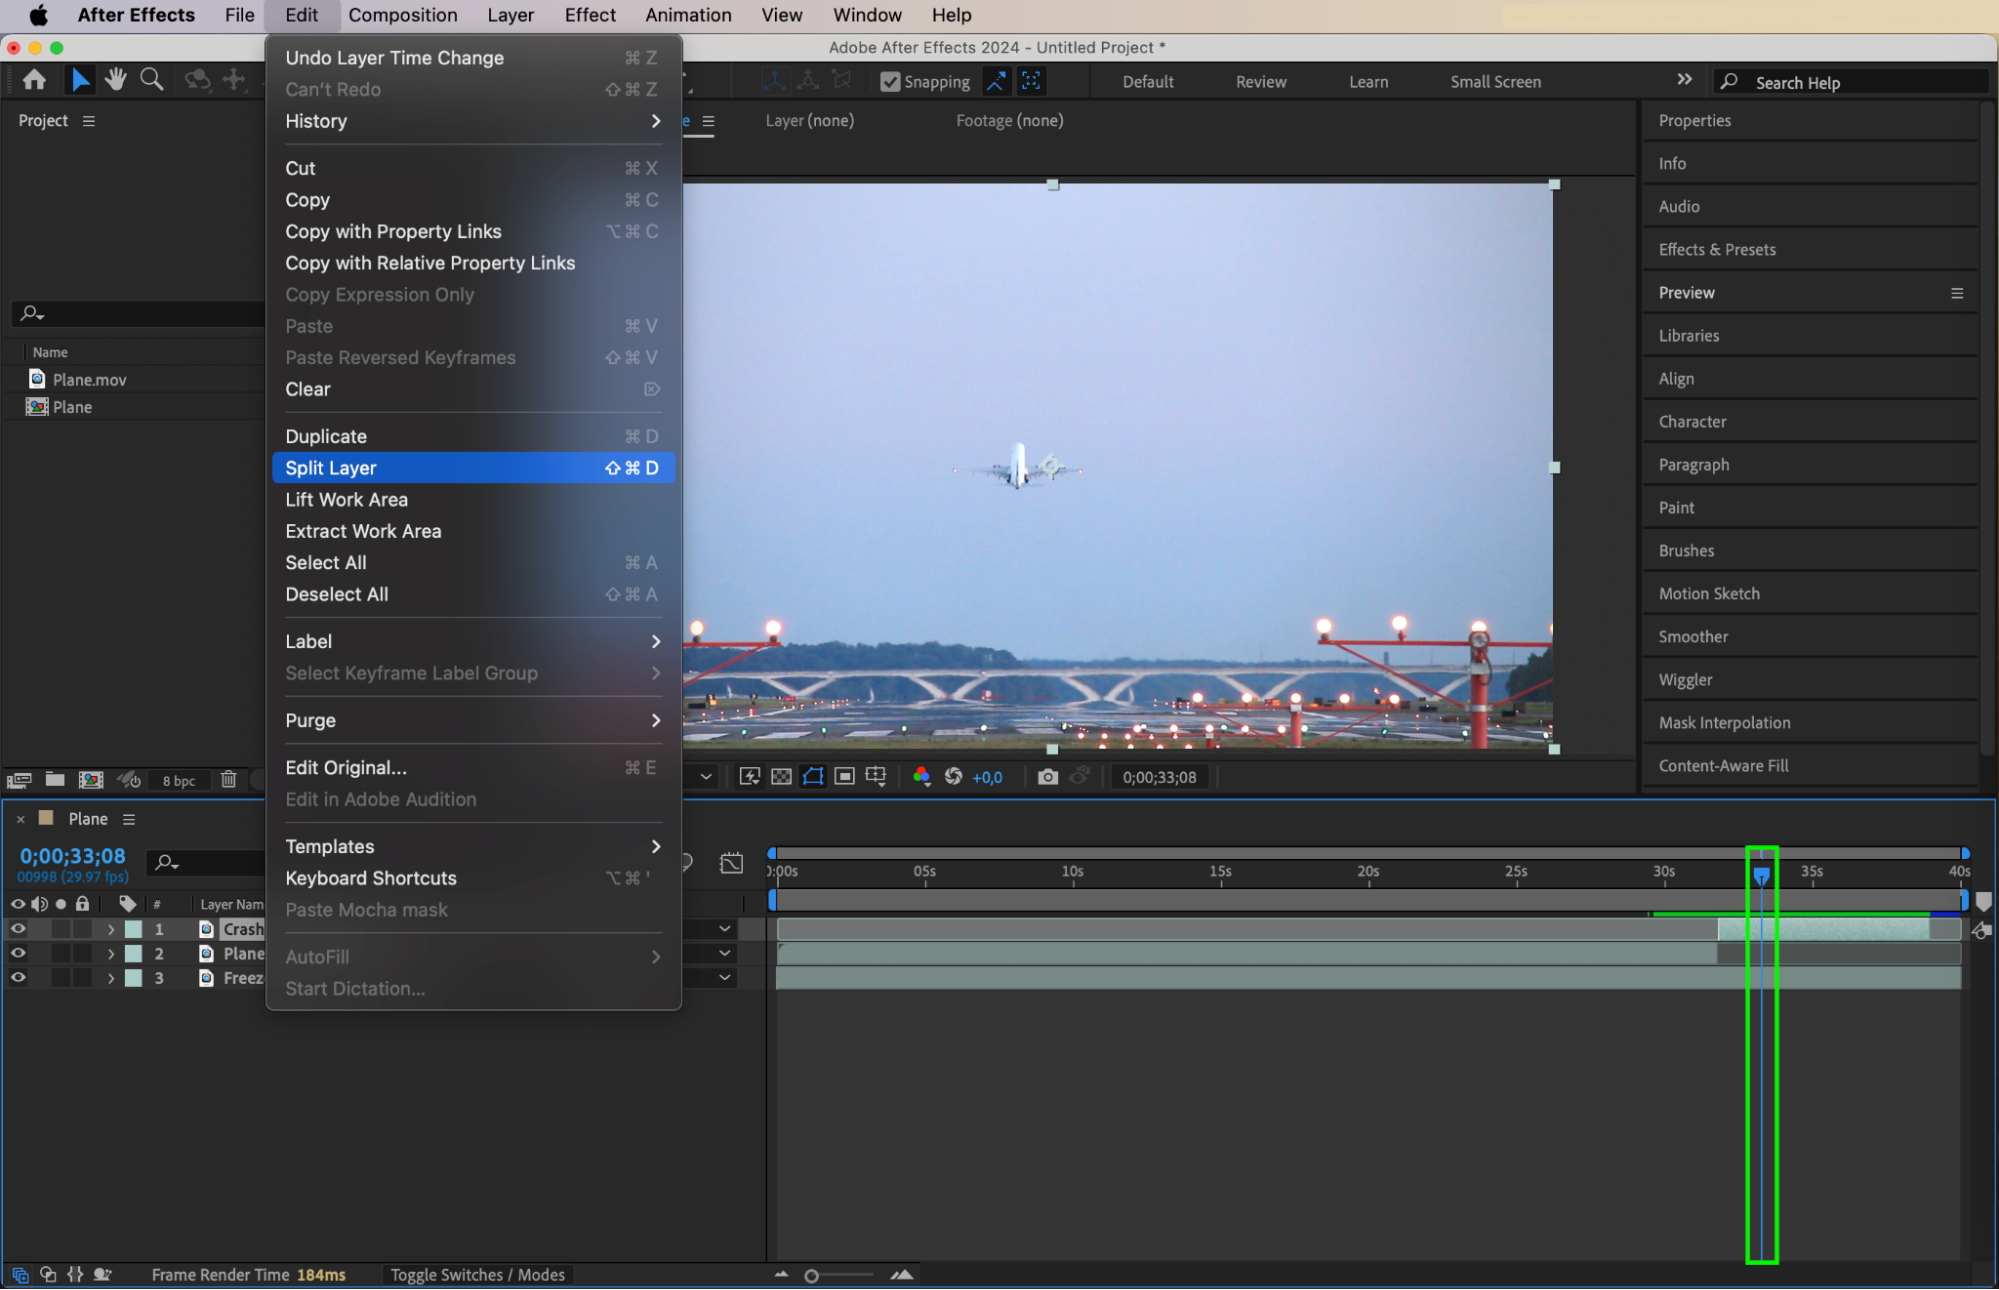 Step 5: Add Explosion Effects
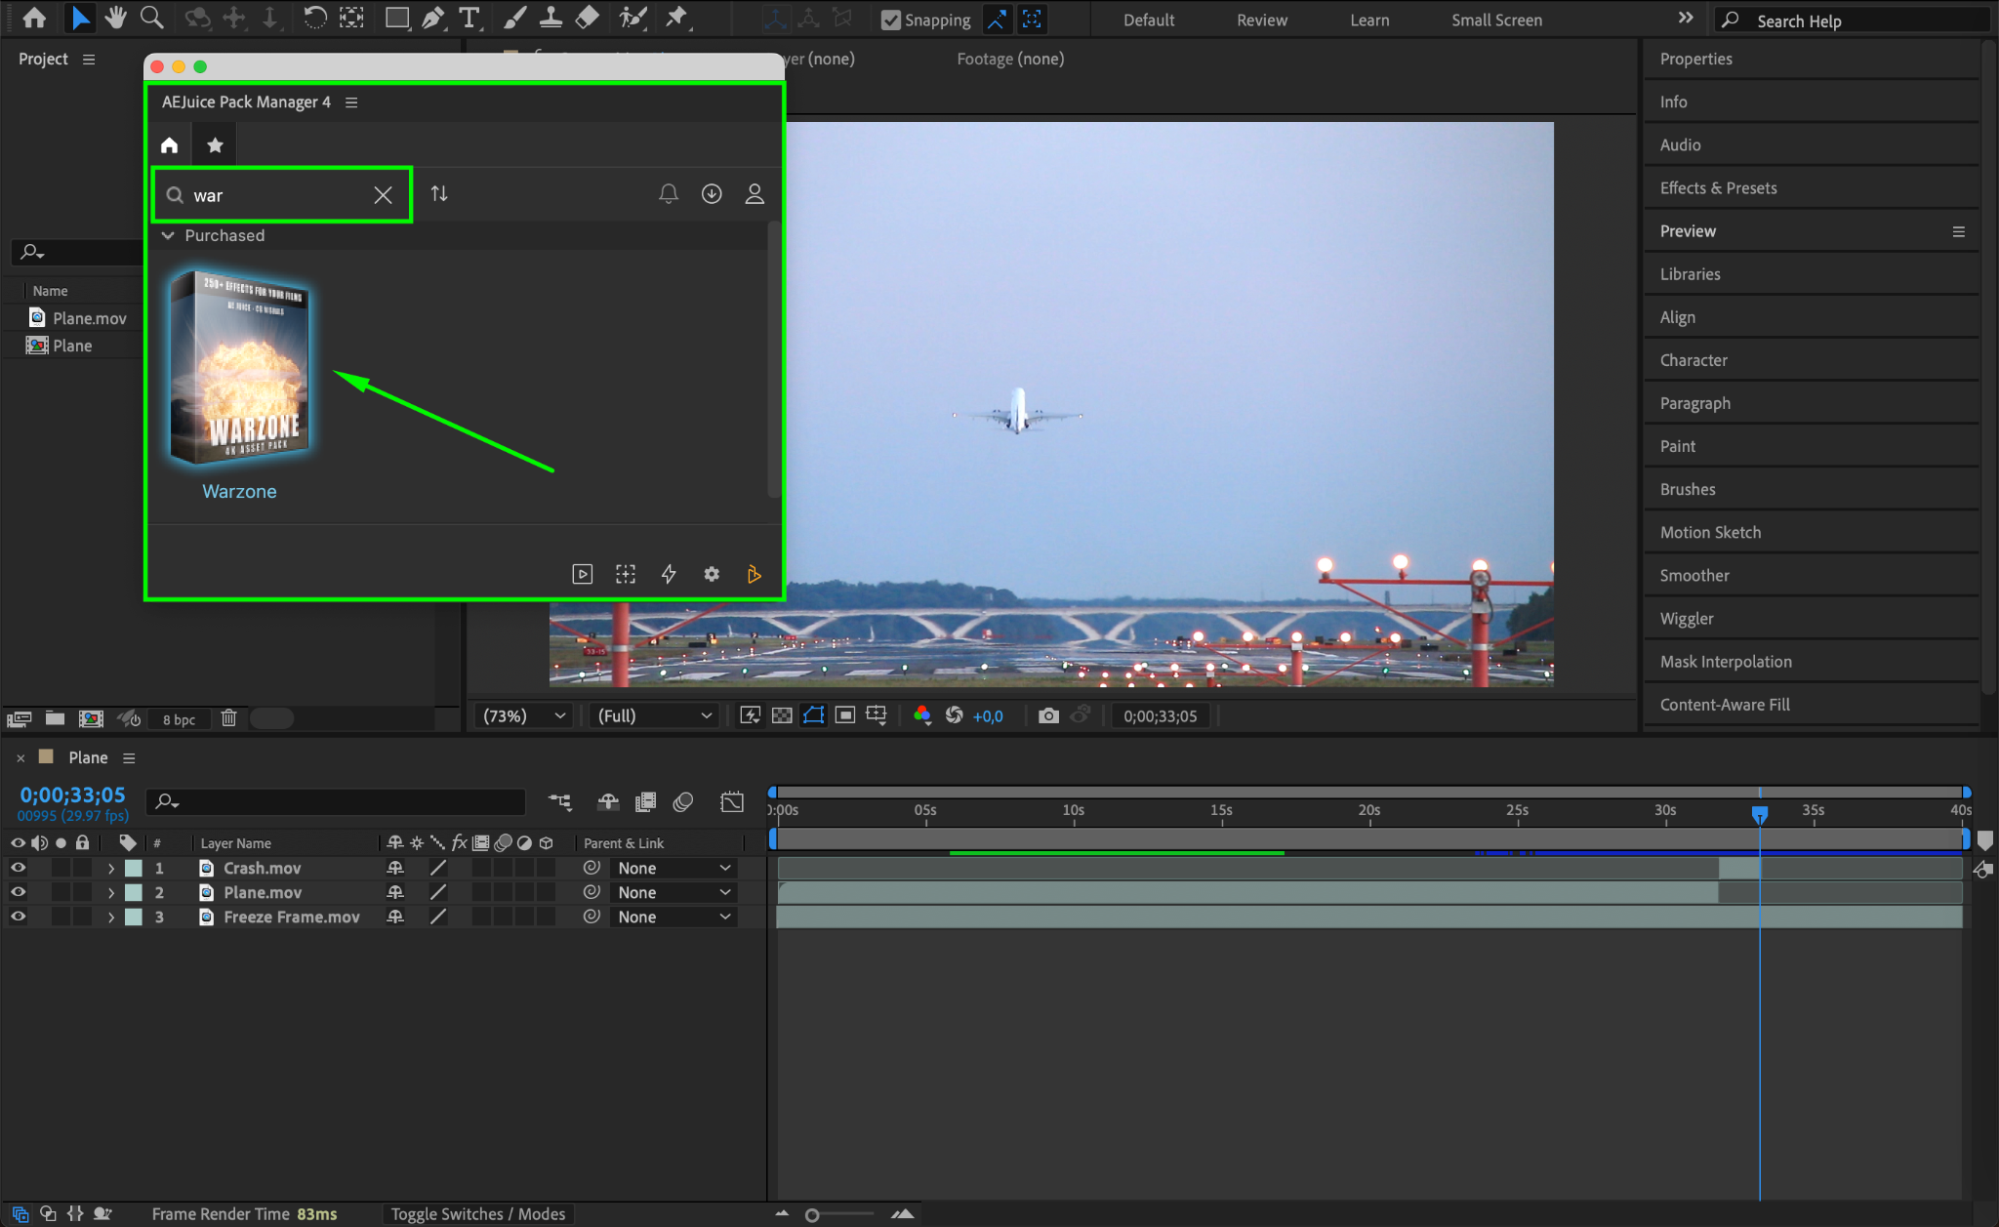
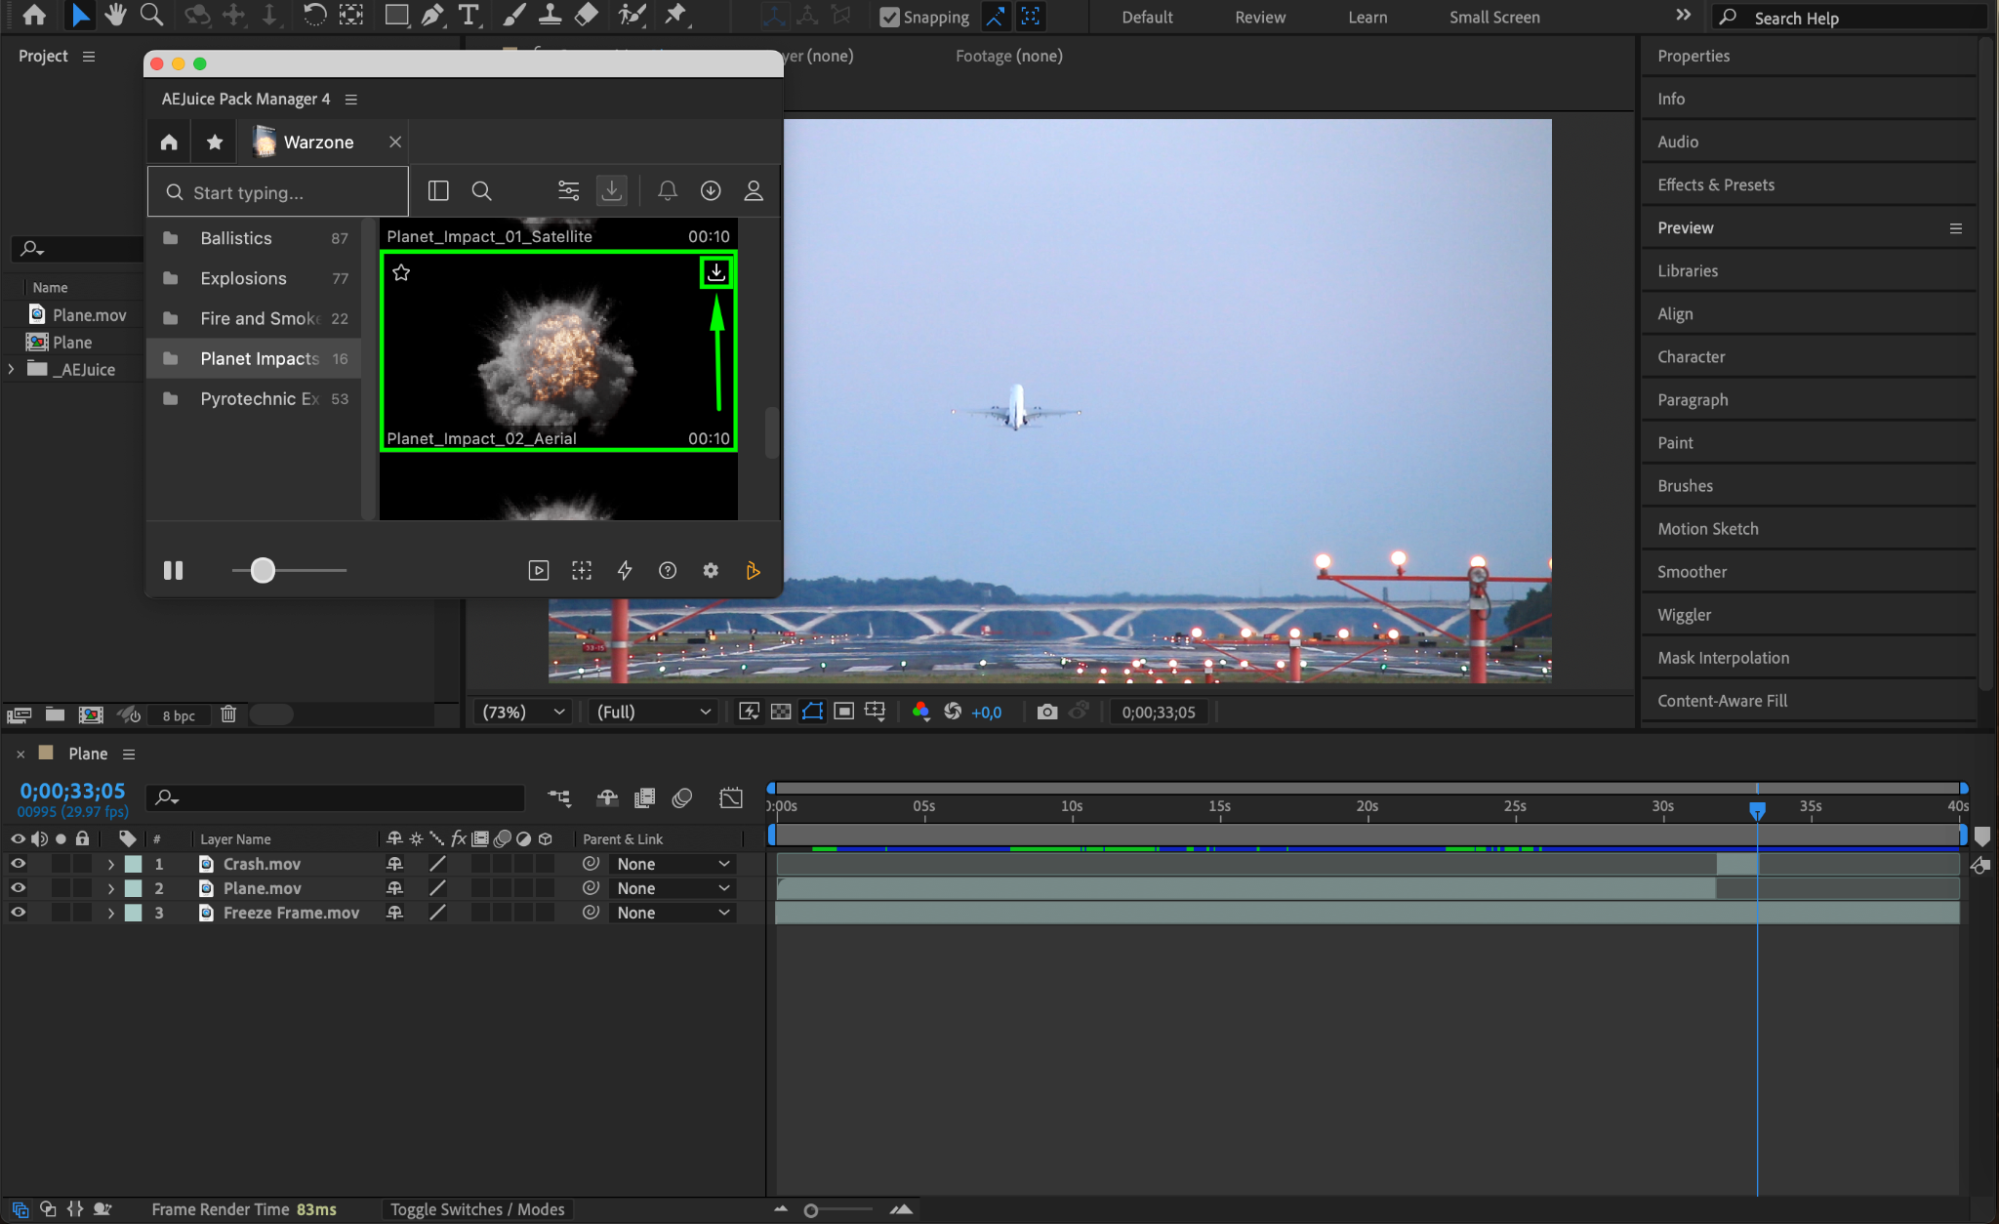
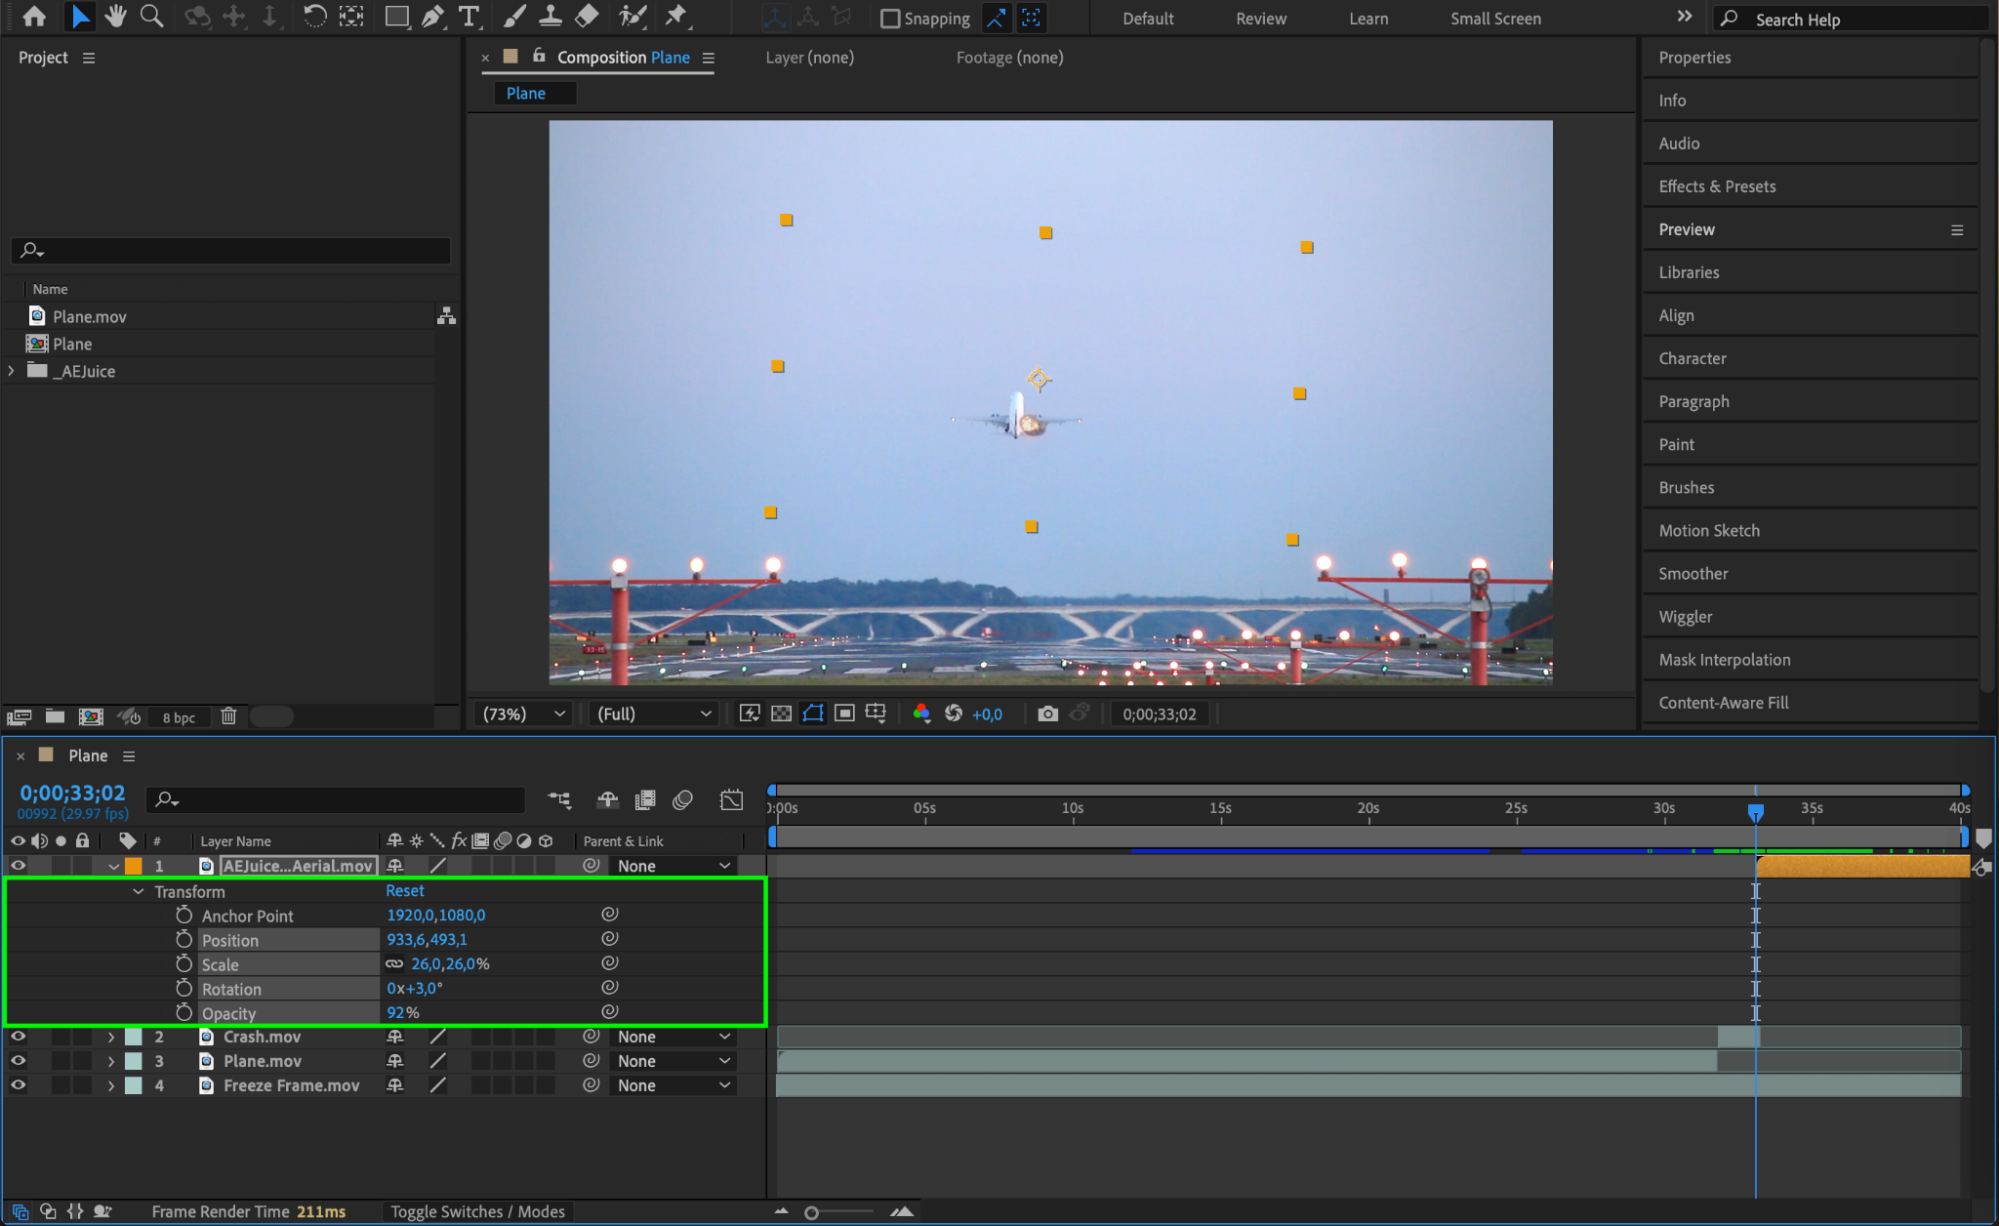
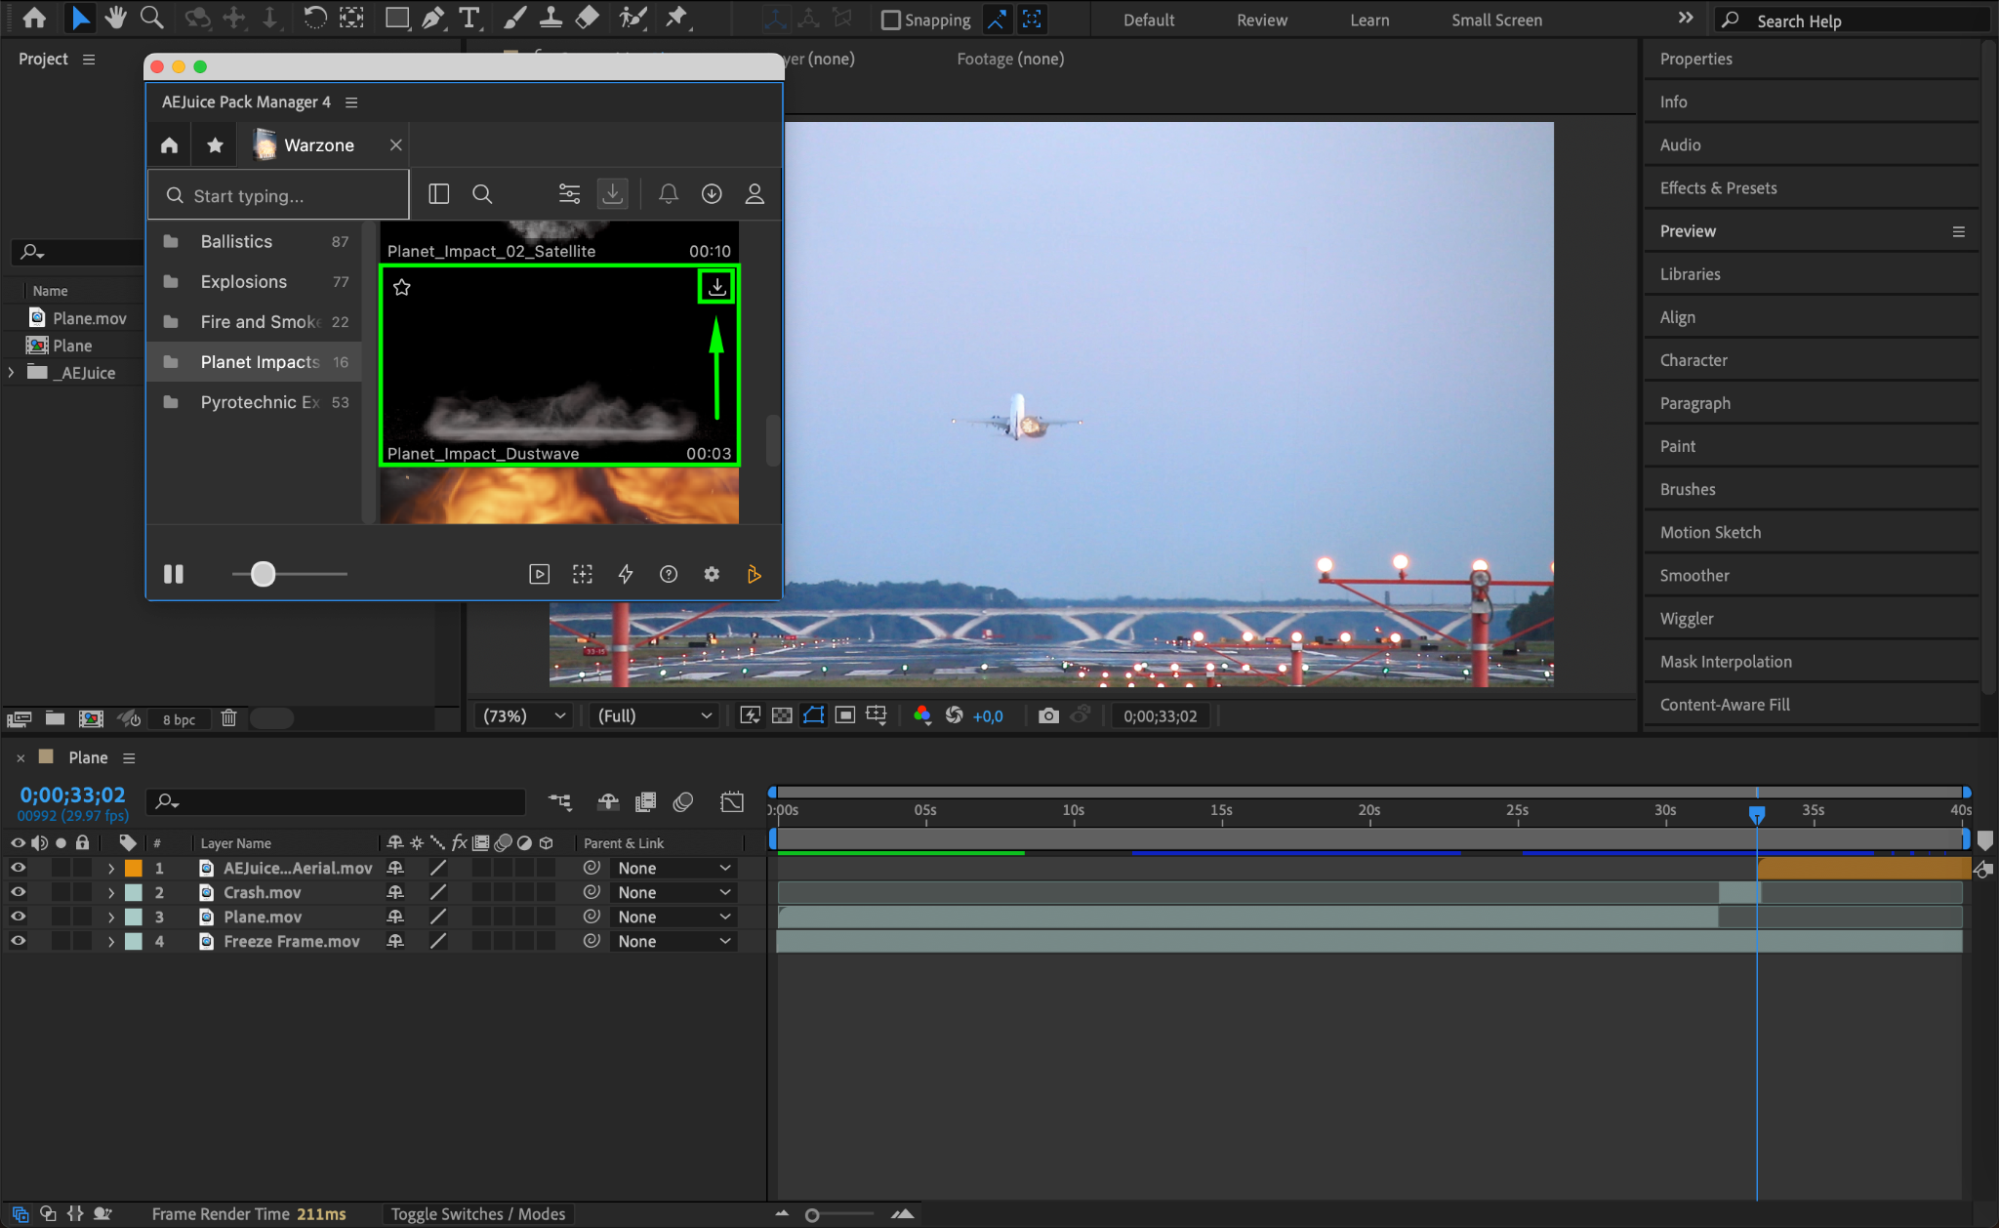
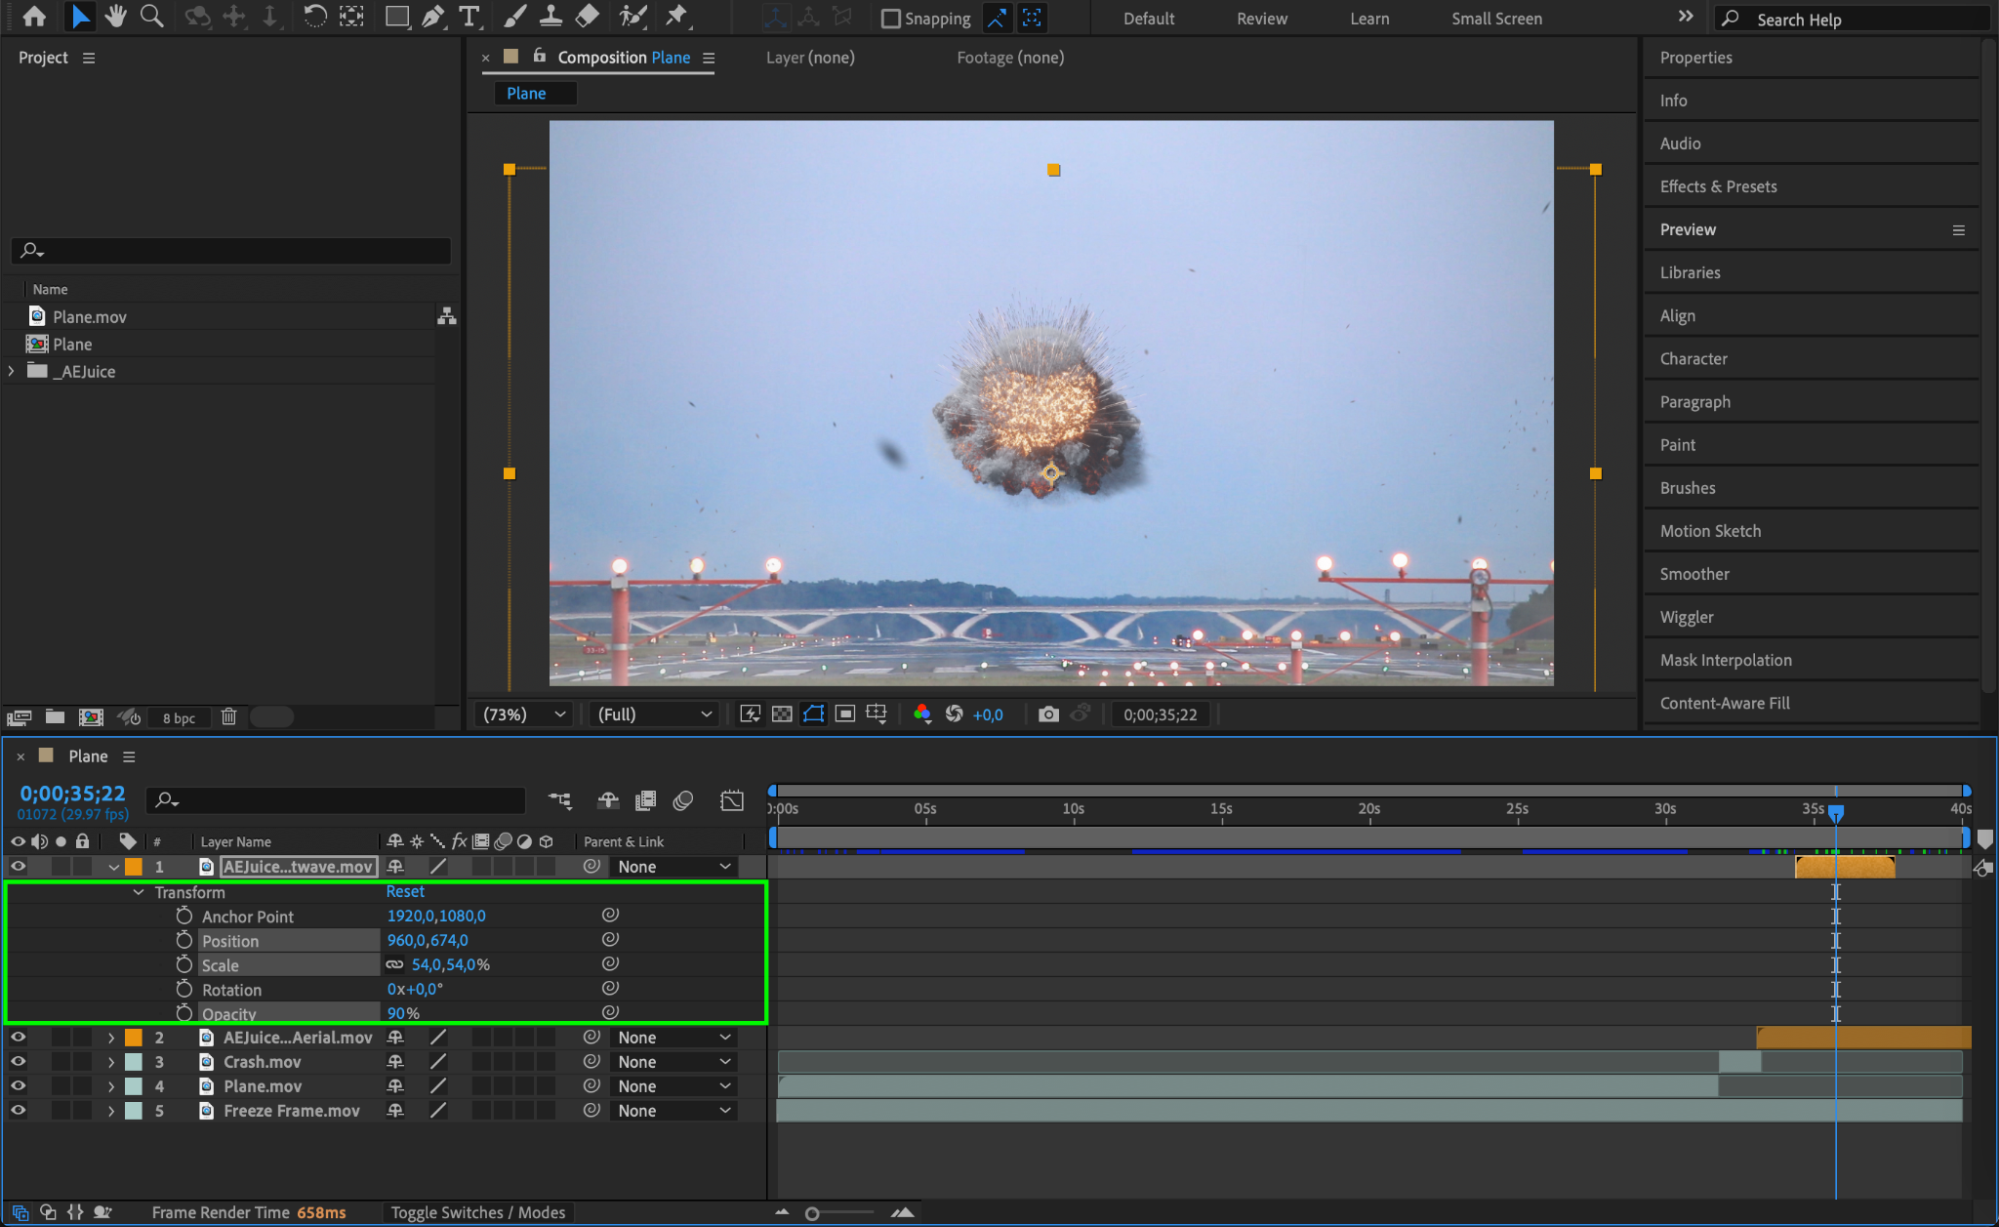
Import explosion footage or use a plugin like AEJuice (e.g., Warzone Pack with such effects as Planet Impact Aerial and Dustwave). Place the explosion footage on the timeline where the crash begins. Use the Transform properties (Position, Scale, Rotation) to match the explosion to the scene. Adjust the opacity and blending modes to make the effect integrate seamlessly with the composition.

 Step 6: Add Shake to the Freeze Frame Layer
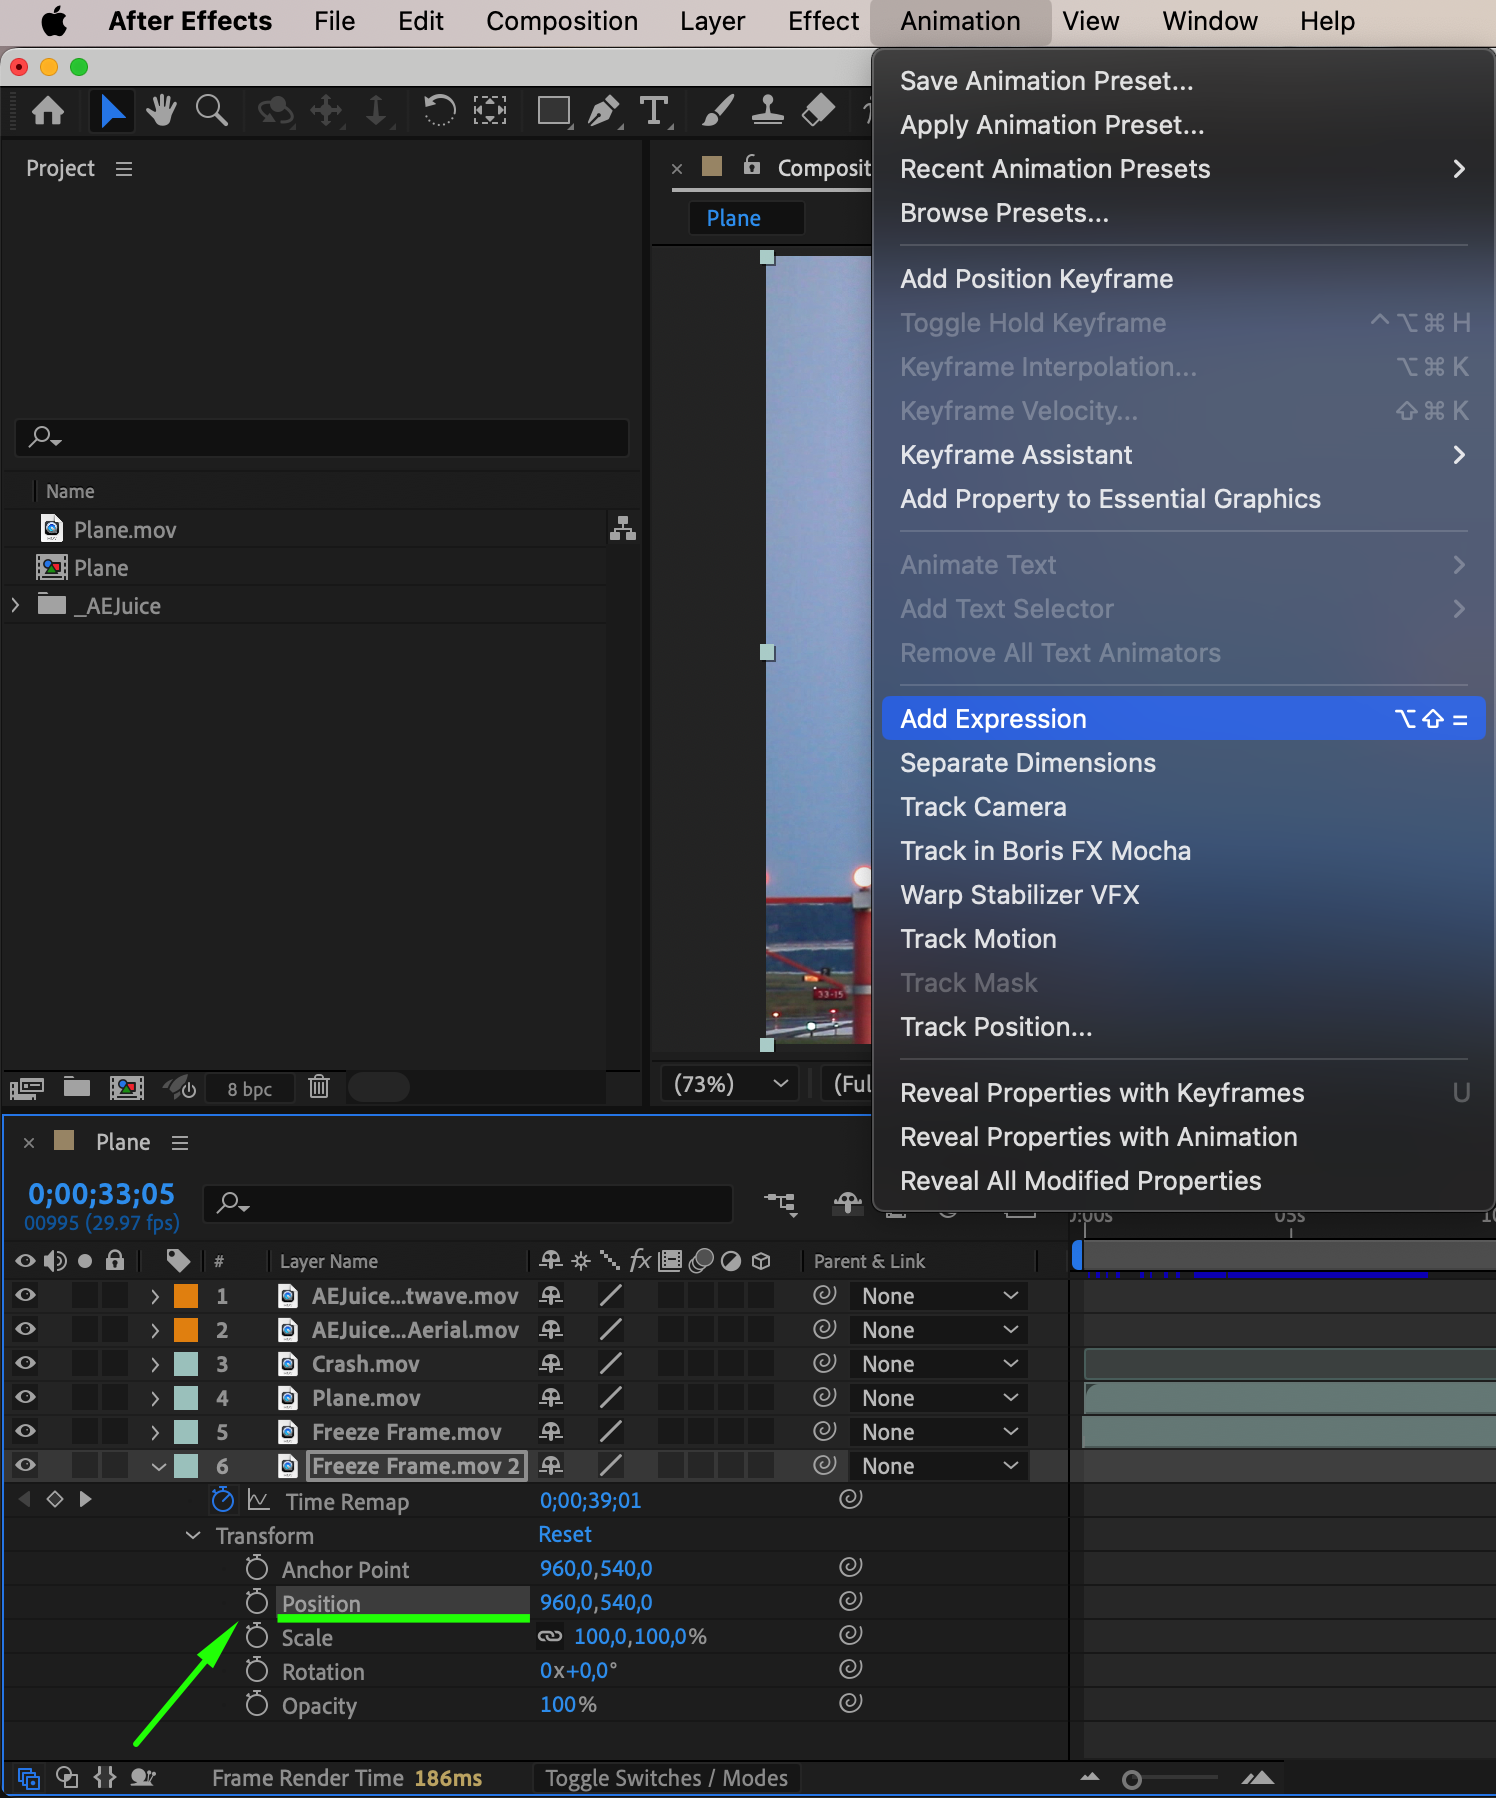
To simulate the impact of the explosion, select the Freeze Frame layer. Move the CTI a few frames after the explosion begins, and split the layer. For the new section, add a wiggle expression to the Position property. Hold Alt (Windows) / Option (Mac) and click the stopwatch next to Position, then type:
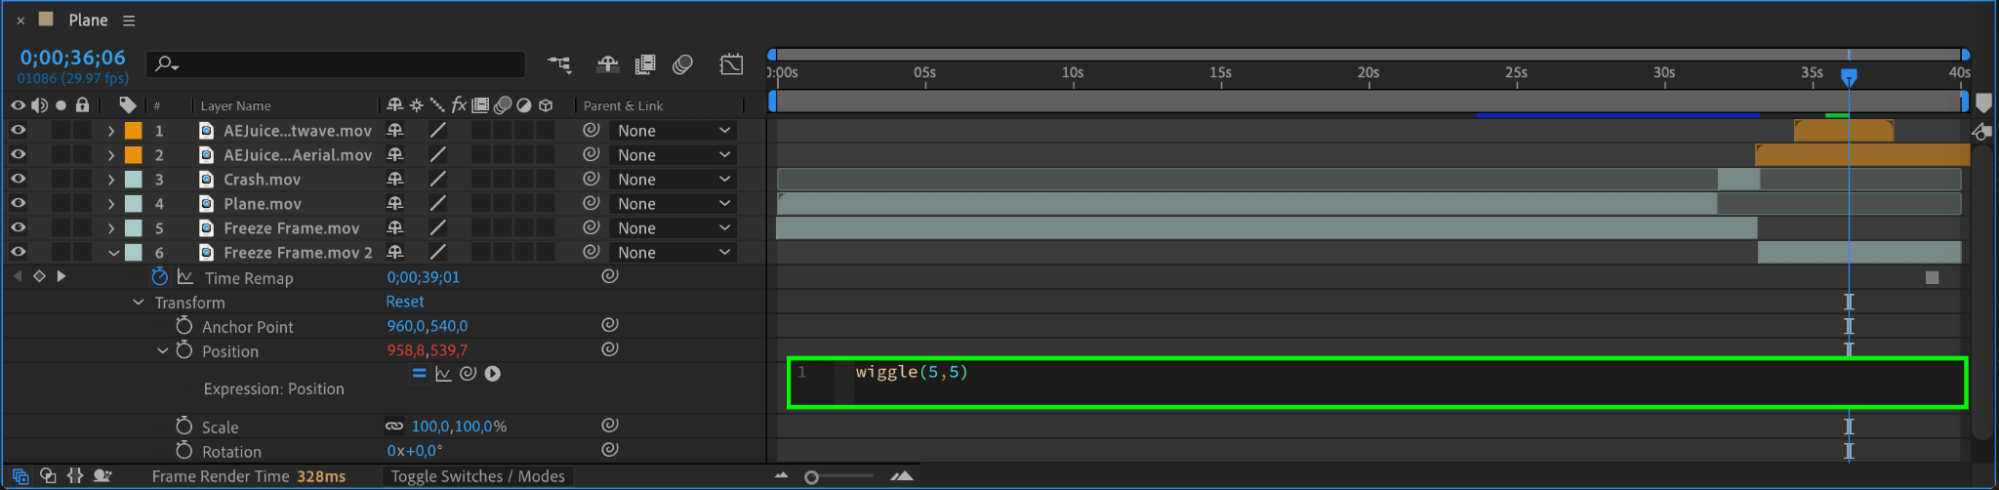
wiggle(5, 5)
This will create a realistic camera shake effect for added intensity.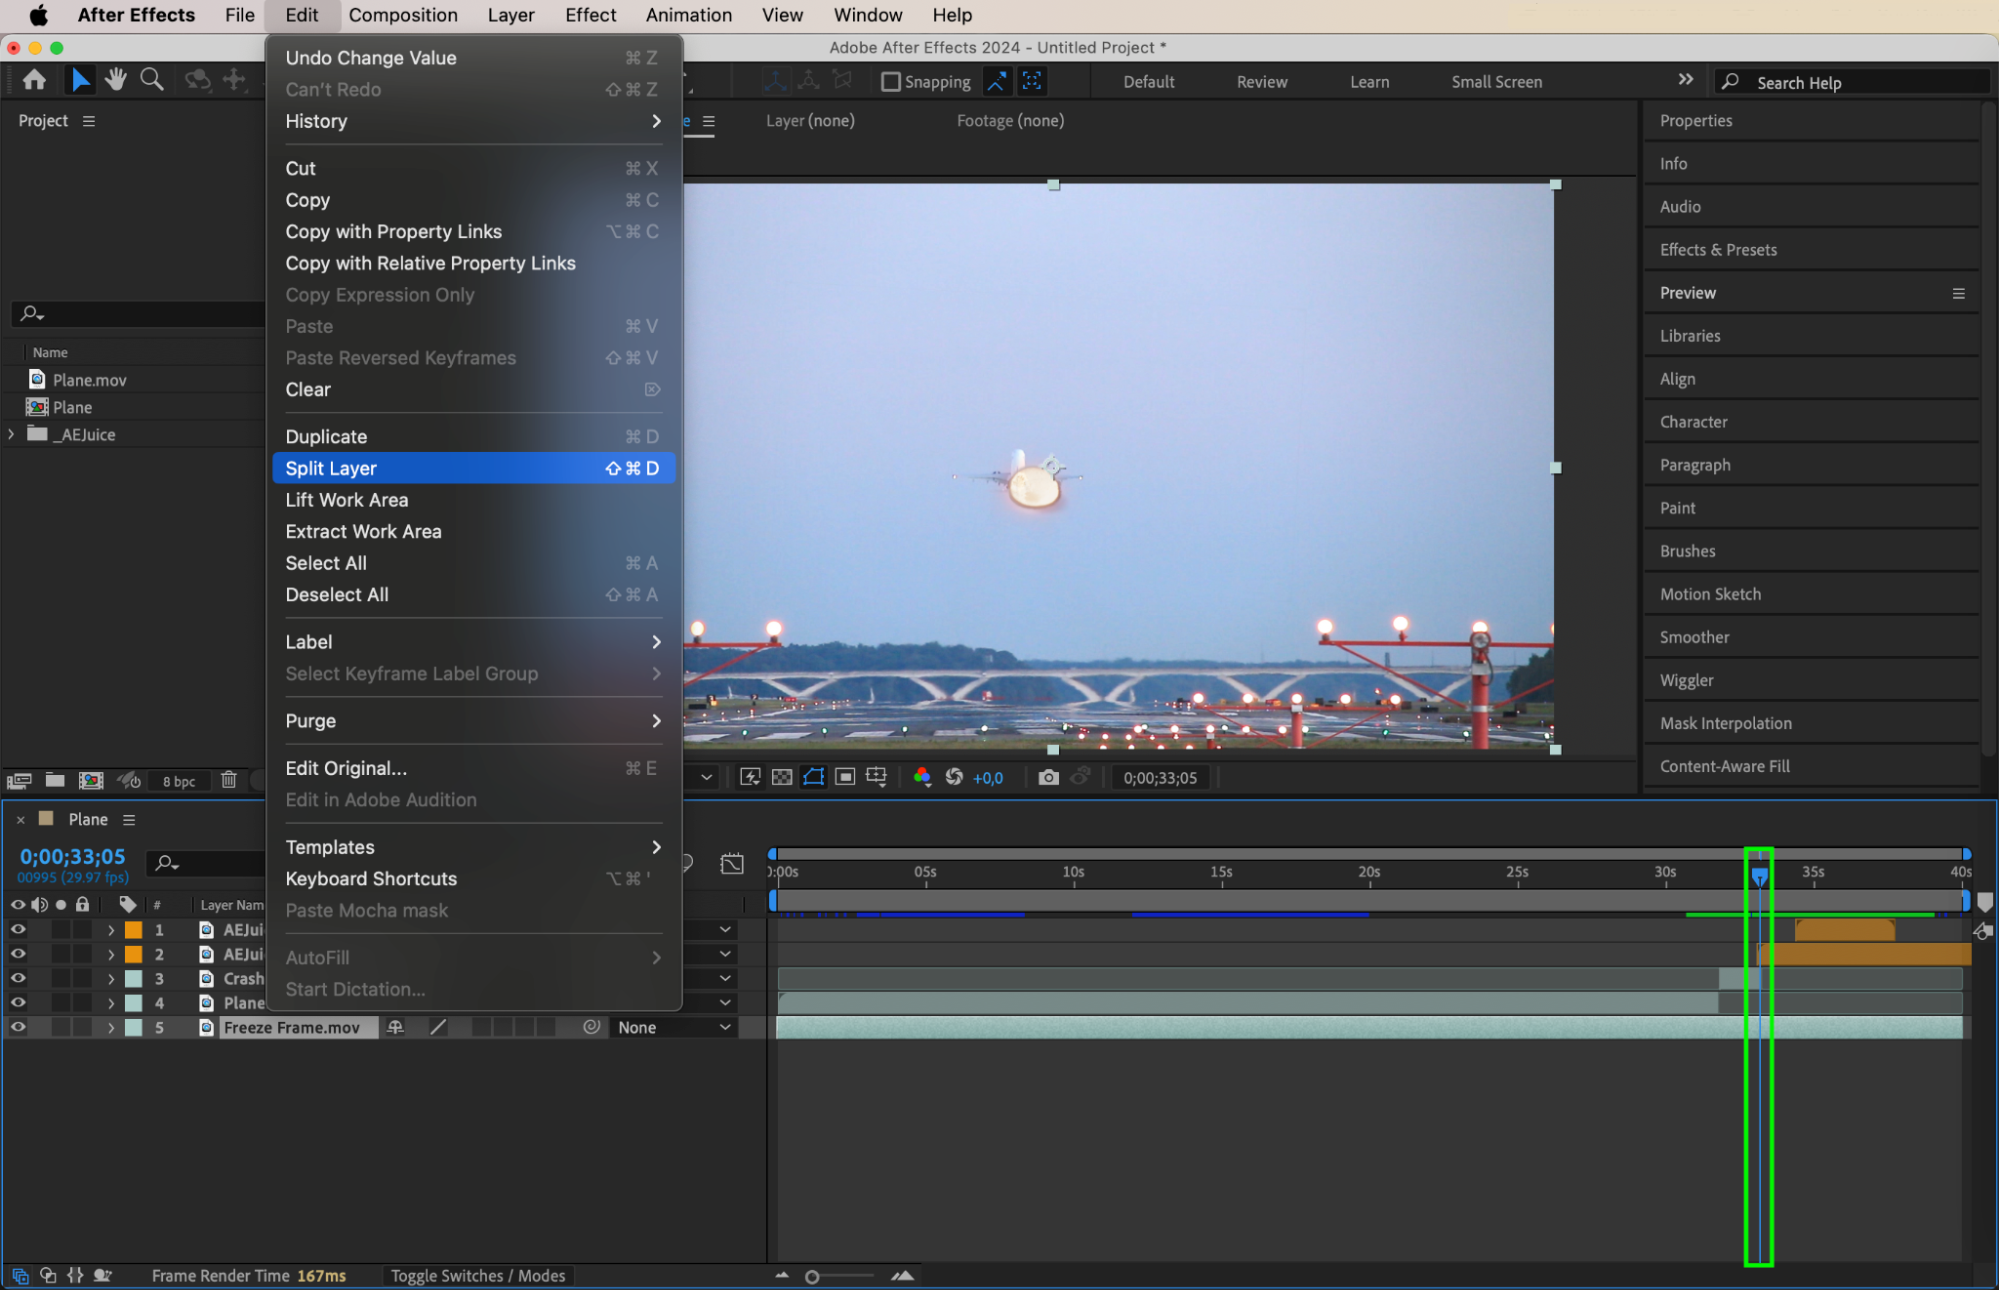
 Step 7: Apply Realistic Colorization
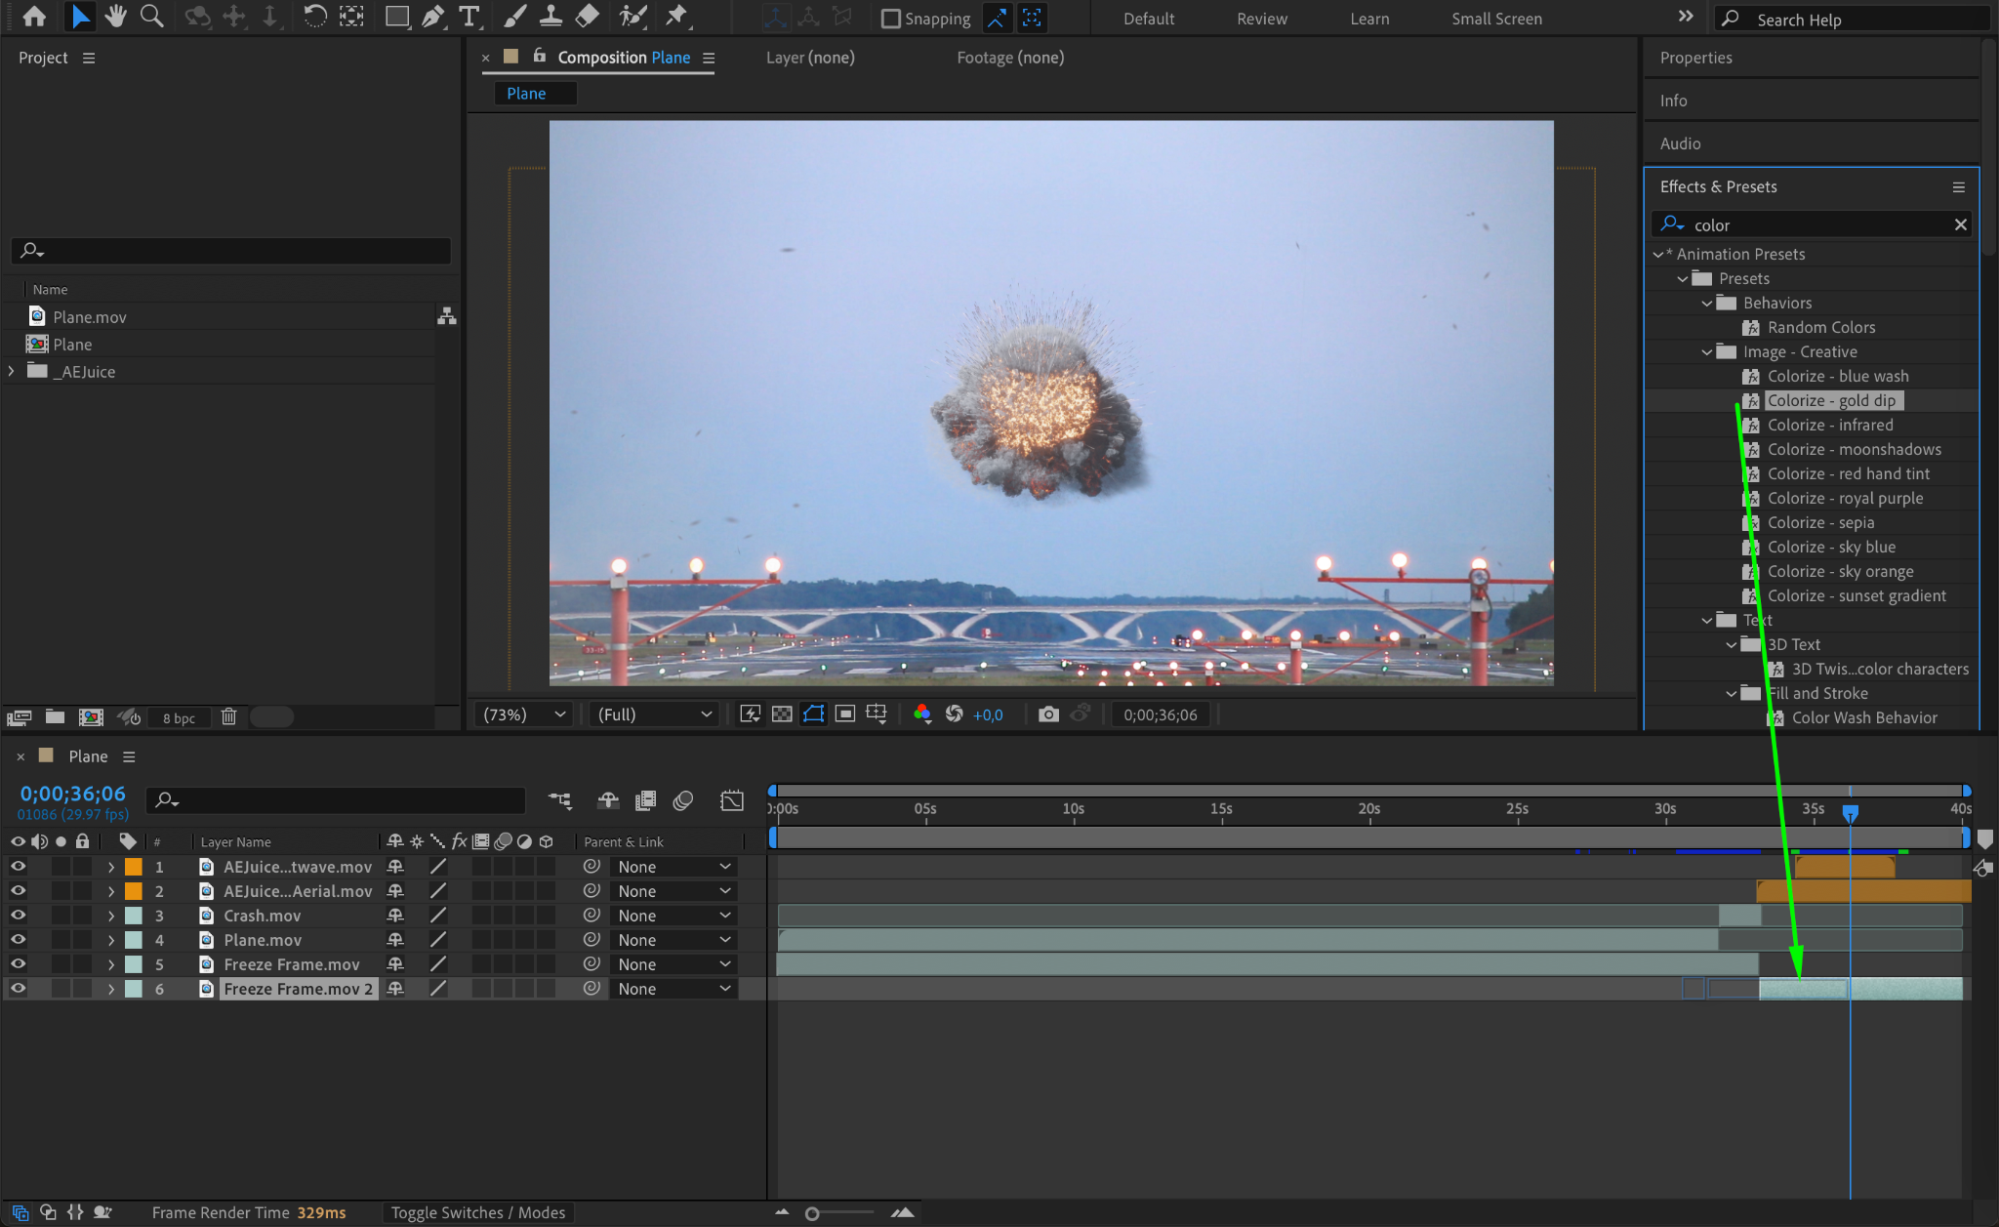
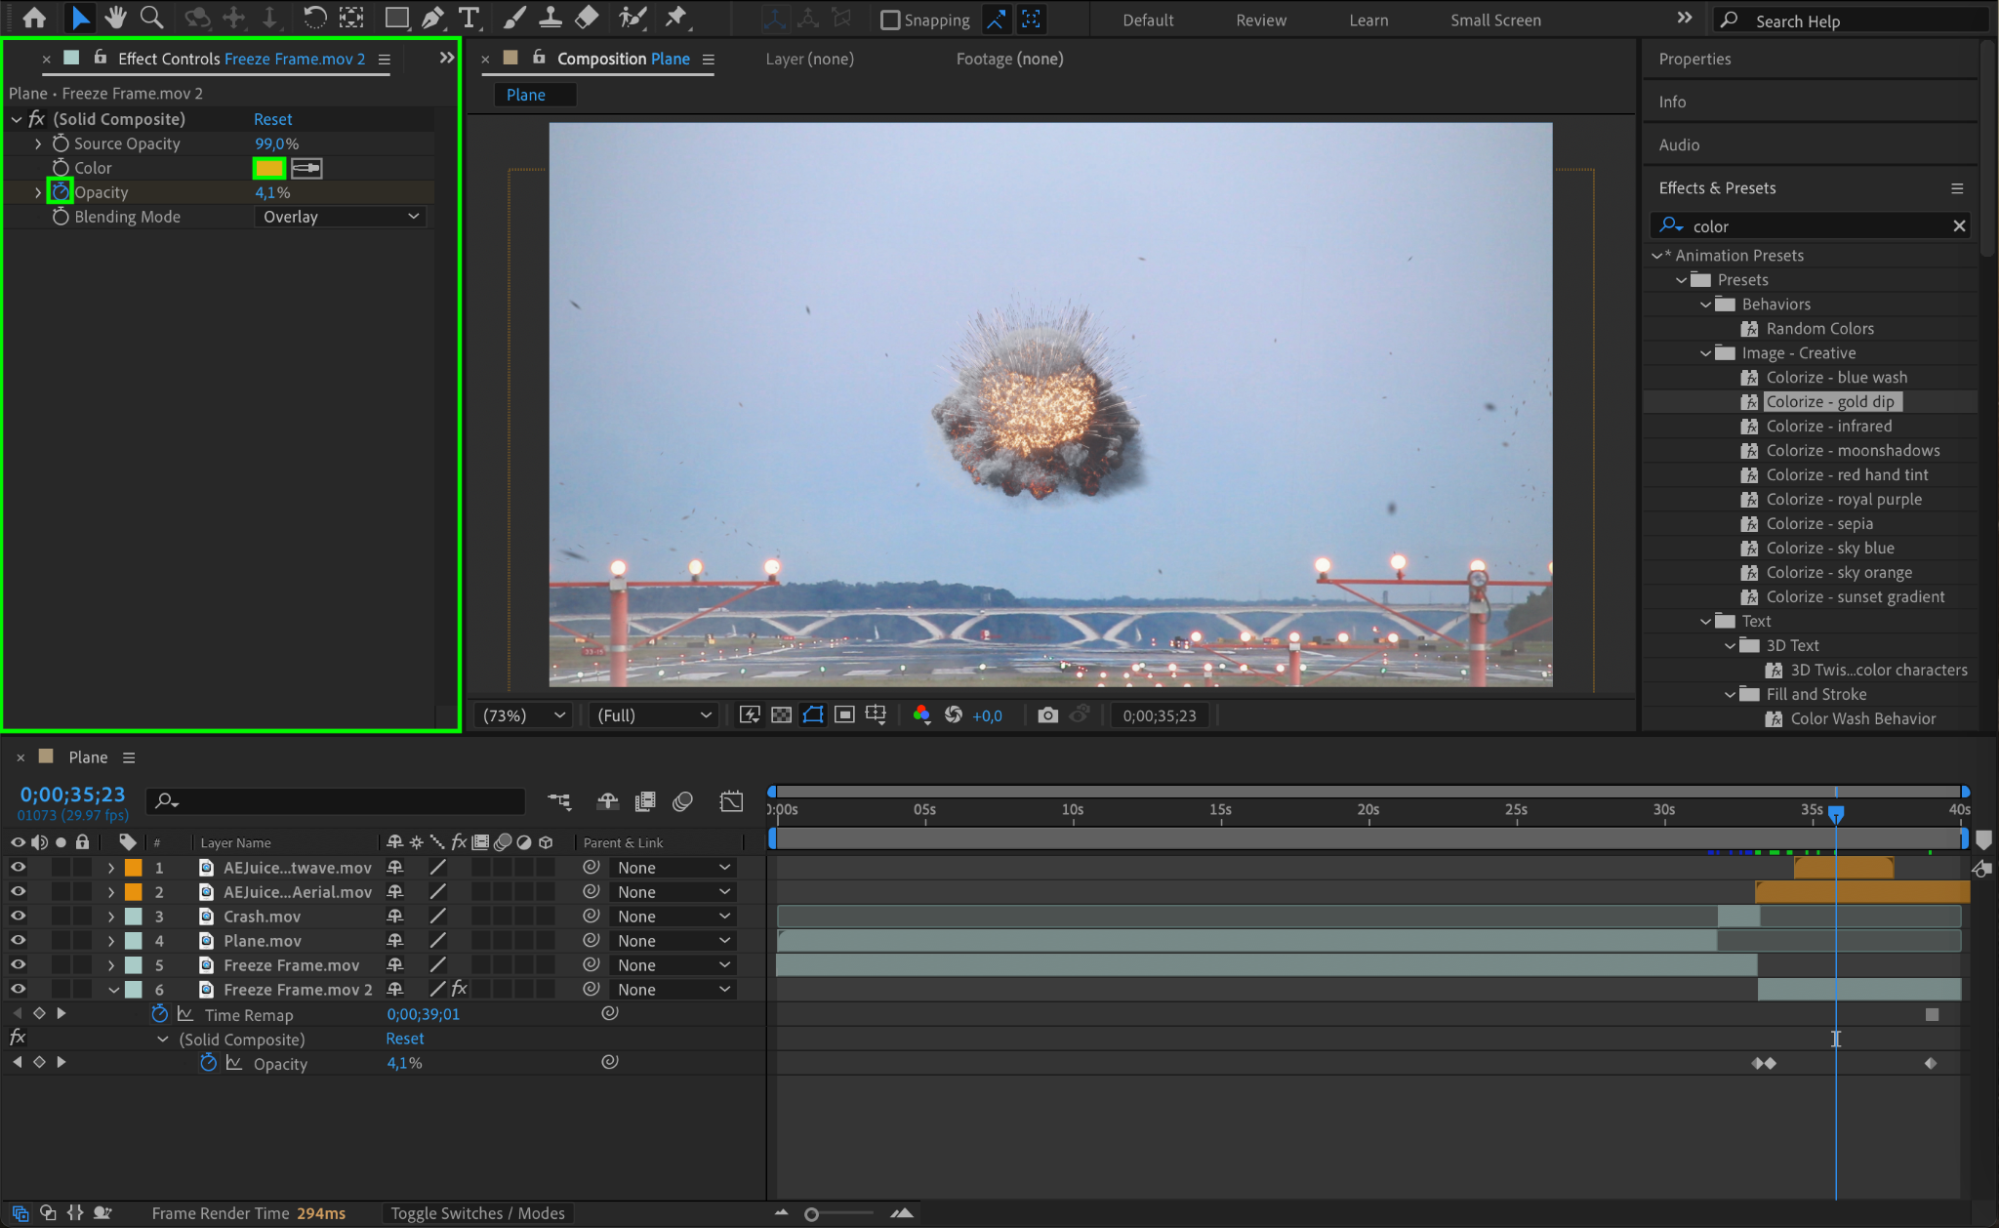
To make the explosion more believable, add a colorizing effect to the Freeze Frame layer. Go to the Effects & Presets panel and search for Colorize – Gold Dip. Drag it onto the layer. Animate the effect’s opacity, starting at 0% before the explosion and reaching 7% during the explosion, then gradually fading back to 0%. This will simulate the lighting changes caused by the explosion.
 Step 8: Preview the Scene
Press the Spacebar to preview your composition. Ensure all transitions, explosions, and effects look seamless. Adjust the timing of your keyframes, explosion placement, or colorization to refine the scene as needed. Step 9: Render Your Final Composition
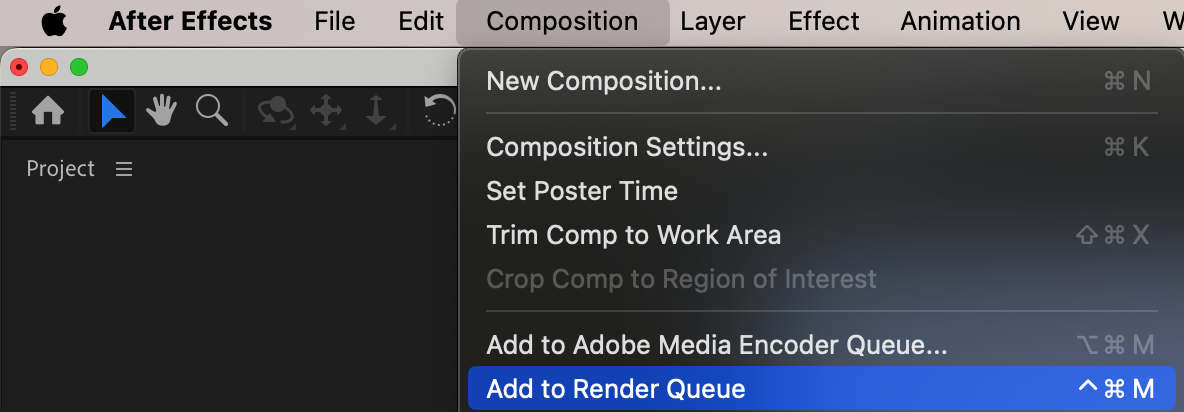
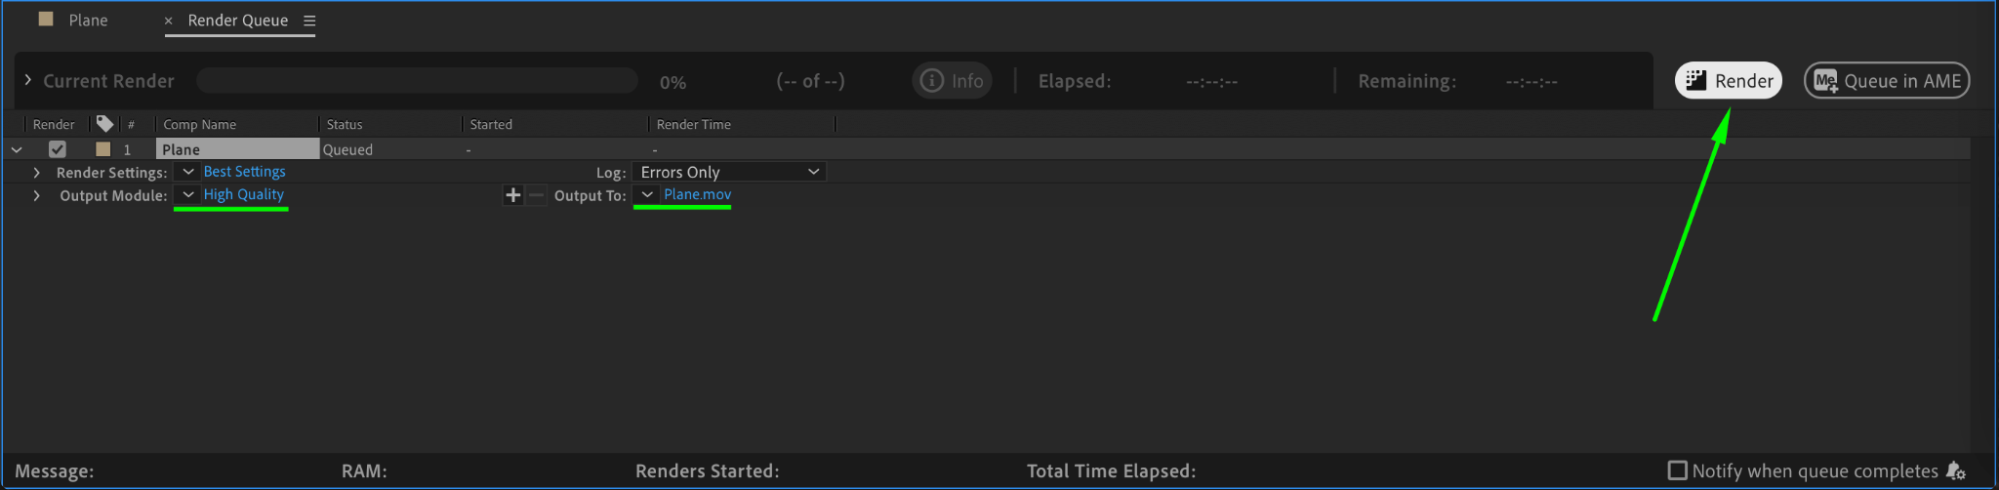
Once satisfied, render your project by going to Composition > Add to Render Queue. Set your desired output format and quality, then click Render. Your plane crash scene is now complete!
Conclusion
Creating a plane crash scene in After Effects is a creative challenge that combines multiple VFX techniques. By layering video footage, adding explosion effects, and fine-tuning animations with expressions, you can craft a realistic and dramatic crash sequence. Experiment with different explosion packs, timing, and color adjustments to create the perfect cinematic effect for your project!
Our Bestsellers


