How to Create a Rainbow Effect in After Effects
Introduction
Adding a rainbow to your video can enhance the atmosphere and make your scene more visually appealing. In this tutorial, you will learn how to create a realistic rainbow using shape layers, color effects, and blending modes in After Effects.
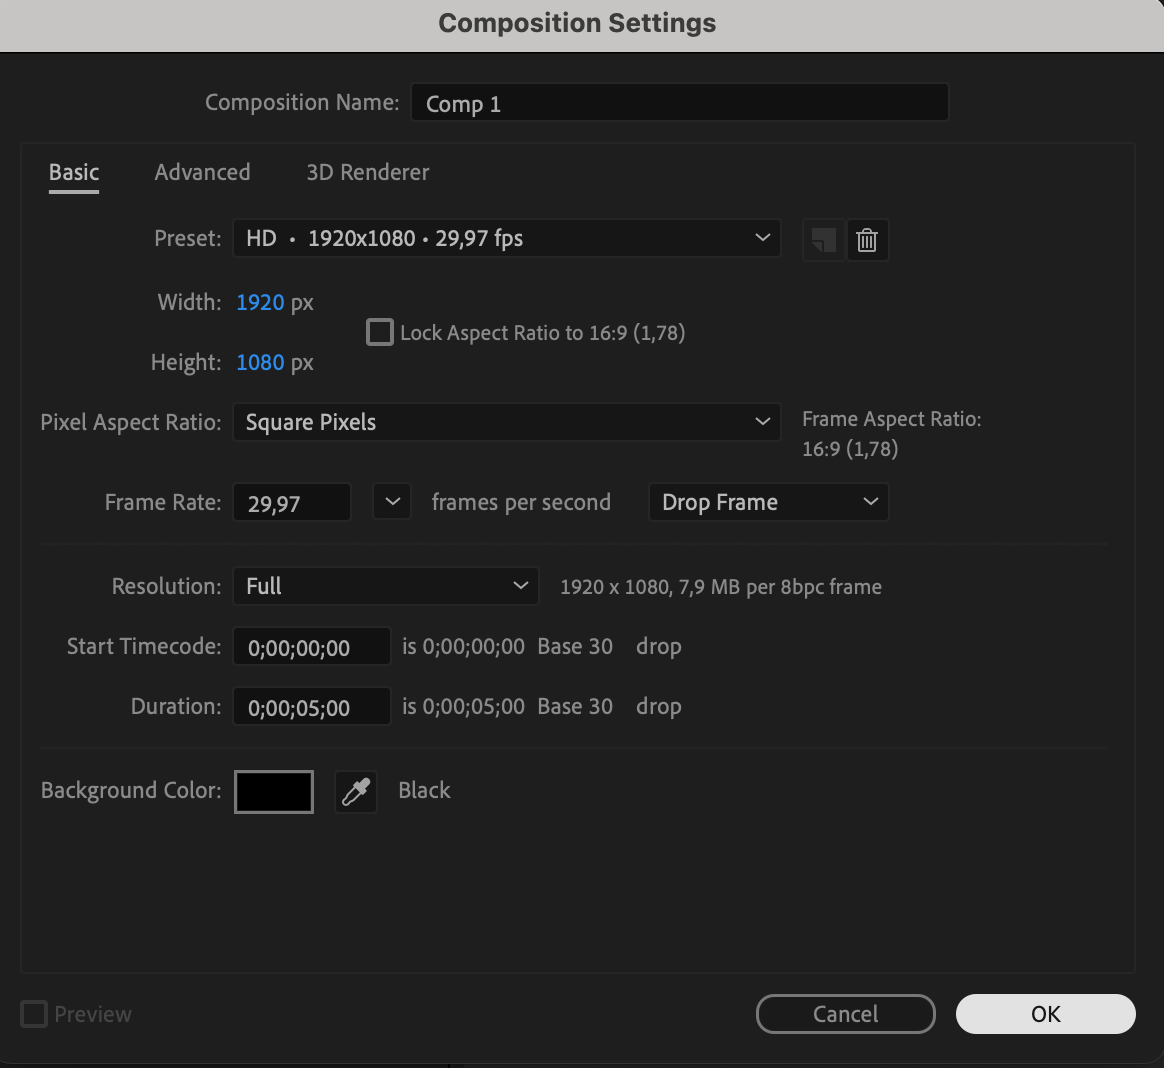
Step 1: Create a New Composition
Get 10% off when you subscribe to our newsletter

Start by creating a new composition in After Effects. Set your desired resolution and frame rate based on your project requirements.
 Step 2: Draw the Rainbow Base
Select the Pen Tool (G) and draw a straight line in the middle of the composition. In the Fill settings, choose None, and for the Stroke, select a black-to-white linear gradient with a thickness of around 140px.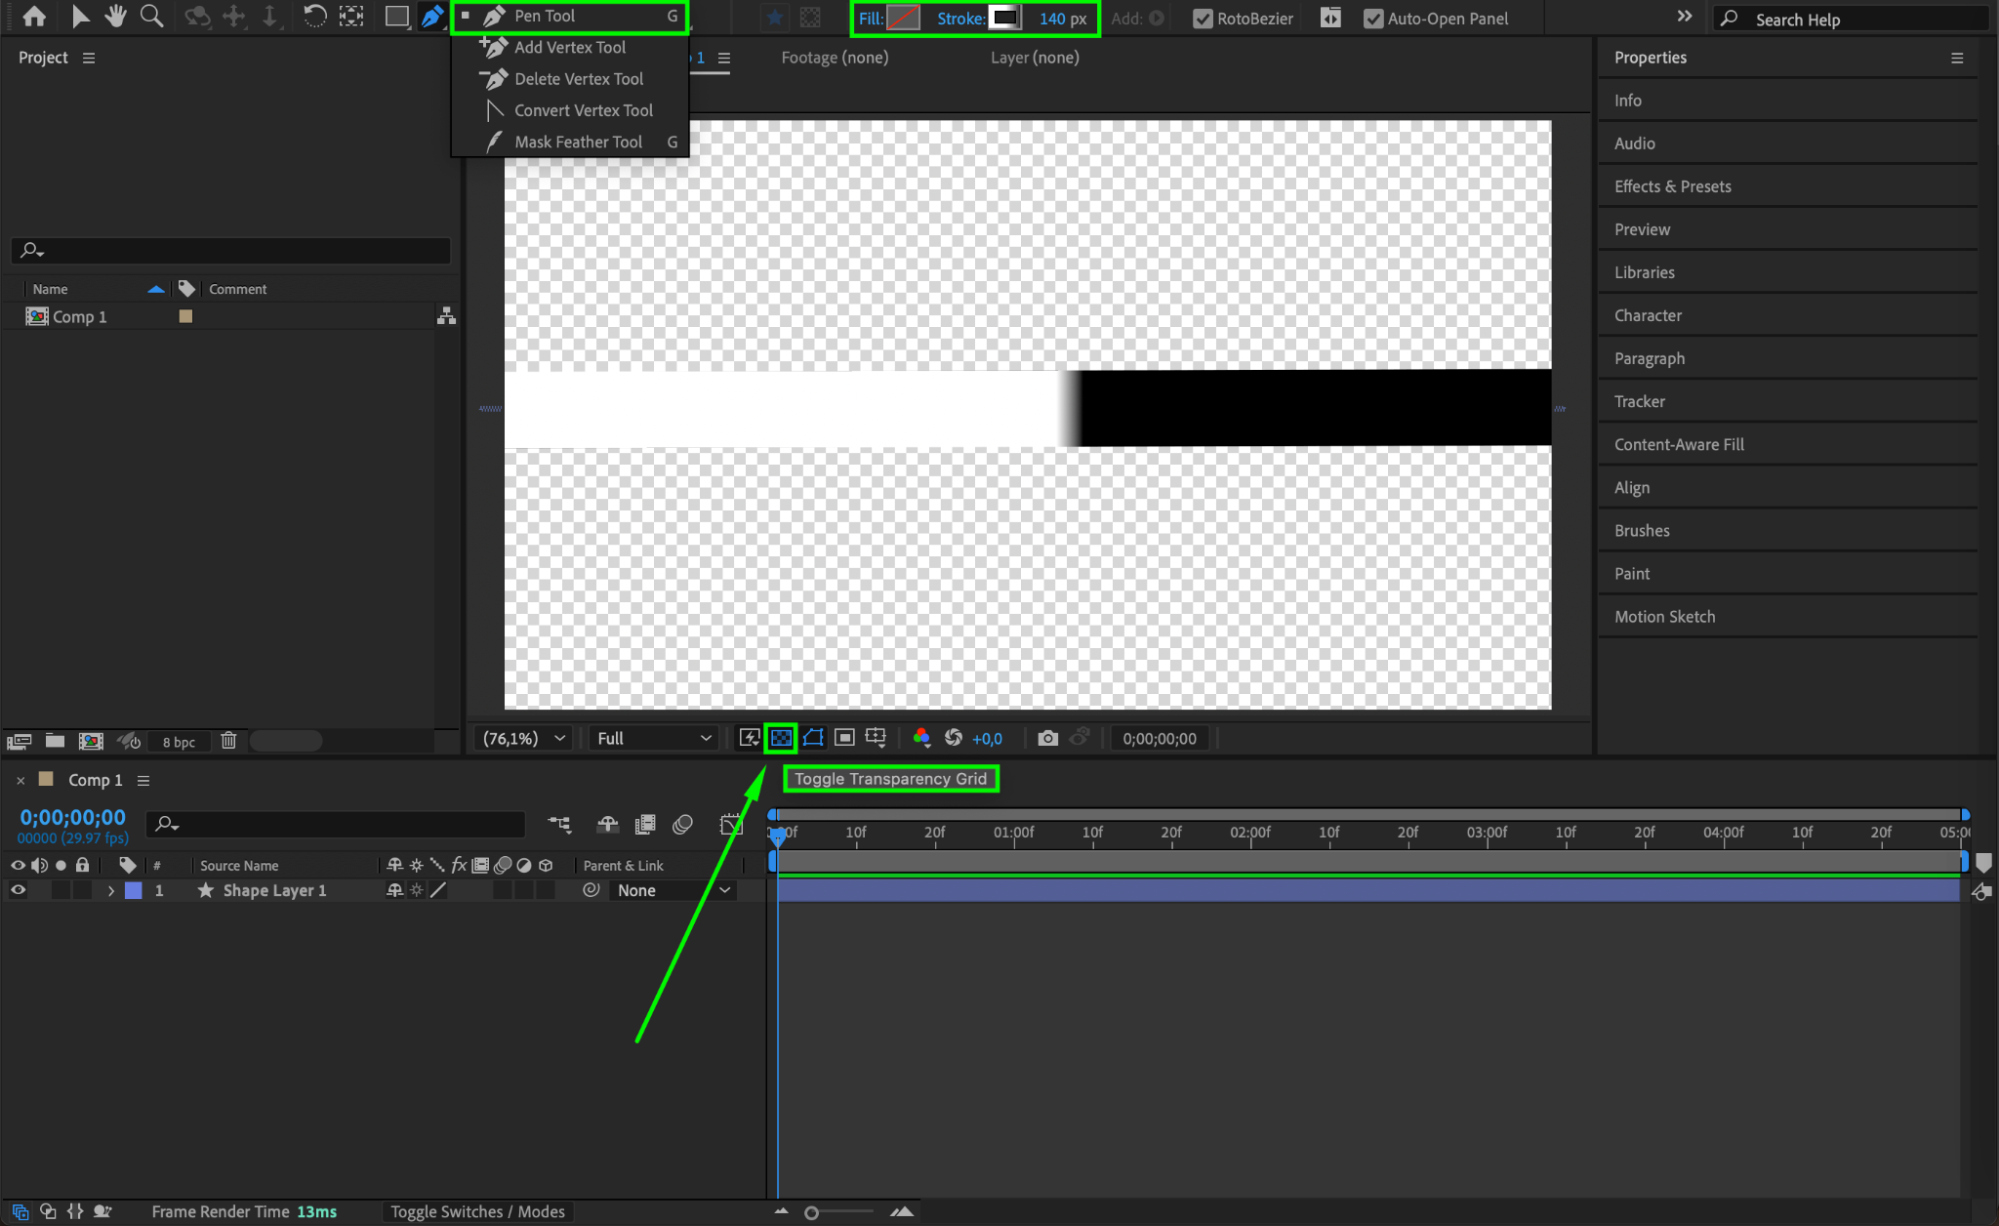
 Step 3: Adjust the Gradient Start and End Points
In the Gradient Stroke settings, set the Start Point at the top of the line with a black color and the End Point at the bottom with a white color. Ensure both points have the same X value (set it to 2).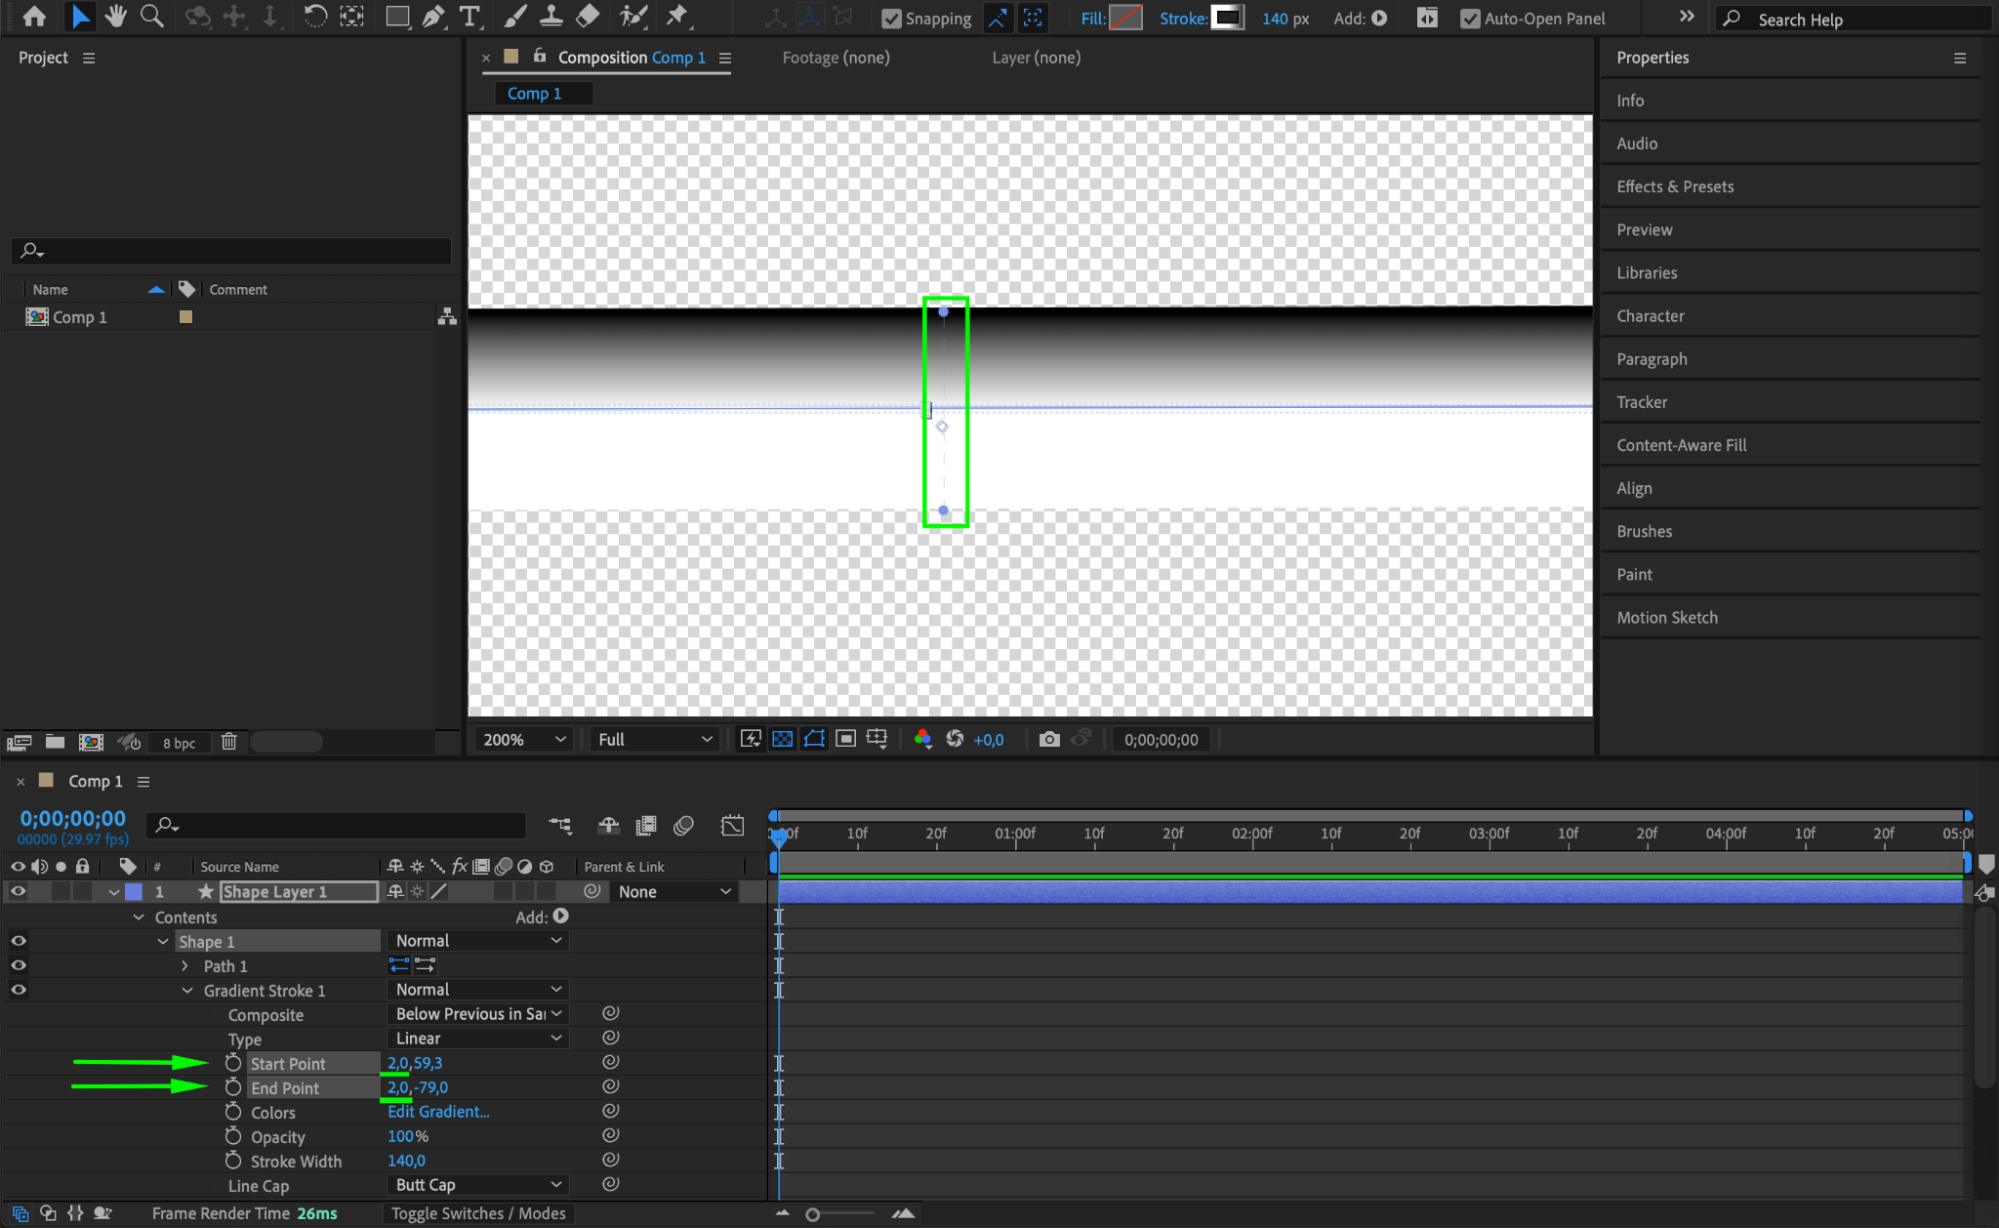 Step 4: Apply the Colorama Effect
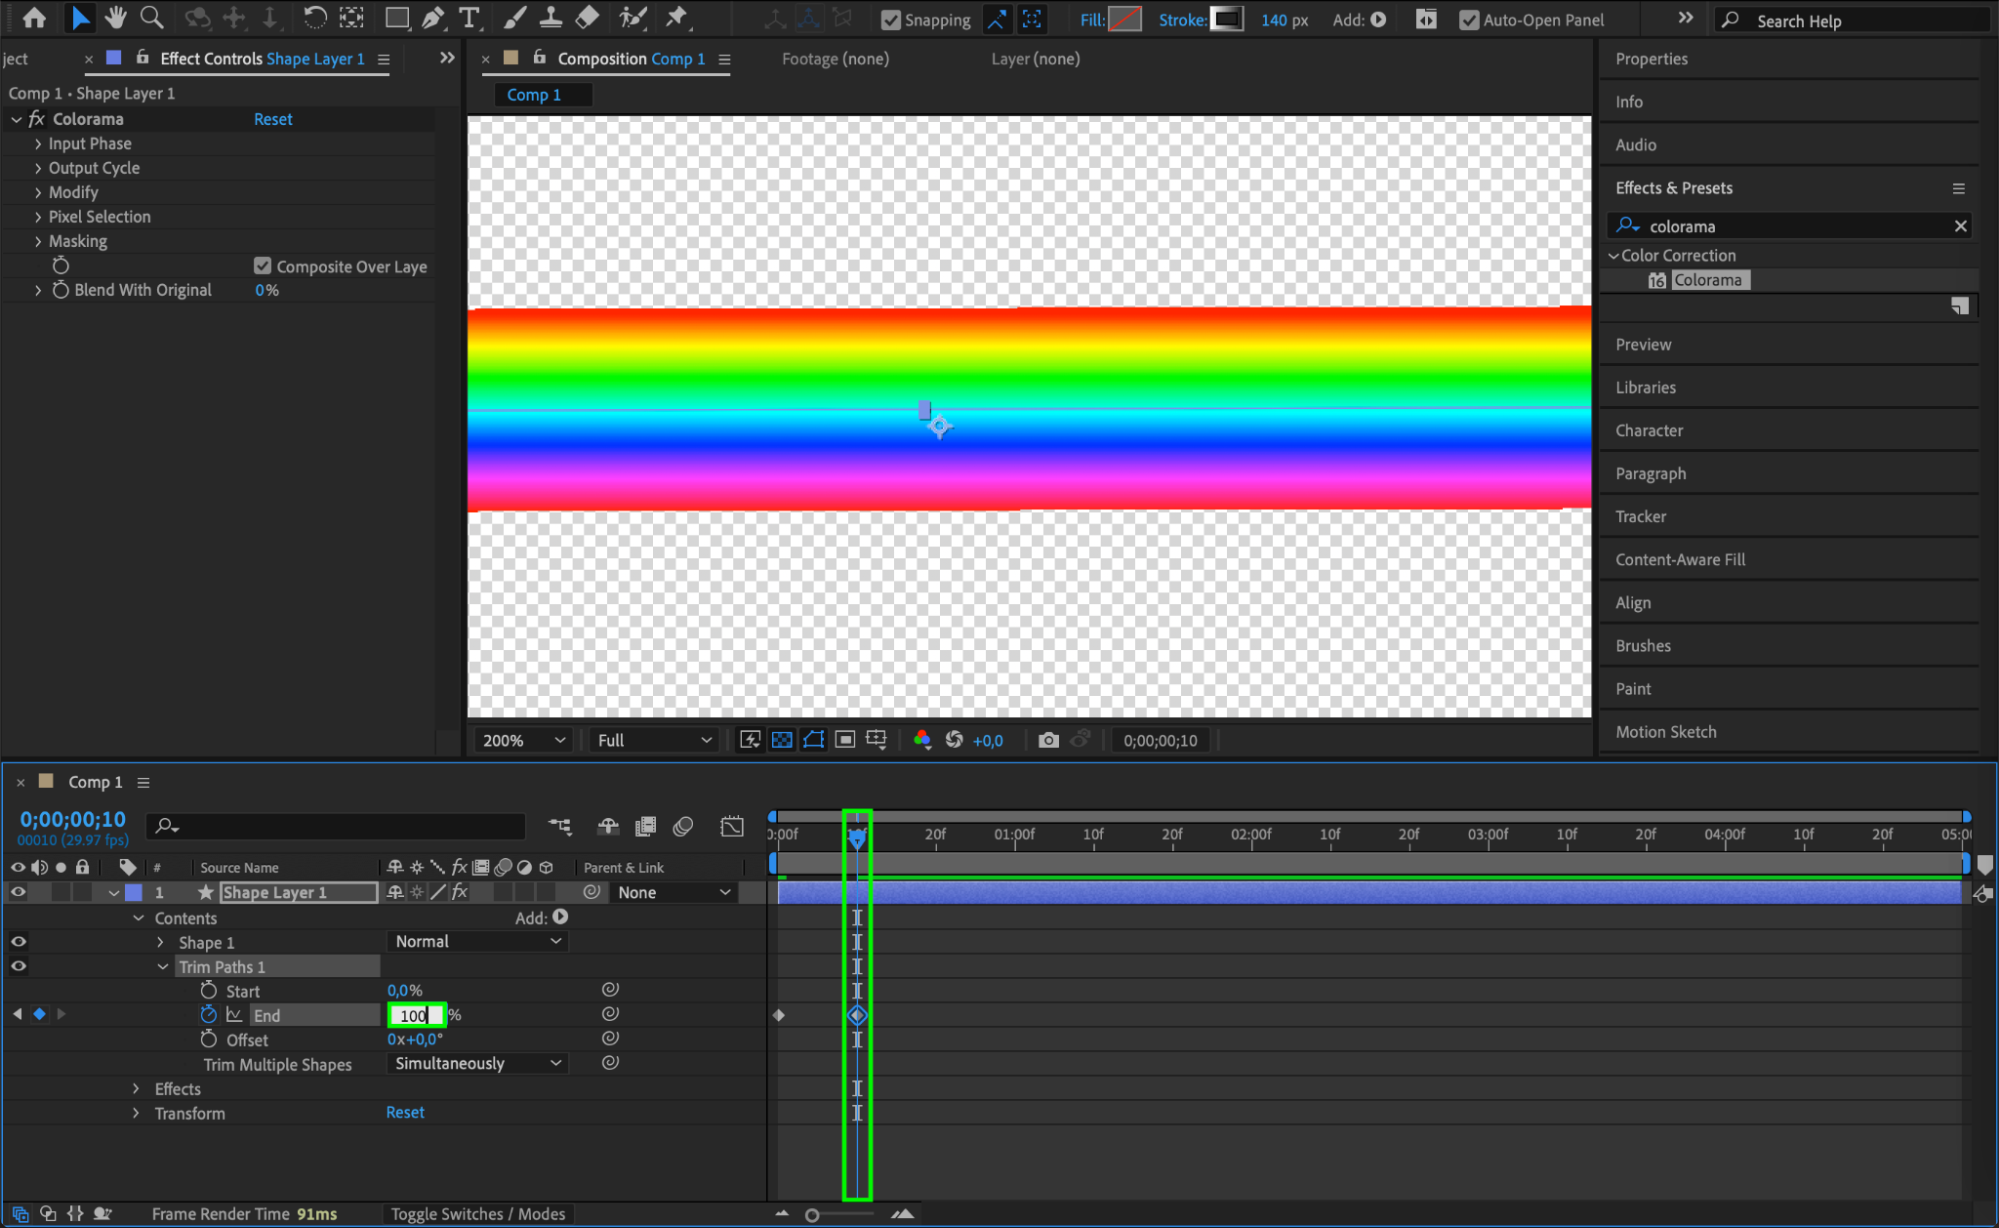
Go to Effects & Presets and apply the Colorama effect to the stroke layer. This effect will convert the black-to-white gradient into a vibrant, colorful rainbow. Step 5: Add Trim Paths for Animation
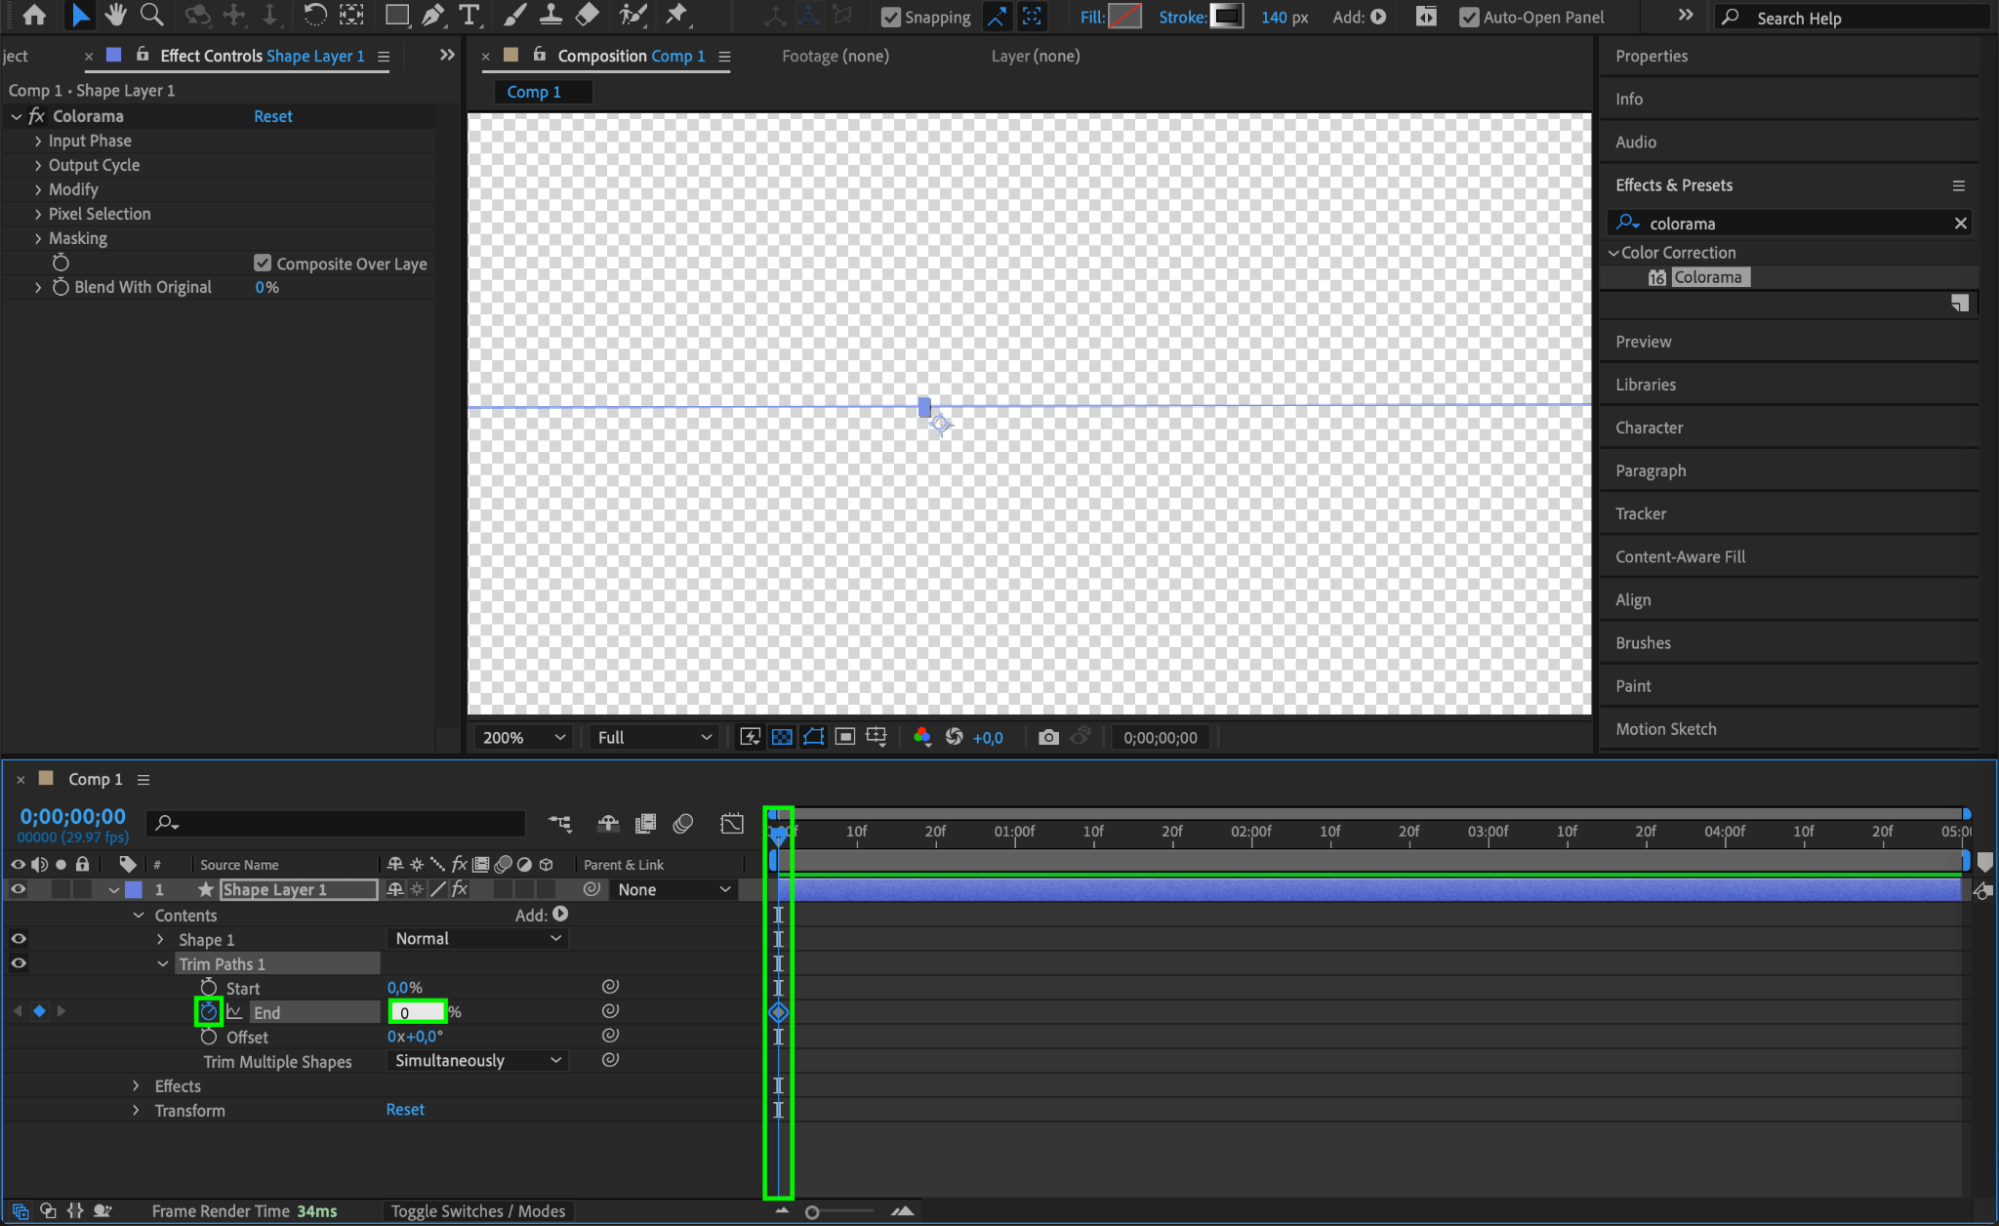
Expand the layer properties and click Add next to Contents, then select Trim Paths. Animate the End parameter from 0% at the start to 100% after a few frames to create an appearing effect.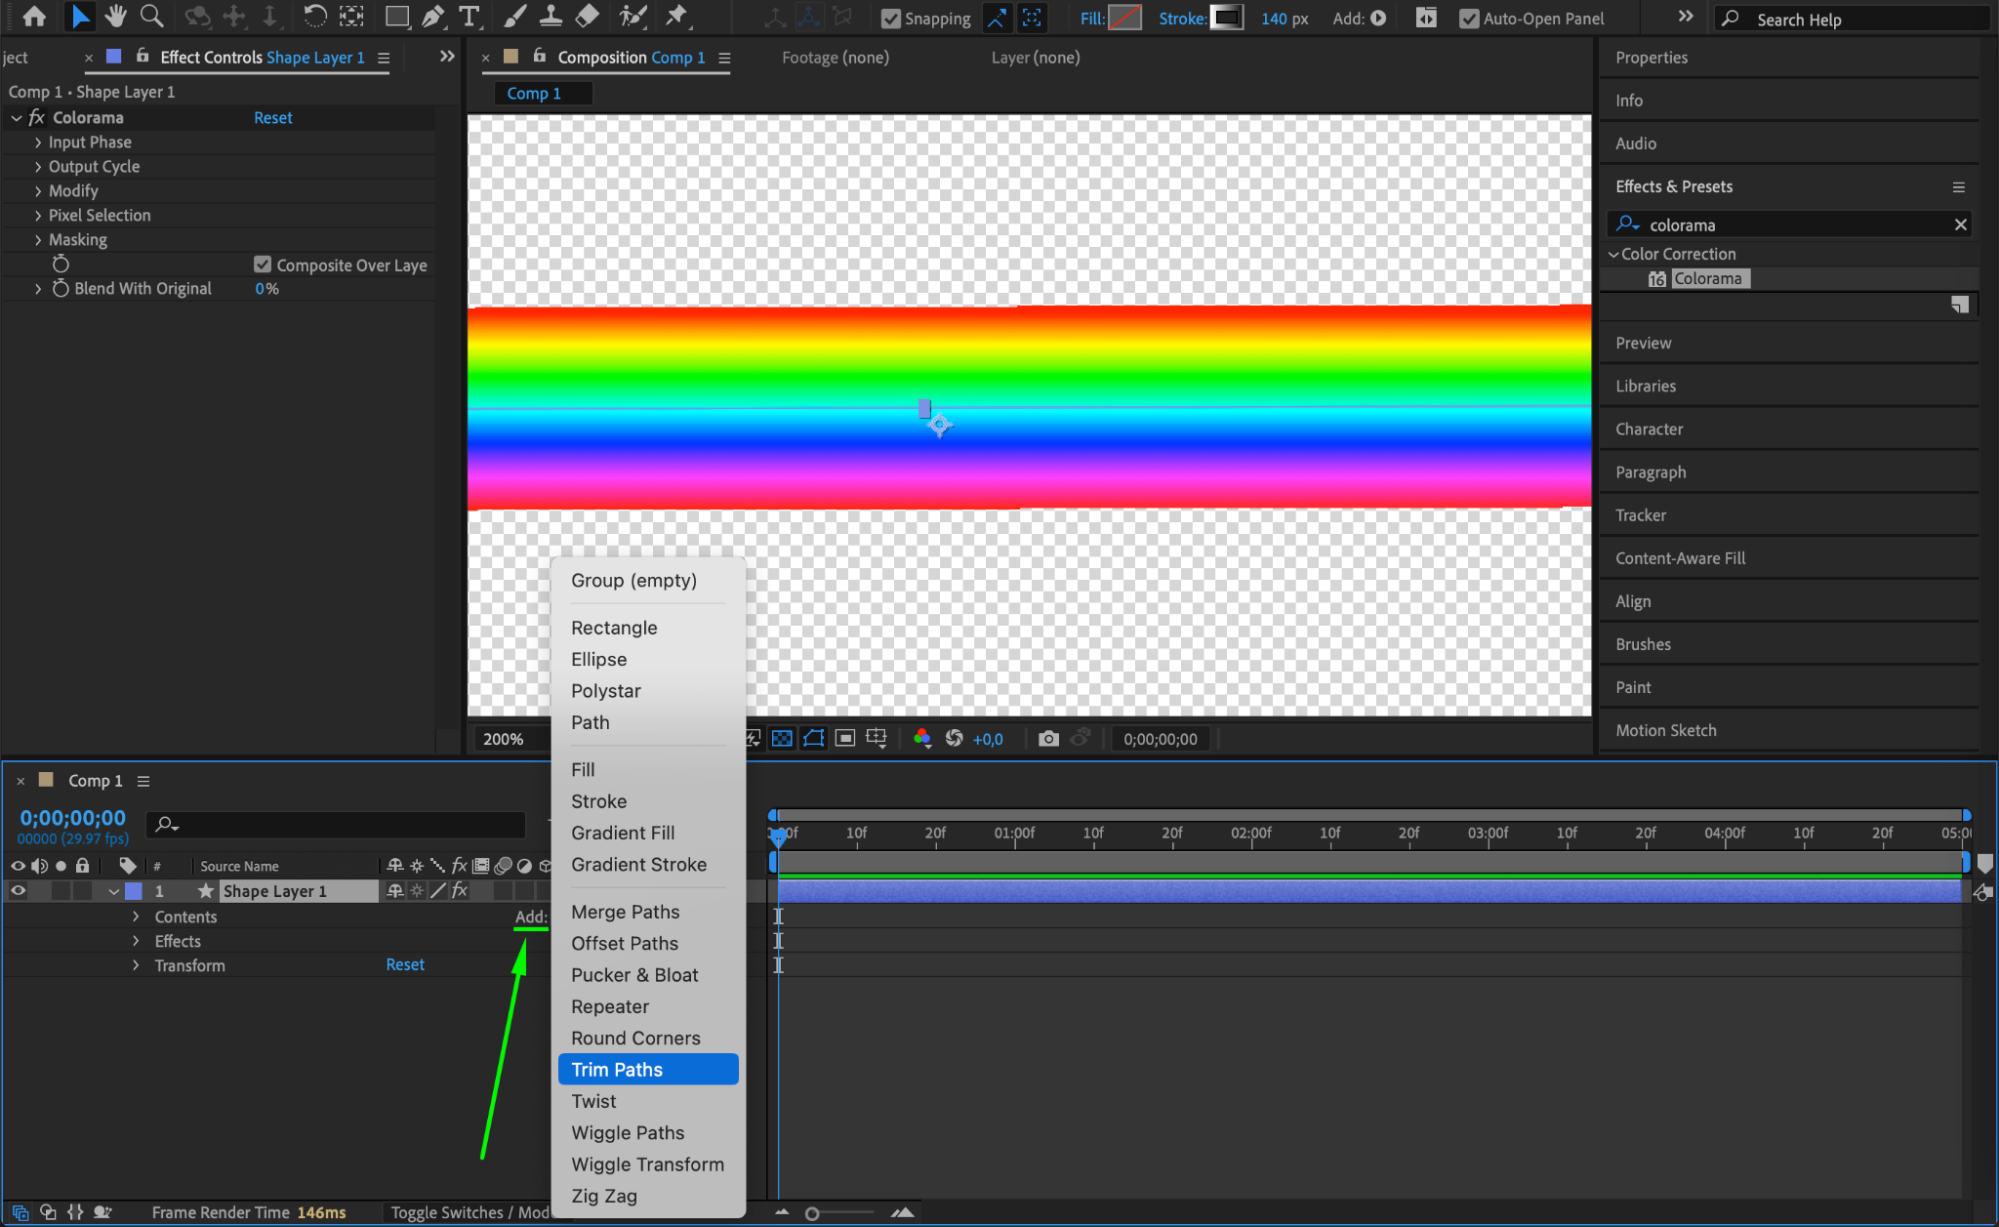
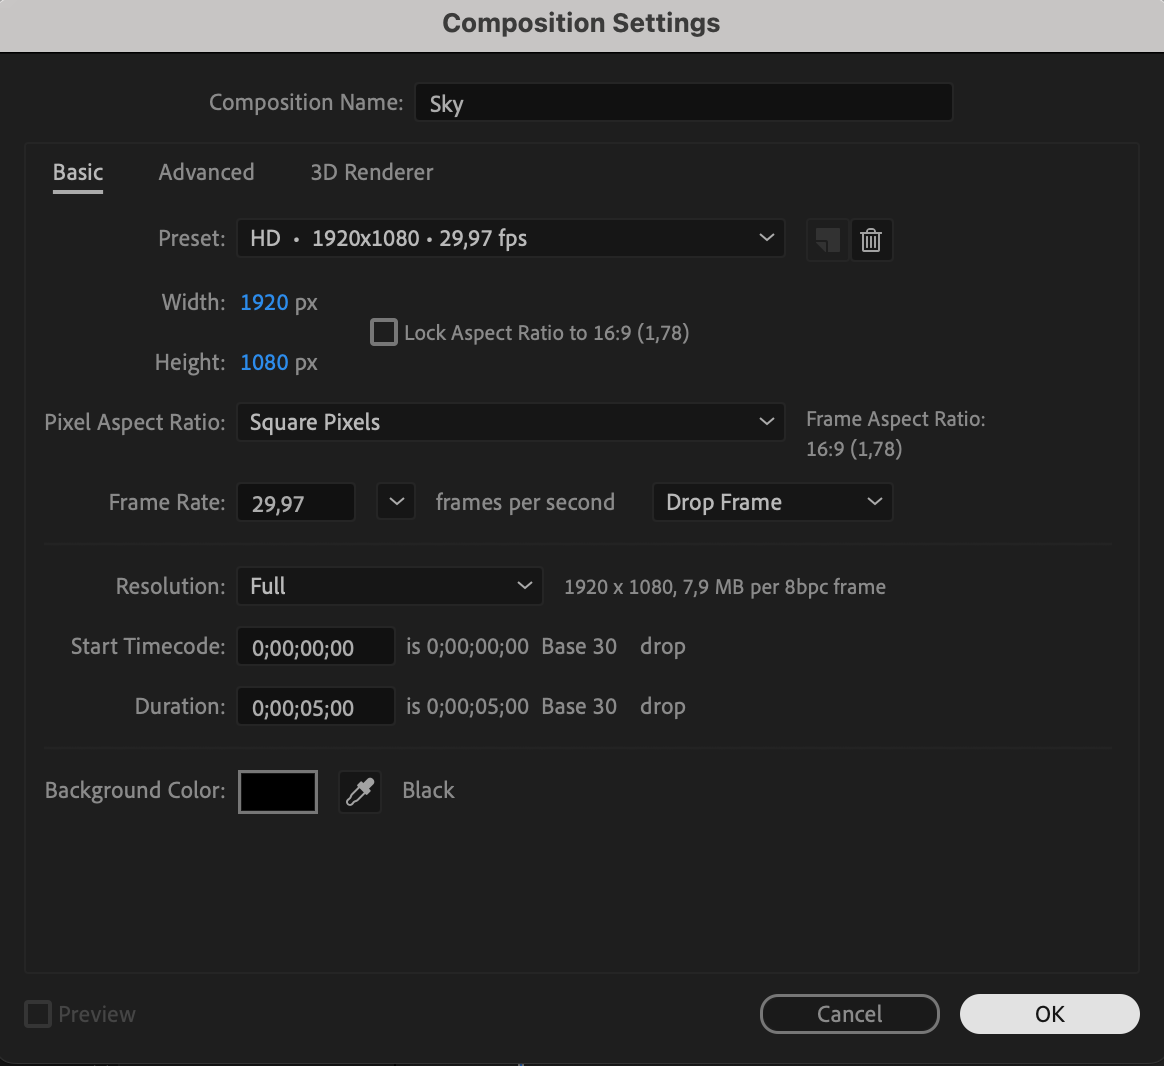
 Step 6: Create a New Composition for the Background
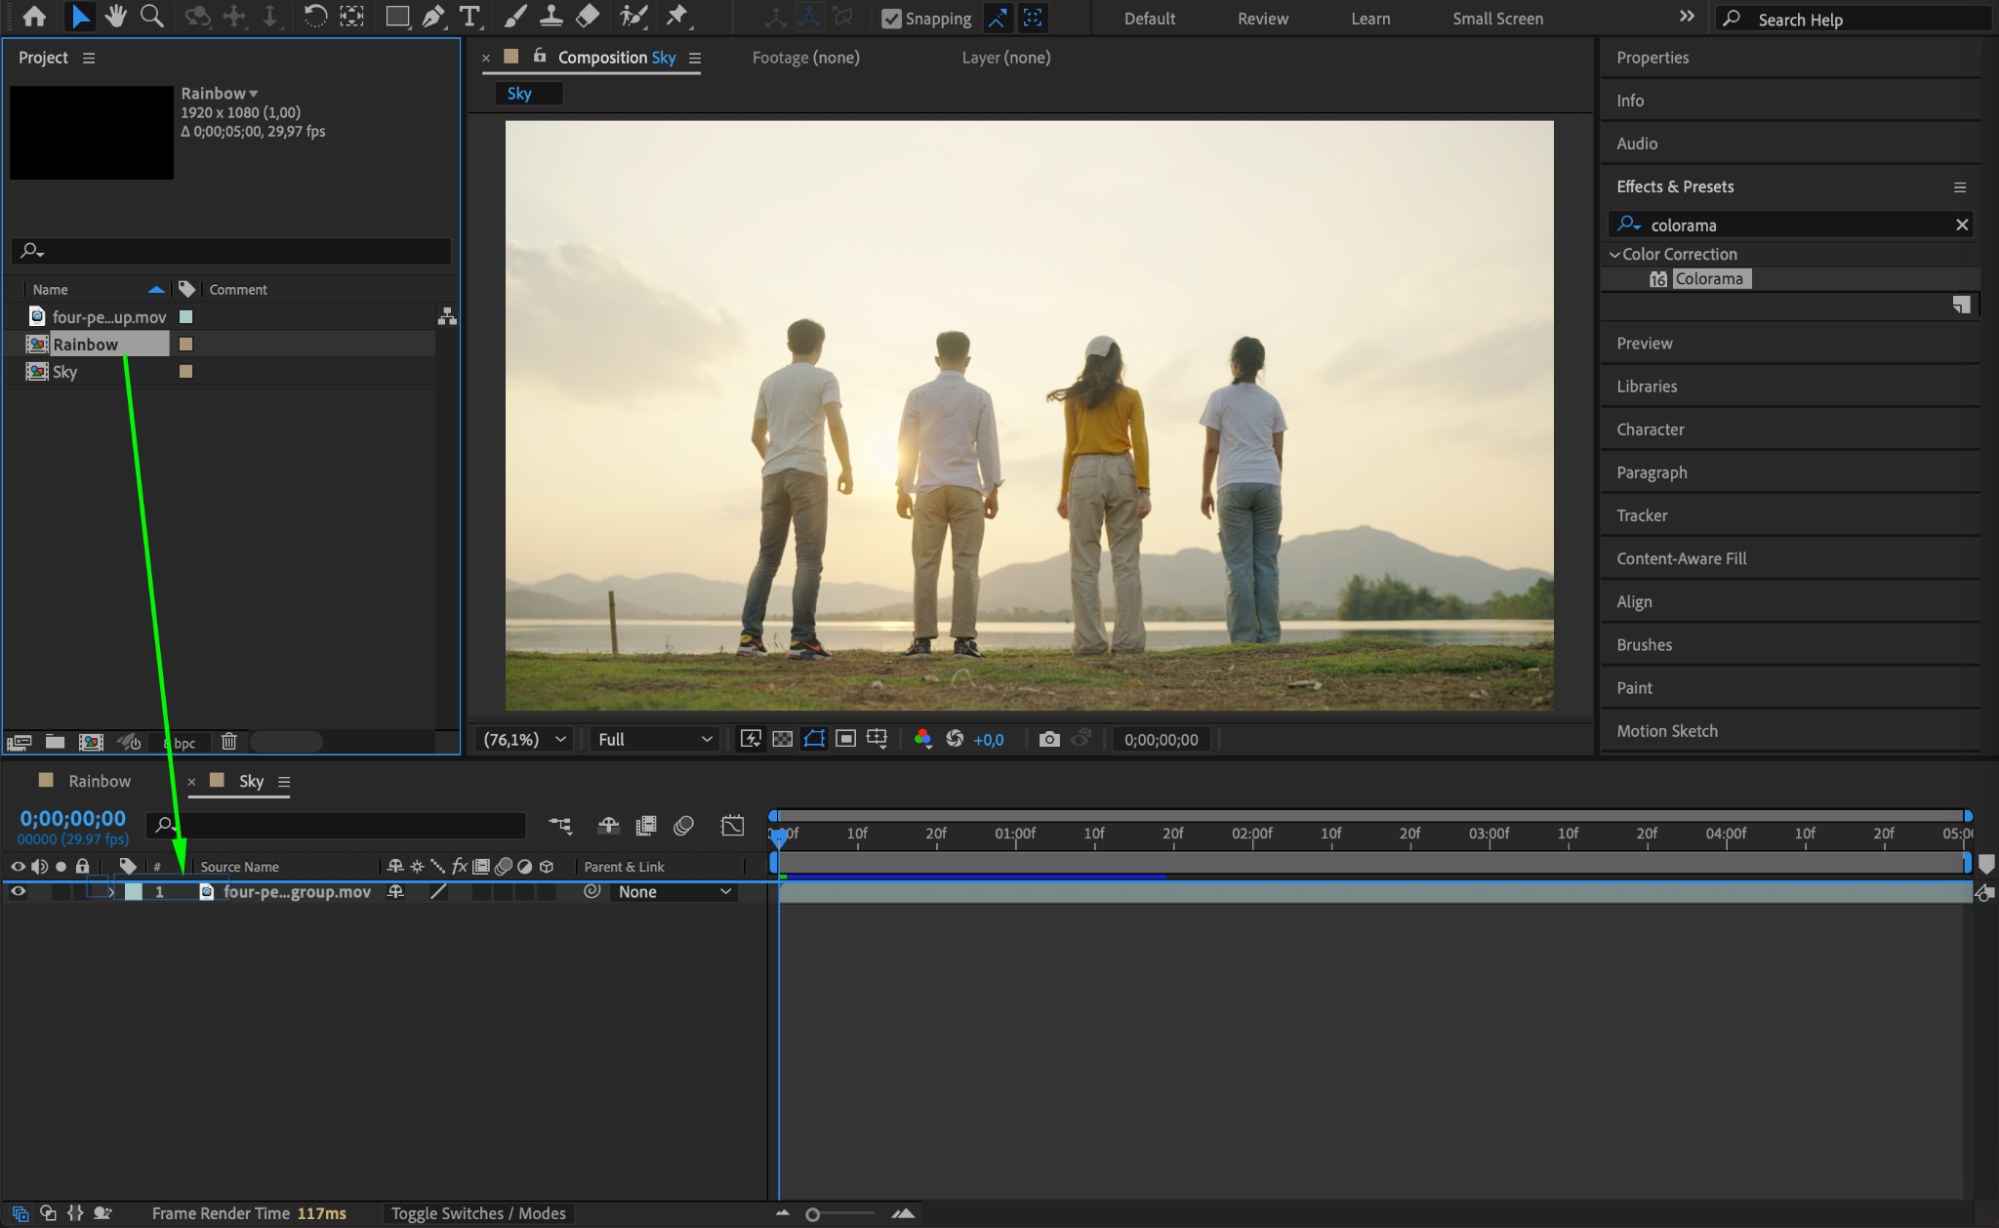
Go to Composition > New Composition and name it “Sky.” Add your background image or video where you want to place the rainbow.

 Step 7: Add the Rainbow Composition to the Sky Comp
Drag and place the rainbow composition on top of the background layer in the “Sky” composition.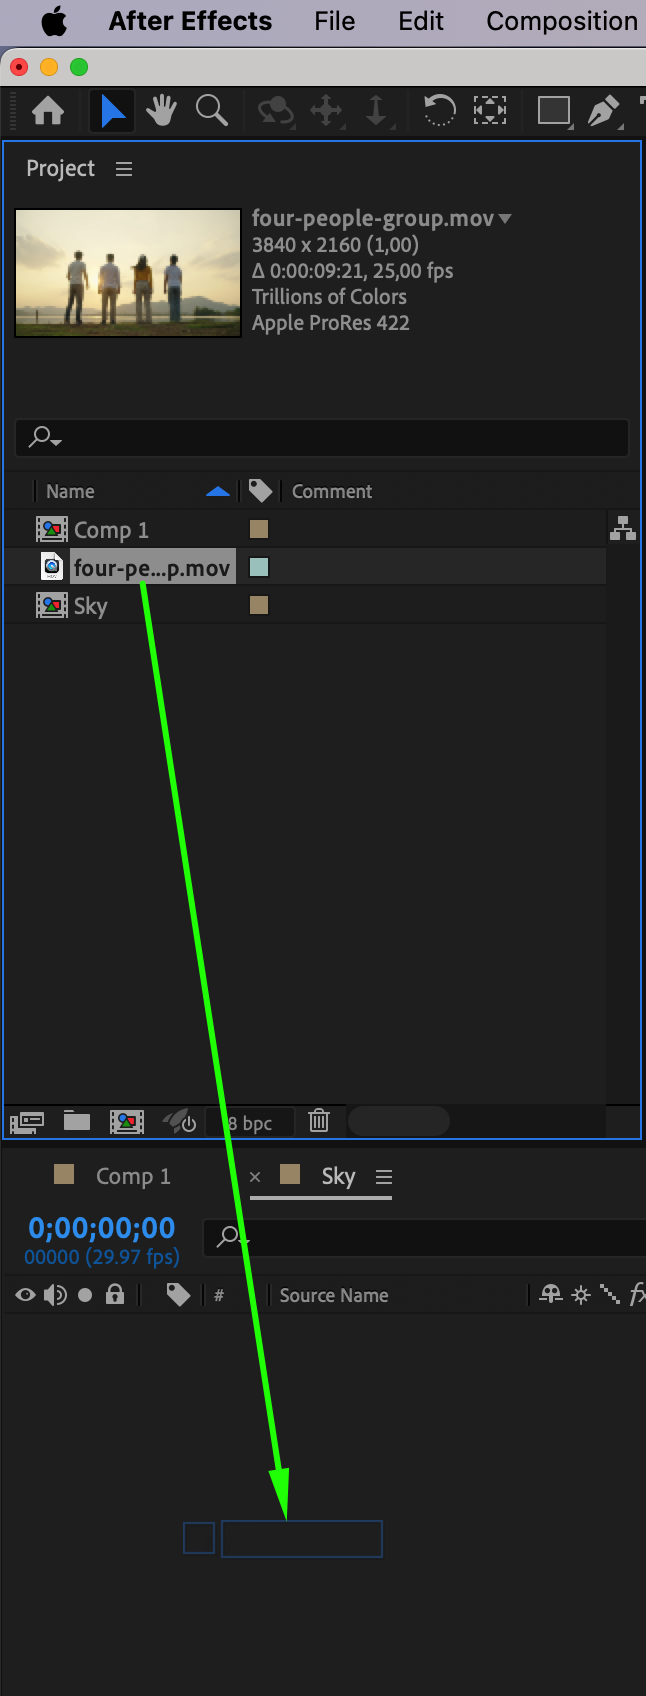
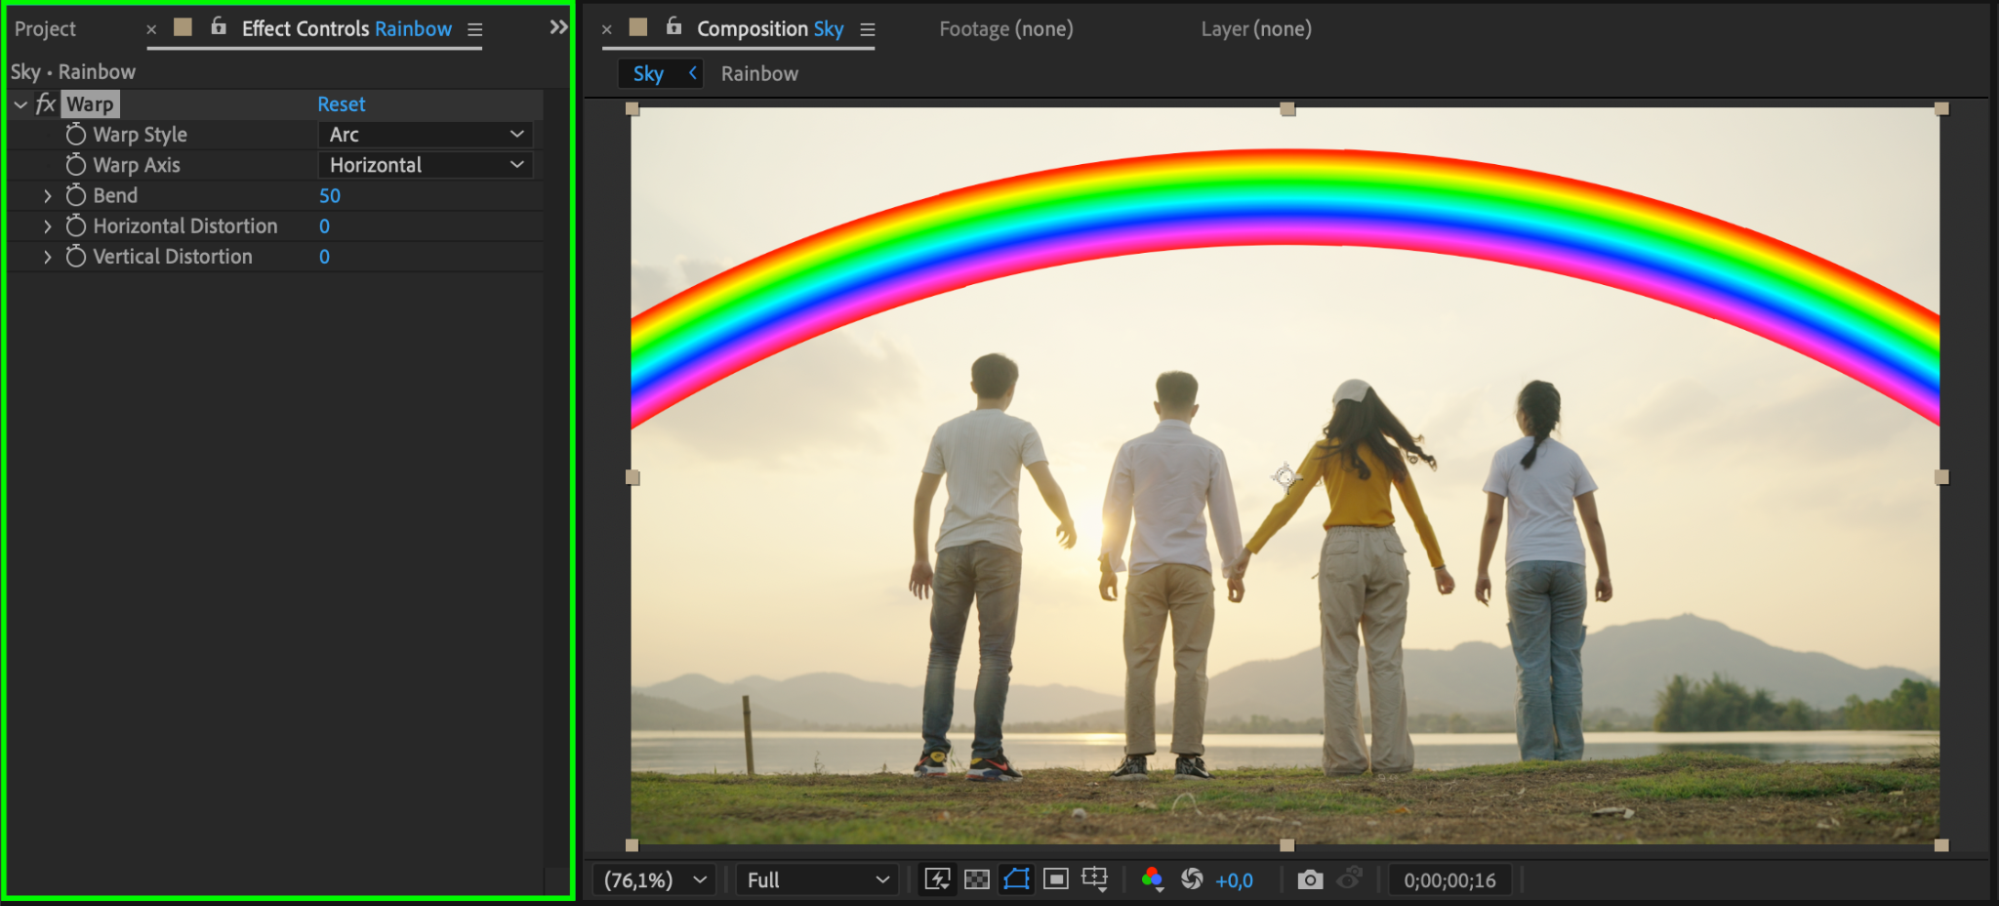
 Step 8: Apply Warp Effect
Apply the Warp effect to the rainbow layer from the Effects & Presets panel. Set the Bend value to 50 to create a natural curve.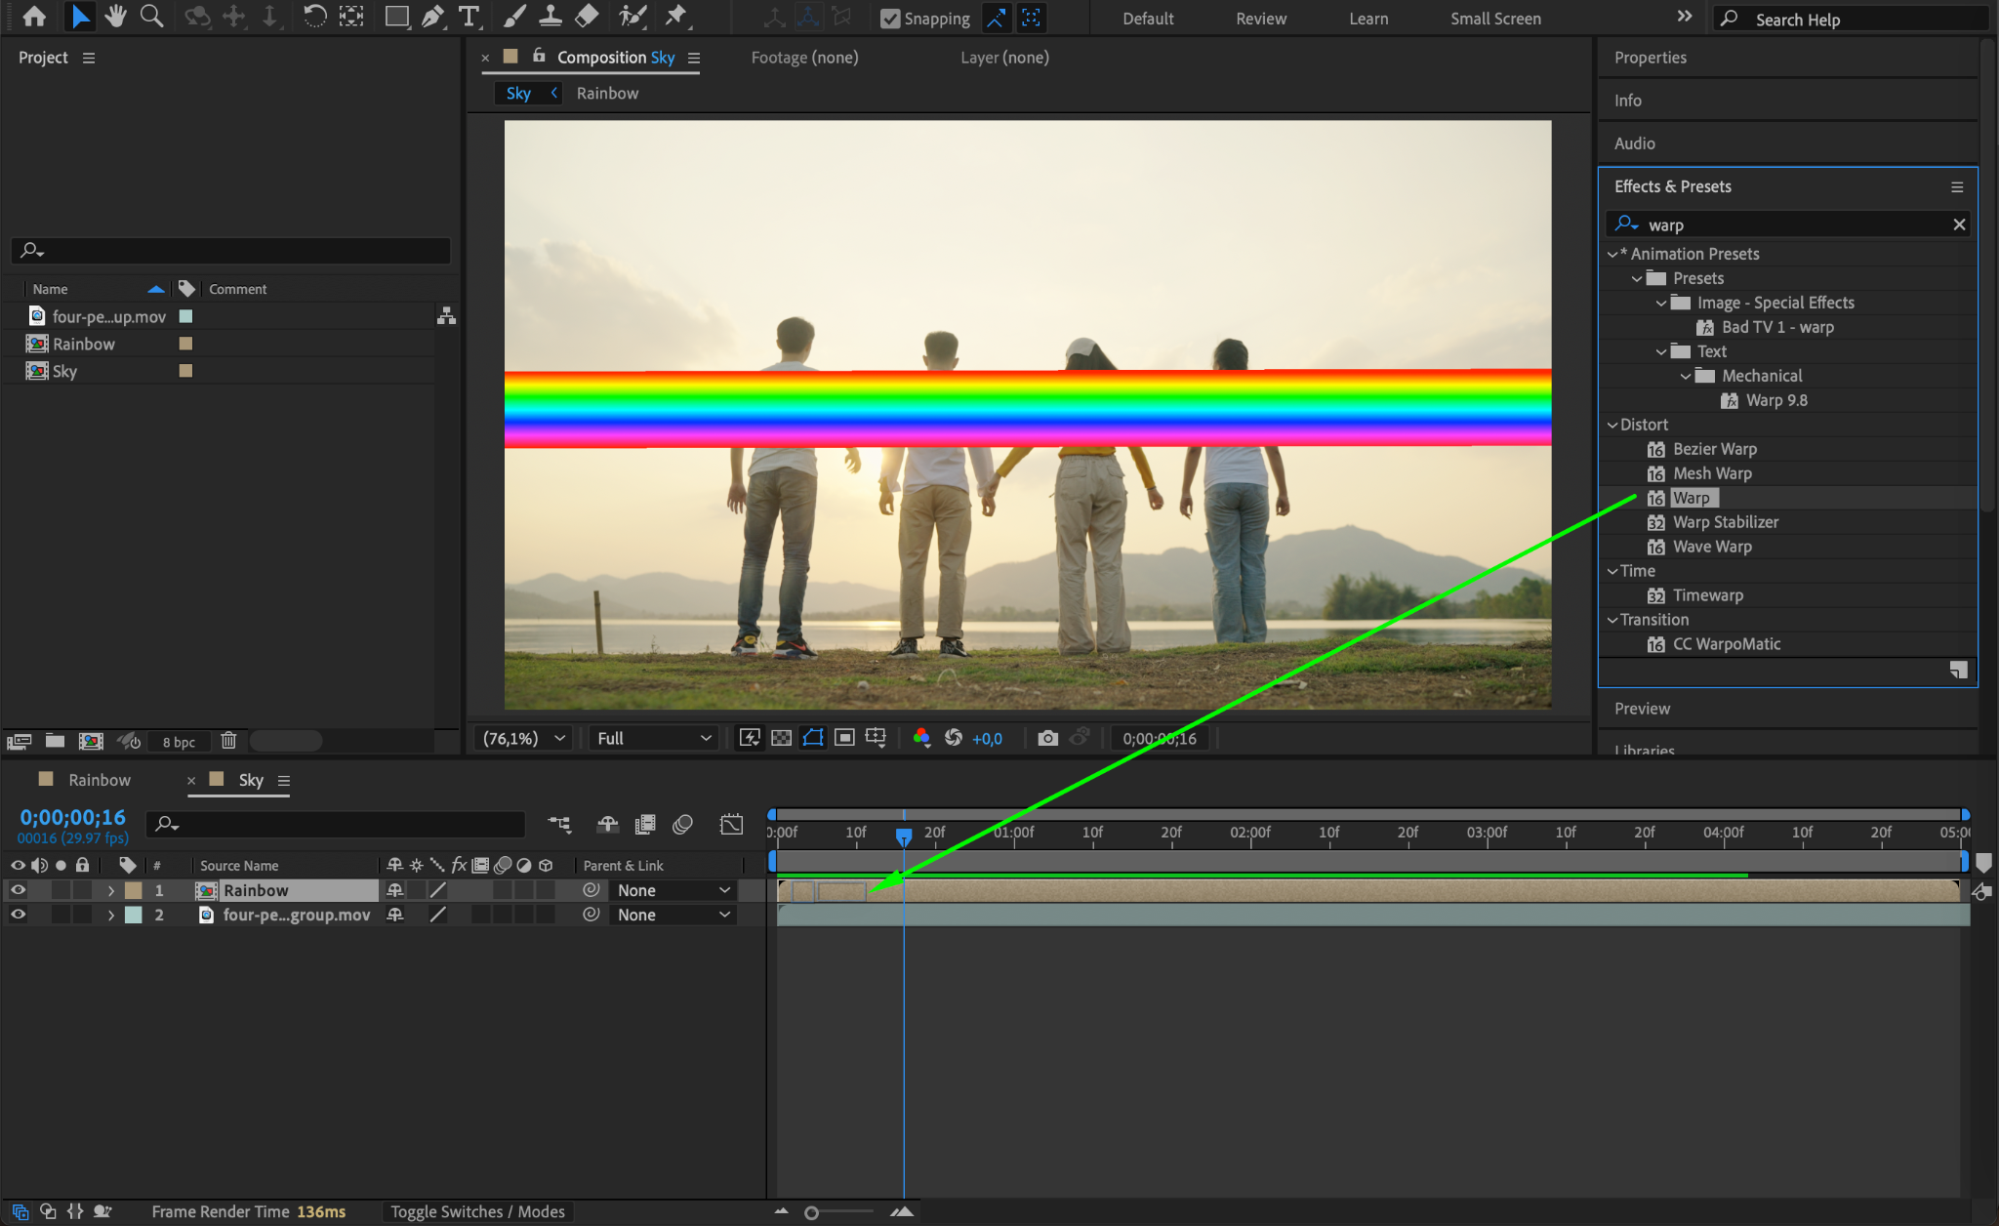
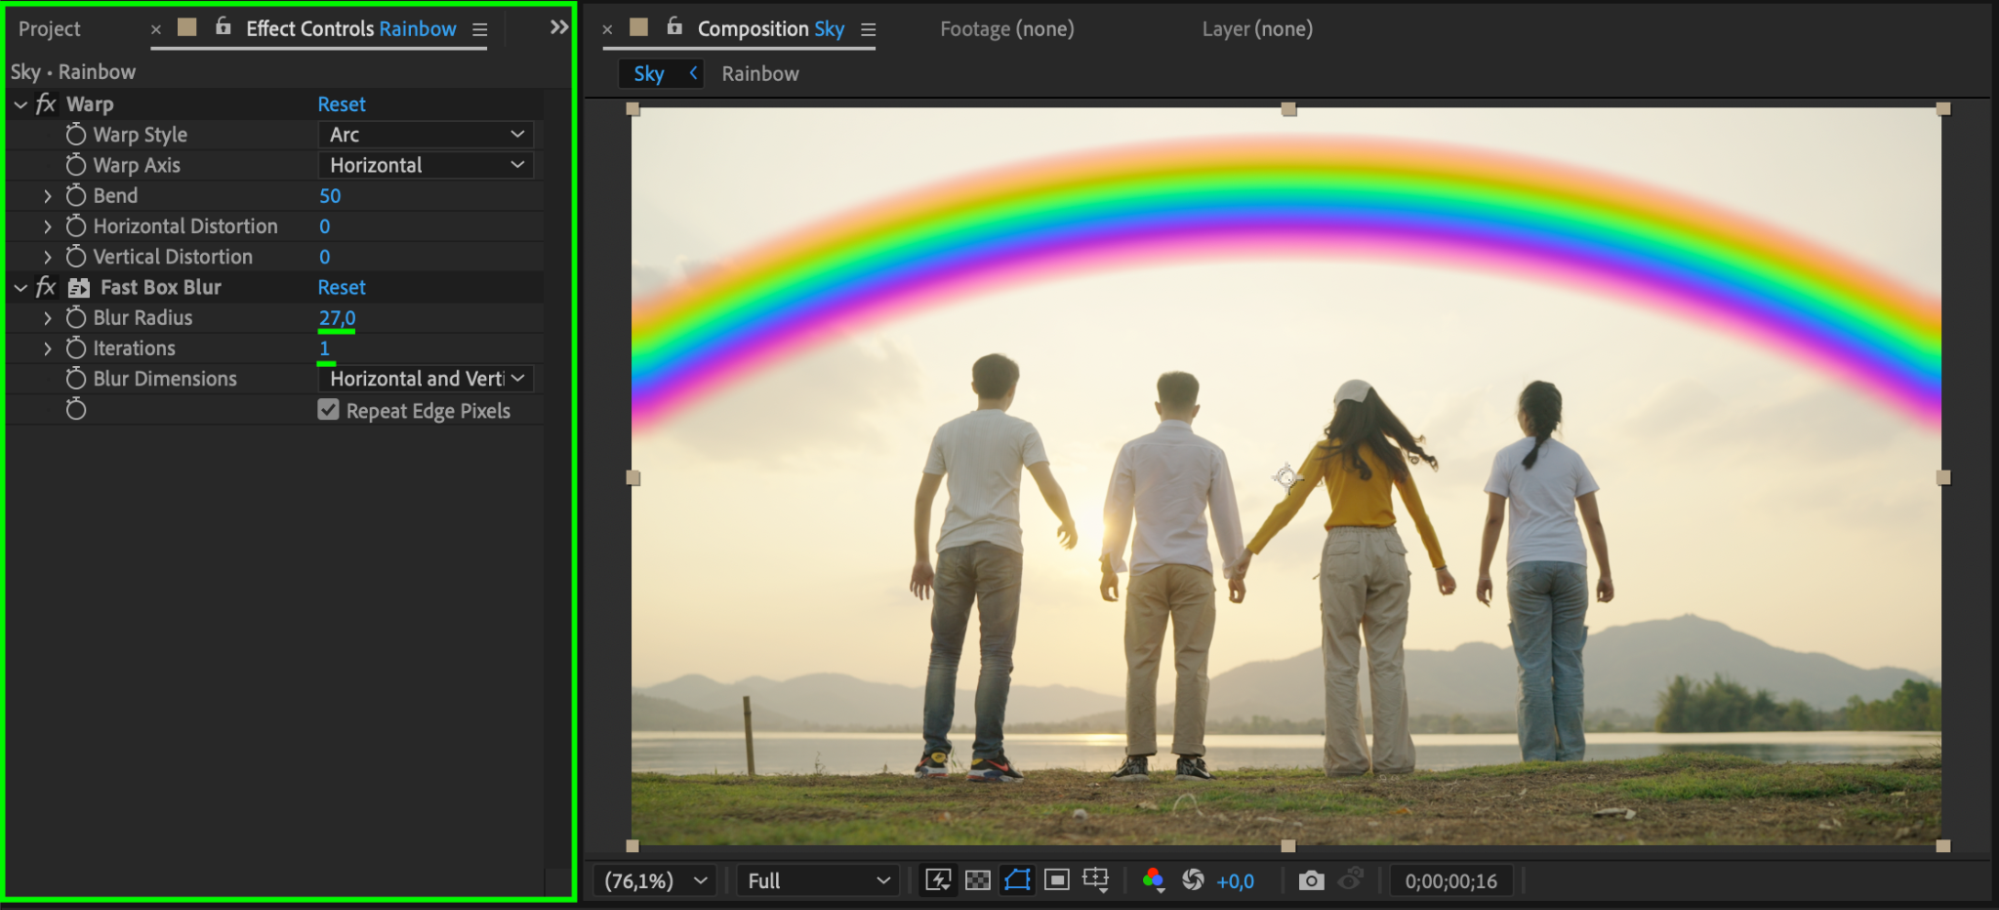
 Step 9: Apply Blur for Realism
Apply the Fast Box Blur effect to the rainbow layer. Set Blur Radius to 27 and Iterations to 1 to create a subtle, soft look.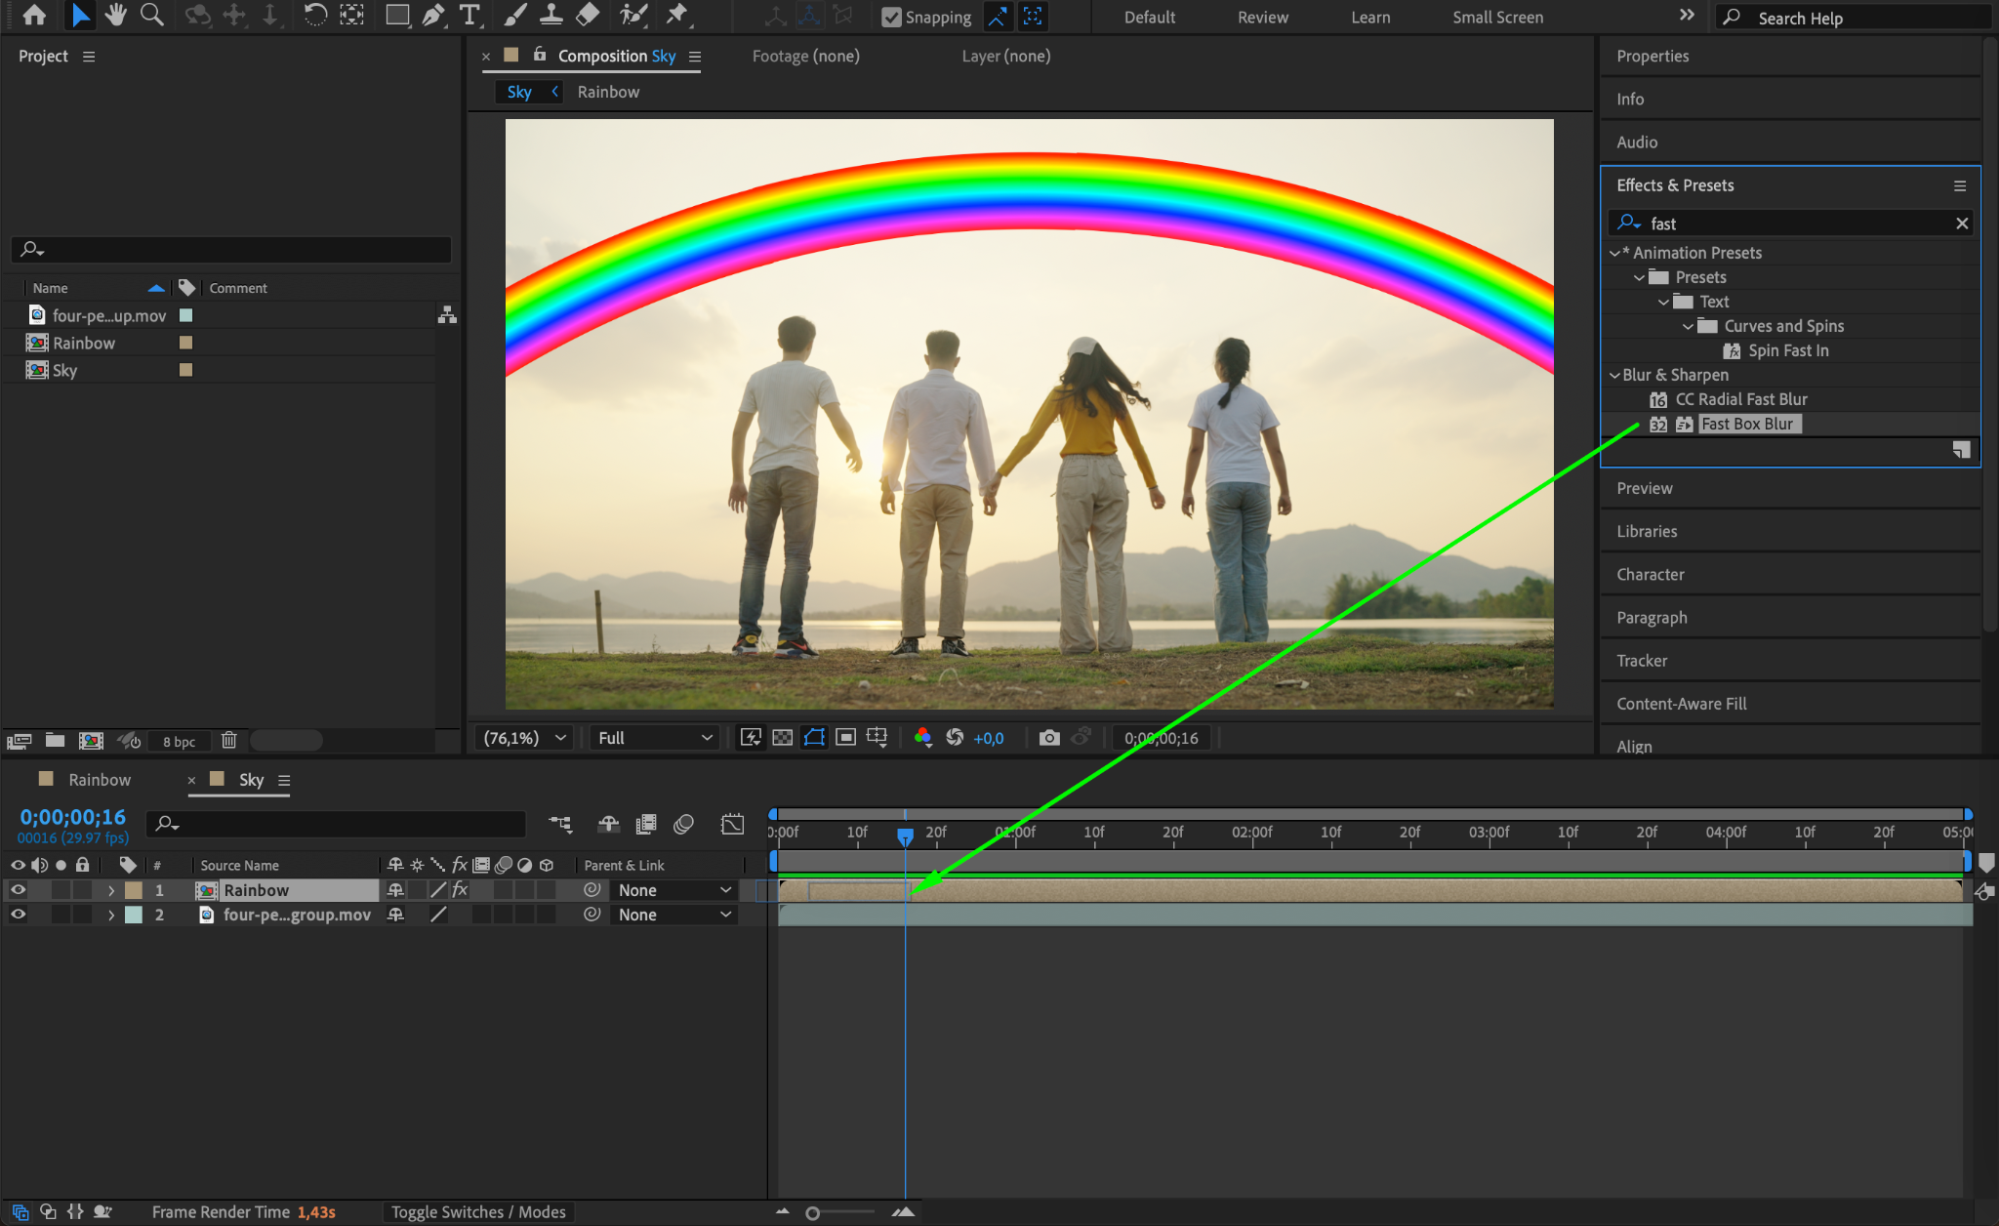
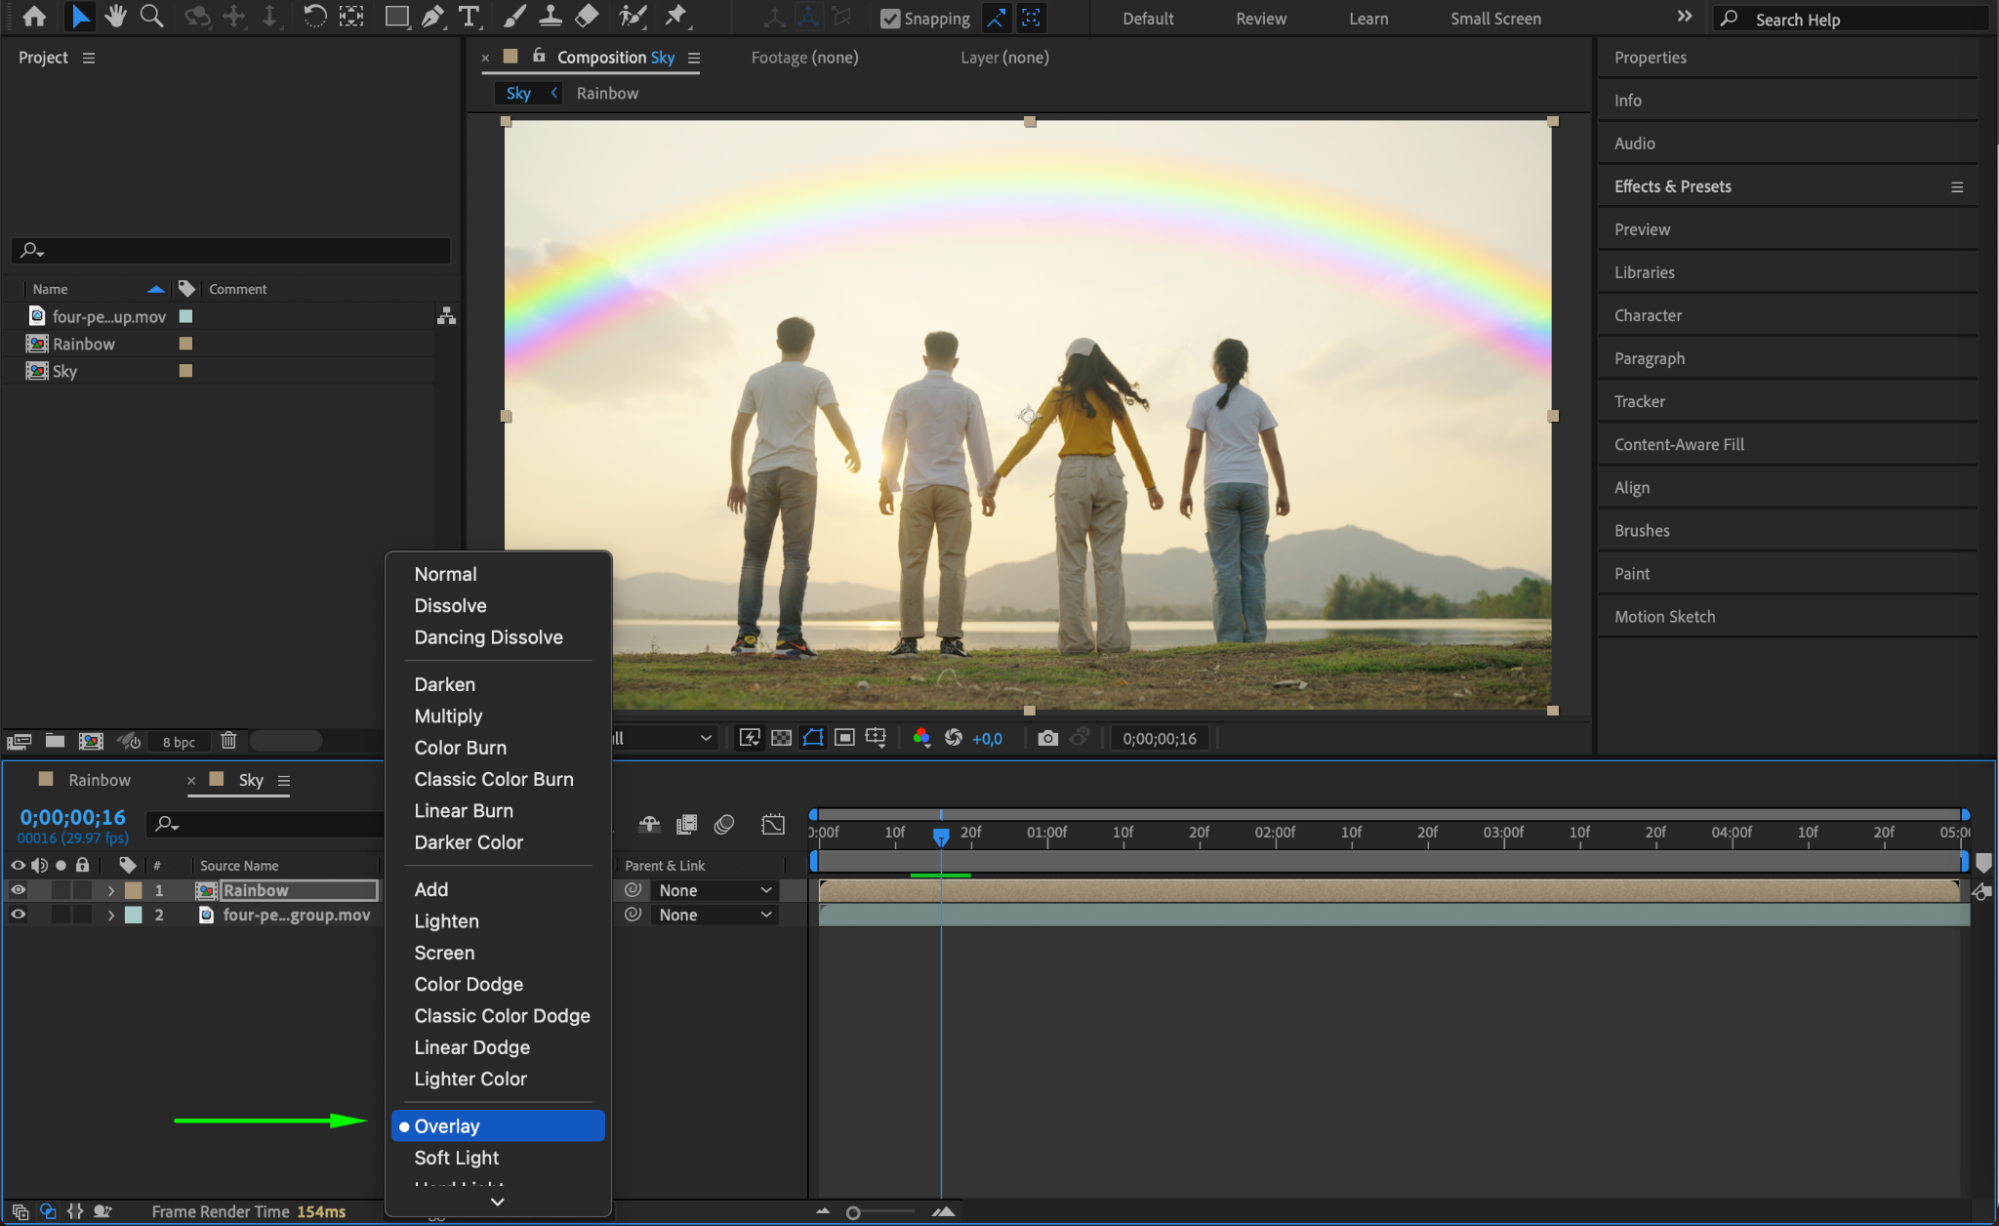
 Step 10: Adjust Blending Mode
Change the Blending Mode of the rainbow layer to Overlay for a vibrant effect or Screen for a softer look.
 Step 11: Adjust Opacity and Preview
Fine-tune the Opacity of the rainbow layer to blend it naturally into the scene. Preview the animation to ensure the effect looks seamless.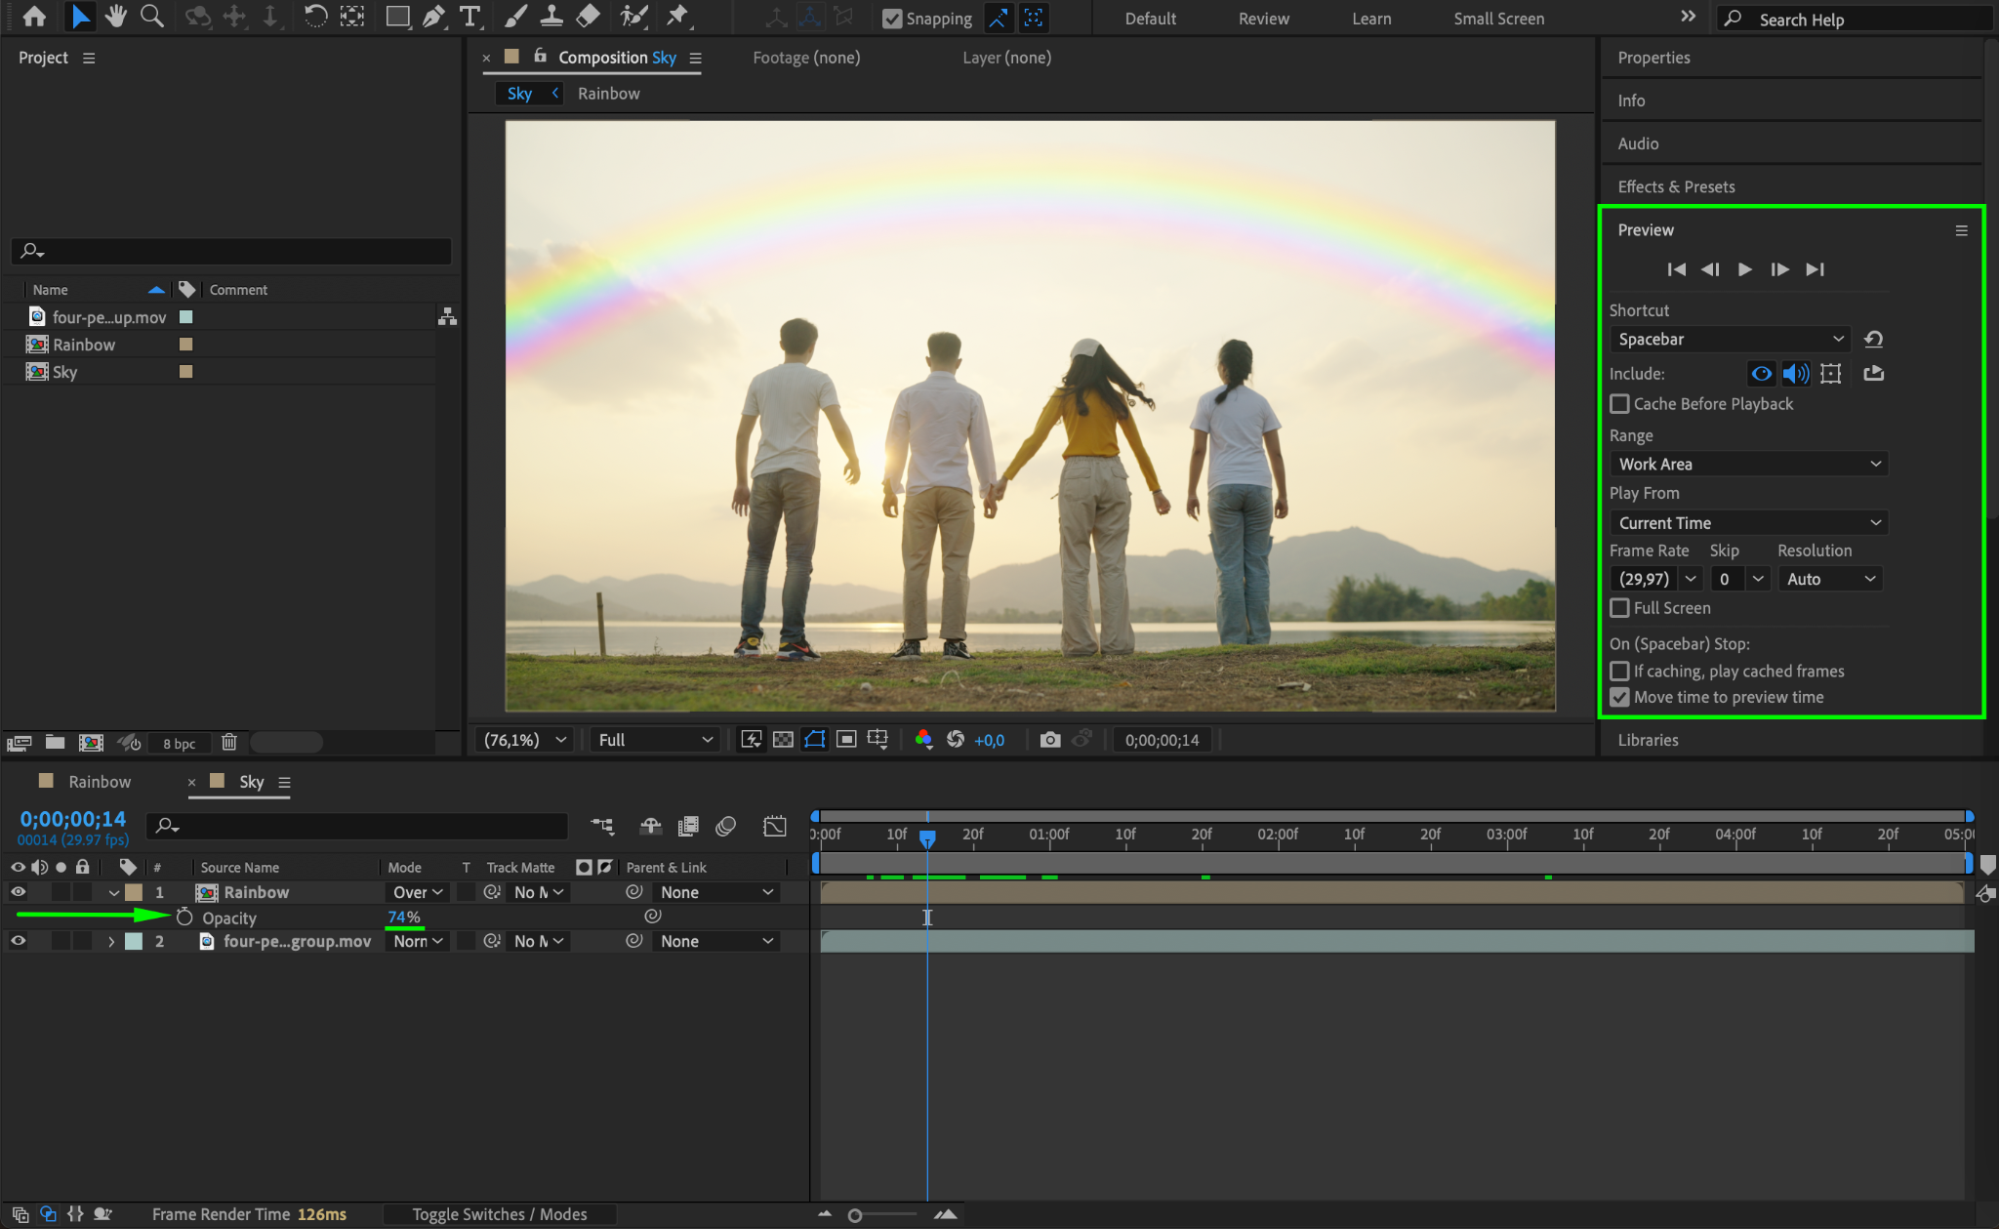 Step 12: Render the Final Output
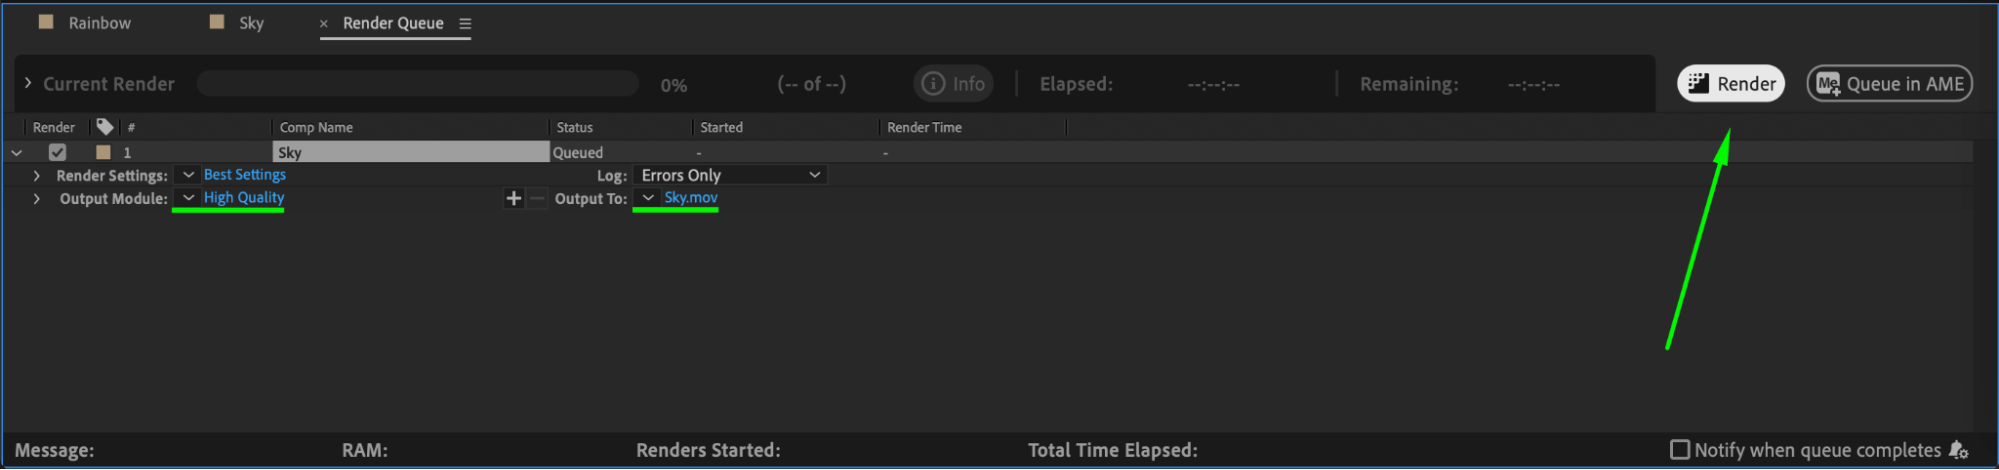
Once satisfied with the result, go to Composition > Add to Render Queue, adjust your settings, and render the final output.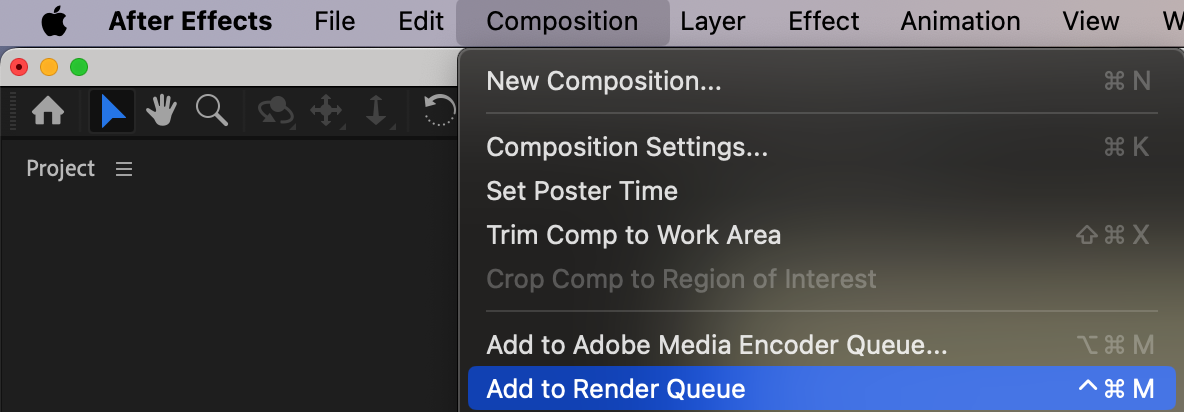
 Conclusion
By following these steps, you can create a beautiful and realistic rainbow effect in After Effects.
Our Bestsellers


