A Step-by-Step Guide to Creating a Scroll Effect in After Effects”
Introduction – Learn to Seamlessly Transition Between Videos with a Scroll Effect”
The scroll effect in After Effects is an eye-catching way to transition between two videos, giving your project a dynamic and professional touch. By using adjustment layers, keyframes, and the Motion Tile effect, you can achieve this seamlessly. This guide will walk you through each step.
Step 1: Import and Arrange Your Videos
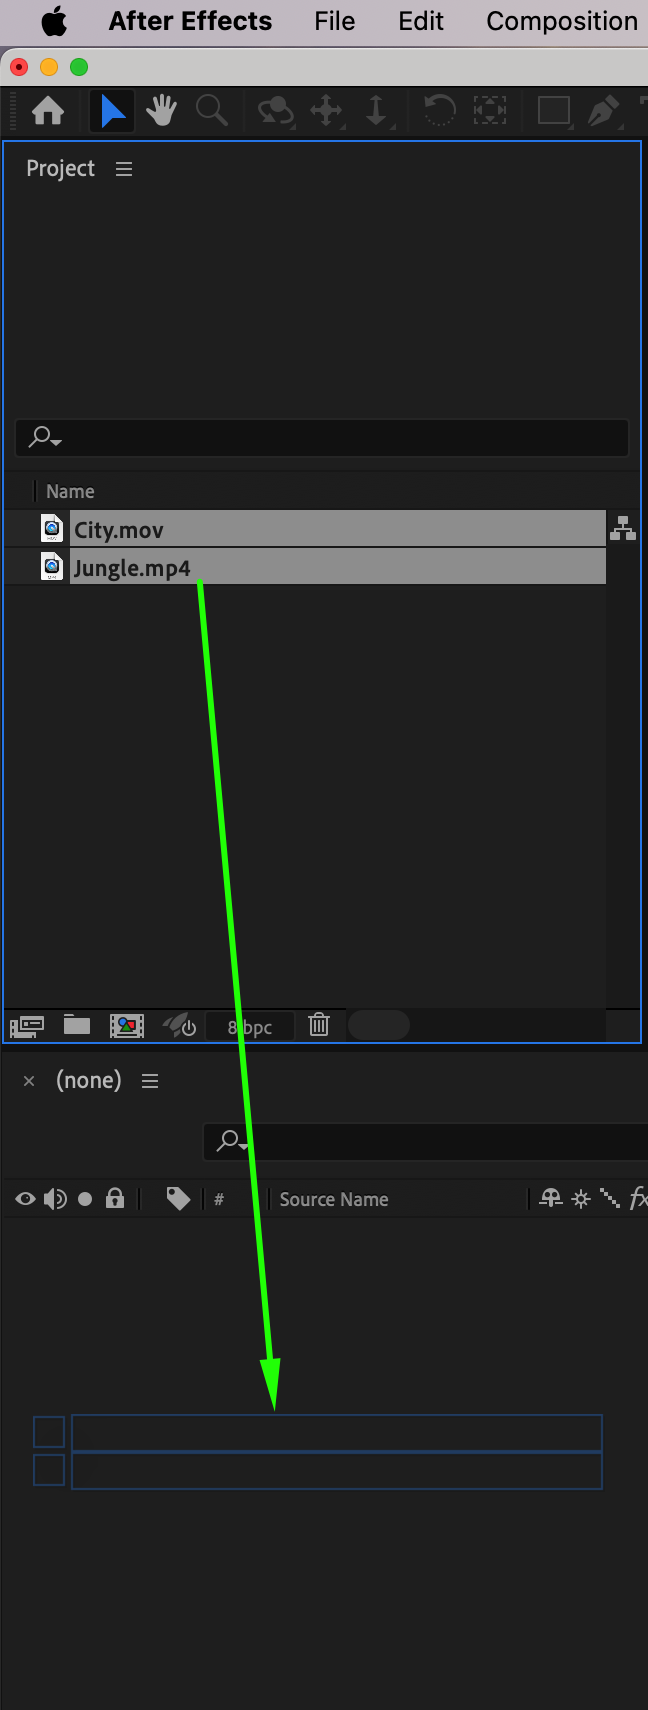
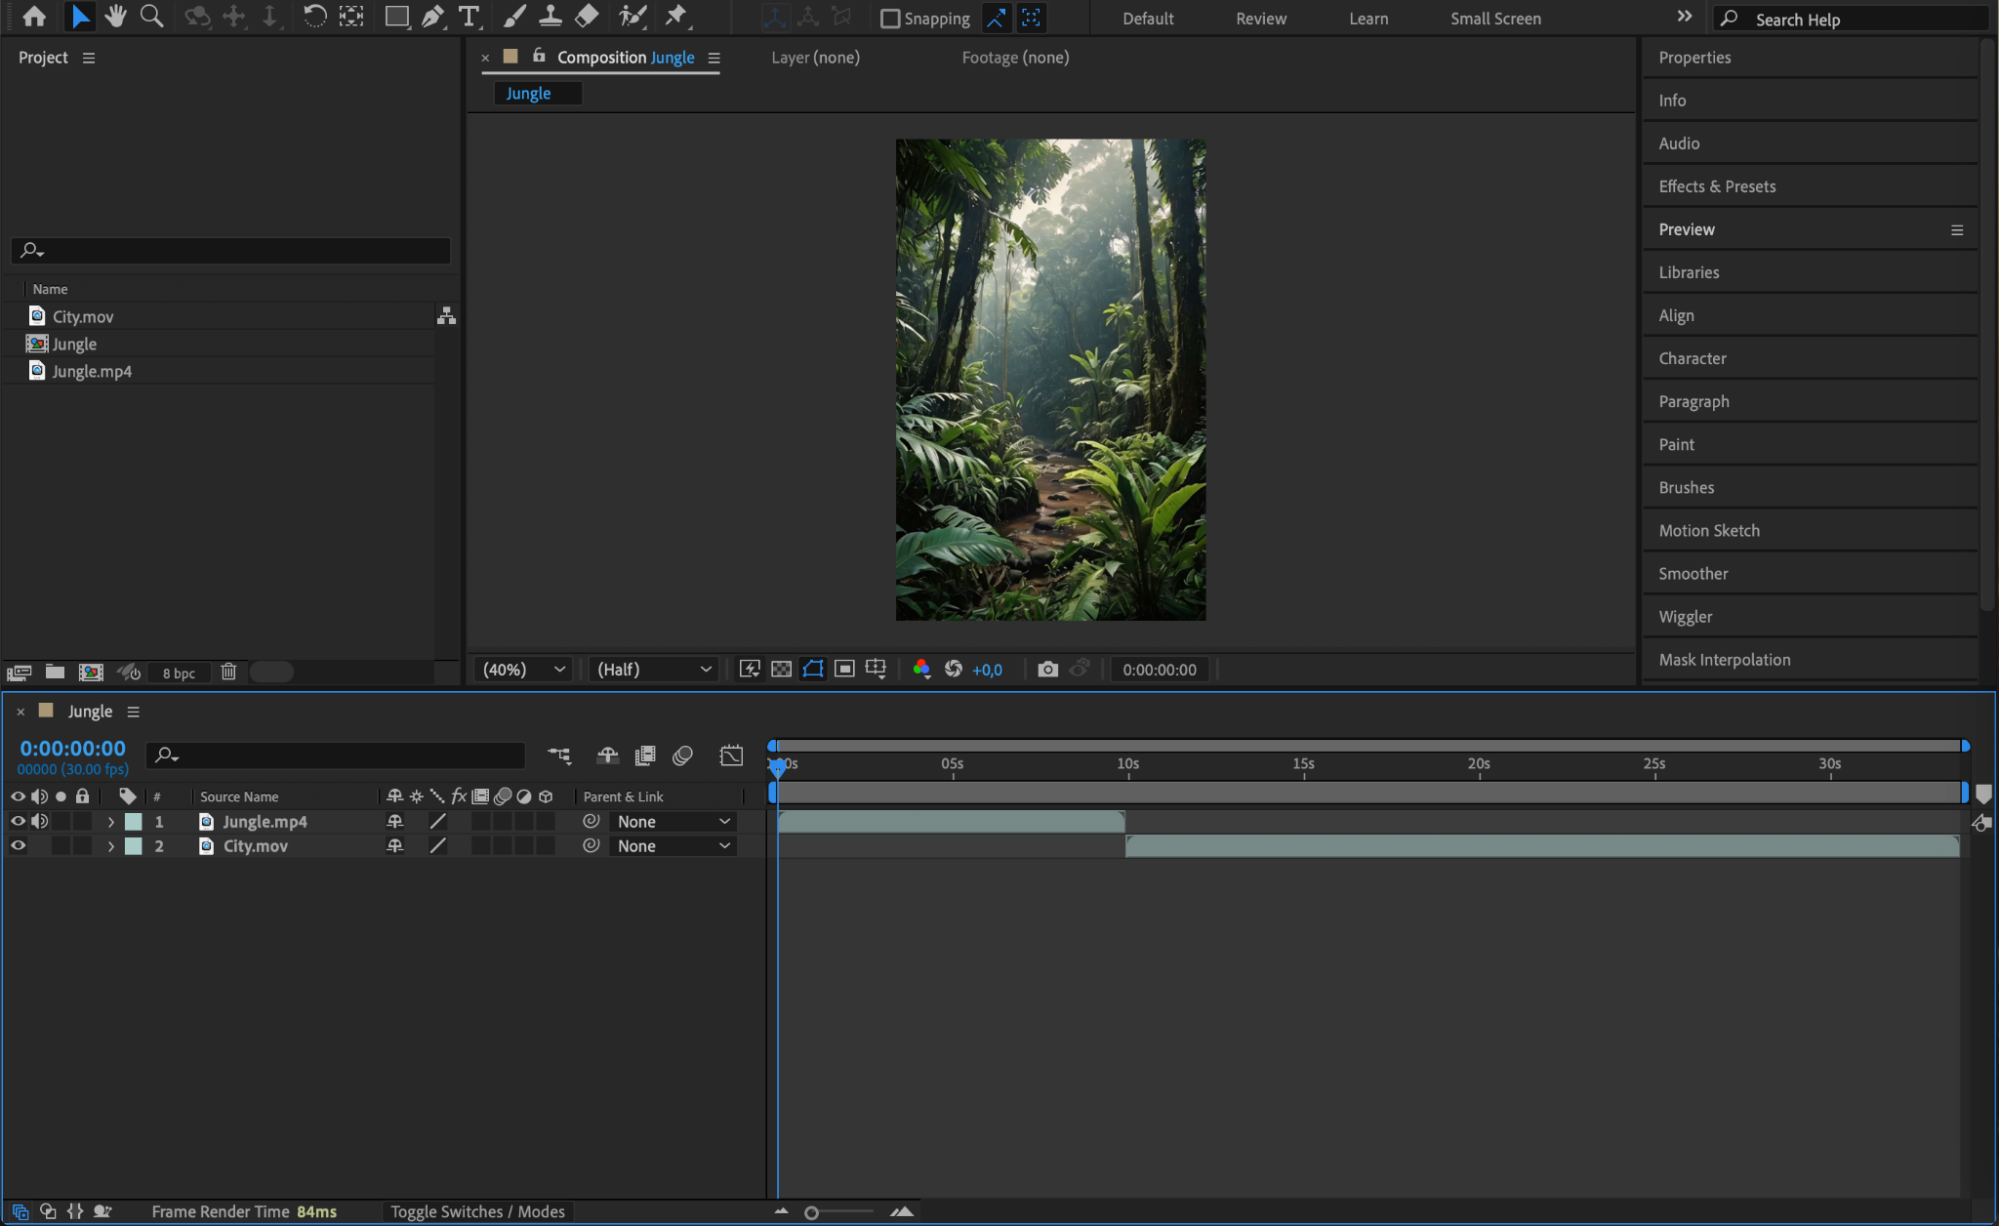
Start by importing the two videos you want to transition between. Go to File > Import > File, select your video files, and add them to the timeline. Position the two video layers sequentially so that the second video begins immediately after the first ends.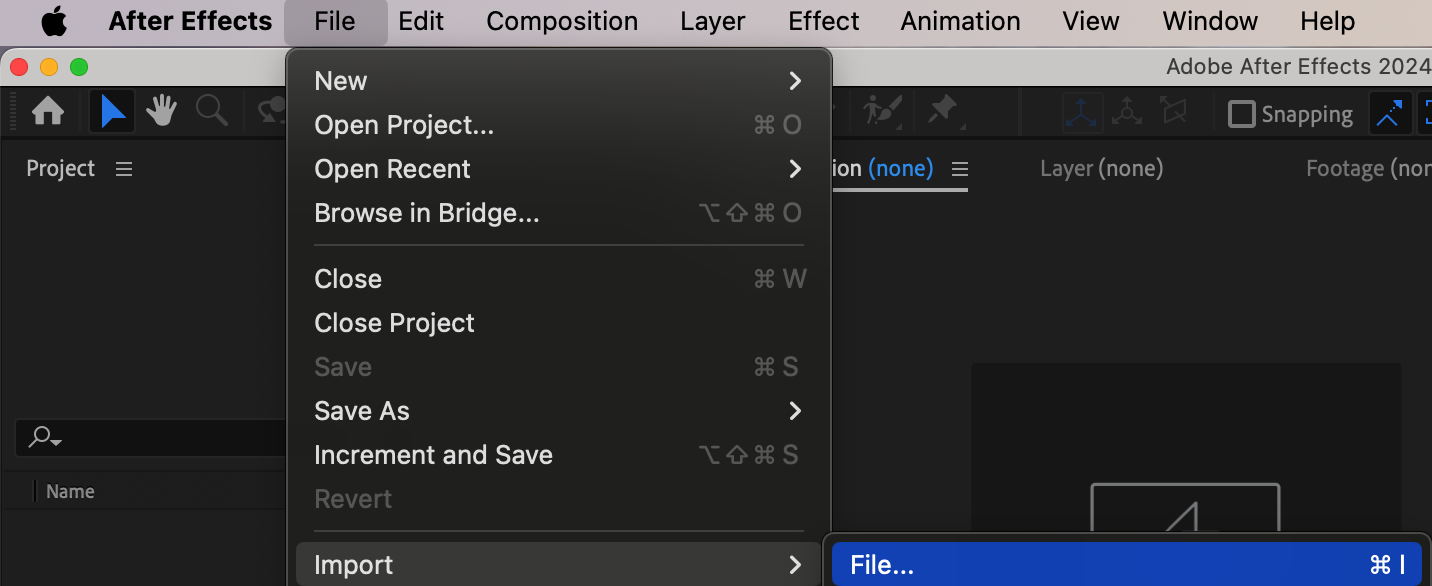
 Step 2: Create an Adjustment Layer
To apply the scroll effect across both video layers, create a new adjustment layer. Go to Layer > New > Adjustment Layer. This layer will serve as the foundation for applying the scroll effect.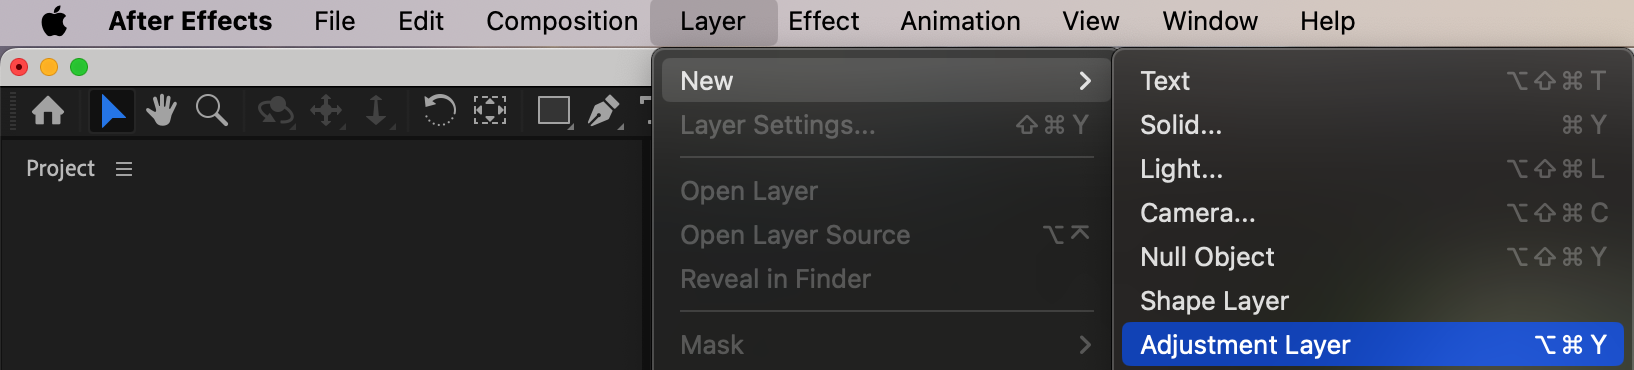
Step 3: Add the Motion Tile Effect
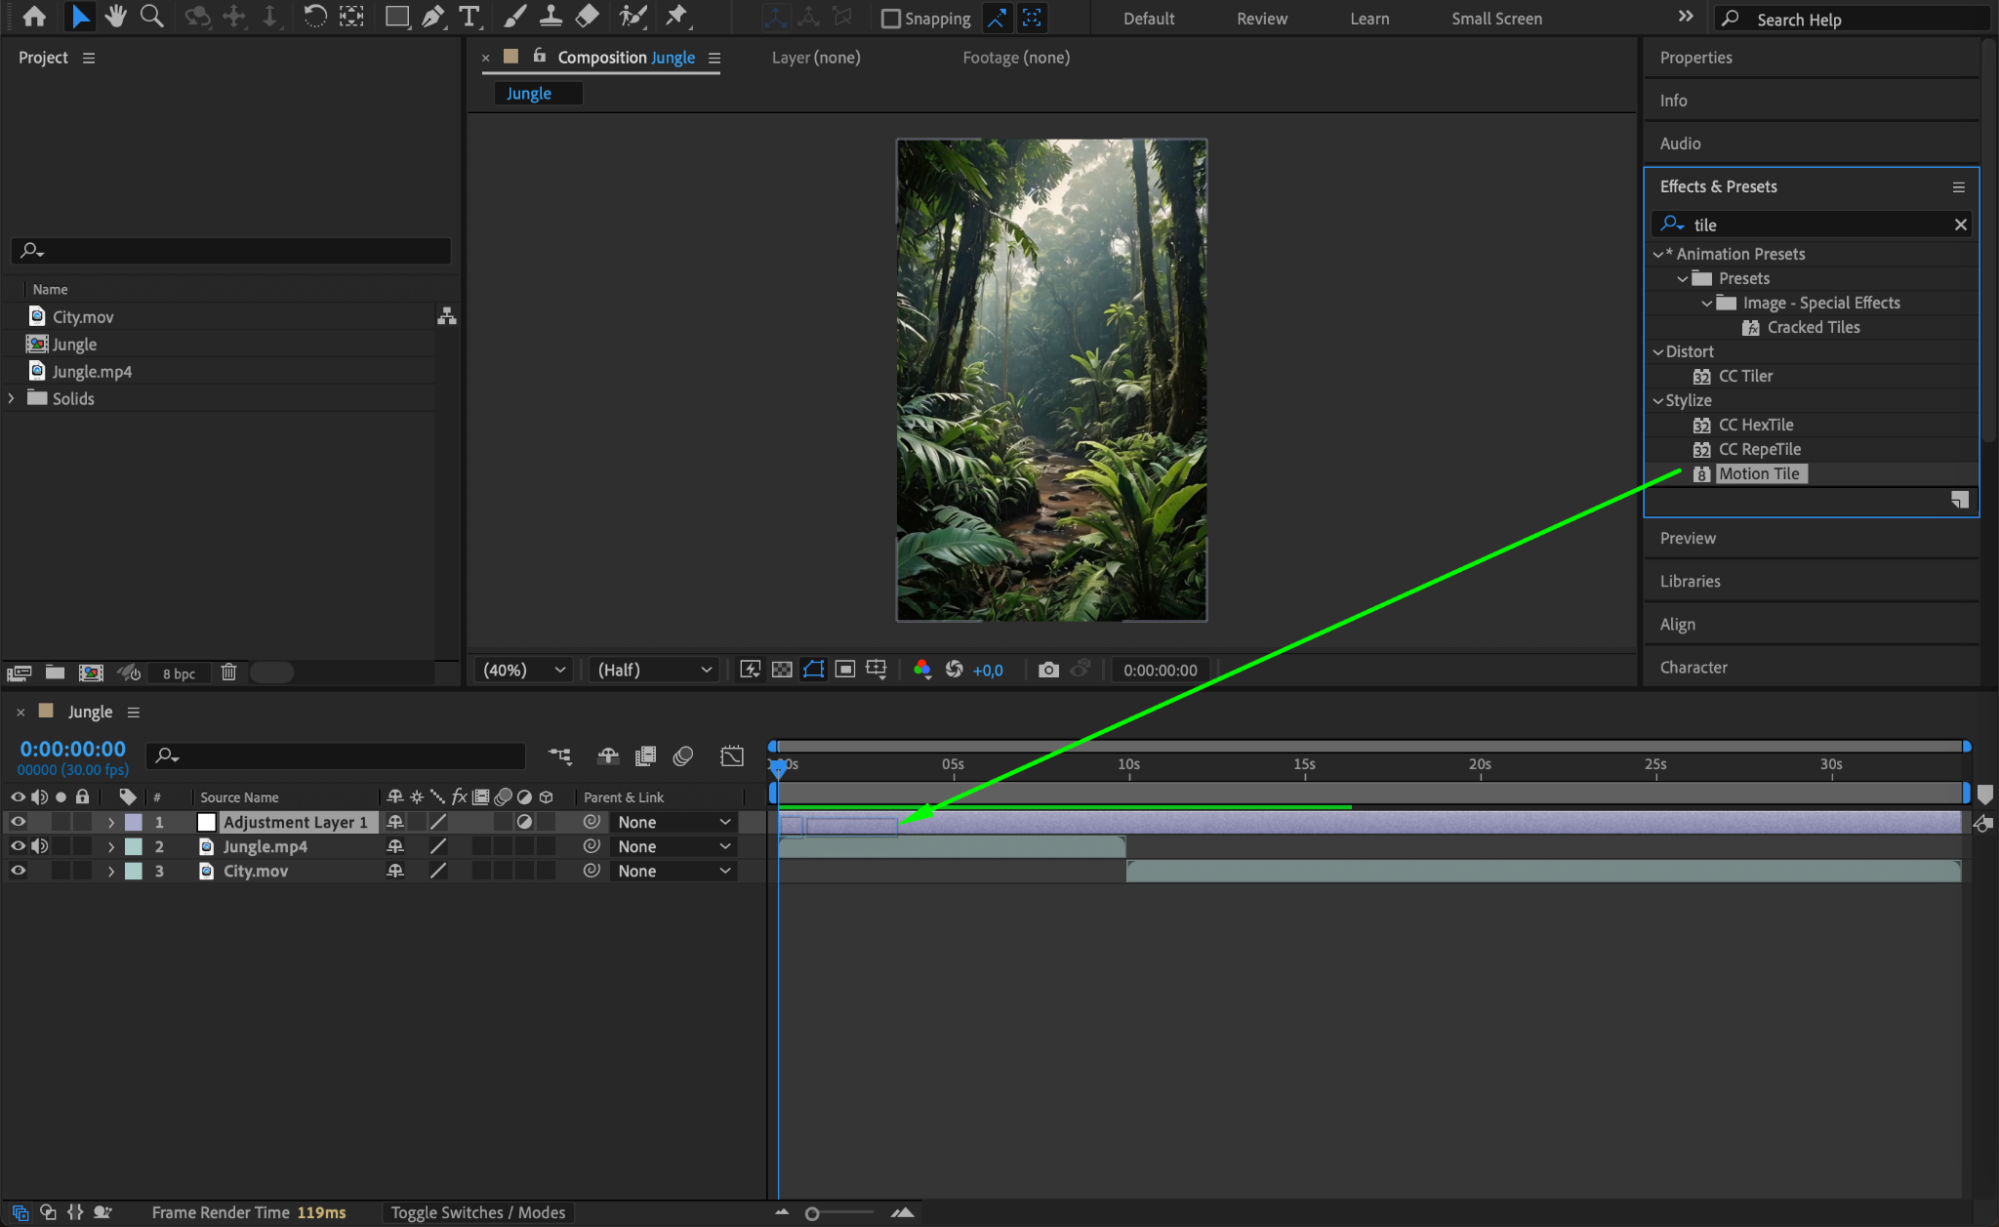
With the adjustment layer selected, go to the Effects & Presets panel and search for the Motion Tile effect. Drag and drop it onto the adjustment layer. This effect will allow you to extend and scroll the visual elements within the composition.
 Step 4: Set Keyframes for Tile Center
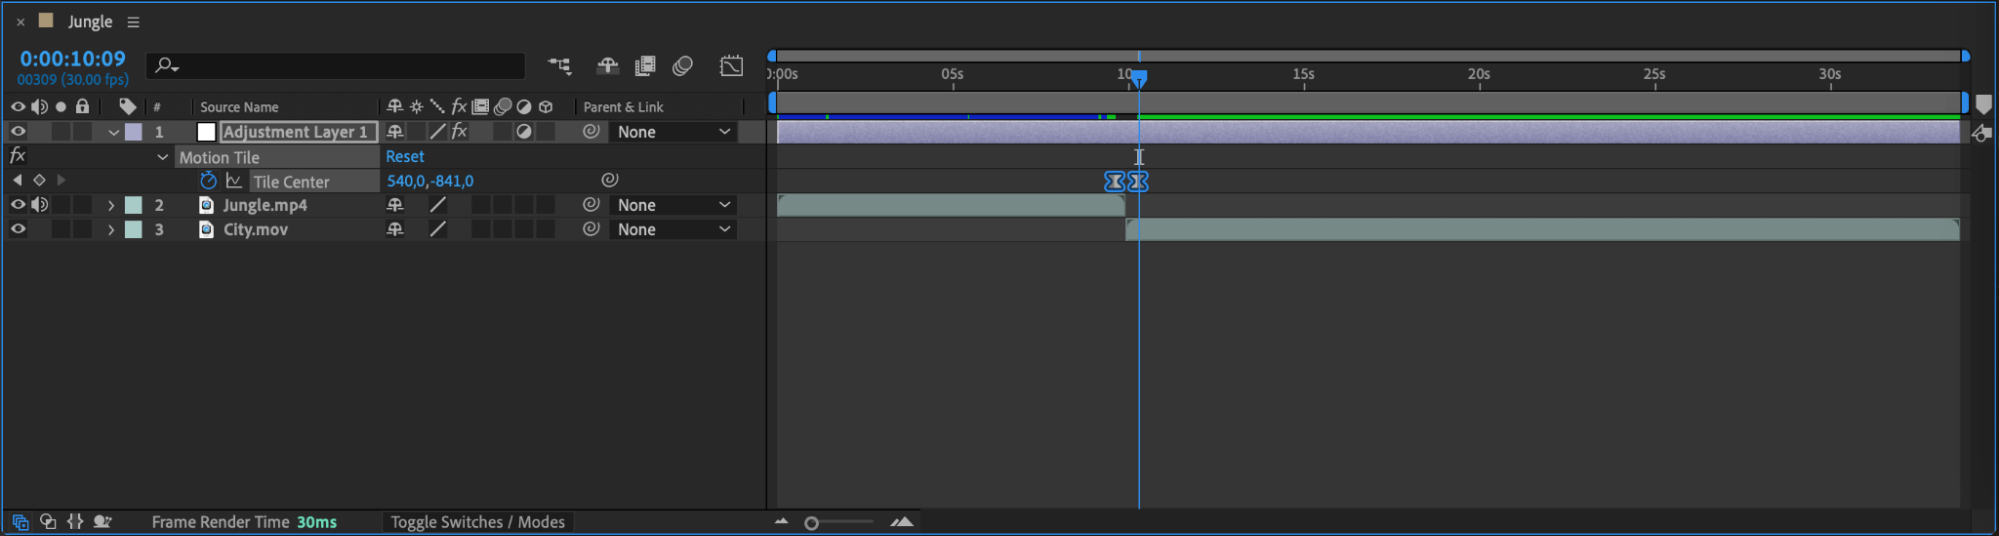
Place the CTI (Current Time Indicator) at the point where you want the scroll effect to begin, typically between the two video layers. Press “Ctrl/Cmd + Shift + Left Arrow” to move the CTI back 10 frames.
In the Effect Controls panel, locate the Tile Center parameter and click the stopwatch icon to create a keyframe at the default value (e.g., 540, 840).
Get 10% off when you subscribe to our newsletter

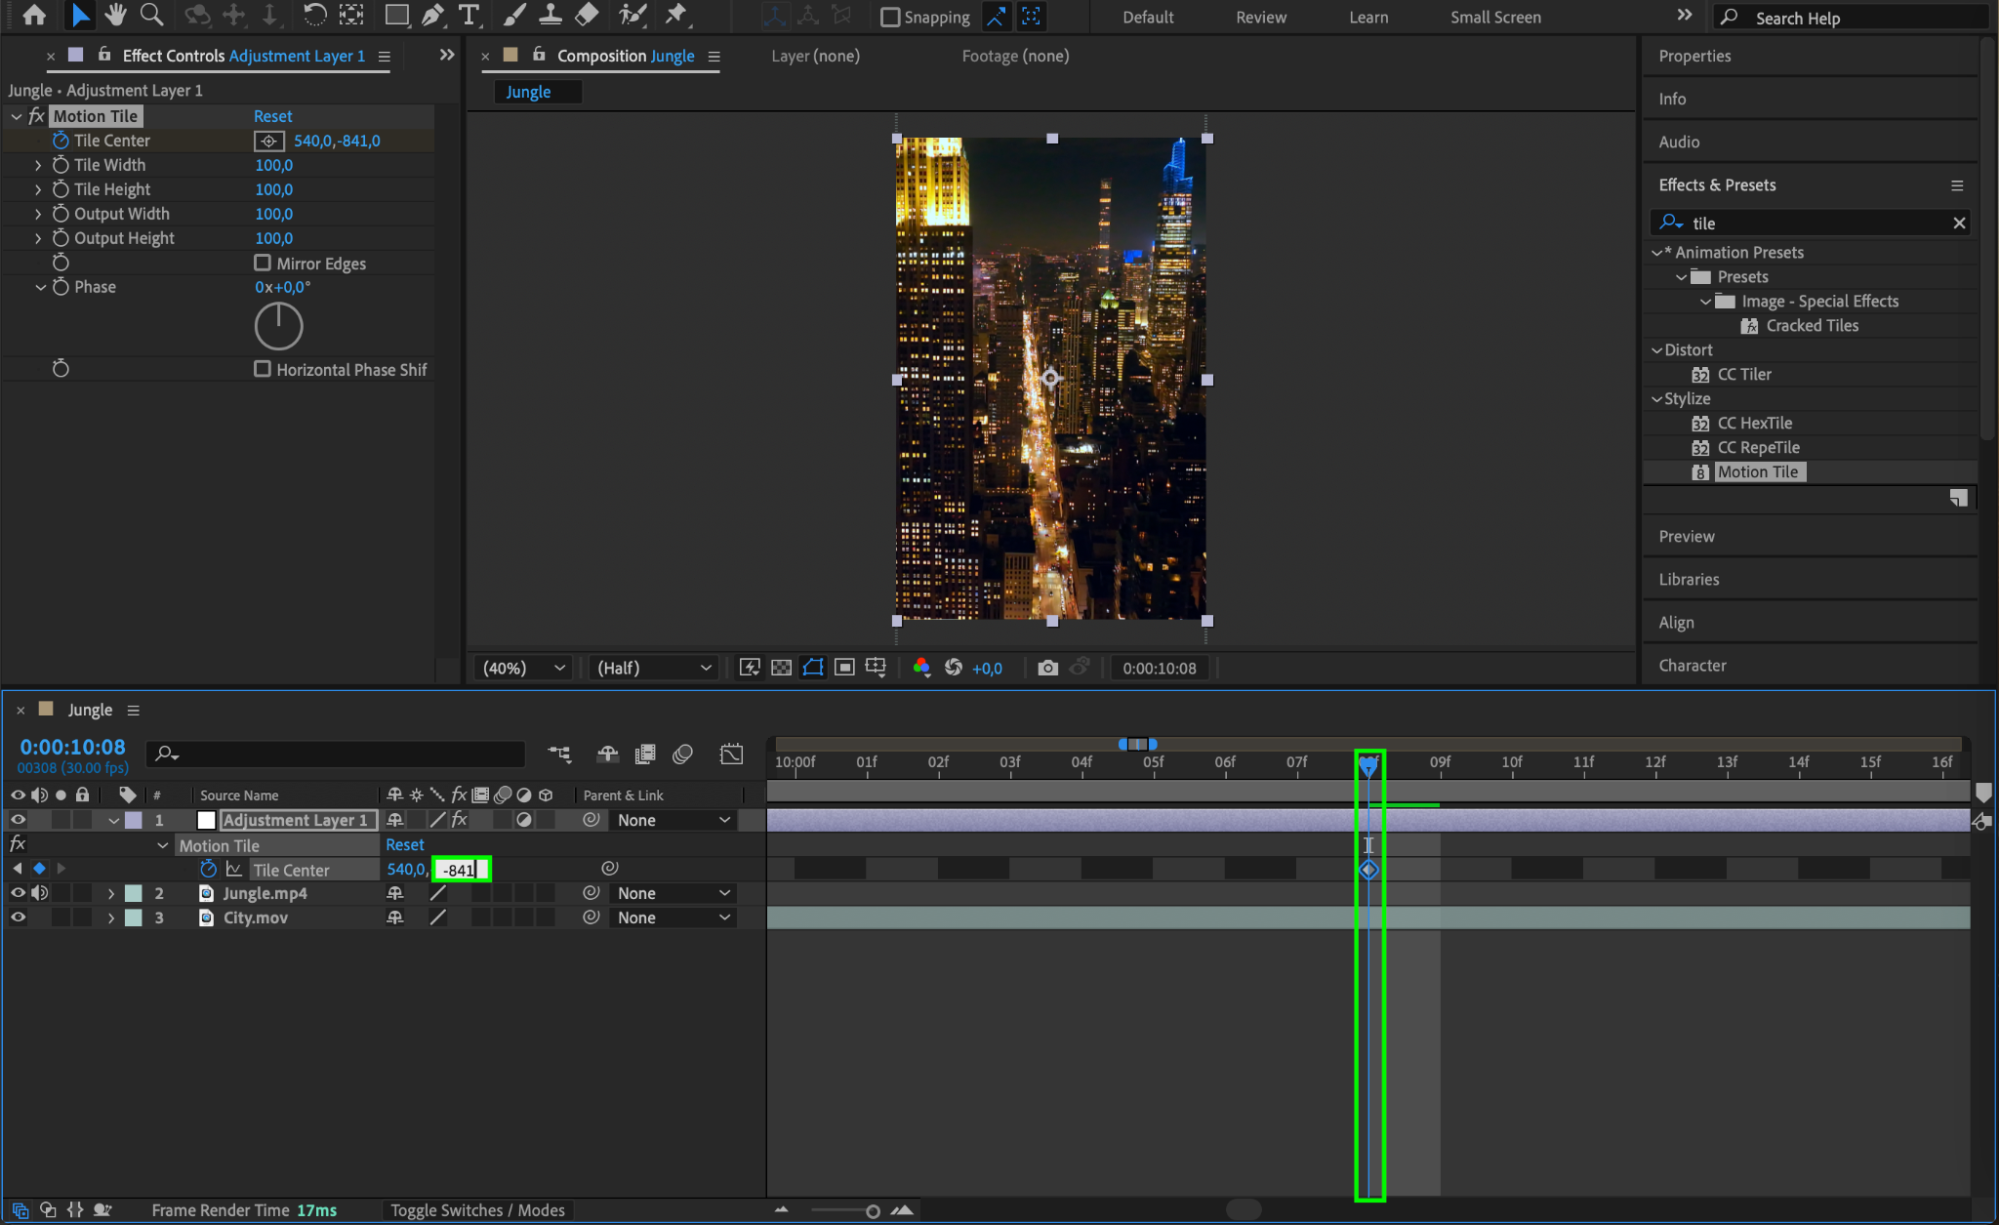
Then, press “Ctrl/Cmd + Shift + Right Arrow” twice to move the CTI forward by 20 frames. Change the Y-value of the Tile Center parameter to a negative value (e.g., 540, -841) to create the scroll motion.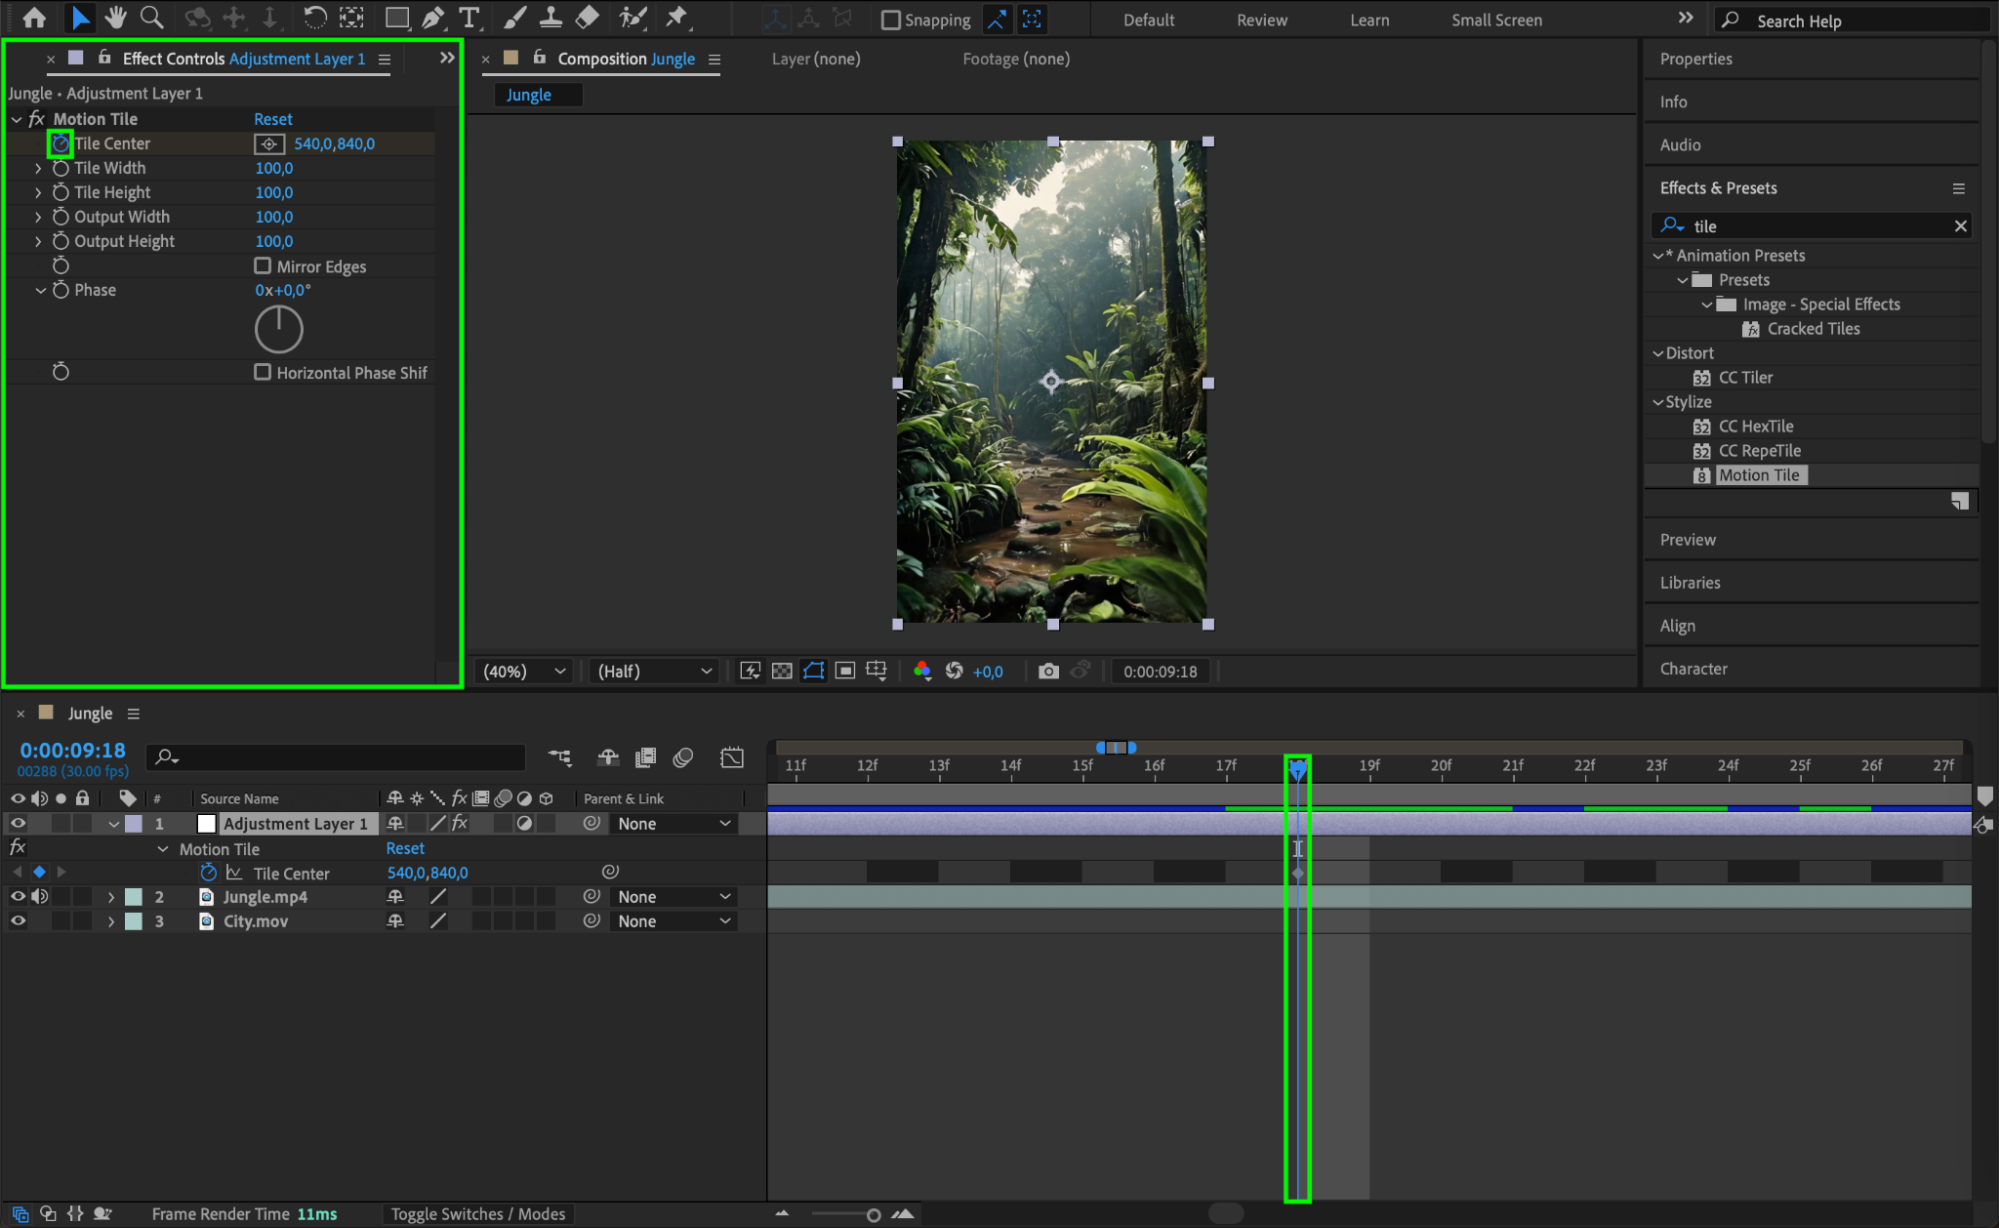
 Step 5: Smooth the Keyframes with Easy Ease
To make the scroll motion smooth and natural, select both keyframes in the timeline, right-click, and choose Keyframe Assistant > Easy Ease. This will soften the start and end of the motion.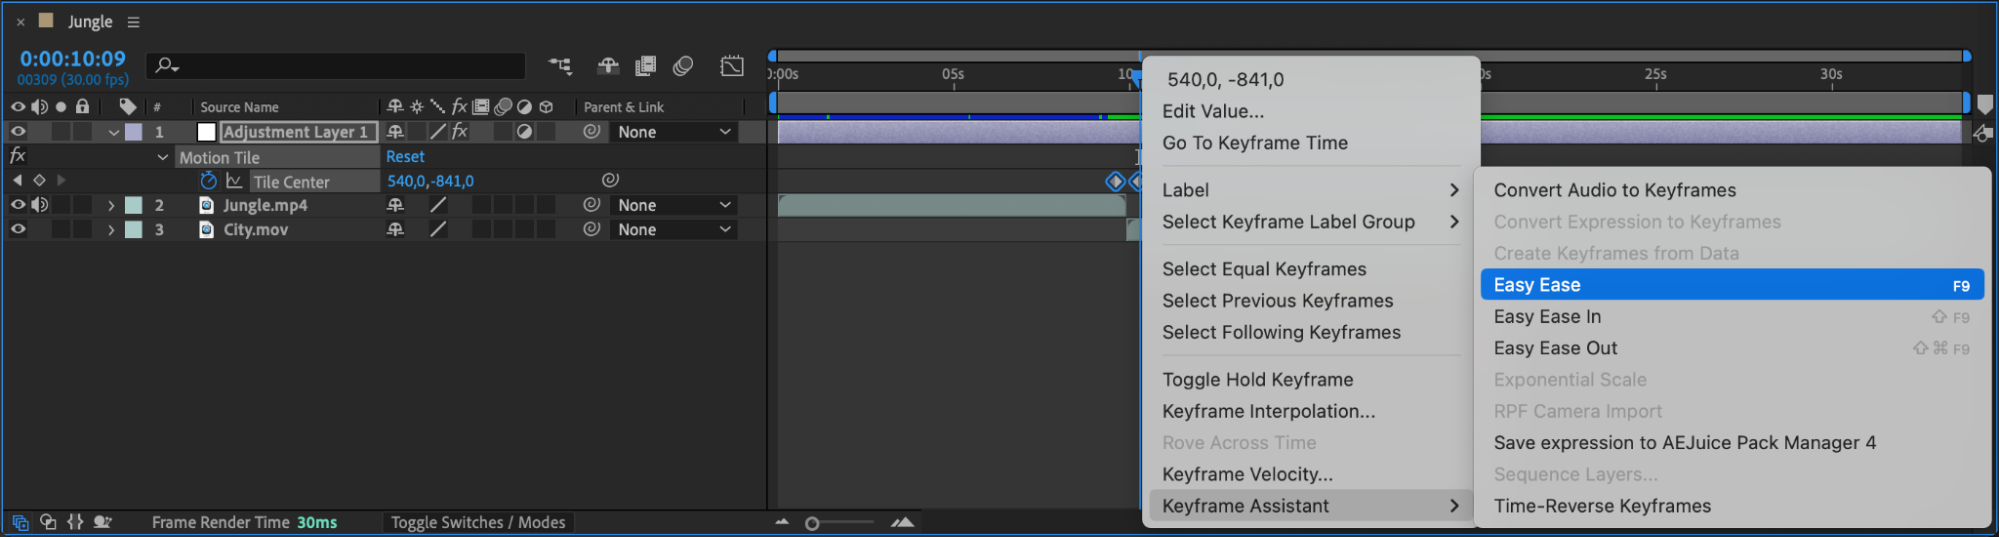
 Step 6: Enable Motion Blur
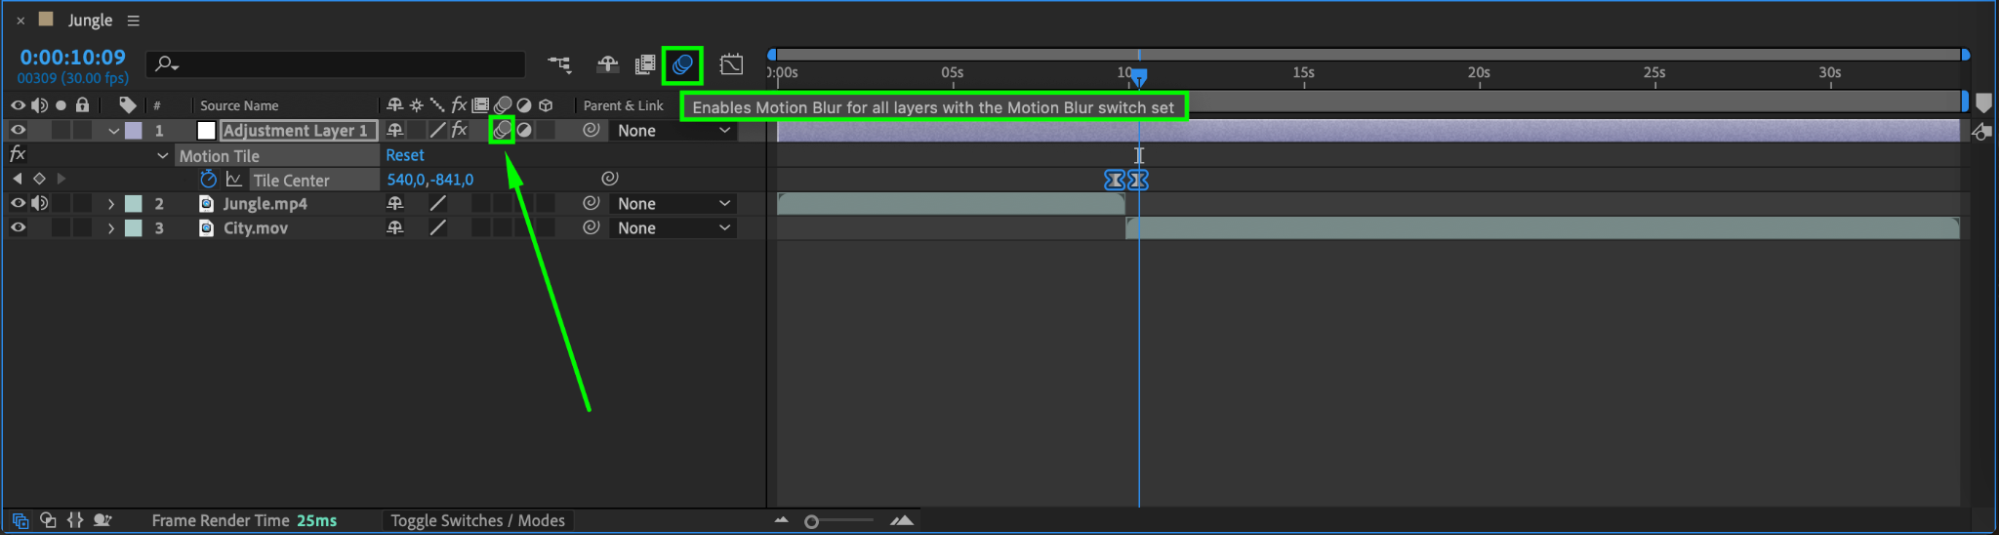
Enhance the realism of the scroll effect by enabling motion blur. Click the Motion Blur toggle switch on the adjustment layer in the timeline. If motion blur isn’t visible, click the Toggle Switches/Modes button at the bottom of the timeline panel.
 Step 7: Preview the Scroll Effect
Press the Spacebar to preview your animation. Ensure the scroll effect transitions smoothly between the two videos. Adjust keyframe timing or Tile Center values if needed.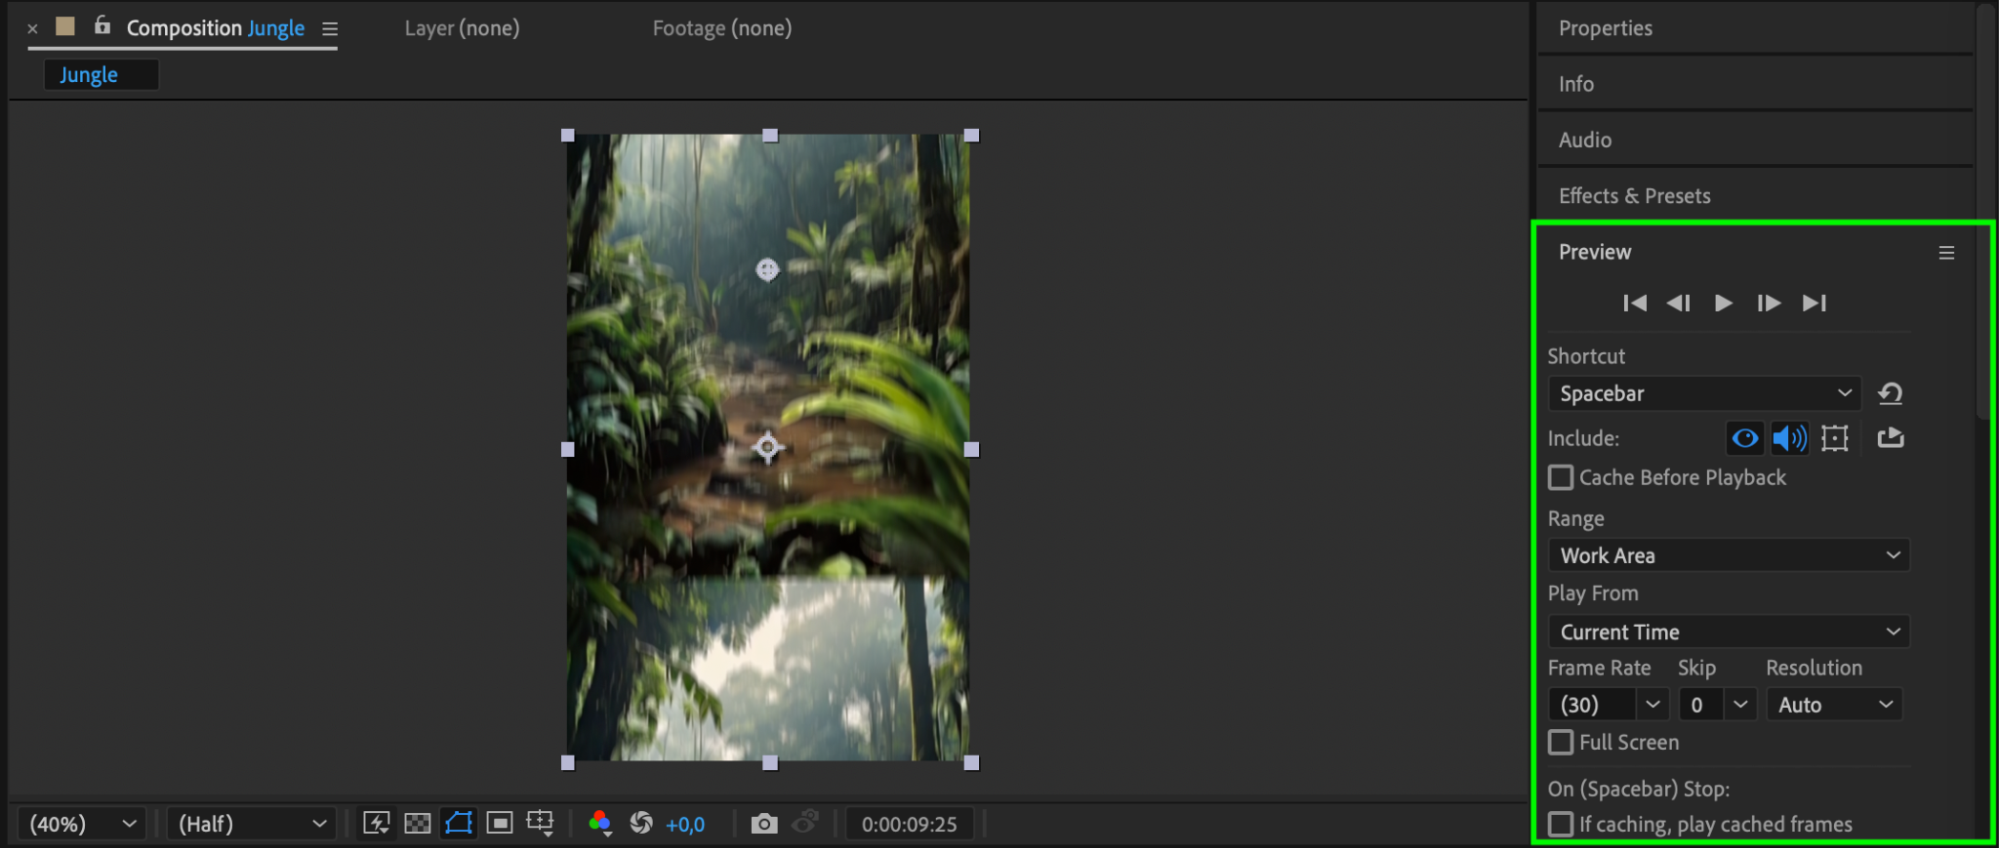 Step 8: Render Your Project
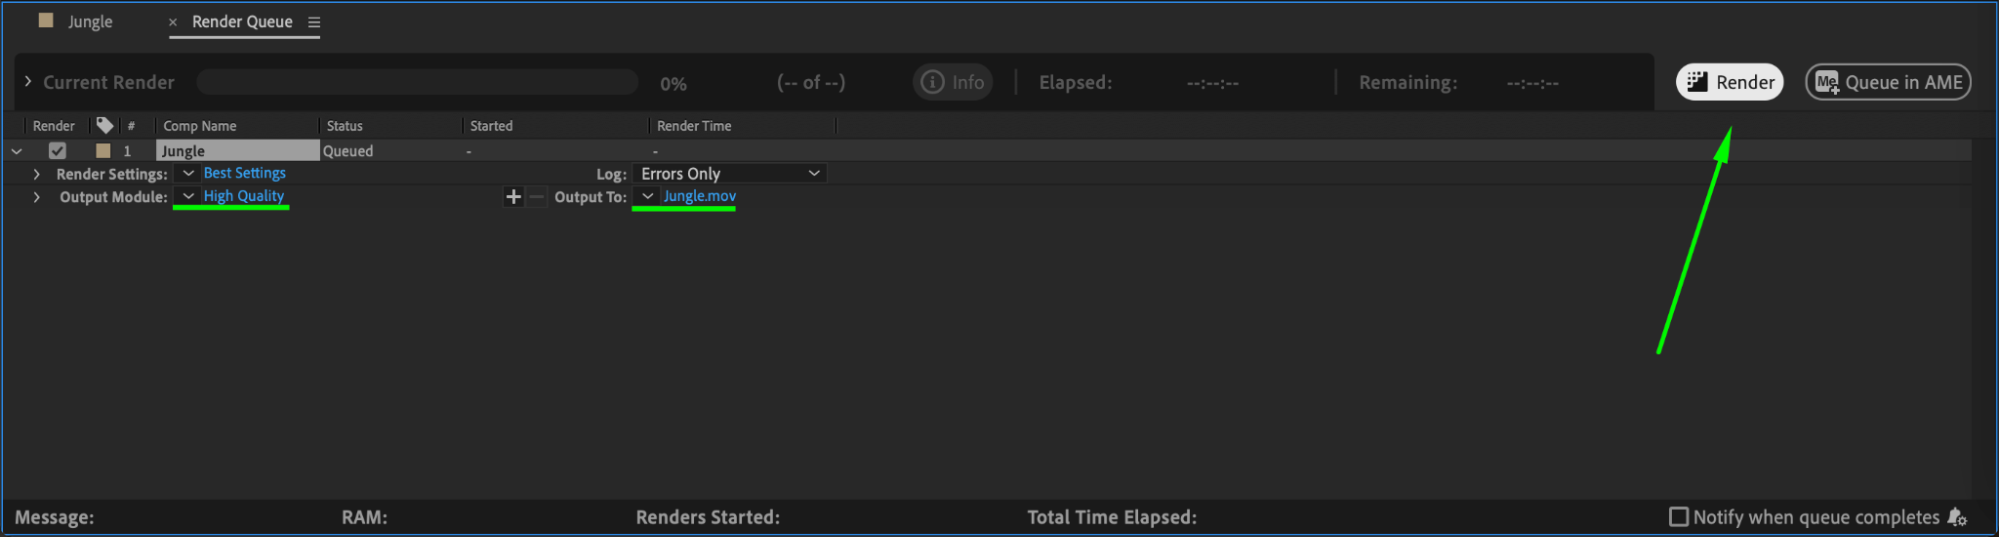
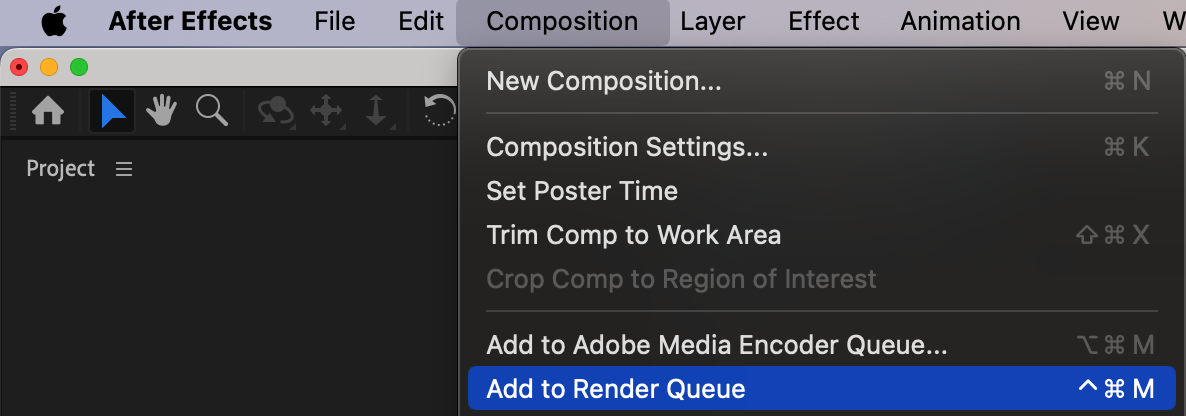
Once satisfied with the scroll effect, render your composition. Go to Composition > Add to Render Queue, choose your output settings, and click Render to export the final video.
Conclusion
Creating a scroll effect in After Effects is a simple yet impactful way to transition between videos. By using adjustment layers, the Motion Tile effect, and keyframes, you can craft seamless and dynamic animations. Experiment with timing and motion blur to customize the effect to suit your project’s needs. Master this technique to add polished transitions to your video projects!
Our Bestsellers


