Step-by-Step Guide to Creating a Spin Transition in After Effects
Introduction – How to Add a Spin Transition to Your Videos in After Effects
Creating a spin transition in After Effects can add a dynamic, visually engaging effect to your video projects. This technique involves rotating a layer from one clip to the next, creating a seamless spin effect that transitions between scenes. Below are the steps to achieve this spin transition smoothly and professionally.
Get 10% off when you subscribe to our newsletter

Step 1: Import Your Videos
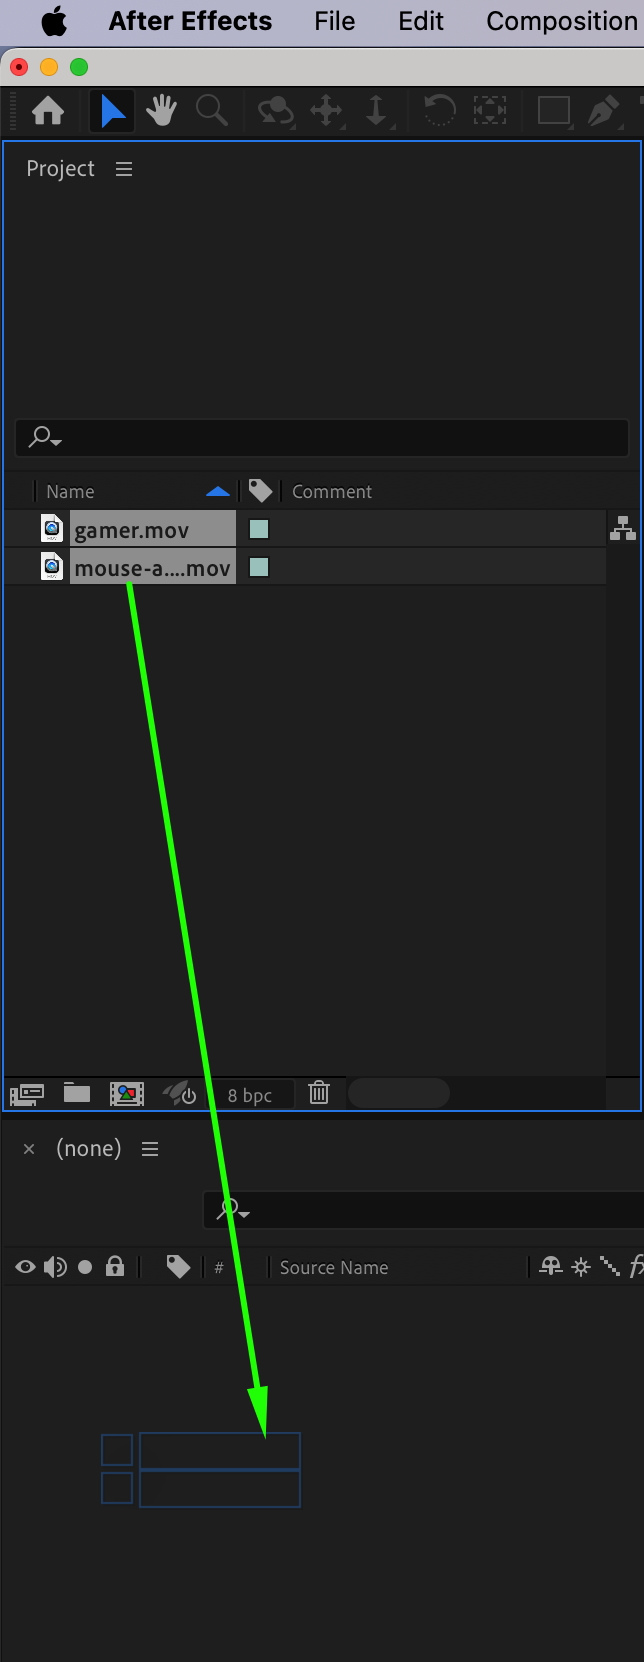
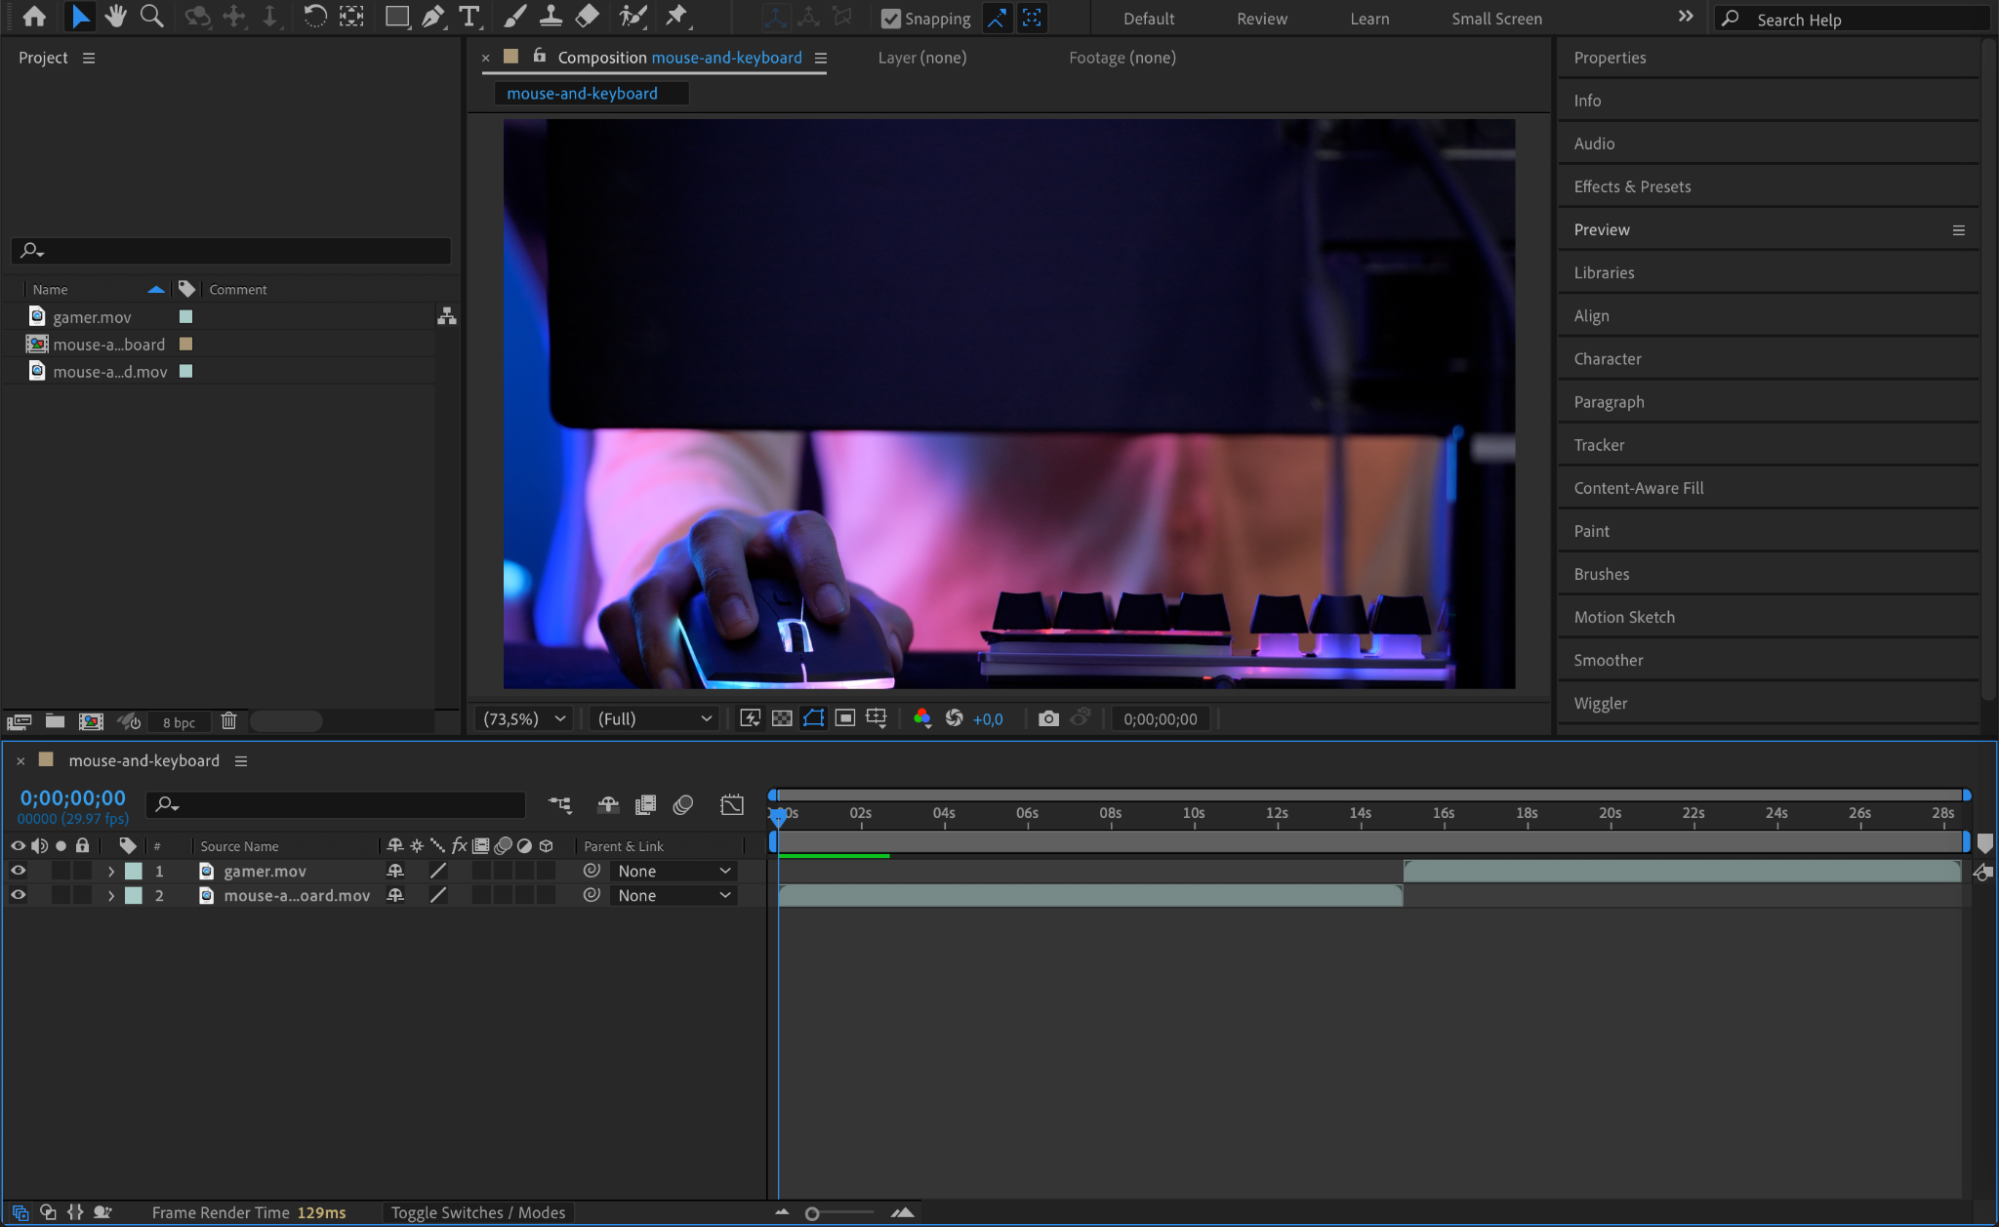
Go to File > Import > File and select the video clips you want to use in your project. Drag these clips to the timeline to set them up in sequence.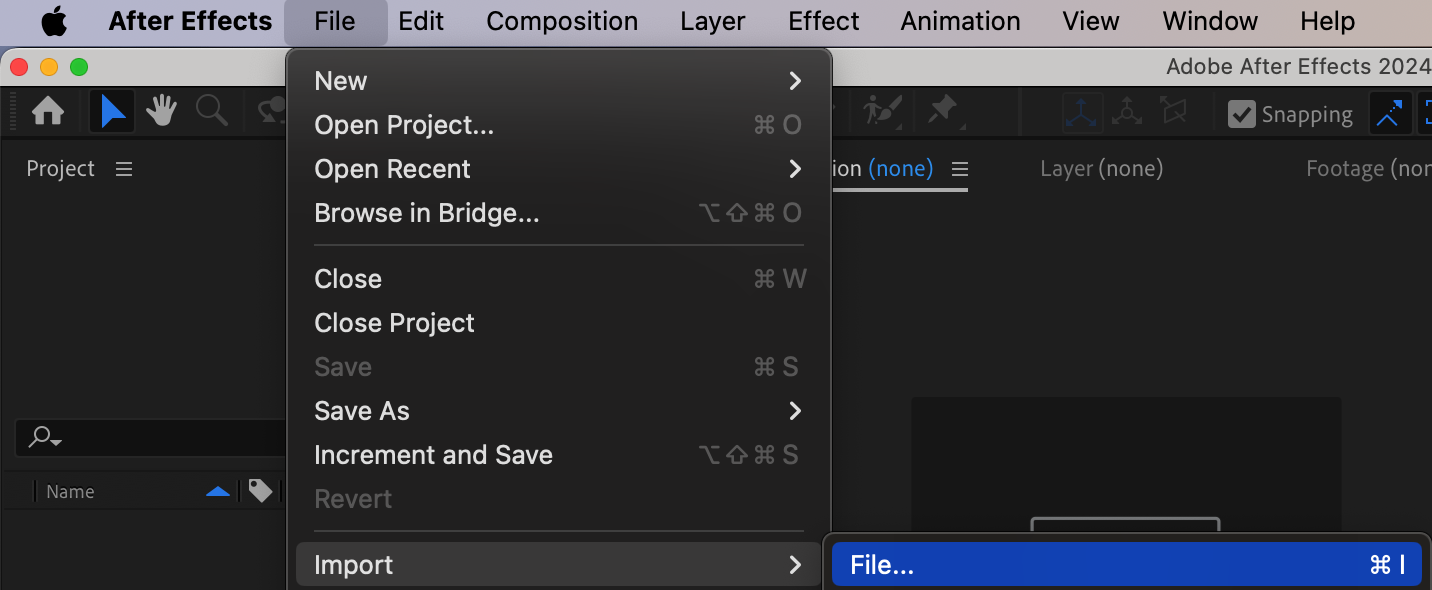
 Step 2: Add an Adjustment Layer
Navigate to Layer > New > Adjustment Layer. This adjustment layer will be used to control the effects that affect the transition between your video clips.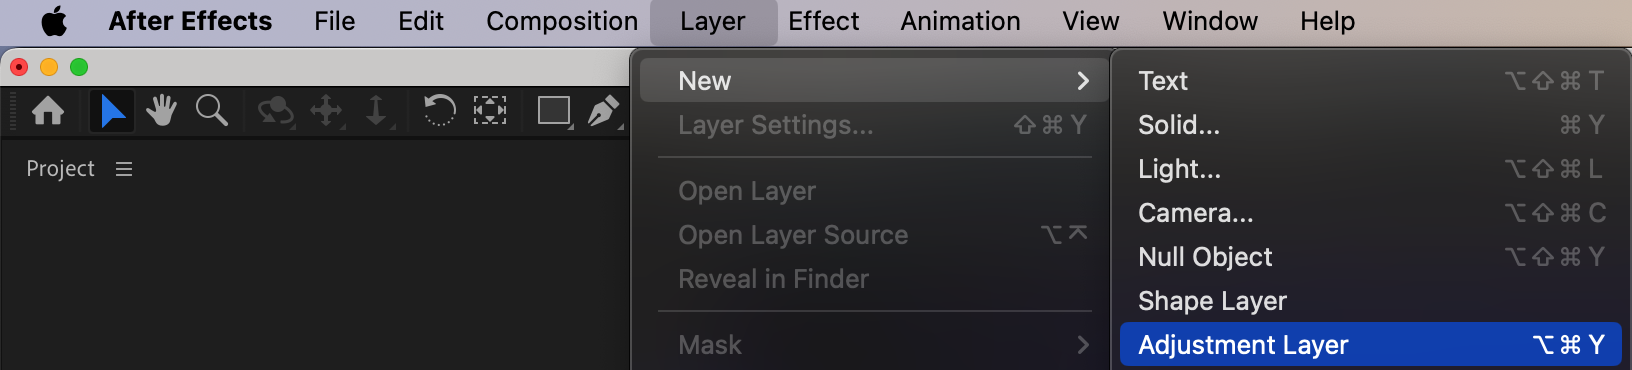 Step 3: Apply the Motion Tile Effect
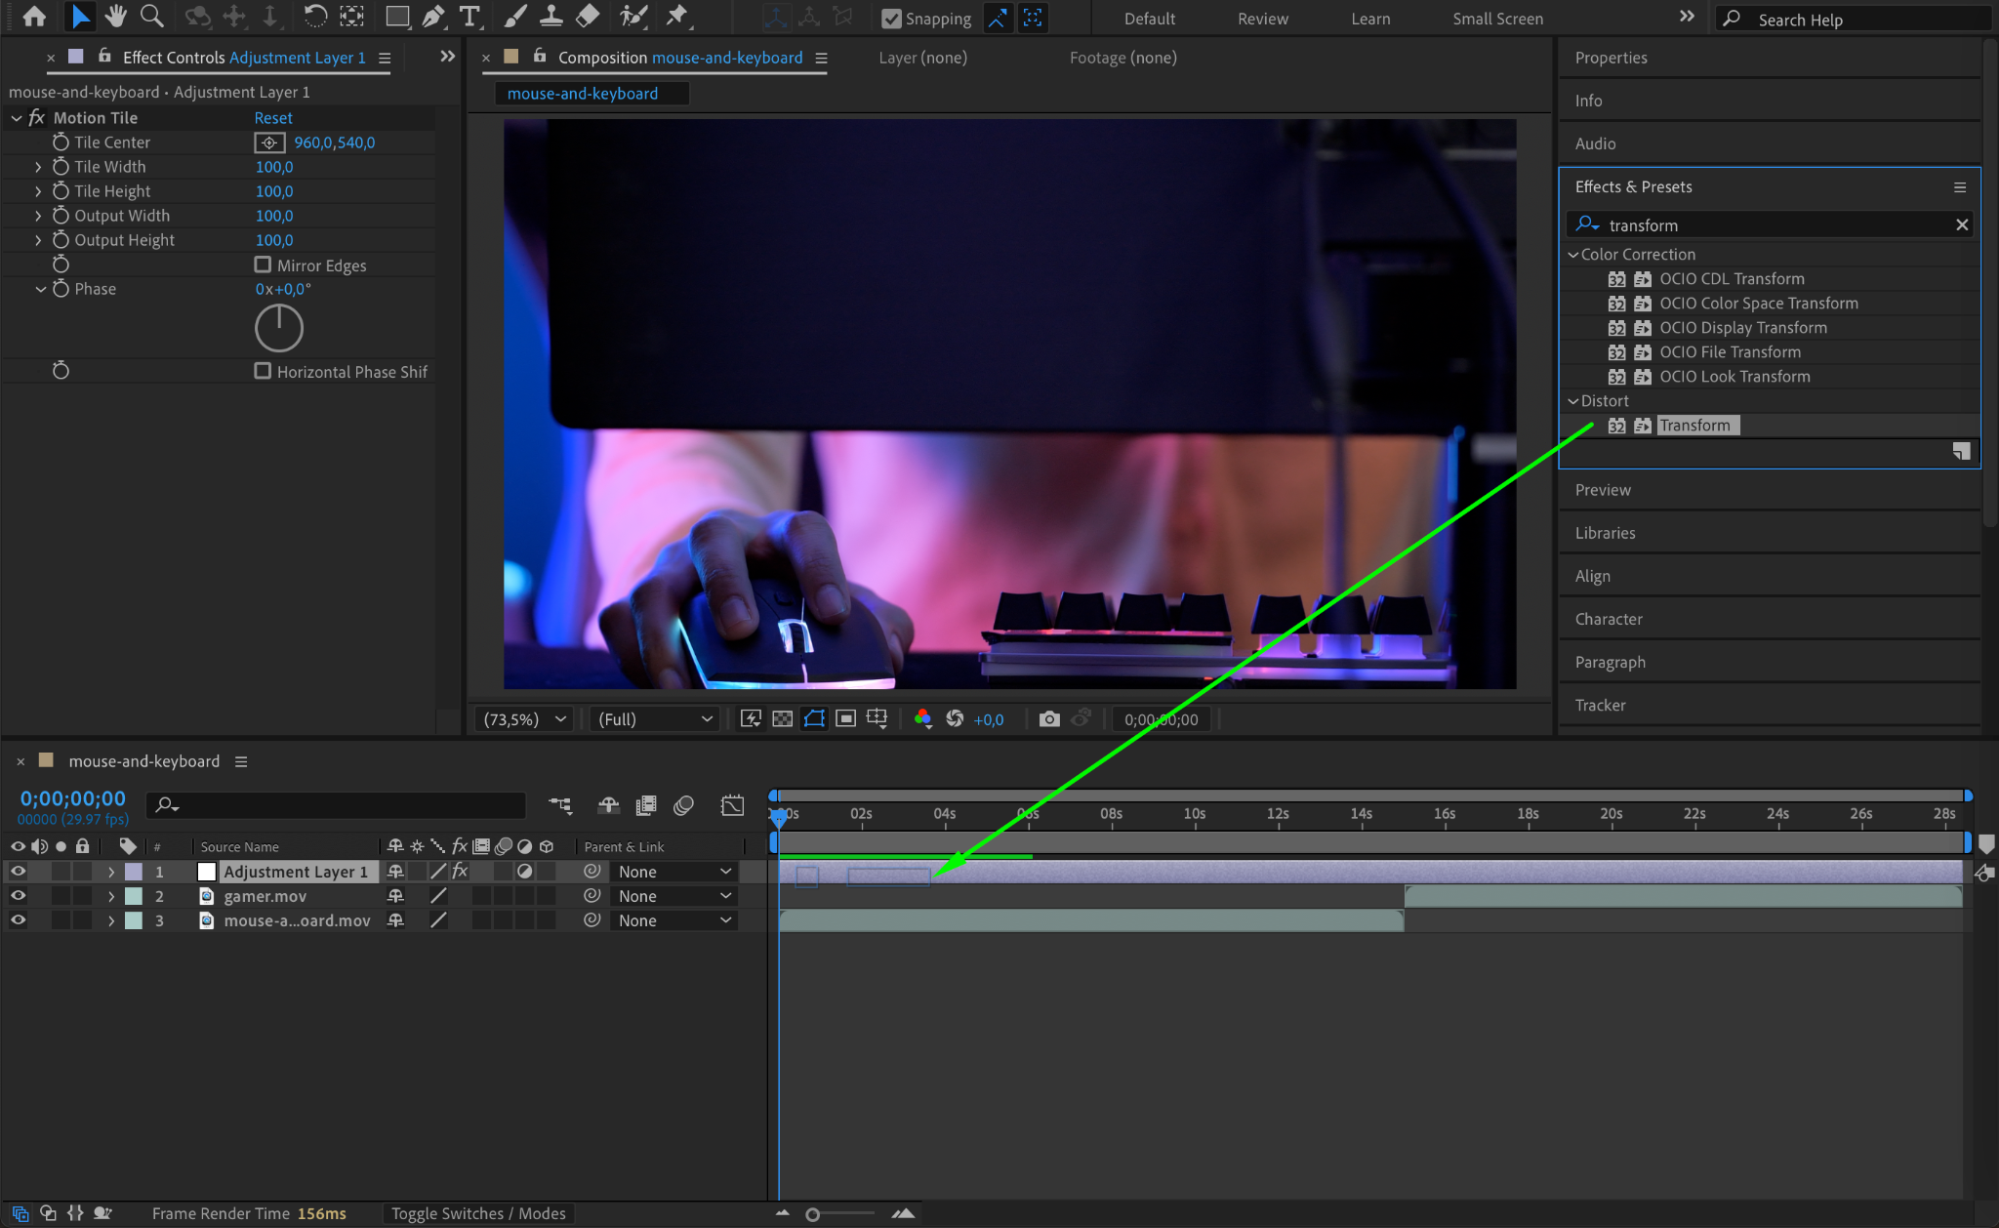
In the Effect Controls panel, search for the Motion Tile effect and apply it to the adjustment layer. This will allow the clip to tile, which helps smooth out the edges during the spin transition. Additionally, apply a Transform effect to enhance the control over the layer.
 Step 4: Set the CTI for the Transition
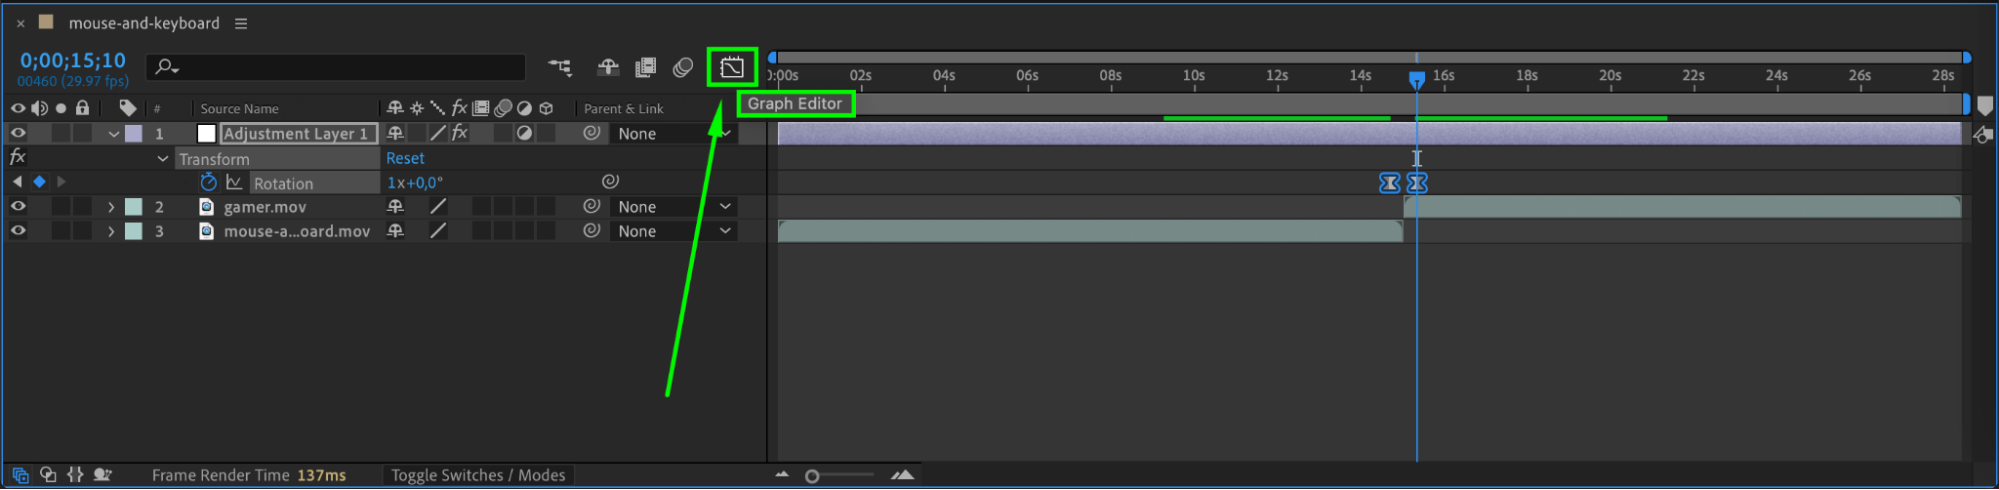
Move the Current Time Indicator (CTI) to the point where the two clips meet. Then, use the shortcut Ctrl/Cmd + Shift + Left Arrow to move 10 frames back. In the Effect Controls panel, click the stopwatch icon next to the Rotation property to enable keyframing.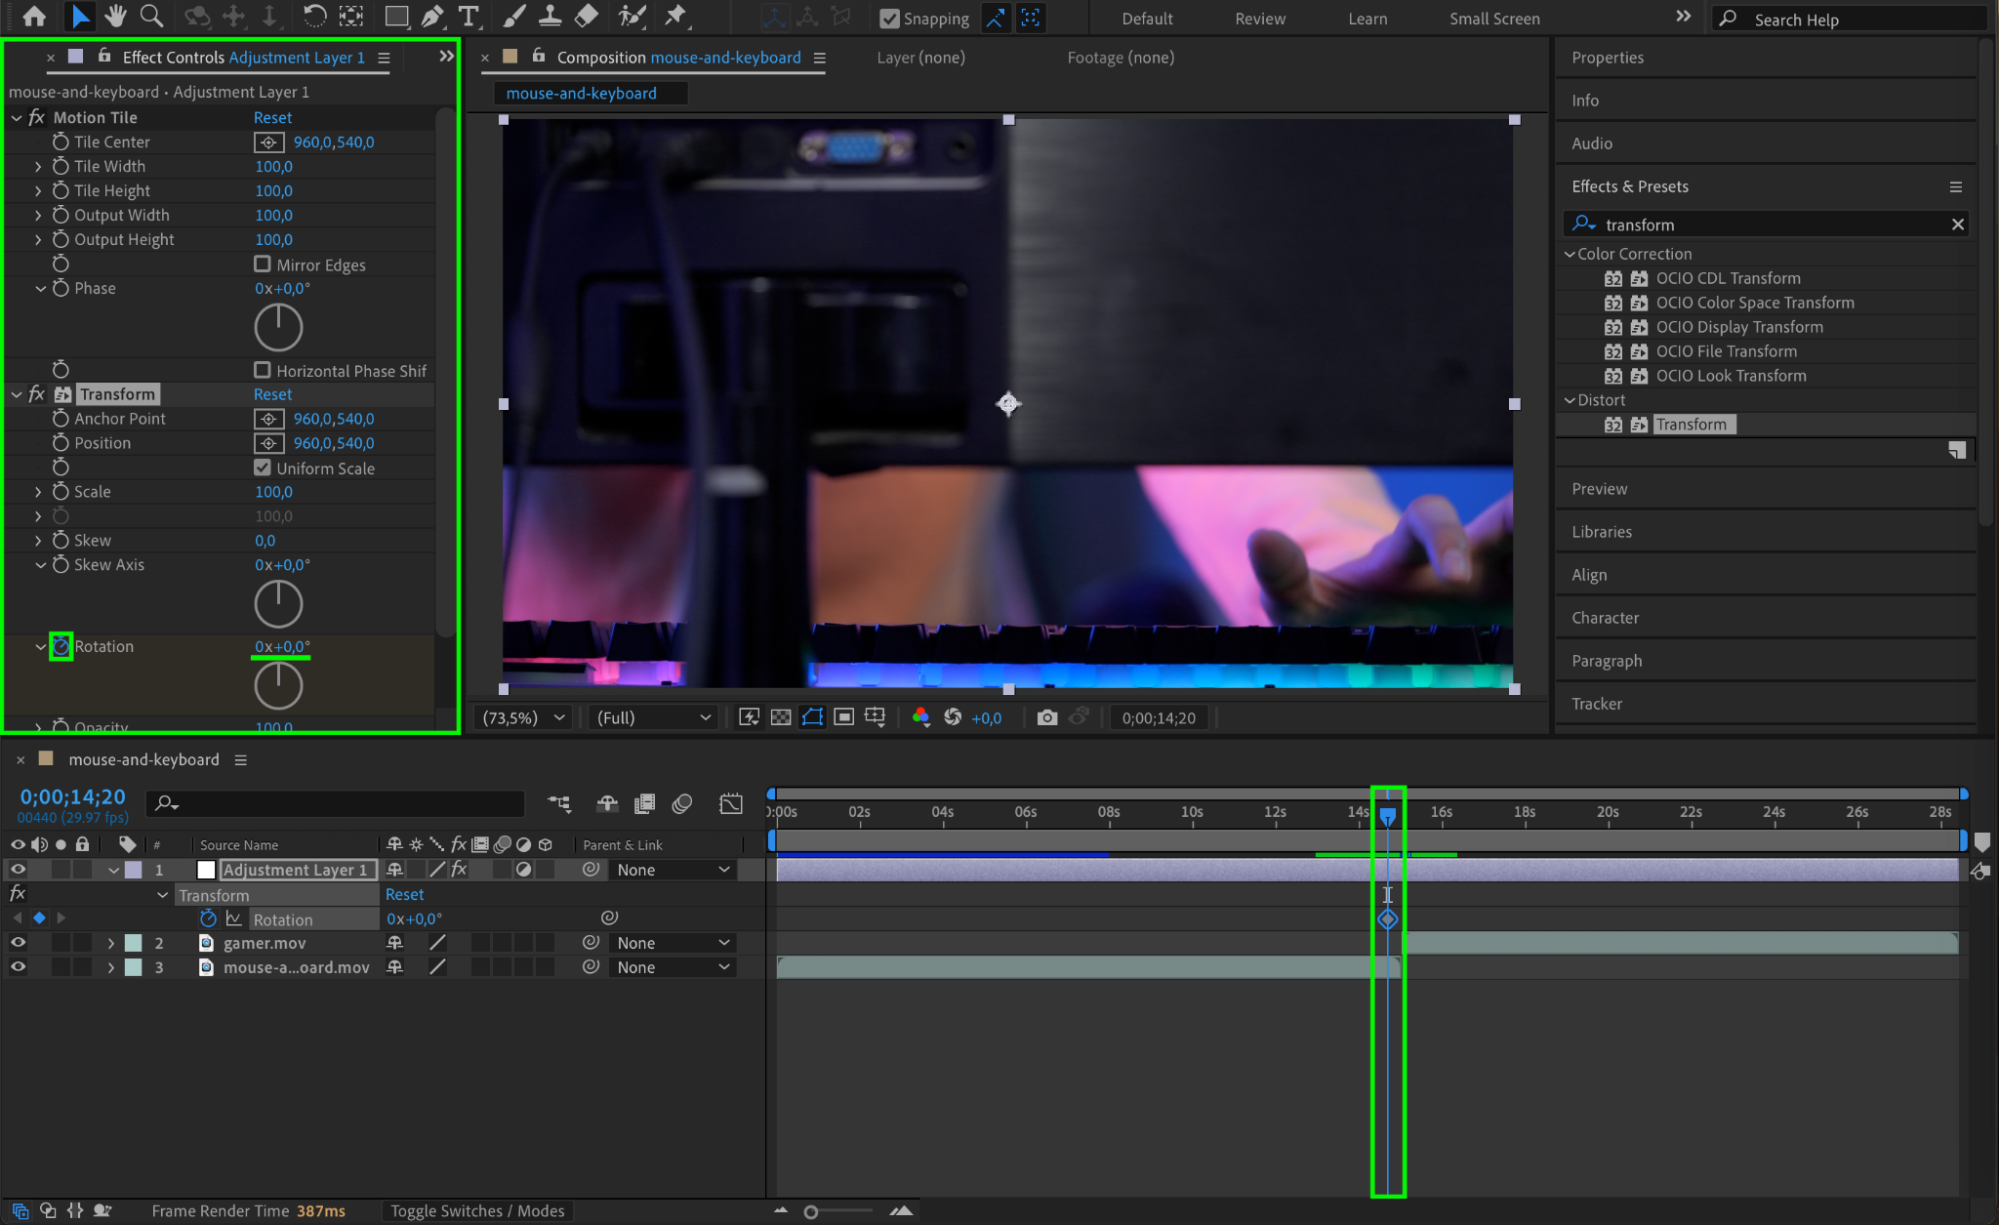 Step 5: Keyframe the Rotation for the Spin
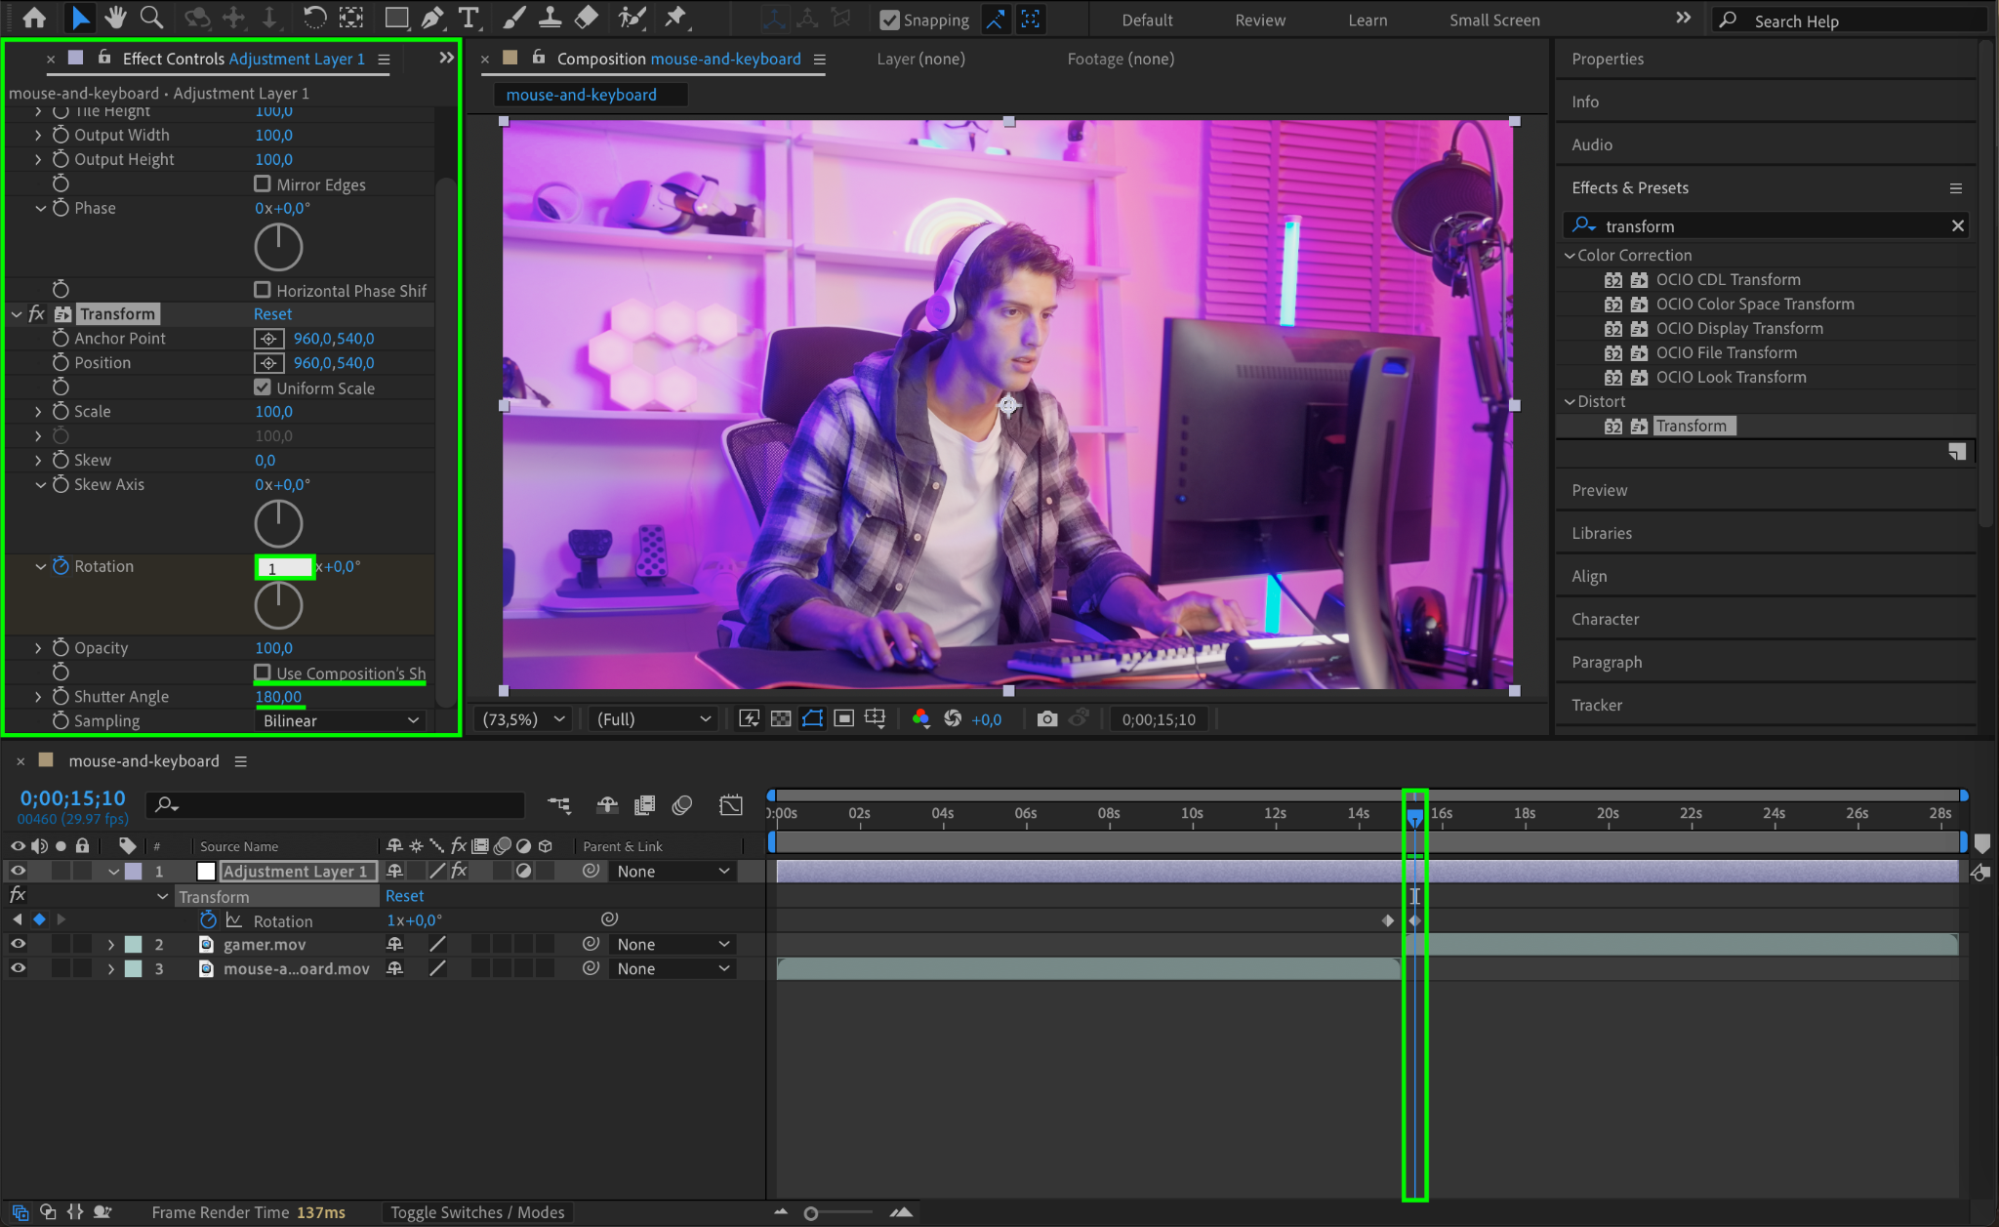
Move the CTI forward by pressing Ctrl/Cmd + Shift + Right Arrow twice. Set the Rotation value to 360 degrees (1 full rotation). Uncheck Use Composition’s Shutter Angle and set the Shutter Angle to 180 to create a motion blur during the spin transition.
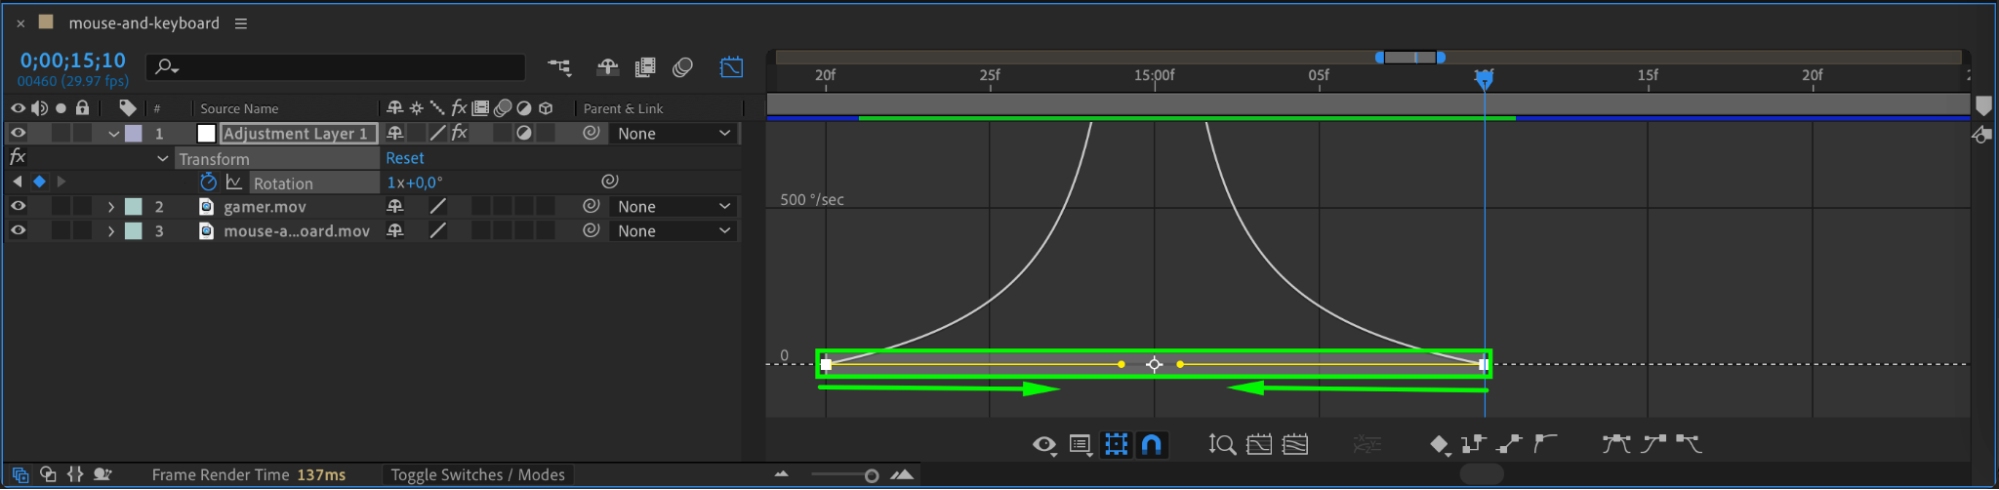
 Step 6: Apply Easy Ease and Adjust with the Graph Editor
To make the spin transition smoother, right-click on the keyframes and select Keyframe Assistant > Easy Ease. This will add a more fluid and natural transition. Then, open the Graph Editor to fine-tune the speed and easing of the rotation animation for a polished effect.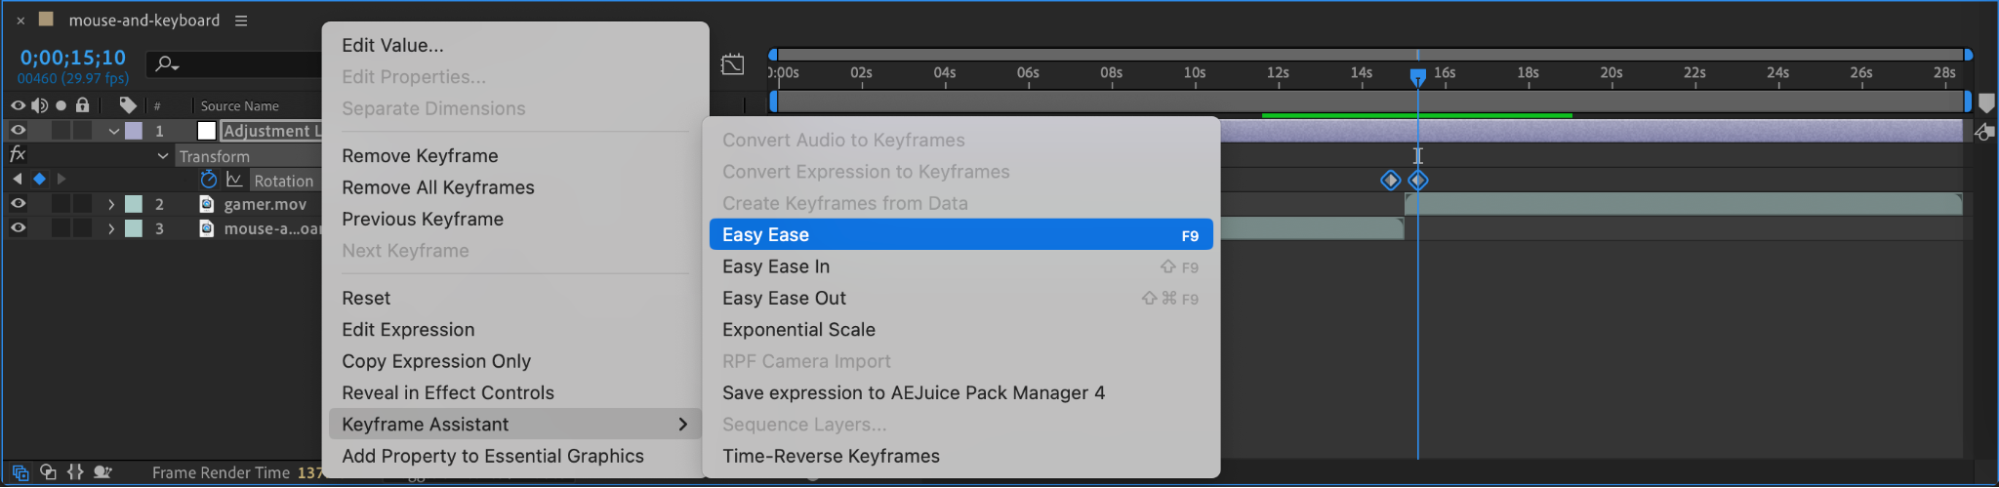
 Step 7: (Optional) Add a Null Object for Seamless Scaling
For a more advanced touch, you can create a Null Object and make the video clips parented to it. During the transition, animate the Scale property of the null object to increase the zoom, ensuring the transition is seamless and visually engaging.
Step 8: Preview the Animation
After making the necessary adjustments, hit Spacebar to preview the animation and check if the spin transition is working smoothly.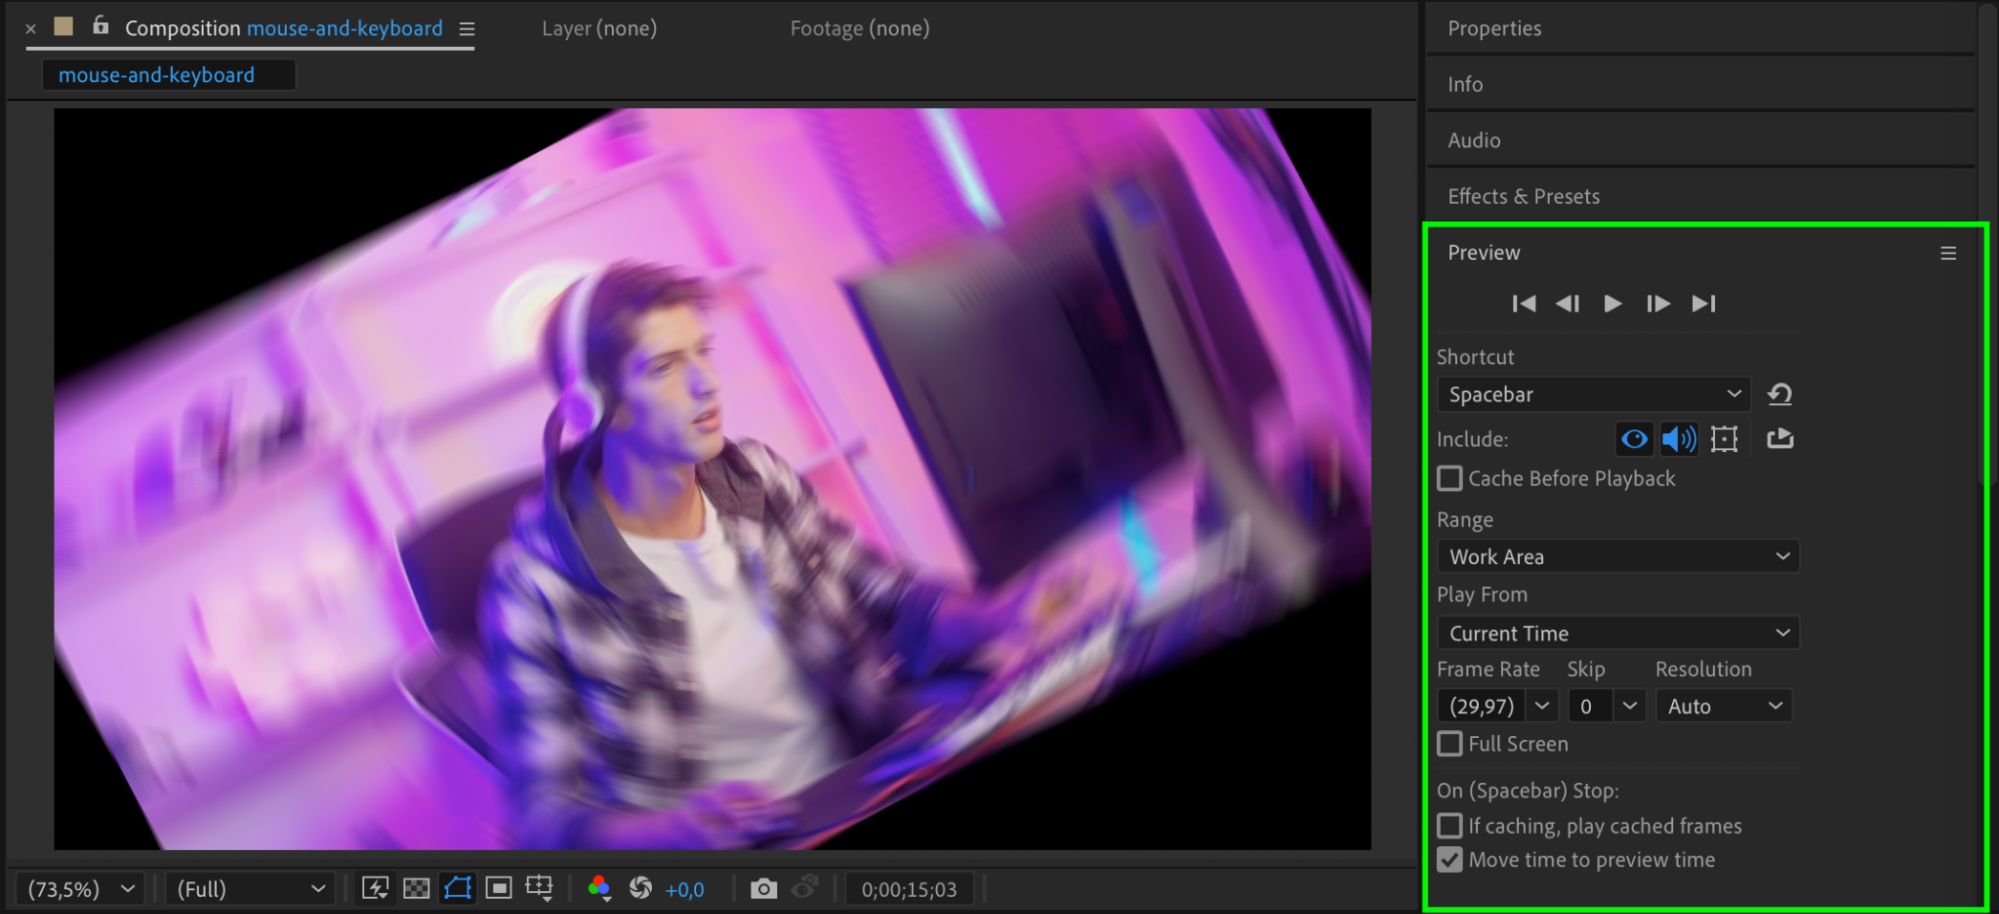 Step 9: Render the Final Animation
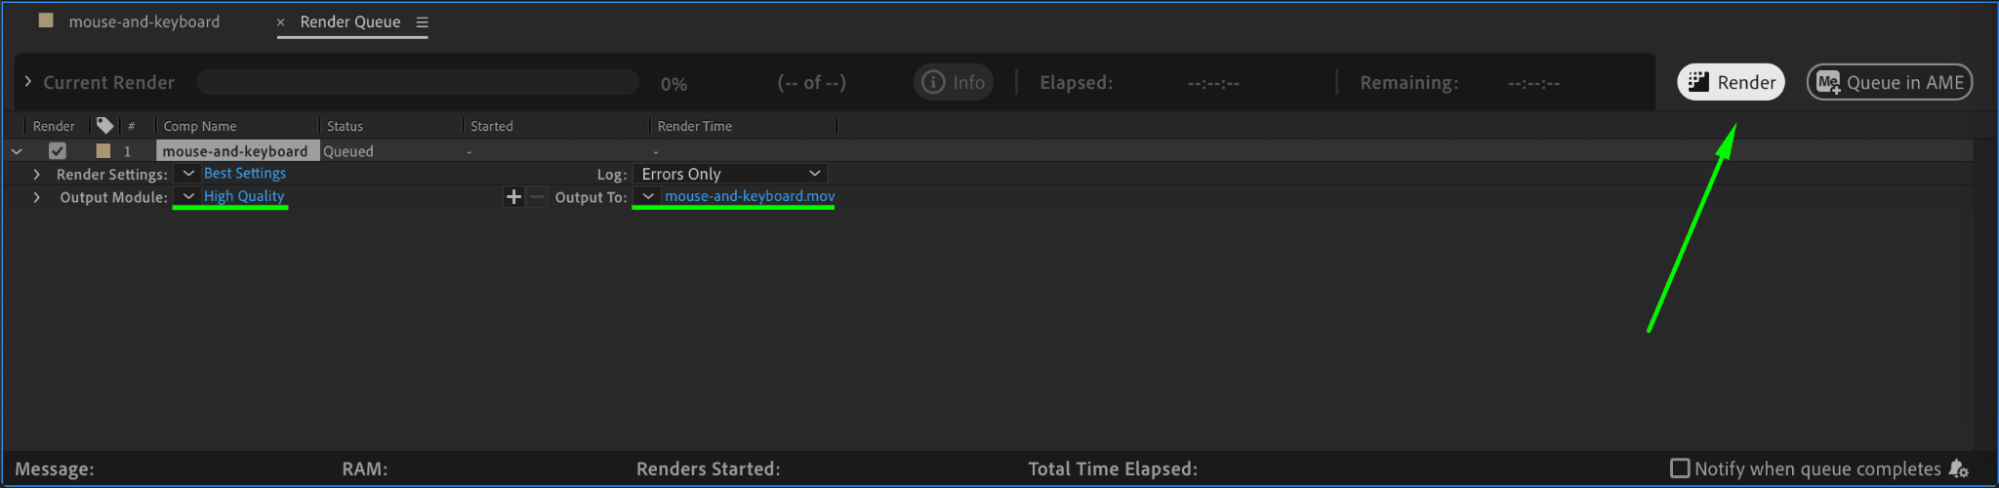
Once you are satisfied with the result, render the animation by going to Composition > Add to Render Queue. Choose your settings and click Render to export the video with the spin transition effect.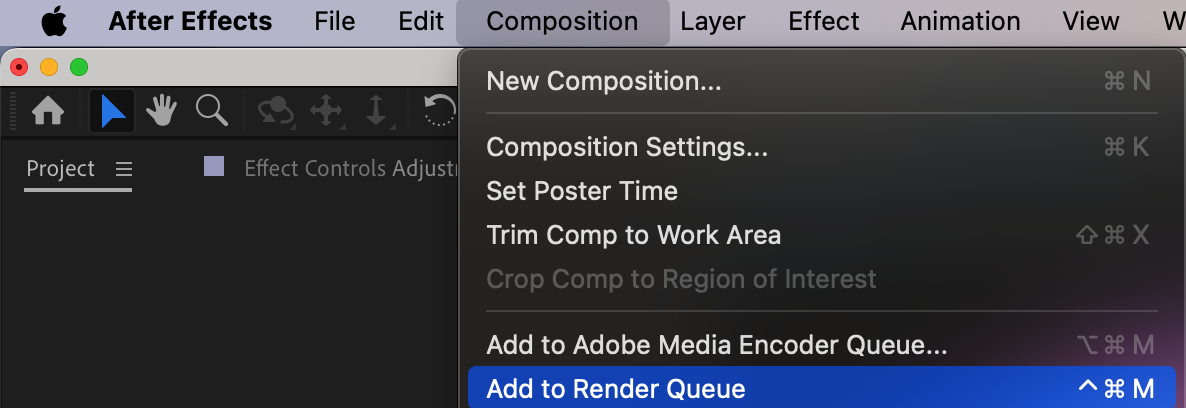
 Conclusion
With these steps, you can easily create a professional spin transition in After Effects. By following the guide, you’ll be able to add an eye-catching and smooth transition between video clips that will enhance the overall quality of your project. Whether for dramatic scene changes or to add a creative touch, a spin transition is a simple but effective tool in After Effects.
Our Bestsellers


