Step-by-Step Guide to Creating a Video Wall in After Effects
Introduction – Setting Up Your Video Wall Project
Creating a video wall effect in After Effects can add depth and interest to your videos. This technique involves arranging your video footage across multiple screens, giving the impression of a large video wall. Follow these easy steps to build a visually striking video wall in After Effects.
Get 10% off when you subscribe to our newsletter

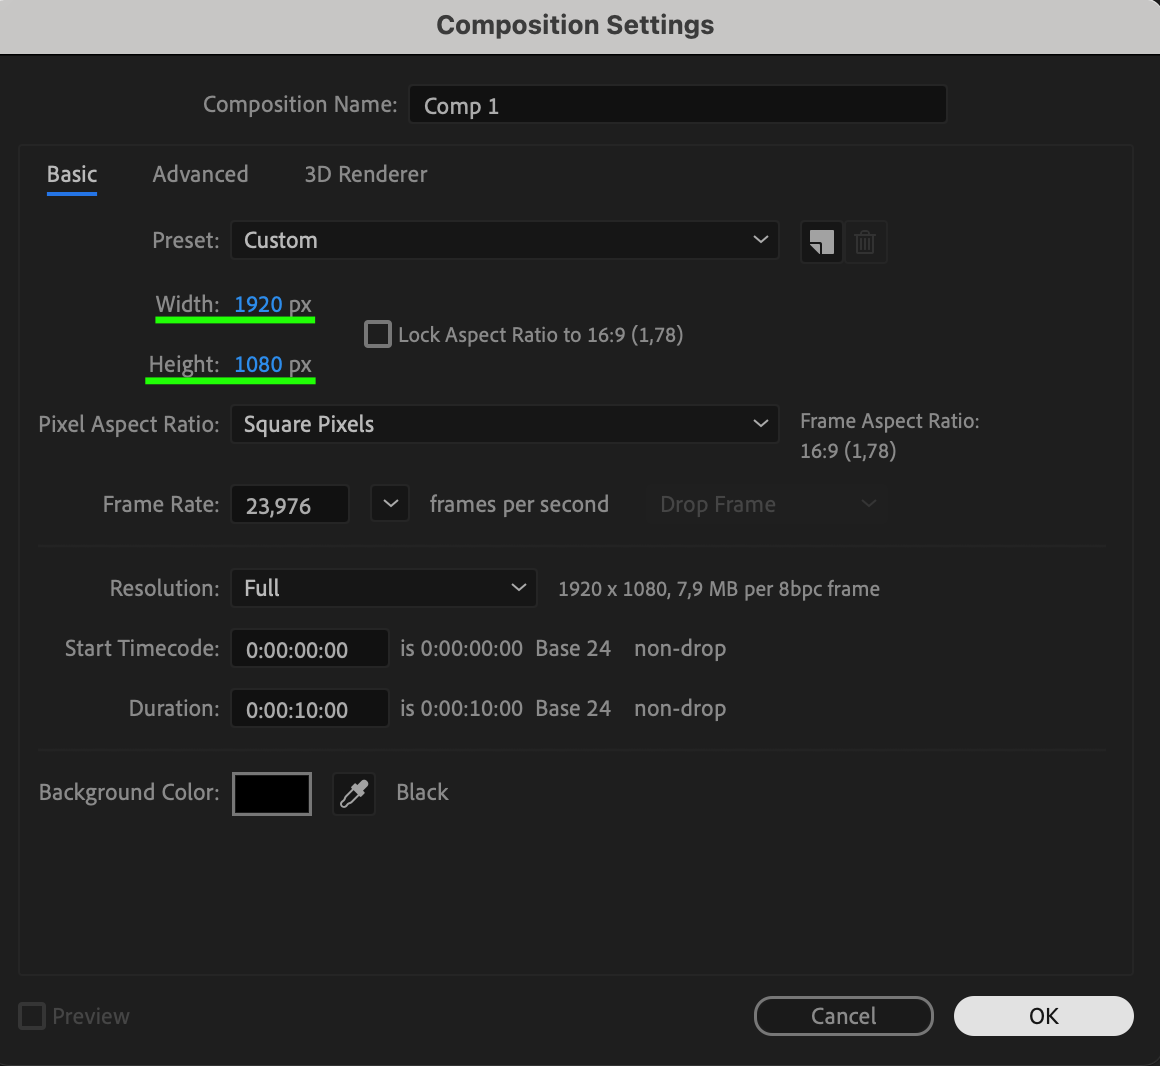
Step 1: Create a New Composition
Start by creating a new composition (Comp) in After Effects. To do this, go to Composition > New Composition, set your desired dimensions, and click OK.
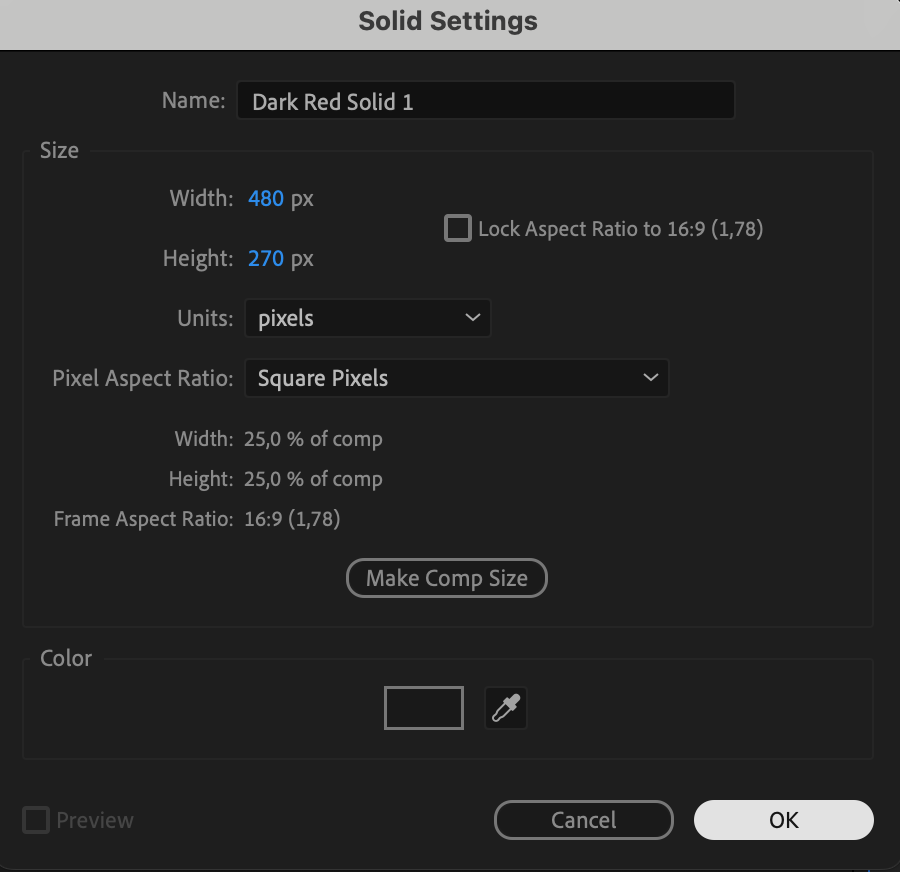
 Step 2: Create the Base Solid Layer
Go to Layer > New > Solid and choose the width as 480 px and height as 270 px. This solid will act as the base screen in your video wall.
 Step 3: Set the Anchor Point and Position
Expand the properties of the solid layer. For both the Anchor Point and Position, set the X and Y values to 0 to position the layer at the top-left corner of your composition.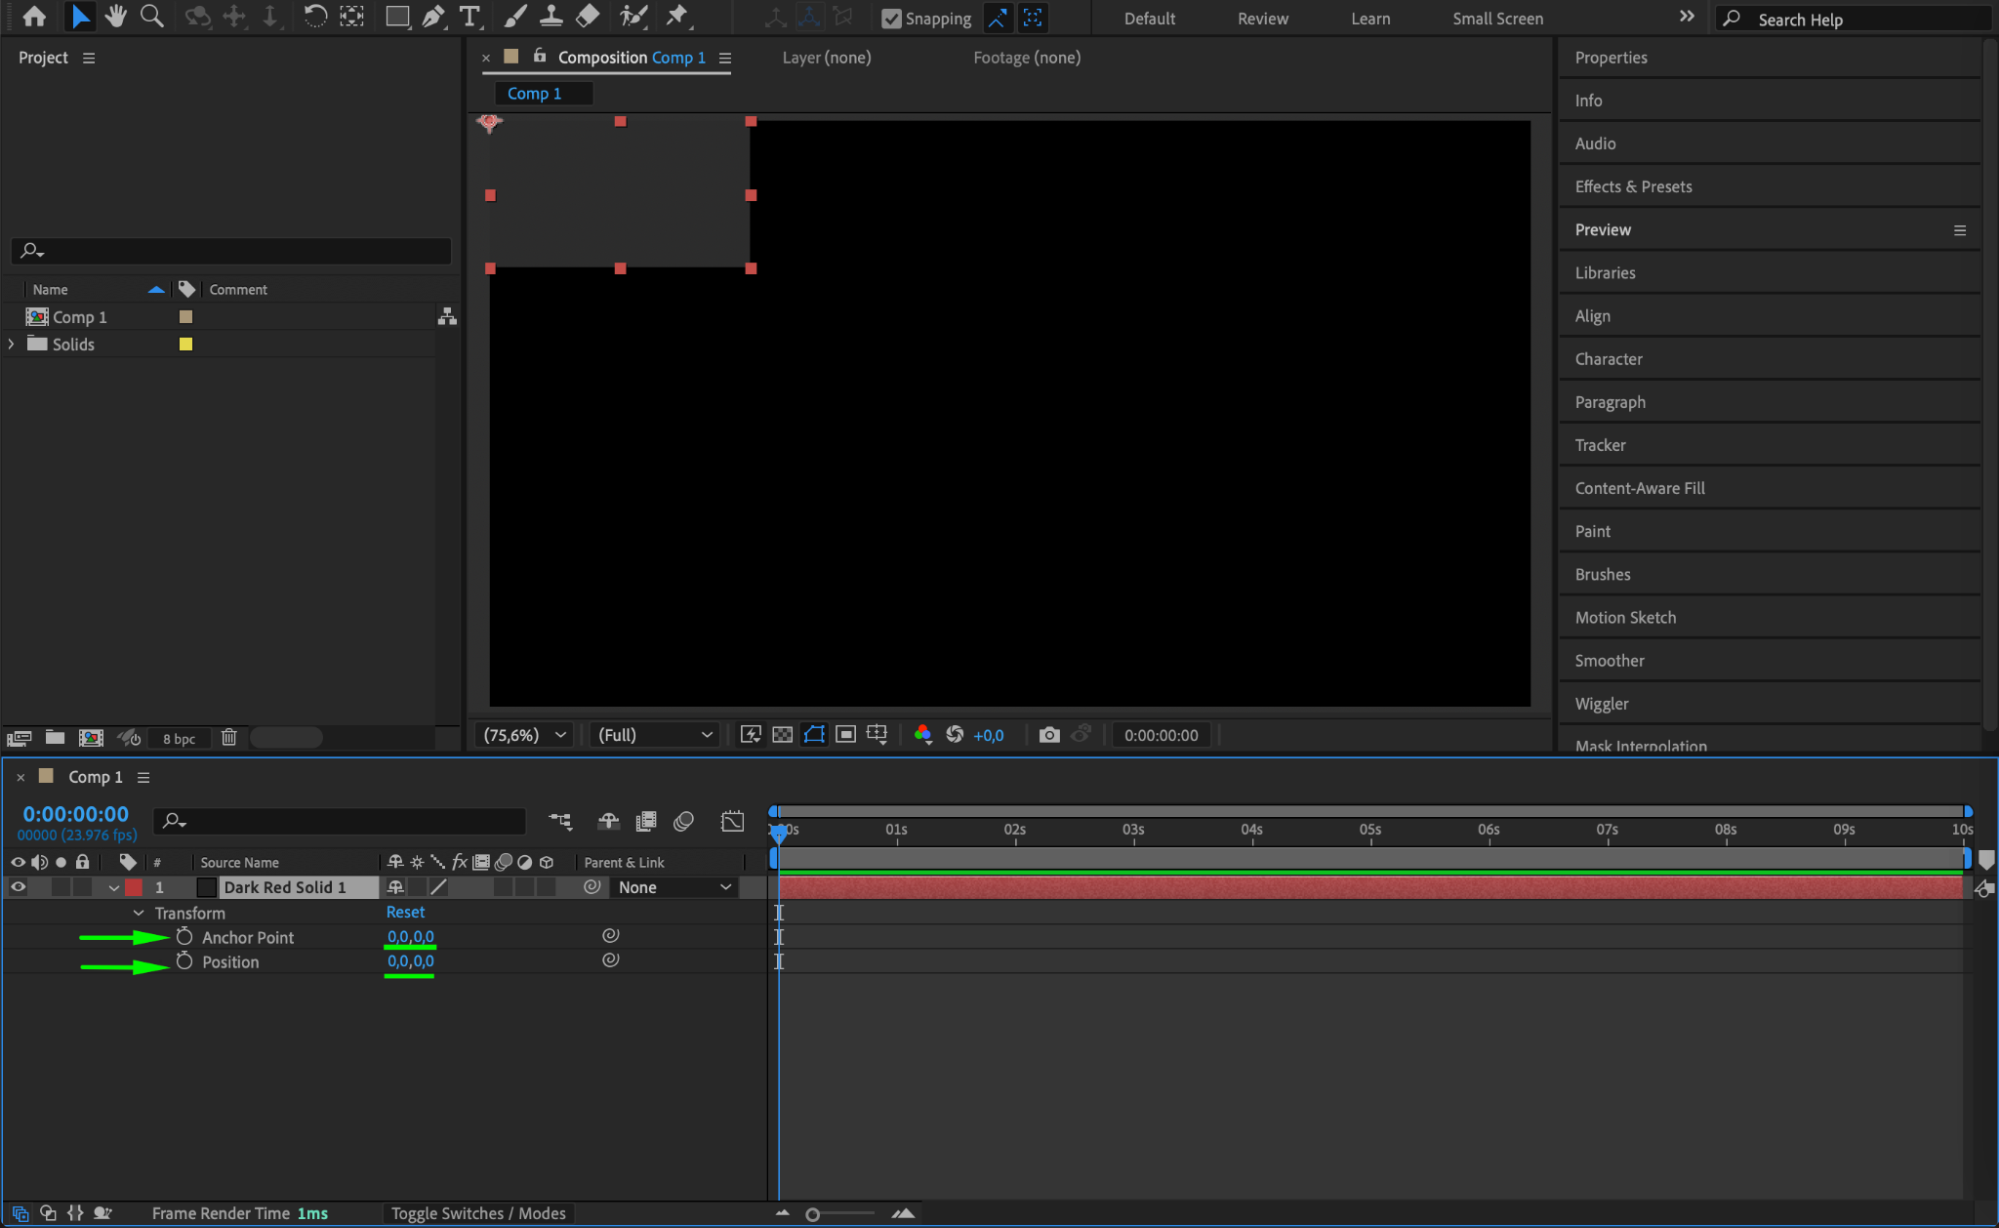 Step 4: Separate the Dimensions
Right-click on the Position property of the layer and select Separate Dimensions. This will allow you to control the X, Y, and Z position separately for more flexibility in positioning.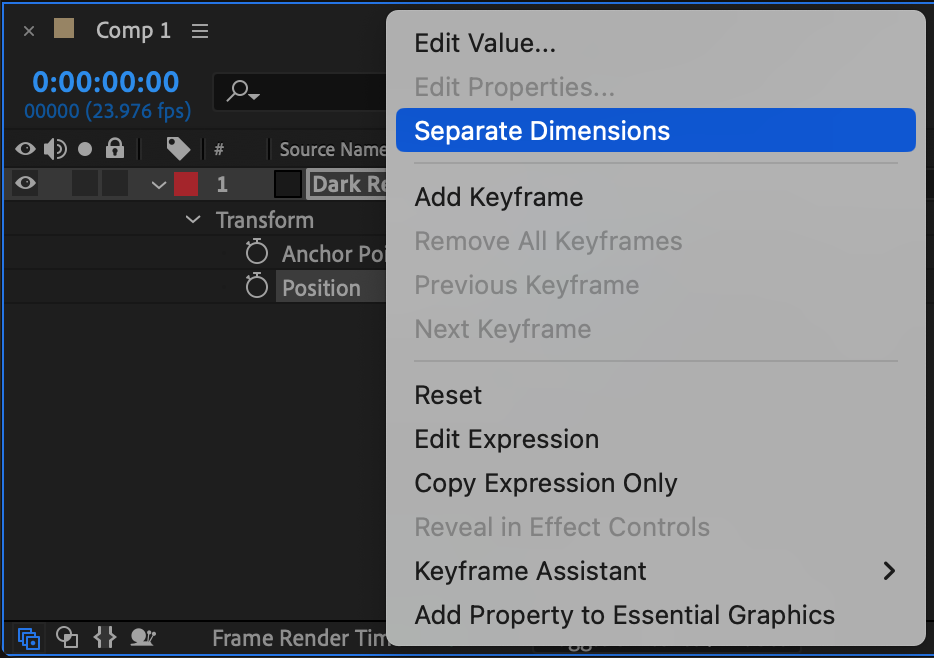 Step 5: Duplicate the Solid Layer
Duplicate the solid layer by pressing Ctrl/Cmd + D. You now have the first duplicate.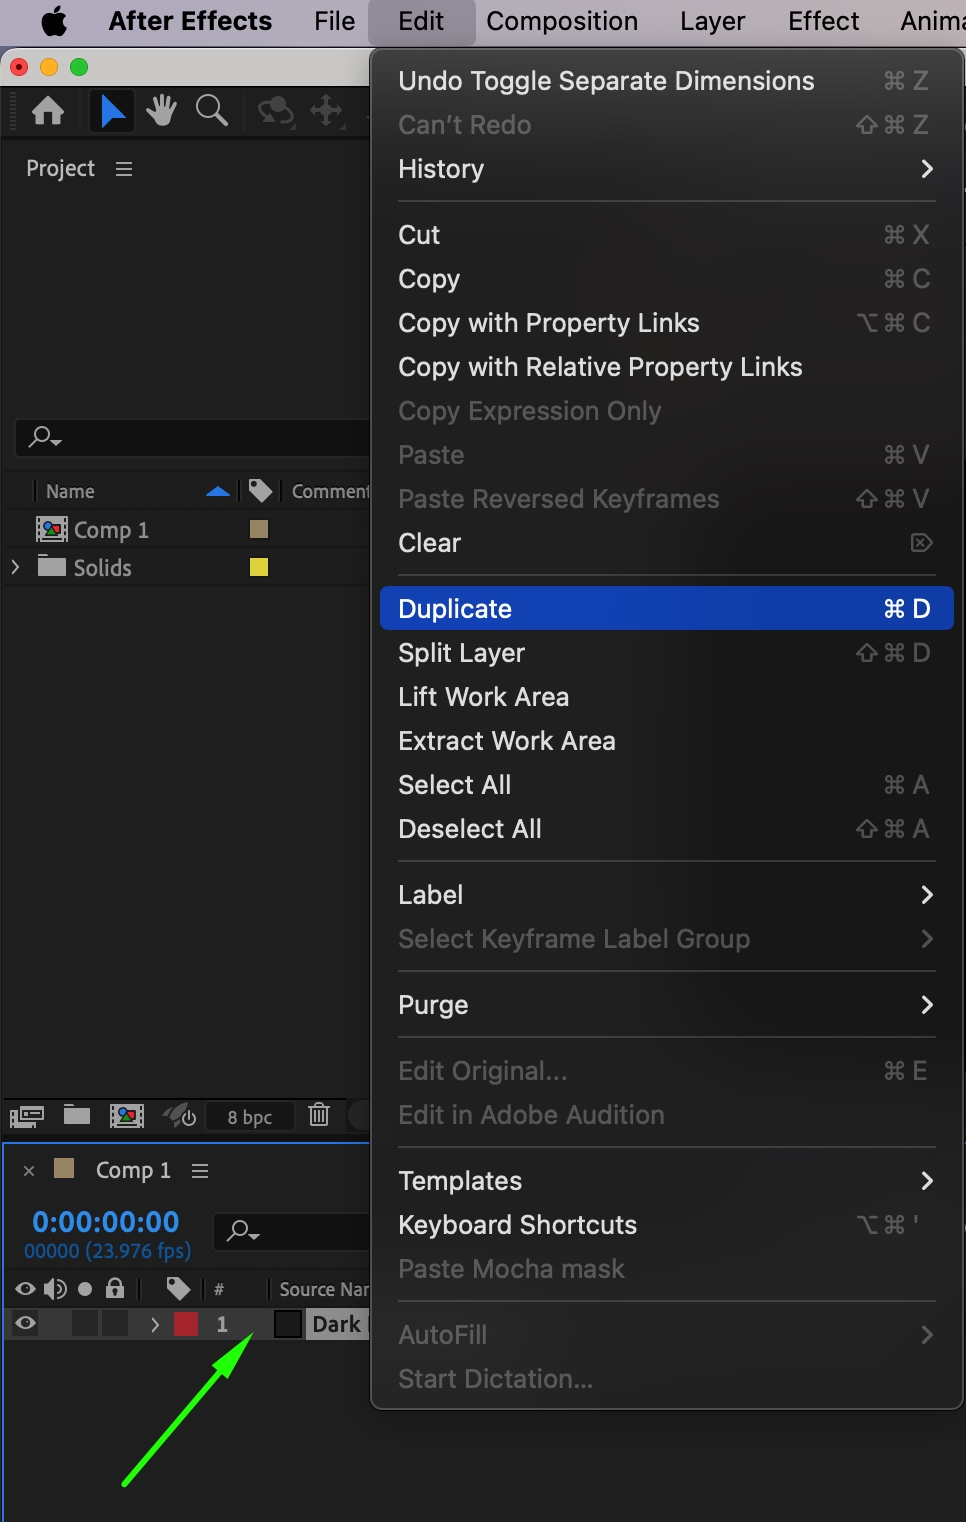 Step 6: Adjust the Position for the Duplicated Layers
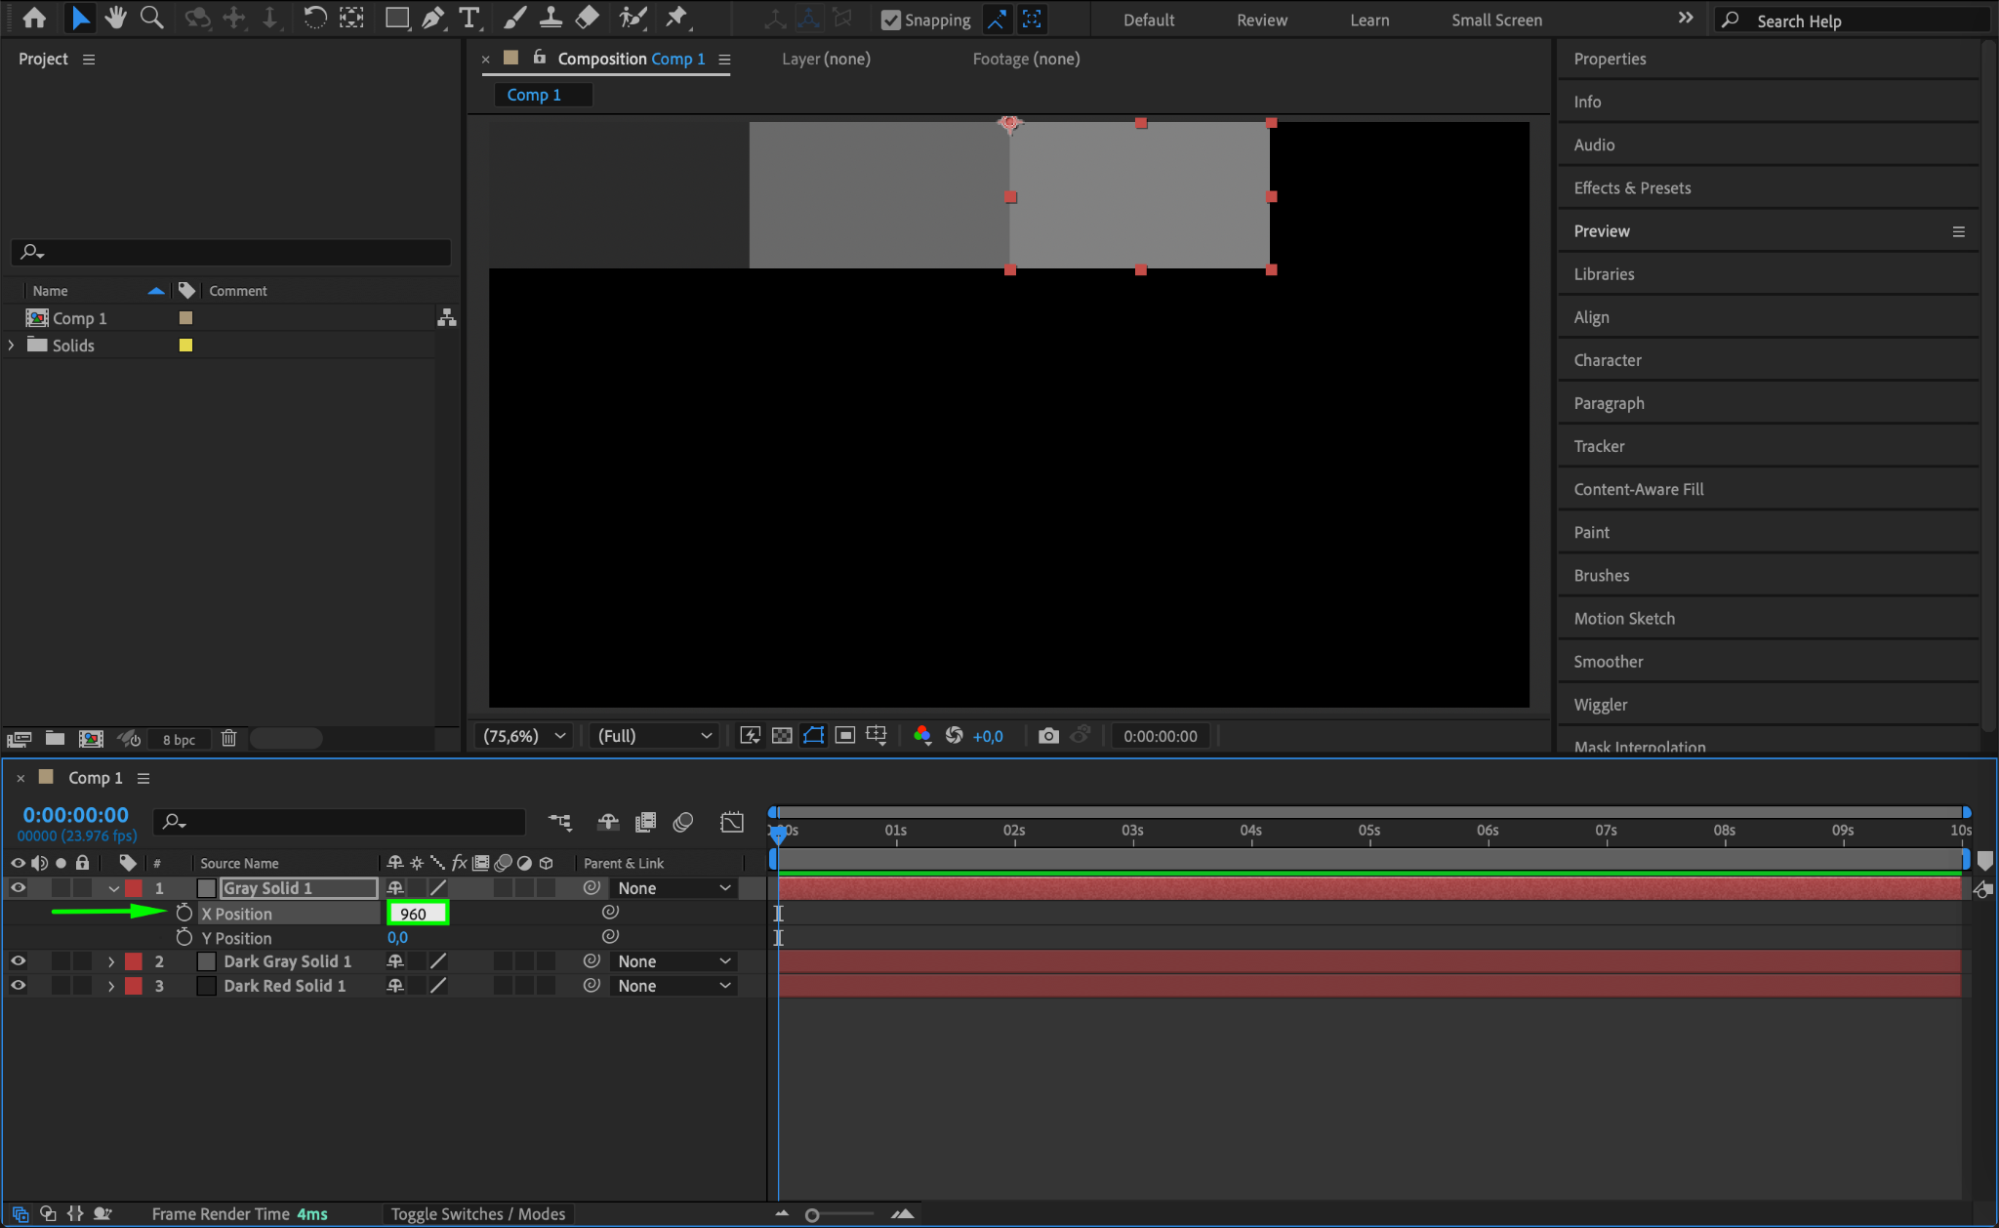
For each duplicated layer, adjust the X Position:
Set the X Position of the first duplicate to 480 px.
Set the X Position of the next duplicate to 960 px.
Set the X Position of the next duplicate to 1440 px.
This will position the solids side by side, forming the first row of the video wall.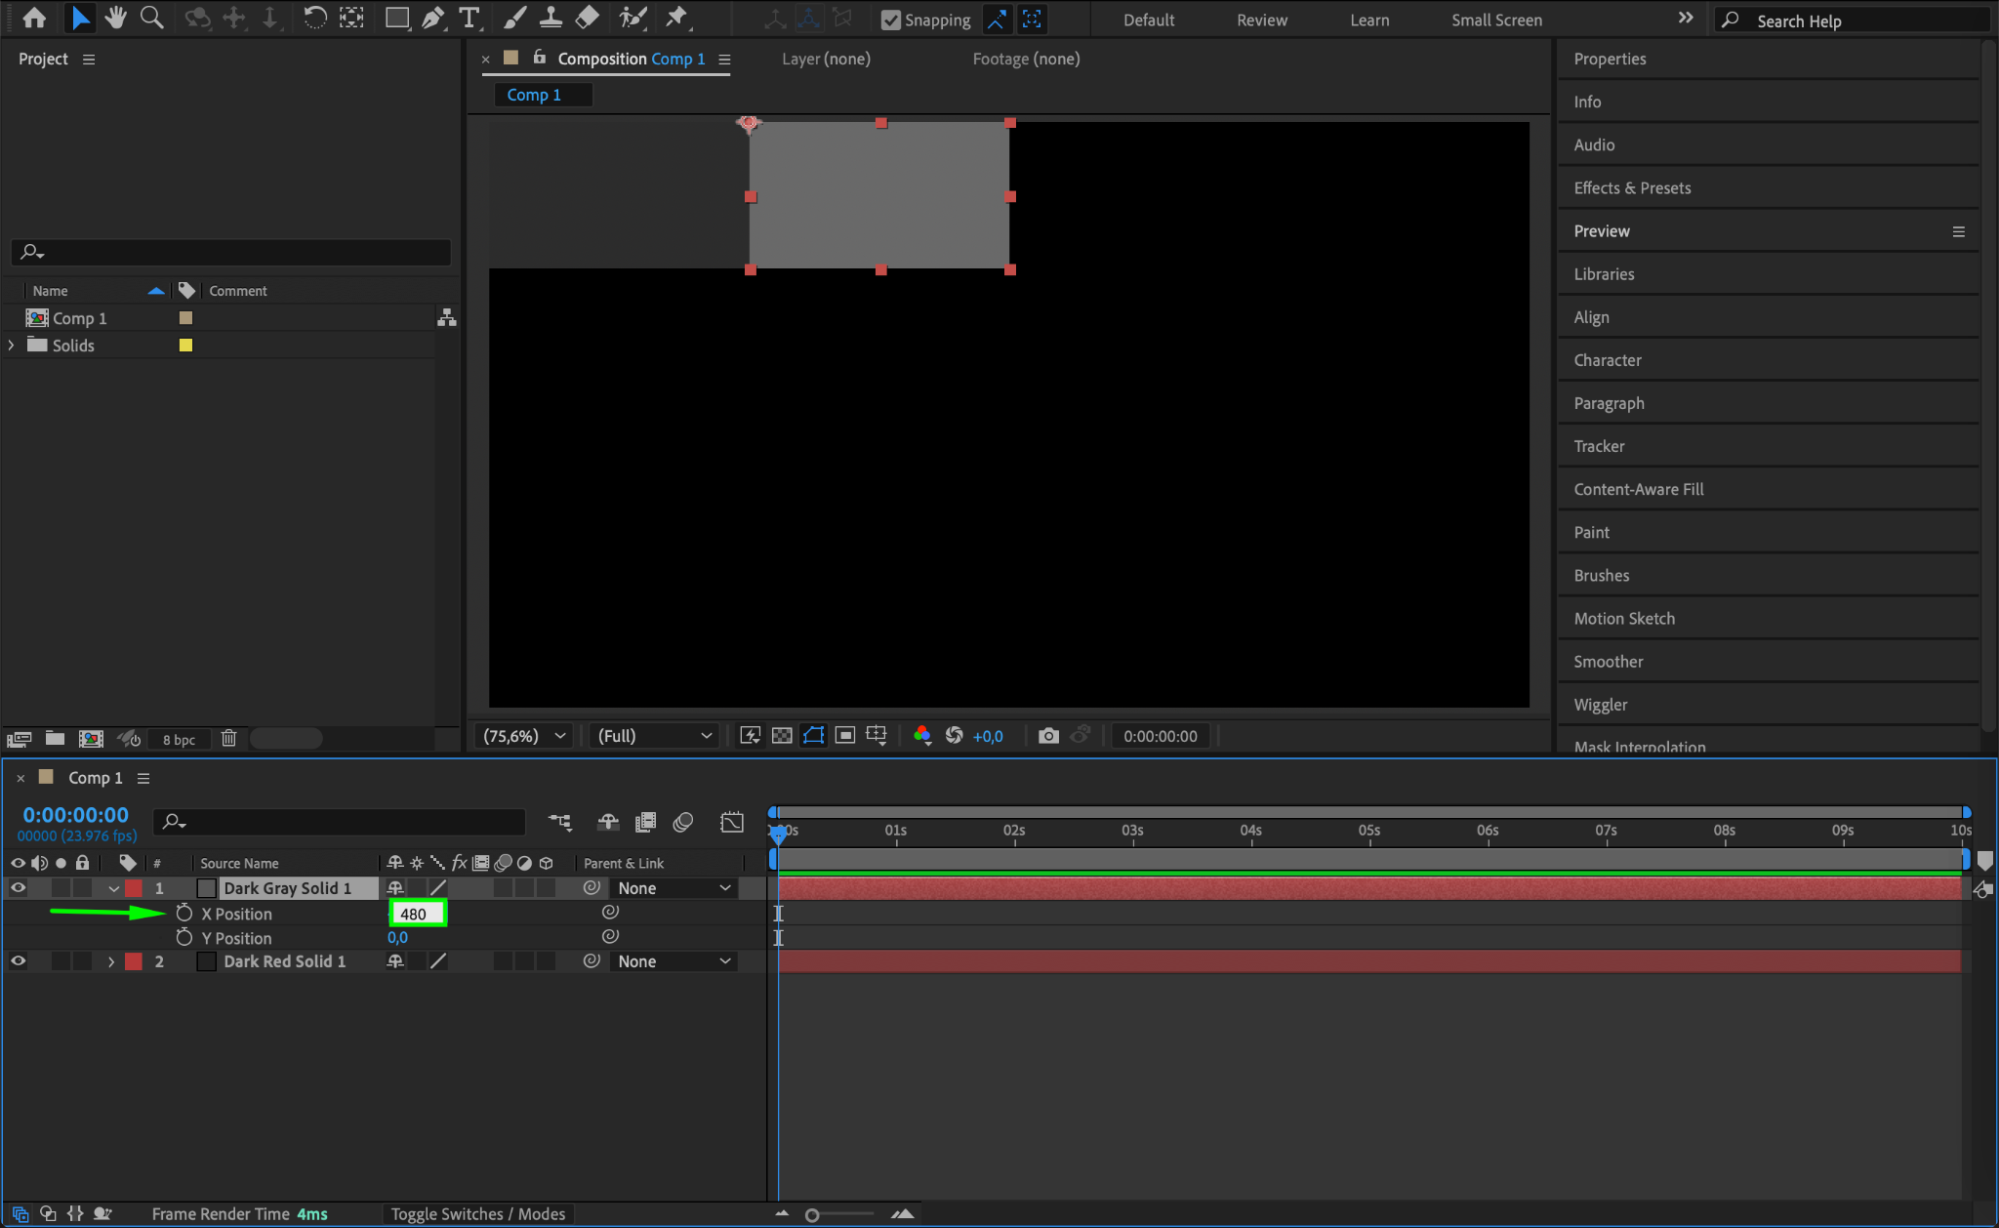
 Step 7: Duplicate the Entire Row
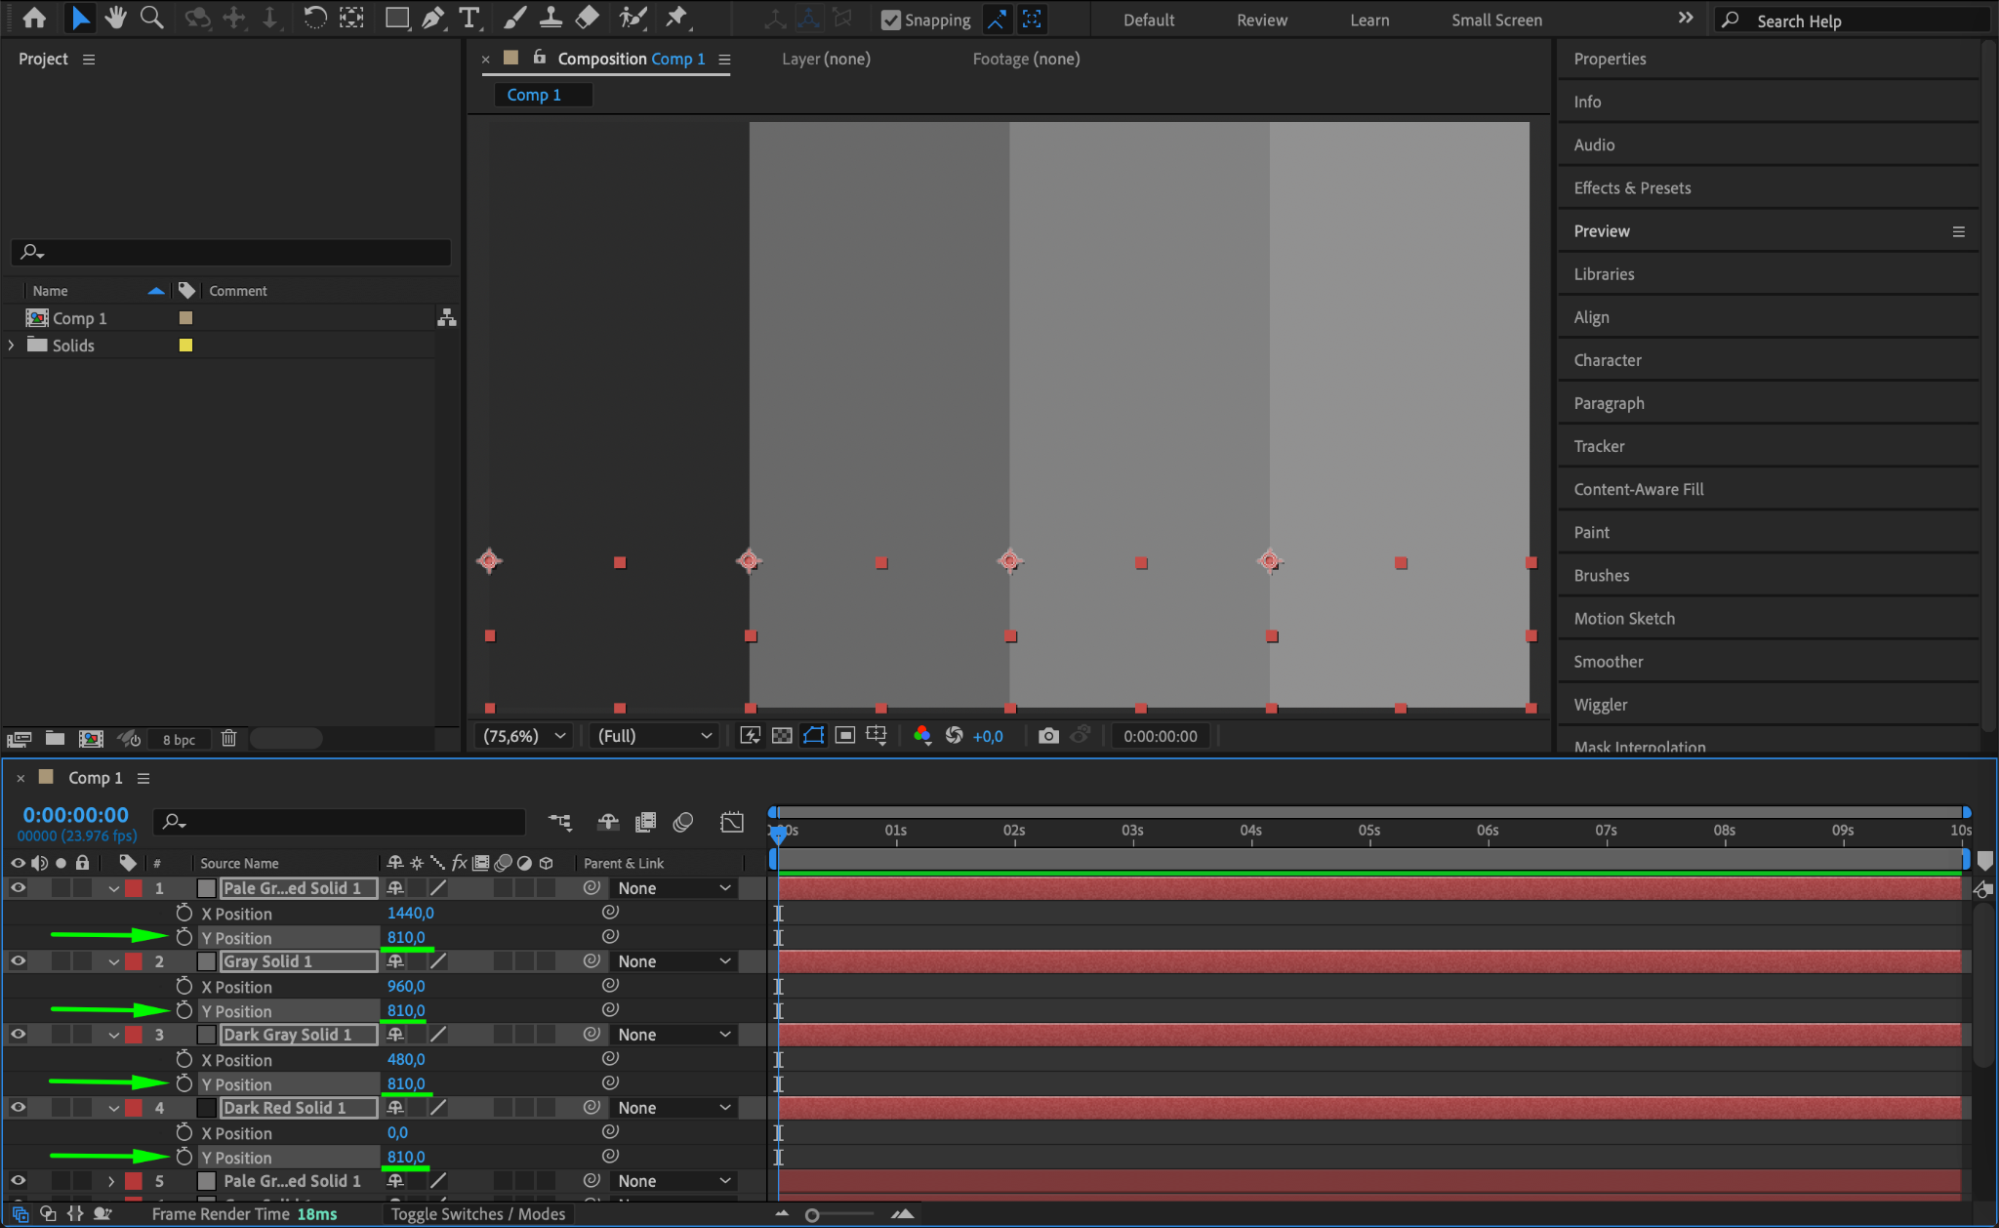
Select all four solid layers (including the original) and duplicate them. For the duplicated layers, set the Y Position to 270 px. This will create the second row of solids.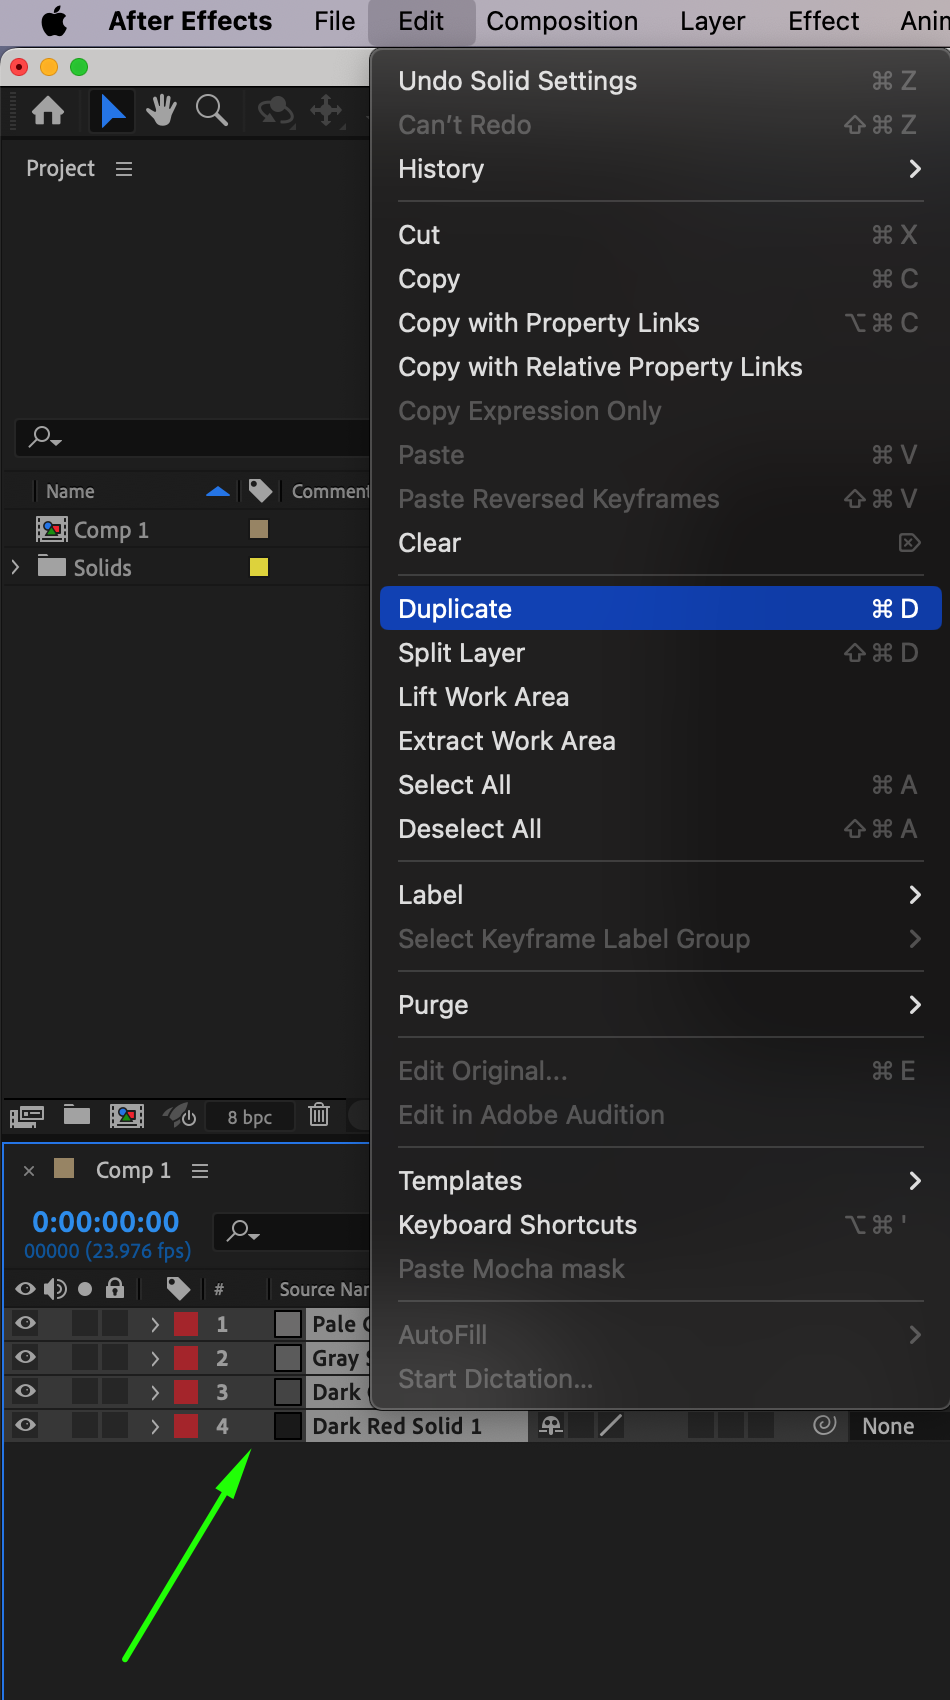
 Step 8: Create Additional Rows
Repeat the duplication process:
Duplicate the entire row of solids and set the Y Position to 540 px for the third row.
Duplicate again, and set the Y Position to 810 px for the fourth row.
This will create a grid of solids that forms the basic structure of your video wall.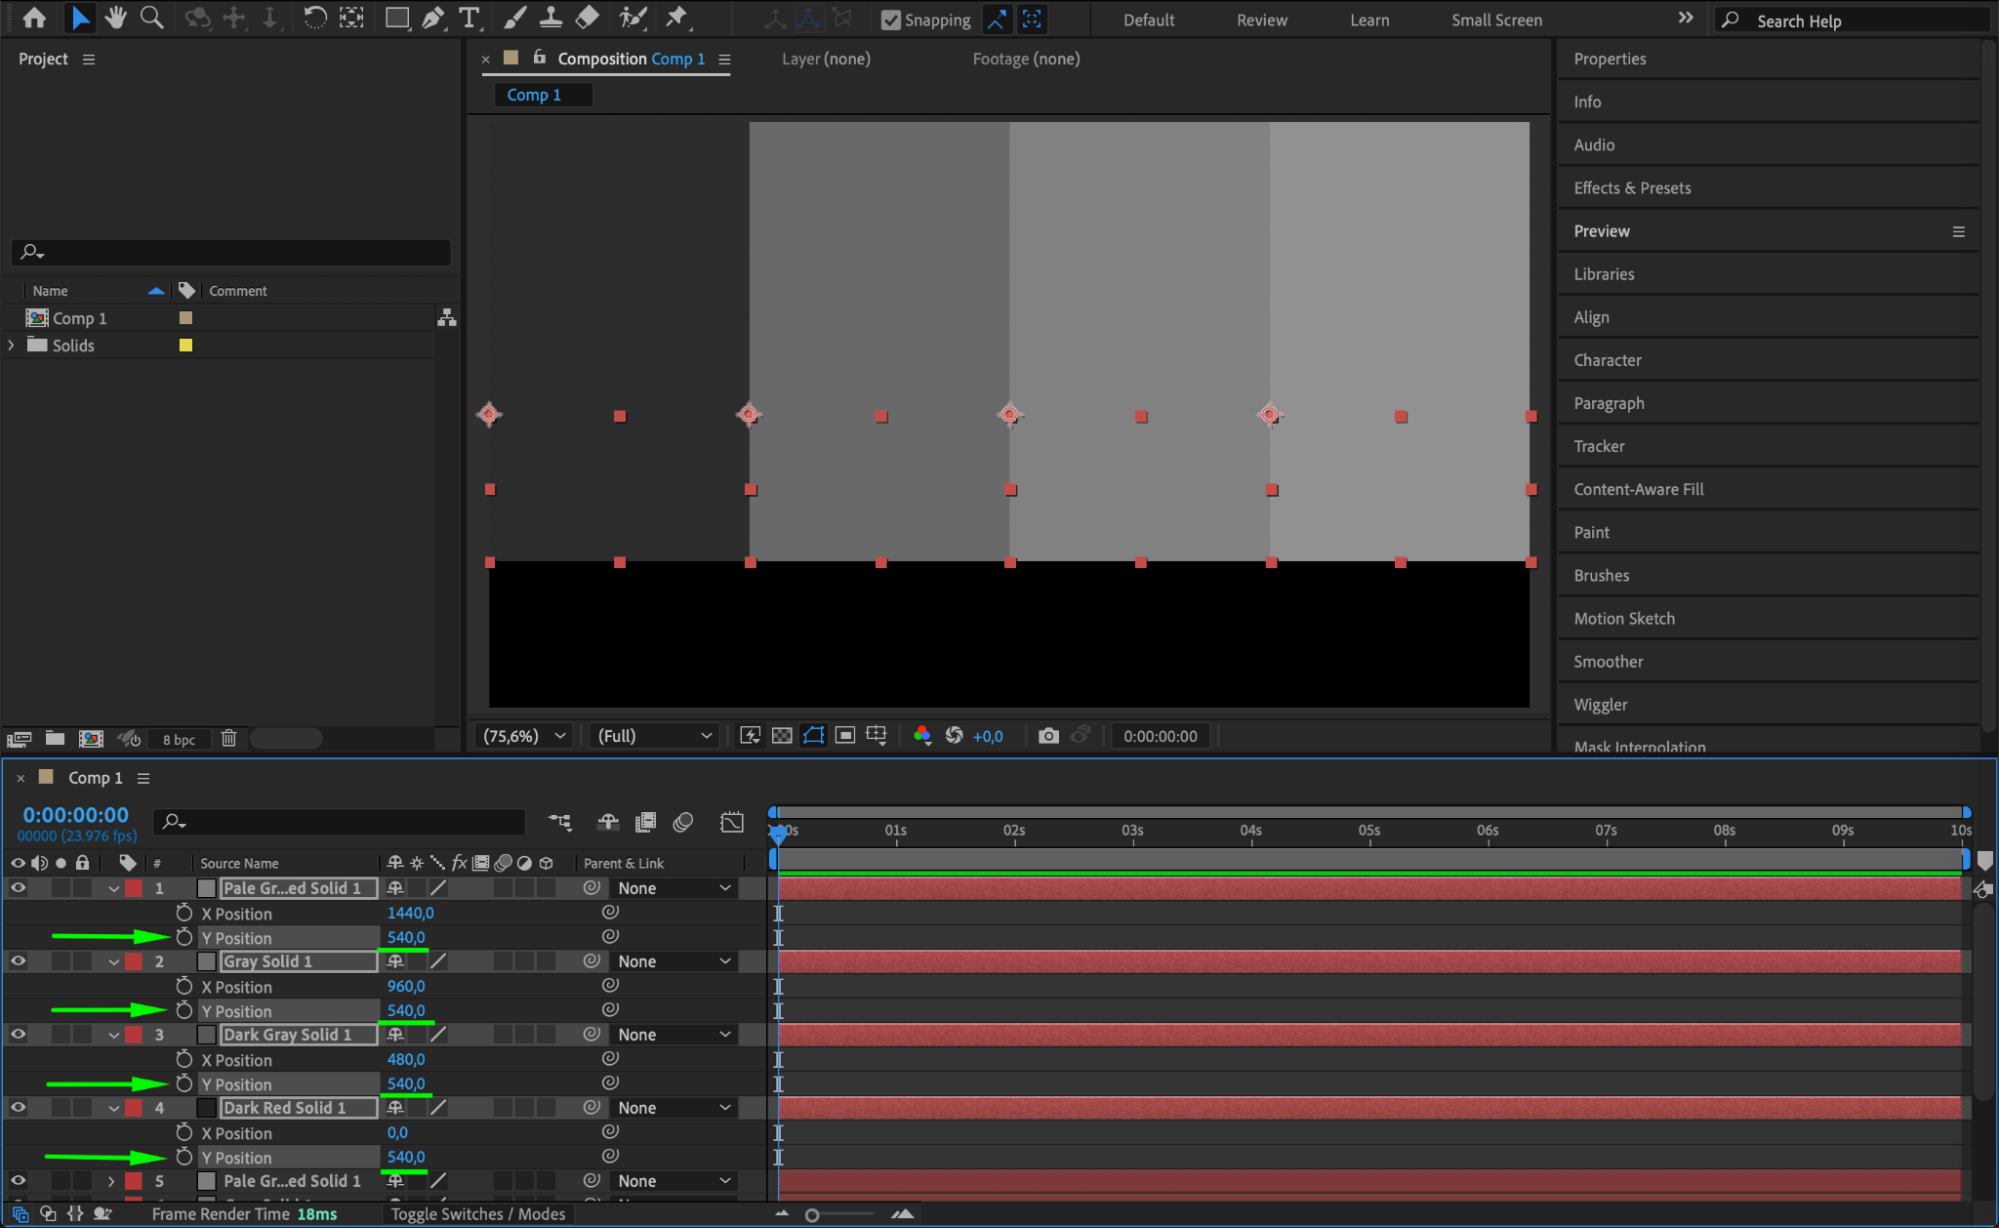
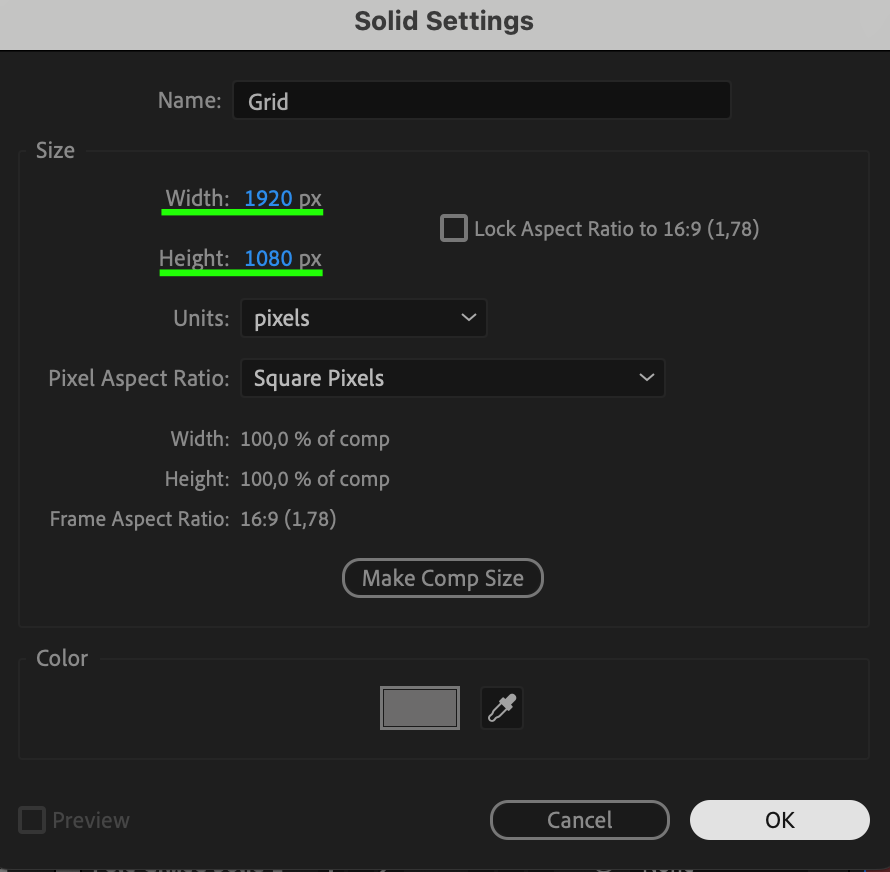
 Step 9: Create a New Solid for the Grid Effect
Go to Layer > New > Solid and create a new solid with dimensions of 1920 px in width and 1080 px in height. This will be the grid layer that helps you organize your screen arrangement.
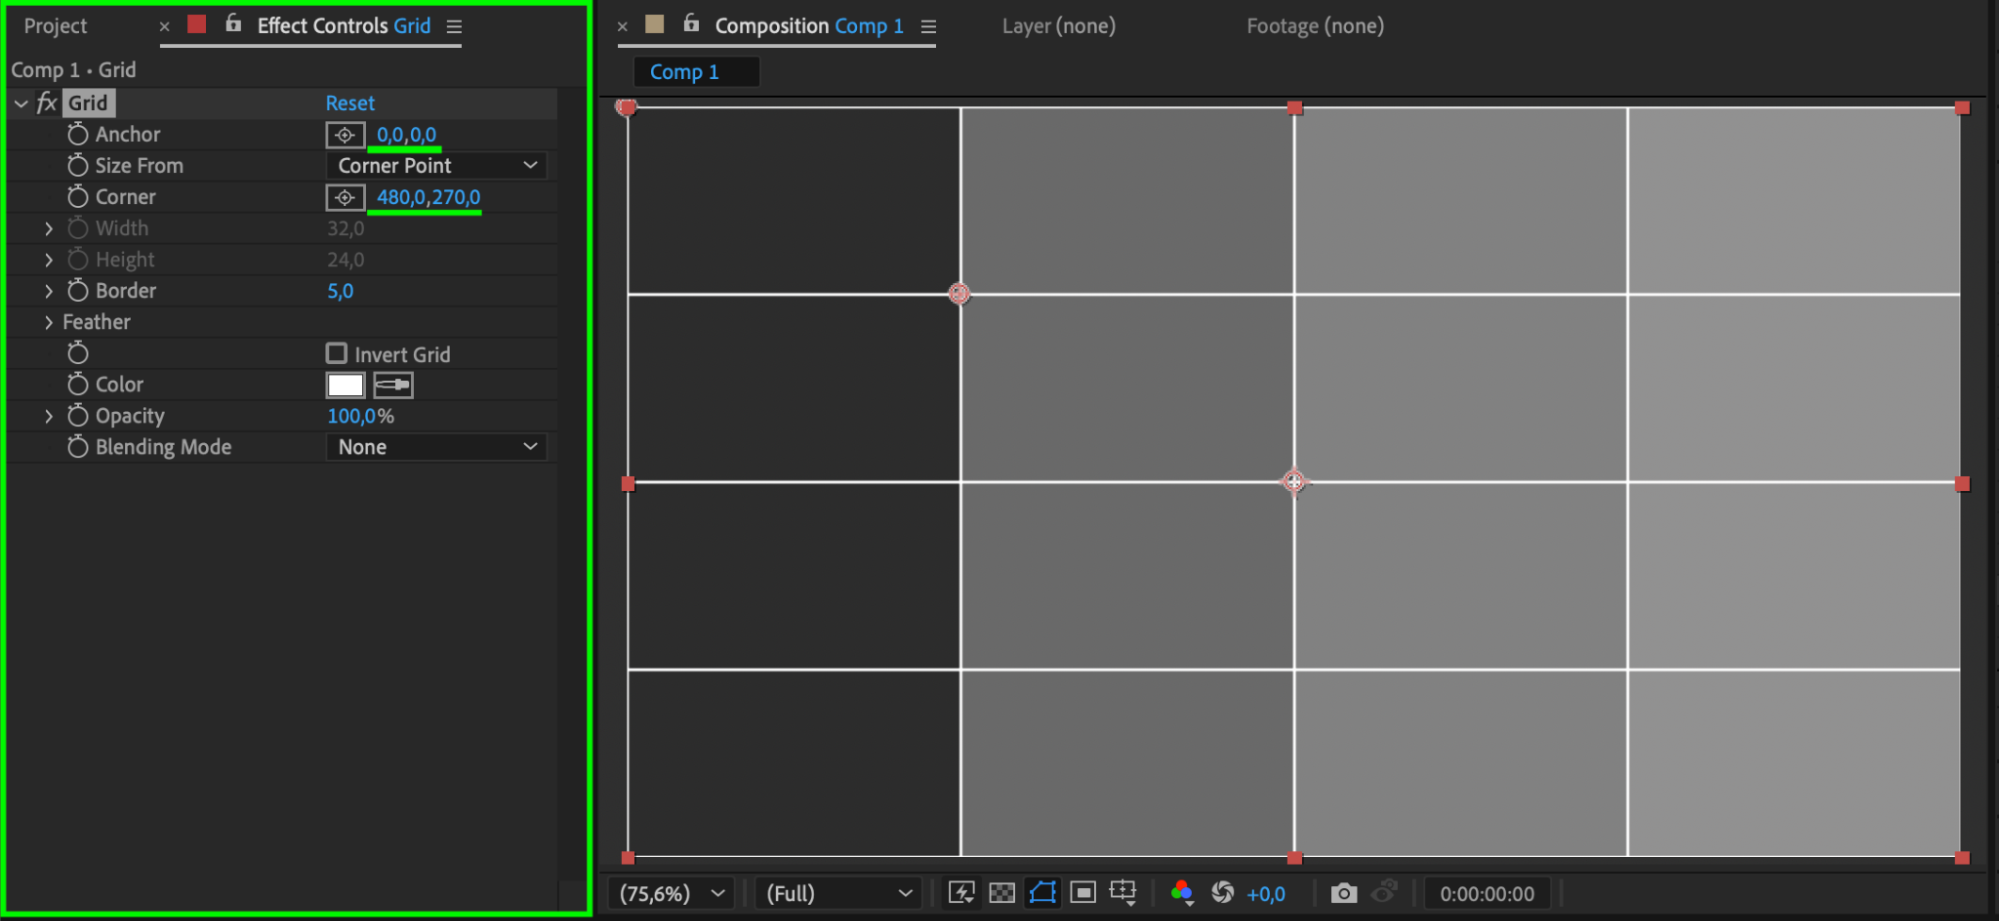
 Step 10: Apply the Grid Effect
Apply the Grid effect to the new solid. Set the Anchor to 0, 0 and adjust the Corner properties to 480, 270 to fit the solid within your video wall setup.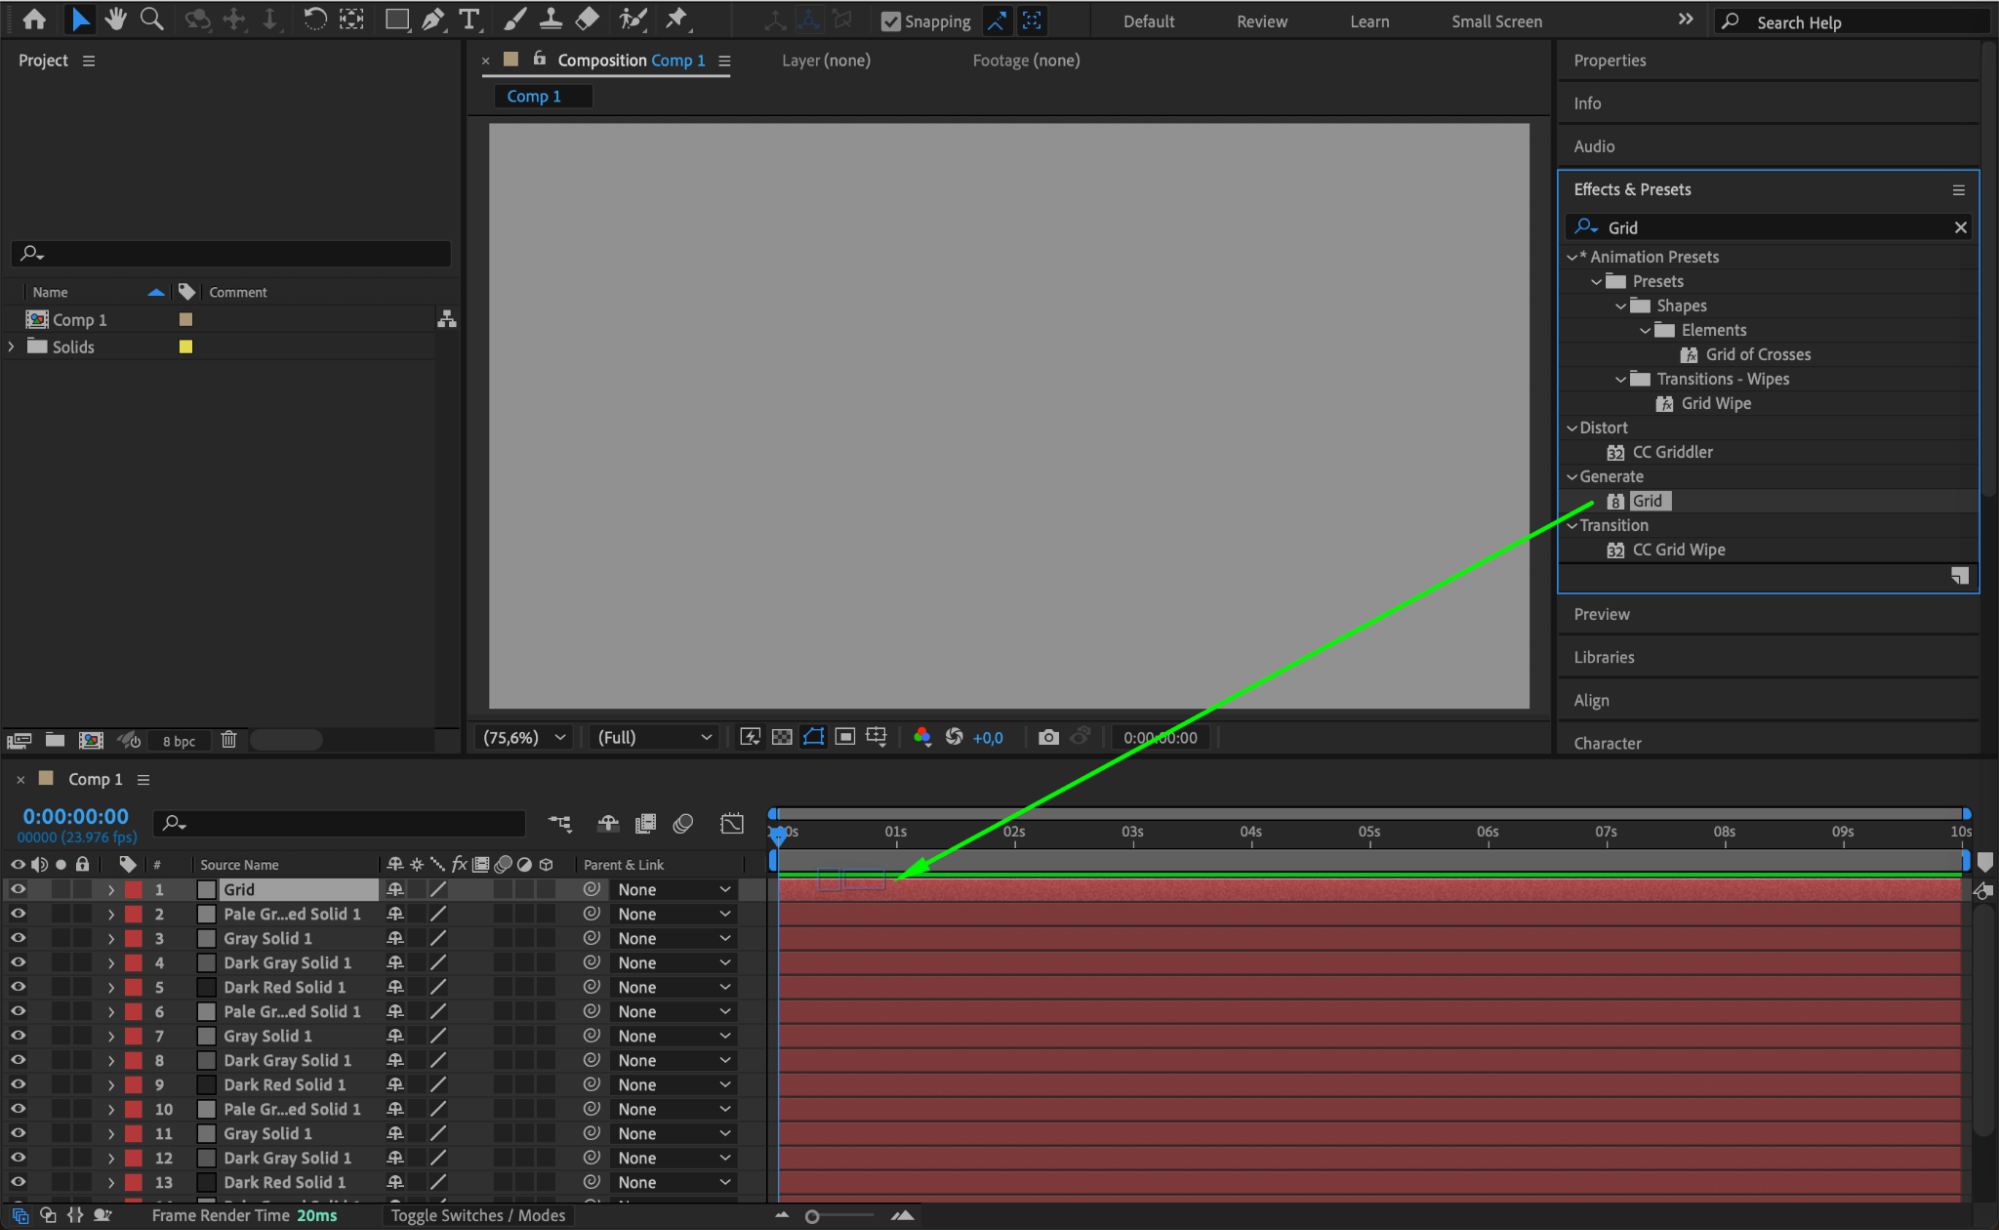
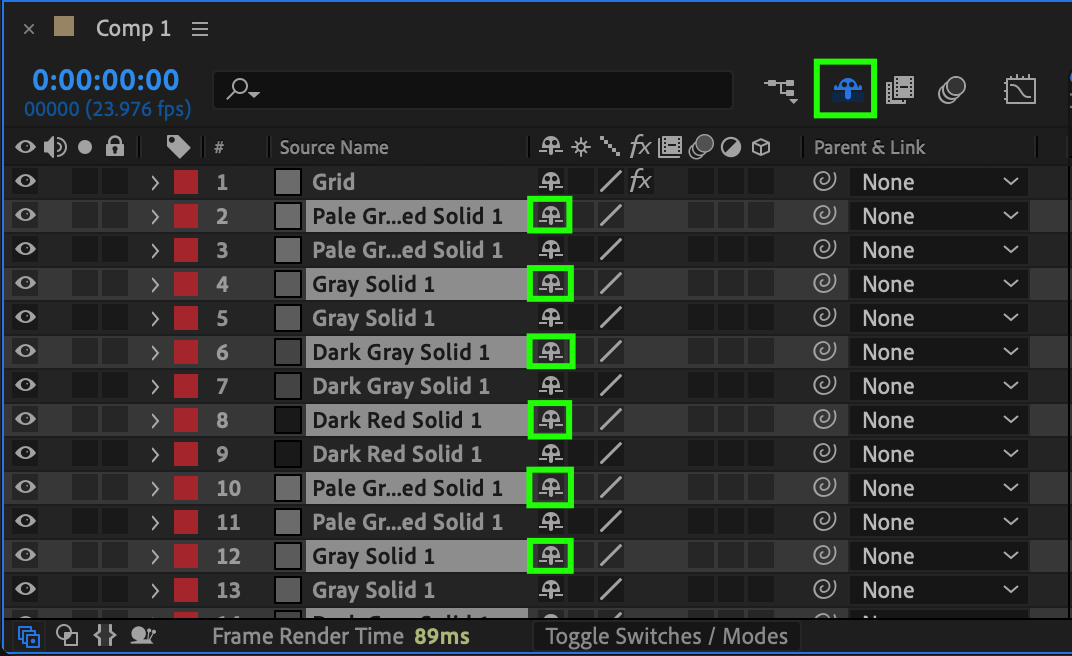
 Step 11: Duplicate the Created Solids
Duplicate all solids (except for the grid solid), and then hide the duplicates by clicking the Shy button in the timeline. This helps reduce clutter and makes your workspace more organized.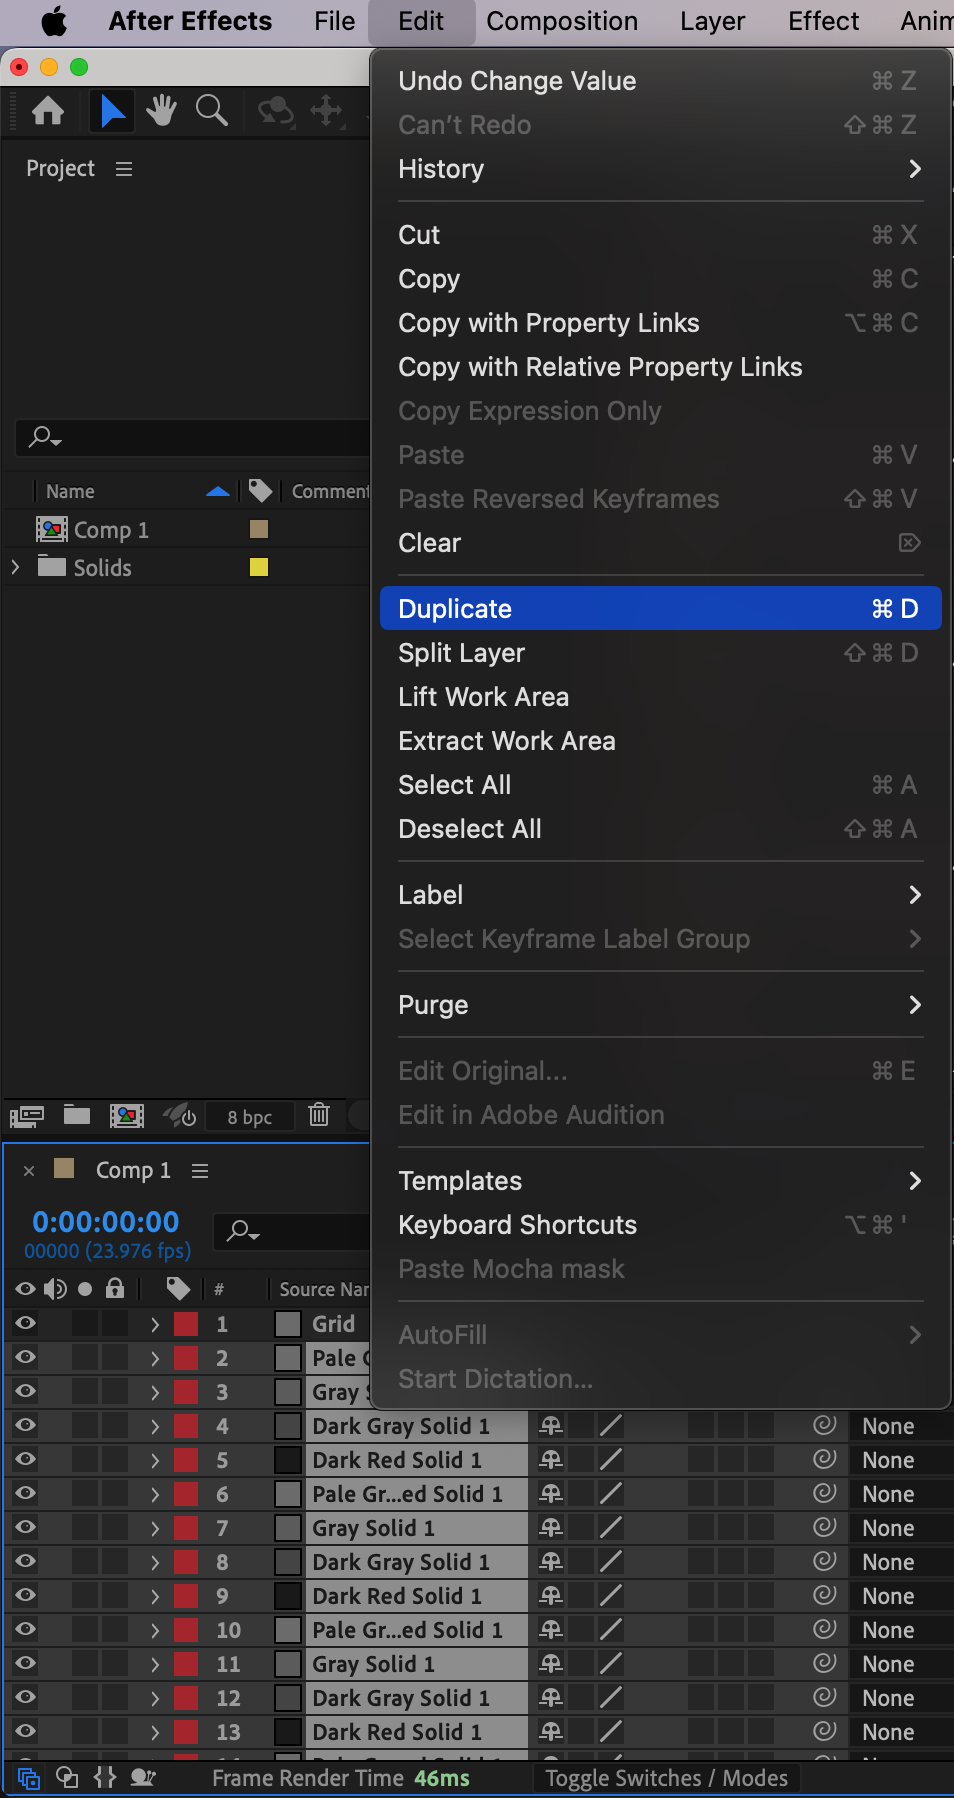
 Step 12: Apply Track Matte to Your Video
Now, move your video footage above the solid layer number 35 (the first solid in your grid). In the Track Matte column, choose the solid layer below it as the Track Matte for the video. This will crop the video to fit into the designated solid. Step 13: Adjust the Position and Scale
Adjust the position and scale of your video to fit perfectly within the solid. Repeat this step for each segment of your video wall.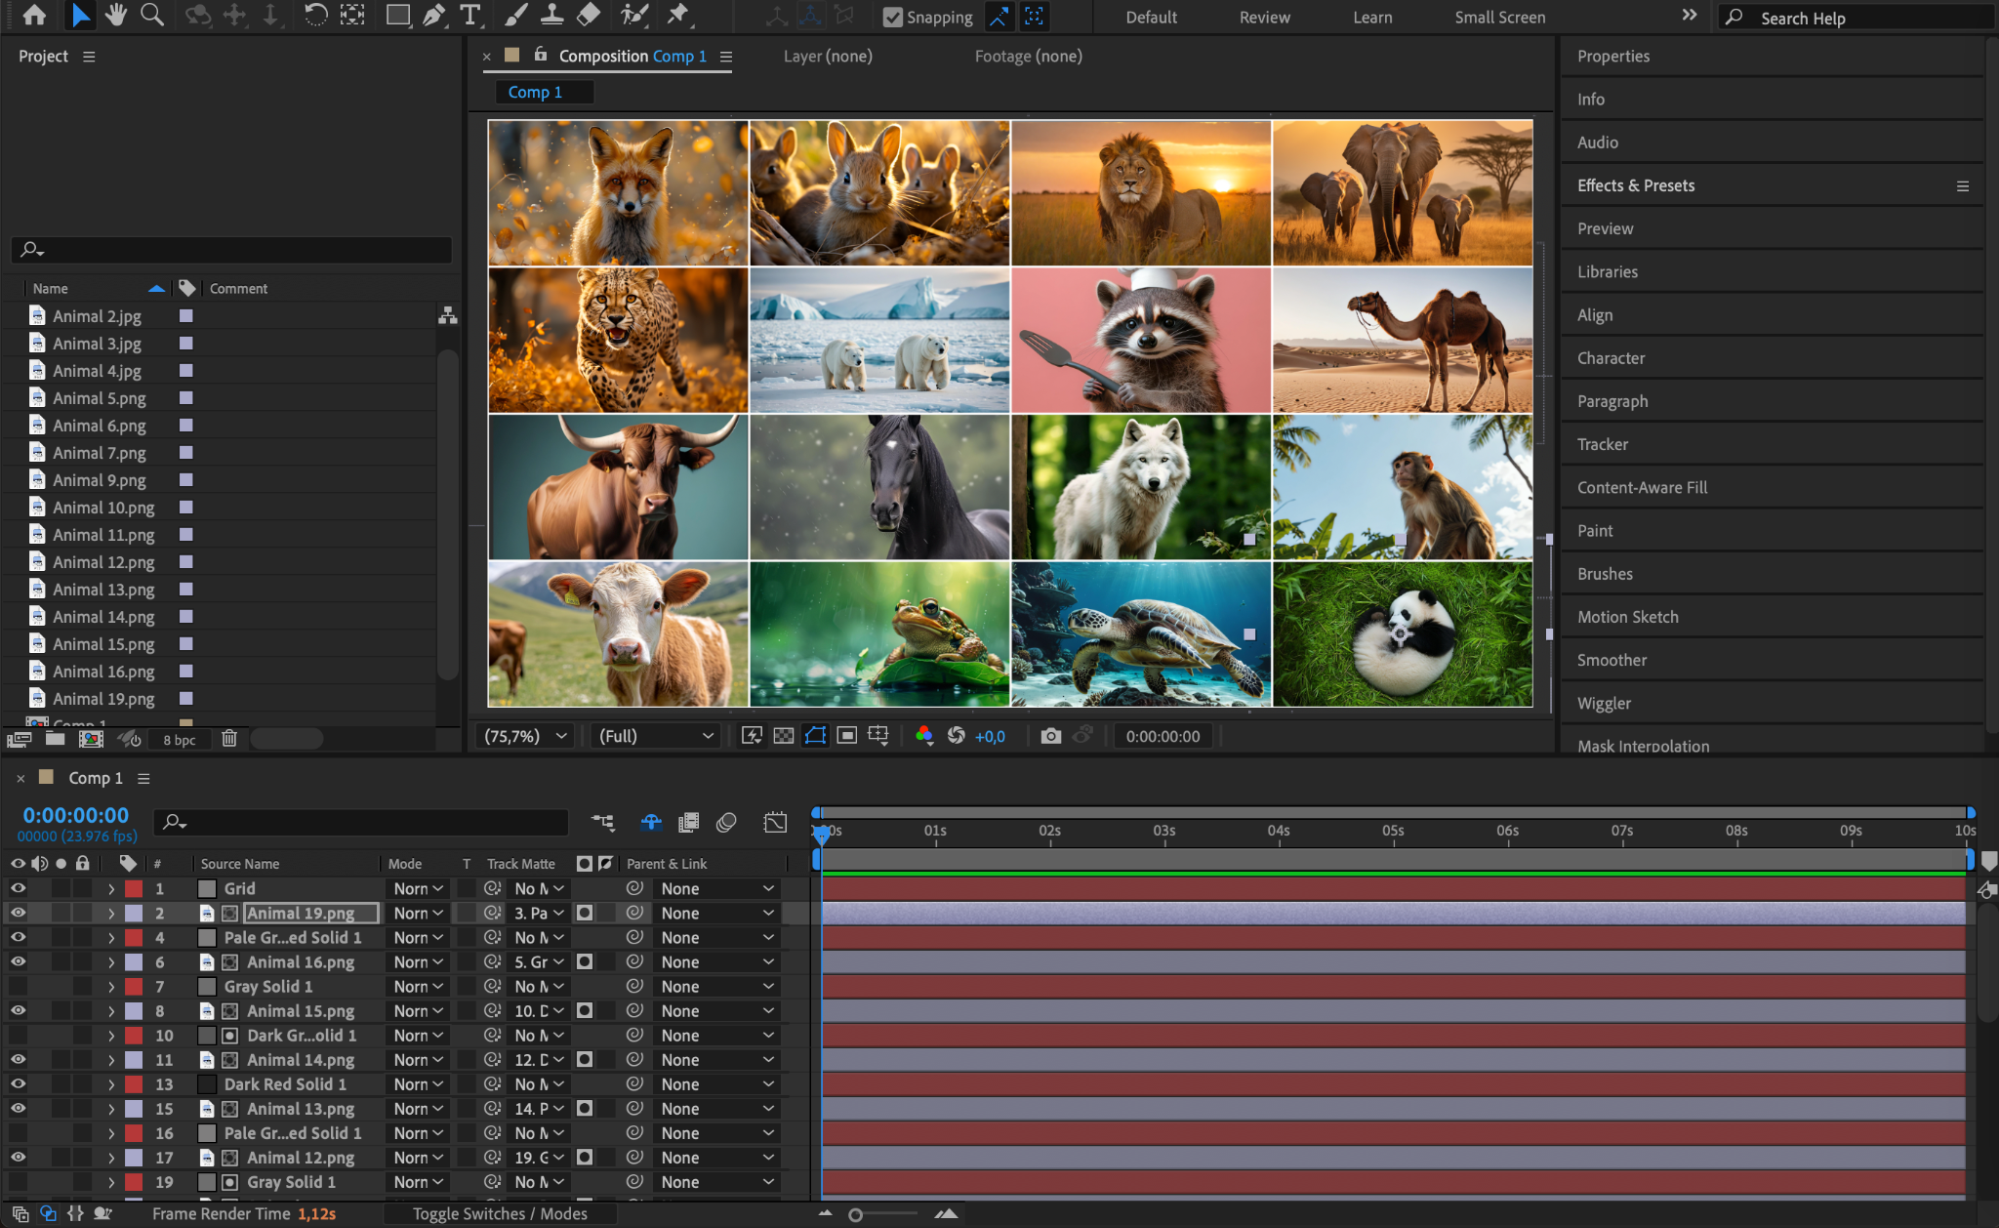 Step 14: Preview the Composition
Press Spacebar to view your video wall in action. Make sure everything is aligned and working smoothly.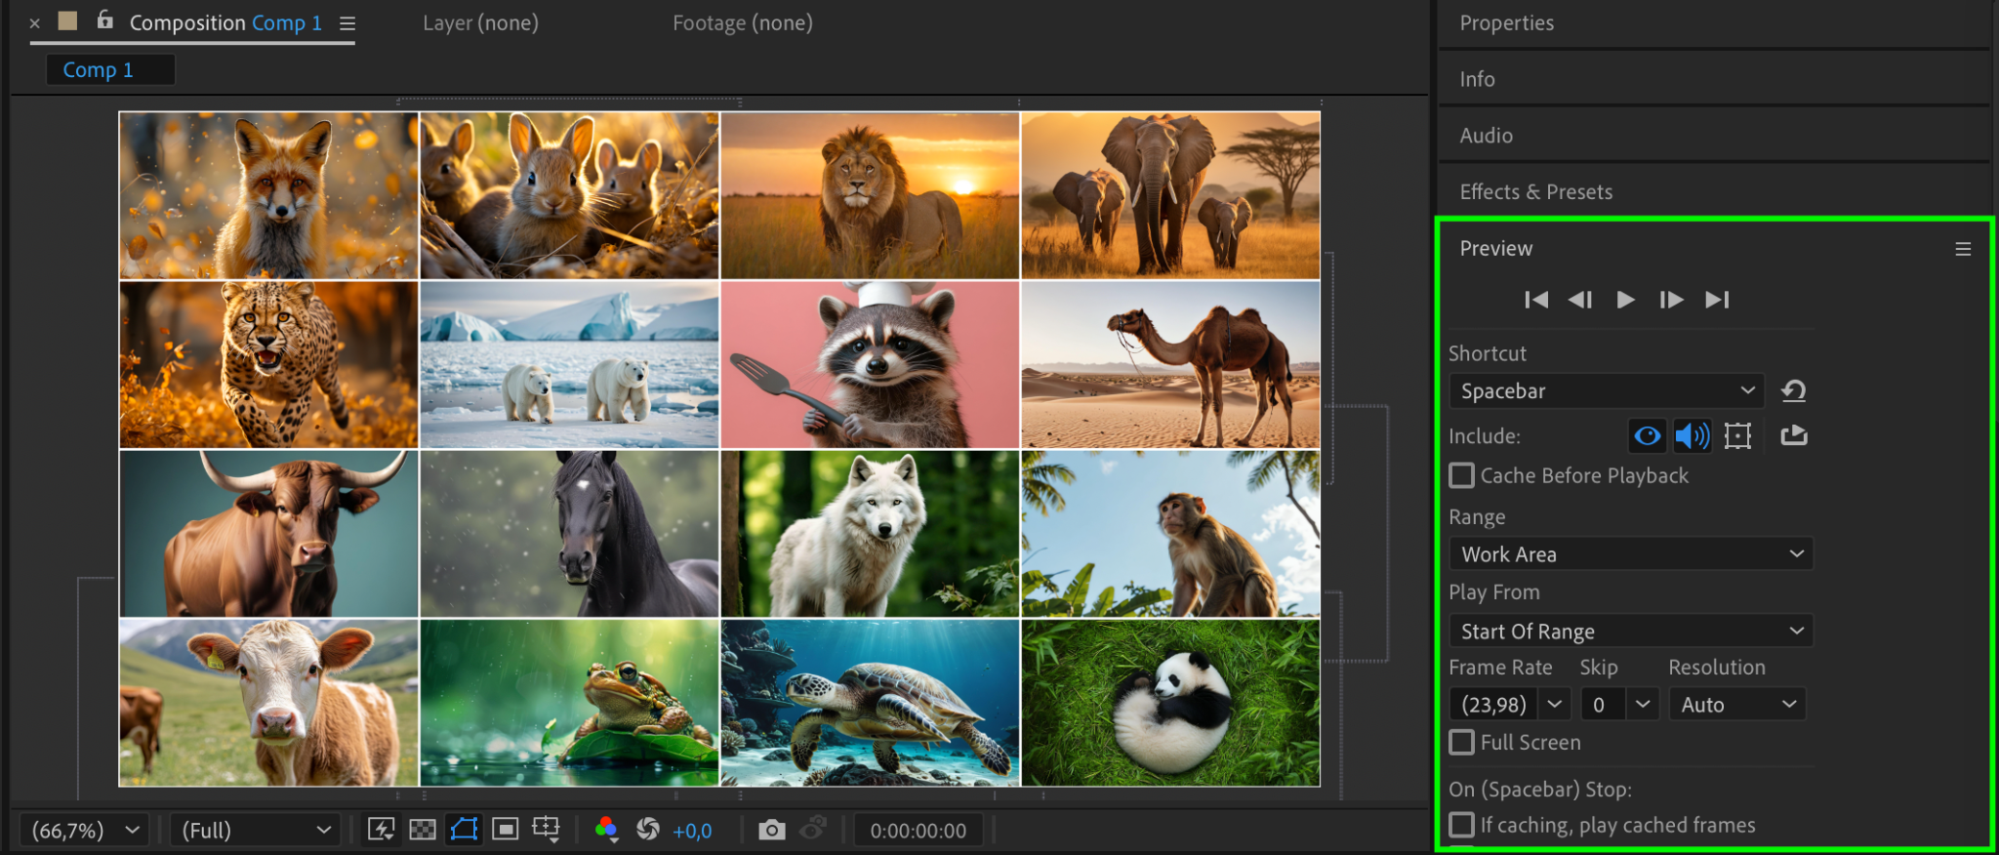 Step 15: Render the Final Video
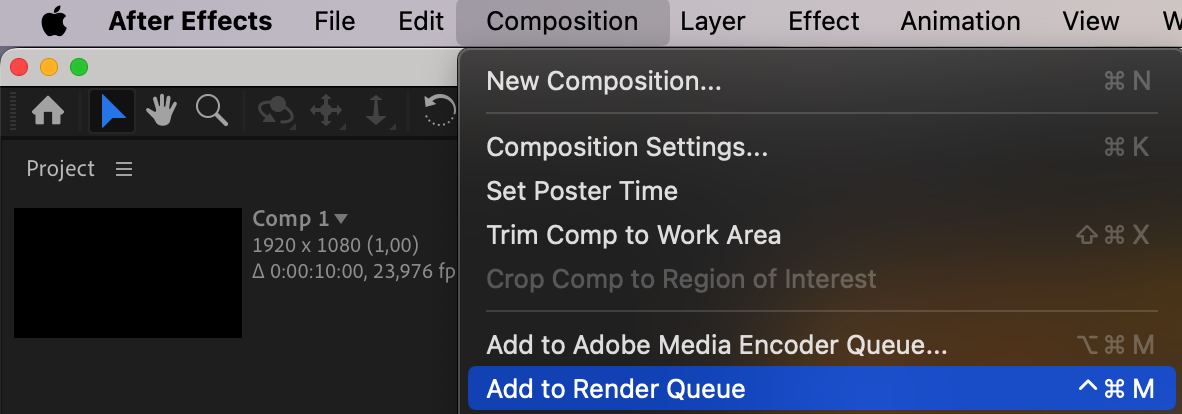
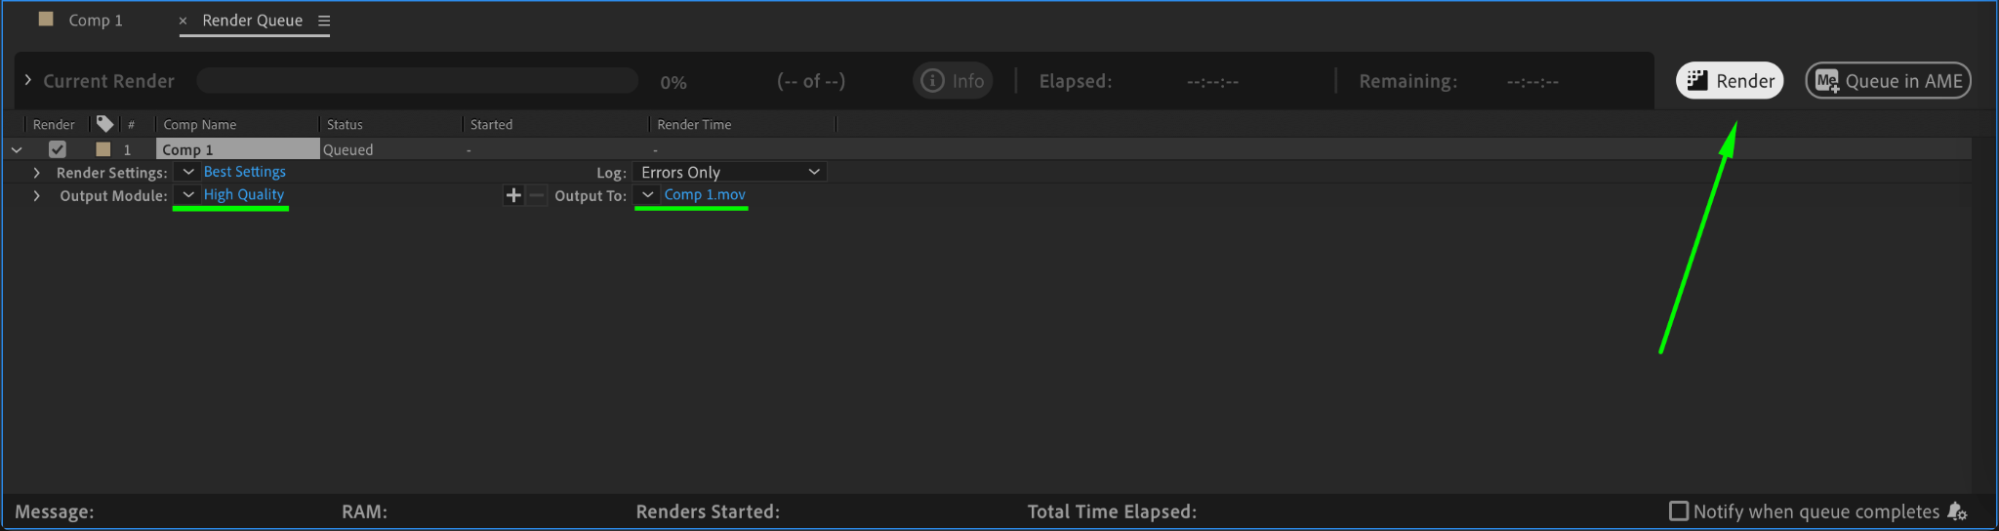
Once you’re satisfied with the video wall, go to Composition > Add to Render Queue. Choose your output settings, and then click Render to export the final video.
 Conclusion
By following these simple steps, you can create a dynamic and professional-looking video wall in After Effects. This technique adds a unique visual flair to your projects and can be used for a variety of applications such as music videos, presentations, or even TV show graphics.
Our Bestsellers


