Step-by-Step Guide to Making Wavy Text in After Effects
Introduction – Adding Dynamic Wavy Motion to Text
Adding a wavy motion to text in After Effects is a simple yet eye-catching effect that can bring life to your designs. This guide will walk you through creating a wavy text animation using the Wave Warp effect and a straightforward expression to automate the movement.
Get 10% off when you subscribe to our newsletter

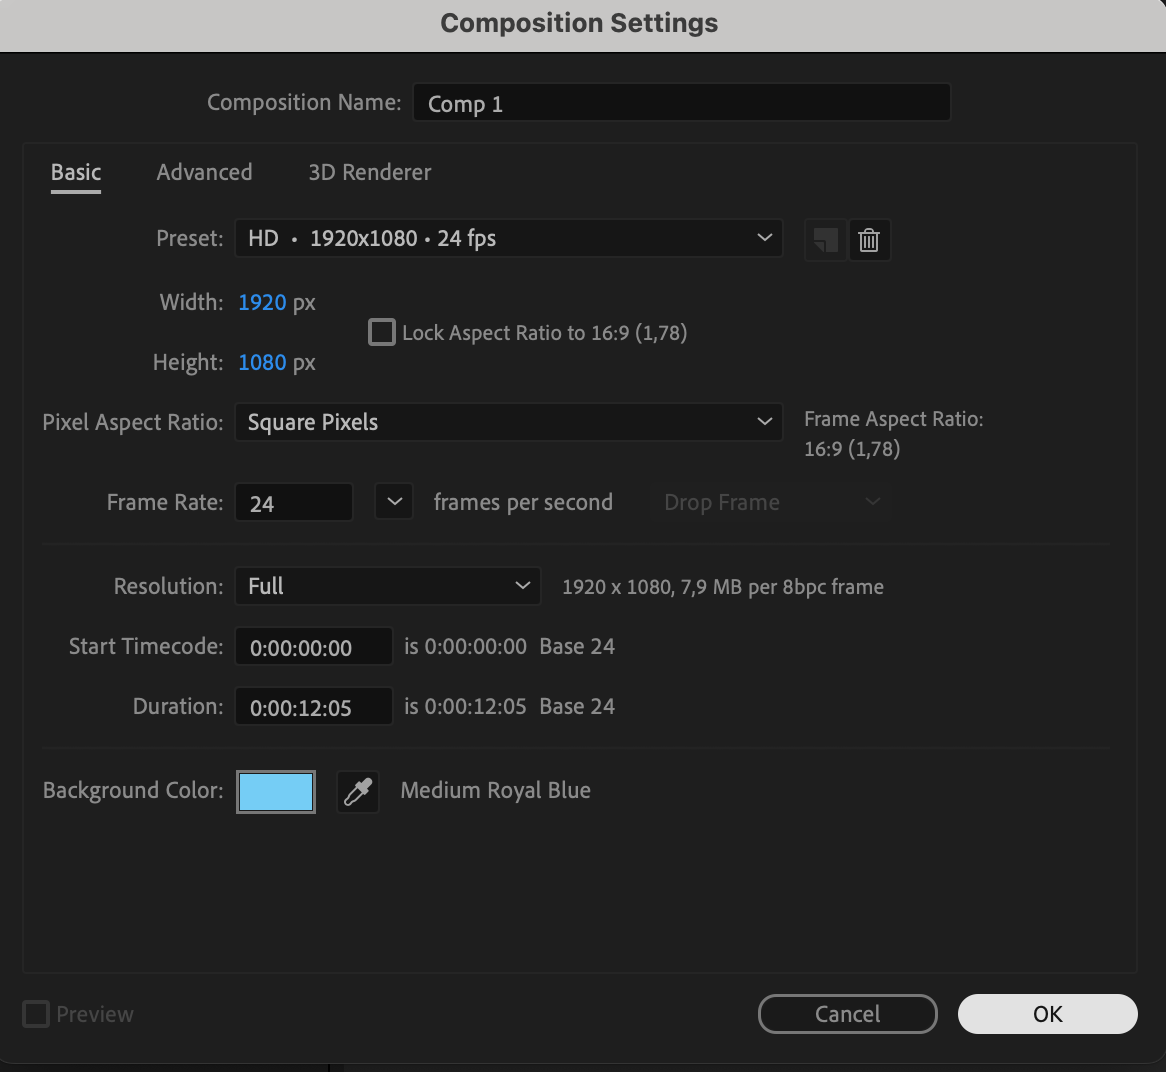
Step 1: Create a New Composition
Start by creating a new composition in After Effects. Navigate to Composition > New Composition and set your resolution to 1920×1080 pixels with a frame rate of 24fps. Choose a duration of around 5–10 seconds, depending on how long you want the wavy effect to last. This step establishes the canvas for your animation.
 Step 2: Add Your Text
Get 10% off when you subscribe to our newsletter
Activate the Type Tool by pressing “Ctrl/Cmd + T”. Click anywhere in the composition window to type your text. Customize the font, size, and alignment in the Properties panel to fit the style of your project. Keep the text aligned to the center for a balanced appearance.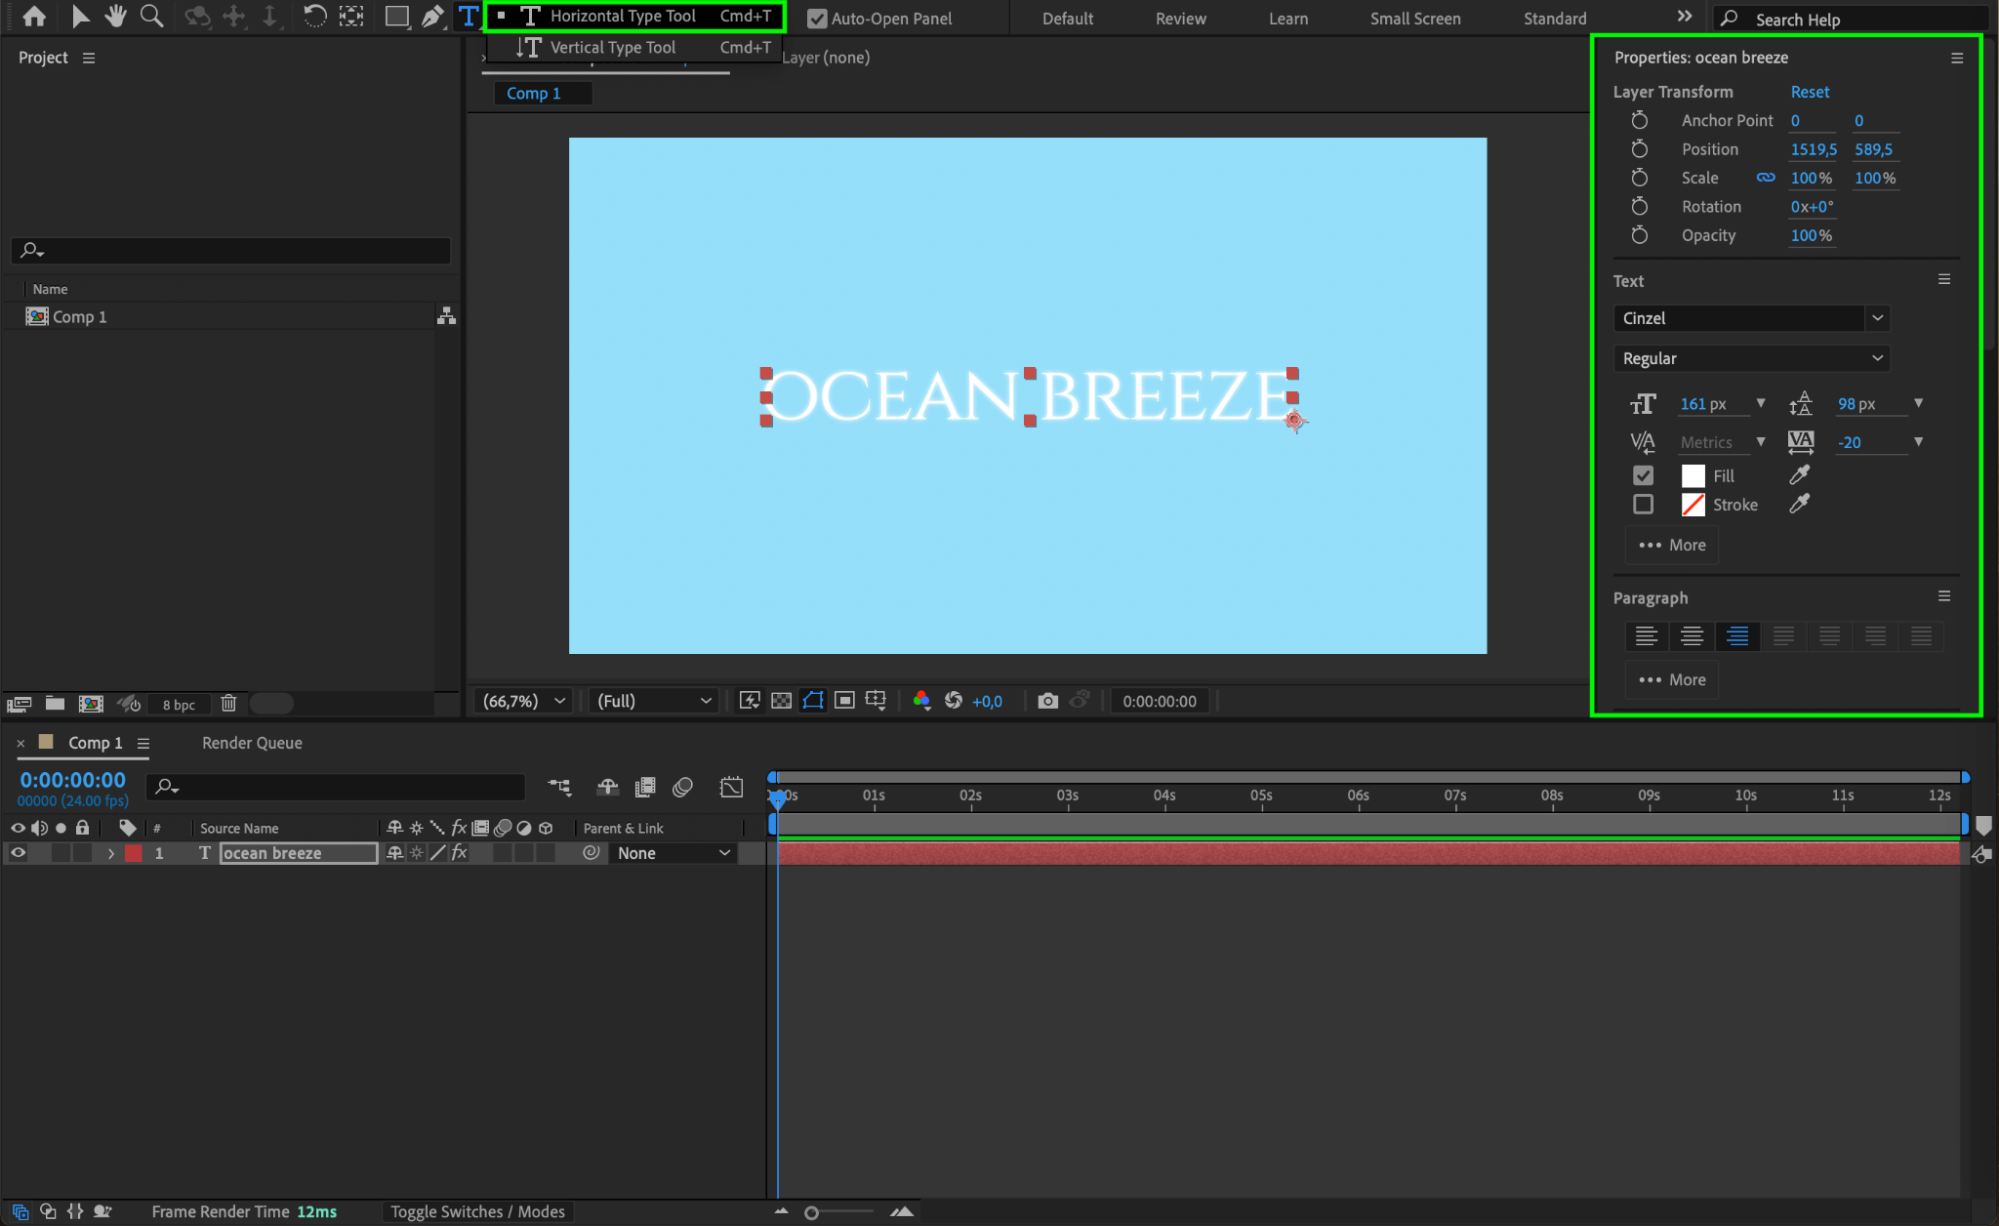
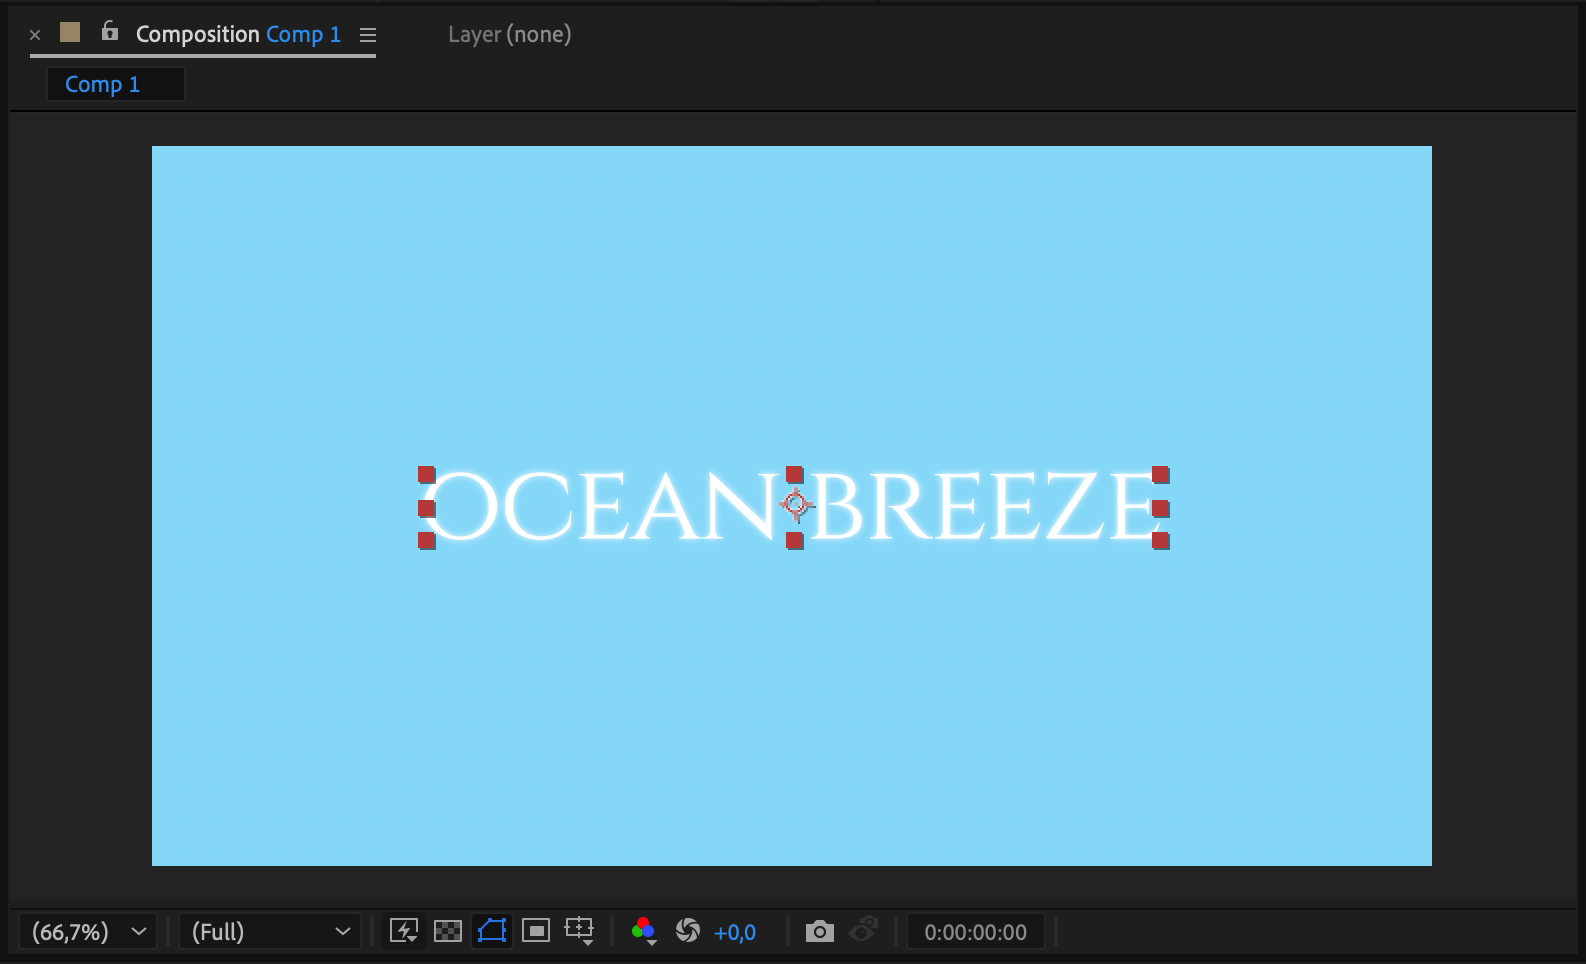
Step 3: Adjust the Anchor Point
Get 10% off when you subscribe to our newsletter
Use the Pan Behind Tool (Y) to move the anchor point of the text layer to its center. Click and drag the anchor point. Placing the anchor point centrally ensures that any transformations or animations are applied evenly across the text.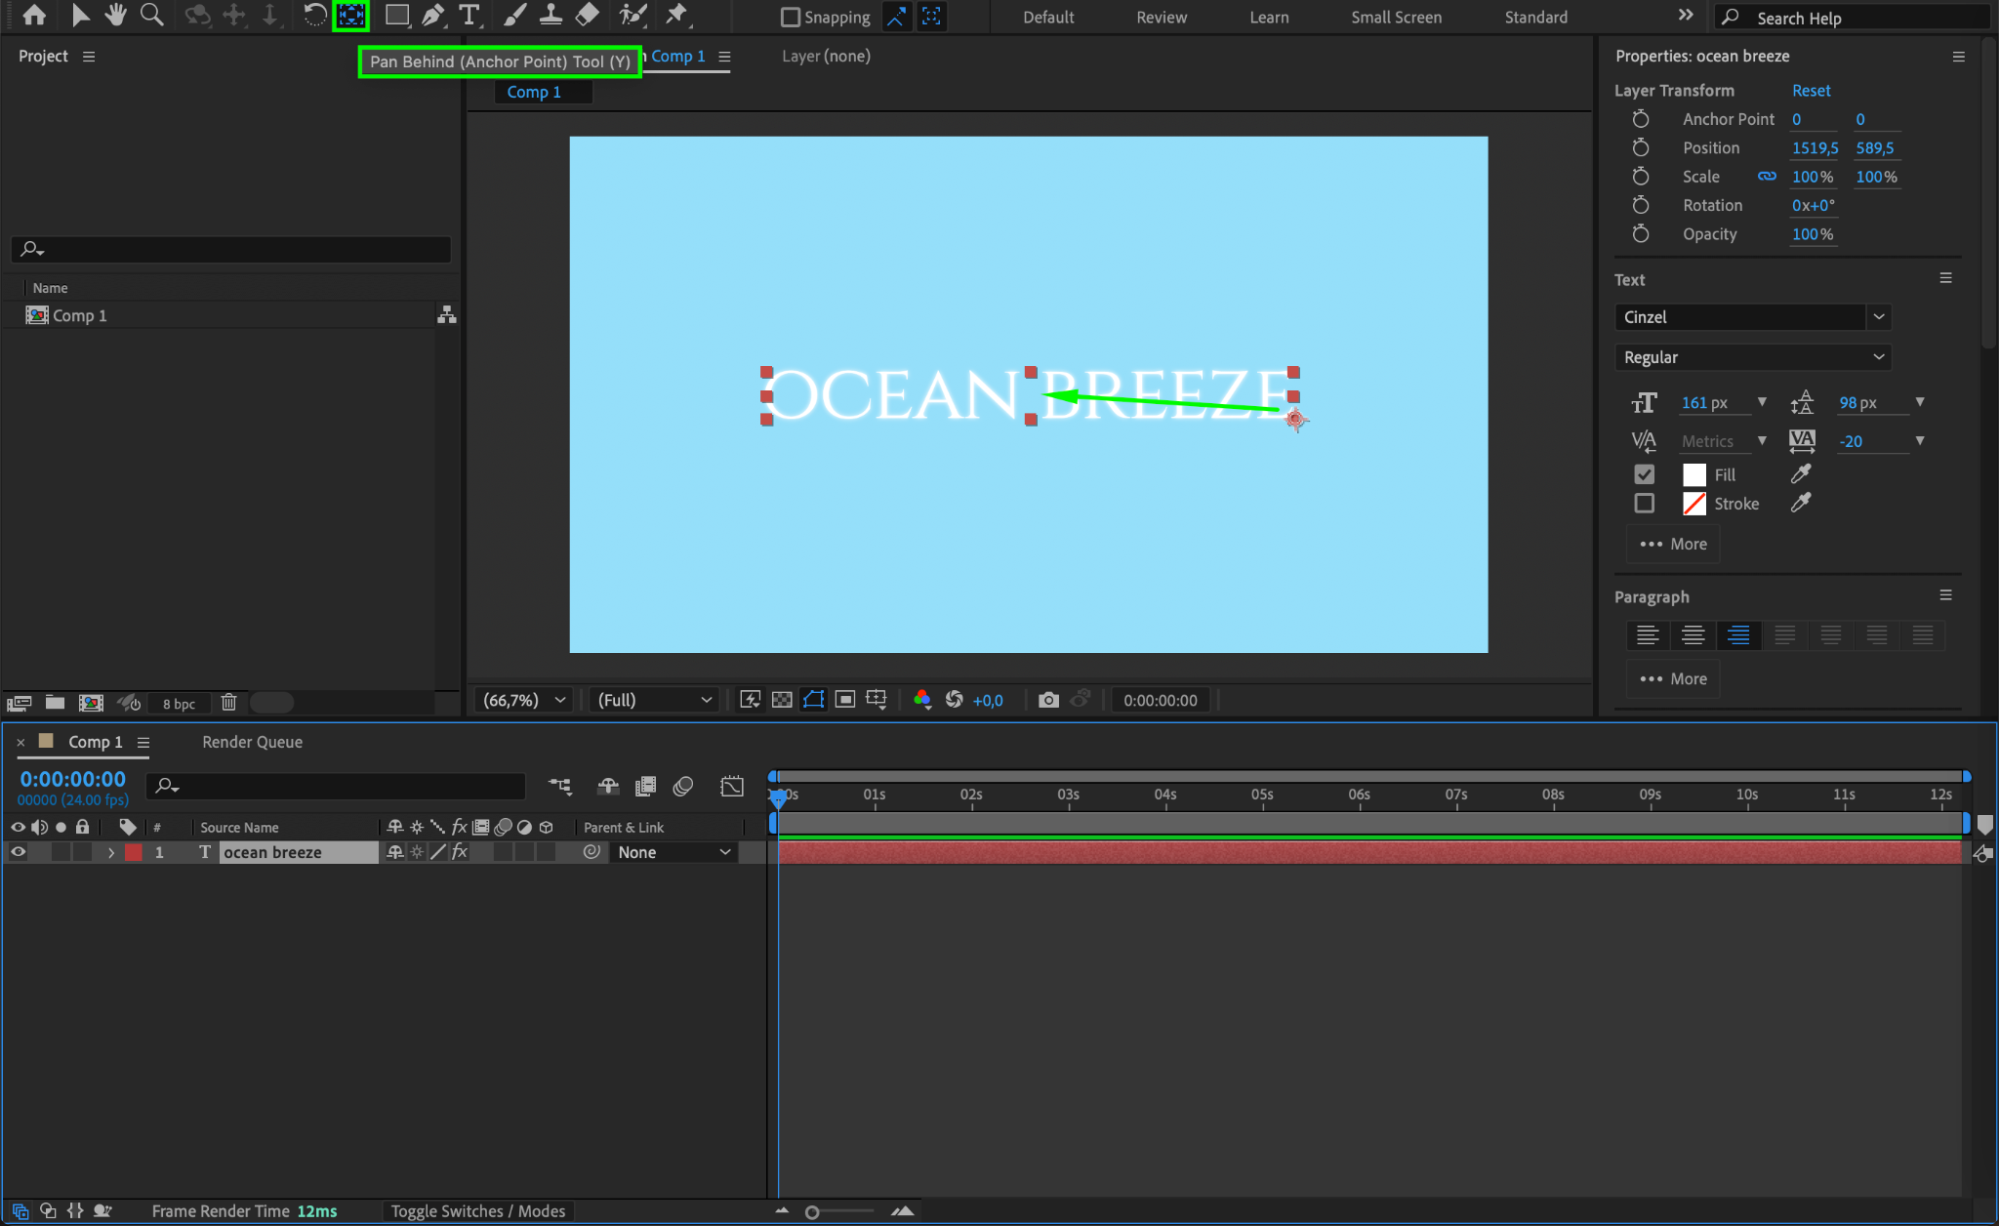
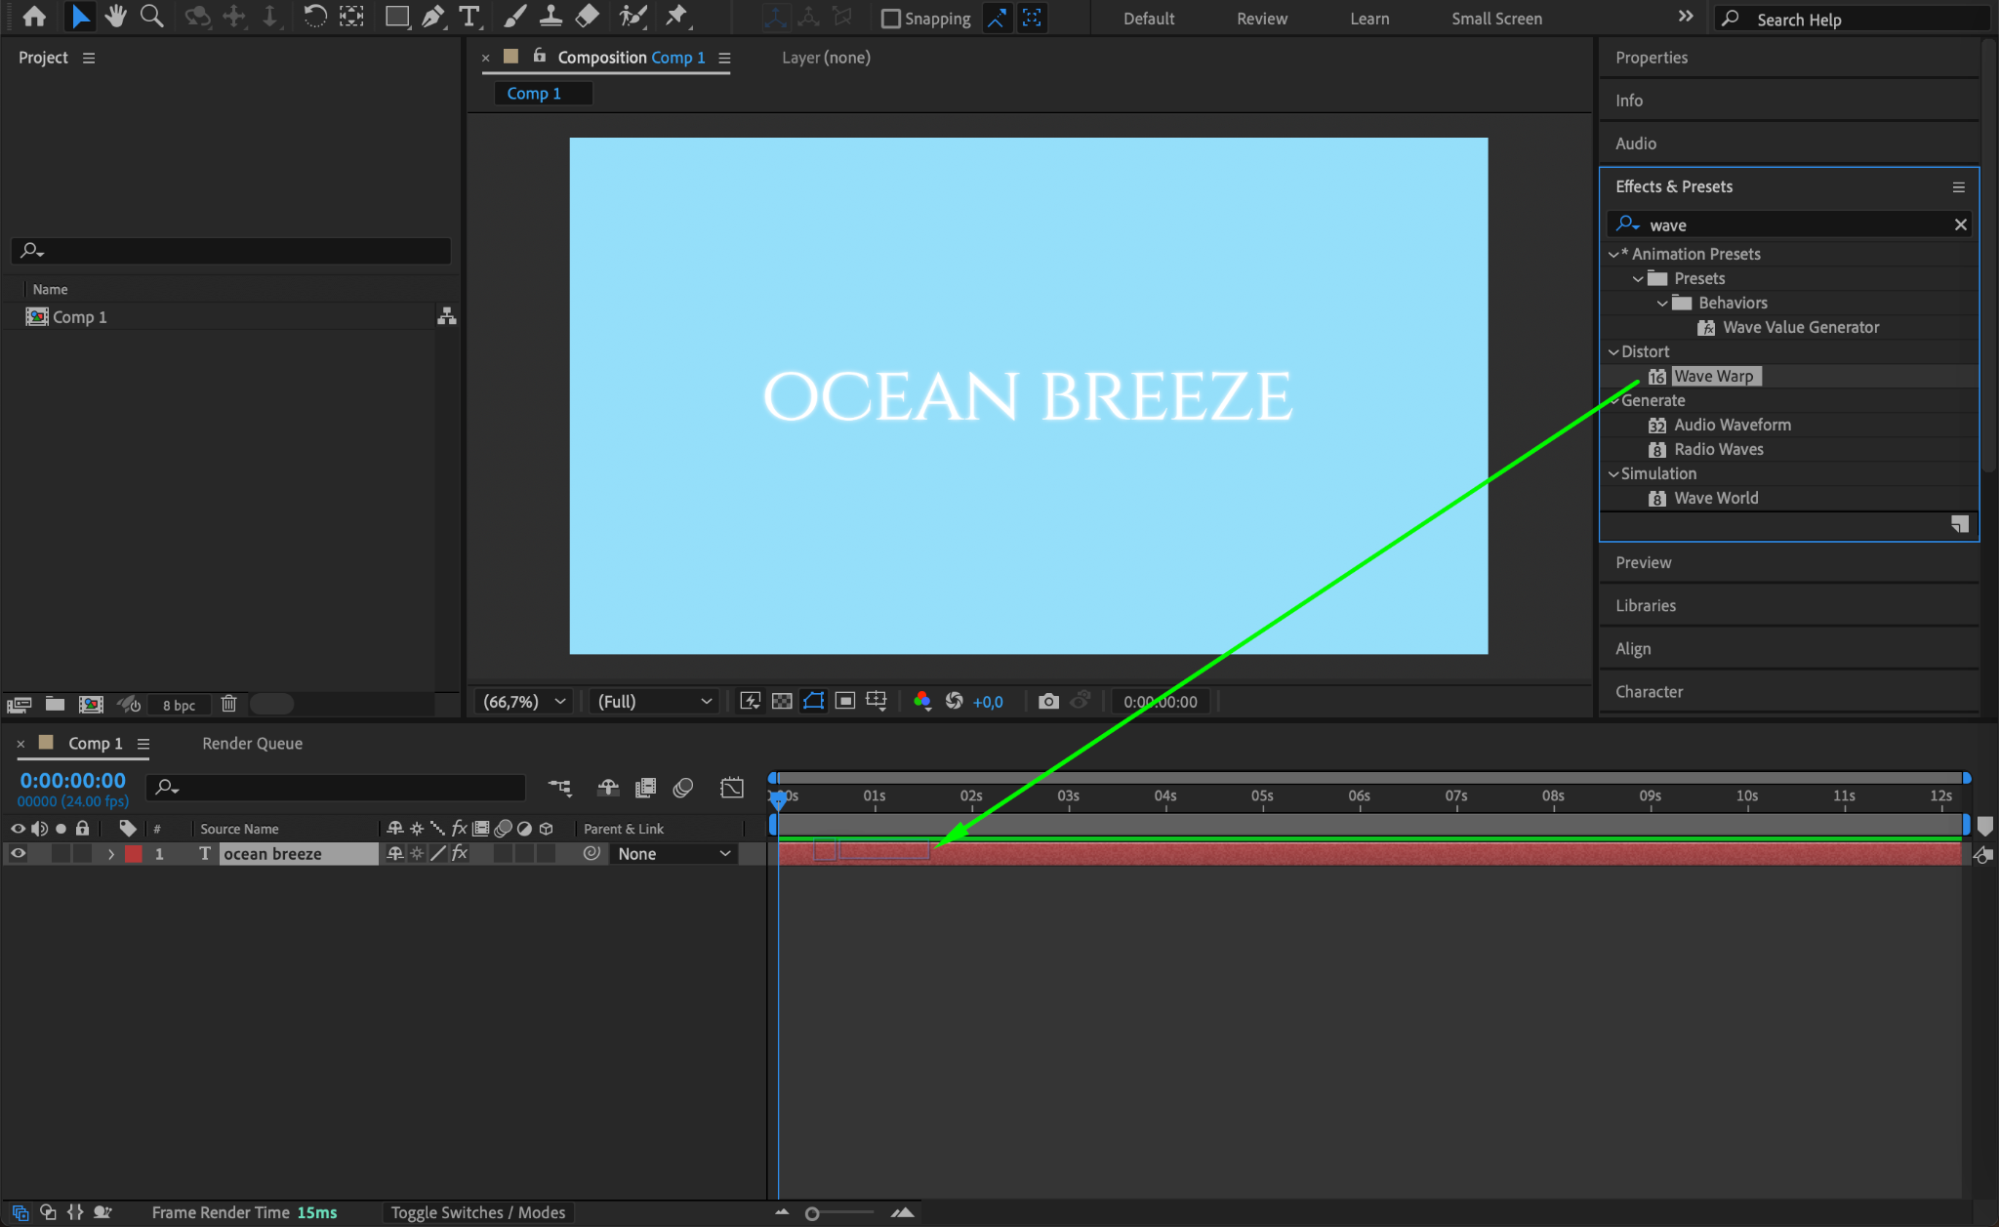
 Step 4: Apply the Wave Warp Effect
Open the Effects & Presets panel and search for Wave Warp. Drag the effect onto your text layer. The Wave Warp effect is responsible for creating the wavy animation, giving your text dynamic motion.
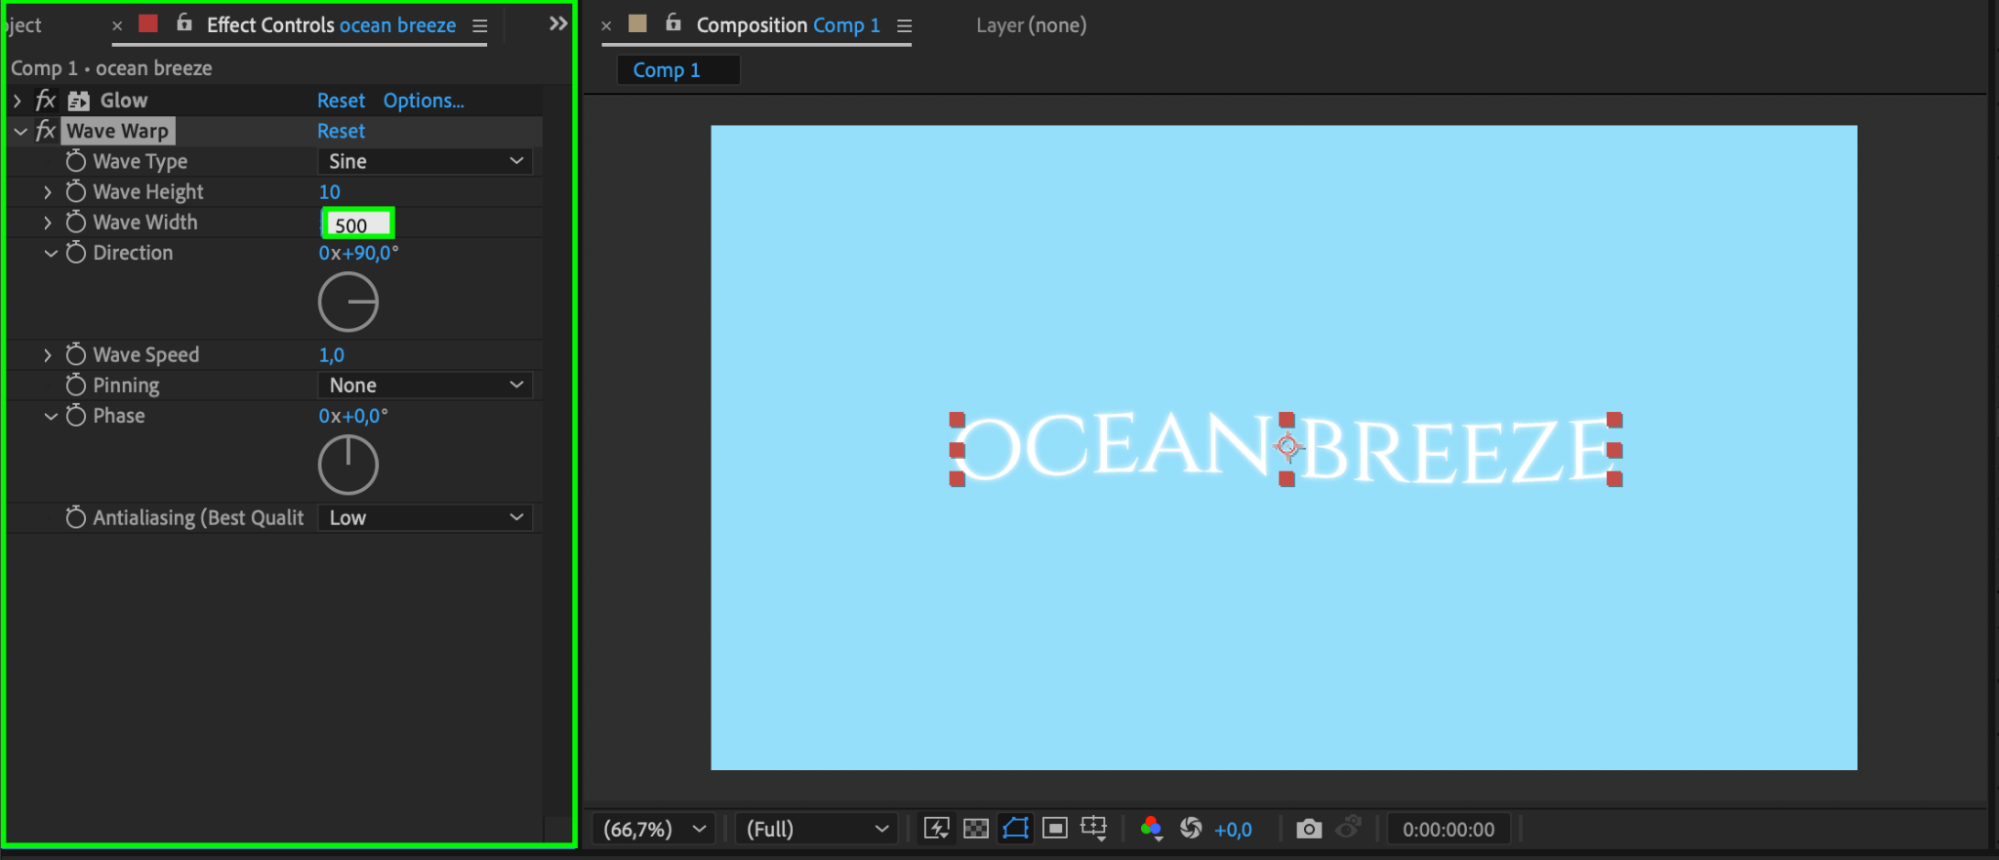
 Step 5: Customize Wave Width and Height
In the Effect Controls panel, adjust the Wave Width to 500. This setting controls the distance between the peaks of the wave, allowing you to fine-tune the wave’s spread. Modify the Wave Height to adjust the intensity of the wave effect. Experiment with both values to achieve the desired look.
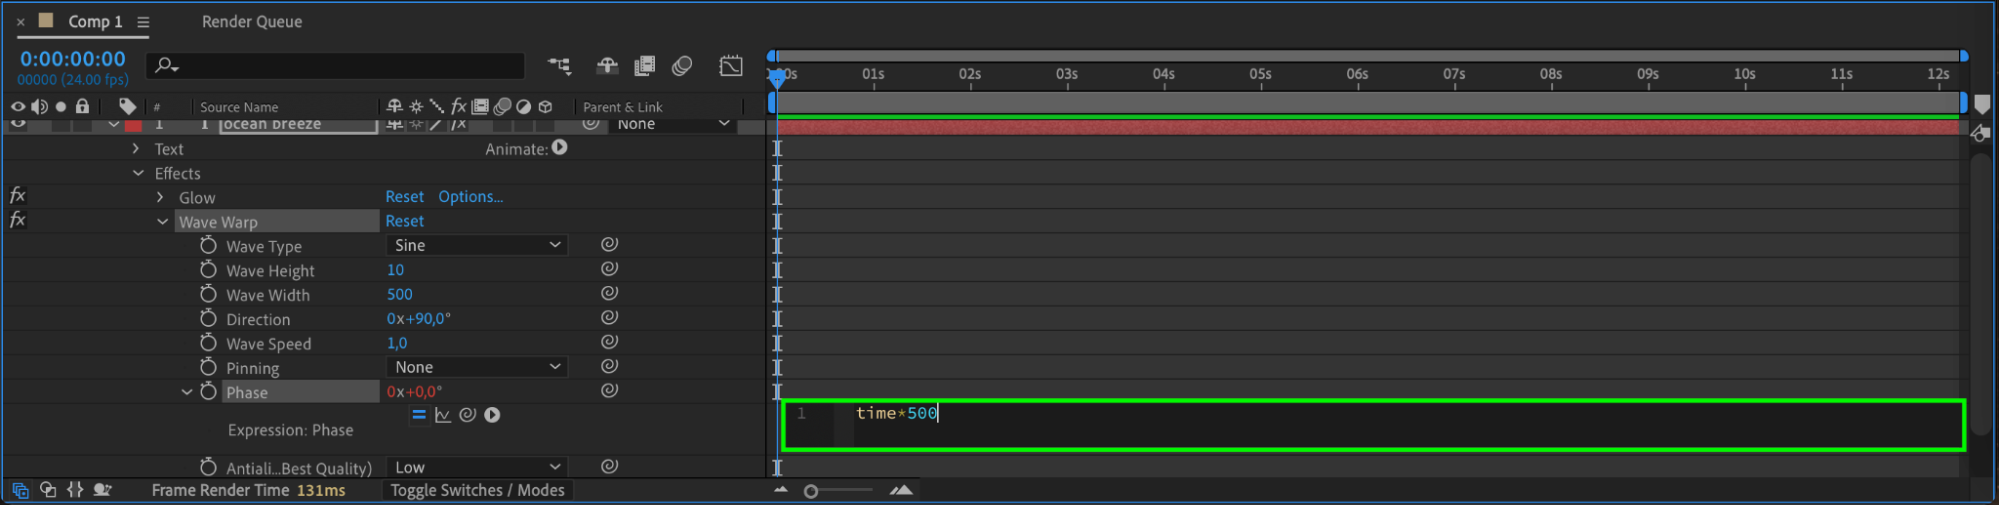
 Step 6: Animate the Wave Phase
To make the wave move continuously, animate the Phase property. Hold Alt (Windows) or Option (Mac) and click on the stopwatch icon next to the Phase parameter in the Effect Controls panel. In the expression editor, type:
time * 500
This expression ensures that the wave moves smoothly over time, giving your text a continuous wavy motion.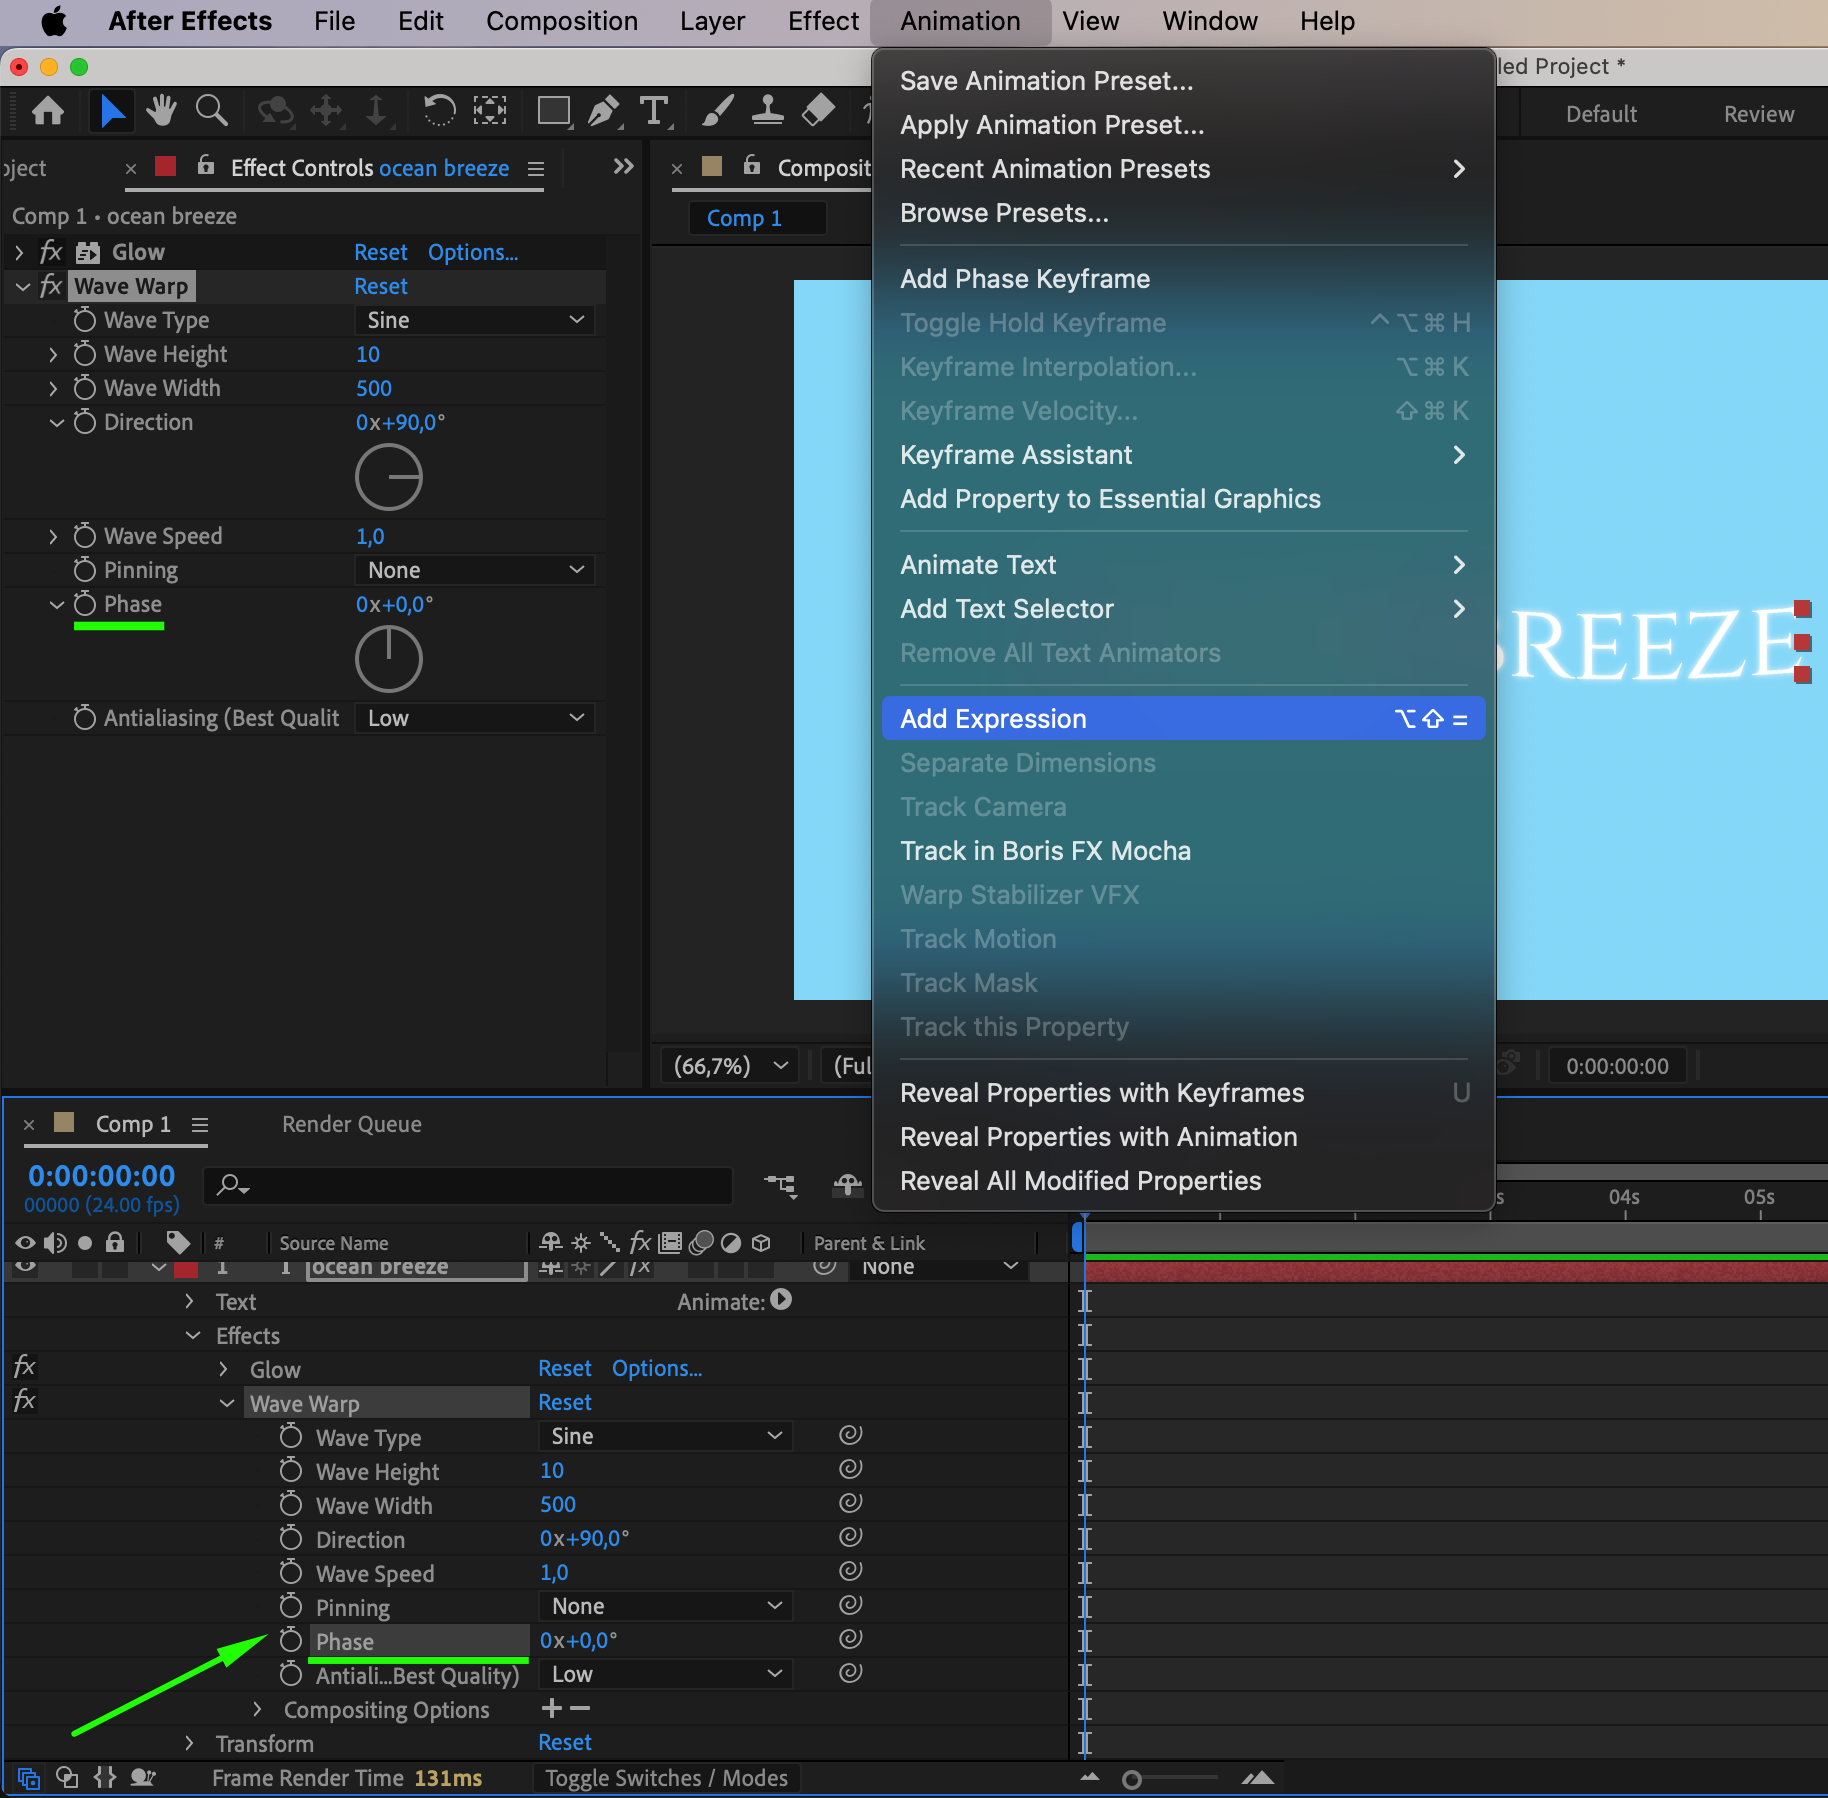
Step 7: Preview Your Animation
Press the Spacebar to preview your animation. Check how the wave effect interacts with your text and make adjustments to the Wave Width, Wave Height, or expression if necessary. This step ensures the effect looks polished and fits your design. Step 8: Render Your Project
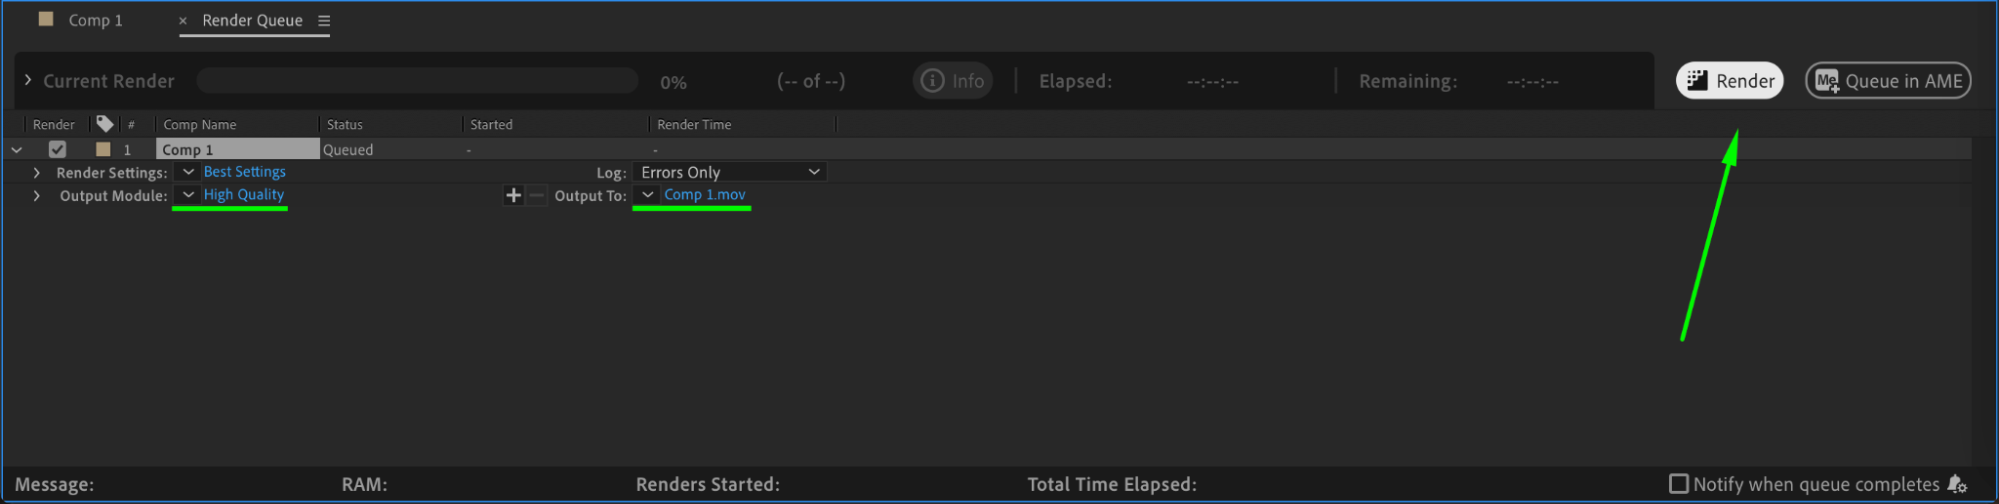
When you’re happy with the animation, render your composition. Go to Composition > Add to Render Queue and choose your preferred output format and quality. Click Render to export the animation as a video file, ready for sharing or further use in your projects.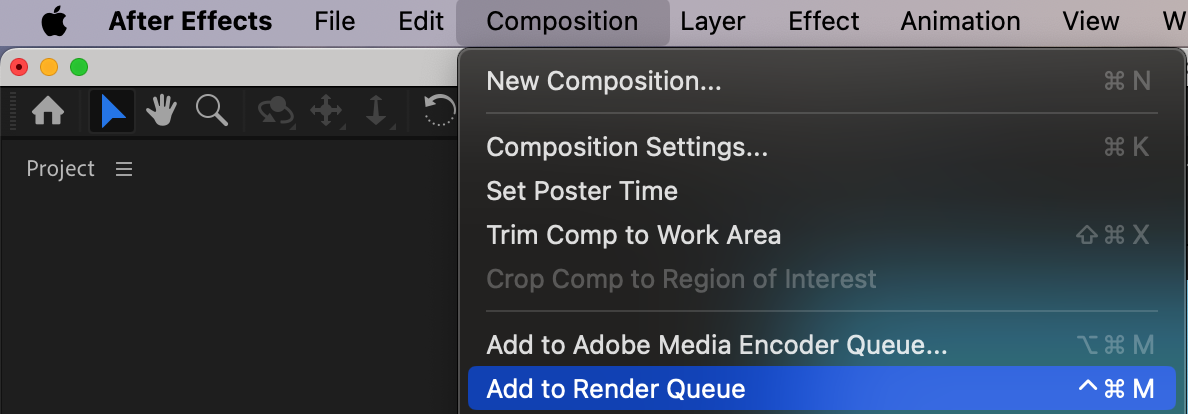
 Conclusion
Creating a wavy text effect in After Effects is an easy way to add energy and style to your animations. By combining the Wave Warp effect and expressions, you can achieve a dynamic and customizable motion that enhances your design. Experiment with different settings to make the effect unique to your project!
Our Bestsellers


