Step-by-Step Guide to Crafting a Wedding Invitation Video in After Effects
Introduction – Designing Personalized Wedding Invitations
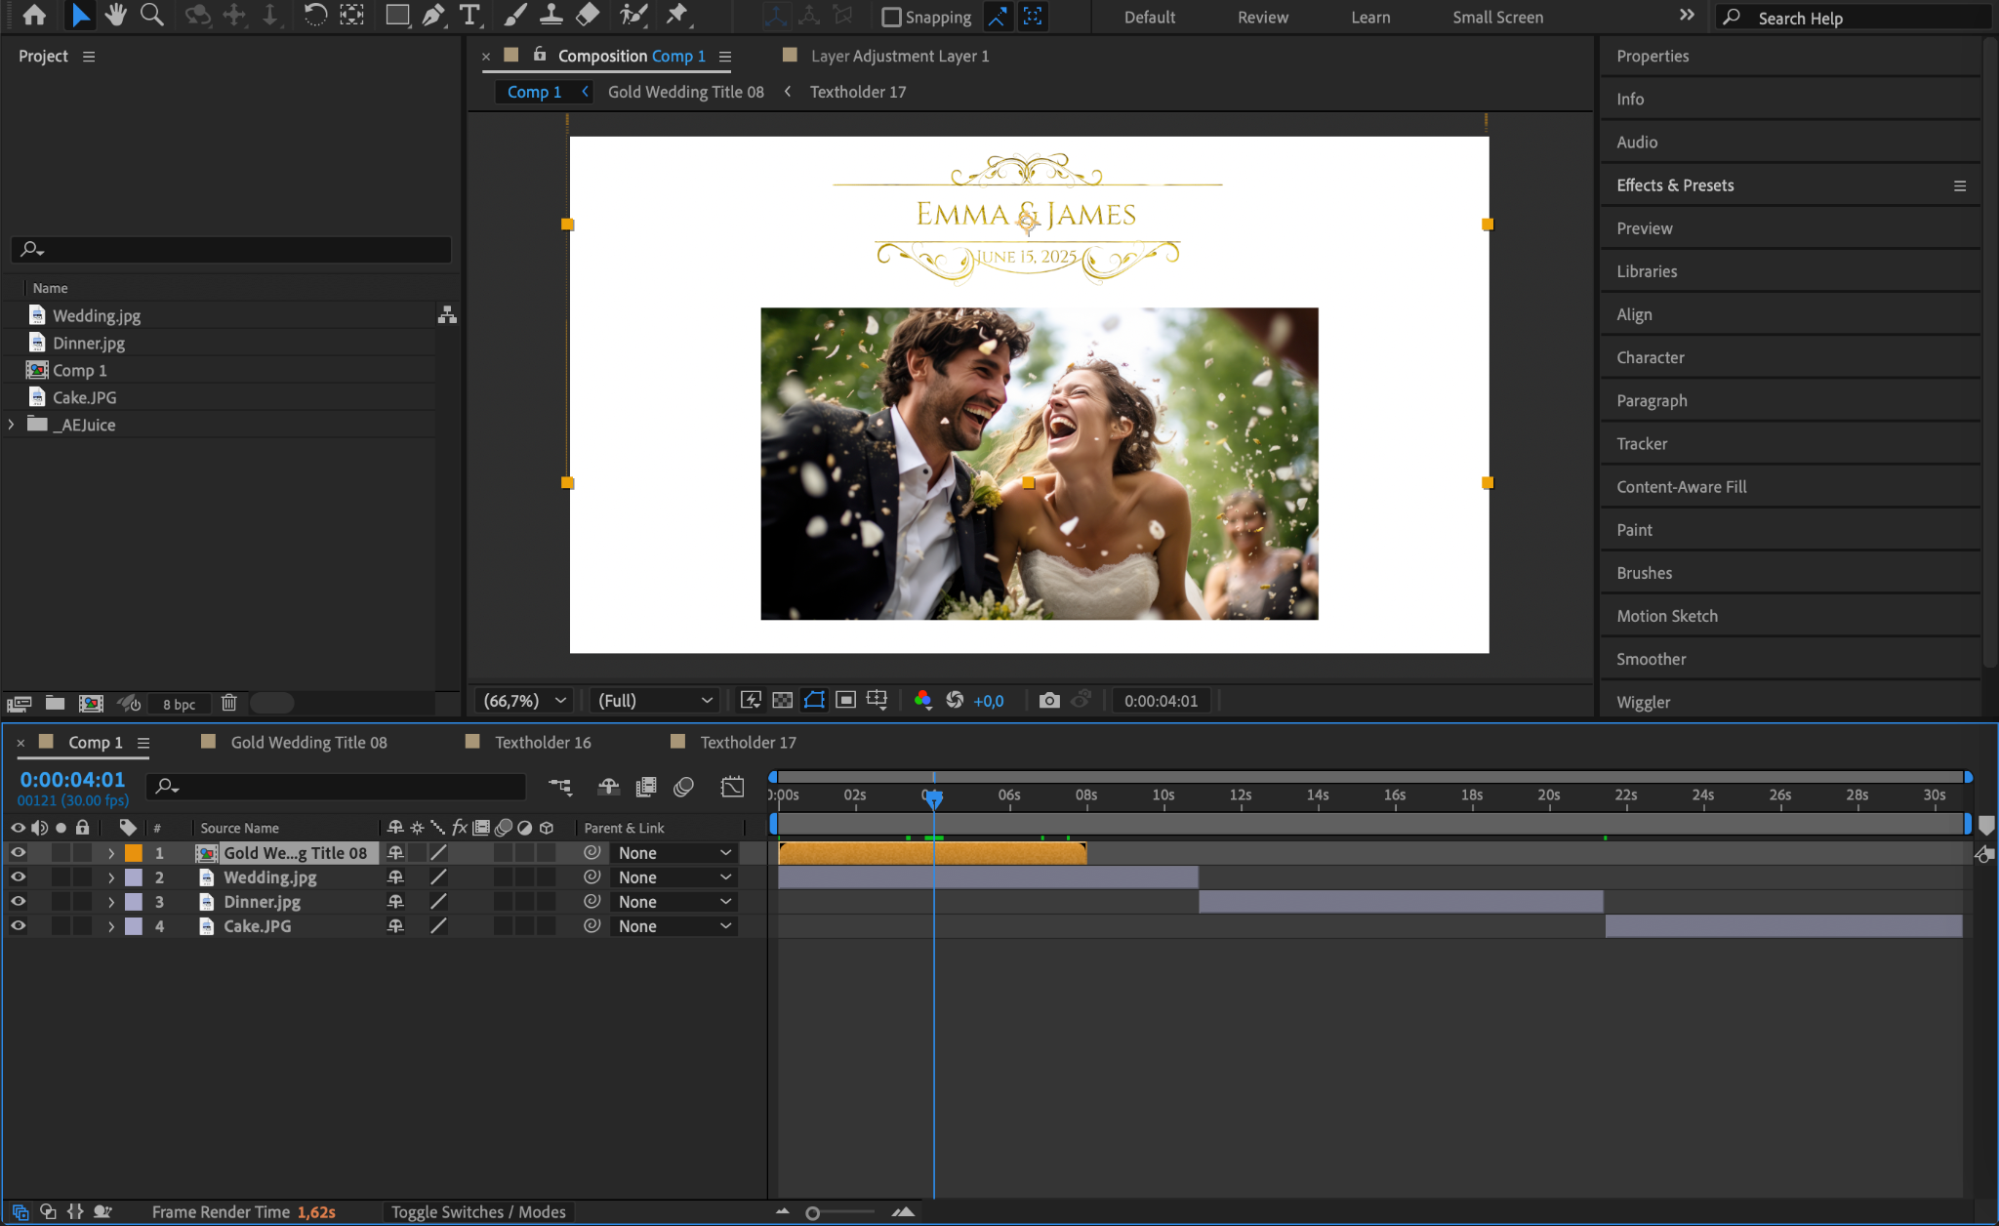
Creating a wedding invitation video in After Effects allows you to blend creativity and personal touches into a captivating announcement for your big day. This guide walks you through the process of making a stunning wedding invitation video, from setting up your composition to animating photos and text.
Step 1: Create a New Composition
Start by creating a new composition. Go to Composition > New Composition and set the resolution to 1920×1080 pixels with a frame rate of 30fps. Choose a duration of about 30–60 seconds, depending on your video’s length. This will be the base of your wedding invitation.
Get 10% off when you subscribe to our newsletter

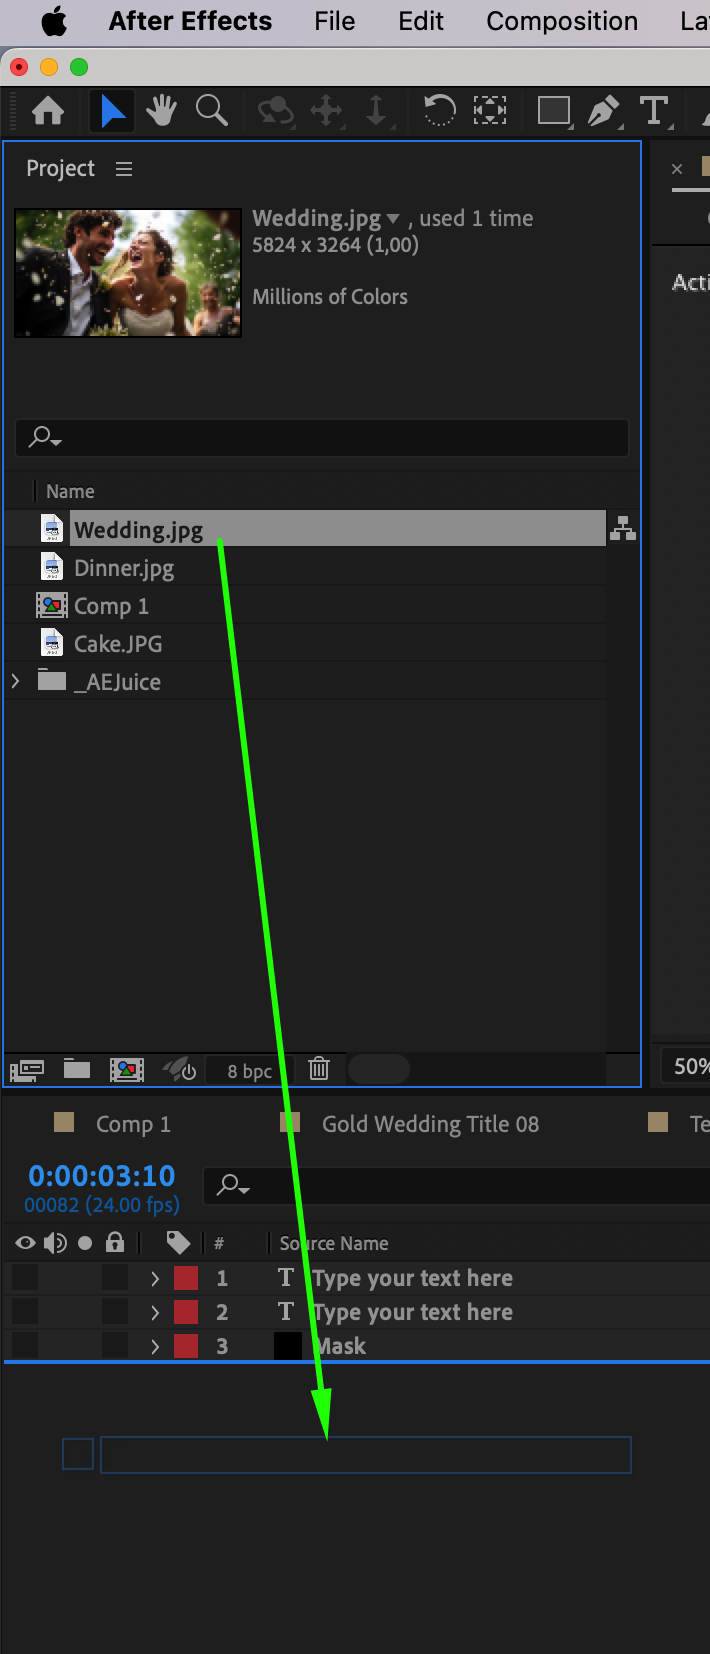
 Step 2: Import and Arrange Assets
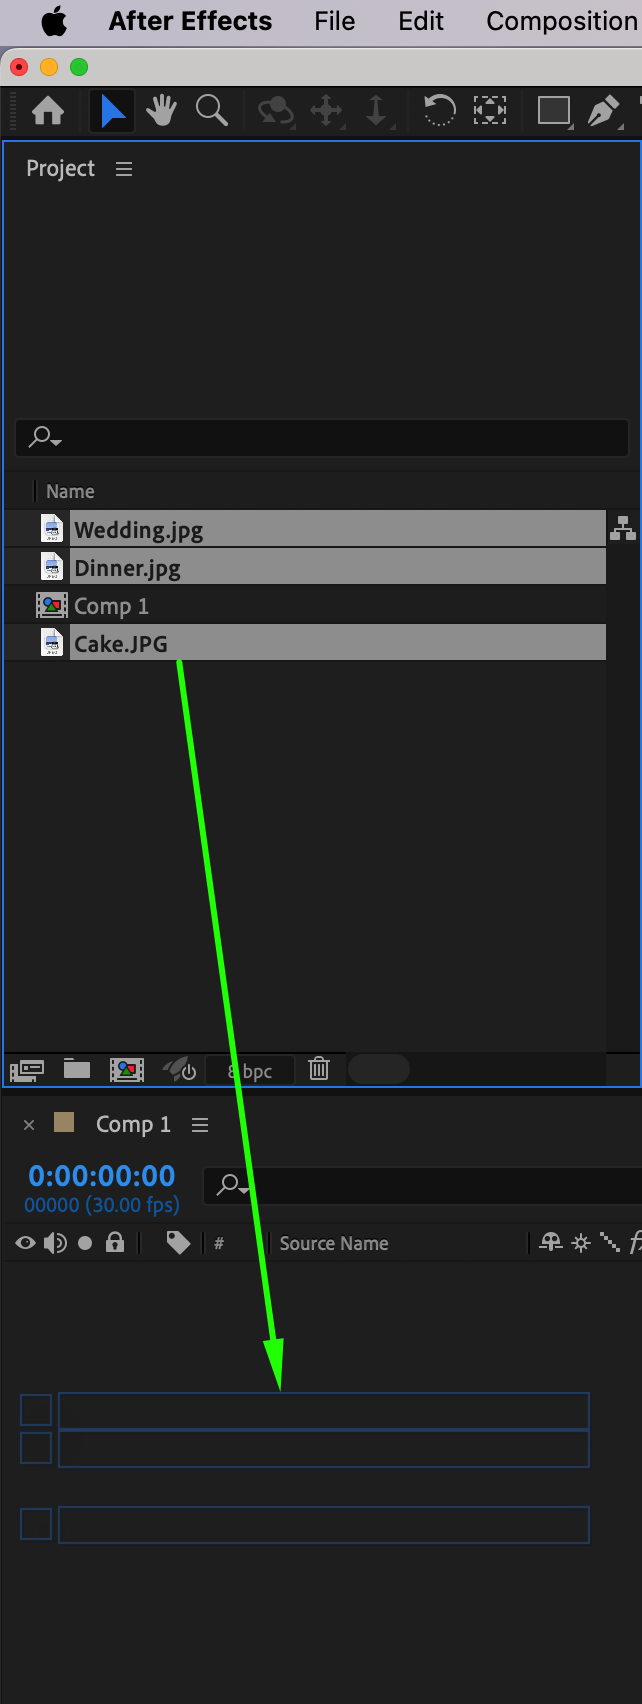
Import your images, videos, or other assets into After Effects by going to File > Import > File. Drag them onto the timeline and arrange them in the order they will appear. Organize the assets into folders if needed for better workflow management.
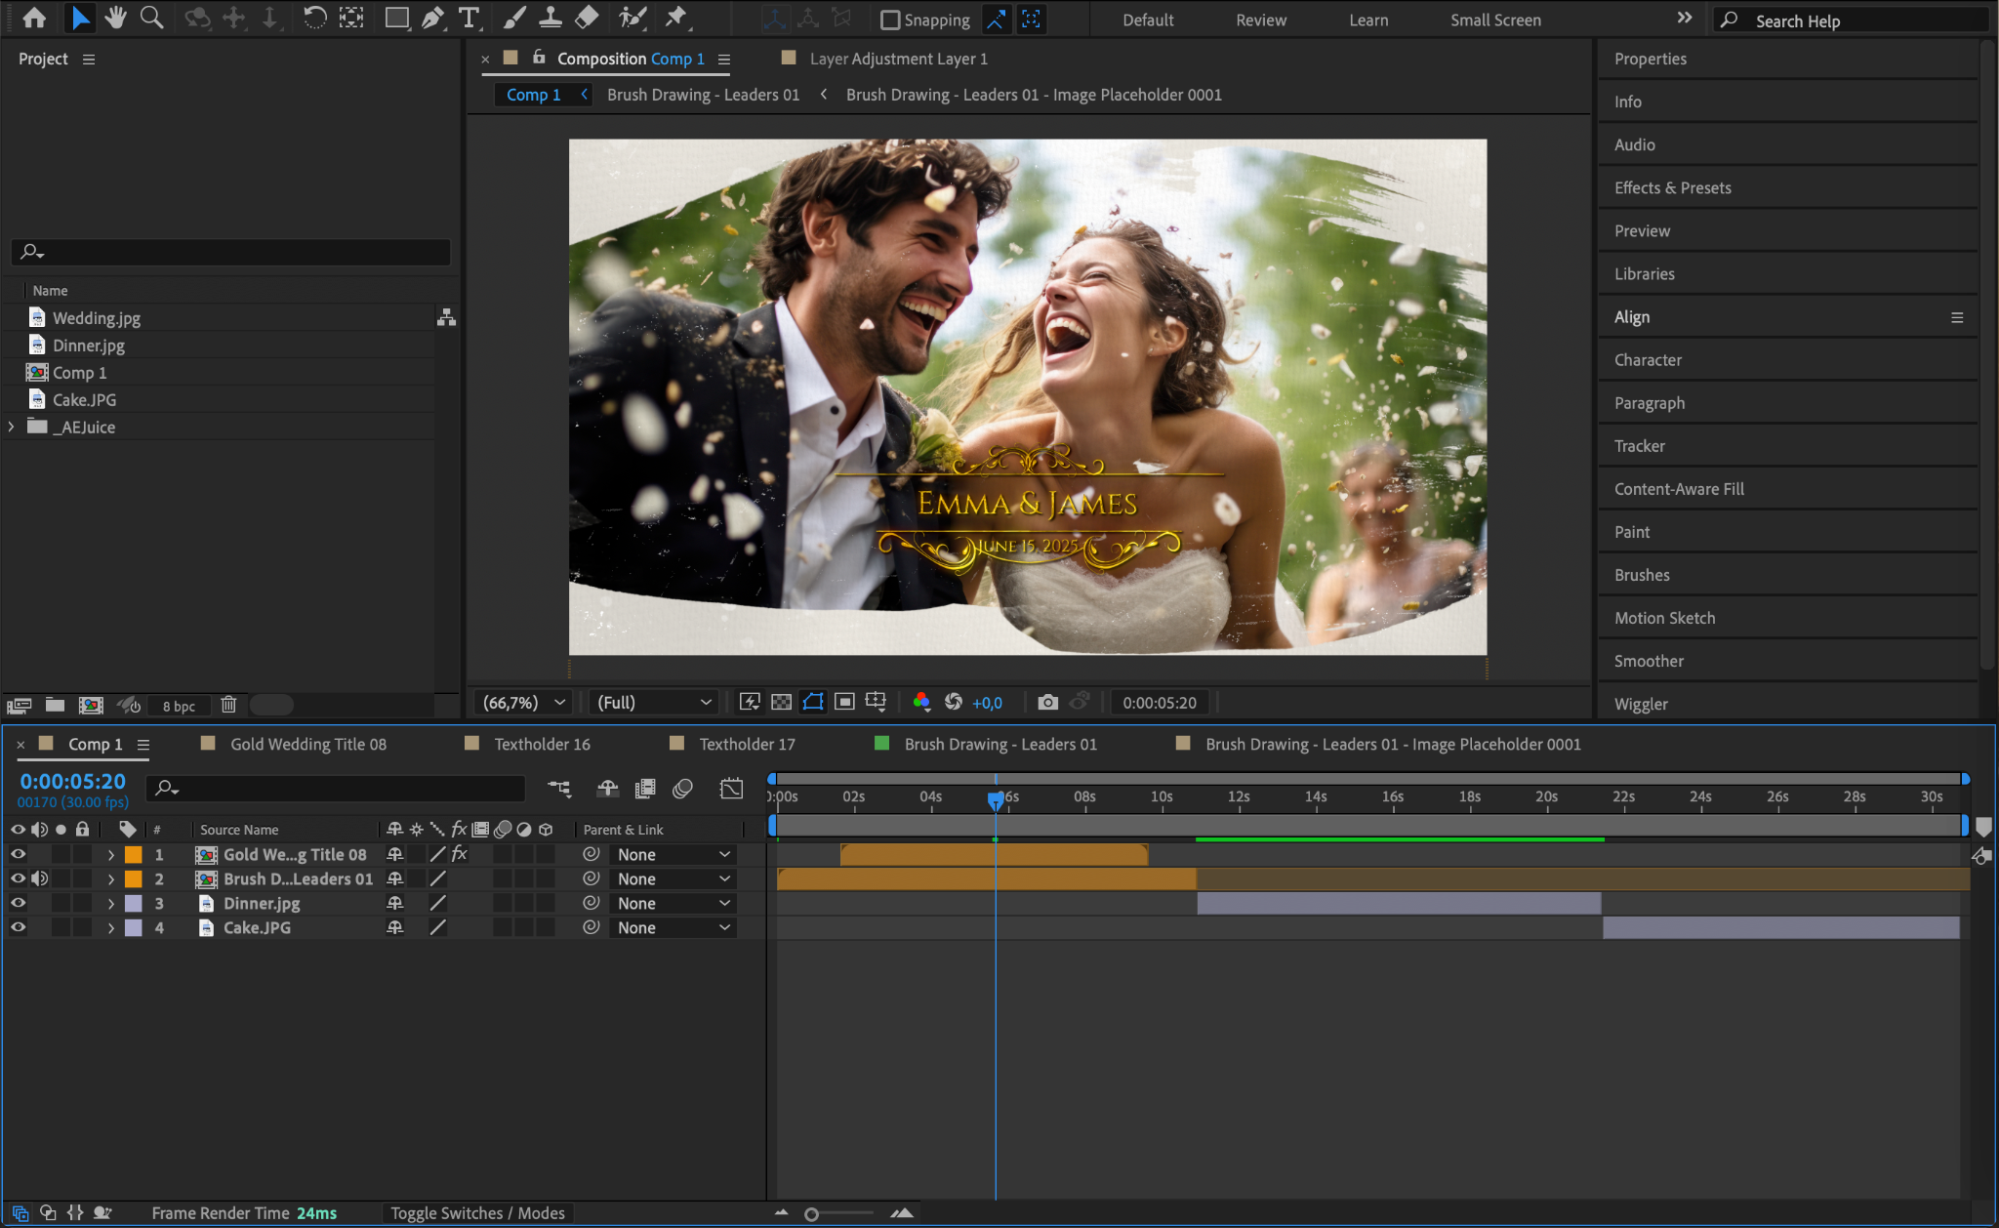
 Step 3: Design the First Slide – Couple’s Introduction
The first slide sets the tone for the video.
Add a photo of the couple to the composition.
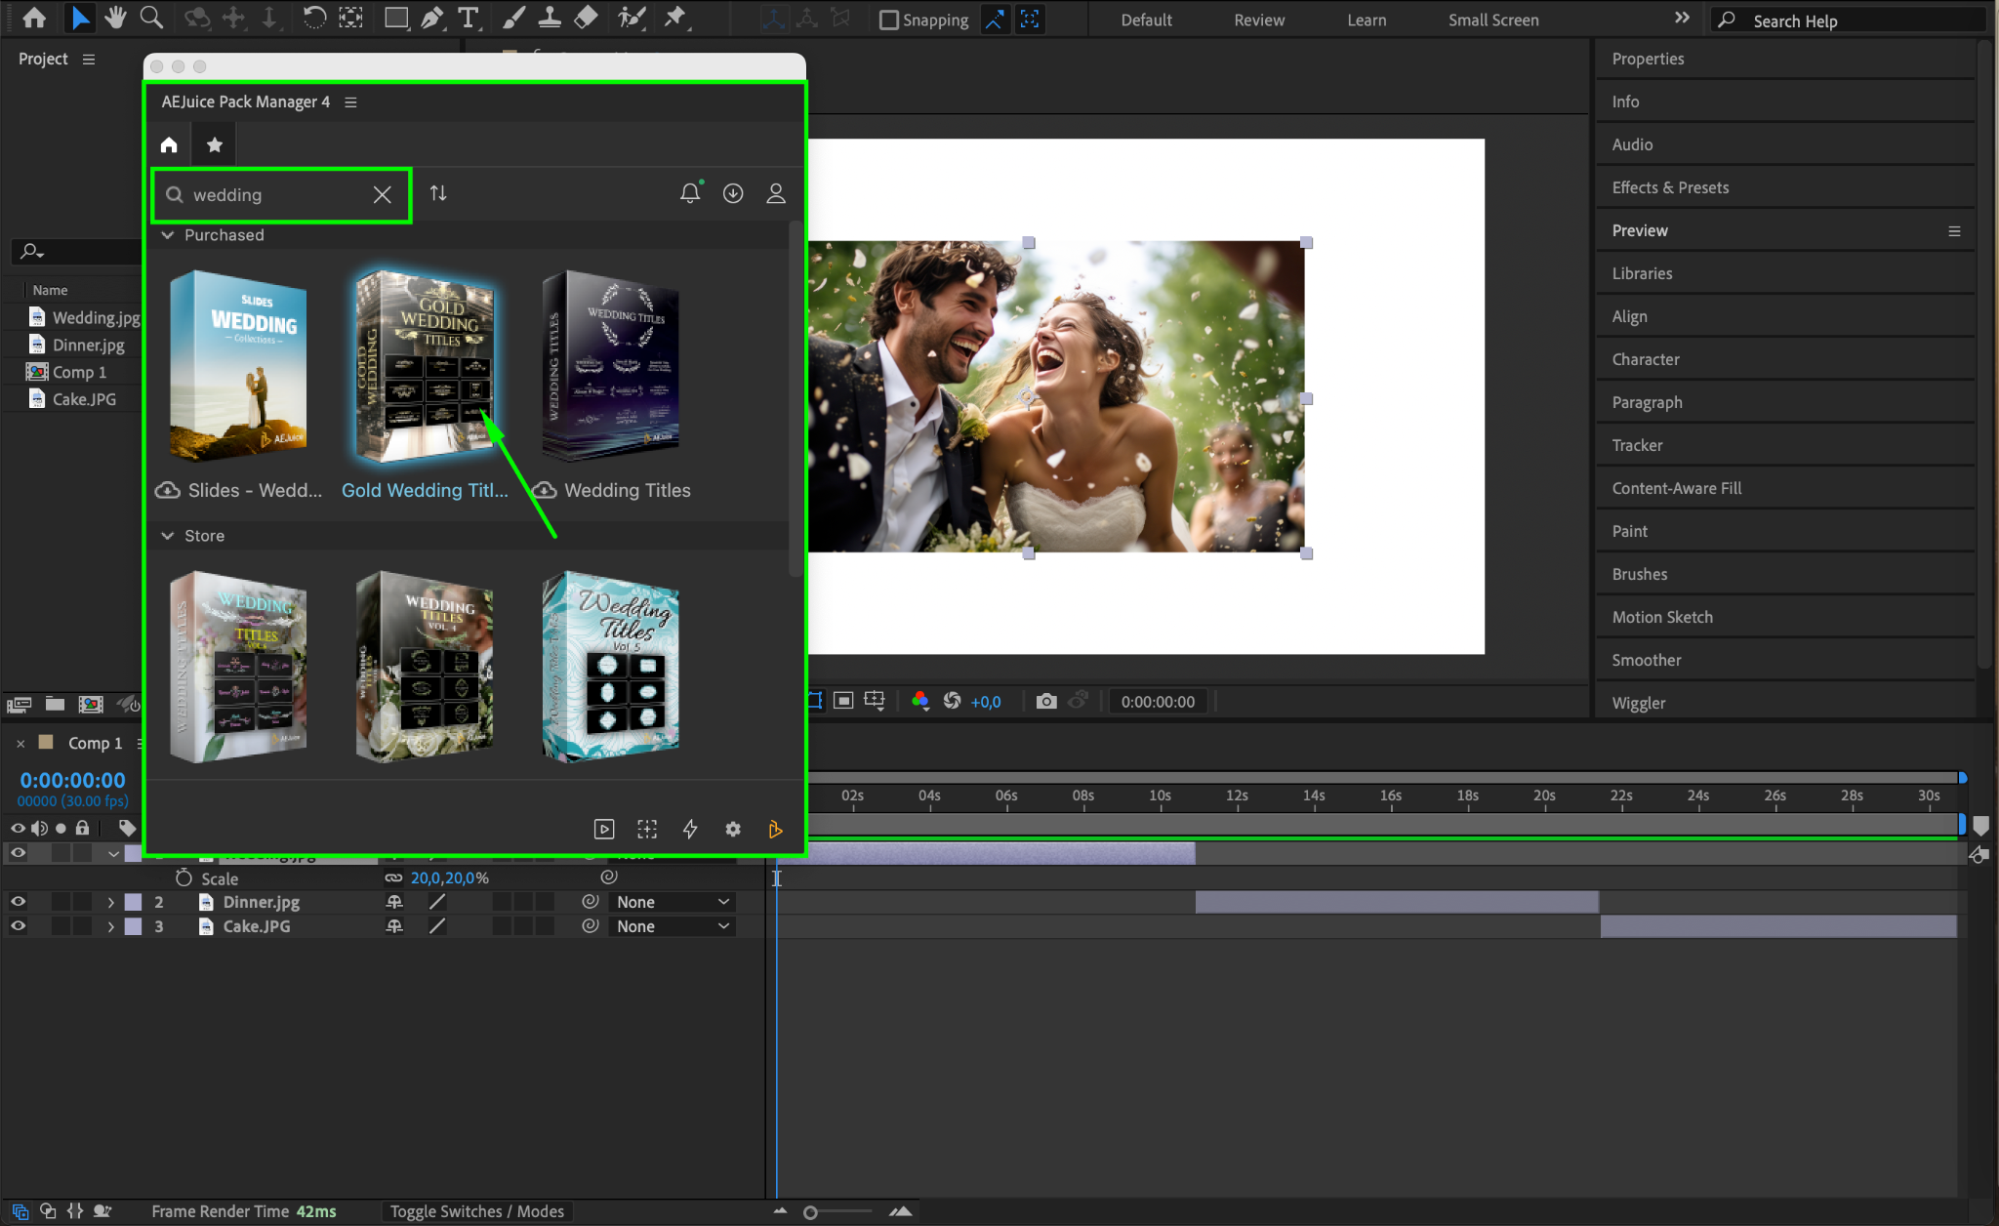
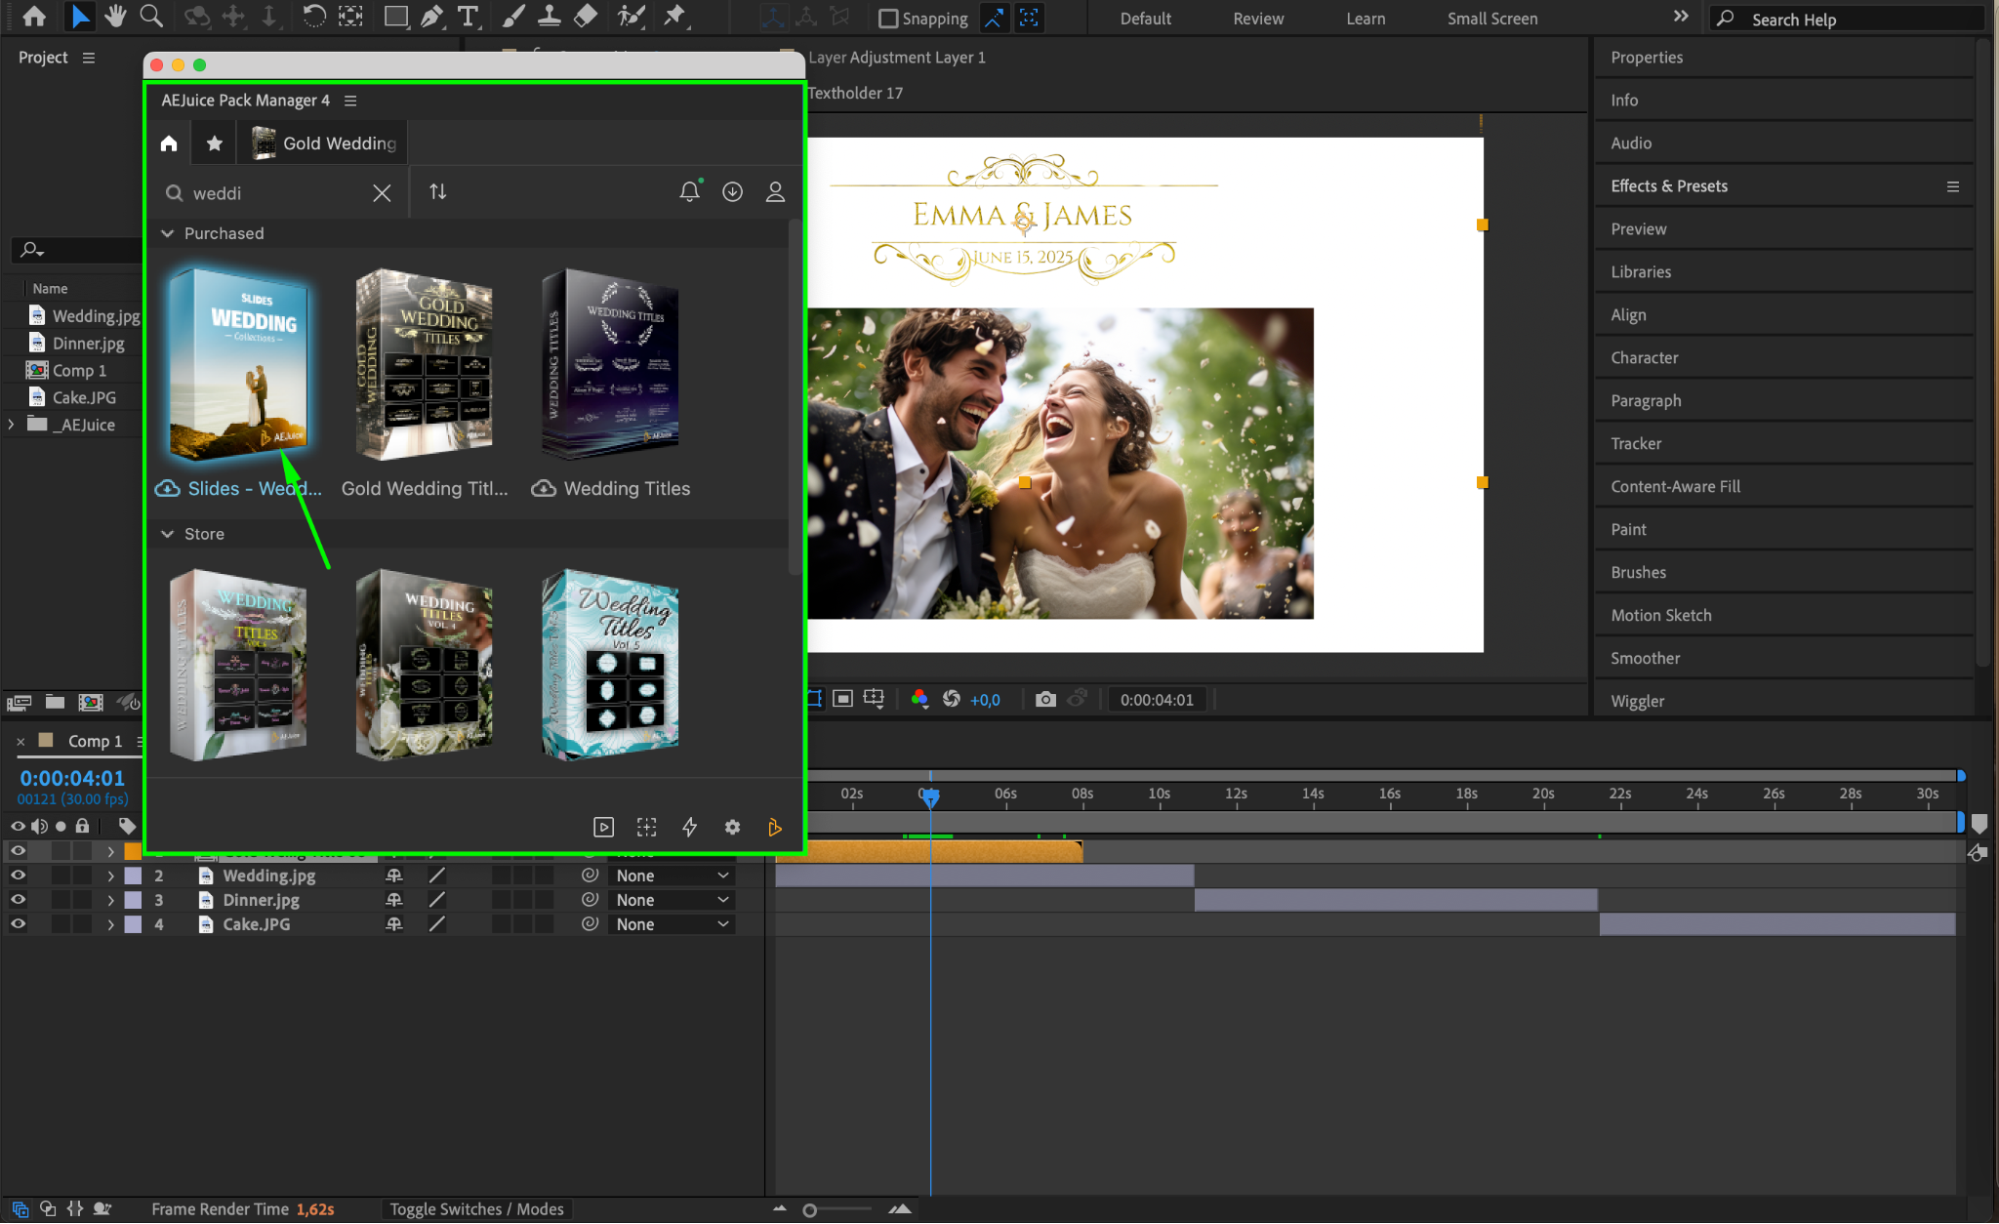
Use elegant typography to display their names. To make this easier, use the AEJuice Pack Manager 4 plugin.
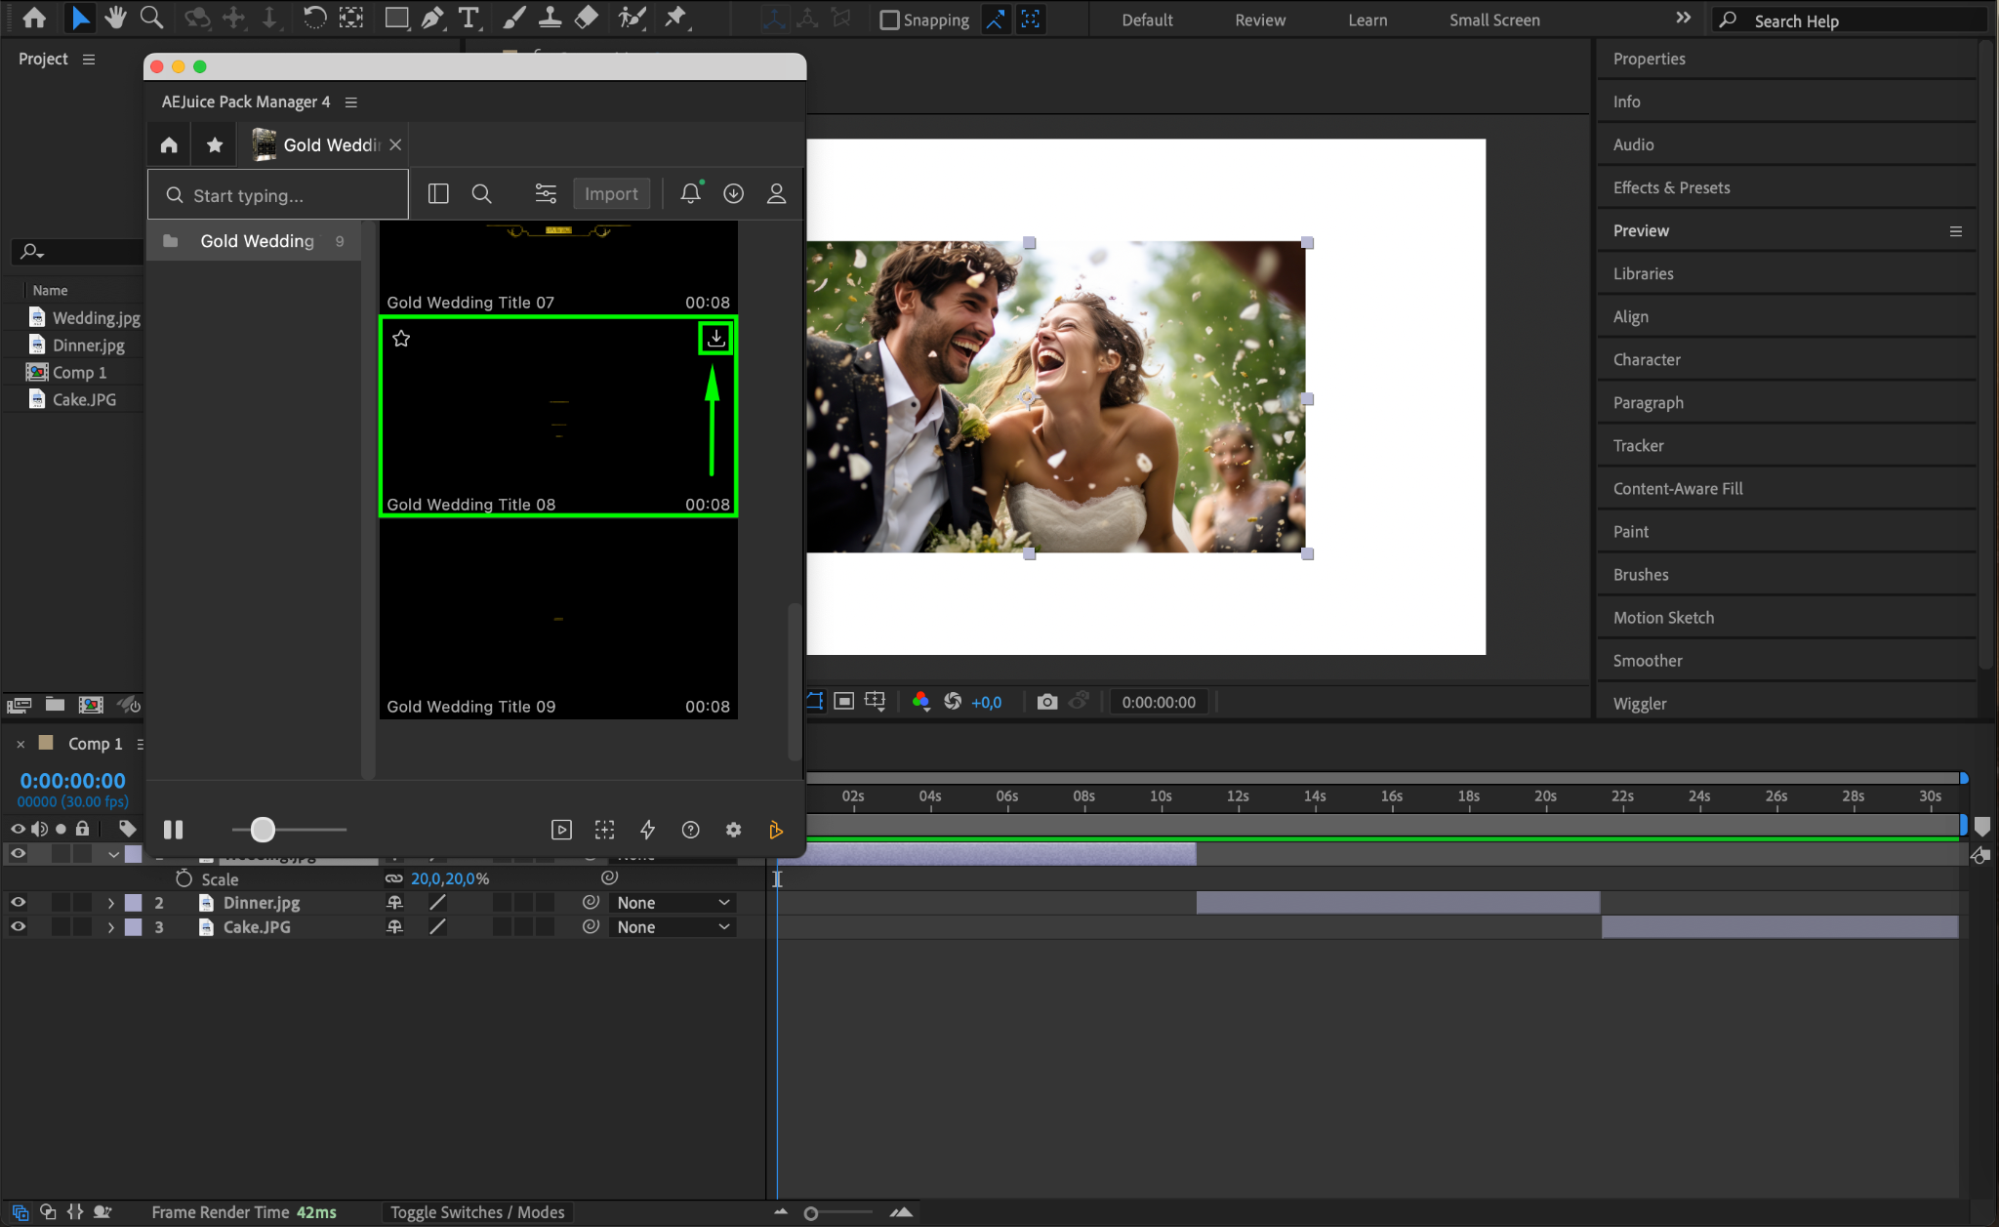
In the Wedding Title Pack, choose a title design that fits your theme. Position the text stylishly and apply smooth animations like fade-ins or slow zooms.
 Step 4: Animate the Couple’s Photos
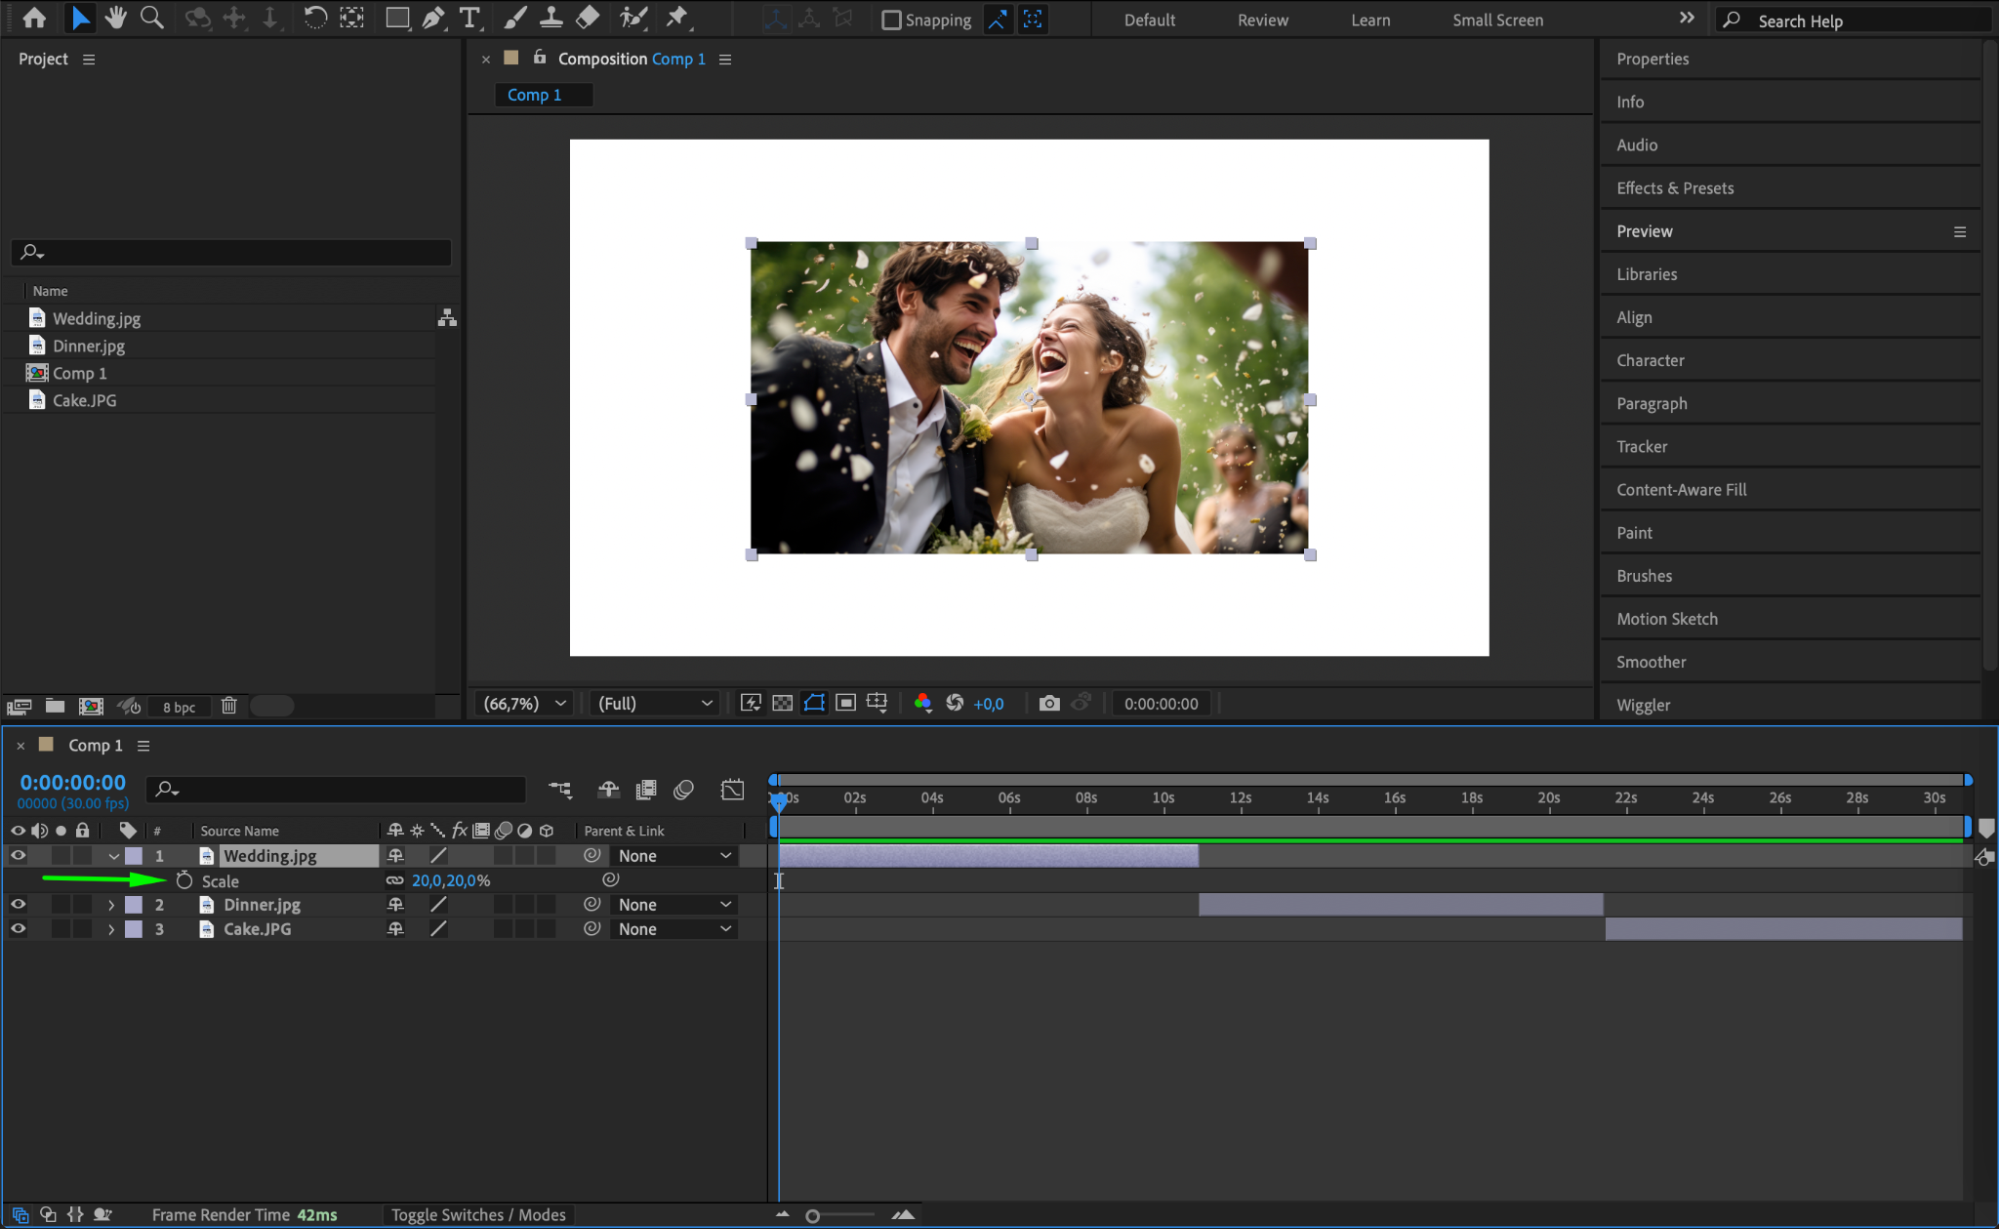
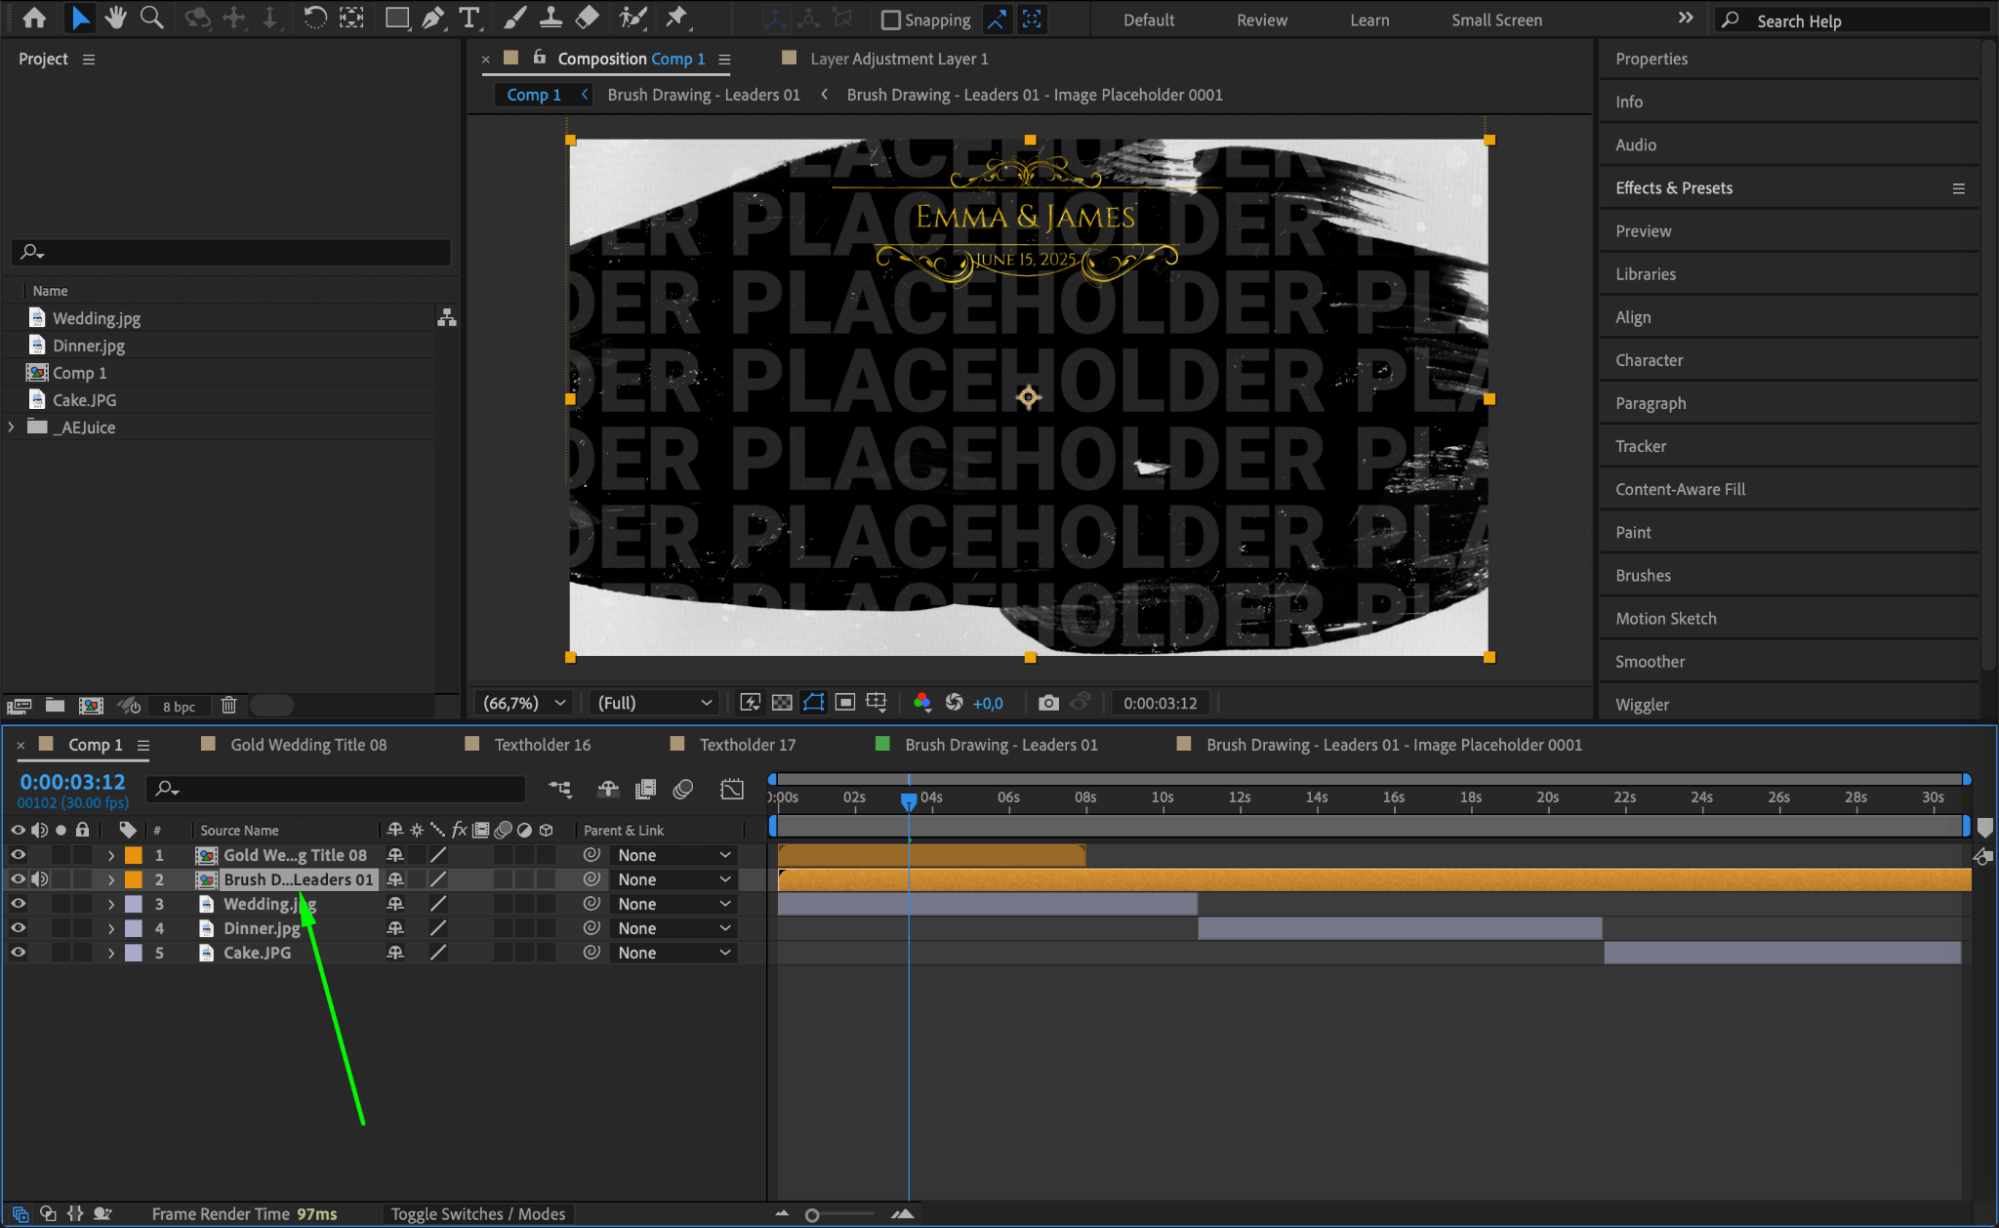
Bring the couple’s photos to life with animations.
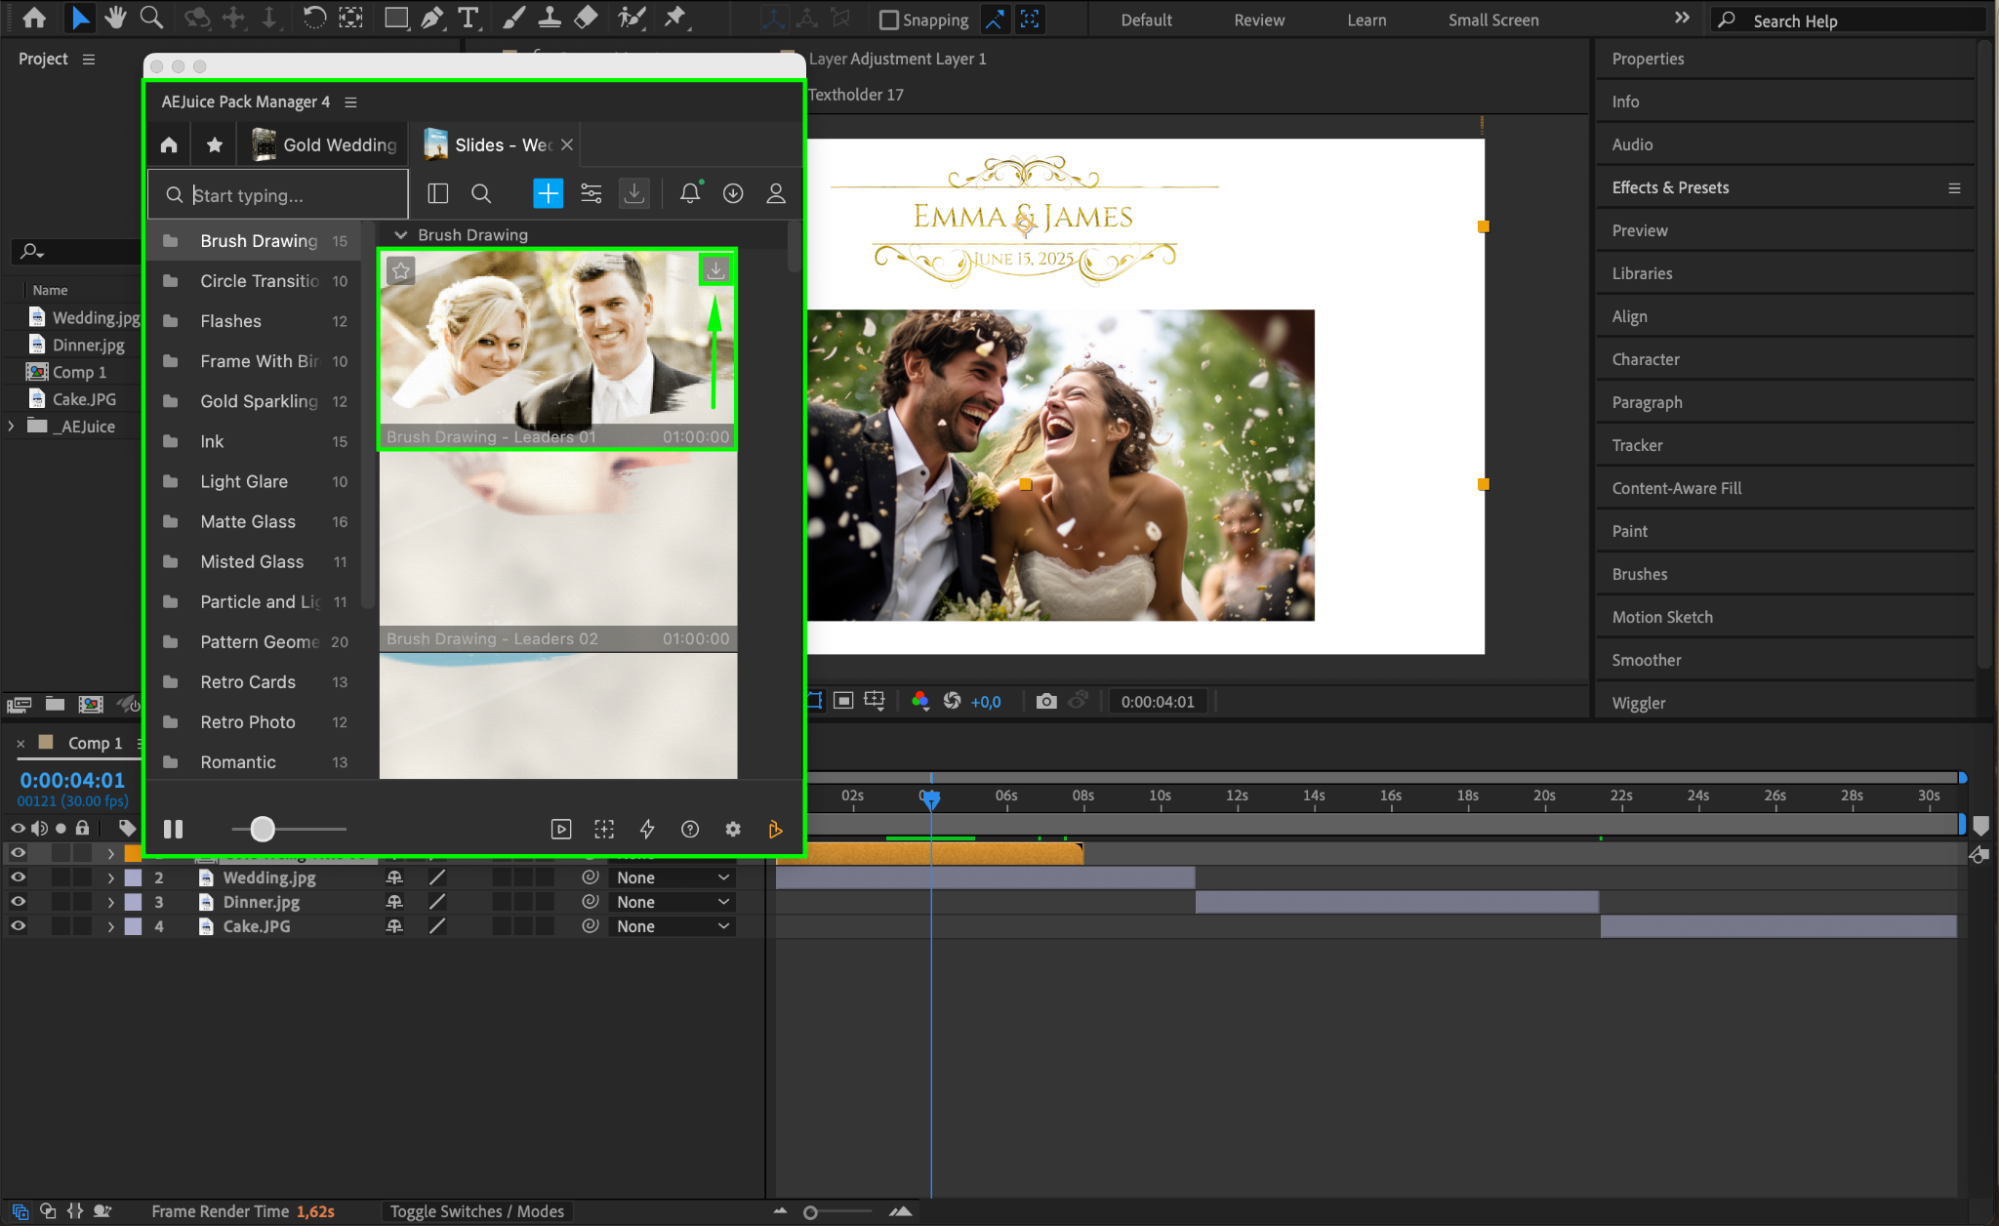
Use the Slides – Wedding Pack to apply pre-designed photo animations.
Alternatively, manually animate the scale, position, or opacity to create gentle motion effects. Keep the movements subtle and romantic.
 Step 5: Create the Second Slide – Event Details
The second slide should convey the wedding’s date, time, and location.
Use a video or photo of the venue as the background.
Add text to display the event details. If needed, create a mask under the text to ensure clarity and readability.
Enhance the text with effects like Glow, Drop Shadow, or animated text presets from the Effects & Presets panel.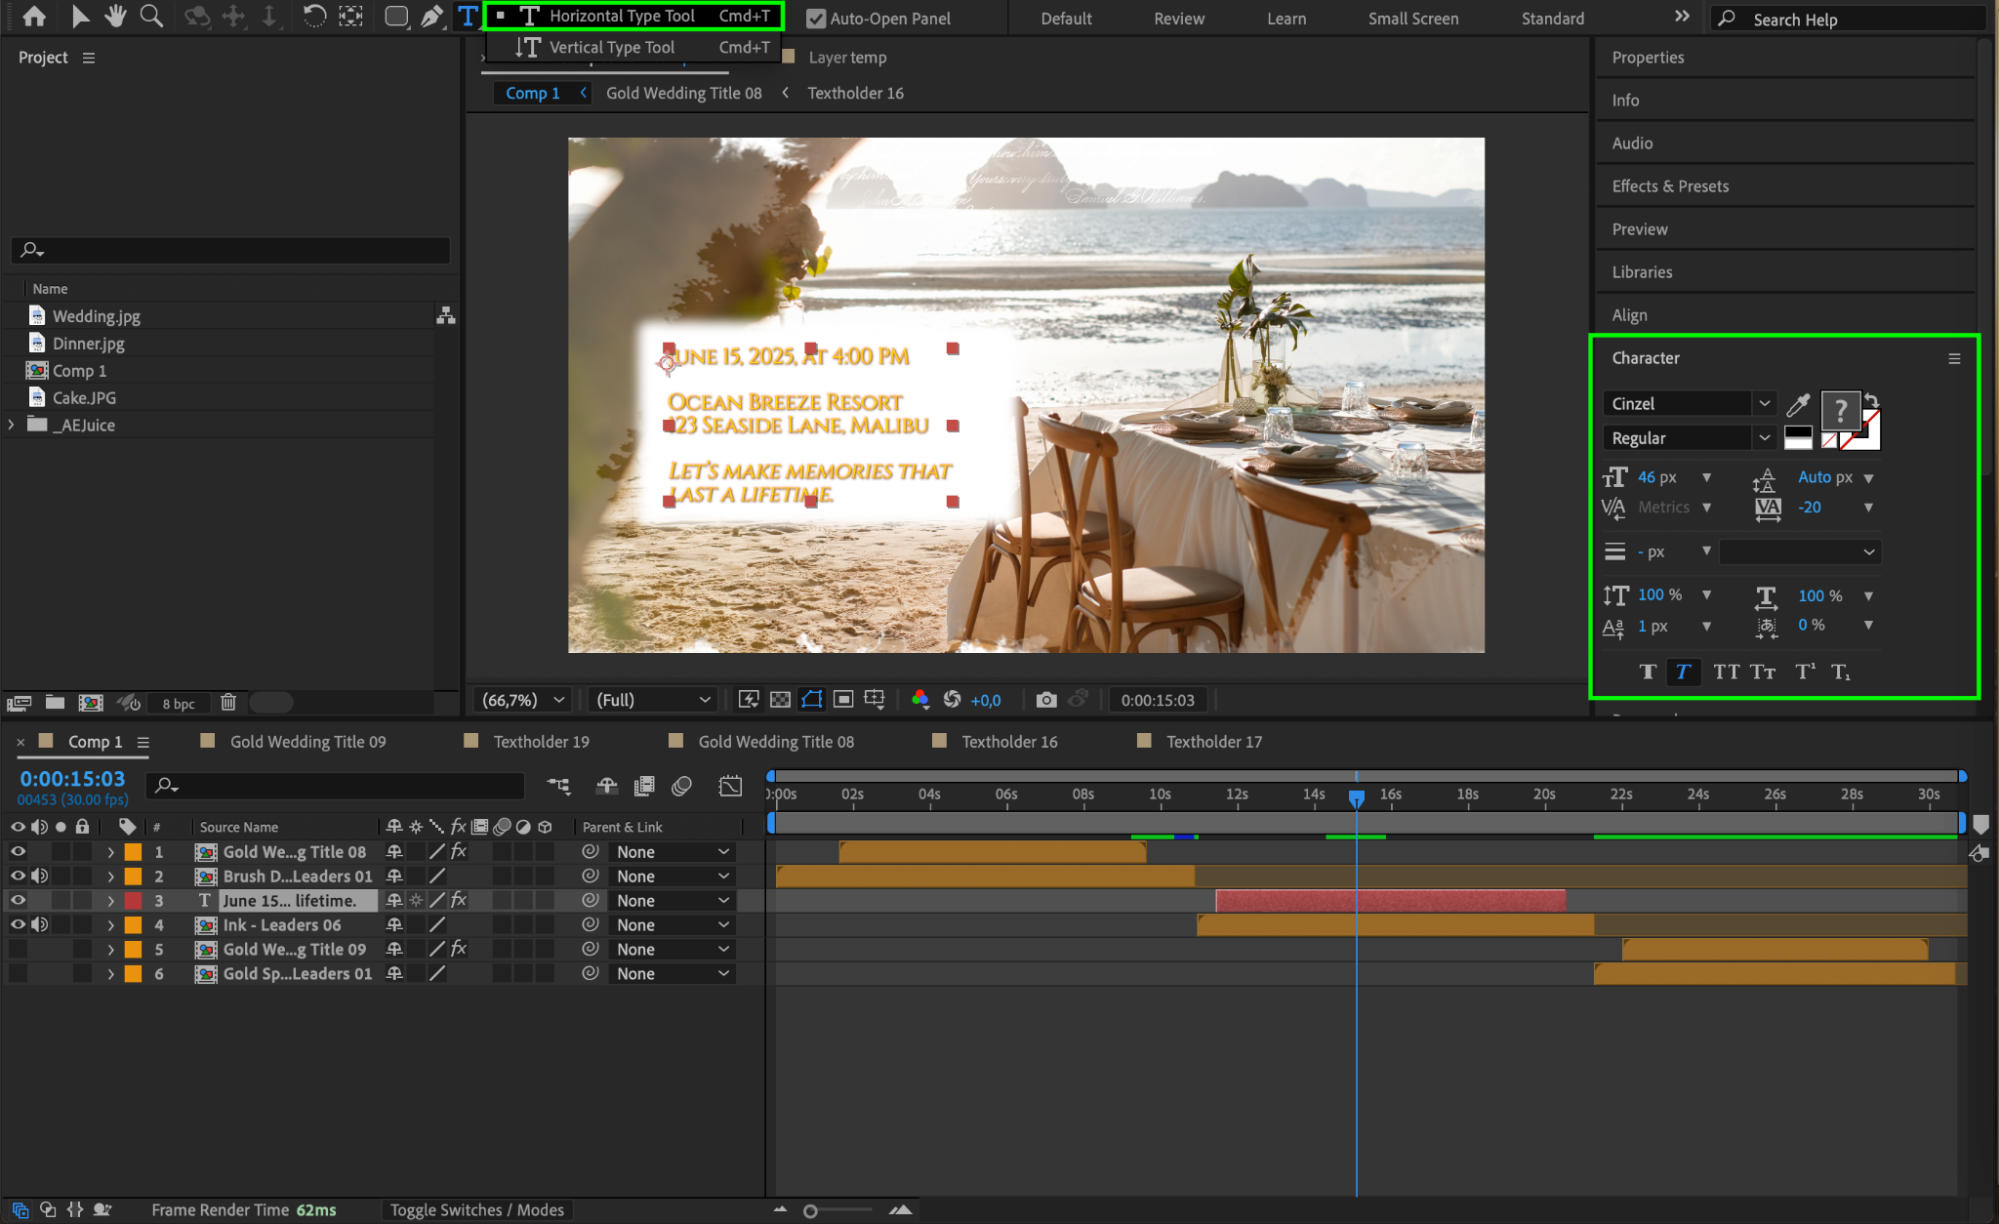 Step 6: Customize the Final Slide – Celebration Highlights
The last slide is your chance to leave a lasting impression.
Add images or videos showcasing food, drinks, or live music that guests can look forward to.
Use overlays or light particle effects to enhance the visuals. Animate the text subtly to keep the focus on the visuals.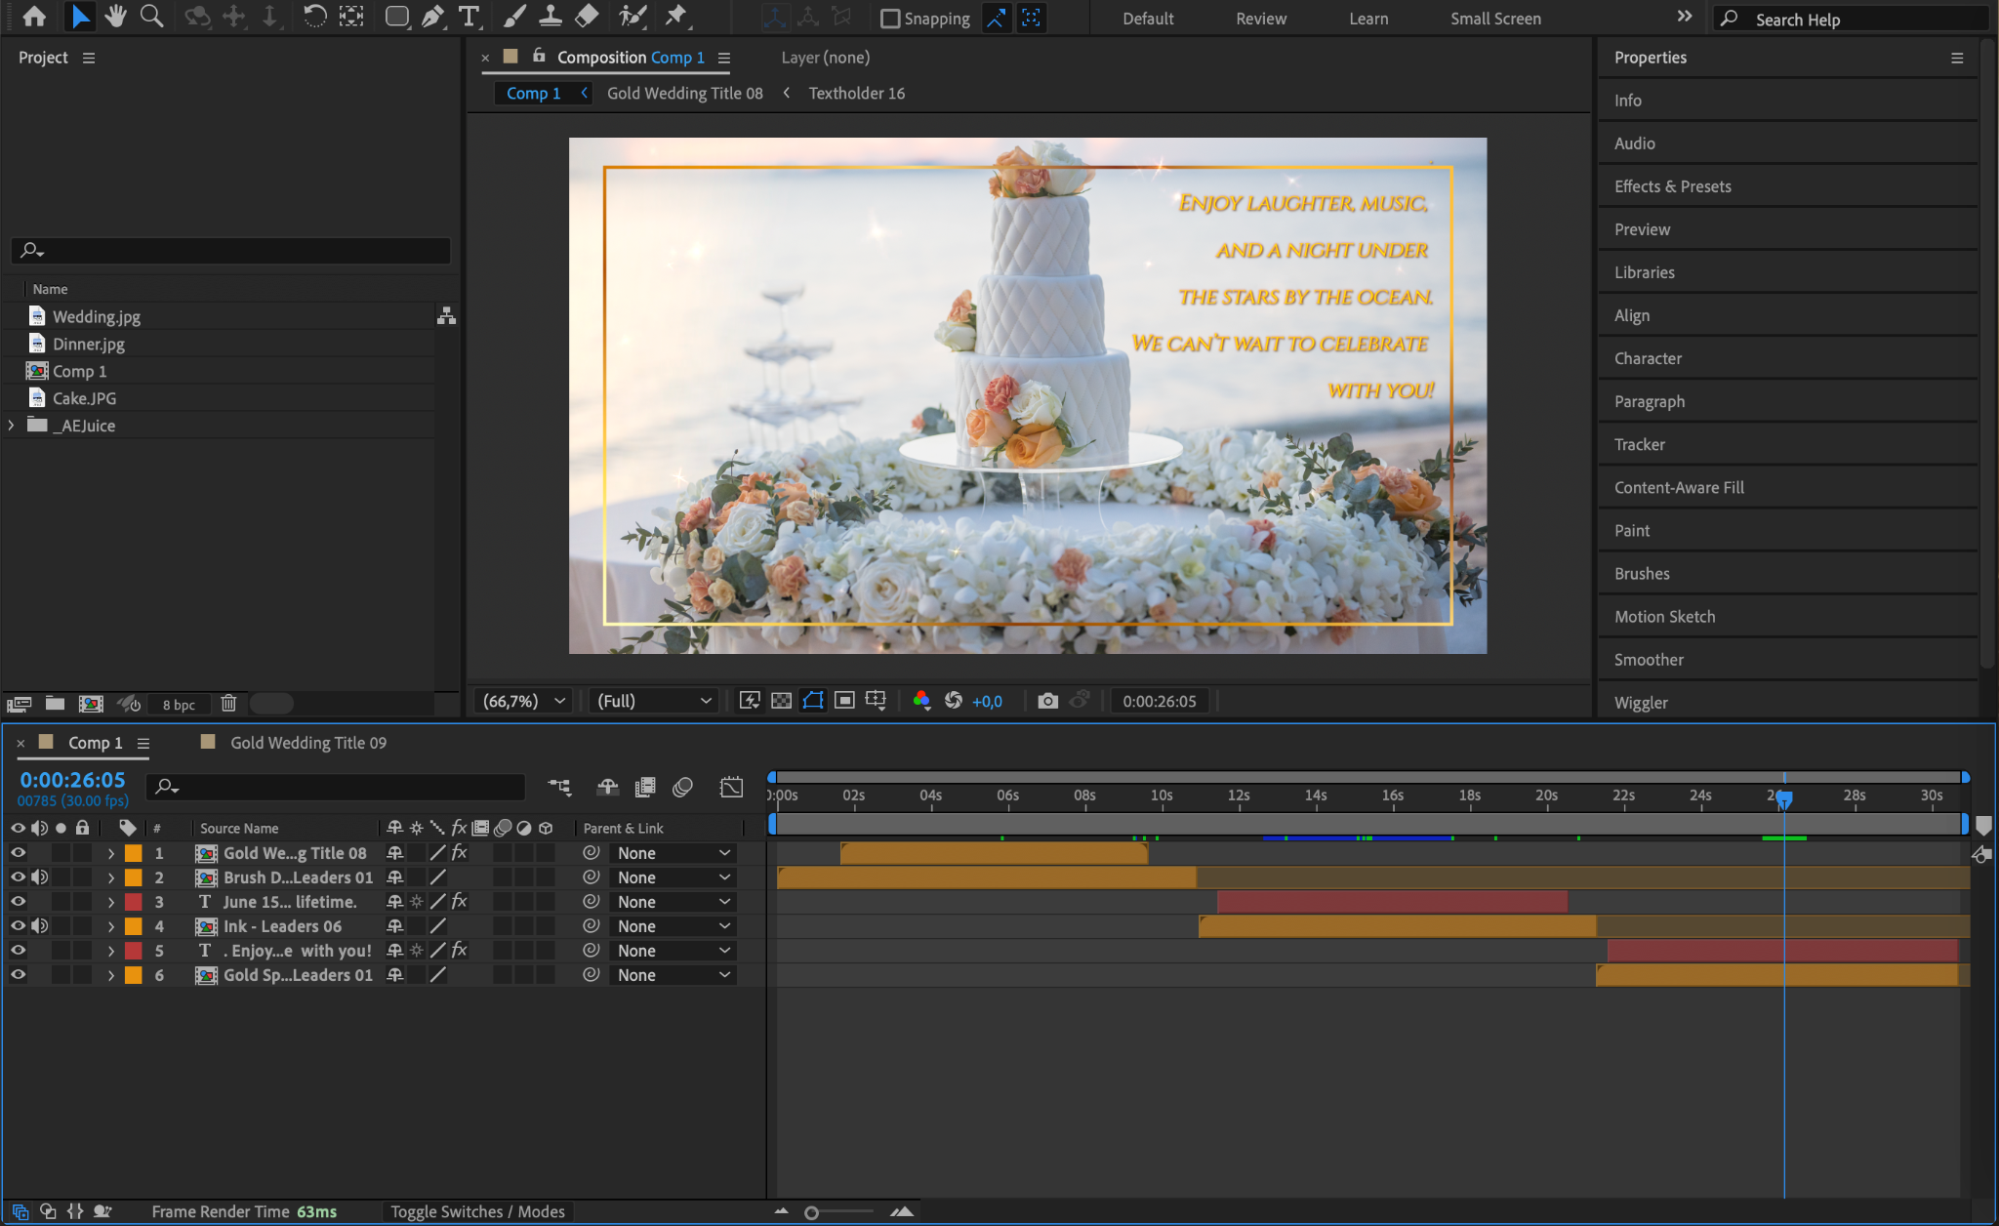 Step 7: Preview Your Work
Review the entire timeline by pressing the Spacebar to ensure all animations, transitions, and effects flow smoothly. Make necessary adjustments to timing, positioning, or effects as needed. Step 8: Render Your Invitation Video
To share your video, render the final composition:
Go to Composition > Add to Render Queue.
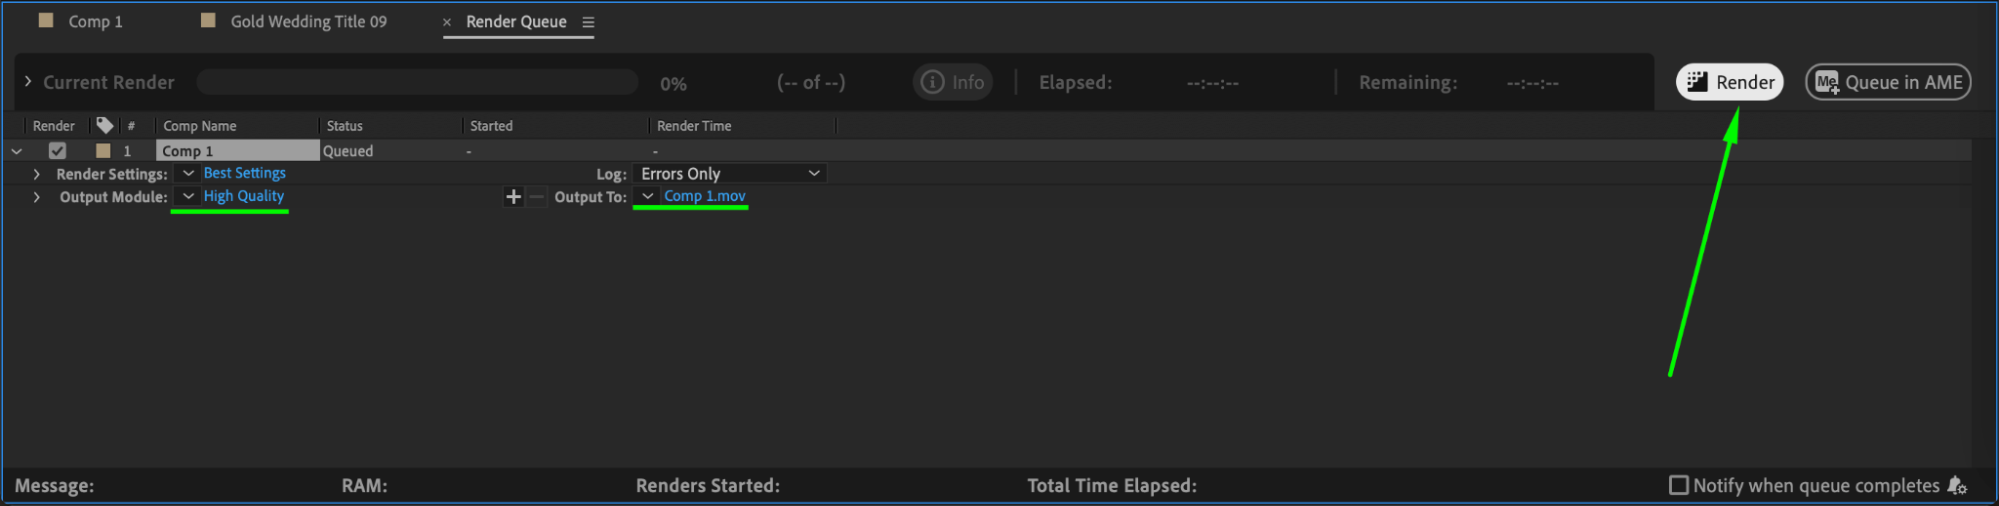
Select QuickTime as the output format and configure the quality settings.
Click Render to export your video.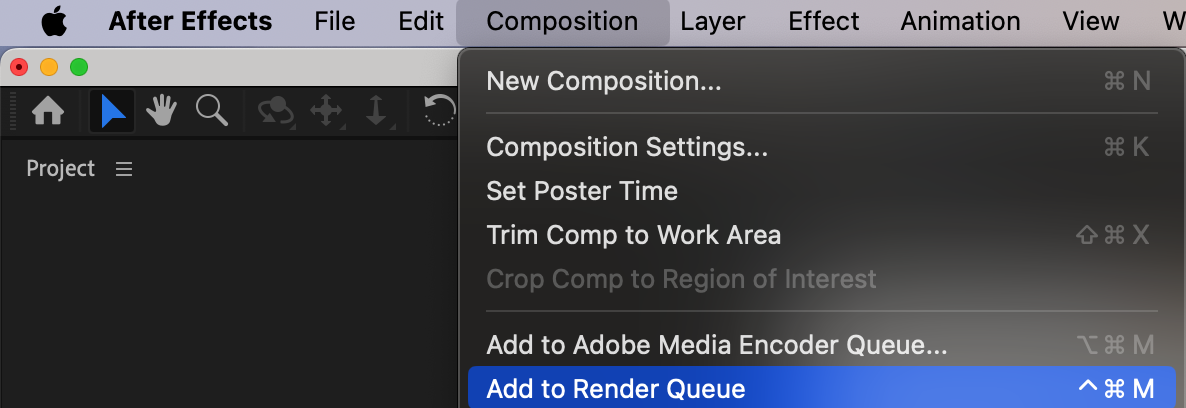
 Conclusion
With After Effects, creating a wedding invitation video is an opportunity to blend your personal style with creative animation. By following these steps, you can design a memorable invitation that reflects the love and joy of your special day. Share your masterpiece with friends and family to set the tone for a magical celebration!
Our Bestsellers


