Introduction – “Unlocking Creative Frontiers: A Guide to Mastering Camera Creation in After Effects
Are you ready to take your motion graphics to the next level? Adding a camera to your projects in After Effects can bring a new dimension of depth and realism to your creations. Whether you’re looking to add smooth camera movements, create captivating cinematography, or add a professional touch to your videos, understanding how to create and control a camera in After Effects is essential.
Creating a camera in After Effects may seem daunting at first, but with the right guidance and a little practice, you’ll soon unlock a whole new world of possibilities. In this comprehensive article, we’ll walk you through the step-by-step process of creating a camera in After Effects, giving you a solid foundation to build upon. Whether you’re a beginner eager to learn the basics or an experienced user looking to refine your skills, this guide is for you.
So, let’s dive in and learn how to harness the power of cameras in After Effects, empowering you to tell your story with captivating visuals and impeccable cinematography. Get ready to elevate your motion graphics to breathtaking new heights!
Step-by-Step Guide: Creating a Camera in After Effects
Once you’ve launched After Effects, follow these simple steps to create and control a camera:
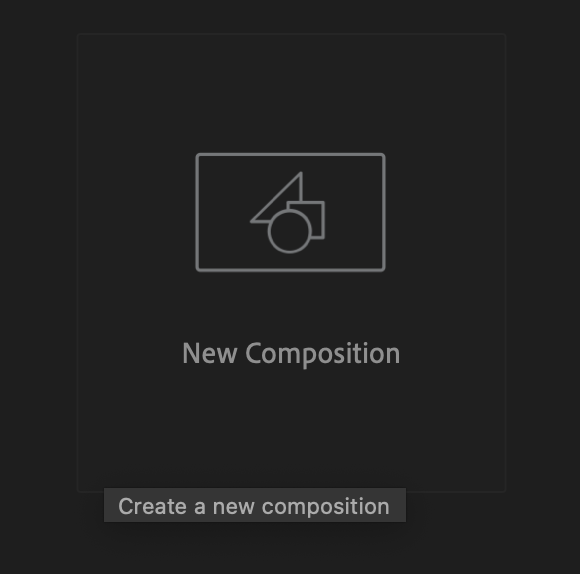
1. Create a New Composition:
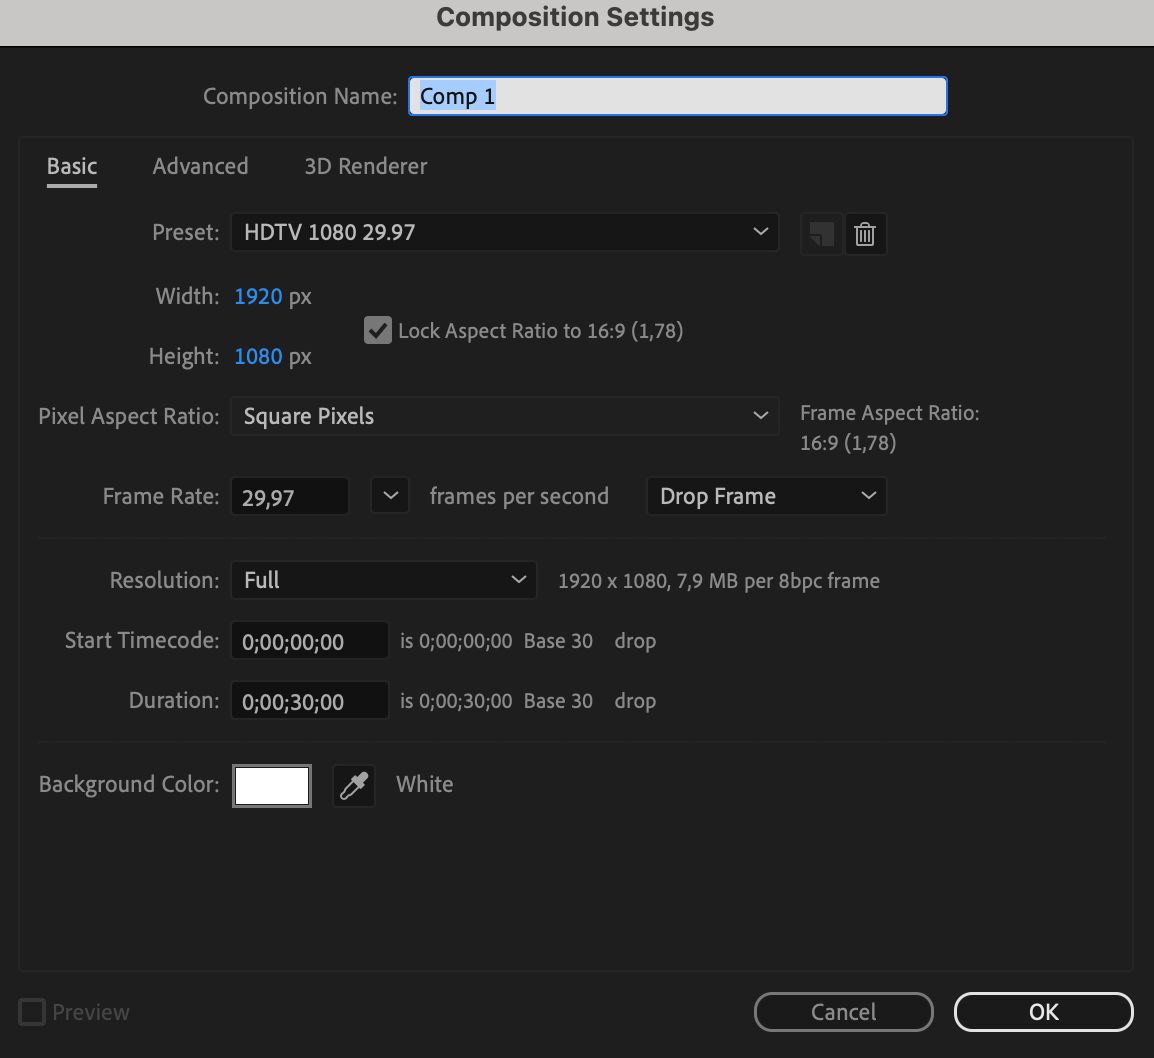
Start by creating a new composition by clicking on “Composition” in the menu bar, then selecting “New Composition” or pressing Ctrl/Cmd + N. Set the desired settings for your composition, such as the resolution, frame rate, and duration.
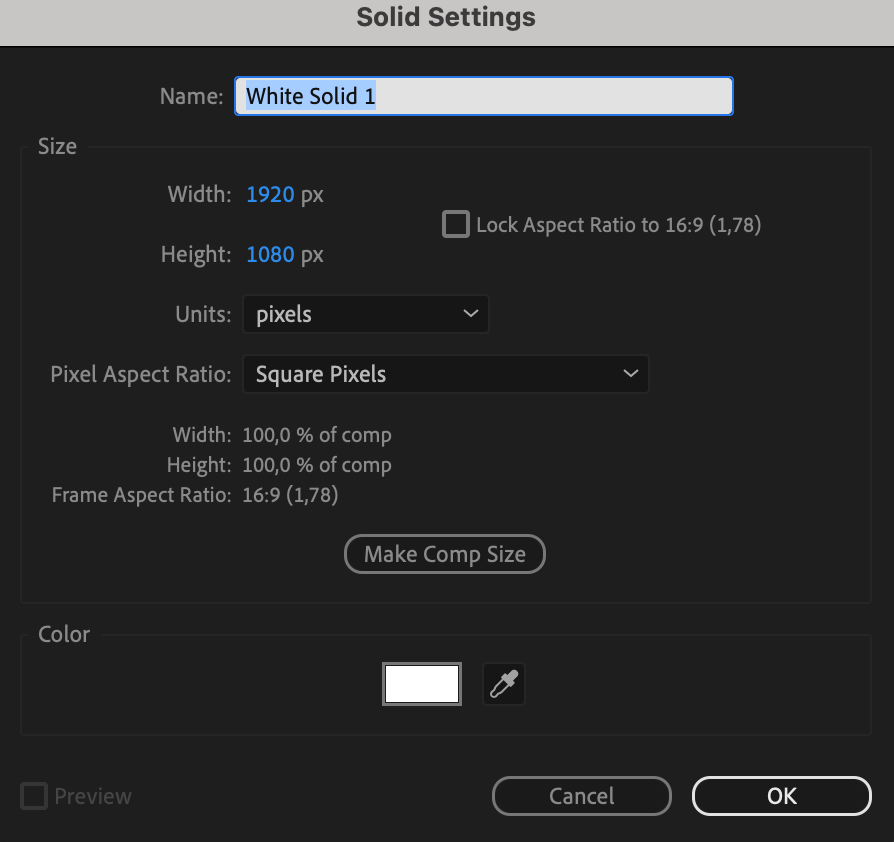
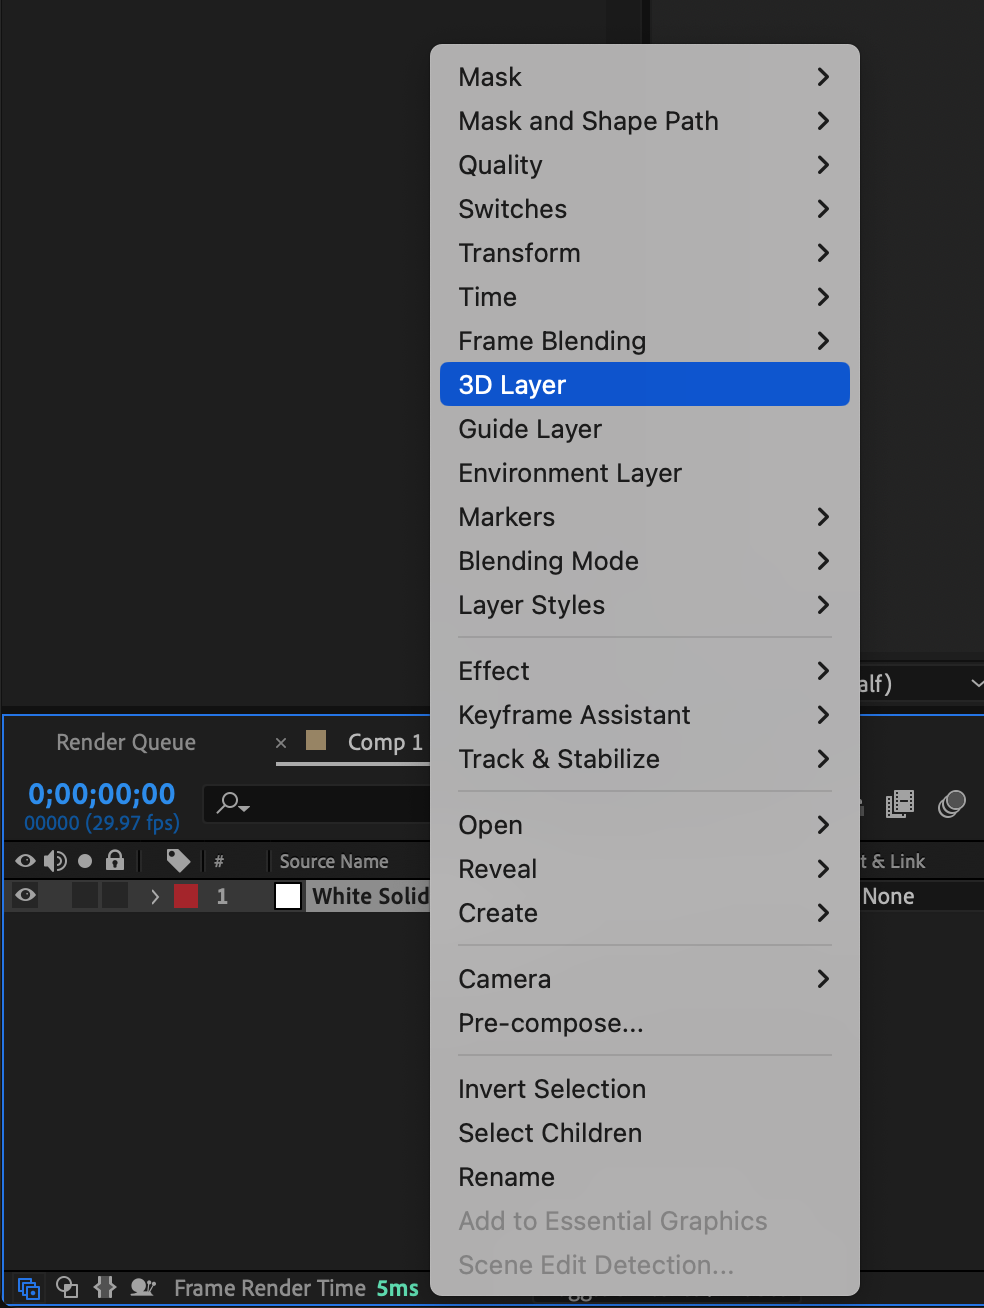
 2. Add a 3D Layer:
To enable 3D functionality, you’ll need at least one 3D layer in your composition. Either create a new solid layer or convert an existing layer to 3D by selecting it.

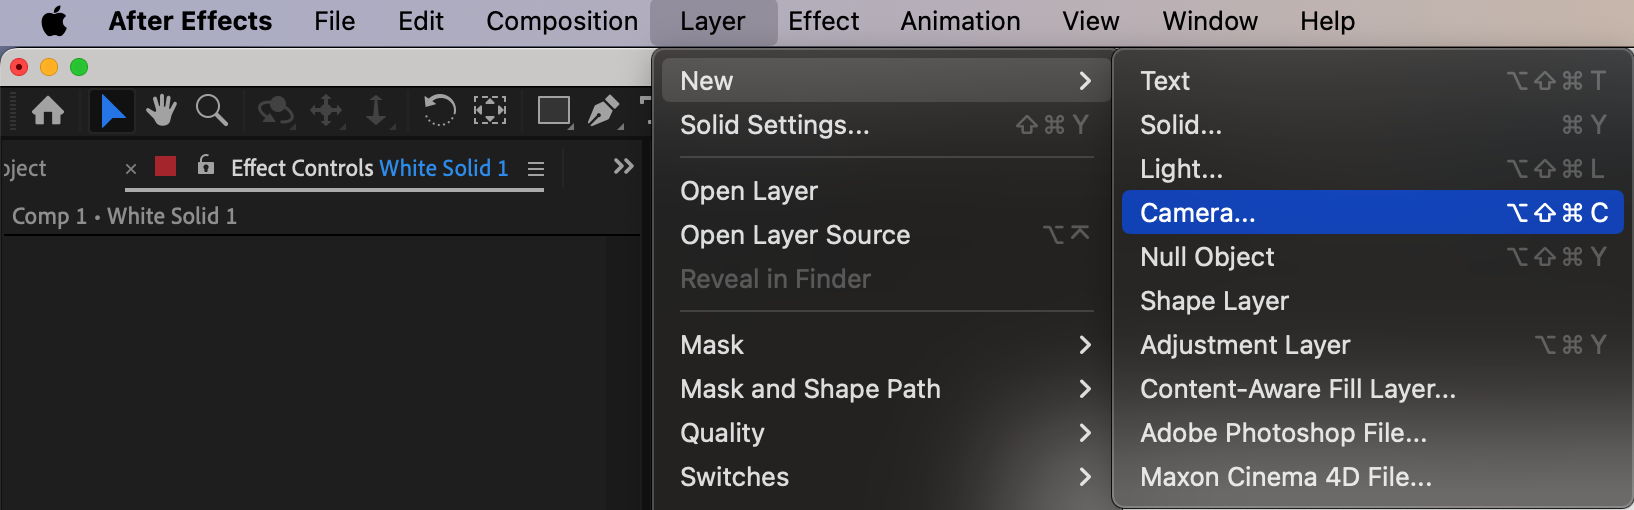
3. Create the Camera:
Next, navigate to the “Layer” menu, choose “New,” and select “Camera” or press Ctrl/Cmd + Alt/Option + Shift + C. This will open the camera settings dialog box.
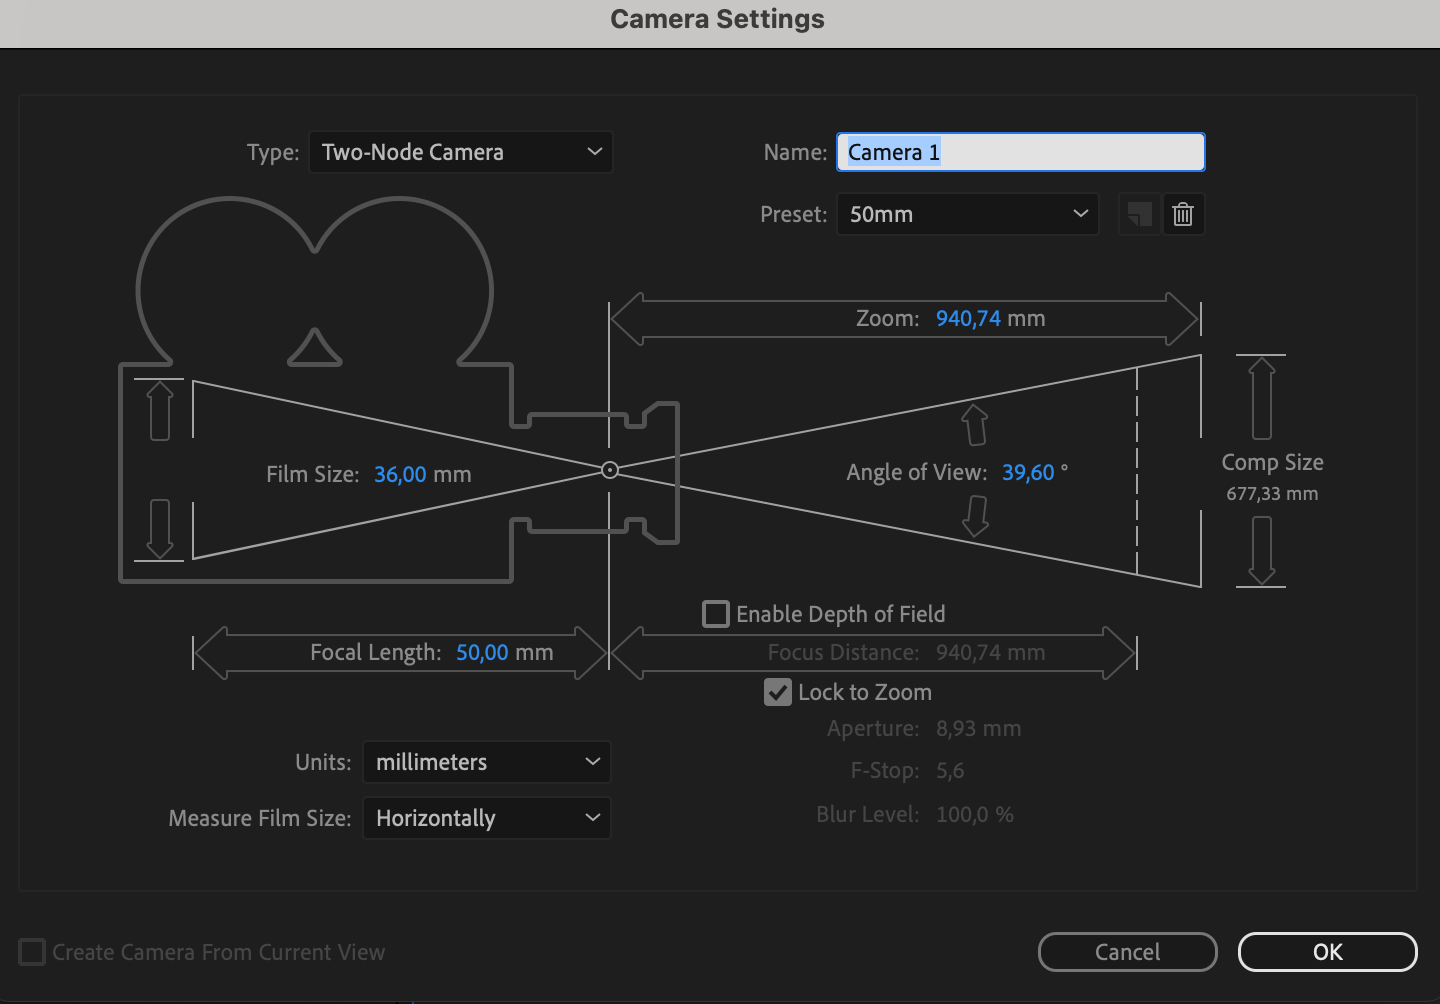
4. Adjust Camera Settings:
In the camera settings dialog box, you can customize various parameters such as the lens type, focal length, aperture, and depth of field. Experiment with different settings to achieve the desired look for your composition.
5. Position and Animate the Camera:
Now, select the camera layer in the timeline and use the camera tools available in the toolbar to position and animate your camera. You can use the hotkeys such as Shift + C to cycle through various camera tools.
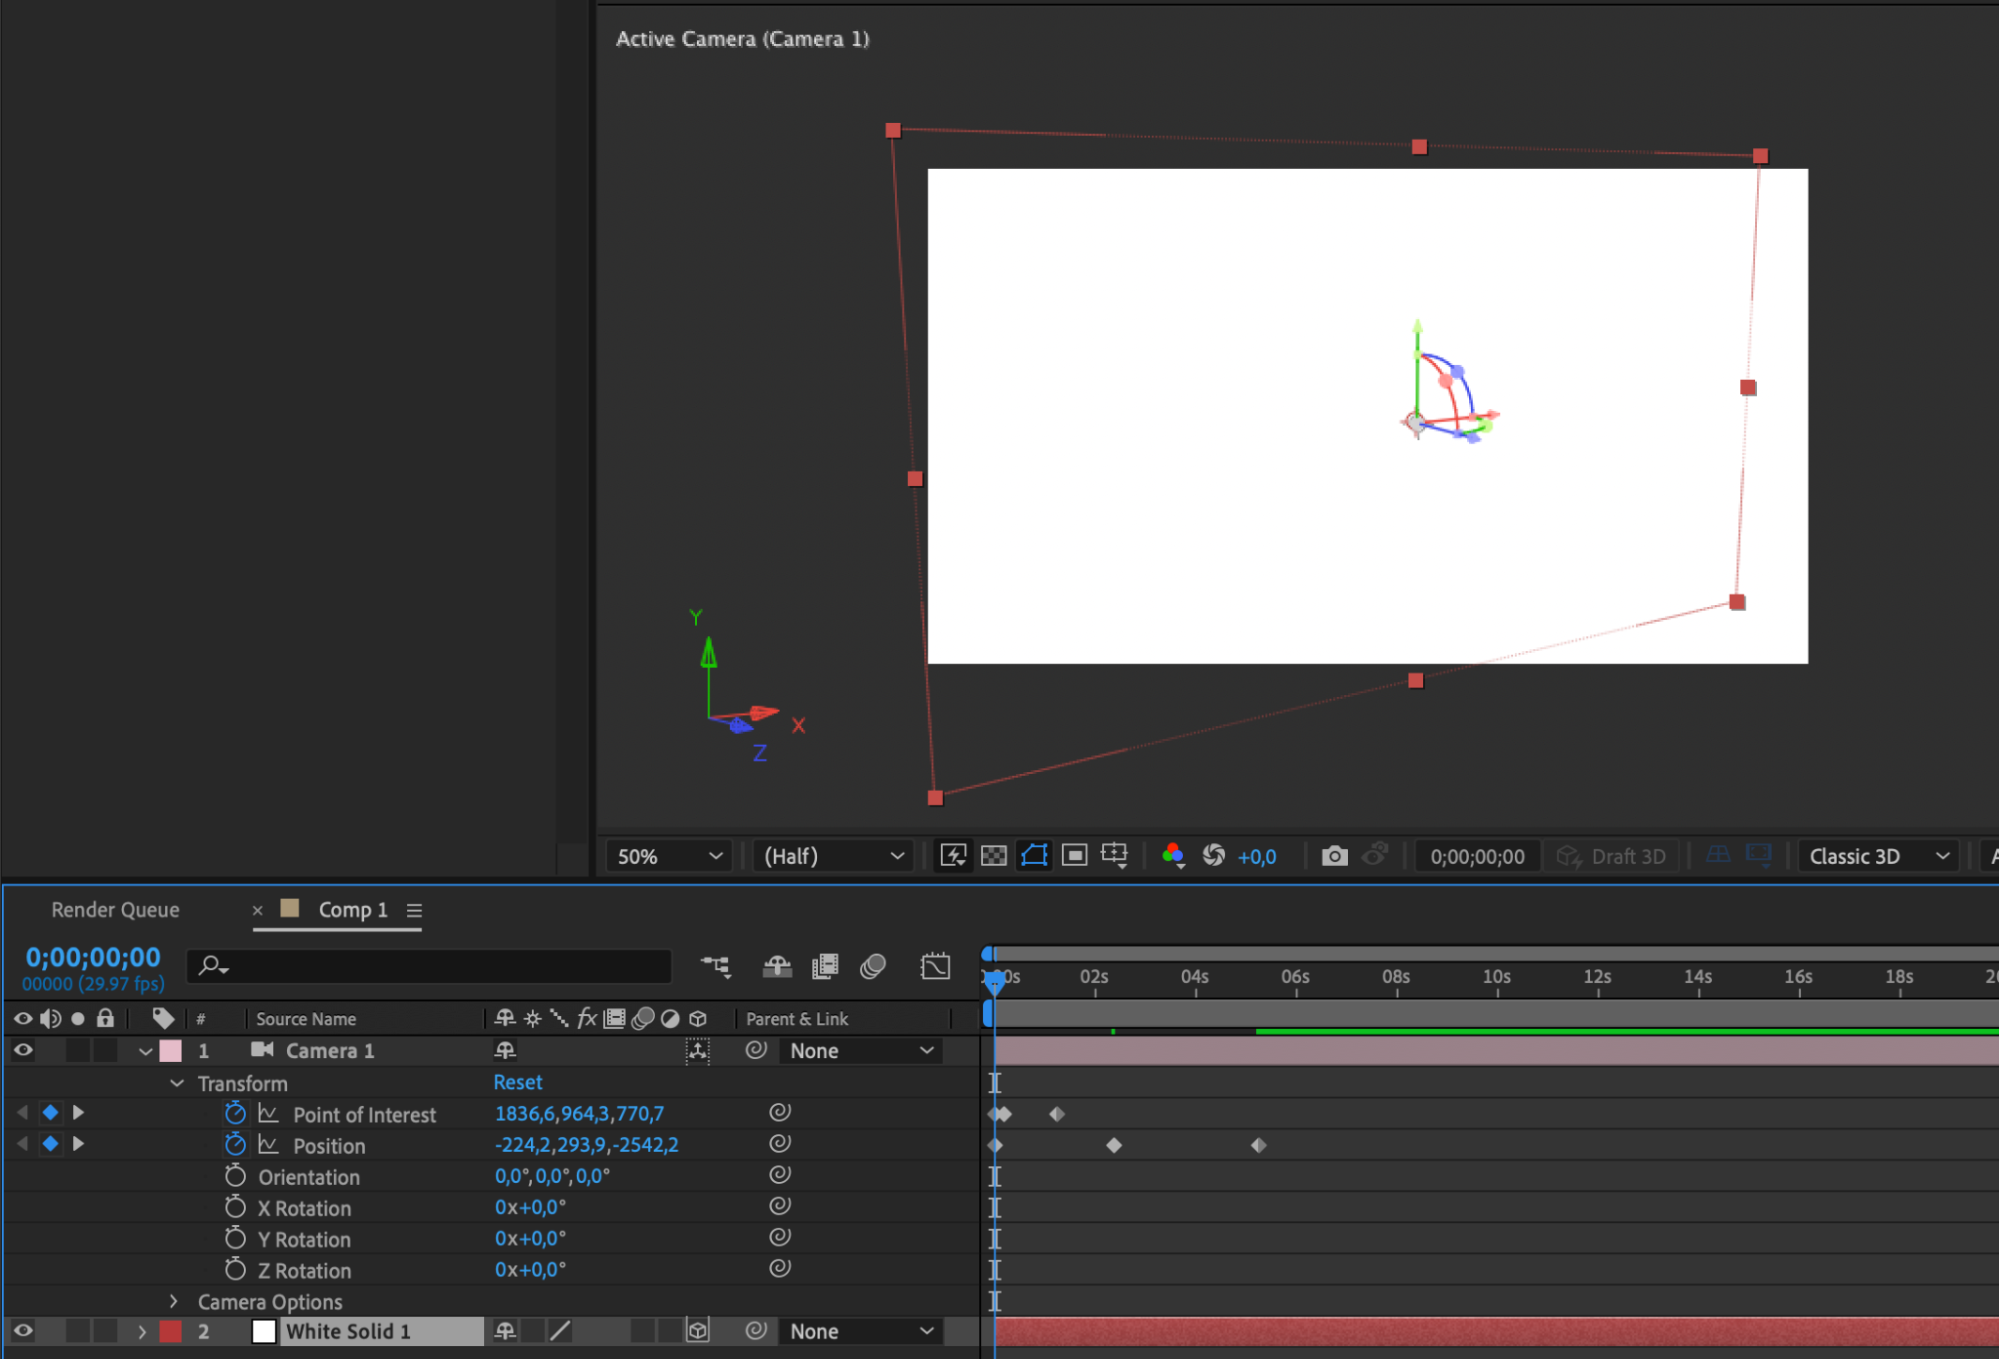

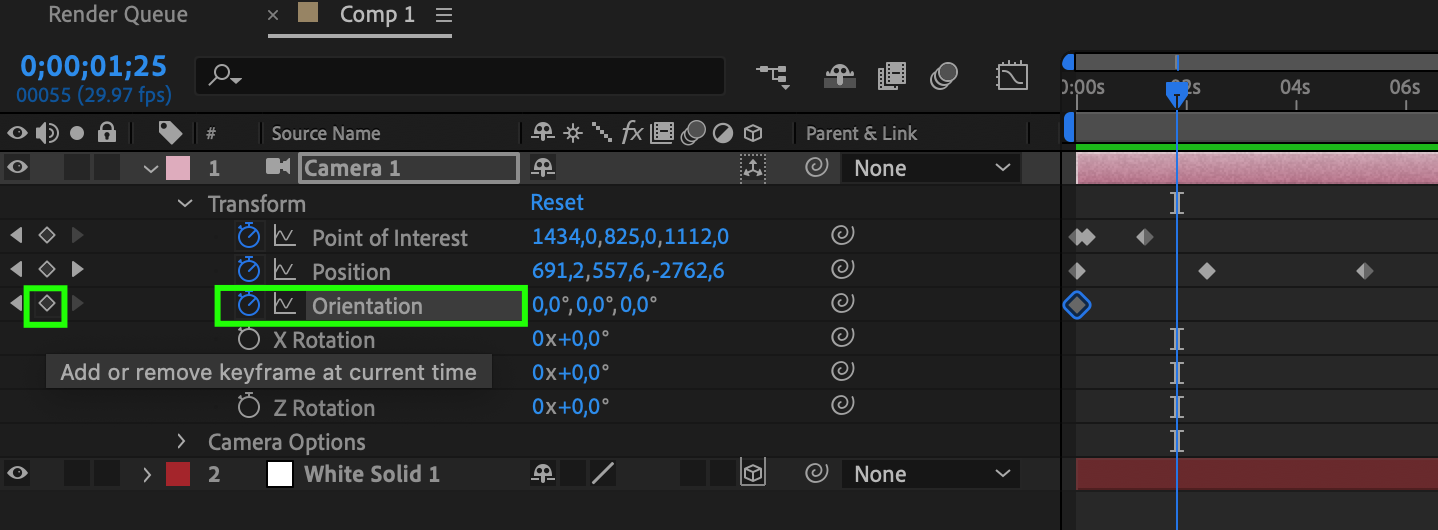
6. Control Camera Movement:
After Effects provides you with a wide range of options to control camera movement. You can keyframe the camera’s position, rotation, and other properties over time by clicking on the stopwatch icon next to each parameter in the timeline and setting keyframes at various points.
7. Utilize Additional Camera Options:
Take advantage of other camera features to enhance your composition. For example, you can enable depth of field for a realistic focus effect, or enable motion blur to add a sense of motion and fluidity to your camera movements.
8. Experiment and Refine:
Play around with different camera techniques, such as dollying, panning, and zooming, to add dynamic and engaging characteristics to your animations. Don’t be afraid to experiment and refine your camera movements until you achieve the desired results.
By following these steps and experimenting with the camera settings and movements, you’ll be able to create realistic and visually stunning compositions that stand out. Remember, practice makes perfect, so keep honing your skills and exploring new possibilities to take your motion graphics to the next level.
Conclusion
Congratulations! You have successfully learned how to create and control a camera in After Effects. By following the step-by-step guide and utilizing the camera tools and settings available to you, you can now add depth, realism, and professional cinematography to your motion graphics projects.
Creating cameras in After Effects opens up a whole new world of possibilities for storytelling and visual communication. Whether you’re looking to add smooth camera movements, simulate realistic camera effects, or create captivating animations, mastering the camera tool is essential.
Remember to experiment and refine your camera movements to achieve the desired effects. Play around with different camera techniques, such as dollying, panning, and zooming, and don’t hesitate to explore additional camera options like depth of field and motion blur. With practice, you’ll gain a better understanding of how to create compelling visuals that enhance the impact of your projects.
Now, armed with the knowledge of creating a camera in After Effects, you can confidently elevate your motion graphics to new heights. So go ahead, let your creativity soar, and tell captivating stories with the power of cameras in After Effects.
We hope this article has provided you with the necessary guidance and inspiration to unleash your creativity and unlock the full potential of the camera tool in After Effects. Happy creating!
Our Bestsellers

