How to Make Dynamic Animated Backgrounds in Adobe After Effects
Introduction
Animated backgrounds can add depth and energy to your motion graphics. In Adobe After Effects, you can create vibrant, loopable backgrounds using basic shapes, blur effects, and noise textures. This step-by-step guide shows how to build a dynamic background that works well behind text, logos, or UI elements.
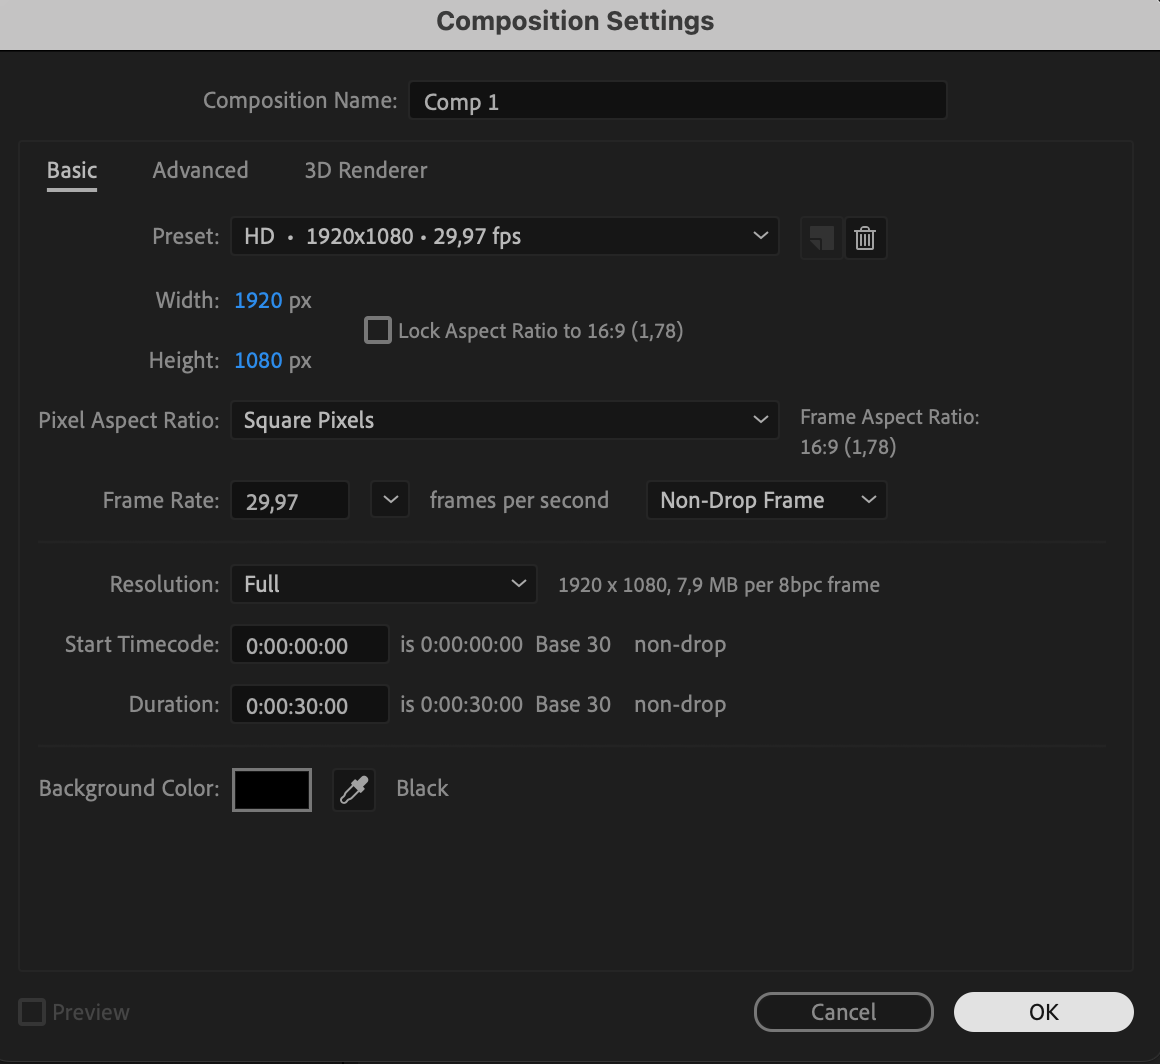
Step 1: Create a New Composition
Go to Composition > New Composition, set your preferred resolution (e.g., 1920×1080), frame rate (e.g., 30 fps), and duration (e.g., 30 seconds).
Step 2: Add a Solid Background
Go to Layer > New > Solid and choose any base color. This layer will serve as your background foundation. Make sure it covers the entire comp.


Get 10% off when you subscribe to our newsletter

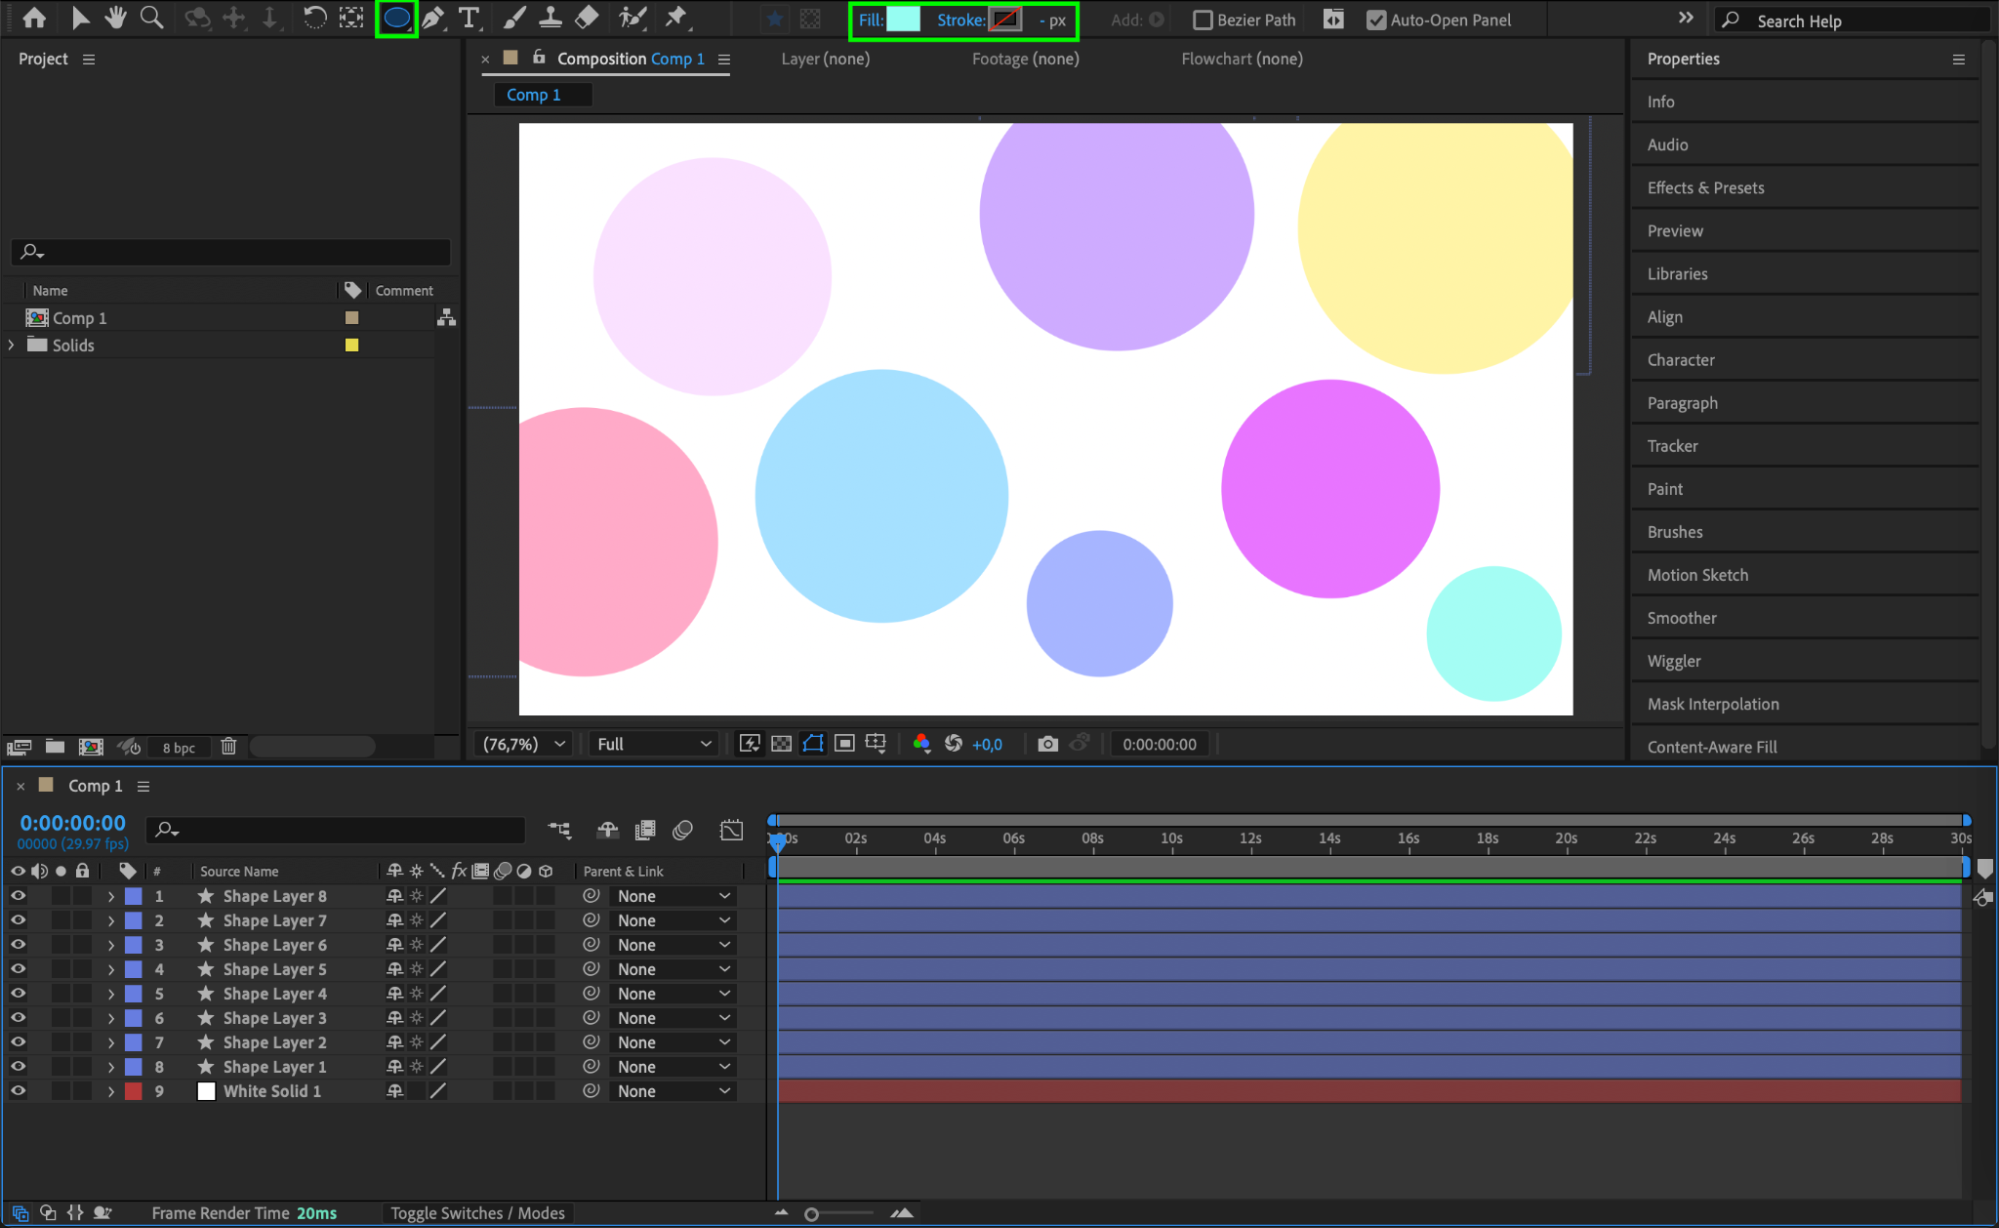
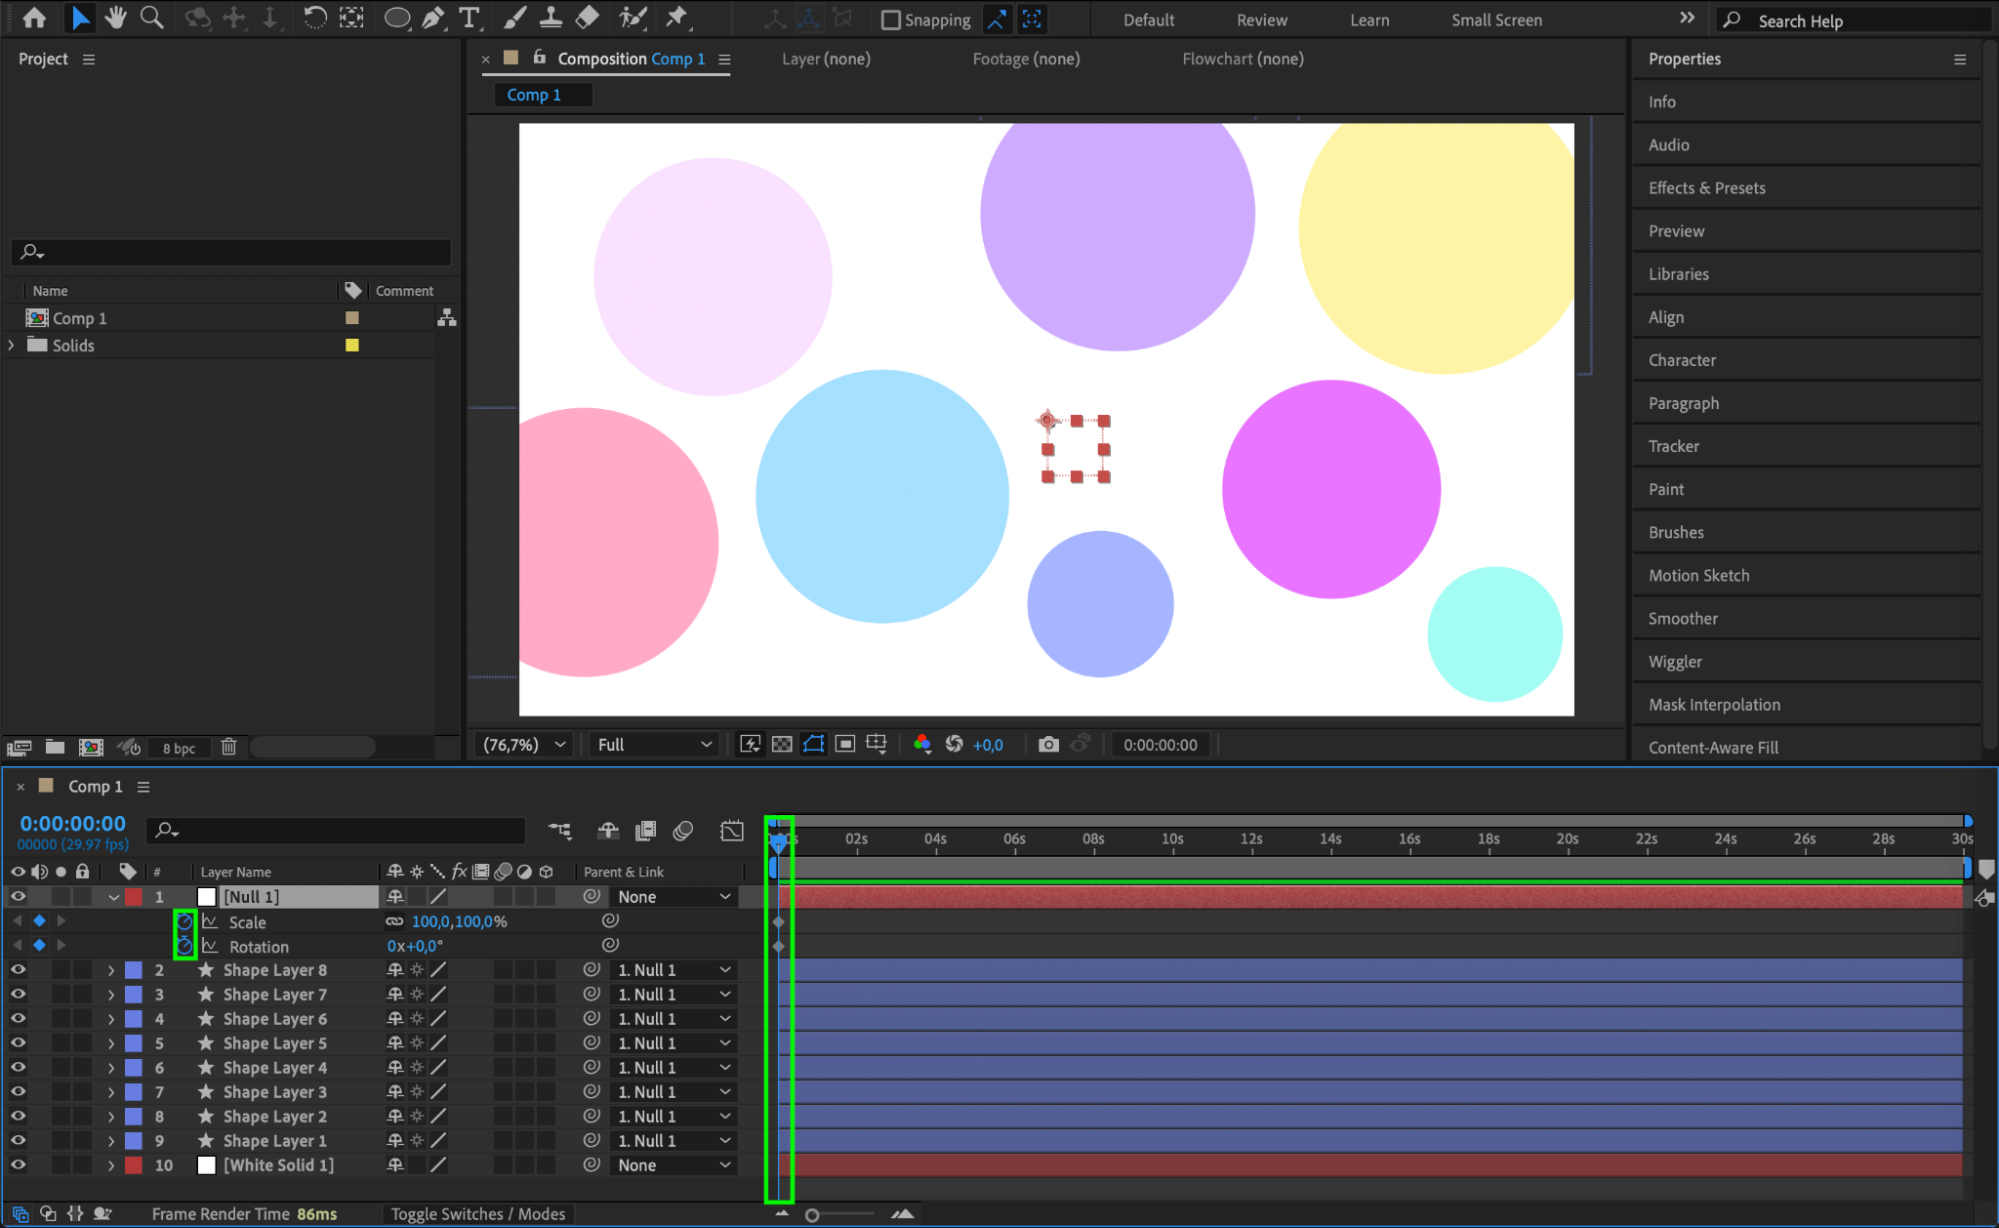
Step 3: Create Colorful Circles
Select the Ellipse Tool (Q), hold Ctrl/Cmd + Shift, and draw multiple circles (about 8–10), placing each one around the center of the comp. Set Stroke to None and Fill to different colors for each circle. This gives you variety and energy in your composition.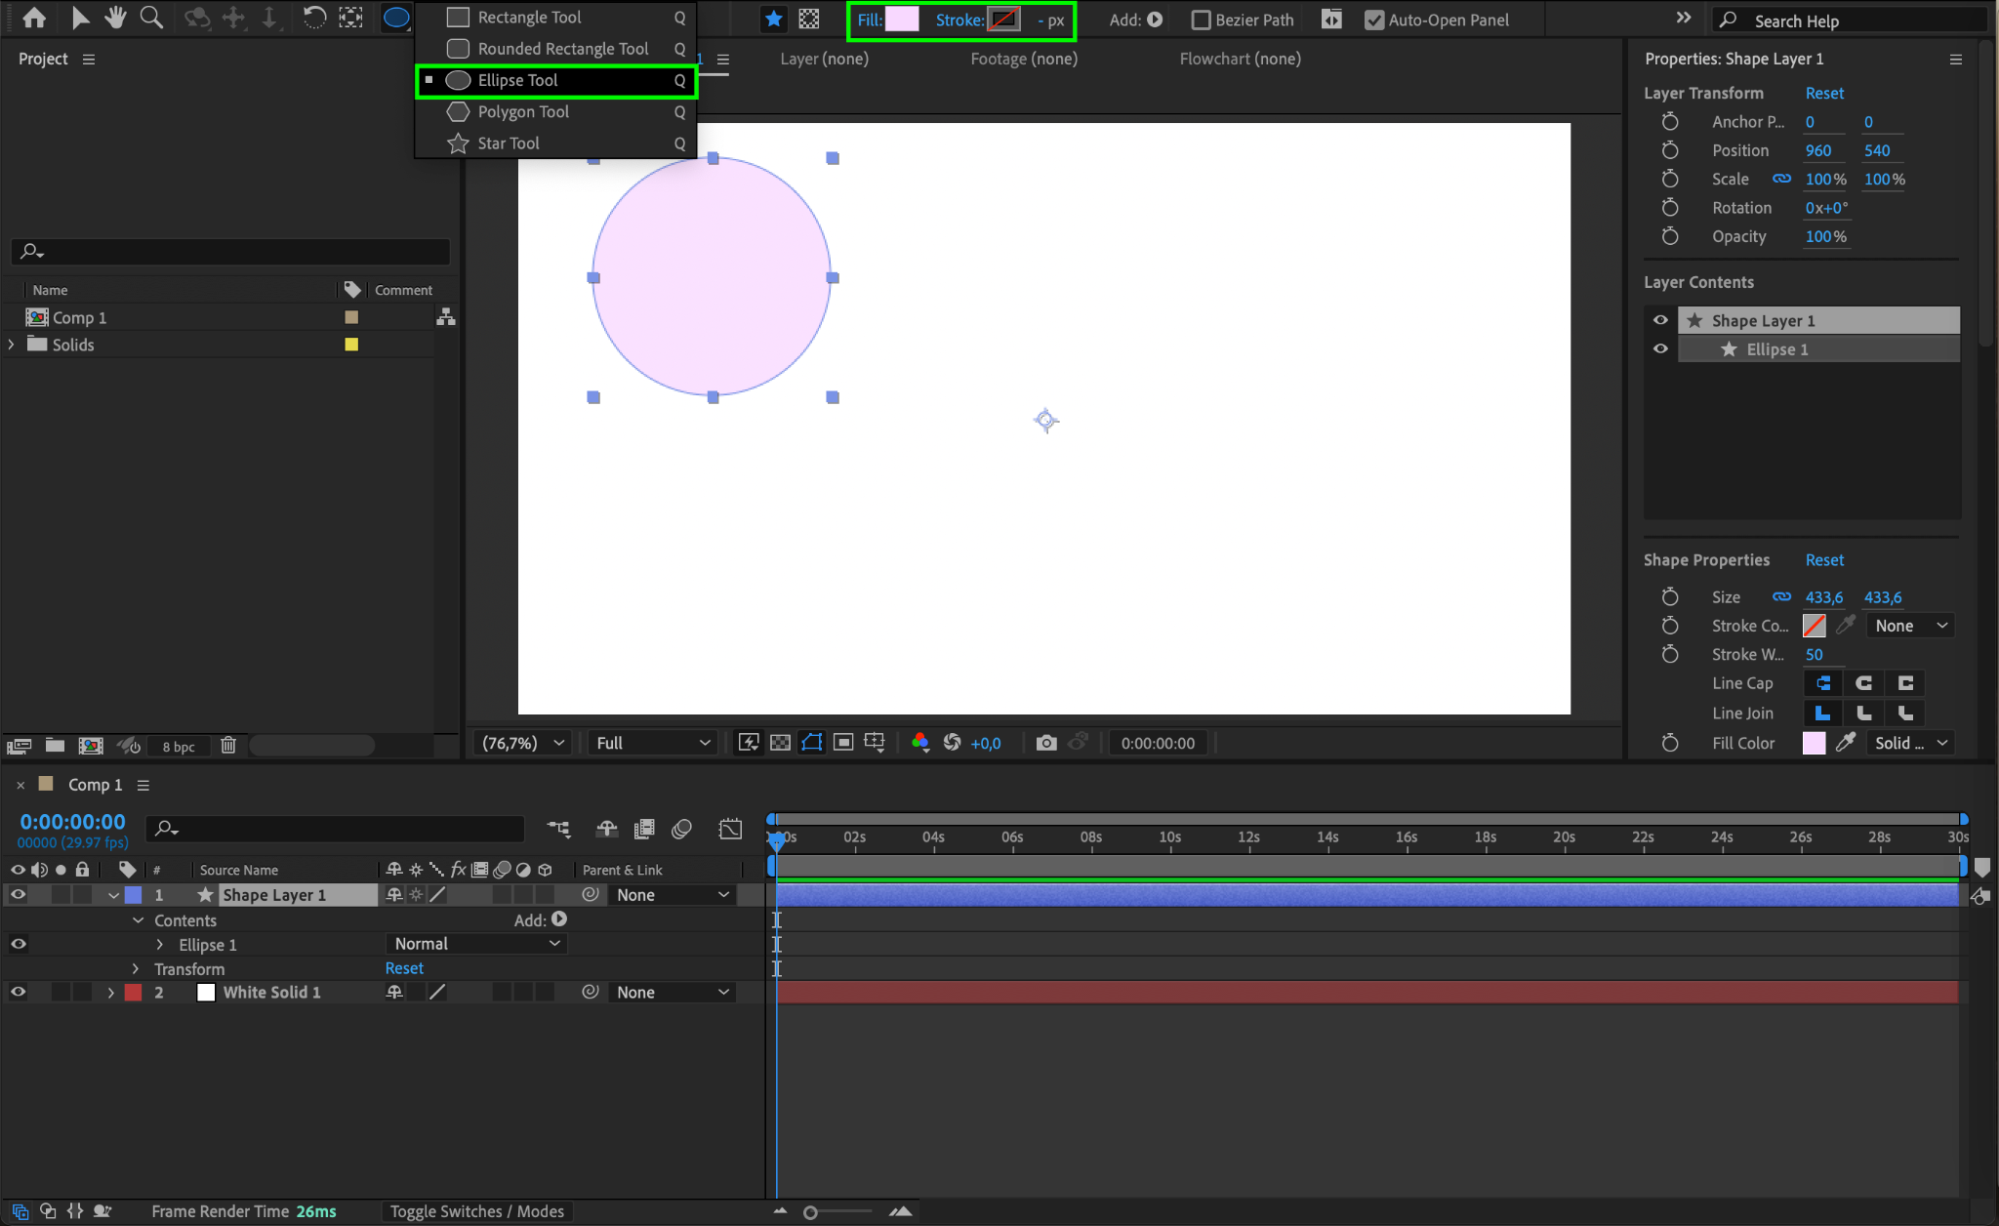
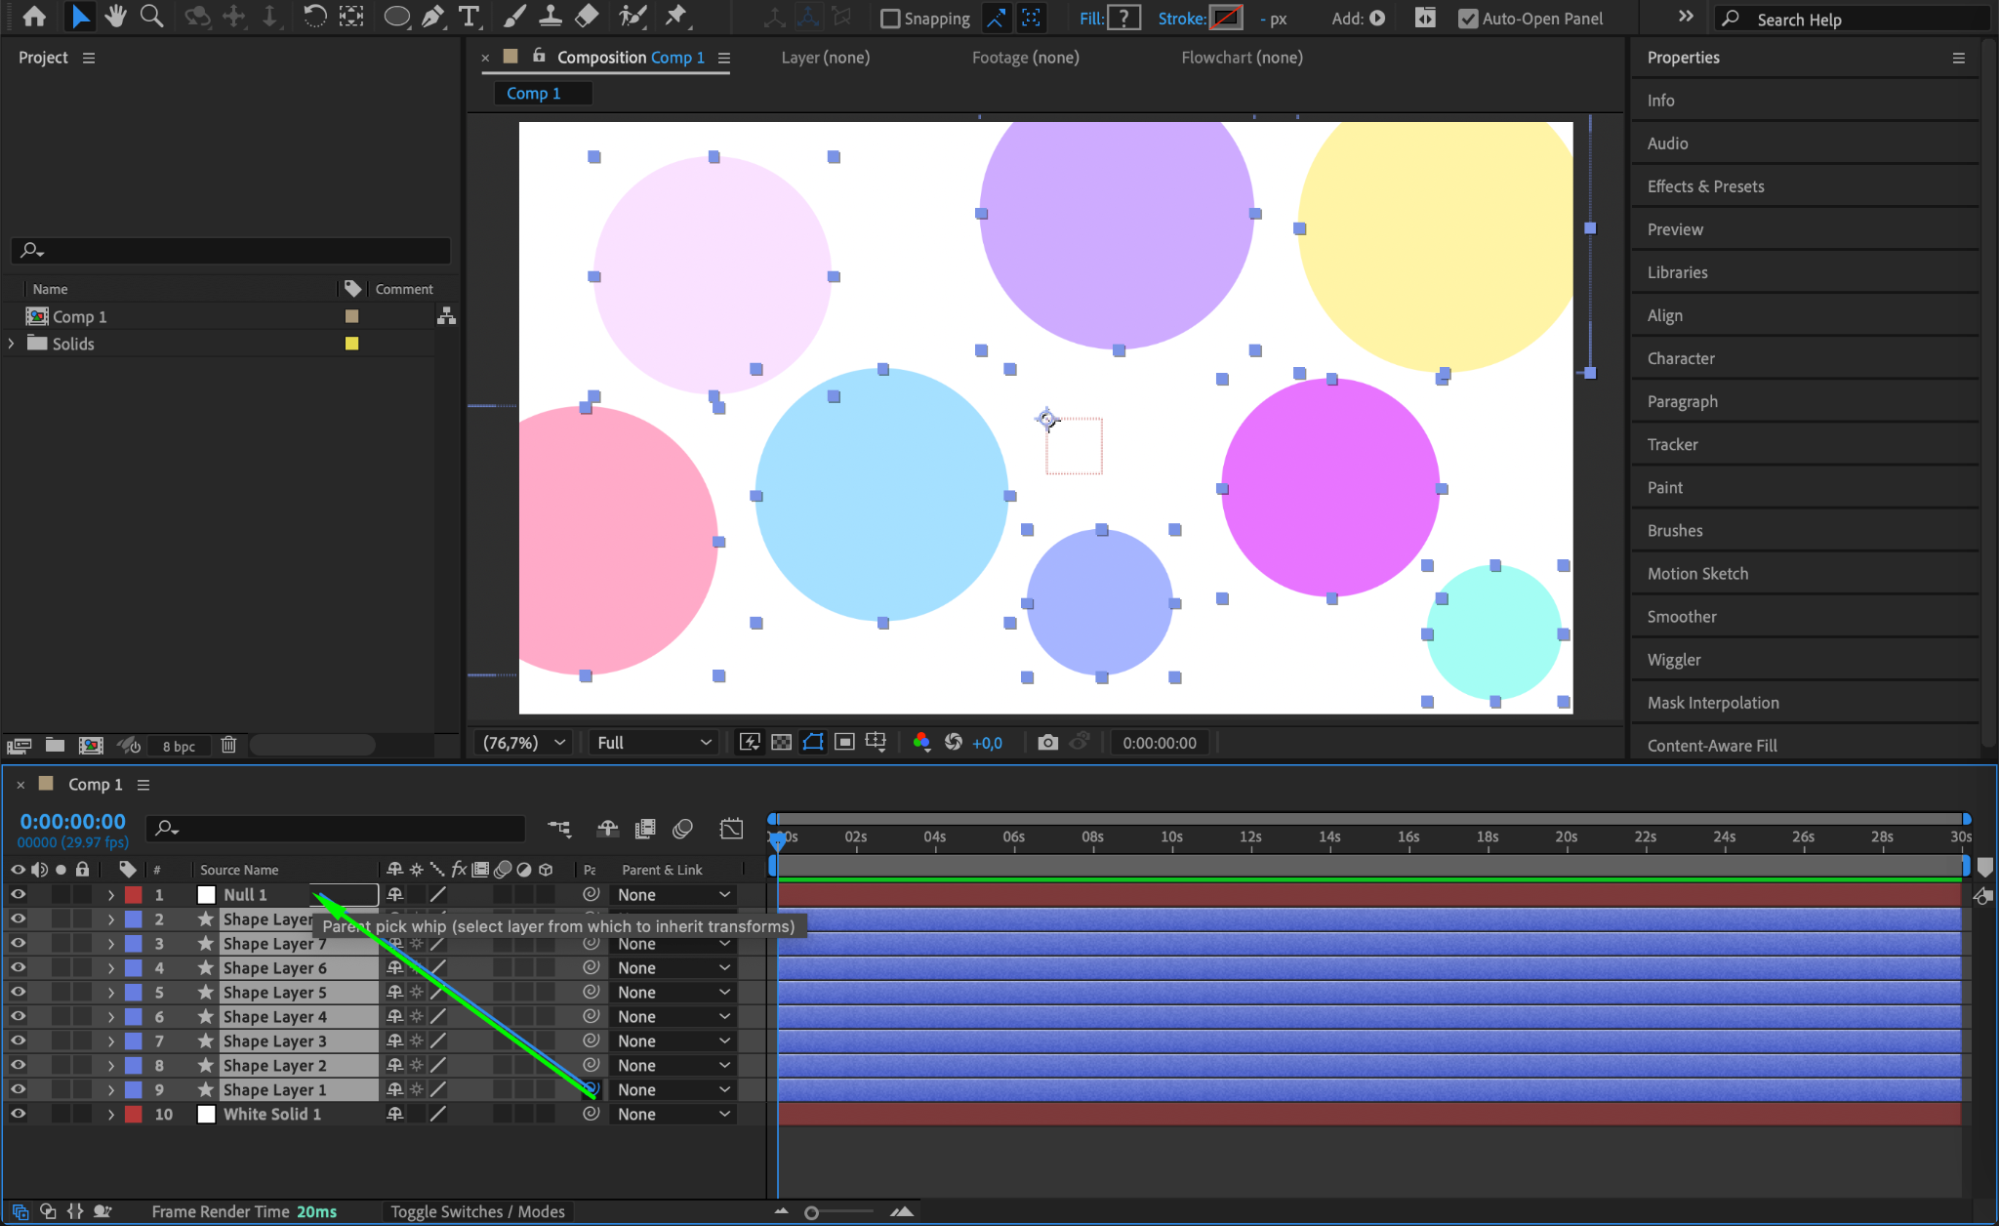
 Step 4: Parent the Circles to a Null Layer
Go to Layer > New > Null Object and place it in the center of the comp. Use the Pick Whip tool to parent all the circles to this null layer. This way, any transformation you apply to the null will affect all the circles together.

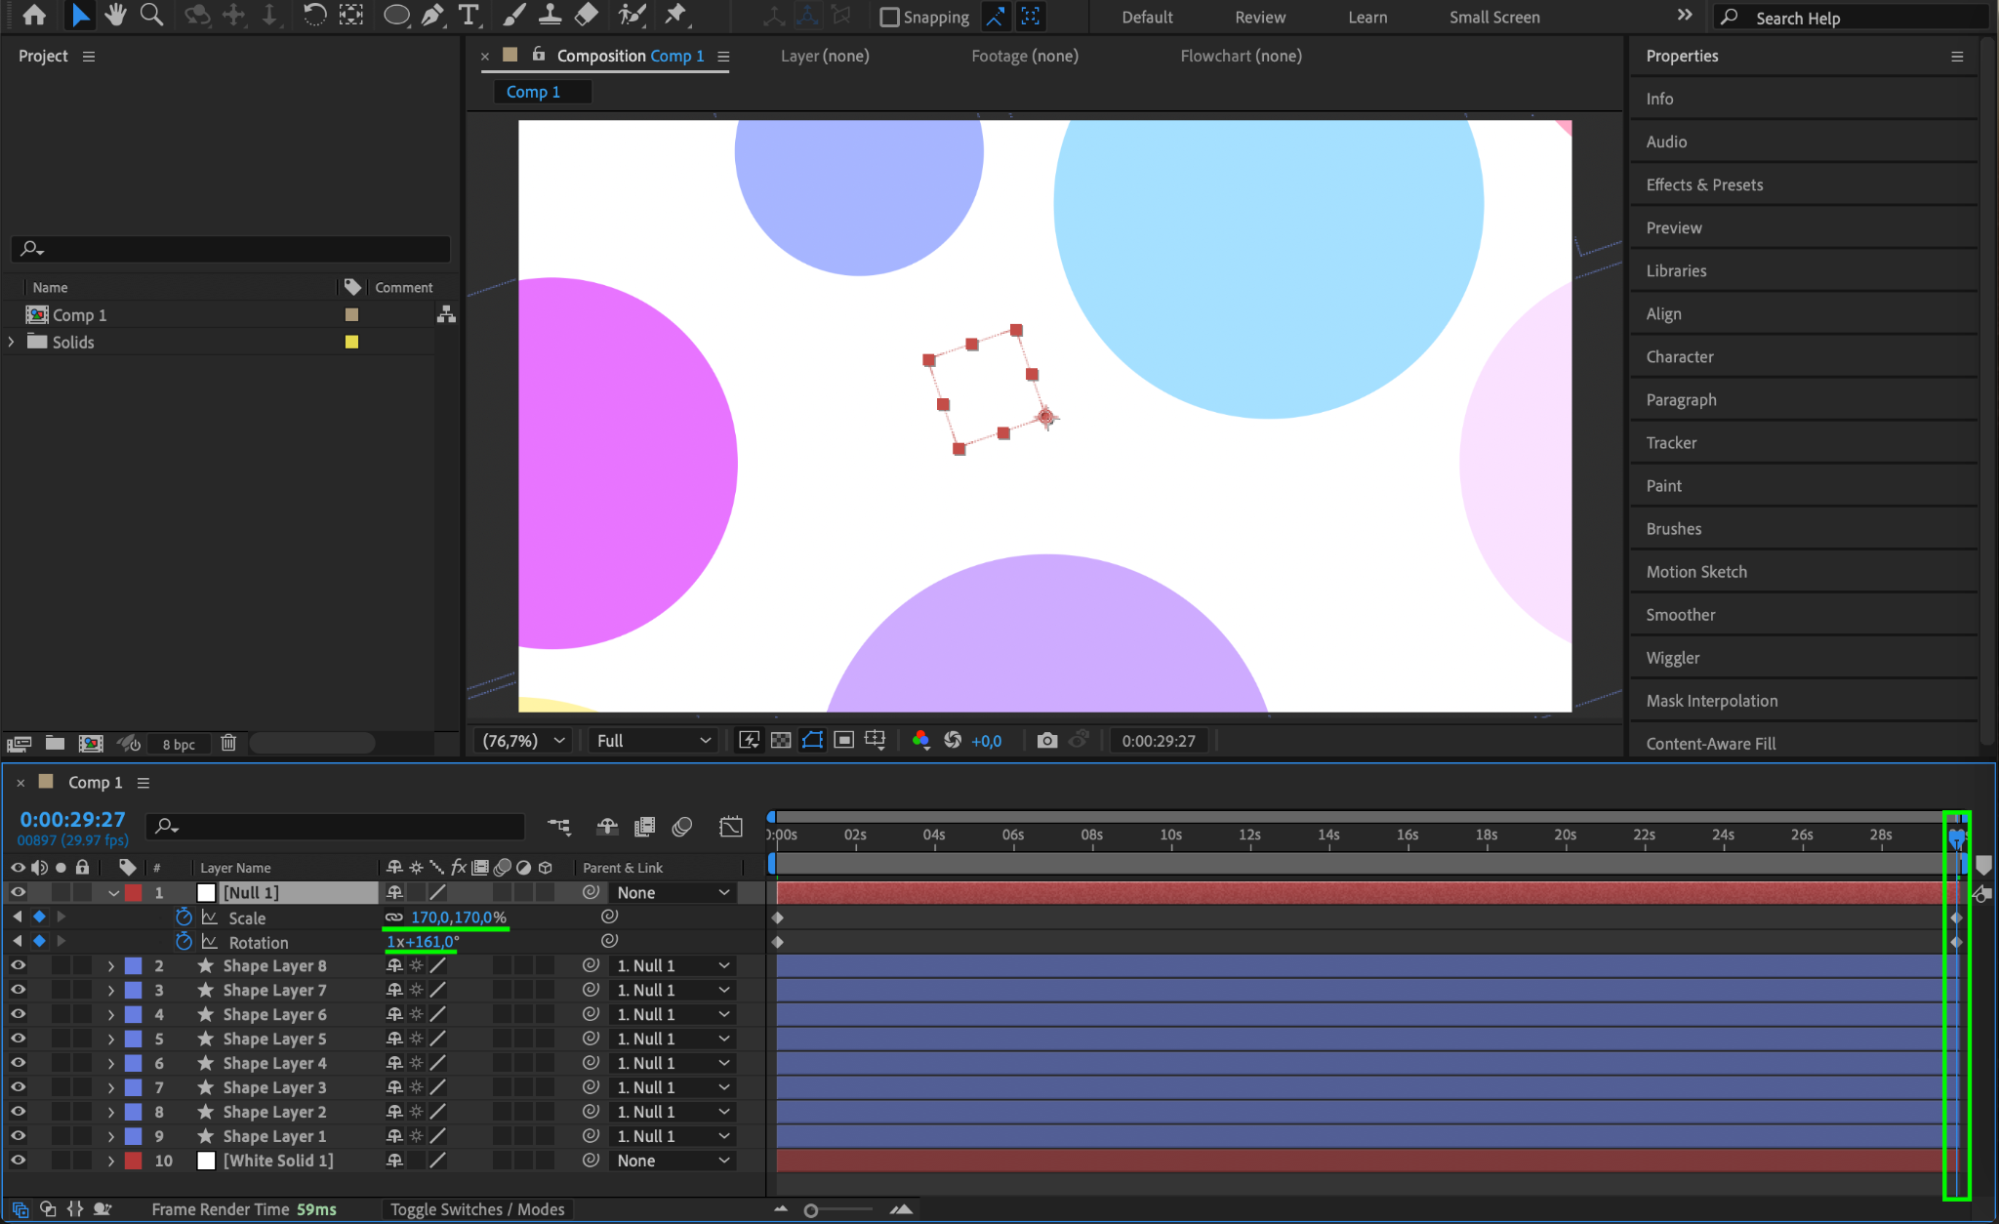
Step 5: Animate Rotation and Scale
Select the null object and press “R” to reveal Rotation and “S” for Scale. Add keyframes at the beginning and end of the timeline for both properties. Set the Scale to animate from 100% to 171%, and Rotation from 0° to 521°. This creates a smooth, continuous spinning and zooming effect that makes your background feel dynamic and alive.
 Step 6: Add an Adjustment Layer
Go to Layer > New > Adjustment Layer and place it above all the circle layers. This will let you apply effects globally to enhance the background look.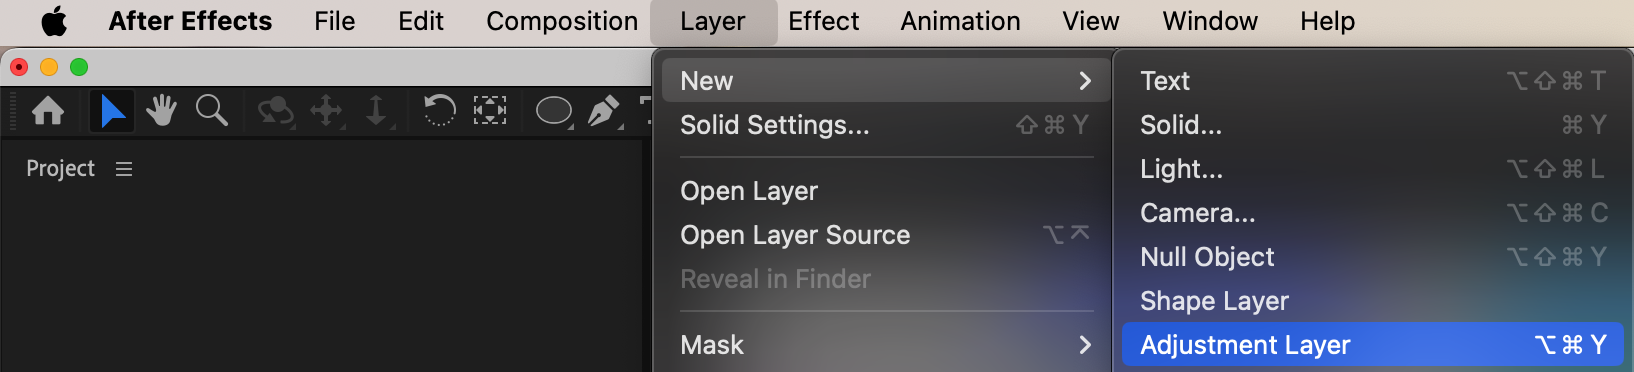
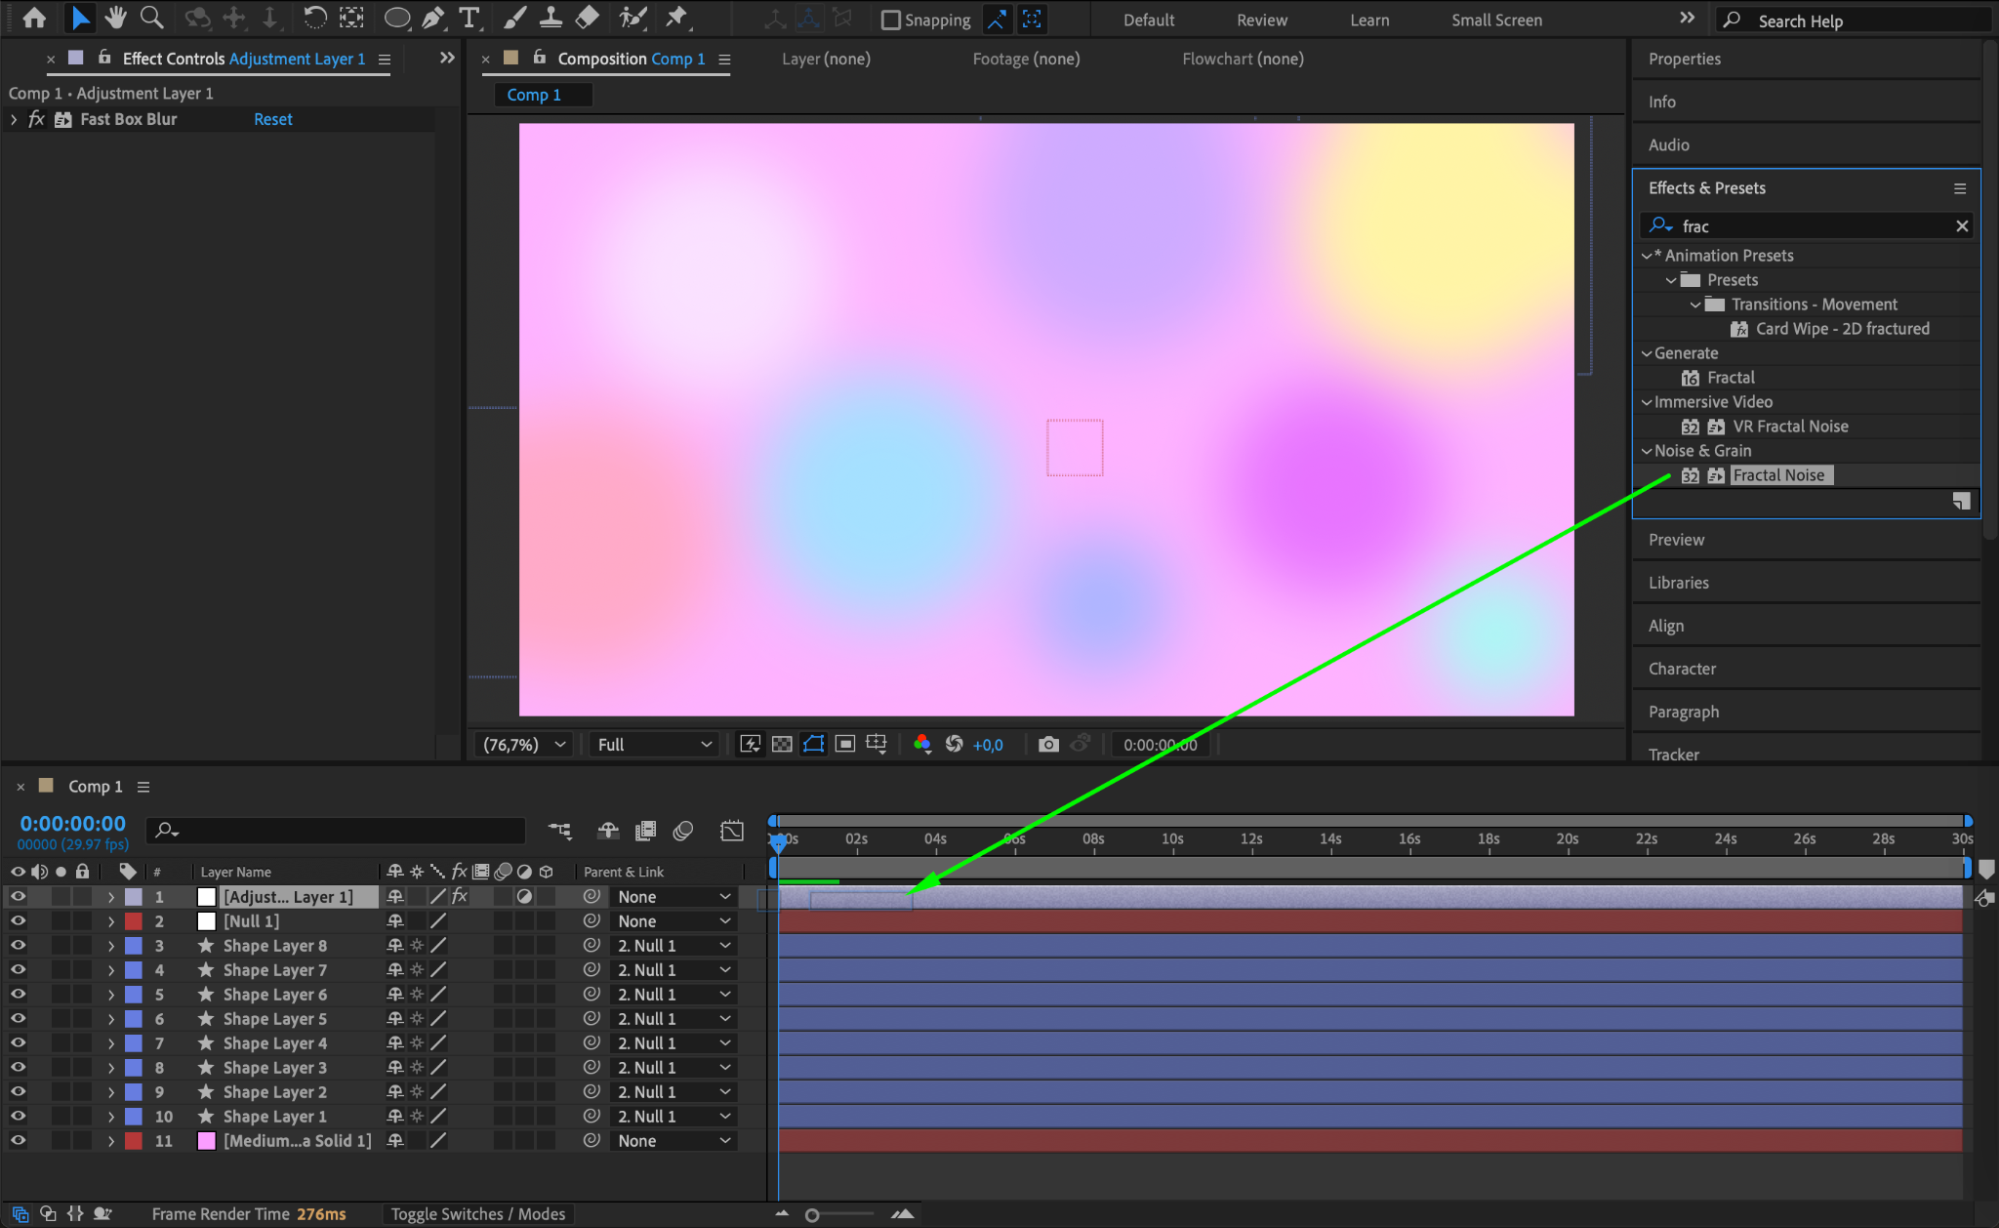
Step 7: Apply Fast Box Blur
Select the adjustment layer, then apply Fast Box Blur from the Effects & Presets panel. Set Blur Radius to 43 and Iterations to 6. This creates a dreamy, soft glow effect that blends the circles together.
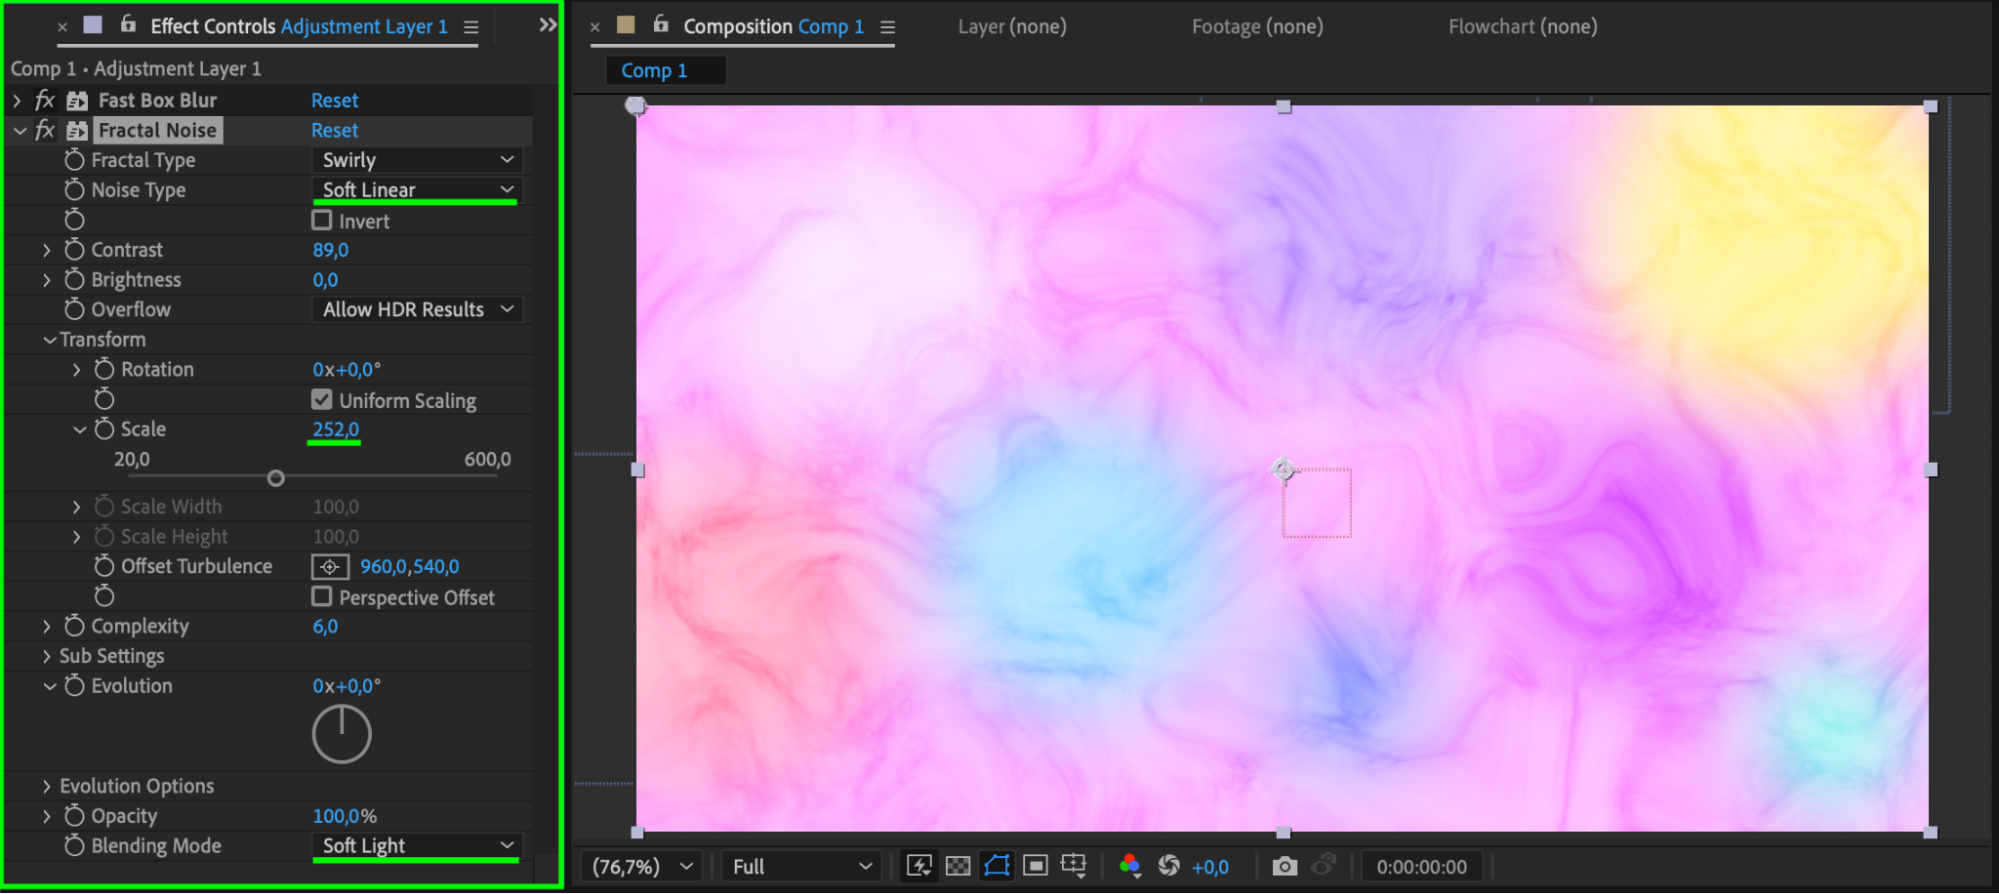
 Step 8: Add Fractal Noise Texture
Still on the adjustment layer, apply Fractal Noise. Set the Noise Type to Soft Linear, Scale to 252, and change the Blend Mode to Soft Light. This adds texture and subtle movement, giving more depth to the background.
 Step 9: Preview and Refine
Press the spacebar to preview your animated background. Adjust colors, scale, speed, or blur if needed. You can loop the animation or render it as a background element for future use in other projects.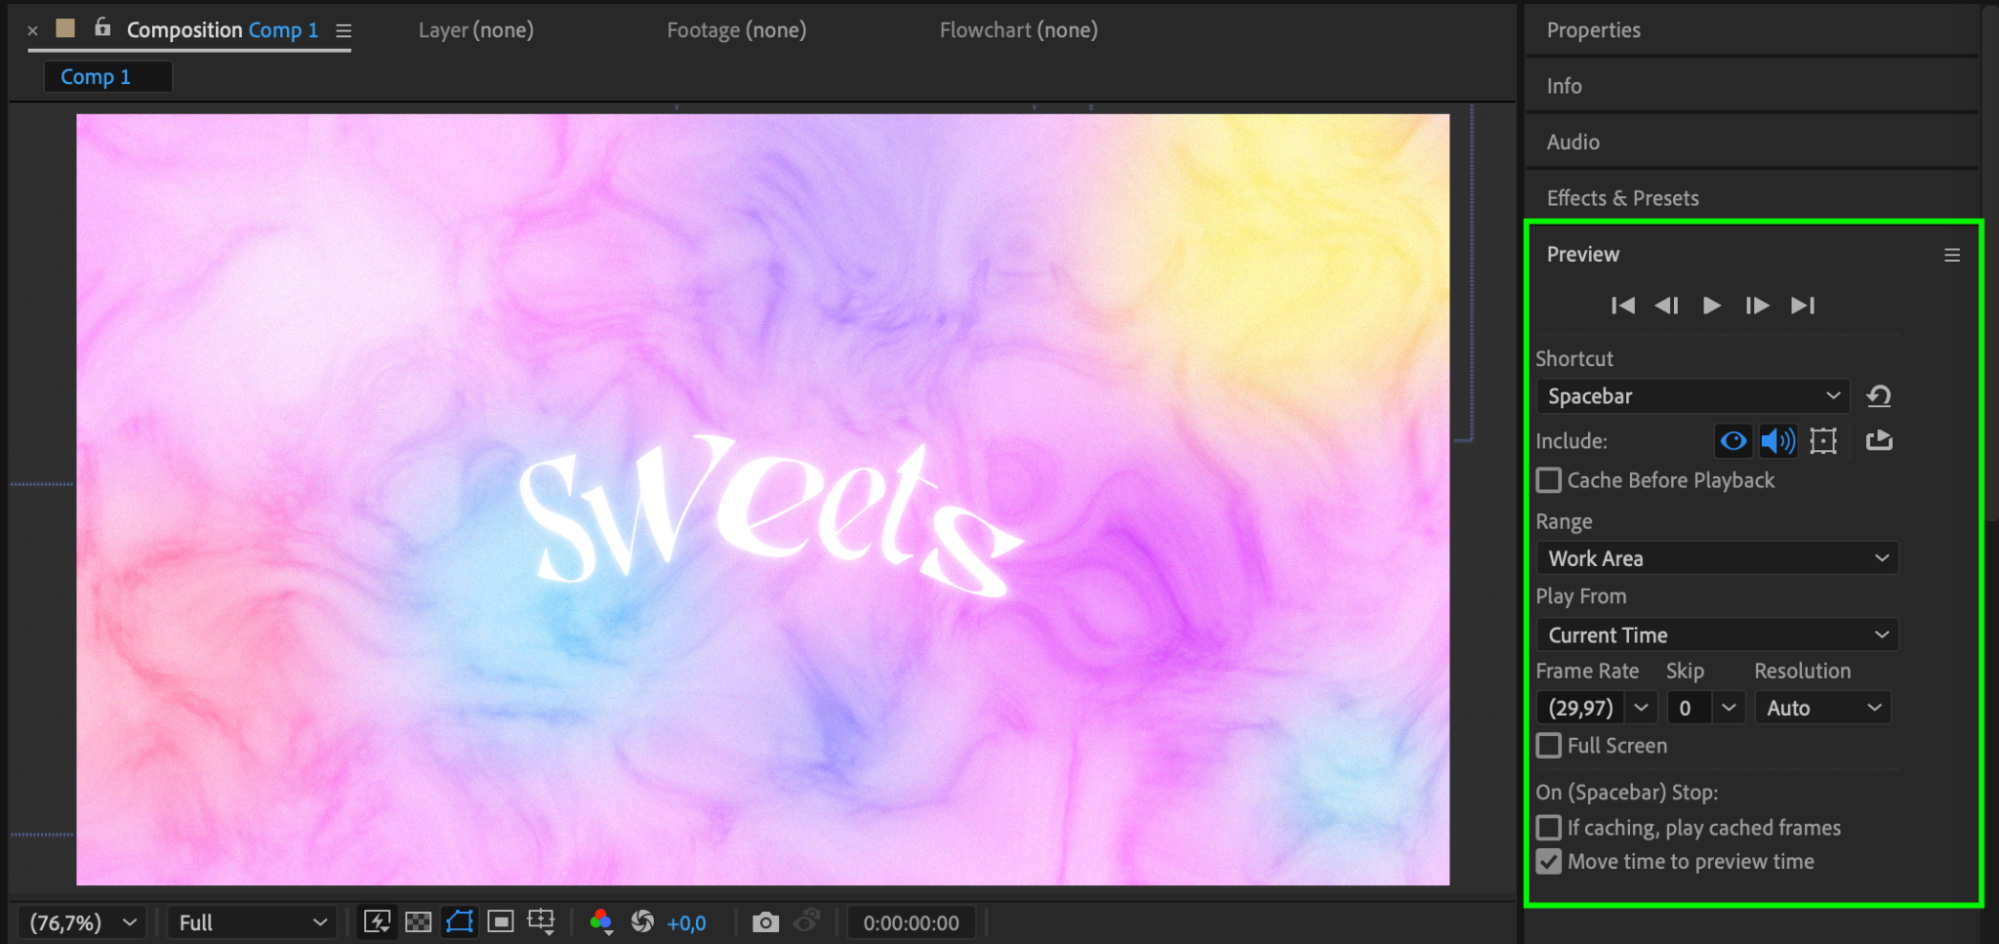 Conclusion
Creating a dynamic background in After Effects doesn’t require complex assets or plugins. By combining simple shapes, animation, and effects like blur and fractal noise, you can achieve a professional and vibrant look perfect for titles, overlays, or UI design.


