How to Master VFX Creation in After Effects
Introduction to Creating VFX in After Effects
Are you eager to create mind-blowing visual effects in After Effects? This powerful software enables you to enhance your footage with spectacular VFX, from explosions to magical elements. In this blog post, we will guide you through expert techniques and workflows to help you produce professional-quality VFX. Whether you’re a beginner or looking to refine your skills, these tips will elevate your video projects.
Step 1: Import Your Footage
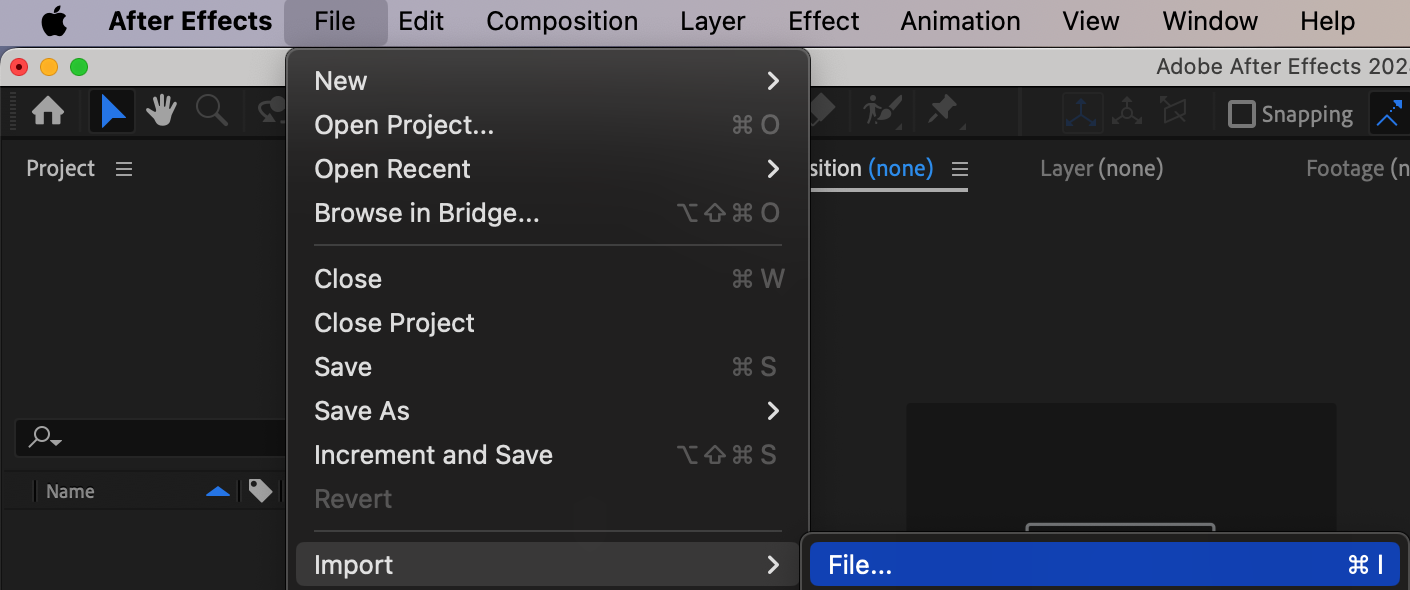
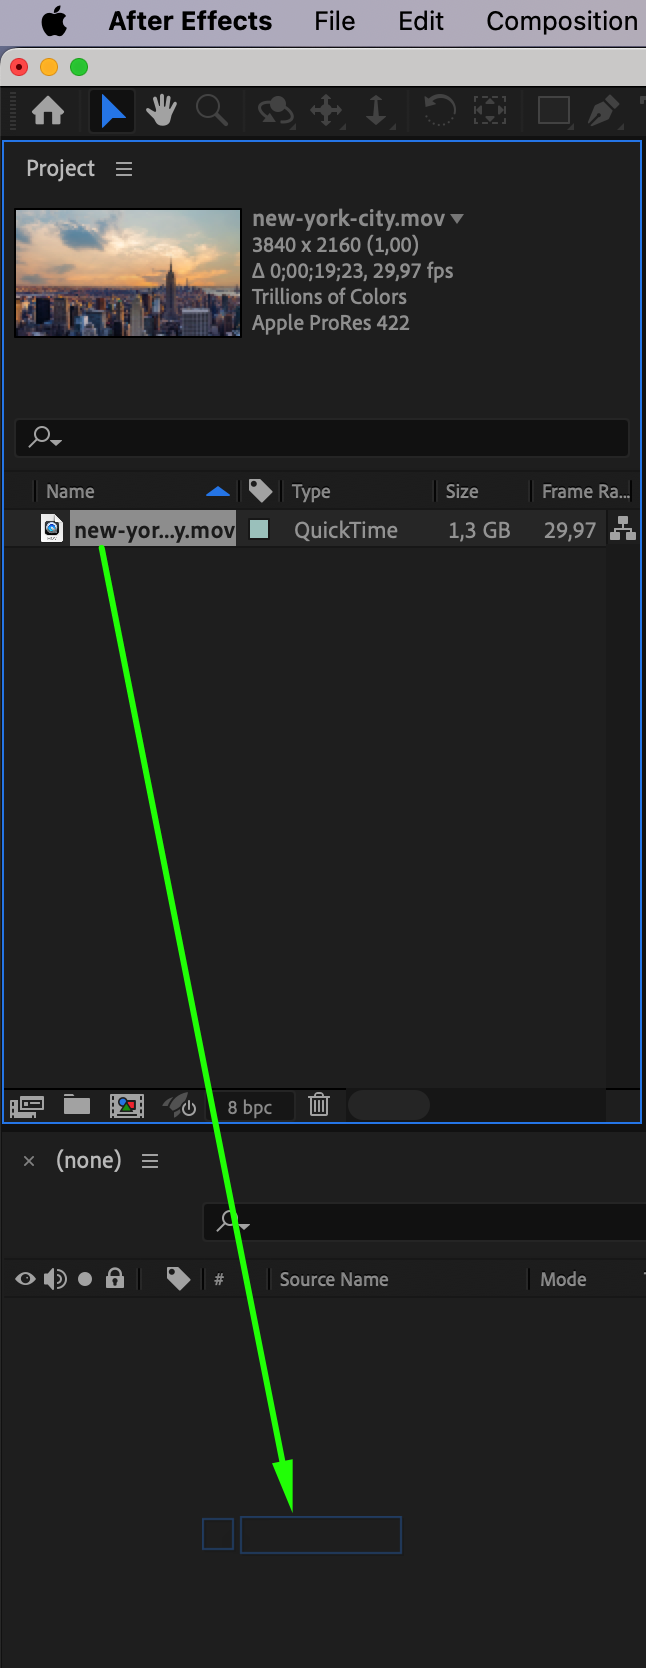
Start by importing the video file you want to enhance with VFX. Navigate to File > Import > File, select your video clip, and click Open. Once the file appears in the Project Panel, drag it onto the Timeline Panel to begin editing. This sets the stage for integrating your visual effects.
Step 2: Plan Your VFX Shots
Before diving into VFX creation, plan your shots carefully. Storyboard your scenes and determine the VFX elements you need. Decide if you’ll use stock footage, green screens, 3D models, or other assets. This planning phase will help you gather the necessary resources and streamline your workflow, ensuring a smooth production process.
Step 3: Add VFX Elements
Get 10% off when you subscribe to our newsletter

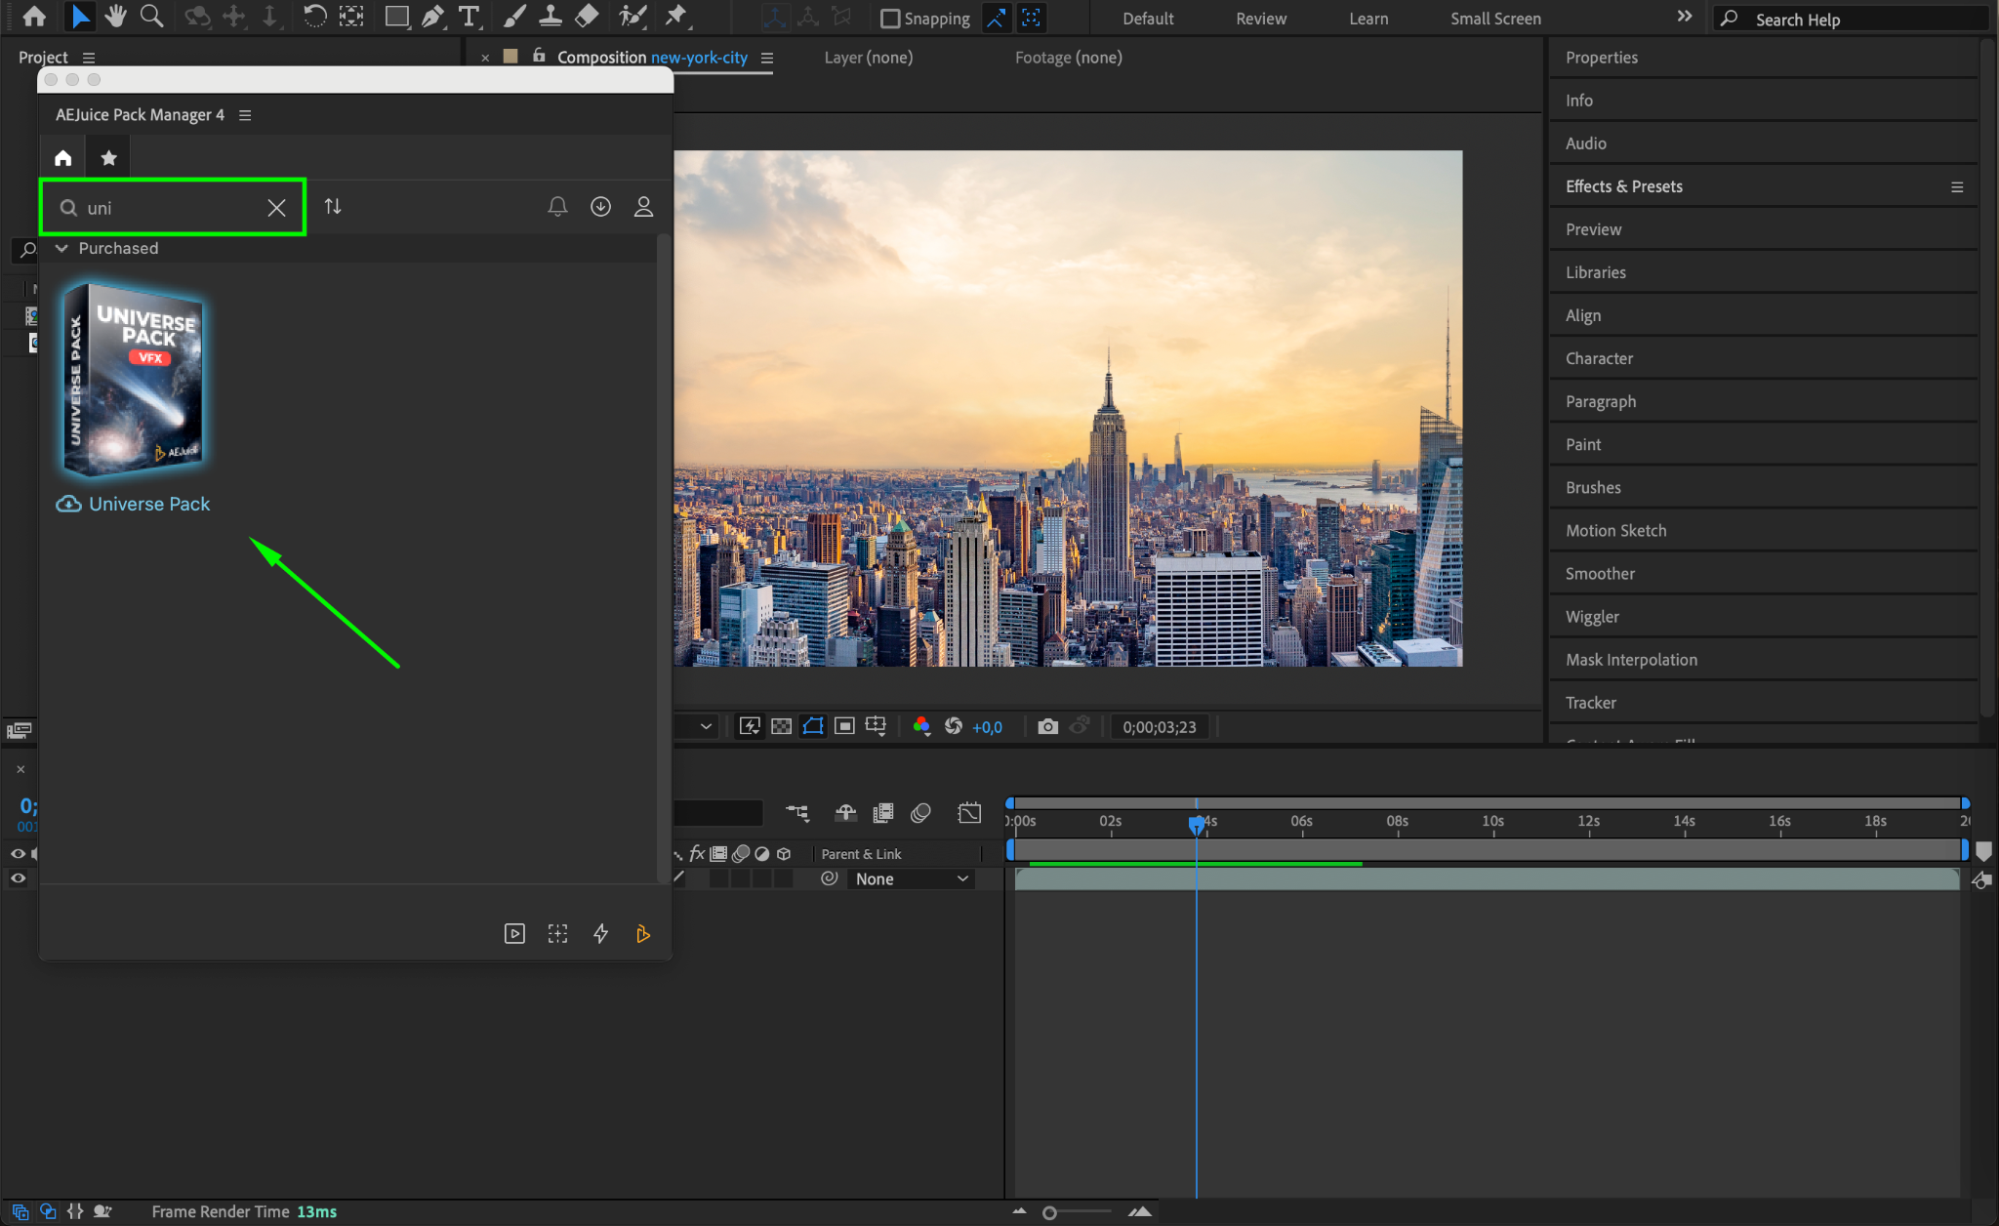
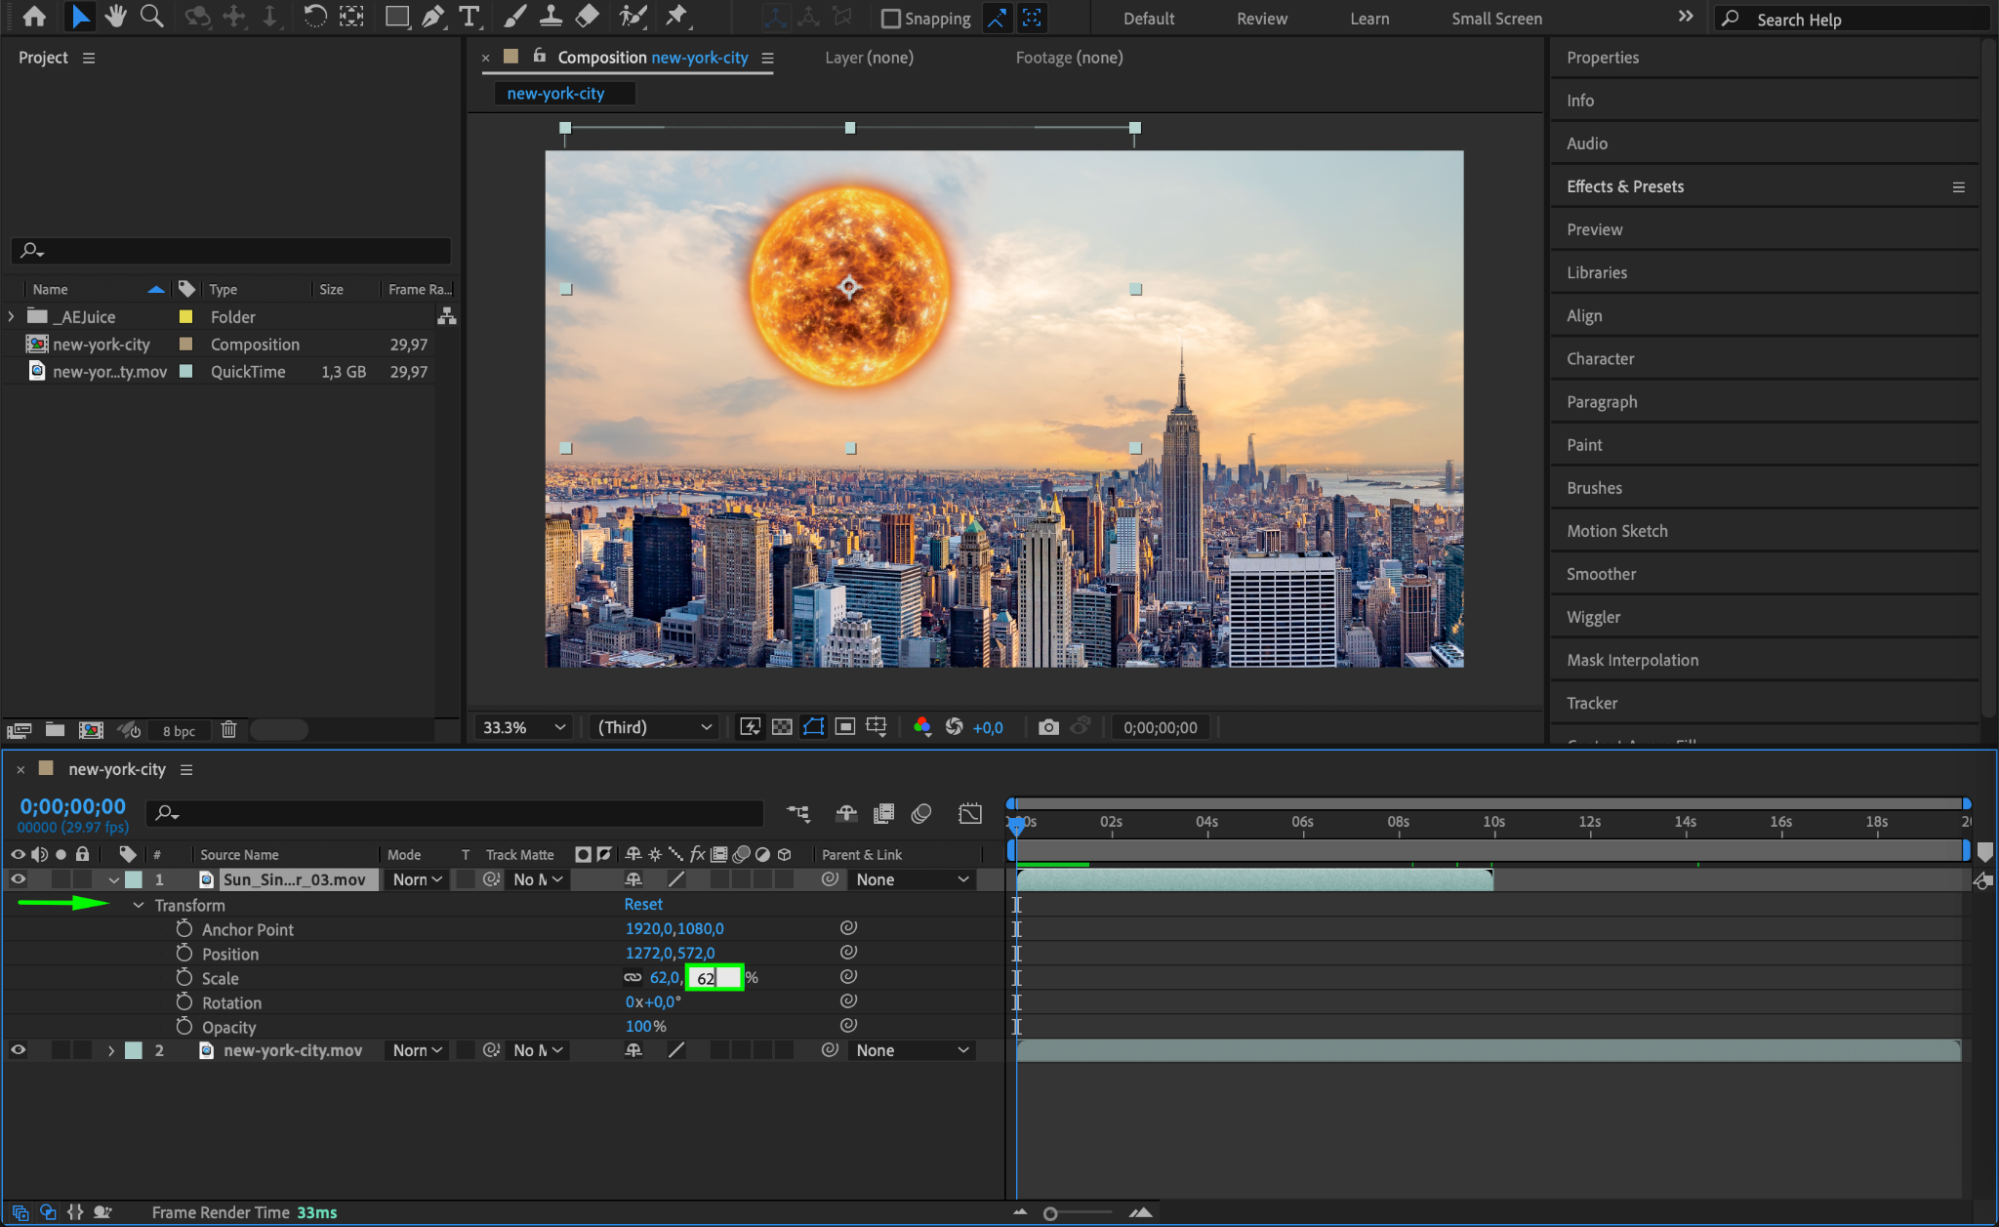
You can incorporate various VFX elements such as stock videos, 3D models, presets, or plugins like AEJuice. Add these elements as layers in the Timeline Panel. Adjust their scale, position, rotation, and opacity to fit seamlessly into your scene. This step involves integrating the VFX elements into your footage and positioning them accurately.

 Step 4: Apply Keying and Masking
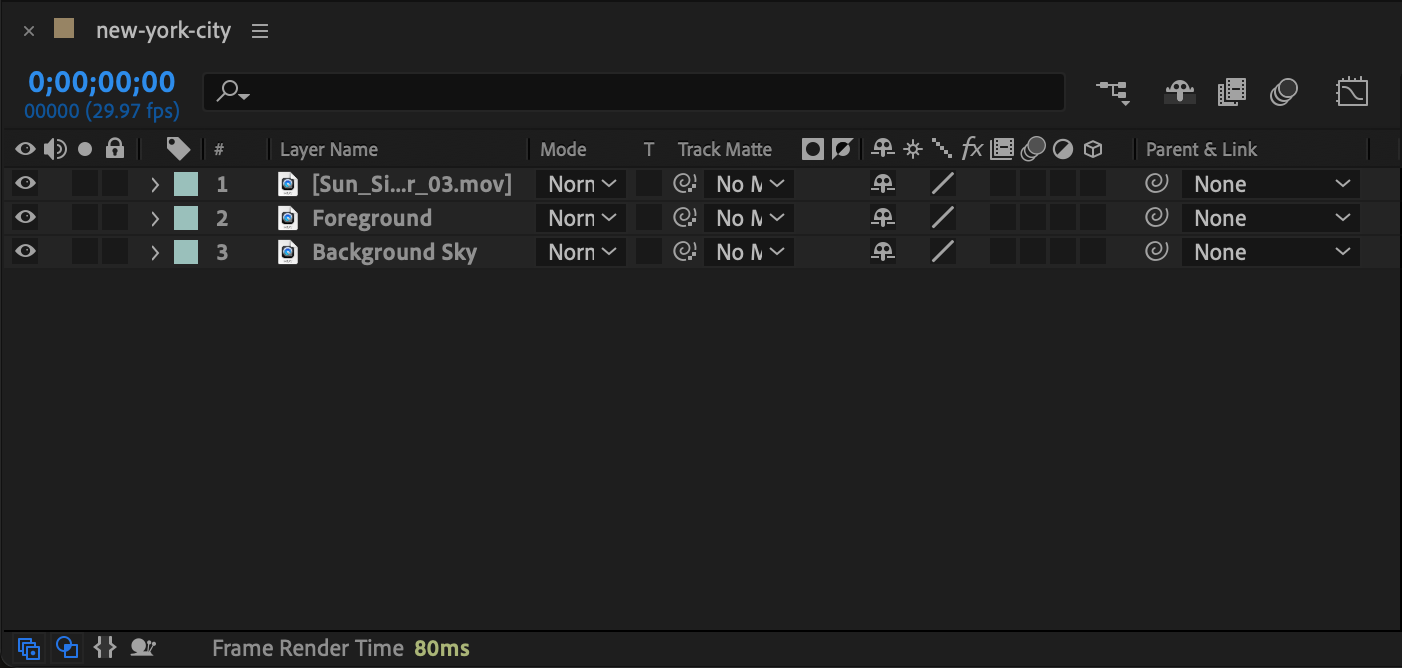
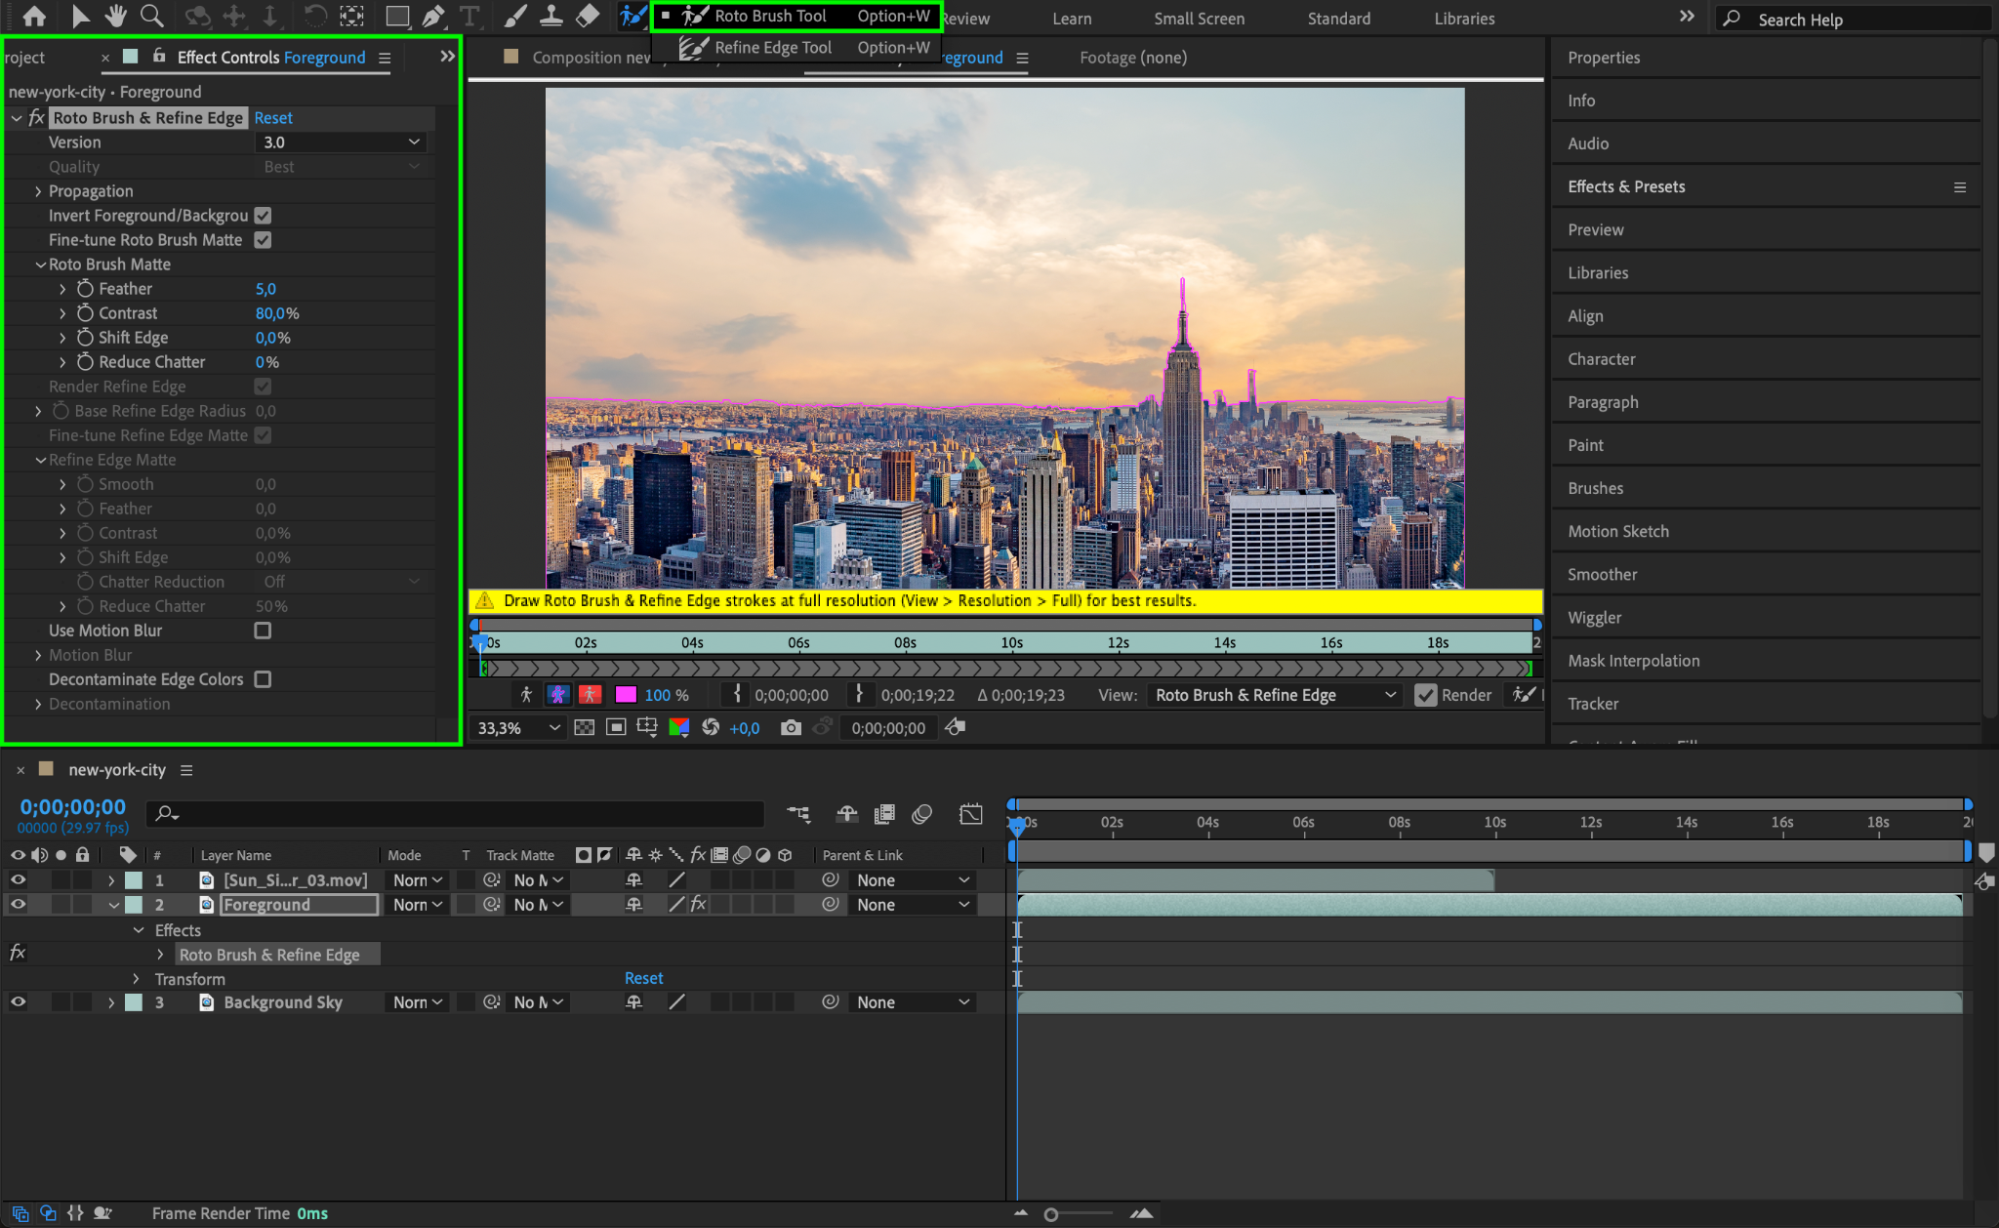
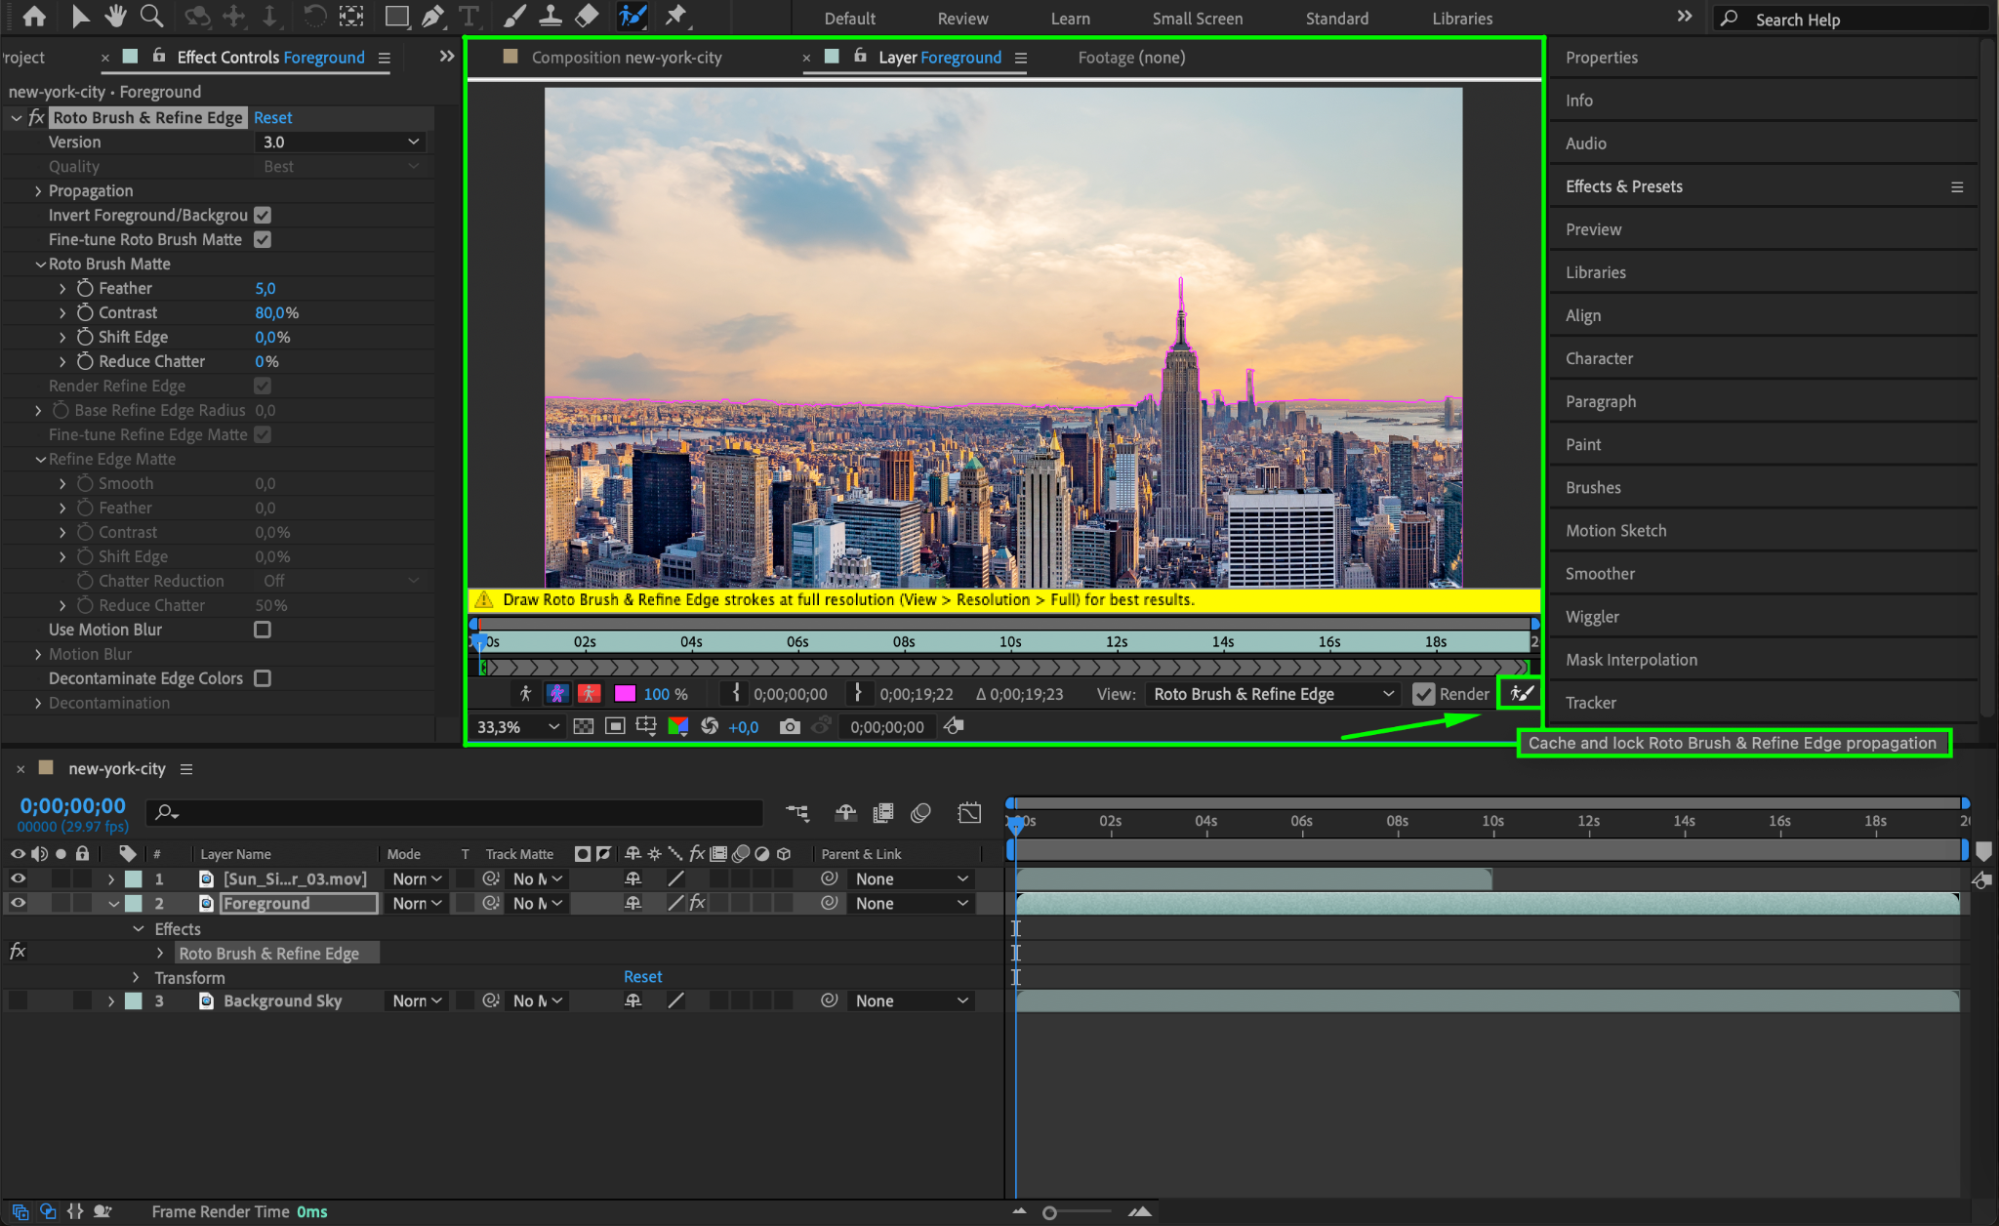
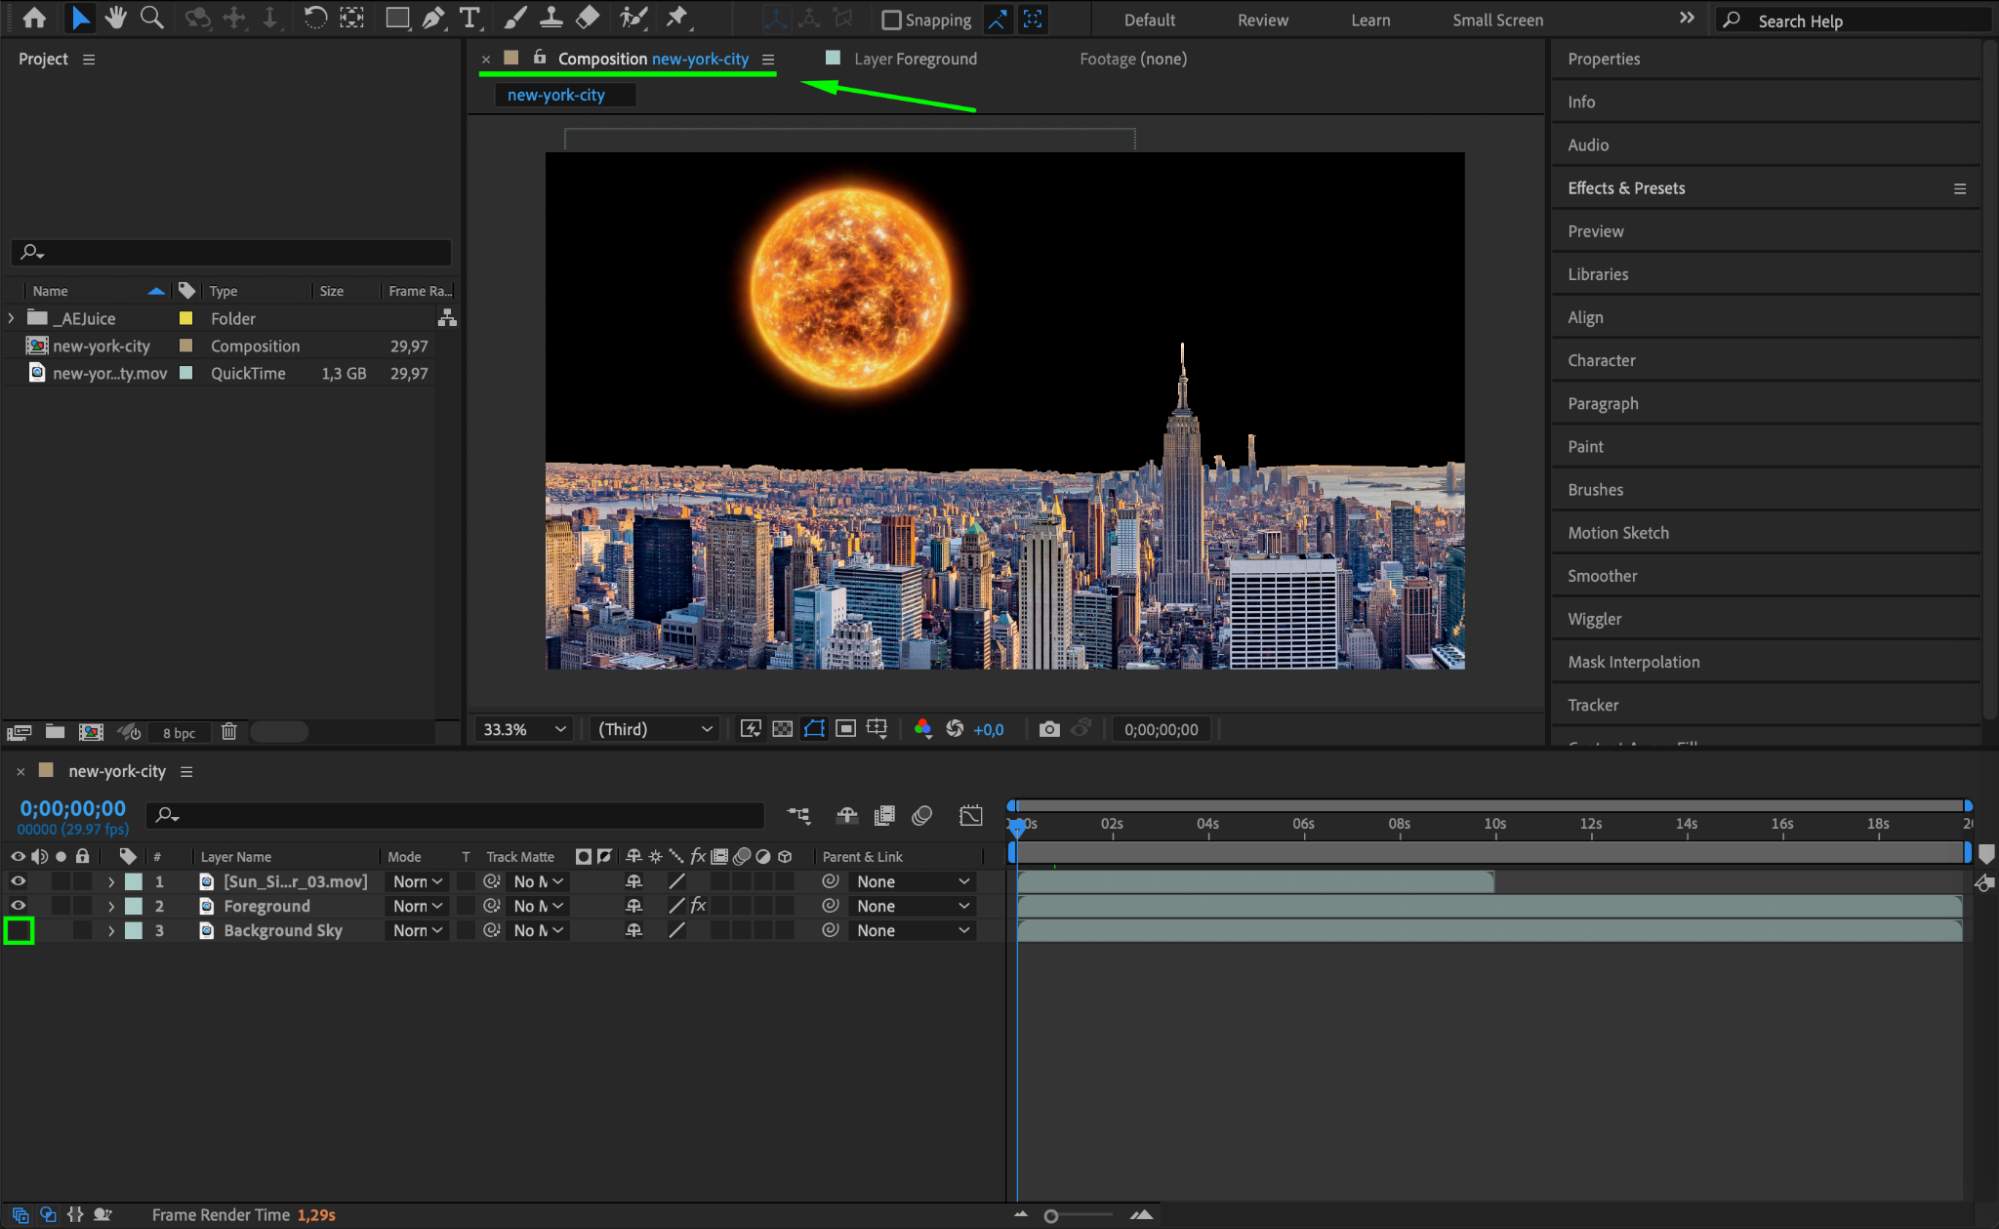
To integrate VFX elements with live-action footage, use keying and masking techniques. After Effects offers powerful tools like Keylight and Roto Brush (Alt/Option + W) to remove backgrounds or isolate specific areas. Duplicate layers to edit background and foreground separately, ensuring a clean blend between your VFX and the original footage.

Step 5: Experiment with Effects and Presets
After Effects provides a wide range of effects and presets to enhance your VFX. Experiment with particles, glows, distortions, and color grading to add depth and realism. Customizable presets can be great starting points and can save time while allowing for creative experimentation.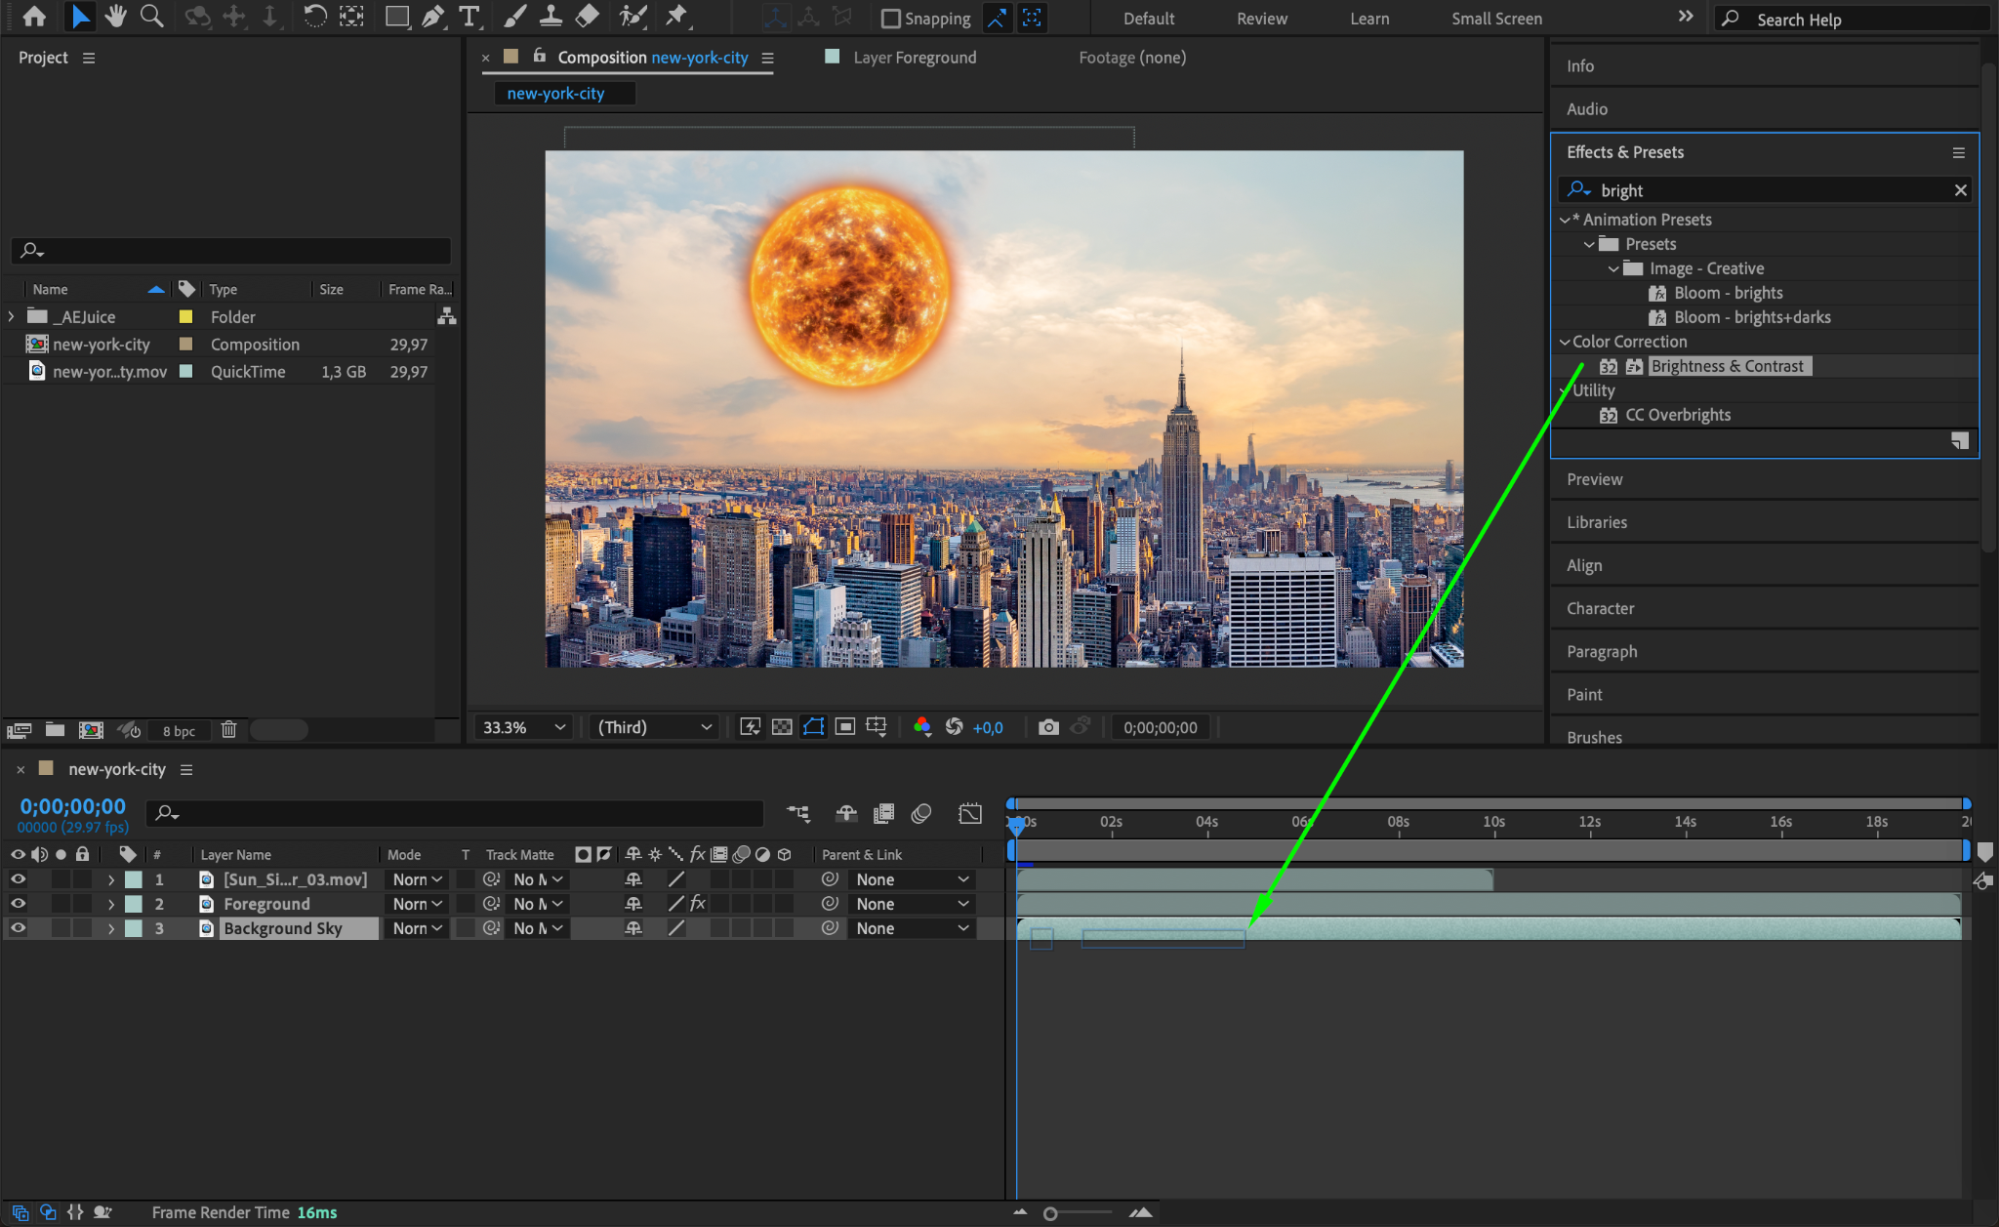
 Step 6: Use Expressions for Dynamic VFX
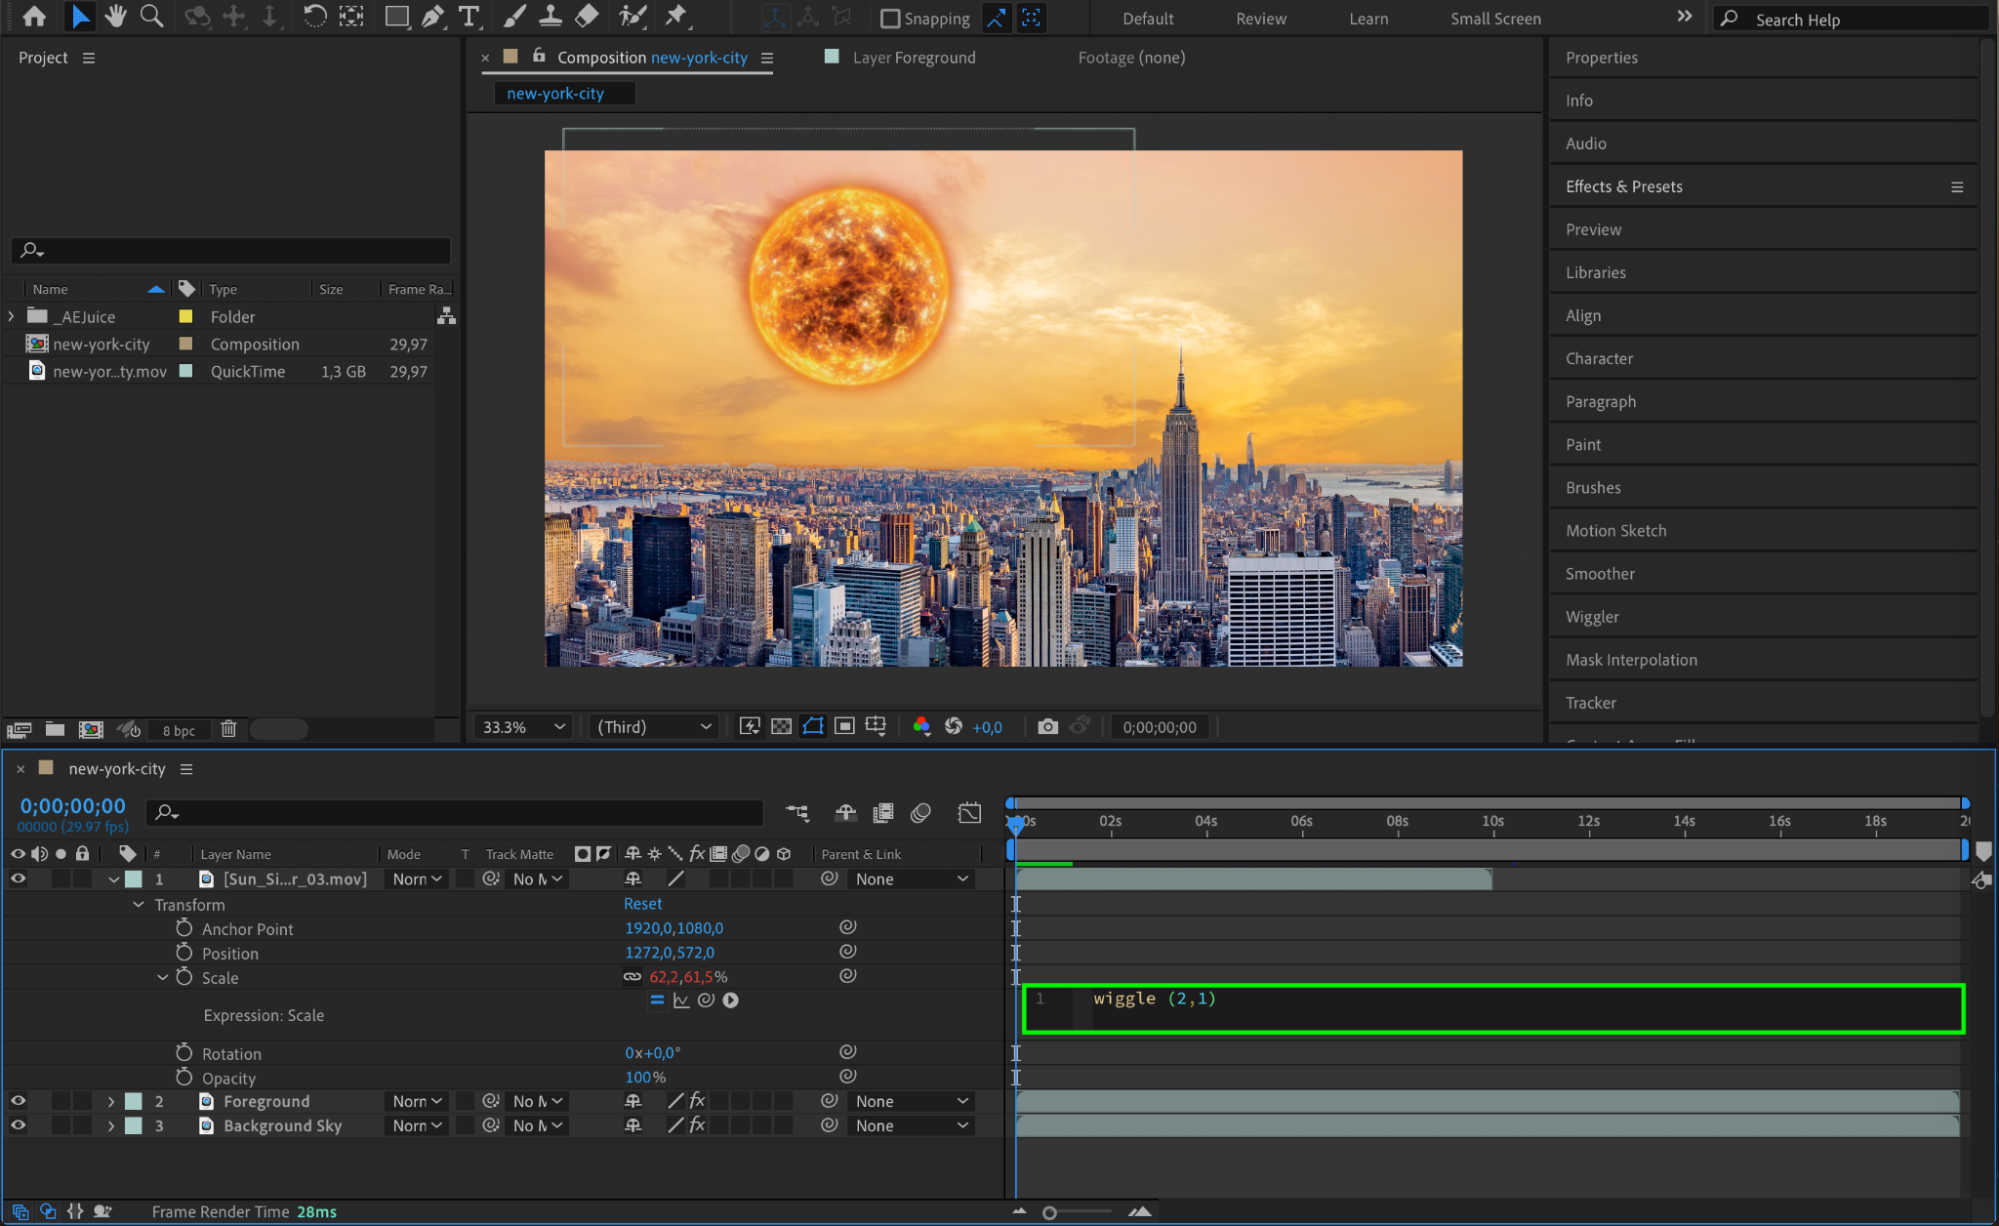
Expressions in After Effects allow you to automate animations and create complex behaviors for your VFX elements. By applying expressions, you can make these elements respond dynamically to changes in your footage, adding interactivity and enhancing the overall effect. To add an expression, select the parameter you want to animate, go to the Animation menu, and choose Add Expression. Enter your desired expression in the text field that appears, and press Enter to apply it. This will link the parameter to your expression, creating automated, dynamic behaviors.
 Step 7: Utilize Camera and Lighting Tools
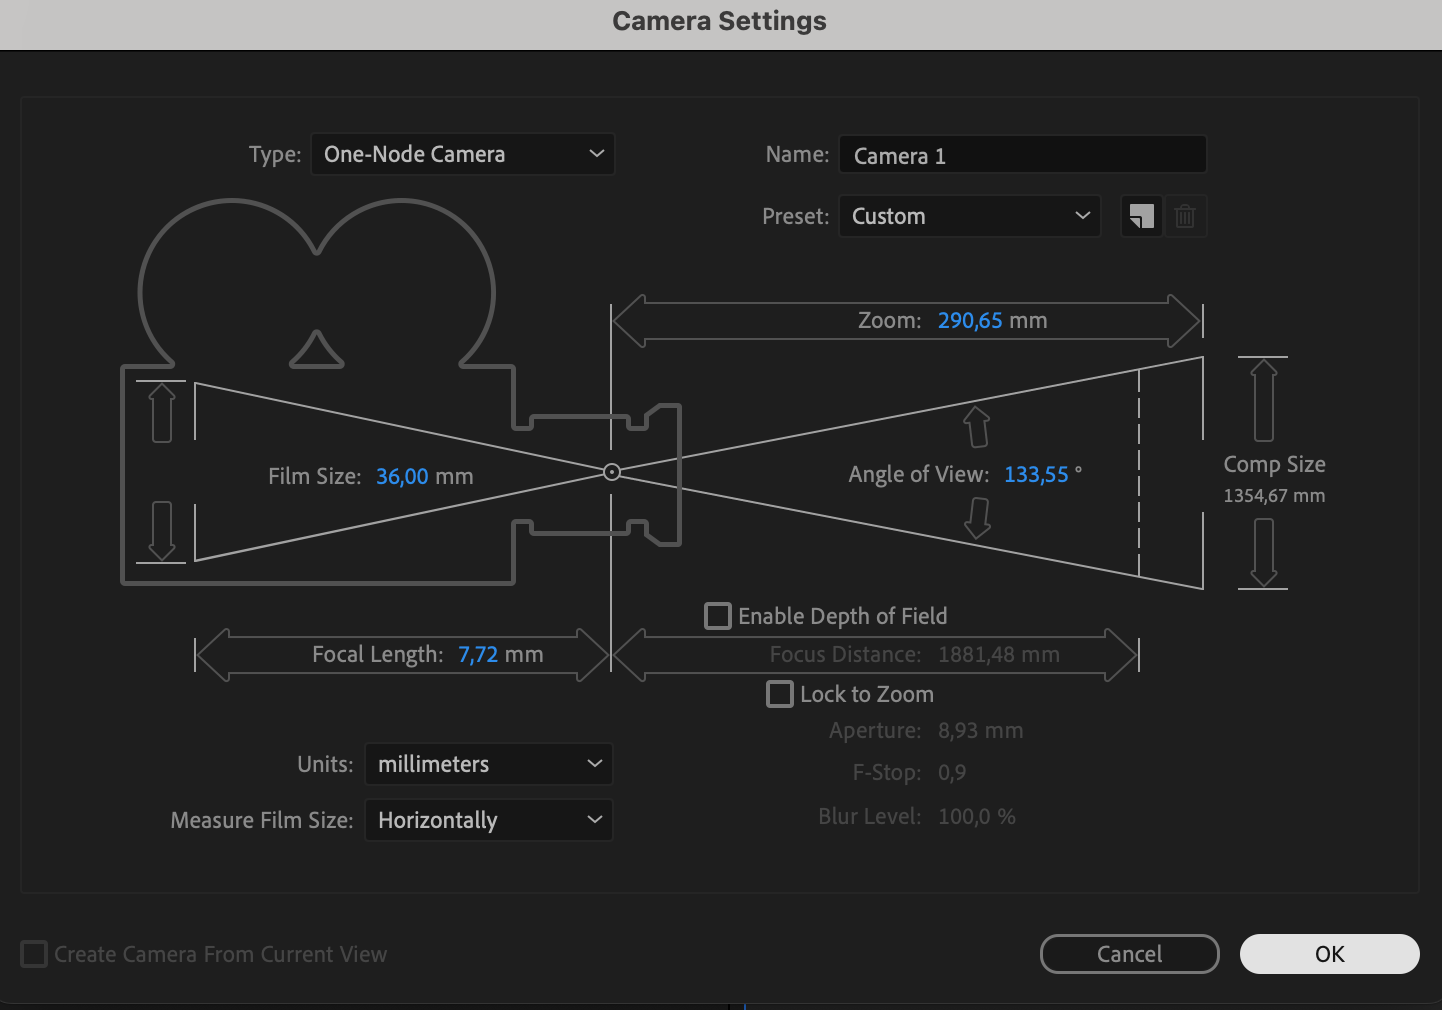
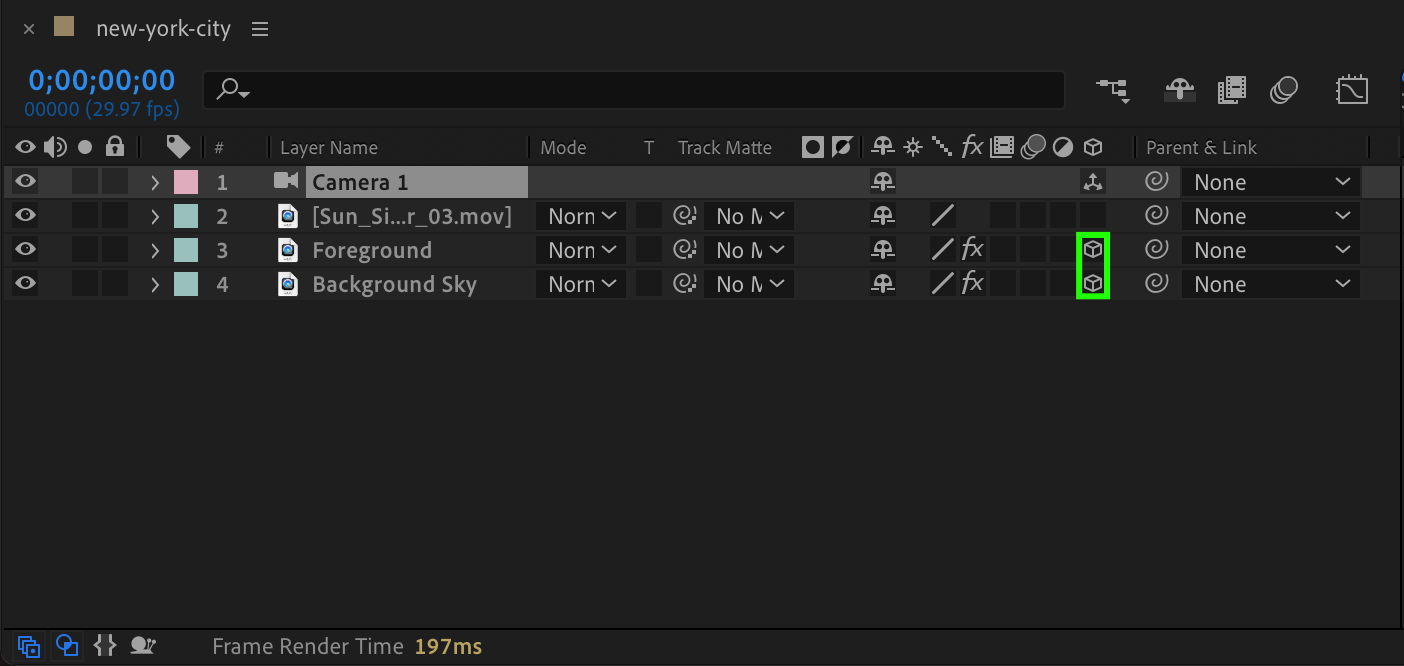
Enhance your footage further by using camera and lighting tools. Make your footage a 3D layer and use After Effects’ camera tools to create a sense of depth. Adjust lighting to highlight your VFX elements, adding an extra layer of realism and visual interest to your composition.


Step 8: Experiment and Innovate
The creation of VFX is a highly creative process. Don’t be afraid to experiment with unconventional approaches to achieve unique results. Push the boundaries of your creativity, explore new techniques, and innovate to create truly awe-inspiring visual effects.
Conclusion
With these expert tips and tricks, you’ll be on your way to mastering VFX creation in After Effects. Remember to practice, learn from tutorials and online resources, and always challenge yourself to improve. So, fire up After Effects, unleash your creativity, and let your imagination run wild with awe-inspiring visual effects. Happy VFX creating!


