Mastering Text Effects in After Effects
Introduction to Creating Text Effects in After Effects
Creating stunning text effects in After Effects is easier than you might think. With a few simple steps, you can take your videos to the next level and grab your viewers’ attention. To begin, you’ll need After Effects installed on your computer. If you don’t have it, you can download a free trial from the Adobe website. Once you have it up and running, you’re ready to dive into the exciting world of text effects.
Get 10% off when you subscribe to our newsletter

Step 1: Creating a New Composition
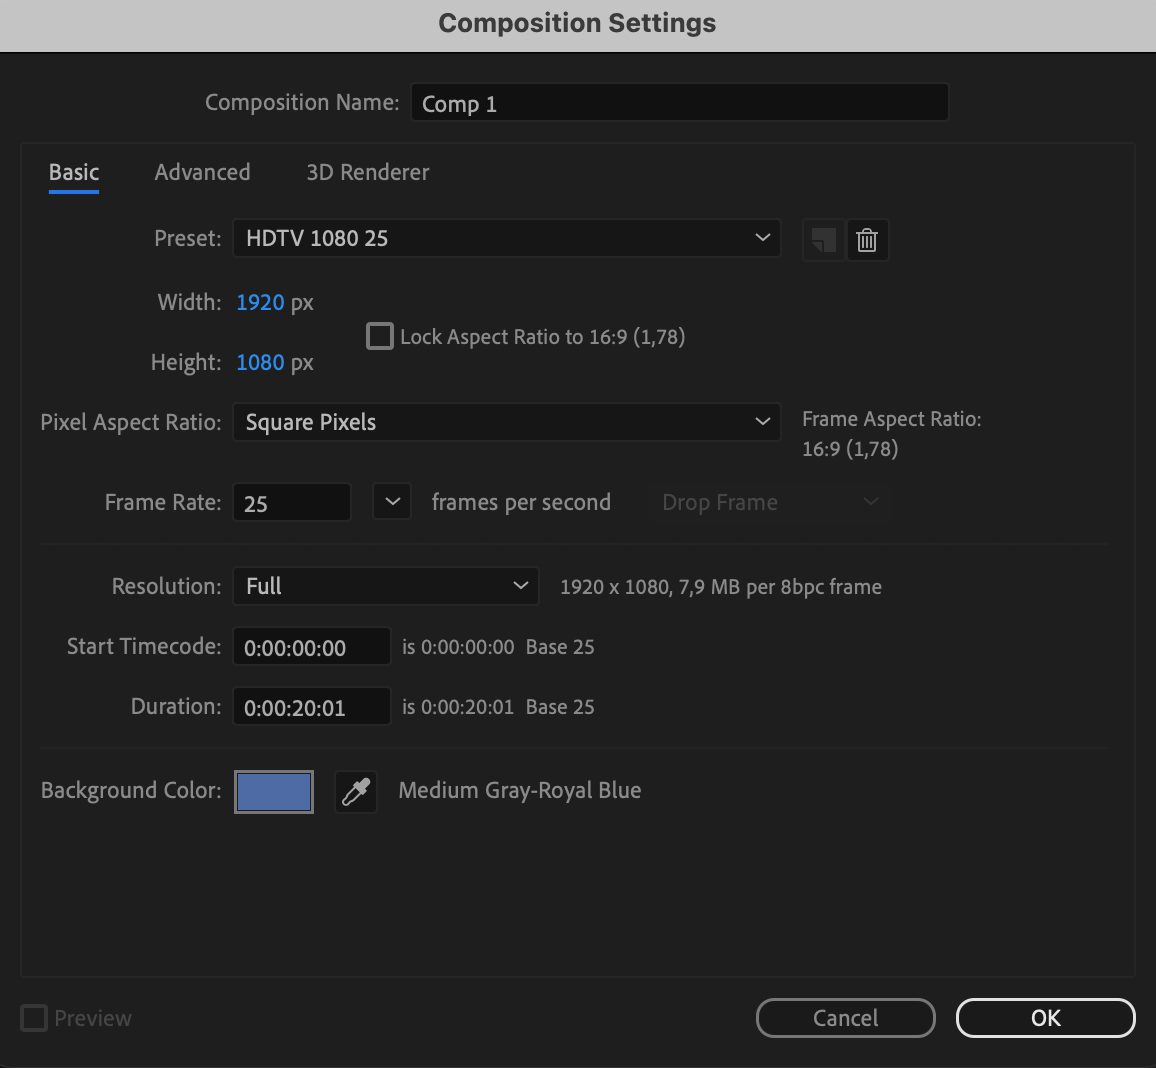
Open After Effects and create a new composition by clicking on Composition > New Composition. Set your desired resolution and duration. This composition will serve as the canvas for your text effects.
 Step 2: Adding Text
Select the Text Tool (Ctrl/Cmd + T) from the toolbar and click on your composition to type your text. Adjust the font, size, and color in the Character panel to match your desired style. Experiment with different fonts and colors to find the perfect combination for your project.
Step 3: Applying Unique Styles and Visual Elements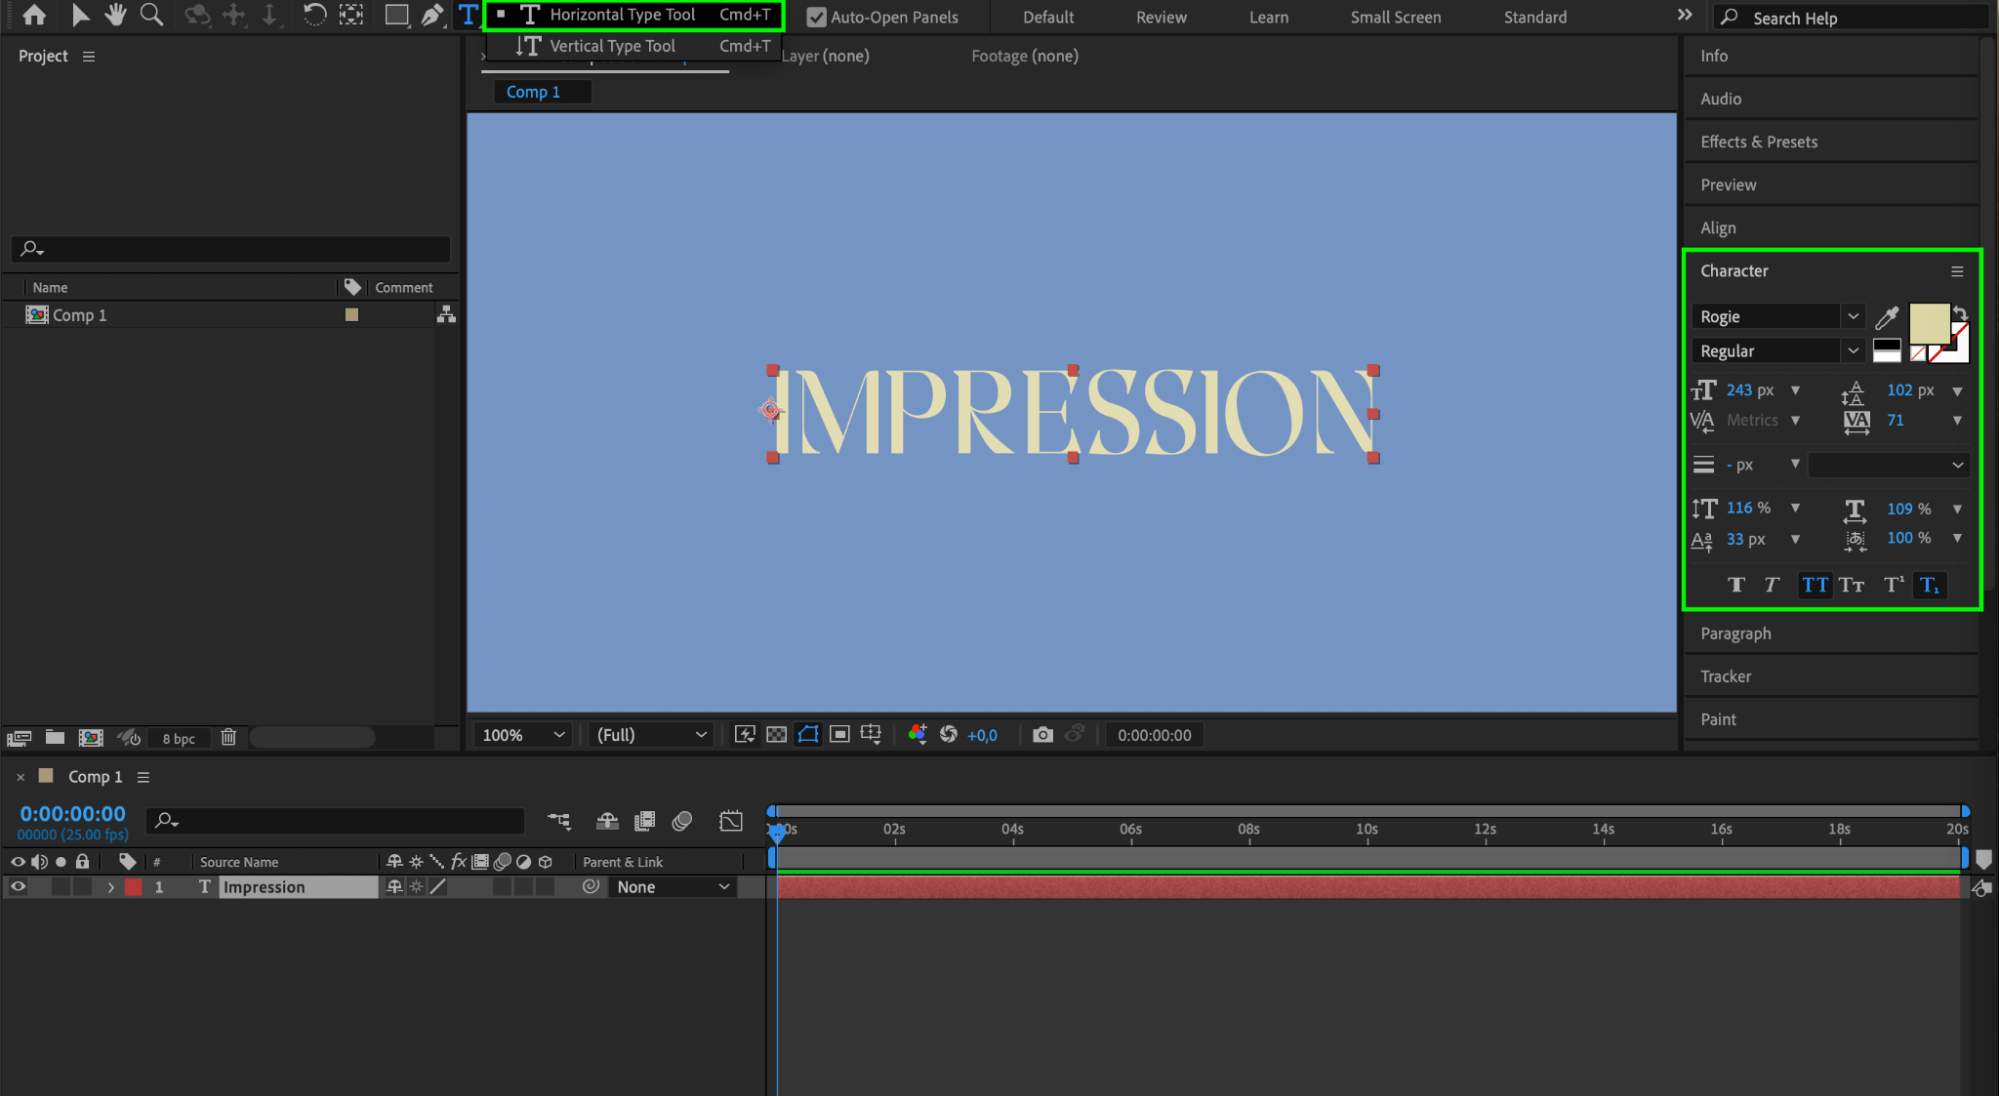
Get 10% off when you subscribe to our newsletter

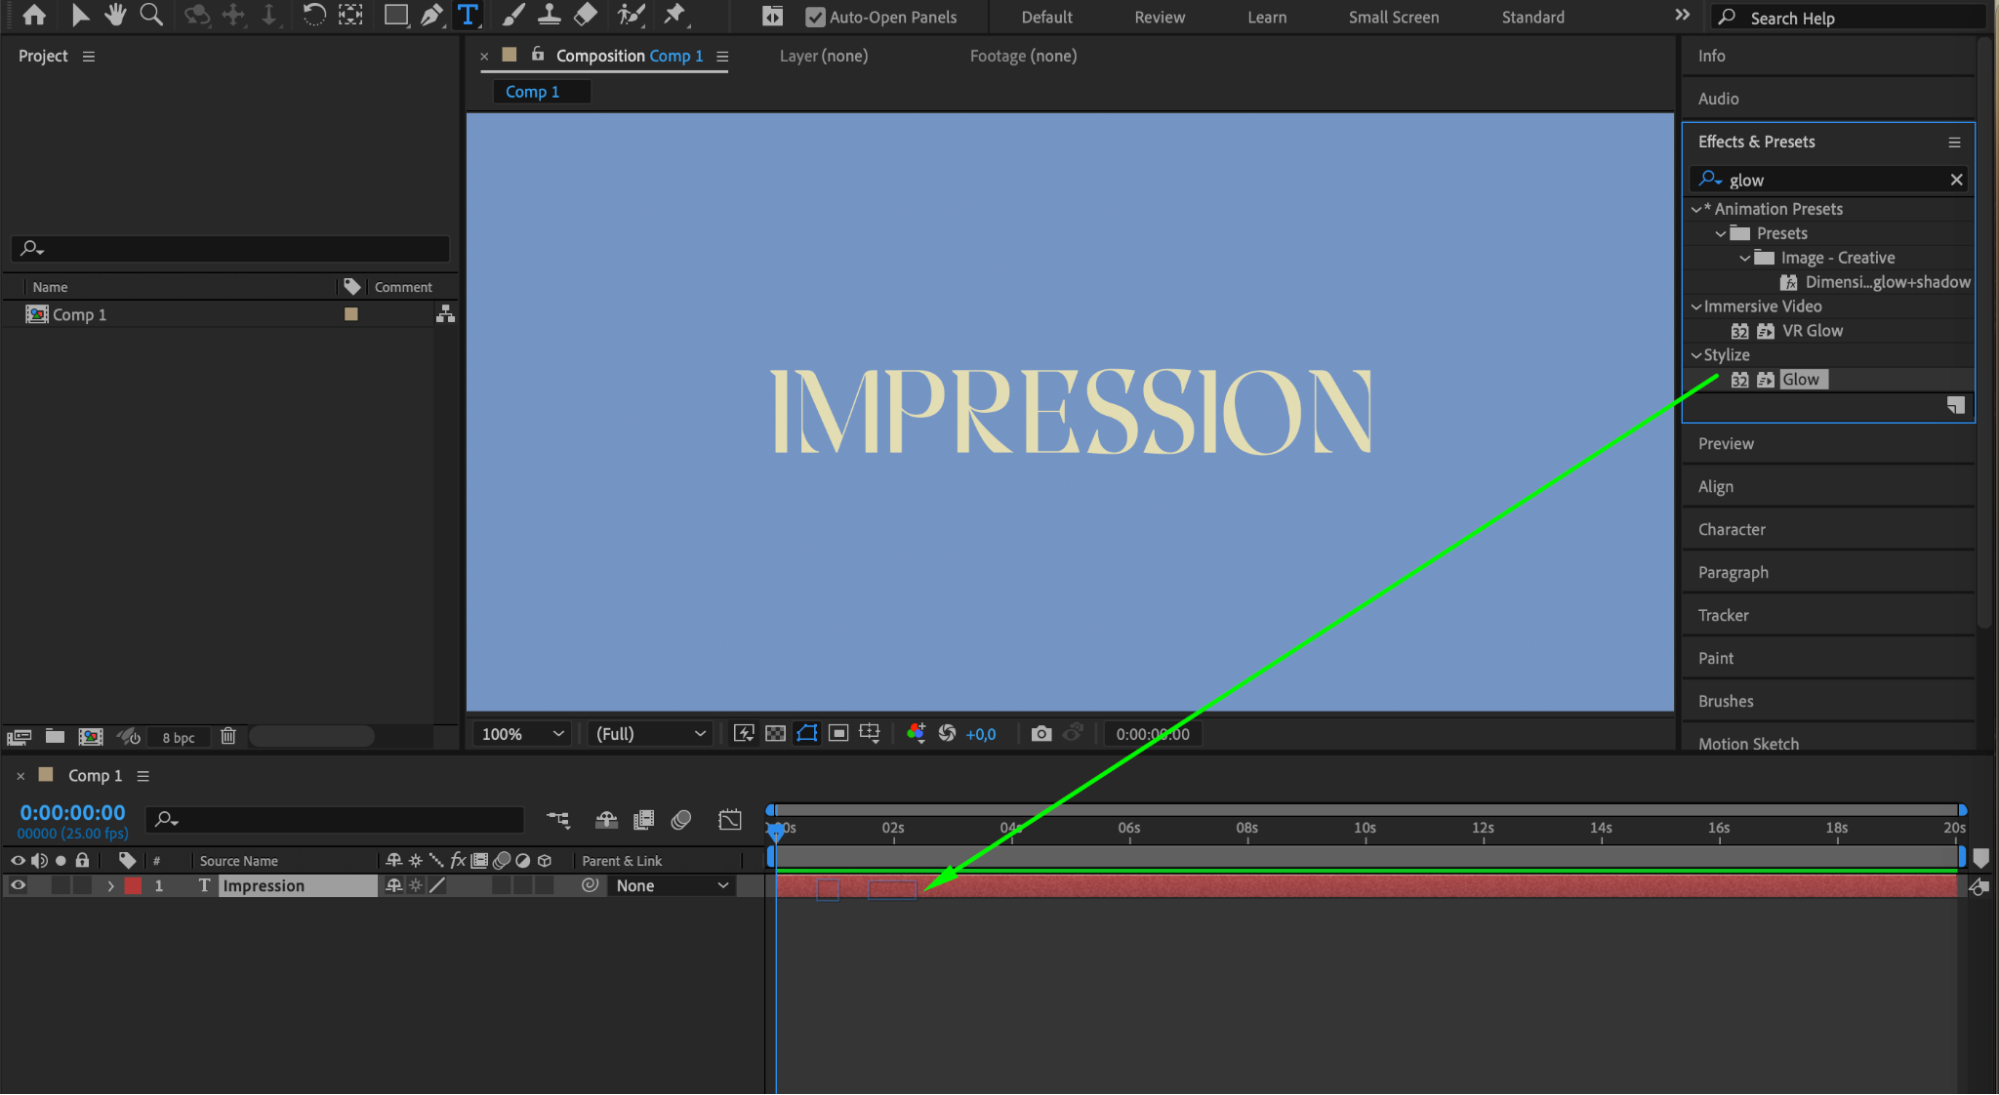
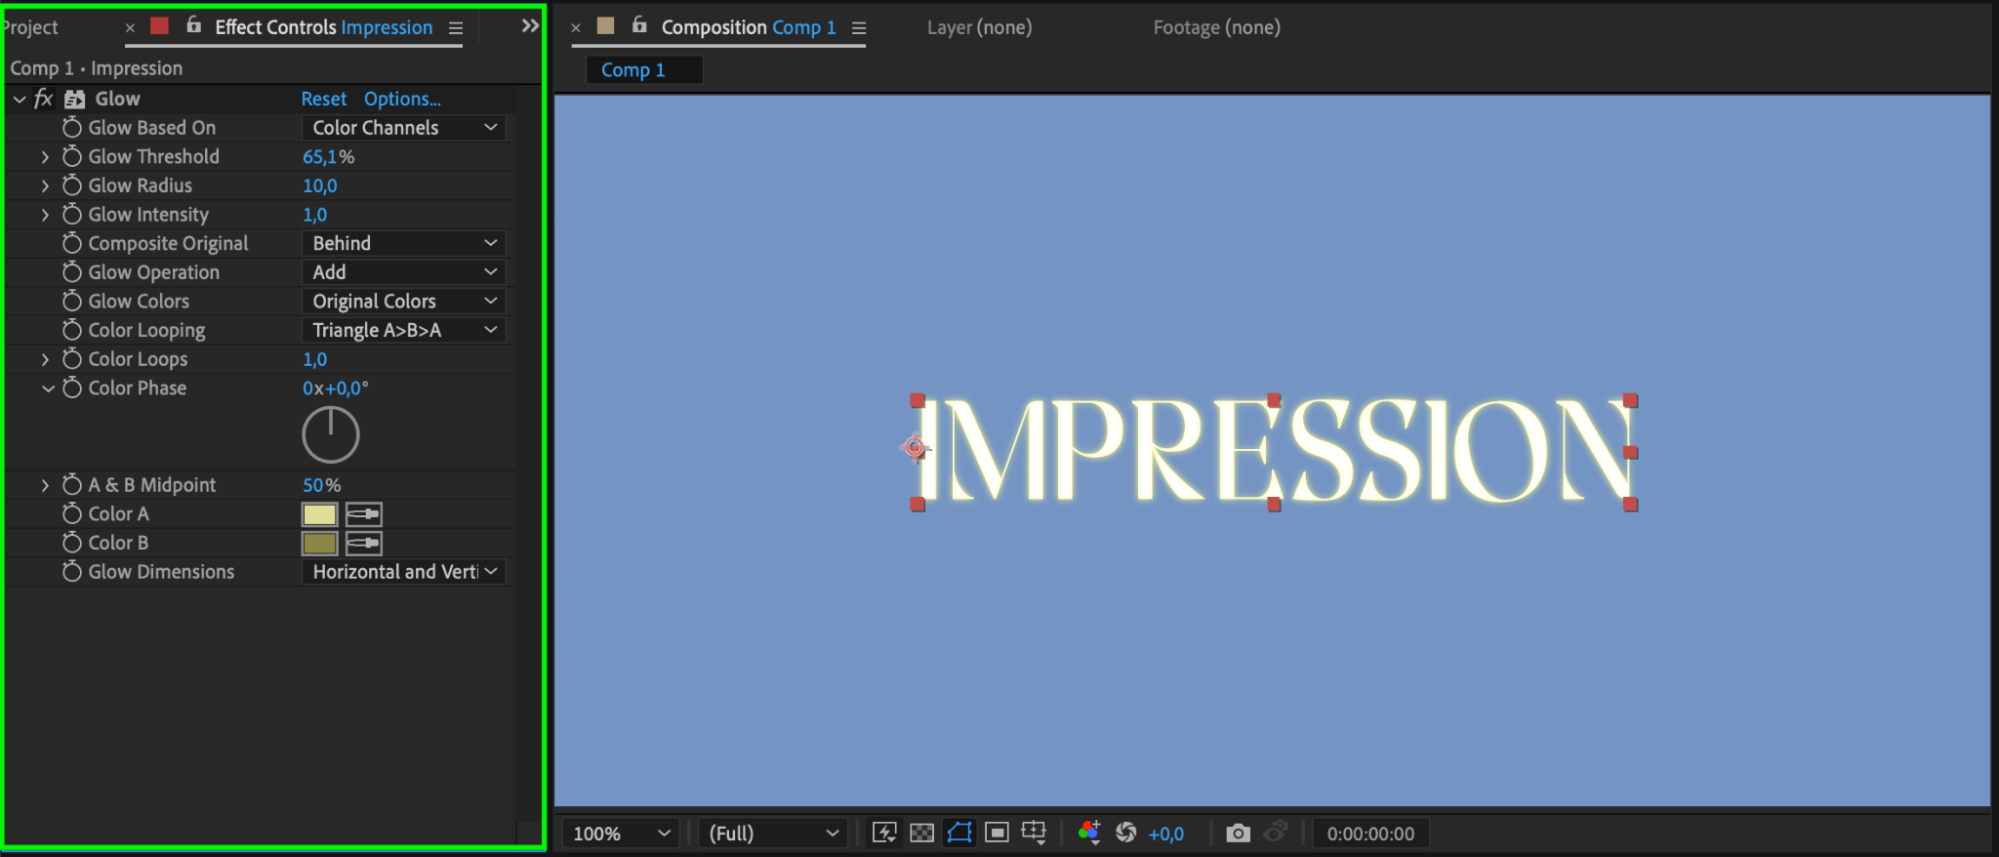
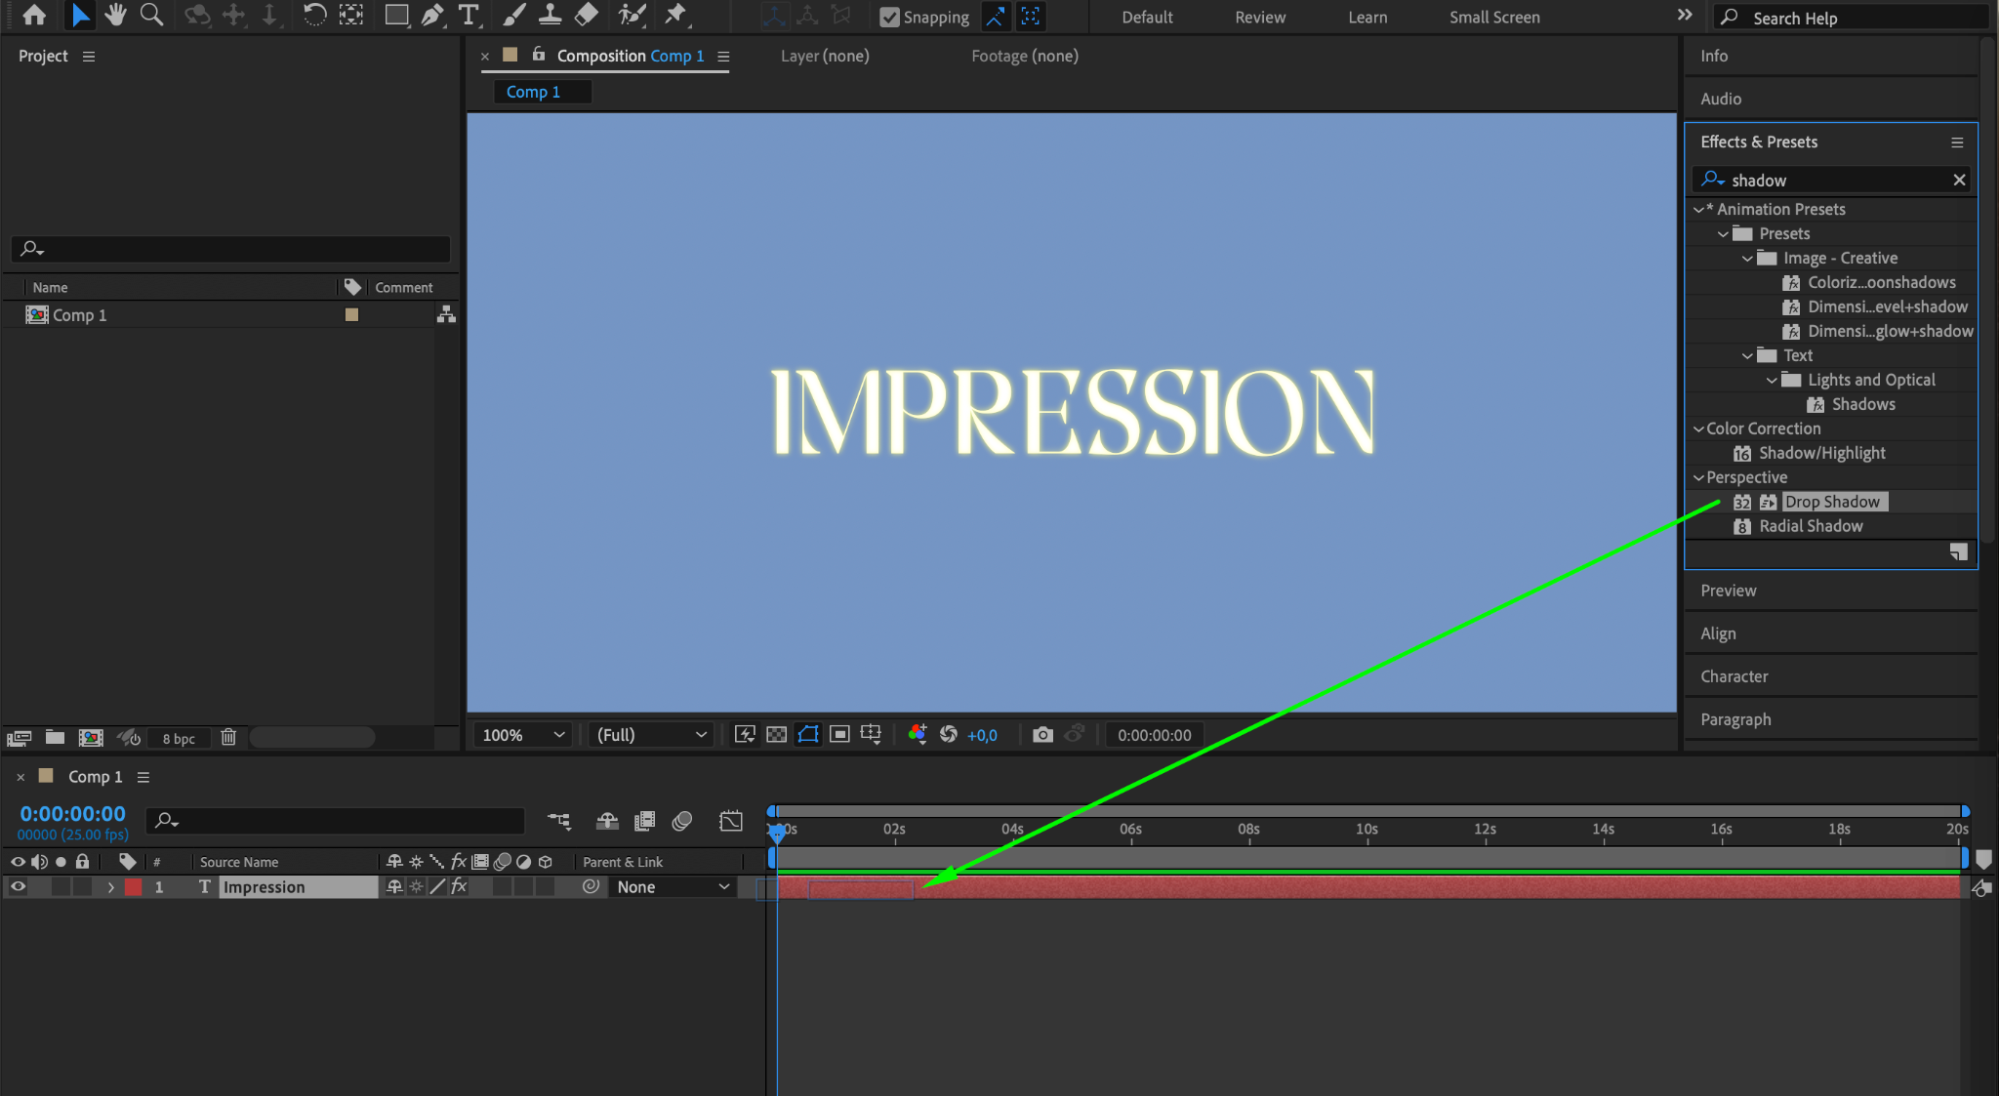
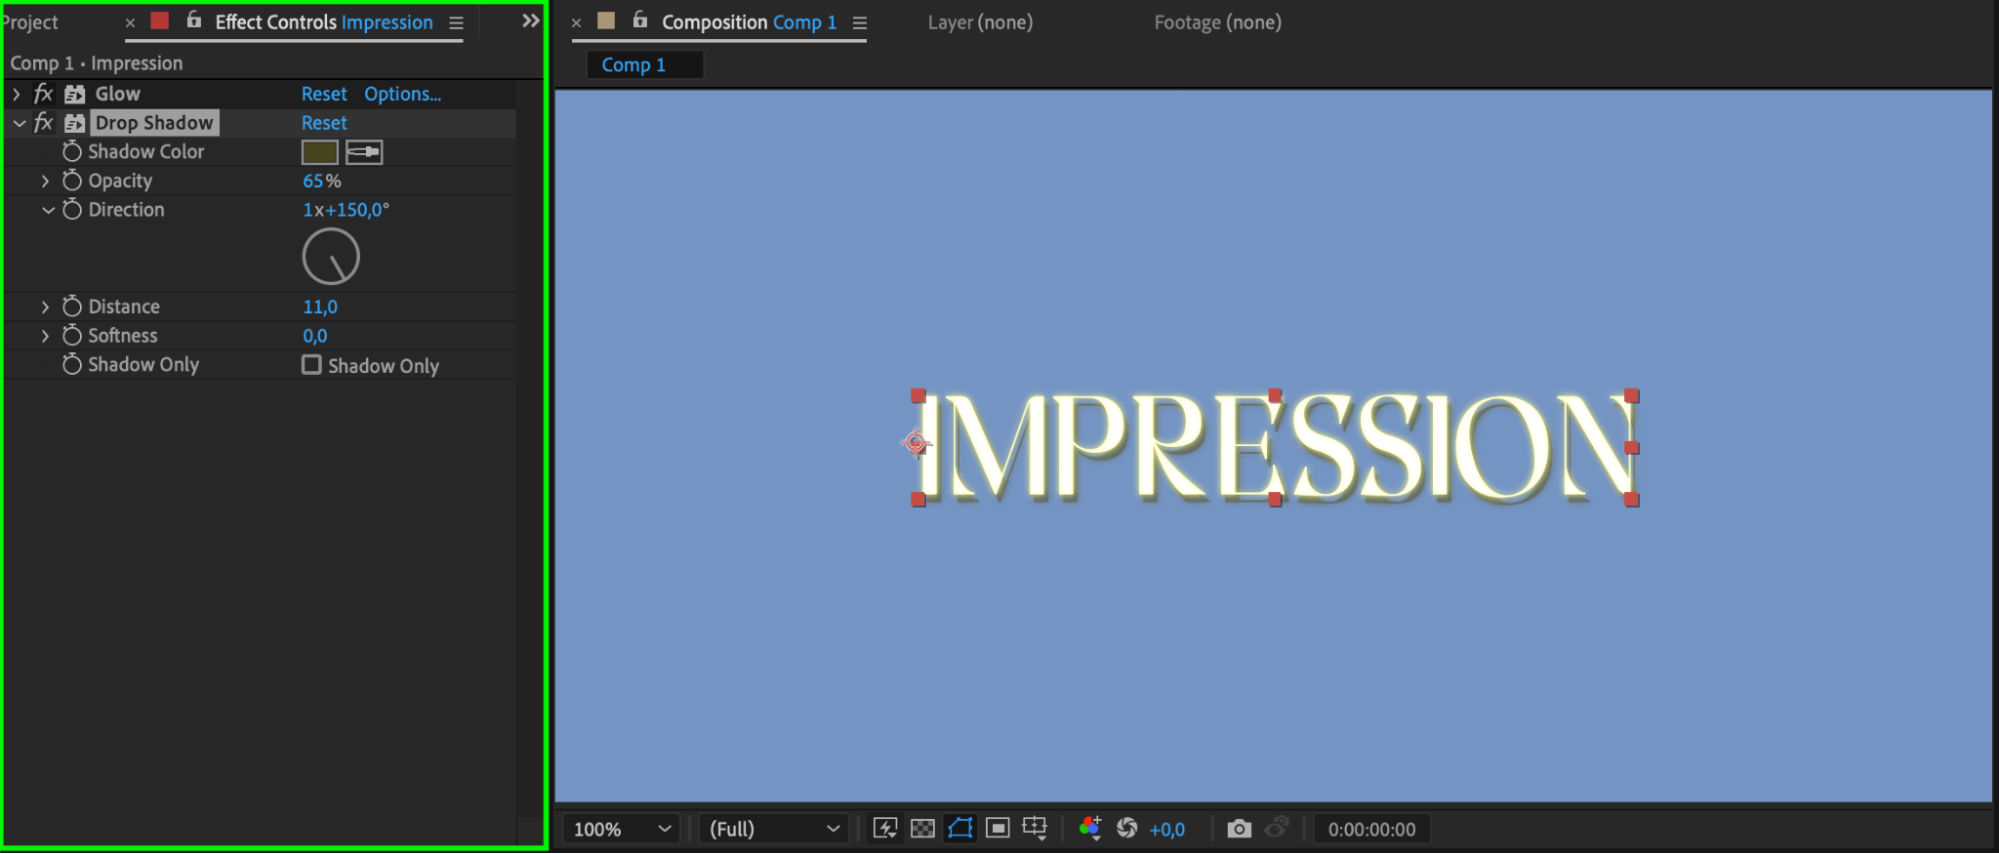
Apply effects from the Effects & Presets panel, such as “Glow”, “Drop Shadow”, or “Gaussian Blur”. Use keyframe properties like Opacity, Scale, Rotation, and Position to create custom animations and add a unique style to your text. Experiment with different combinations of effects and keyframe animations to achieve the desired visual impact for your project.
Get 10% off when you subscribe to our newsletter


 Step 4: Animating Text
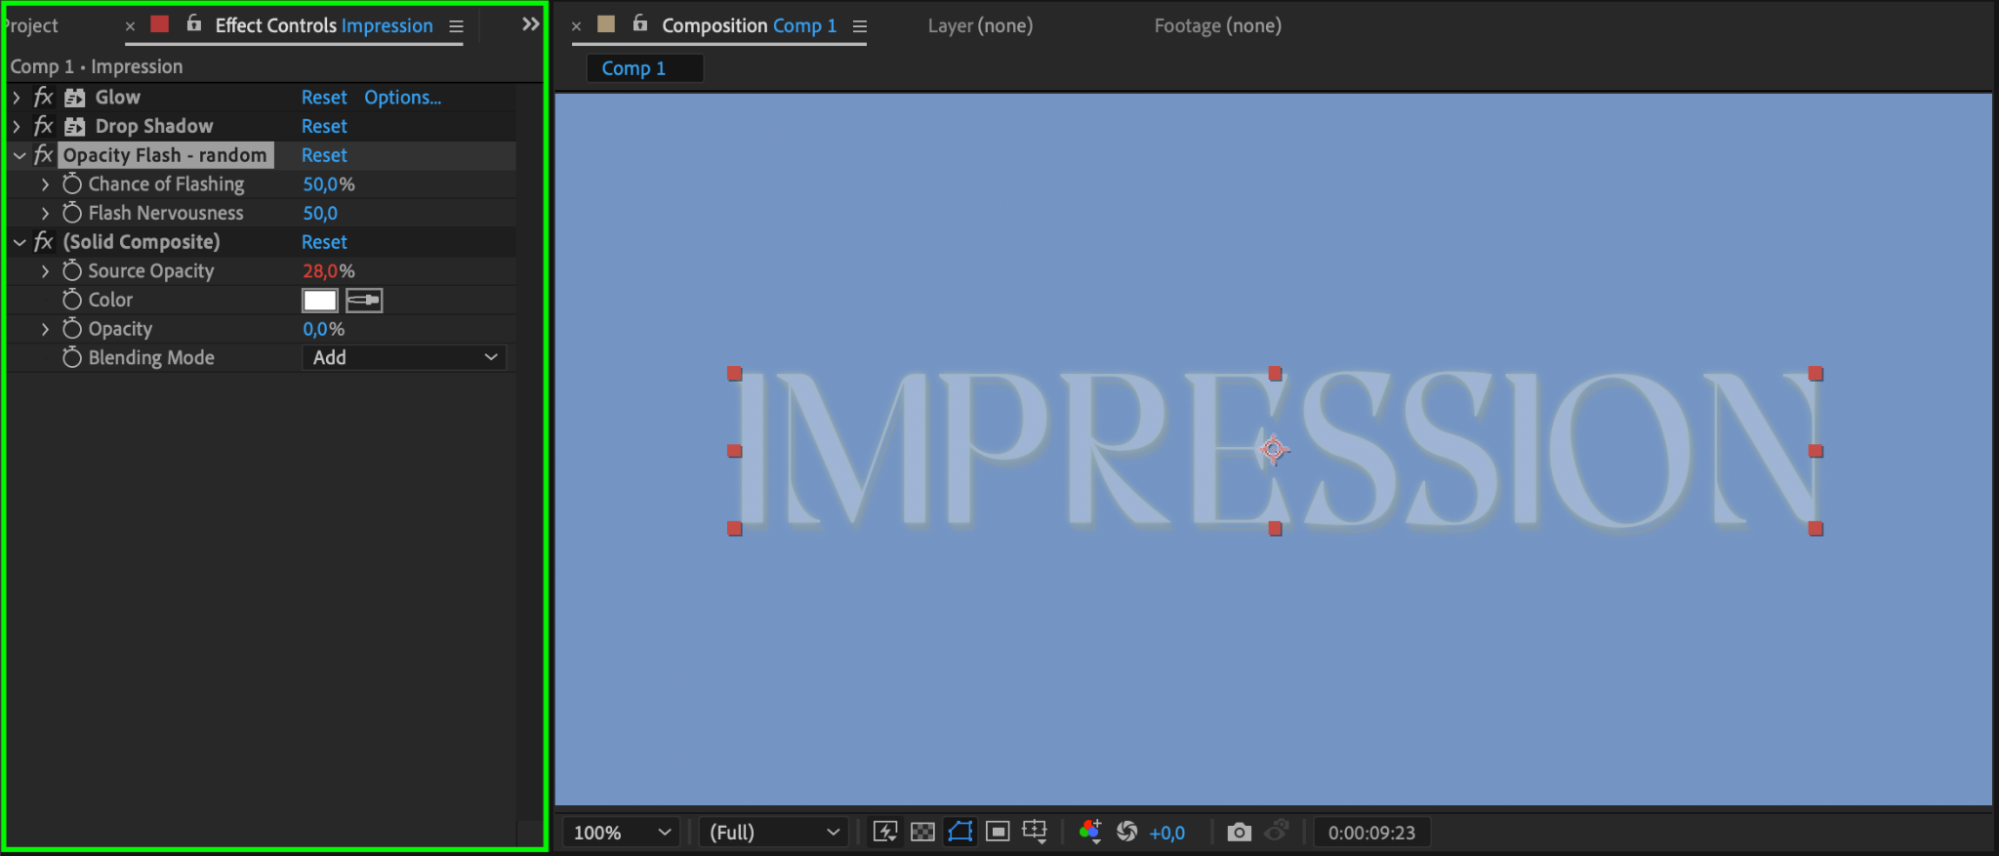
To animate text in After Effects, explore the extensive animation possibilities and utilize ready-made presets for efficiency. Navigate to the Effects & Presets panel and browse through Animation Presets > Behaviors, or use the search bar for specific effects. Drag and drop a preset onto your text layer to apply it instantly. For precise adjustments, expand the text layer properties and refine keyframes in the Effects section. This approach allows you to achieve sophisticated text animations with ease and control over timing and effects.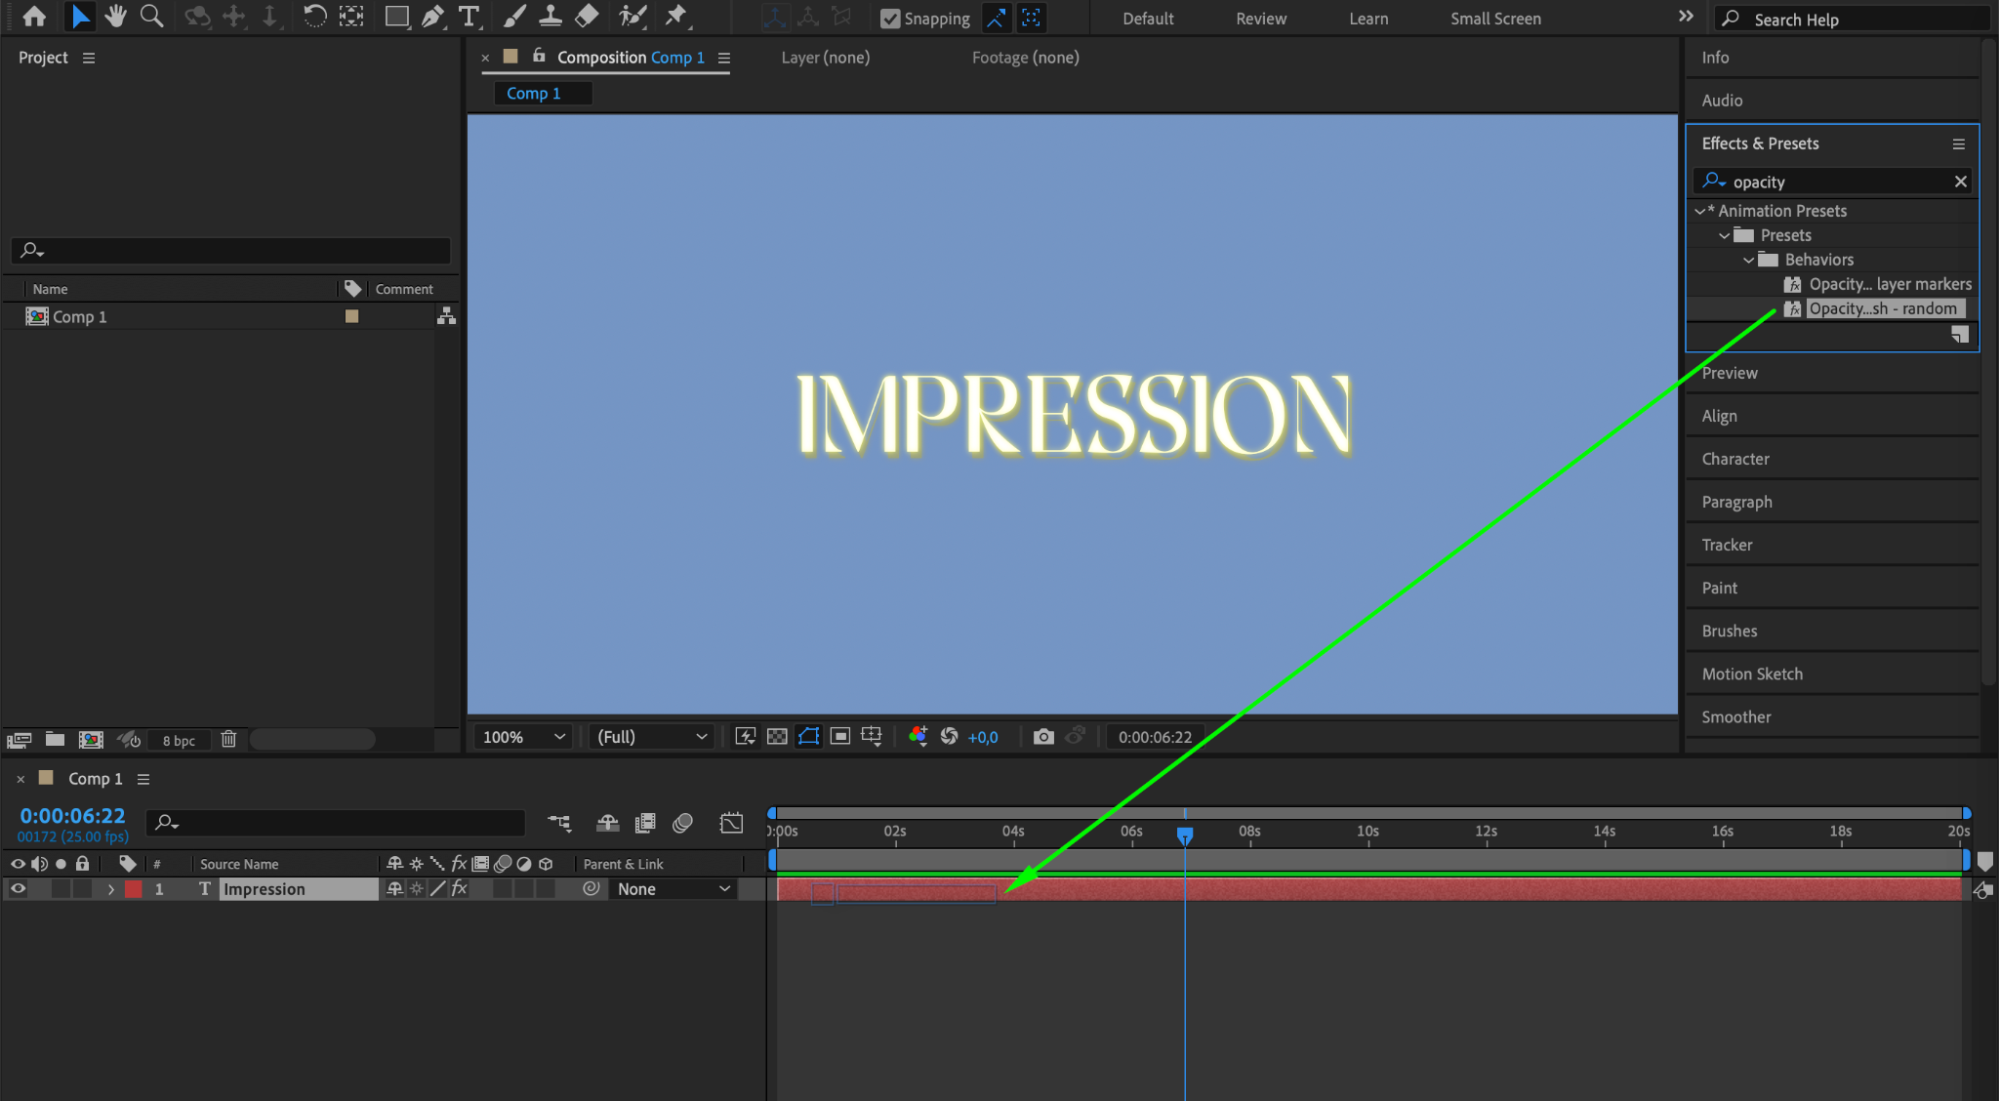
 Step 5: Enabling 3D for the Text Layer
Select your text layer and click the 3D Layer switch (a small cube icon) in the timeline panel. This enables 3D capabilities for your text, allowing you to manipulate it in three dimensions.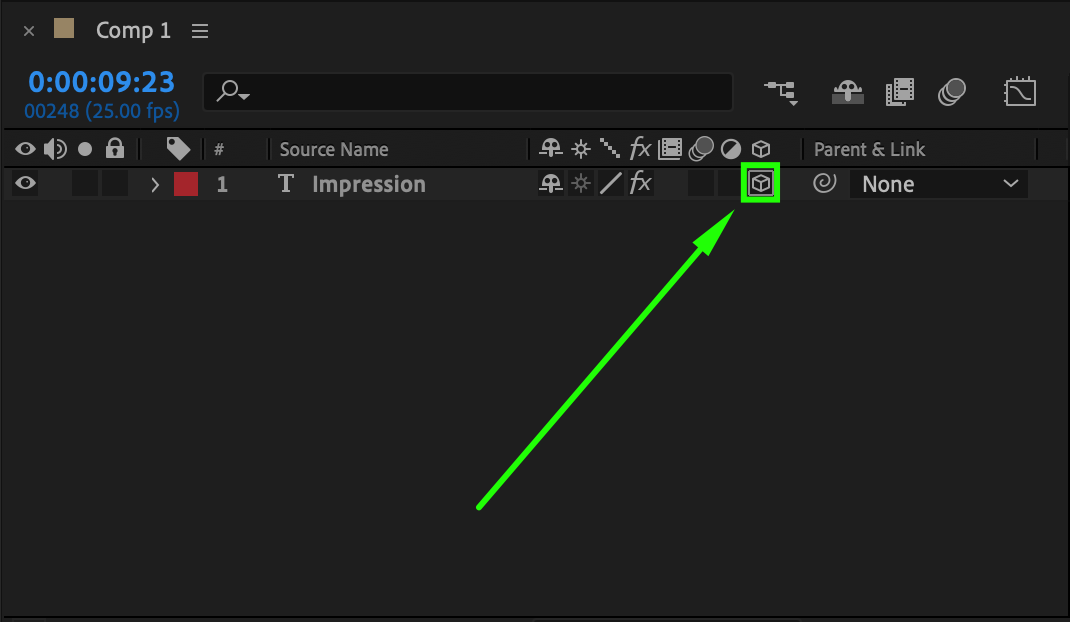 Step 6: Adjusting 3D Properties
With the text layer selected, press R to bring up rotation properties. Rotate your text on the X, Y, and Z axes to achieve the desired orientation. Adjusting these properties gives your text a sense of depth and dimensionality.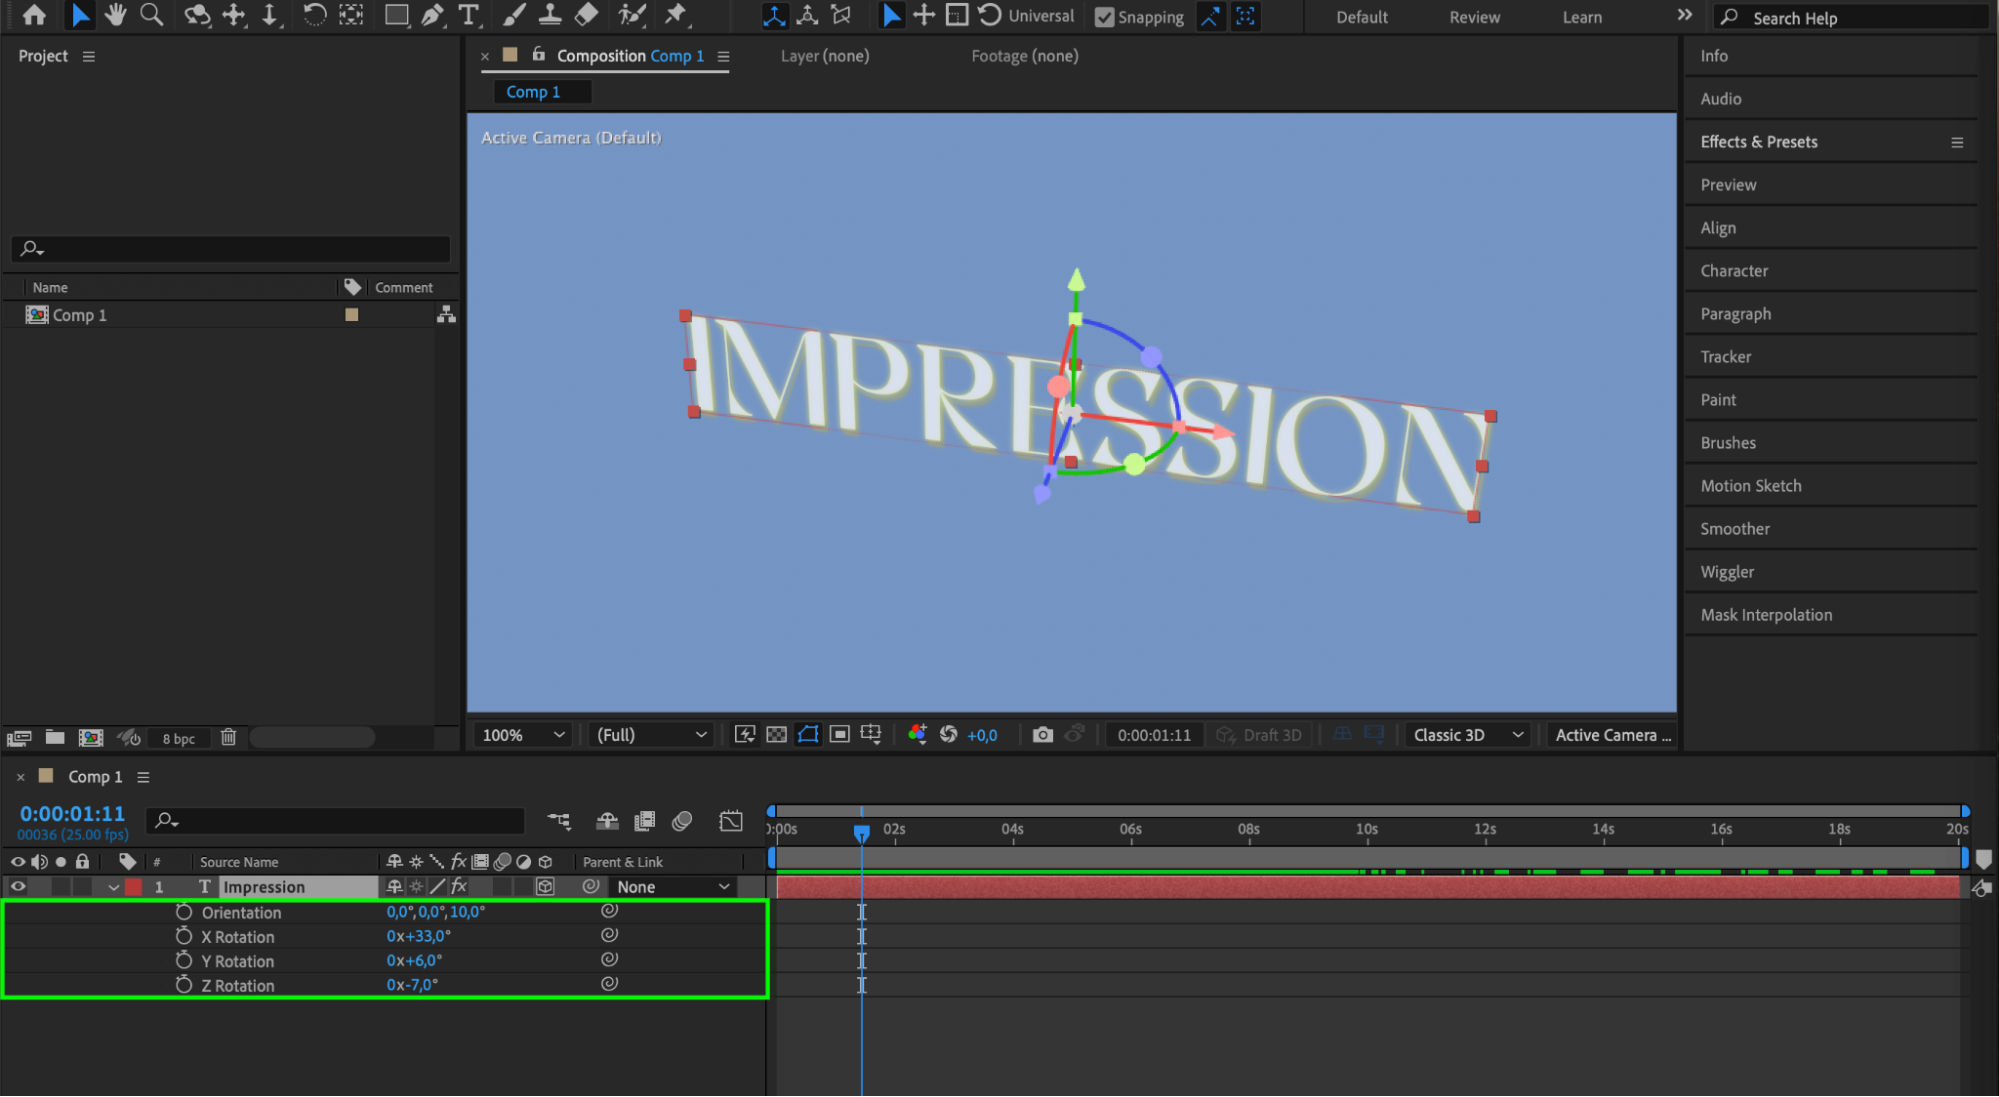 Step 7: Applying Lighting and Shadows
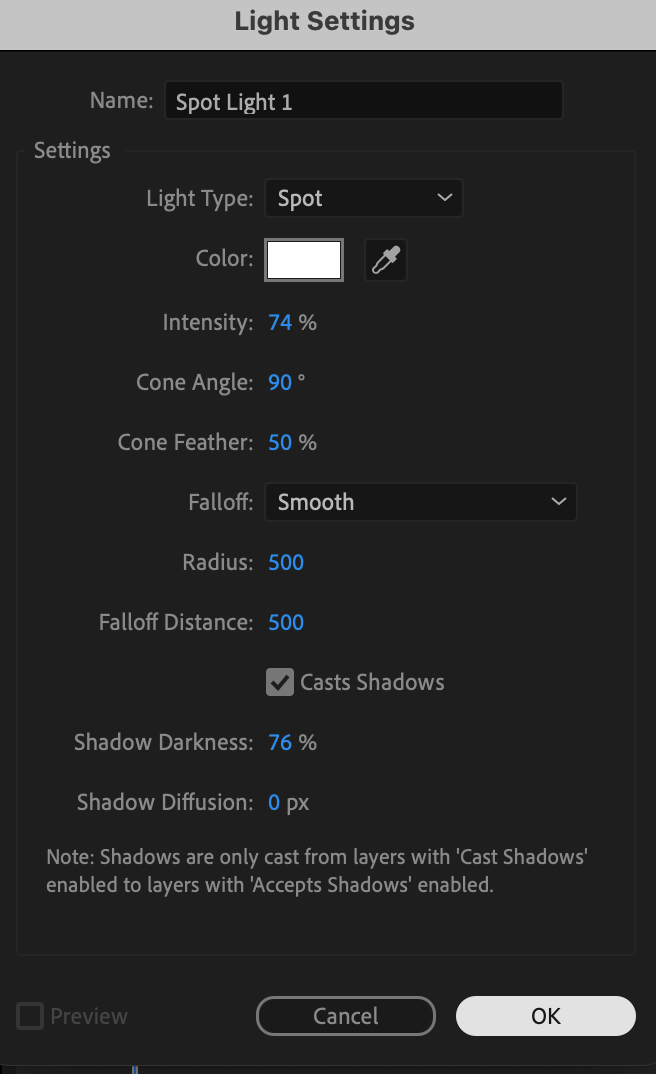
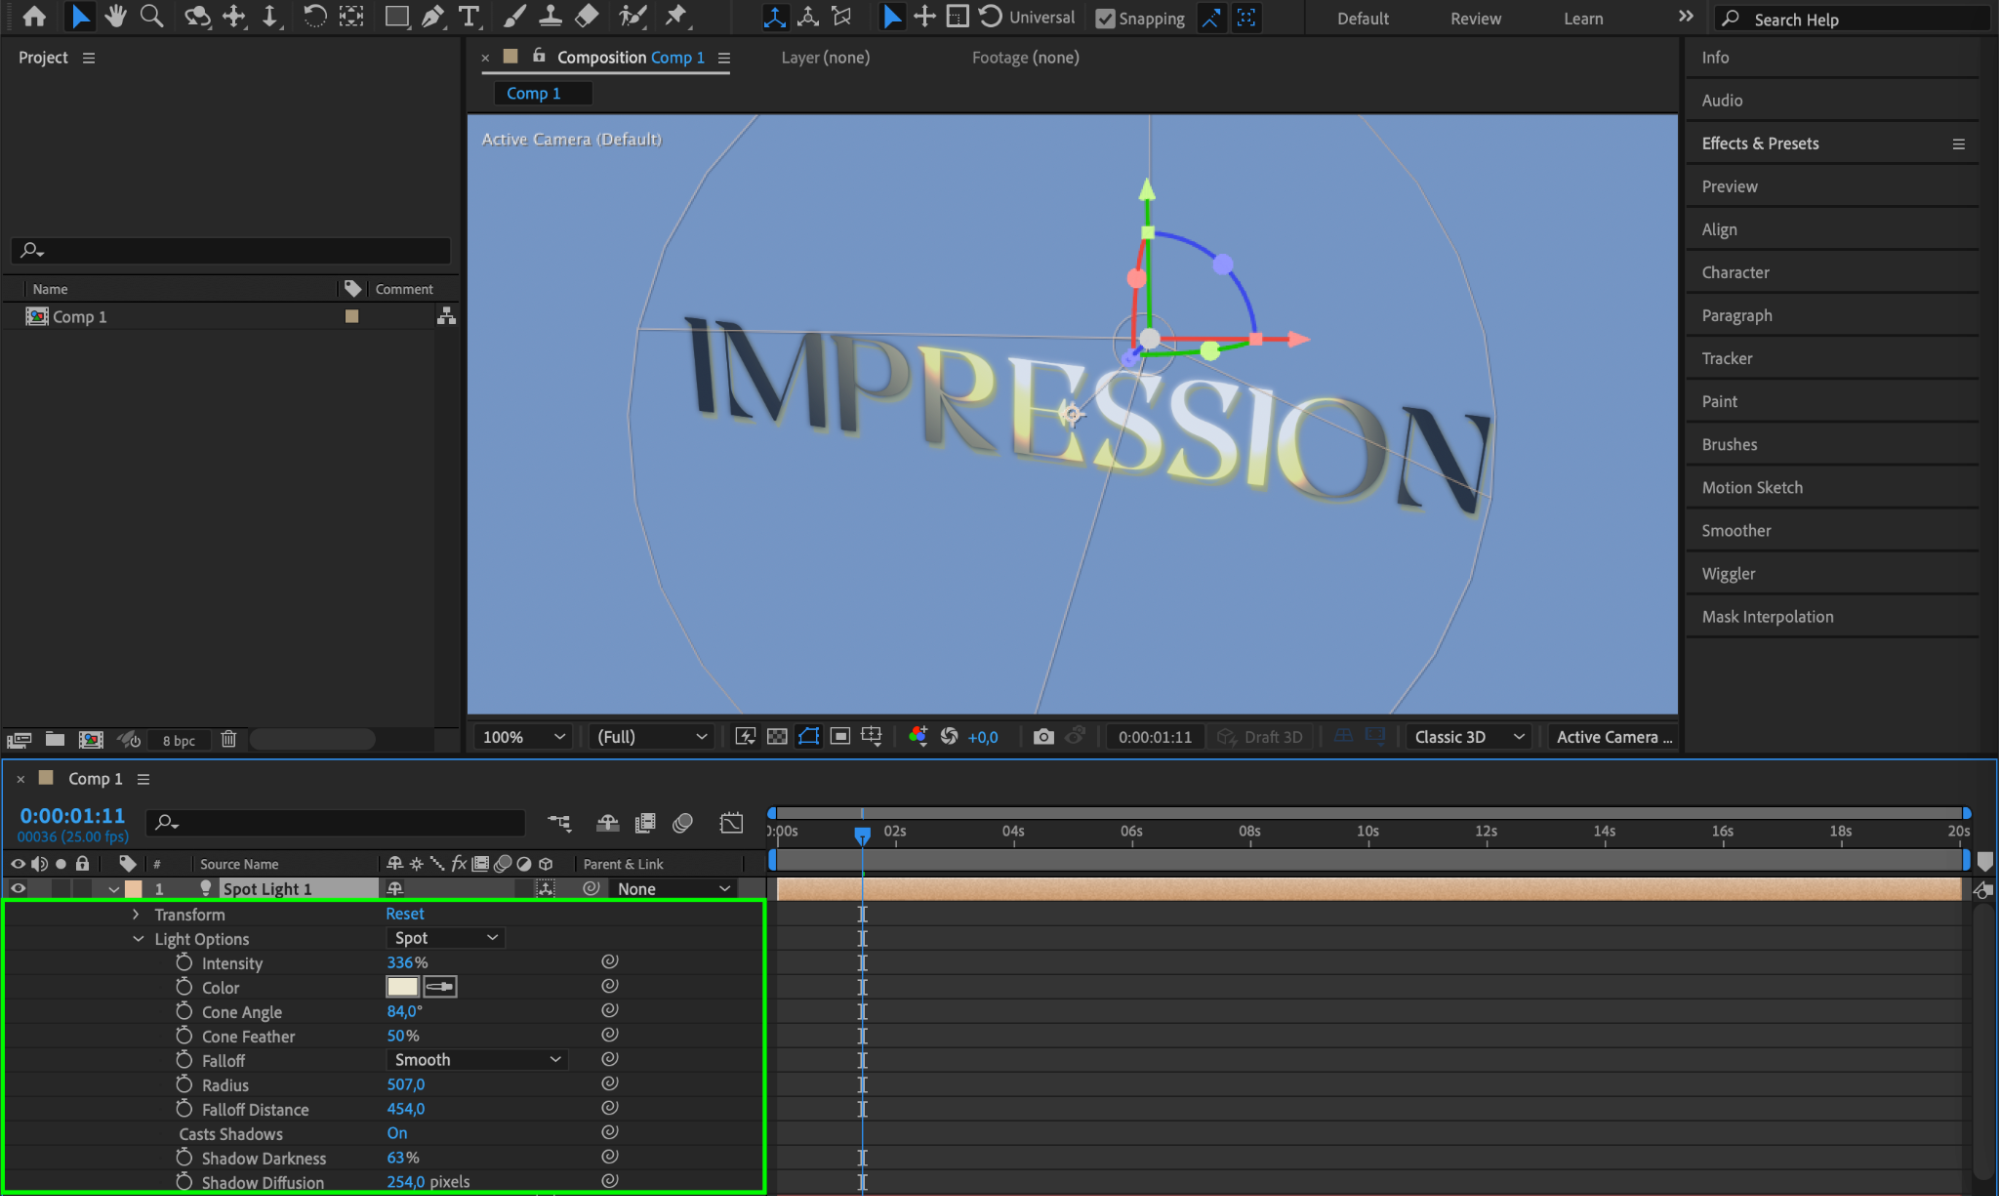
Add a light layer by going to Layer > New > Light. Choose a light type and adjust its position to create realistic lighting and shadows on your 3D text. This step enhances the realism and visual appeal of your 3D text.
 Step 8: Previewing and Refining Your Animation
Press Spacebar to play the composition and preview the animation. Adjust the keyframes and effects as needed to create a smooth and visually appealing text effect. Fine-tuning your animation ensures it meets your creative vision.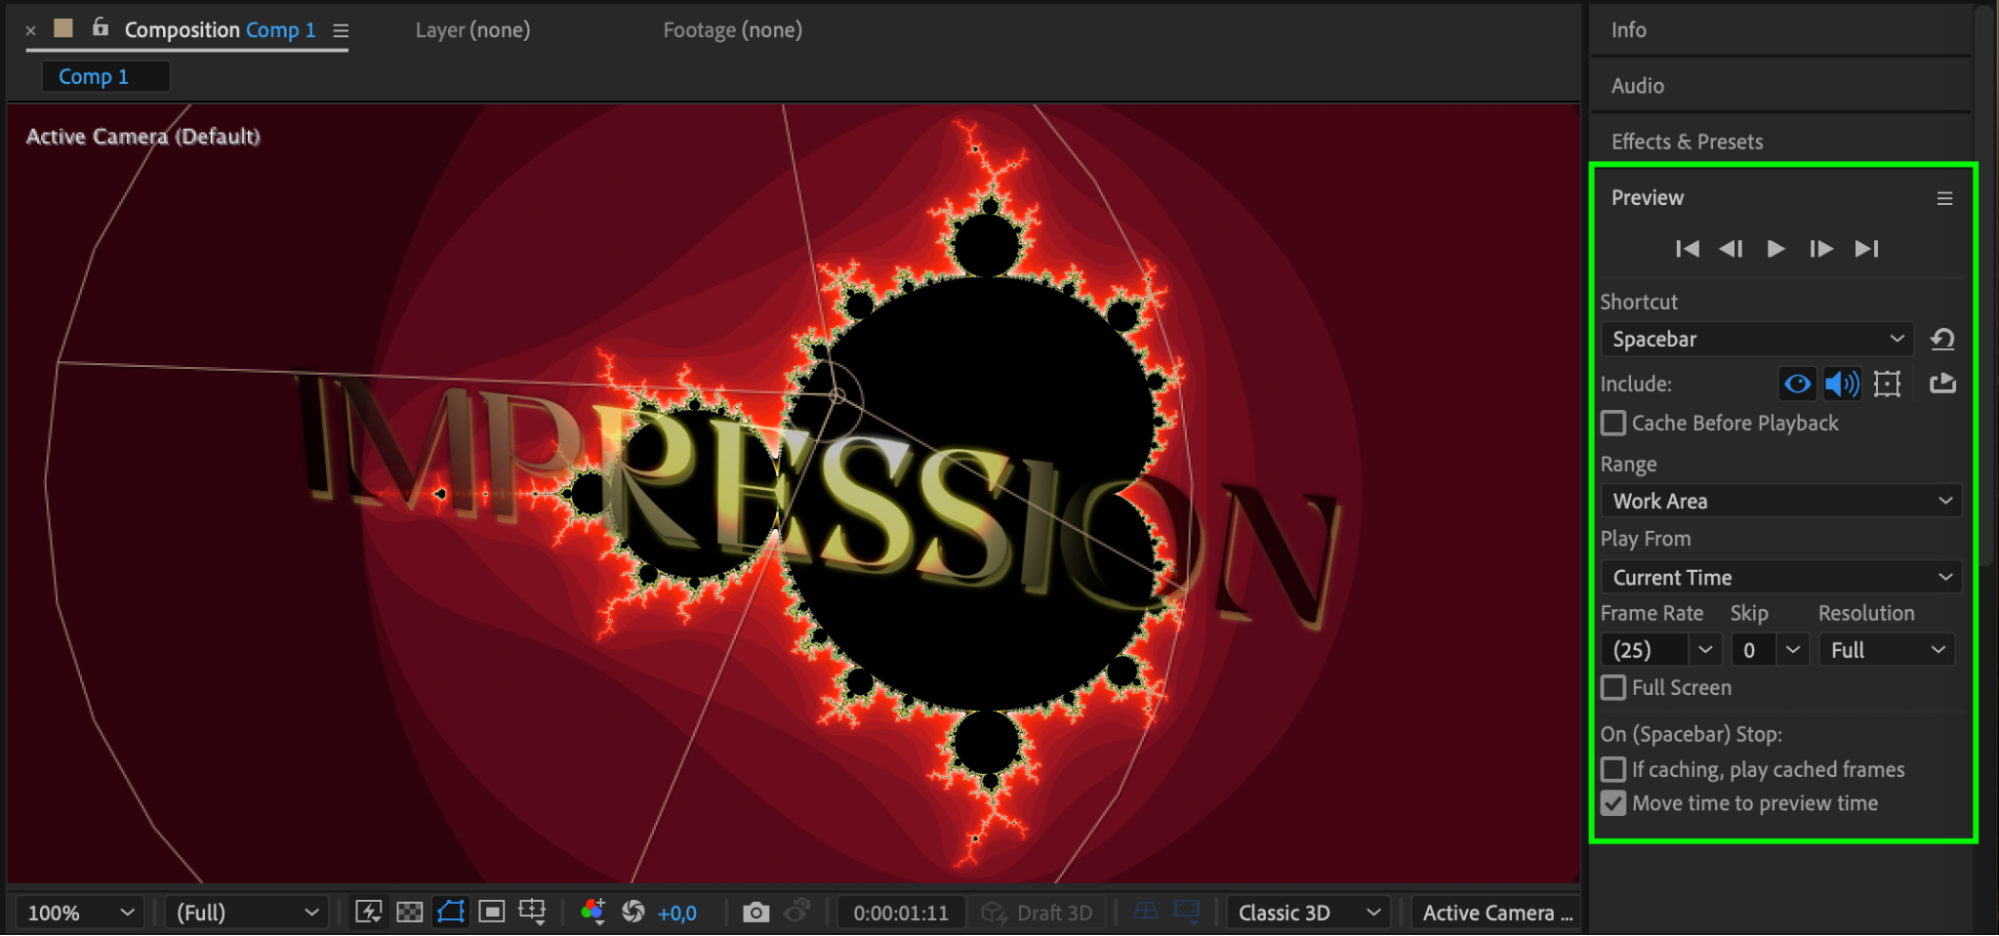 Conclusion
By following these steps, you’ll have a solid foundation in creating breathtaking text effects in After Effects. Practice makes perfect, so don’t be afraid to experiment and let your creativity flow. Transform your videos with dynamic text animations, 3D effects, and unique styles that captivate your audience. So, are you ready to level up your videos with captivating text effects? Let’s get started! For more tutorials and tips on After Effects, visit our website aejuice.com.


