Perfecting Zoom Transitions in After Effects
Adding Zoom Transitions in After Effects
Are you looking to make your videos more dynamic and visually appealing? Zoom transitions can instantly elevate the quality of your content, giving it a professional touch. The best part is, creating these zoom transitions with After Effects is easier than you might think.
This tutorial will guide you through the process of adding engaging zoom transitions to your videos. Whether you’re a beginner or an experienced video editor, these step-by-step instructions will help you master the art of creating smooth and captivating zoom effects.
Get 10% off when you subscribe to our newsletter

So, let’s jump in and discover how you can enhance your video editing skills using After Effects and AEJuice.com.
Step 1: Setting up your project
Before we begin, make sure you have After Effects installed on your computer. Open After Effects and create a new composition by going to “Composition” > “New Composition”. Set your desired settings like frame rate, resolution, and duration.
 Step 2: Importing Your Footage
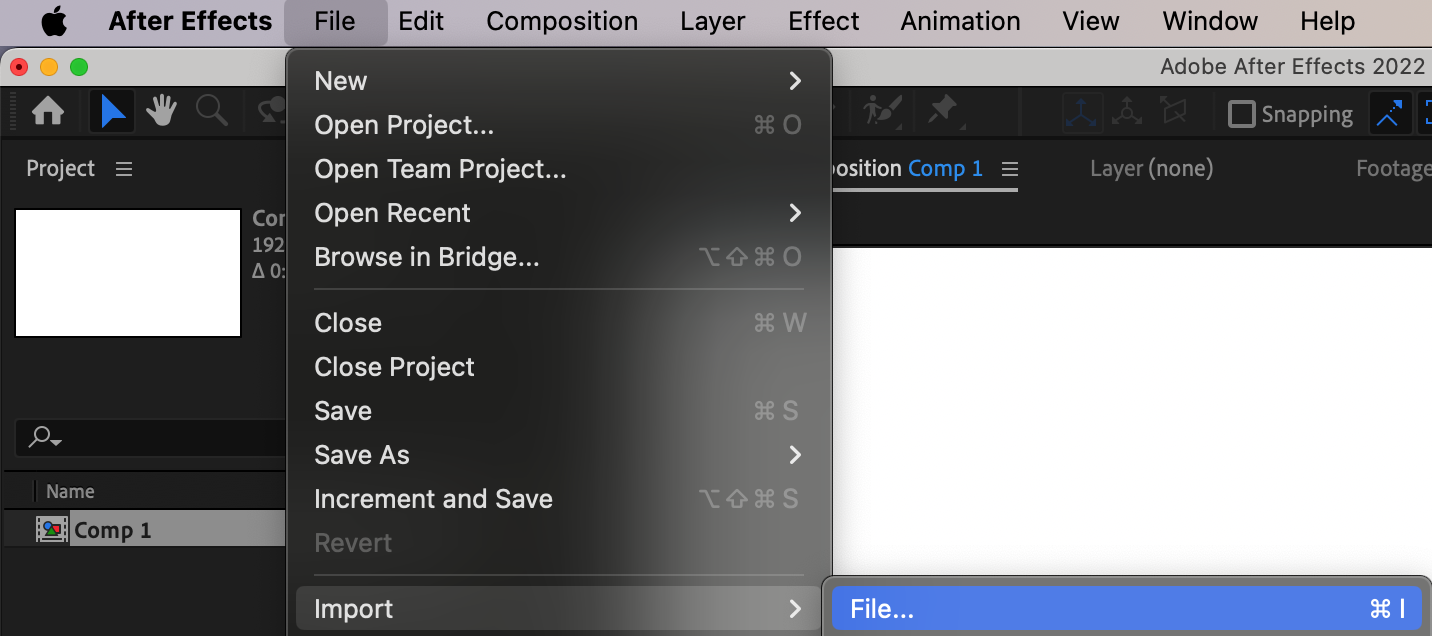
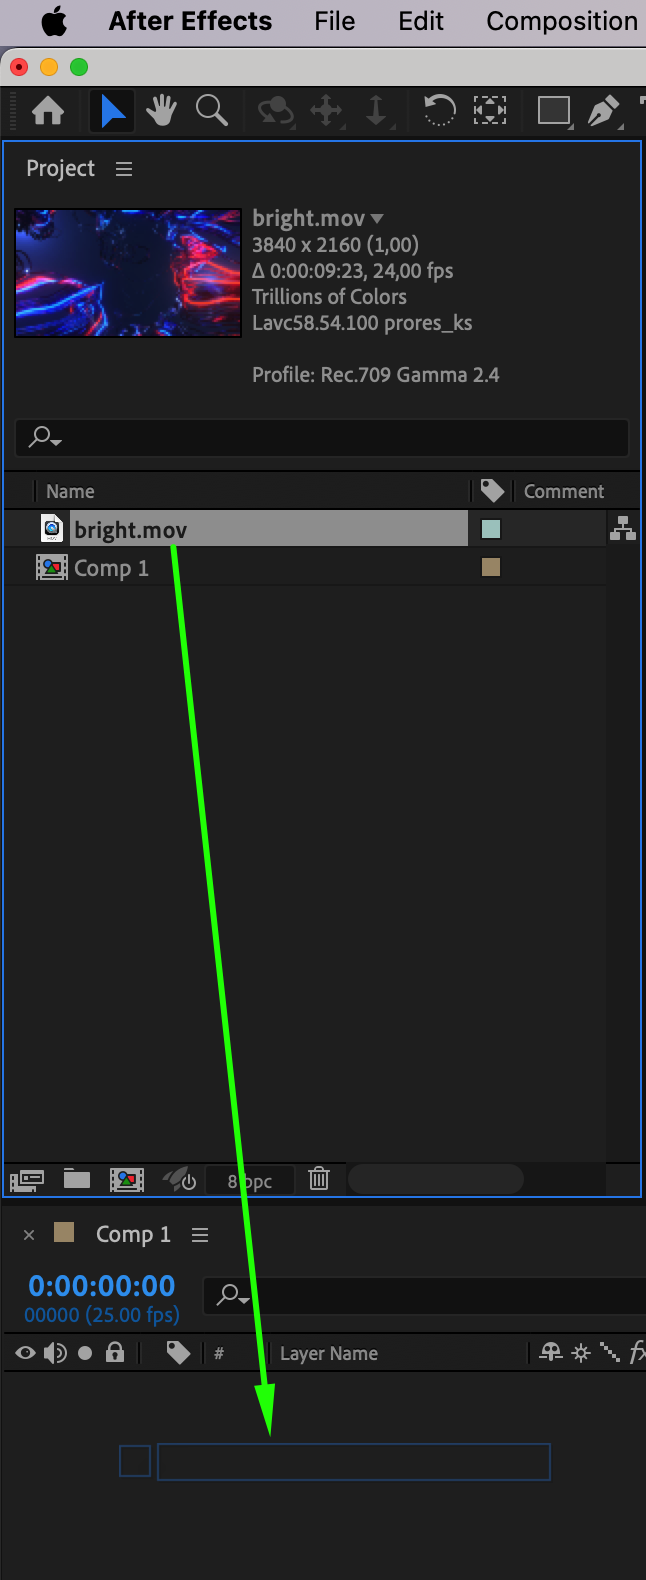
Import your video clip into the project panel by navigating to “File” > “Import” > “File” and selecting the relevant file. Then, drag the file onto the timeline panel to begin working with it.
 Step 3: Adding the zoom effect
Select the layer and position the playhead where you want the zoom effect to begin. Go to the “Scale” property of the layer and set a keyframe at 100%. Move the playhead to where you want the zoom effect to end and increase the scale value to achieve the desired zoom effect. Set another keyframe at this point.
 Step 4: Adjusting the timing
To create a more natural and realistic zoom transition, right-click on the selected keyframes and choose “Keyframe Assistant” > “Easy Ease”. This will smooth out the animation, adding a touch of professionalism to your video.
 Step 5: Fine-tuning the zoom effect
Play back your composition to see how the zoom transition looks. If needed, adjust the keyframe positions and values to create a seamless and visually pleasing transition. Feel free to experiment with properties like opacity and rotation to add more depth and creativity to your effects.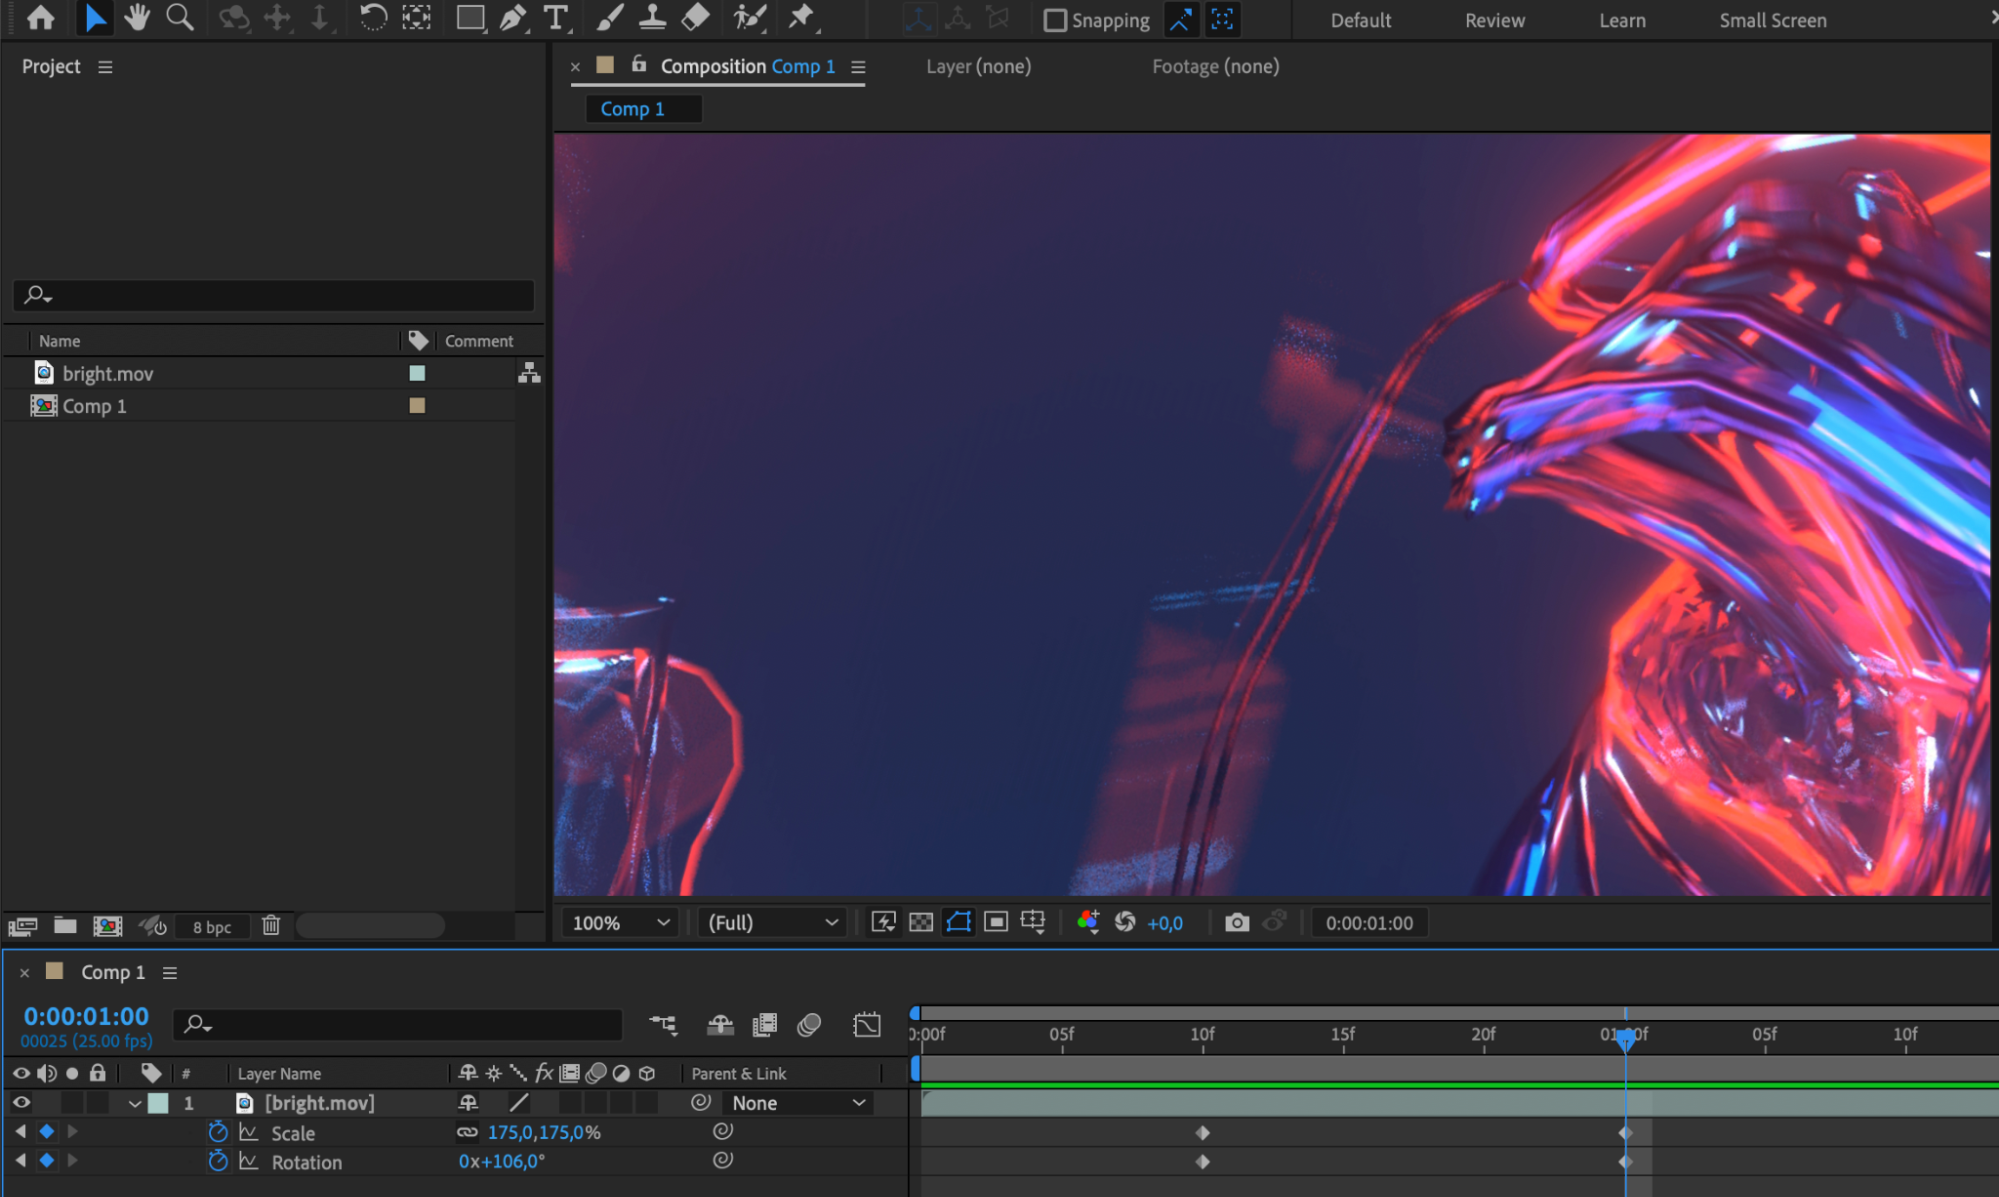 Step 6: Adding additional effects
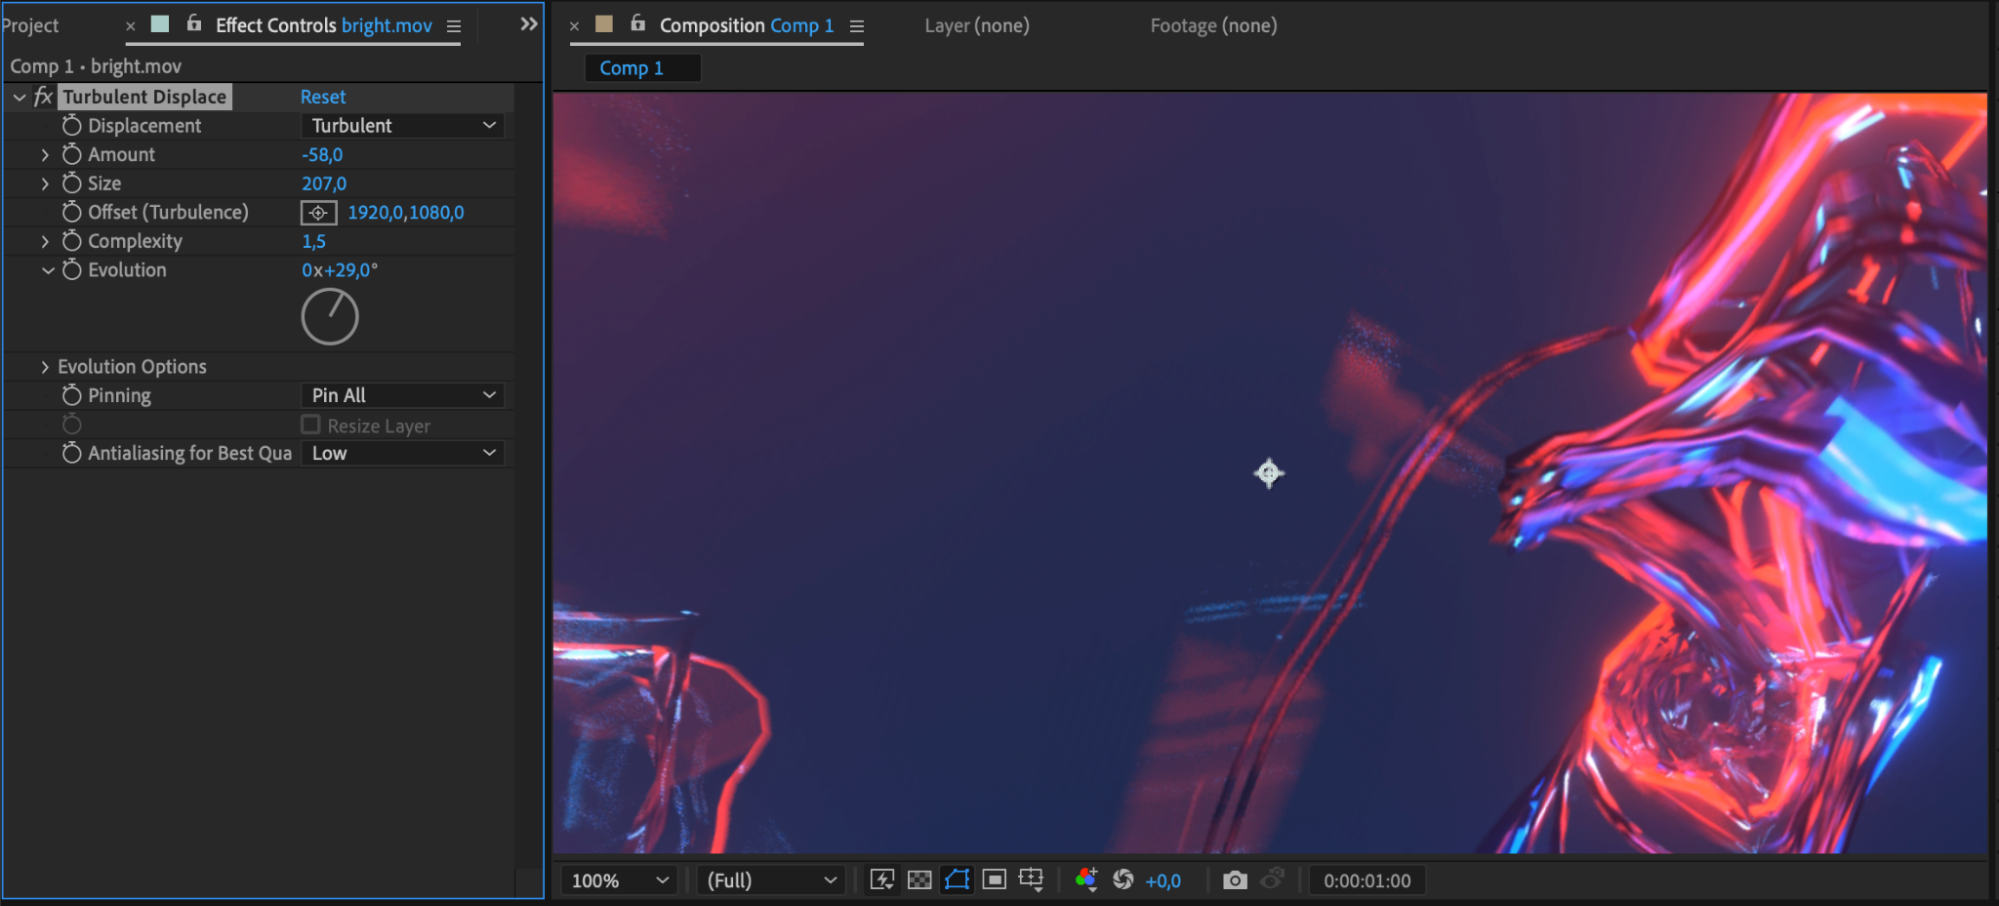
To further enhance your zoom transition, consider applying additional effects such as motion blur, color grading, or adding text or graphics. After Effects offers a wide range of tools and effects to help you unleash your creativity and make your videos stand out.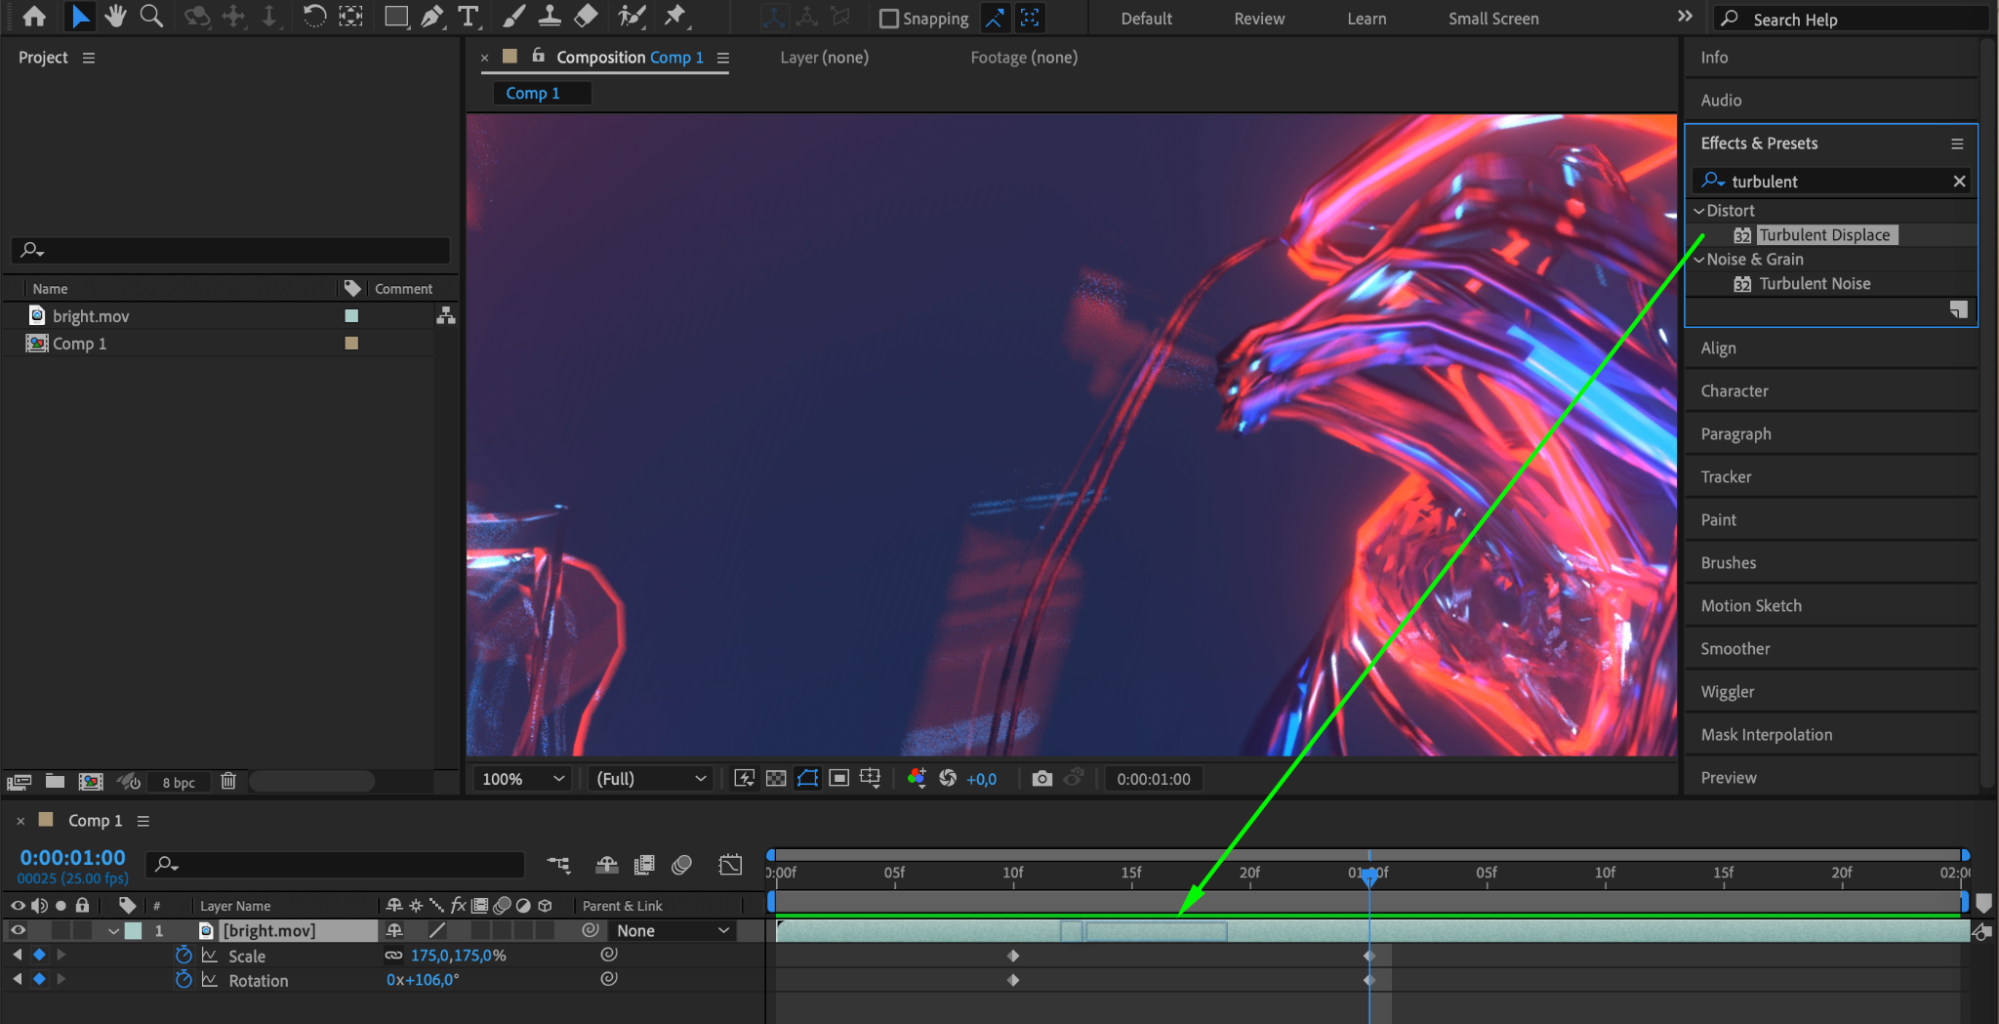
 Step 7: Previewing and exporting your video
Once you’re satisfied with your zoom transition, it’s time to preview and export your video. Use the preview panel in After Effects to review the transition and make any final adjustments if necessary. When you’re ready to export, go to “Composition” > “Add to Render Queue”. Select your desired output settings, file format, and destination folder, and click “Render” to export your video.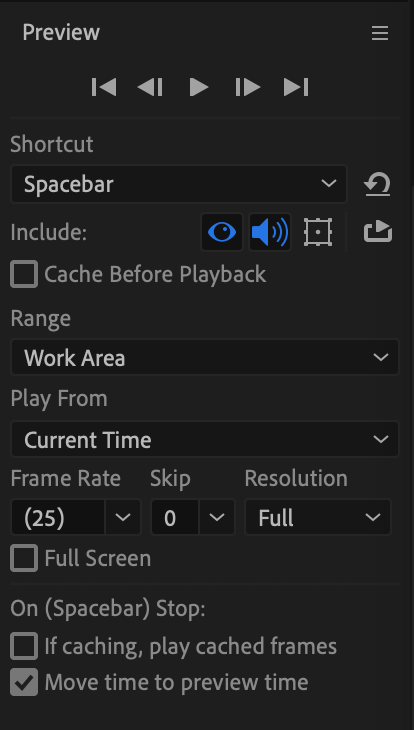

 Conclusion:
By following these steps, you can easily create captivating and professional-looking zoom transitions in After Effects. With practice and experimentation, you can take your video editing skills to the next level, impressing your audience with visually stunning effects.
AEJuice.com offers a wide selection of plugins, presets, and templates to further enhance your After Effects workflow. Explore their extensive library of resources and elevate your video editing to new heights. Happy editing!


