
Introduction: Unleashing the Power of Precise Object Cutouts in After Effects
Unlocking the true potential of After Effects requires mastering the art of cutting out objects seamlessly. Whether you’re working on a visual effects masterpiece or simply want to enhance your motion graphics, cleanliness and cutting elements, will take your projects to new heights. In this comprehensive guide, we will delve into the essential techniques, handy tips, and expert insight that will help achieve precise and professional cutouts in After Effects.
Get 10% off when you subscribe to our newsletter

Whether you’re a beginner or have some intermediate experience with After Effects, this article aids with the know-how and skills to conquer any cutout challenge. After gaining mastery of advanced masking techniques, we will guide you through each step, making the process understandable and achievable for all levels.
Let’s dive in and uncover the secrets to achieving clean and seamless object cutouts in After Effects.
Essential Advice for Cutting Out Objects in After Effects
When it comes to cutting out objects in After Effects, following some essential advice enhances your workflow and ensures precise results. Here are a few expert tips to keep in mind:
1. Plan Ahead:
Before diving into the cutout process, take some time to analyze the footage and plan your approach. Identify the key elements you need to isolate and consider the best techniques to achieve your desired outcome.
2. Choose the Right Tool:
After Effects offers various tools to accomplish cutouts, including a Pen Tool, Roto Brush, and Masking. Understanding each tool’s strengths and limitations will help you select the most suitable one for your project.
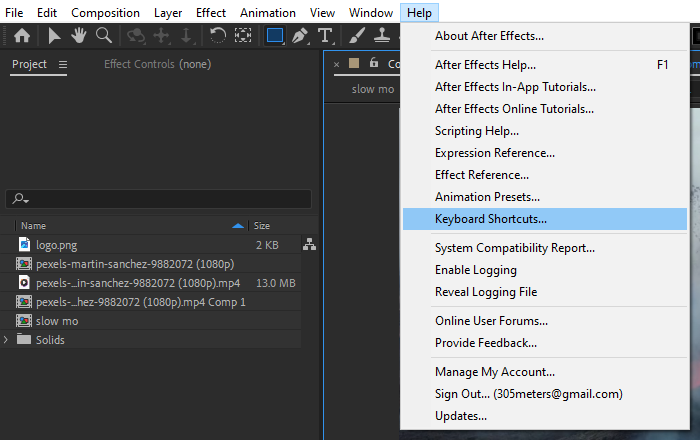
![]() 3. Utilize Keyboard Shortcuts:
3. Utilize Keyboard Shortcuts:
After Effects is packed with powerful keyboard shortcuts that can save you time and boost your efficiency. Learn essential shortcuts like “G” for the Pen Tool, “Q” for a Shape Tool, and “Cmd + D” to duplicate a layer. Familiarize yourself with these shortcuts to streamline your workflow.
 4. Precise Masking:
When working with intricate objects, employ the Refine Edge feature to fine-tune the mask’s edges. It allows for better edge detection and smooth feathering, resulting in a more natural and seamless integration.
 5. Use Rotoscoping Techniques:
Mastering the art of rotoscoping can be a game-changer when it comes to complex object cutouts. By meticulously tracing the object frame by frame, you can achieve pixel-perfect results. Utilize hotkeys like “Ctrl + Shift + D” to split selected layers at the playhead for efficient rotoscoping.
 6. Layer Organization:
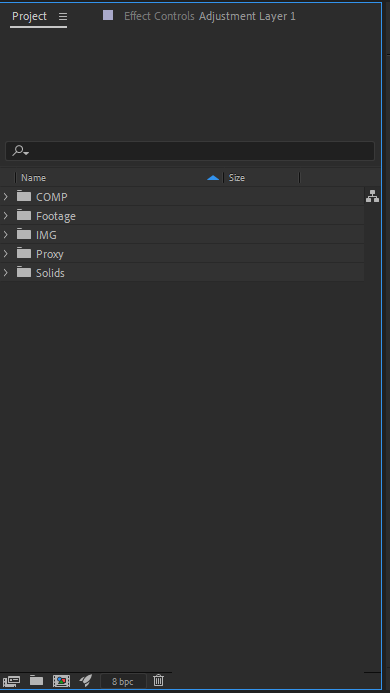
As your project grows, it’s crucial to maintain a well-organized composition. Name your layers appropriately, group related elements together, and take advantage of null objects for better control and organization.
 7. Refine Your Edges:
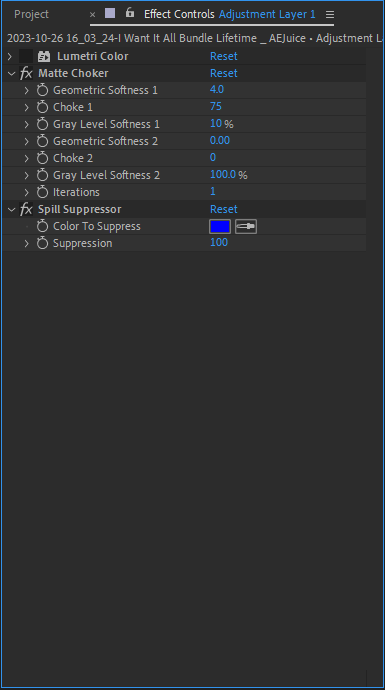
After placing your cutout object over a new background, refine the edges using tools like the “Matte Choker” effect or “Spill Suppressor” for better integration. Experiment with adjustments to achieve the desired seamless look.
 8. Experiment with Effects:
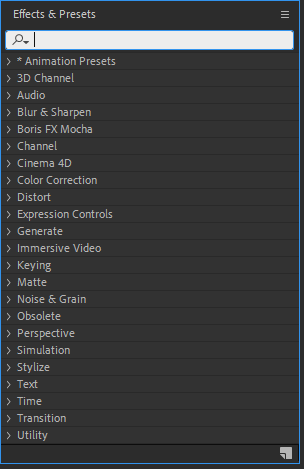
To further enhance your cutout, explore After Effects’ vast library of effects. Shadow and light effects, color correction, or even stylization effects can add depth and realism to your composition.
Remember, practice makes perfect. As you gain more experience, your speed and precision will improve, allowing you to take on more challenging cutout projects. Embrace the process as an opportunity to sharpen your skills and unleash your creativity.
Stay tuned for the next section as we dive into the step-by-step process of cutting out objects in After Effects using various techniques and tools.
How to Cut Something Out in After Effects: A Step-by-Step Guide
Cutting something out in After Effects involves creating a mask to isolate a specific part of a video or image. Here’s a step-by-step guide to help you achieve this:
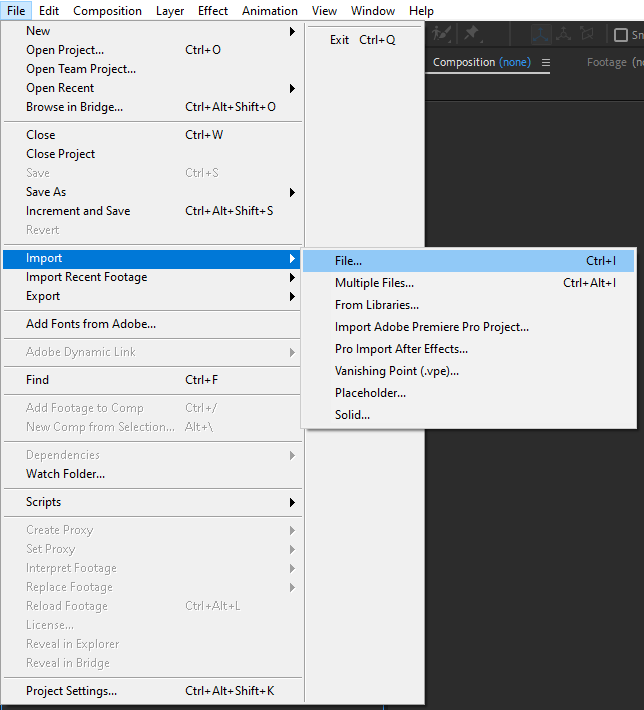
Step 1: Import Your Footage
- Open After Effects and create a new composition.
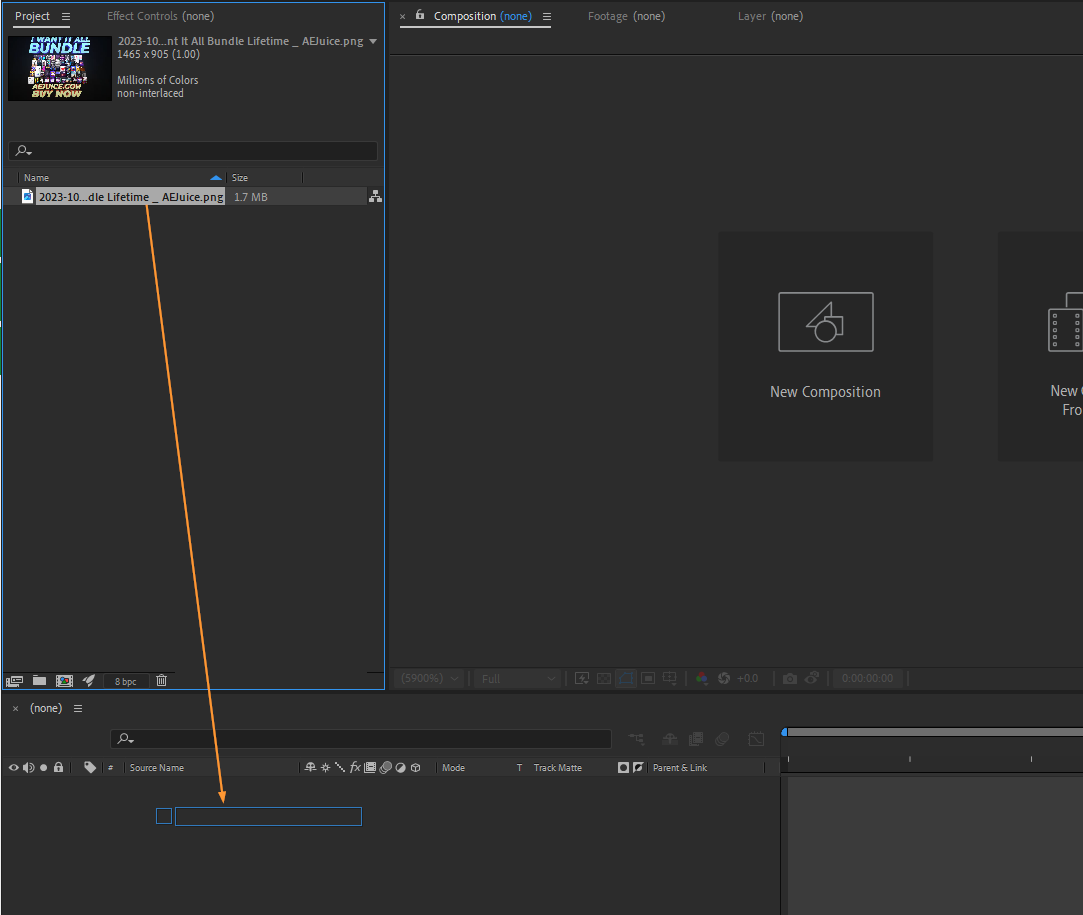
 Step 2: Create a New Composition
- Drag your footage into the timeline to create a new composition.
 Step 3: Select the Pen Tool
- In the toolbar, select the Pen Tool (G) or press G on your keyboard while the layer is selected.
![]() Step 4: Create a Mask
Step 4: Create a Mask
- Click on the starting point of the area you want to cut out.
- Continue clicking to create points around the object or area you want to isolate.
- Close the mask by clicking on the first point you created.
 Step 5: Adjust the Mask Path
- Select the layer in the timeline.
- Press M to reveal the Mask Path property.
- Adjust the position of the mask points as needed to refine the mask shape.
 Step 6: Fine-Tune the Mask
- Use the Selection Tool (V) to click on the mask points and adjust their position.
![]() Step 7: Feather the Mask (Optional)
Step 7: Feather the Mask (Optional)
- To soften the edges of the mask, go to the Mask properties and increase the Feather value.
 Step 8: Track the Mask (If Needed)
- If your object is moving, you might need to track the mask. Right-click on the layer, select Track and Stabilize > Track Mask.
- Adjust the mask as needed during the tracking process.
 Step 9: Add Keyframes (If Needed)
- If the object you’re cutting out moves or changes shape over time, you may need to add keyframes to the Mask Path property.
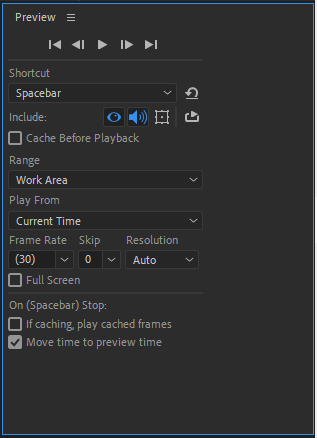
 Step 10: Preview Your Work
- Press the spacebar to preview your composition and make sure the mask effectively isolates the desired area.
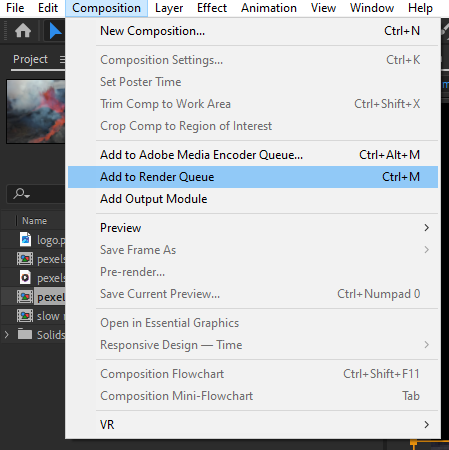
 Step 11: Export Your Composition
- Once you’re satisfied, go to Composition > Add to Render Queue to set up output and export your composition.
Remember that After Effects provides various tools for masking, and you can explore additional features like mask modes, opacity adjustments, and effects to enhance your work. Experimenting with these tools will give you more control over the final result.
Conclusion: Master the Art of Cutting Out Objects in After Effects
Congratulations! You’ve reached the conclusion of our guide on cutting out objects in After Effects. By implementing the techniques, tips, and tricks we’ve covered, you are well on your way to becoming a pro at creating seamless object cutouts.
We started by emphasizing the importance of planning and selecting the right tools for the job. Understanding the strengths and limitations of each tool, such as the Pen Tool, Roto Brush, and Masking, empowers you to choose the most effective method for your specific project.
Remember to take advantage of the vast array of keyboard shortcuts to streamline your workflow and save time. With practice, these shortcuts will become second nature, enabling you to work faster and more efficiently.
Precise masking is crucial when it comes to achieving clean cutouts. Utilize the Refine Edge feature to enhance the mask’s edges, giving your composition a professional and polished look.
Harness the power of rotoscoping for complex objects, using techniques like frame-by-frame tracing and utilizing hotkeys to speed up the process.
Maintaining a well-organized composition, with appropriately named layers, grouped elements, and the use of null objects, contributes to a more efficient workflow and easier management of your project.
The final touches are crucial for a seamless integration of your cutout into the new background. Experiment with effects, refine the edges and make any necessary adjustments to reach the desired result.
Cutting out objects in After Effects is an art form that requires practice and experimentation. Embrace the learning process, as it will continually improve your skills and expand your creative possibilities.
Now armed with the knowledge and techniques shared in this guide, you have the ability to bring your visions to life and create stunning compositions with flawless object cutouts.
So go forth, create, and let your imagination run wild in the realm of After Effects. The possibilities are limitless, and with your newfound skills, you are ready to take on any cutting-out challenge that comes your way.


