Unlocking the Power of Cutting in After Effects: Essential Techniques and Shortcuts for Seamless Video Editing
Introduction – Mastering the Art of Cutting Things in After Effects: A Comprehensive Guide
Are you ready to take your video editing skills to new heights? If you’re working with After Effects, mastering the art of cutting things becomes an essential skill to create seamless and dynamic visuals. Whether you’re a beginner or an experienced motion designer, understanding the techniques and shortcuts for cutting in After Effects can greatly enhance your editing capabilities.
In this comprehensive guide, we will delve into the world of cutting in After Effects, providing you with step-by-step instructions, tips, and tricks to help you achieve professional-looking results. From trimming clips to precise slicing and effective layer management, you’ll gain the knowledge and confidence needed to bring your video projects to life.
So, if you’re ready to unleash the full potential of After Effects and create visually stunning videos, let’s dive into the various techniques and strategies for cutting things in this powerful software.
Essential Techniques and Tips for Cutting in After Effects
To effectively cut things in After Effects and achieve smooth transitions and precise edits, consider the following techniques and tips:
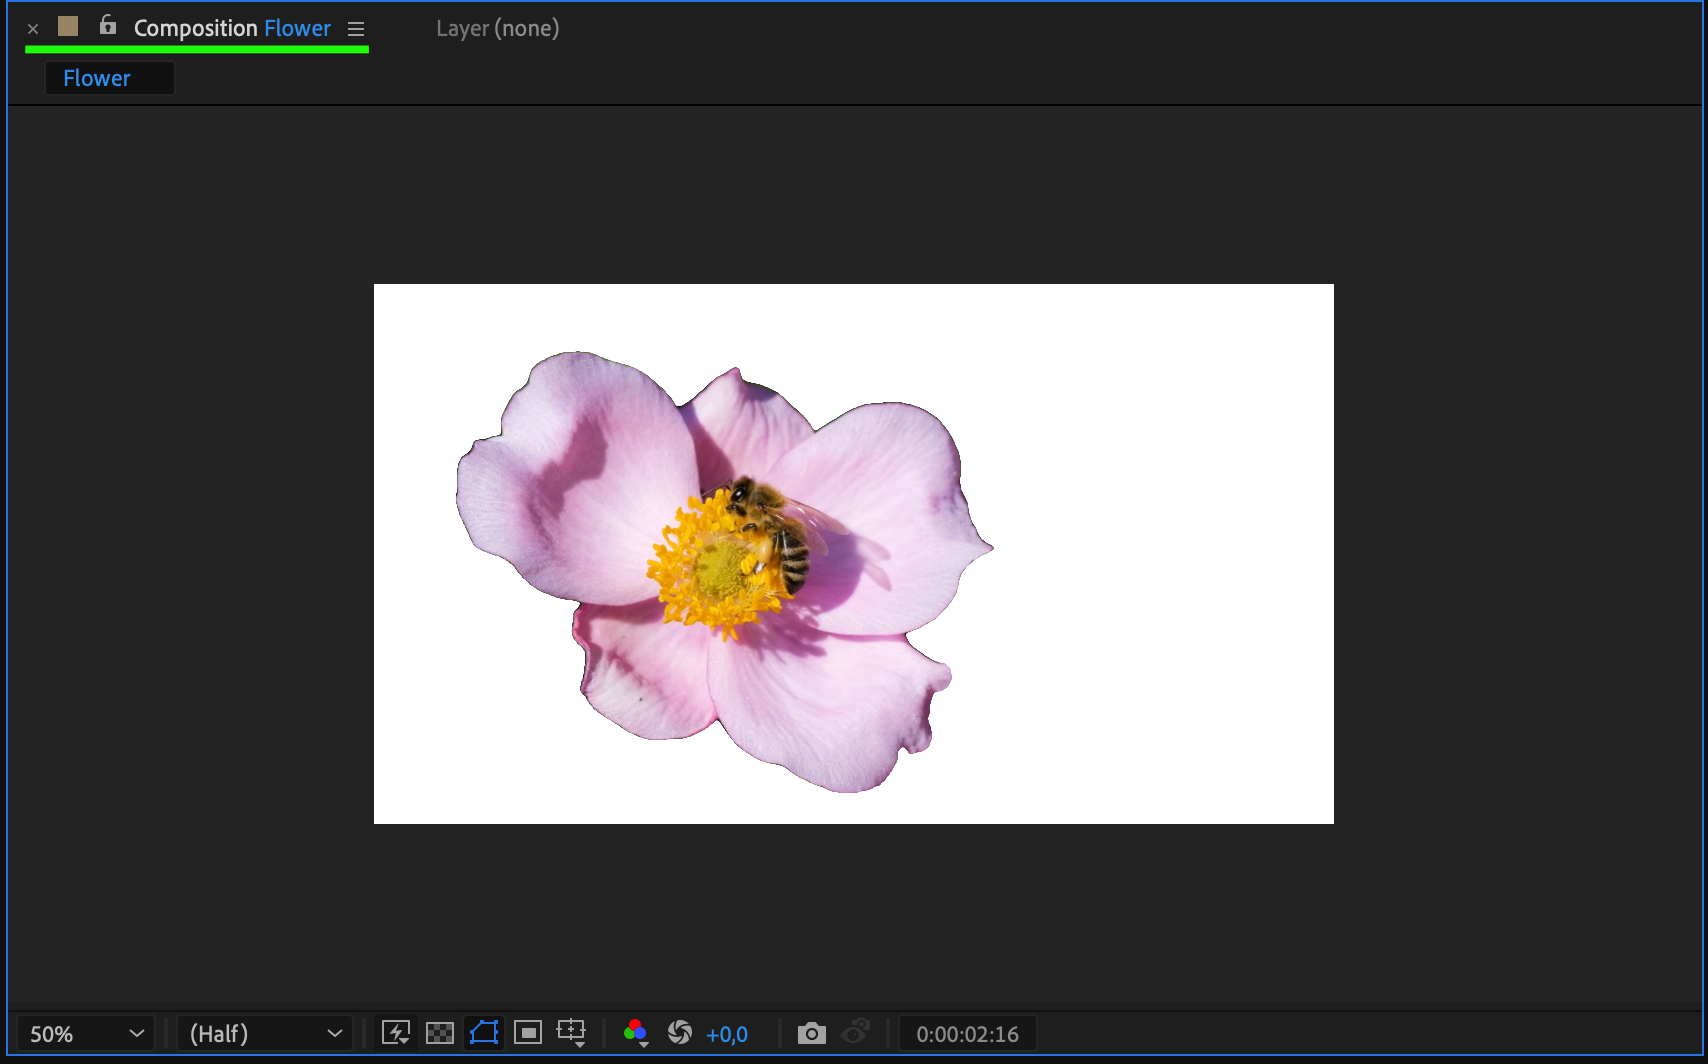
1. Utilize the Roto Brush Tool (Alt/Option + W): The Roto Brush tool in After Effects is designed for object removal in videos. By pressing Alt/Option + W, you activate this tool. Use the brush to select the object, then go frame by frame, allowing the program to automatically detect and track the object, making the cutting process fast and efficient
Get 10% off when you subscribe to our newsletter


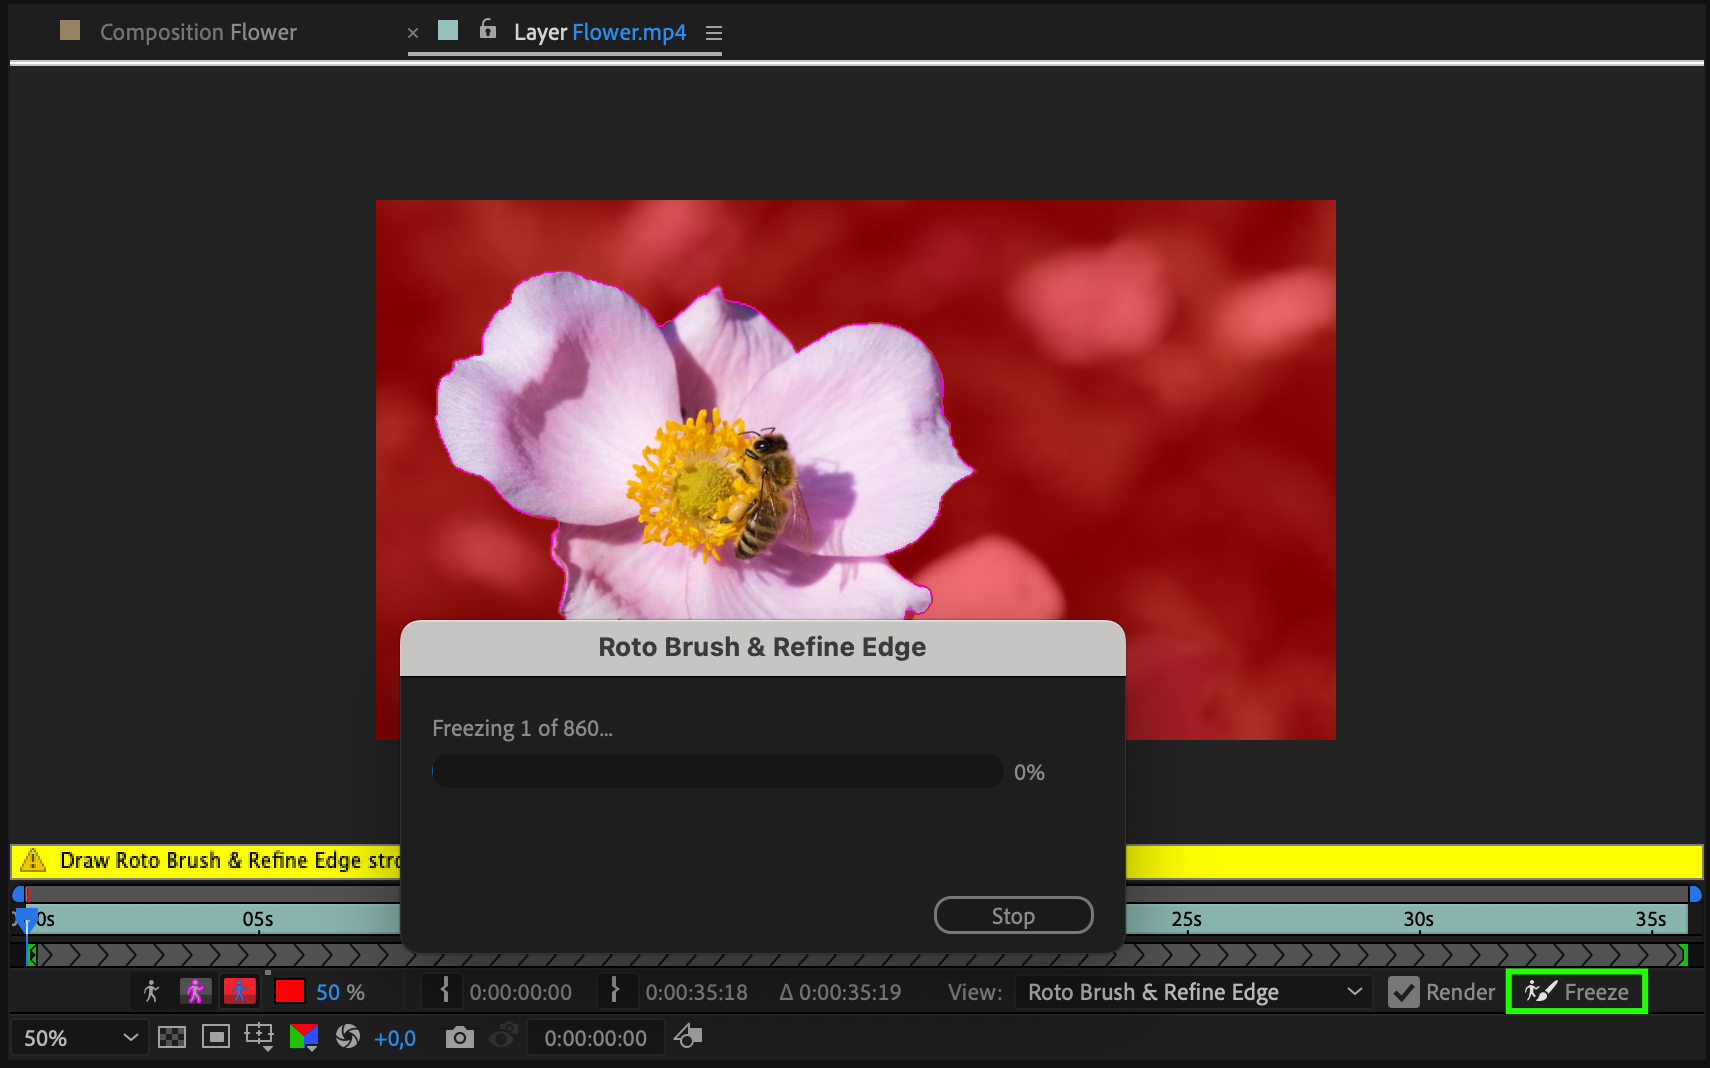
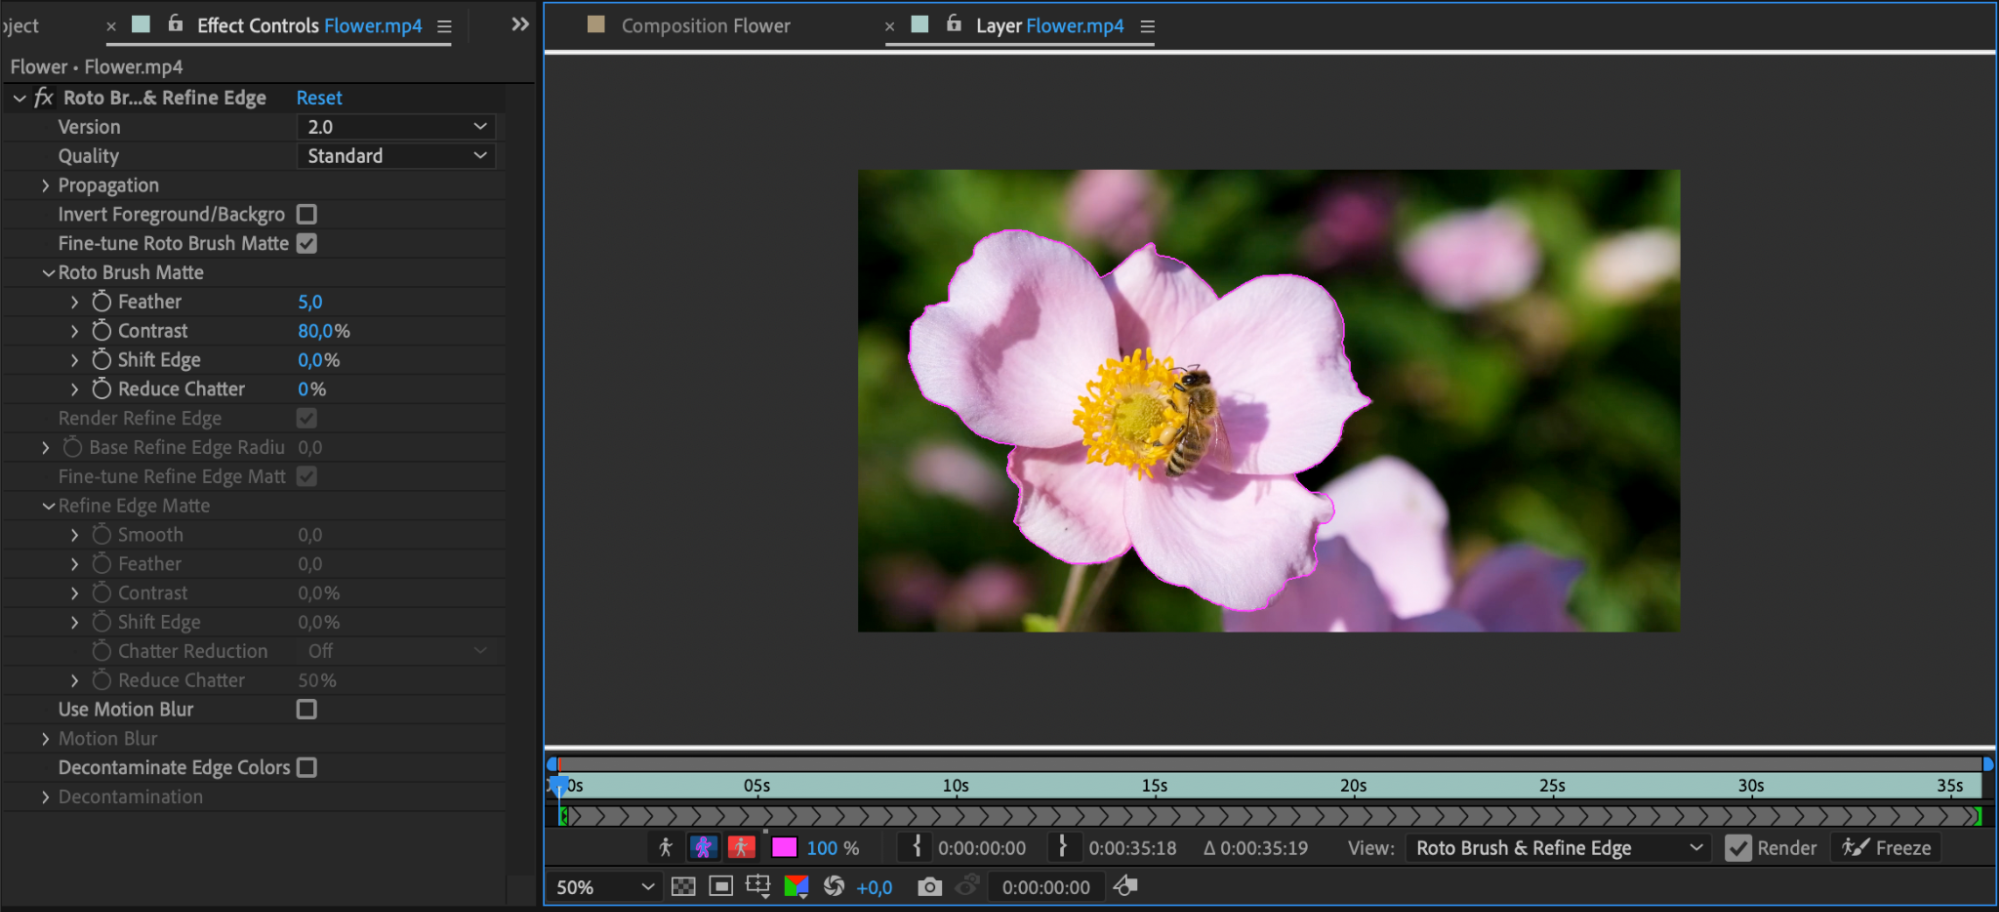 2. Roto Brush Freeze: The ‘Freeze’ button in the Roto Brush tool in After Effects is used to lock the results of object selection on a specific frame. When cutting objects from video, it allows preserving an accurate mask on the chosen frame, eliminating the need for additional corrections. This feature is particularly valuable when the object moves across various parts of the video, ensuring mask stability at crucial moments.

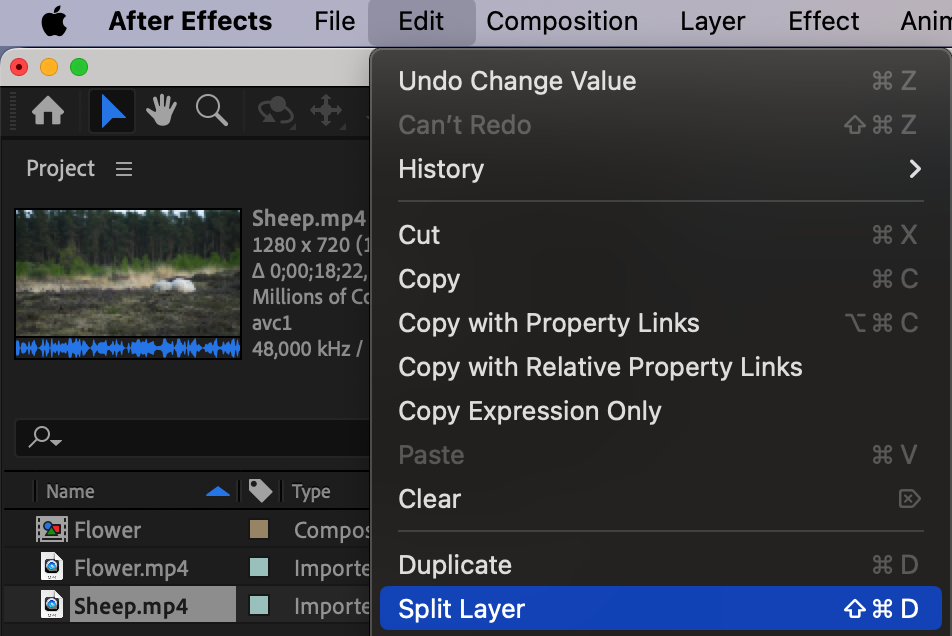
 3. Utilize the Layer Bar and Keyboard Shortcuts: Managing layers efficiently is key when cutting in After Effects. Use the Layer Bar to organize your layers effectively and quickly navigate through your composition. Additionally, make use of keyboard shortcuts such as “U” to reveal and hide keyframes, “Shift + Ctrl/Cmd + D” to split selected layers at the playhead.

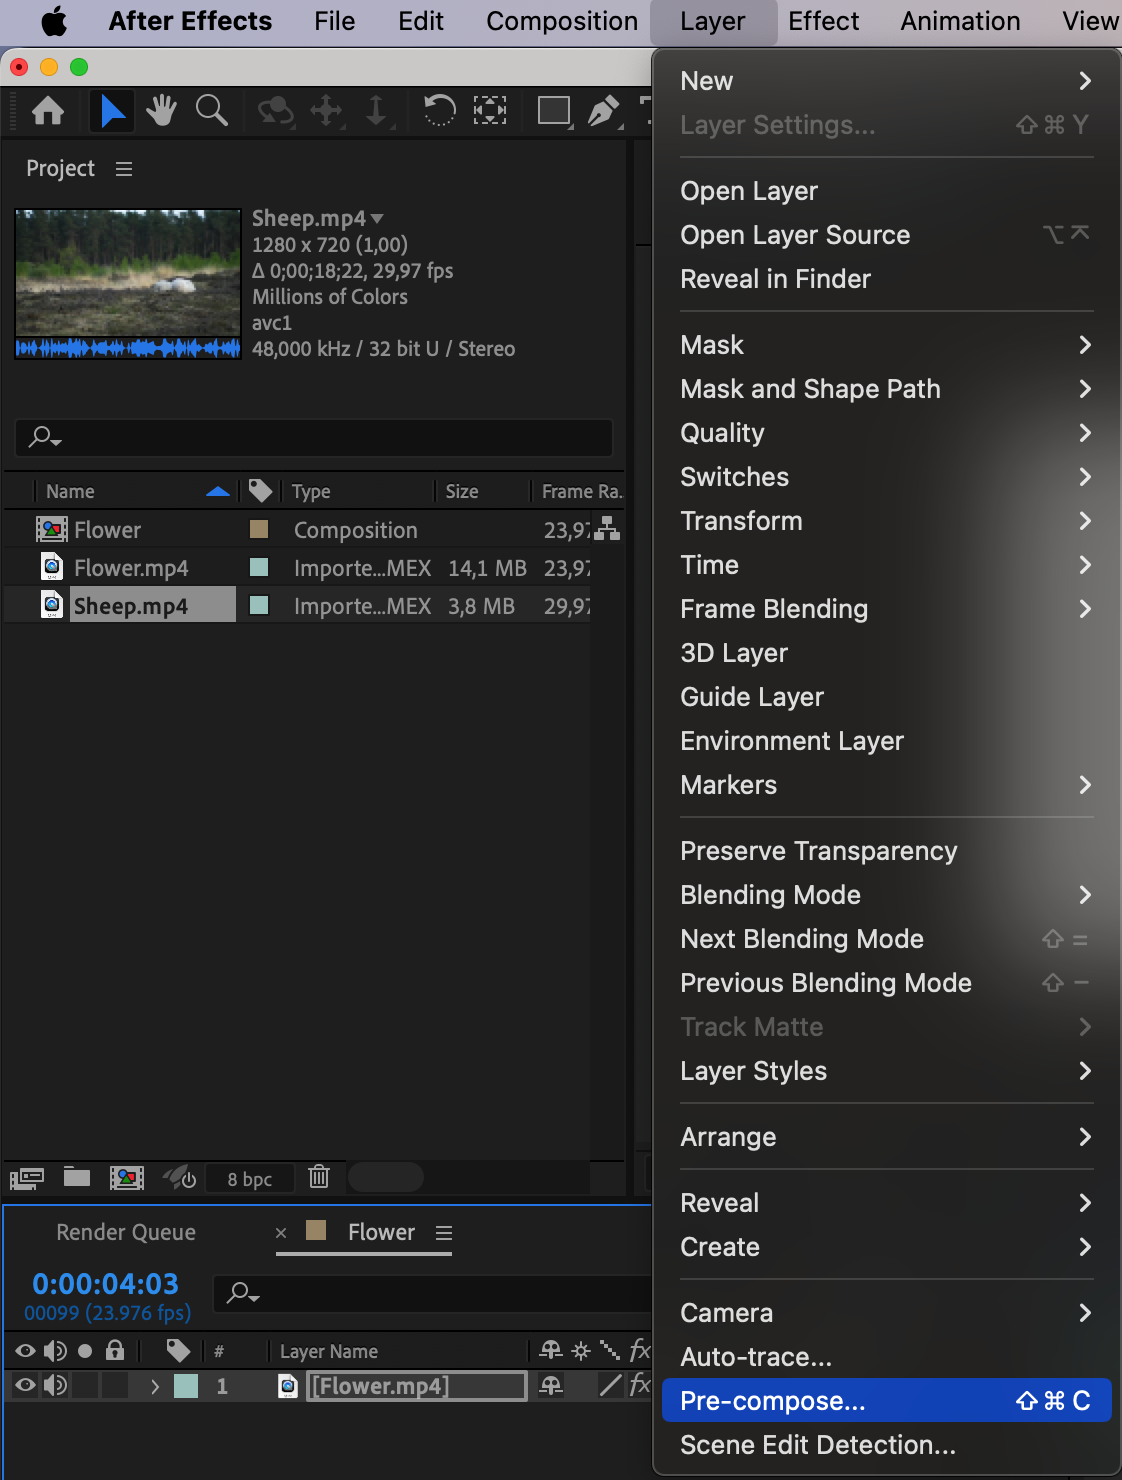
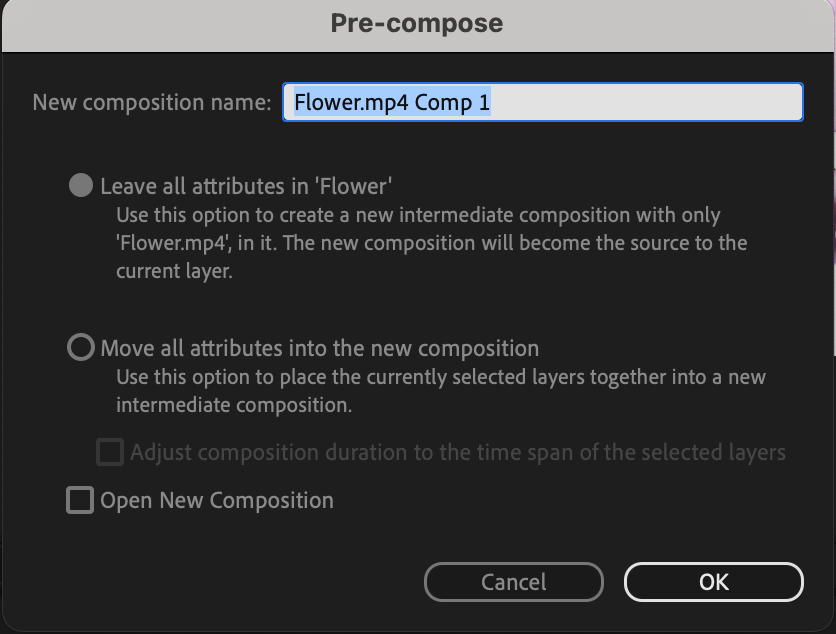
4. Take Advantage of Precomposing: Precomposing is a powerful feature that allows you to group and organize multiple layers into a single composition. This technique can be beneficial when you need to cut various layers simultaneously or apply effects to a specific section of your project. By precomposing your layers, you can easily make adjustments while keeping your main composition tidy.
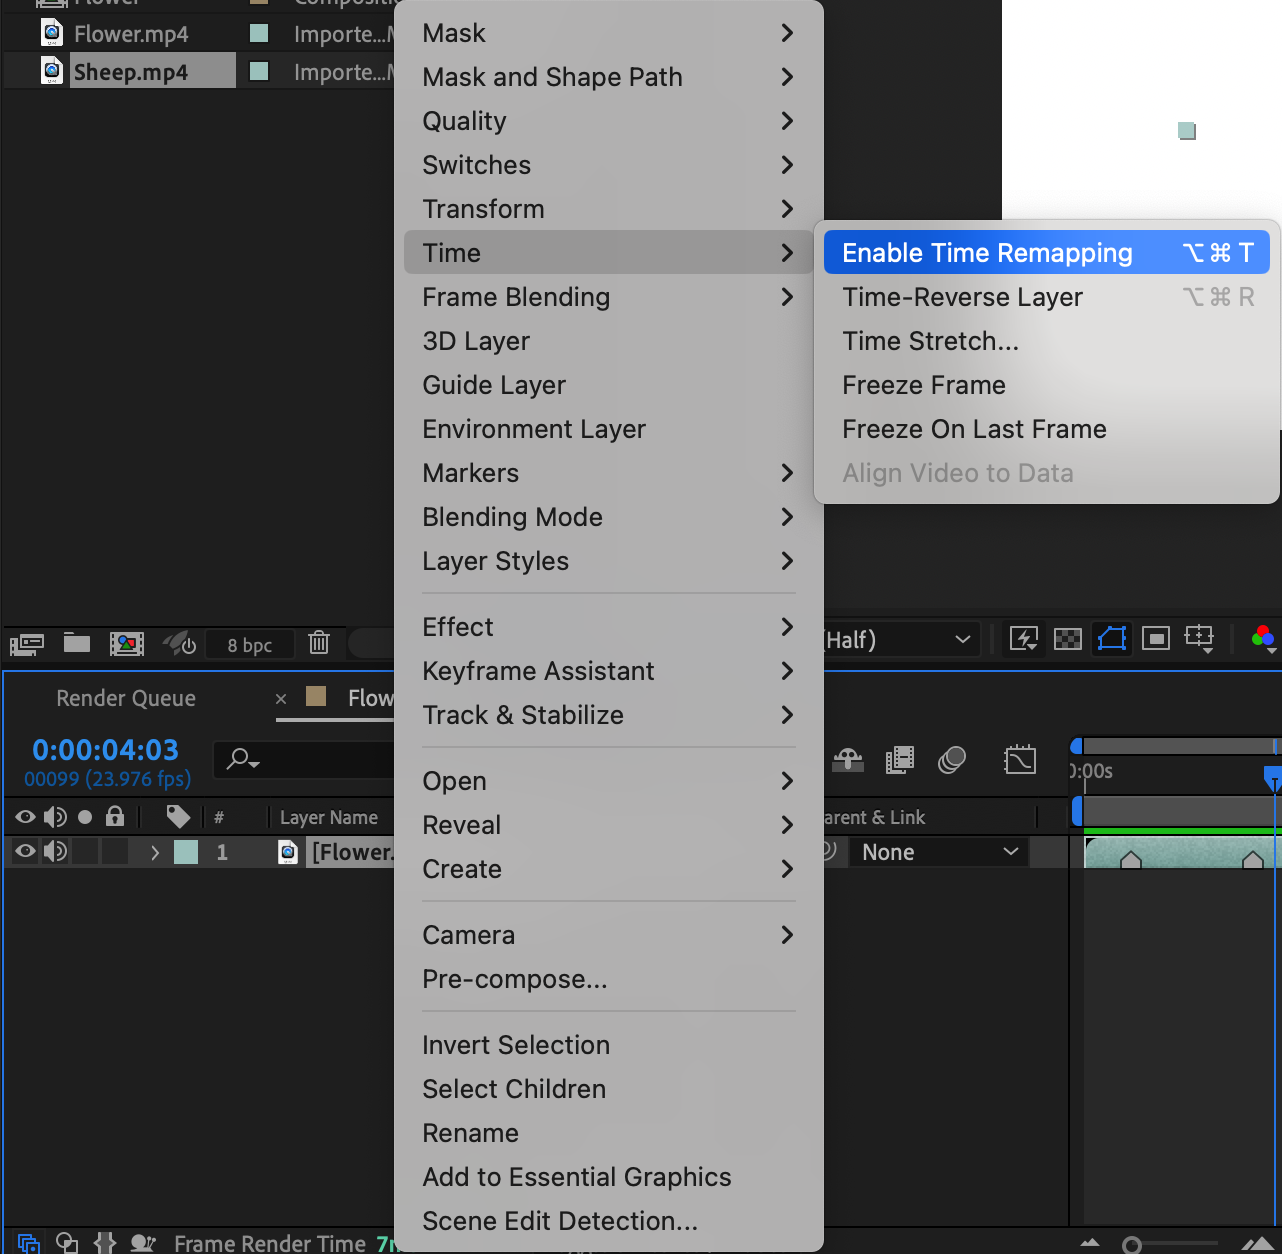
 5. Fine-tune with Time Remapping: Time Remapping is a useful tool for precisely cutting and manipulating time within a clip. By using keyframes, you can control the speed and duration of a clip, creating dynamic effects such as slow motion or time-lapse sequences. Experimenting with the Time Remapping feature can provide a unique touch to your edits and elevate the impact of your footage.

By implementing these essential techniques and leveraging the powerful features of After Effects, you’ll be well on your way to becoming a proficient editor. Remember to experiment, practice, and explore additional workflows to further expand your cutting skills. With time and dedication, you’ll be able to create seamless edits and visually captivating videos using After Effects.
Conclusion
Now that you have gained a deeper understanding of the techniques and tips for cutting in After Effects, you are equipped with the knowledge and tools to enhance your video editing skills. By utilizing the roto brush tool, utilizing keyboard shortcuts, precomposing, and using time remapping, you can create seamless transitions, dynamic effects, and precise edits.
Remember, practice is key to mastering these techniques. As you continue to explore and experiment with After Effects, you will discover new ways to cut and manipulate your footage, unleashing your creativity and bringing your video projects to life.
So, take what you’ve learned here and continue honing your skills. Embrace the power of After Effects and discover endless possibilities for cutting and editing your videos. With time and dedication, you’ll develop your unique style and achieve professional-level results.
Now, it’s time to put your knowledge into action. Start cutting, slicing, and trimming with confidence in After Effects, and see the incredible impact your edits can have on your video projects. Don’t be afraid to push boundaries, try new techniques, and let your creativity soar.
Happy editing!


