A Step-by-Step Guide to Cutting Videos in Adobe After Effects
Introduction: Mastering the Art of Cutting Videos in Adobe After Effects
Adobe After Effects is a powerful tool for video editing, offering endless possibilities for creating stunning visuals. Whether you’re a beginner or a seasoned editor, knowing how to cut videos is essential. This guide will walk you through the process of cutting and editing your videos, from importing footage to exporting your final project.
Step 1: Import and Organize Your Footage
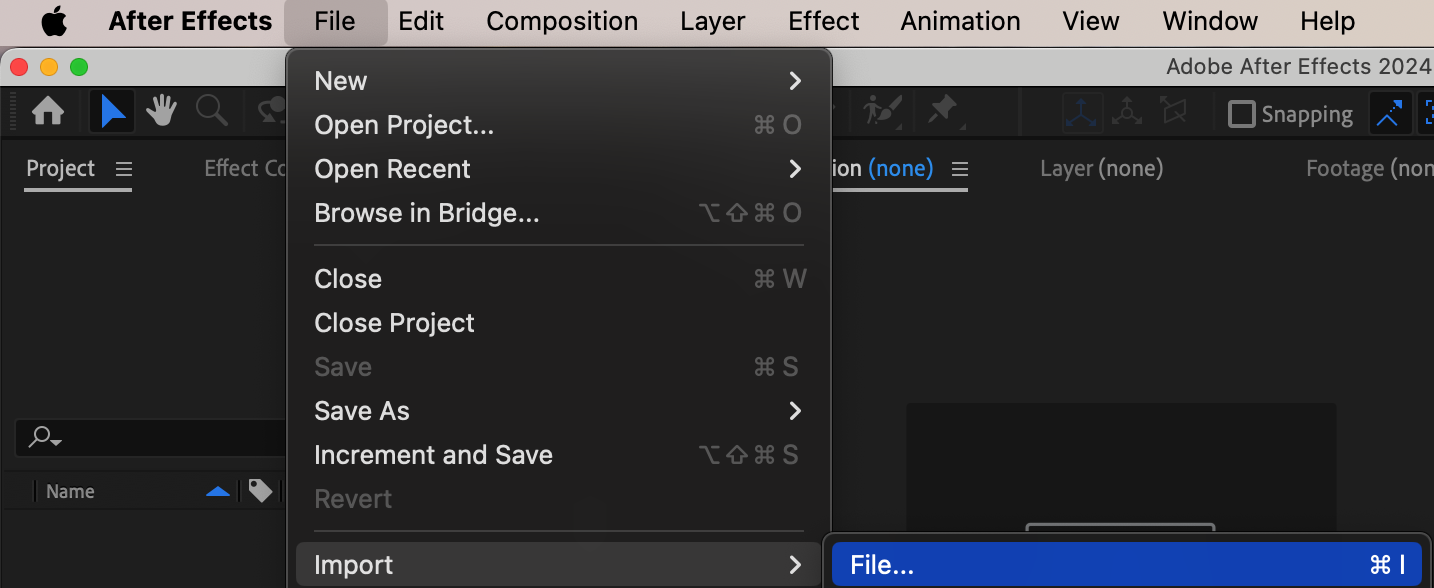
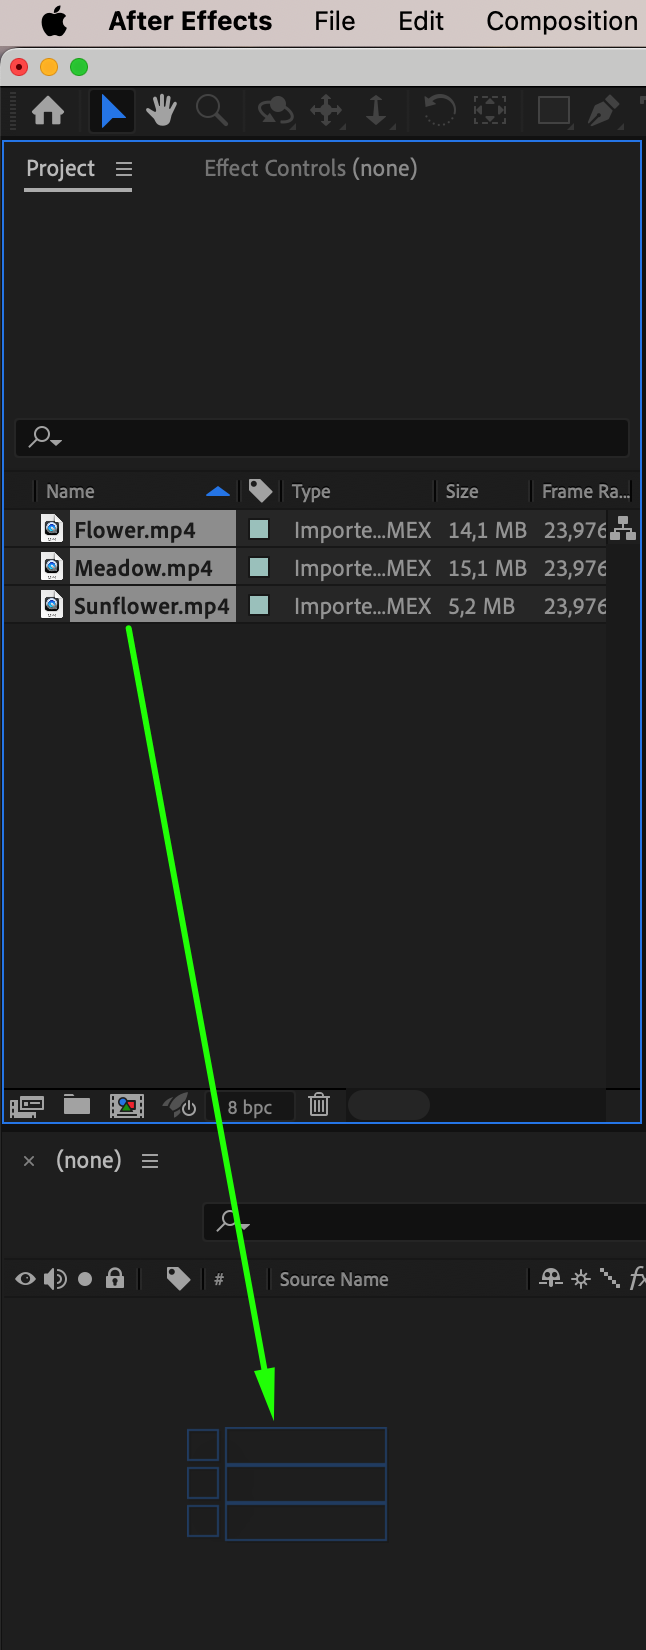
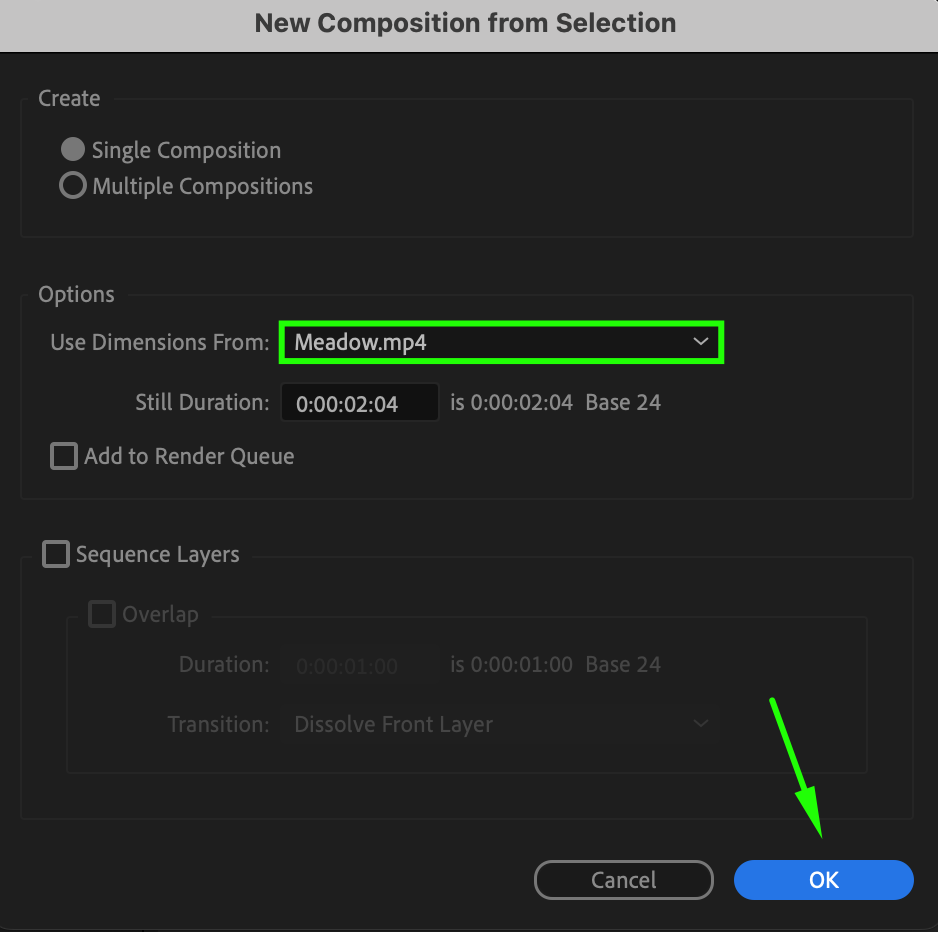
Begin by importing your video files into Adobe After Effects. Open the program and click on File > Import > File to bring in your video files. Once your files are imported, drag them onto the timeline to create a new composition. This is where you’ll start working on your video editing process.
 Step 2: Cutting Your Footage
Get 10% off when you subscribe to our newsletter

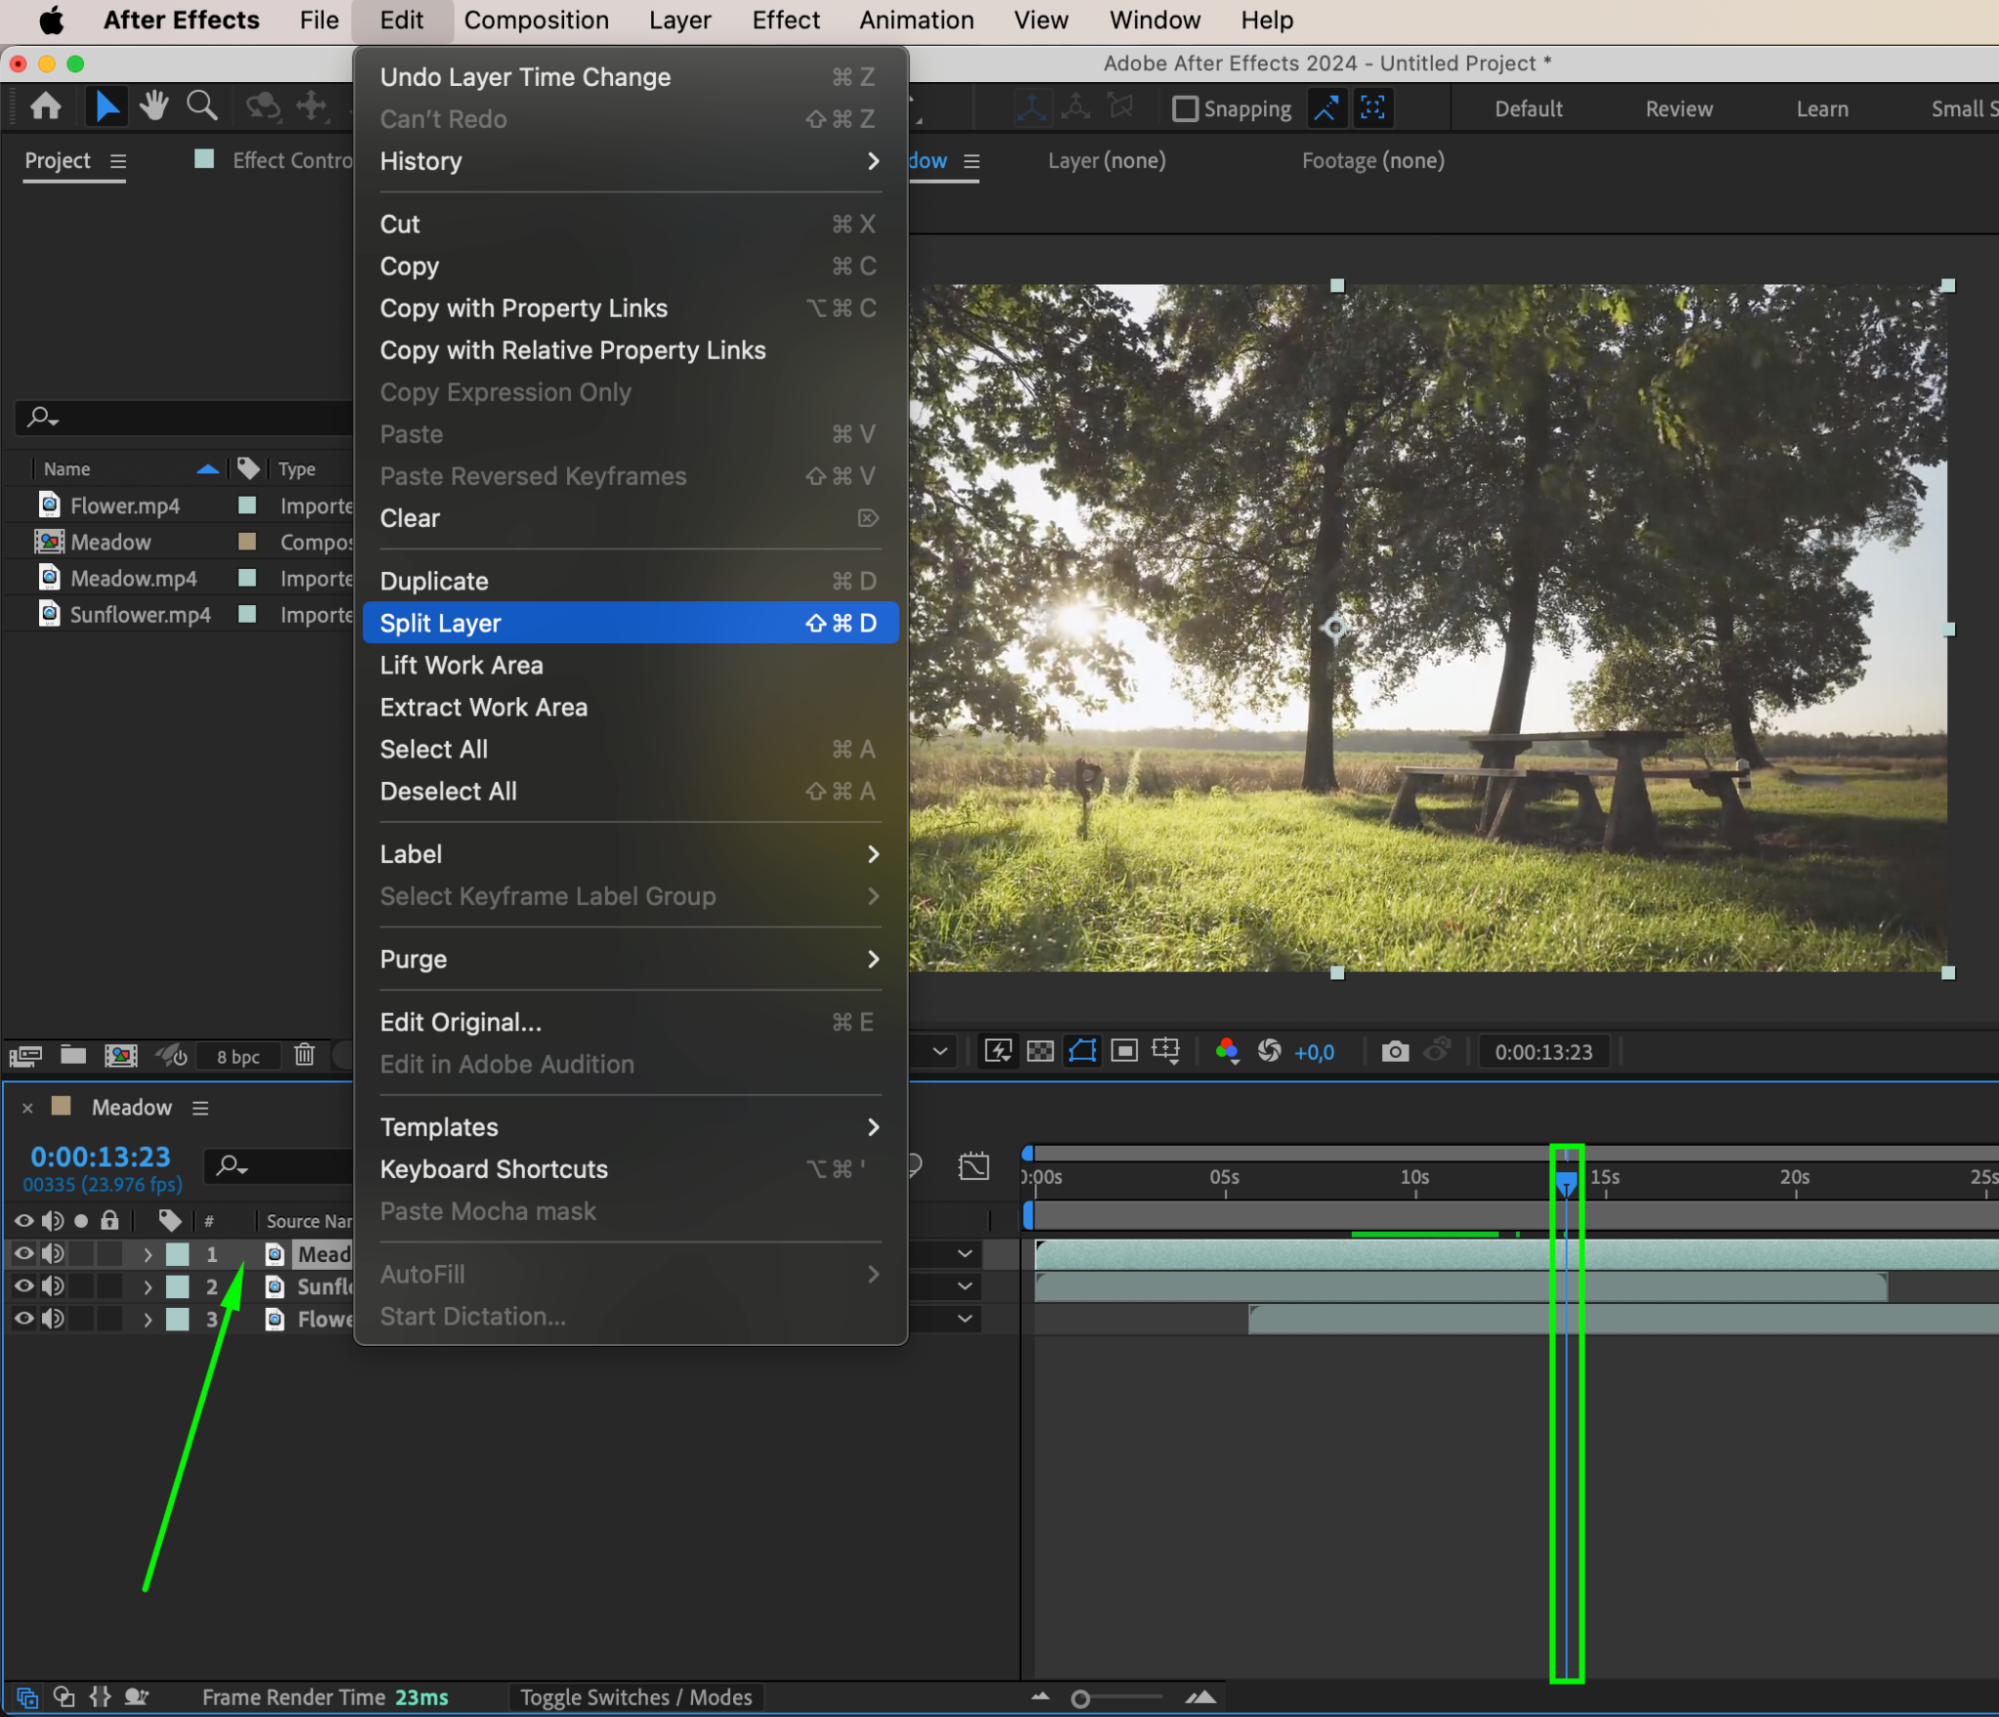
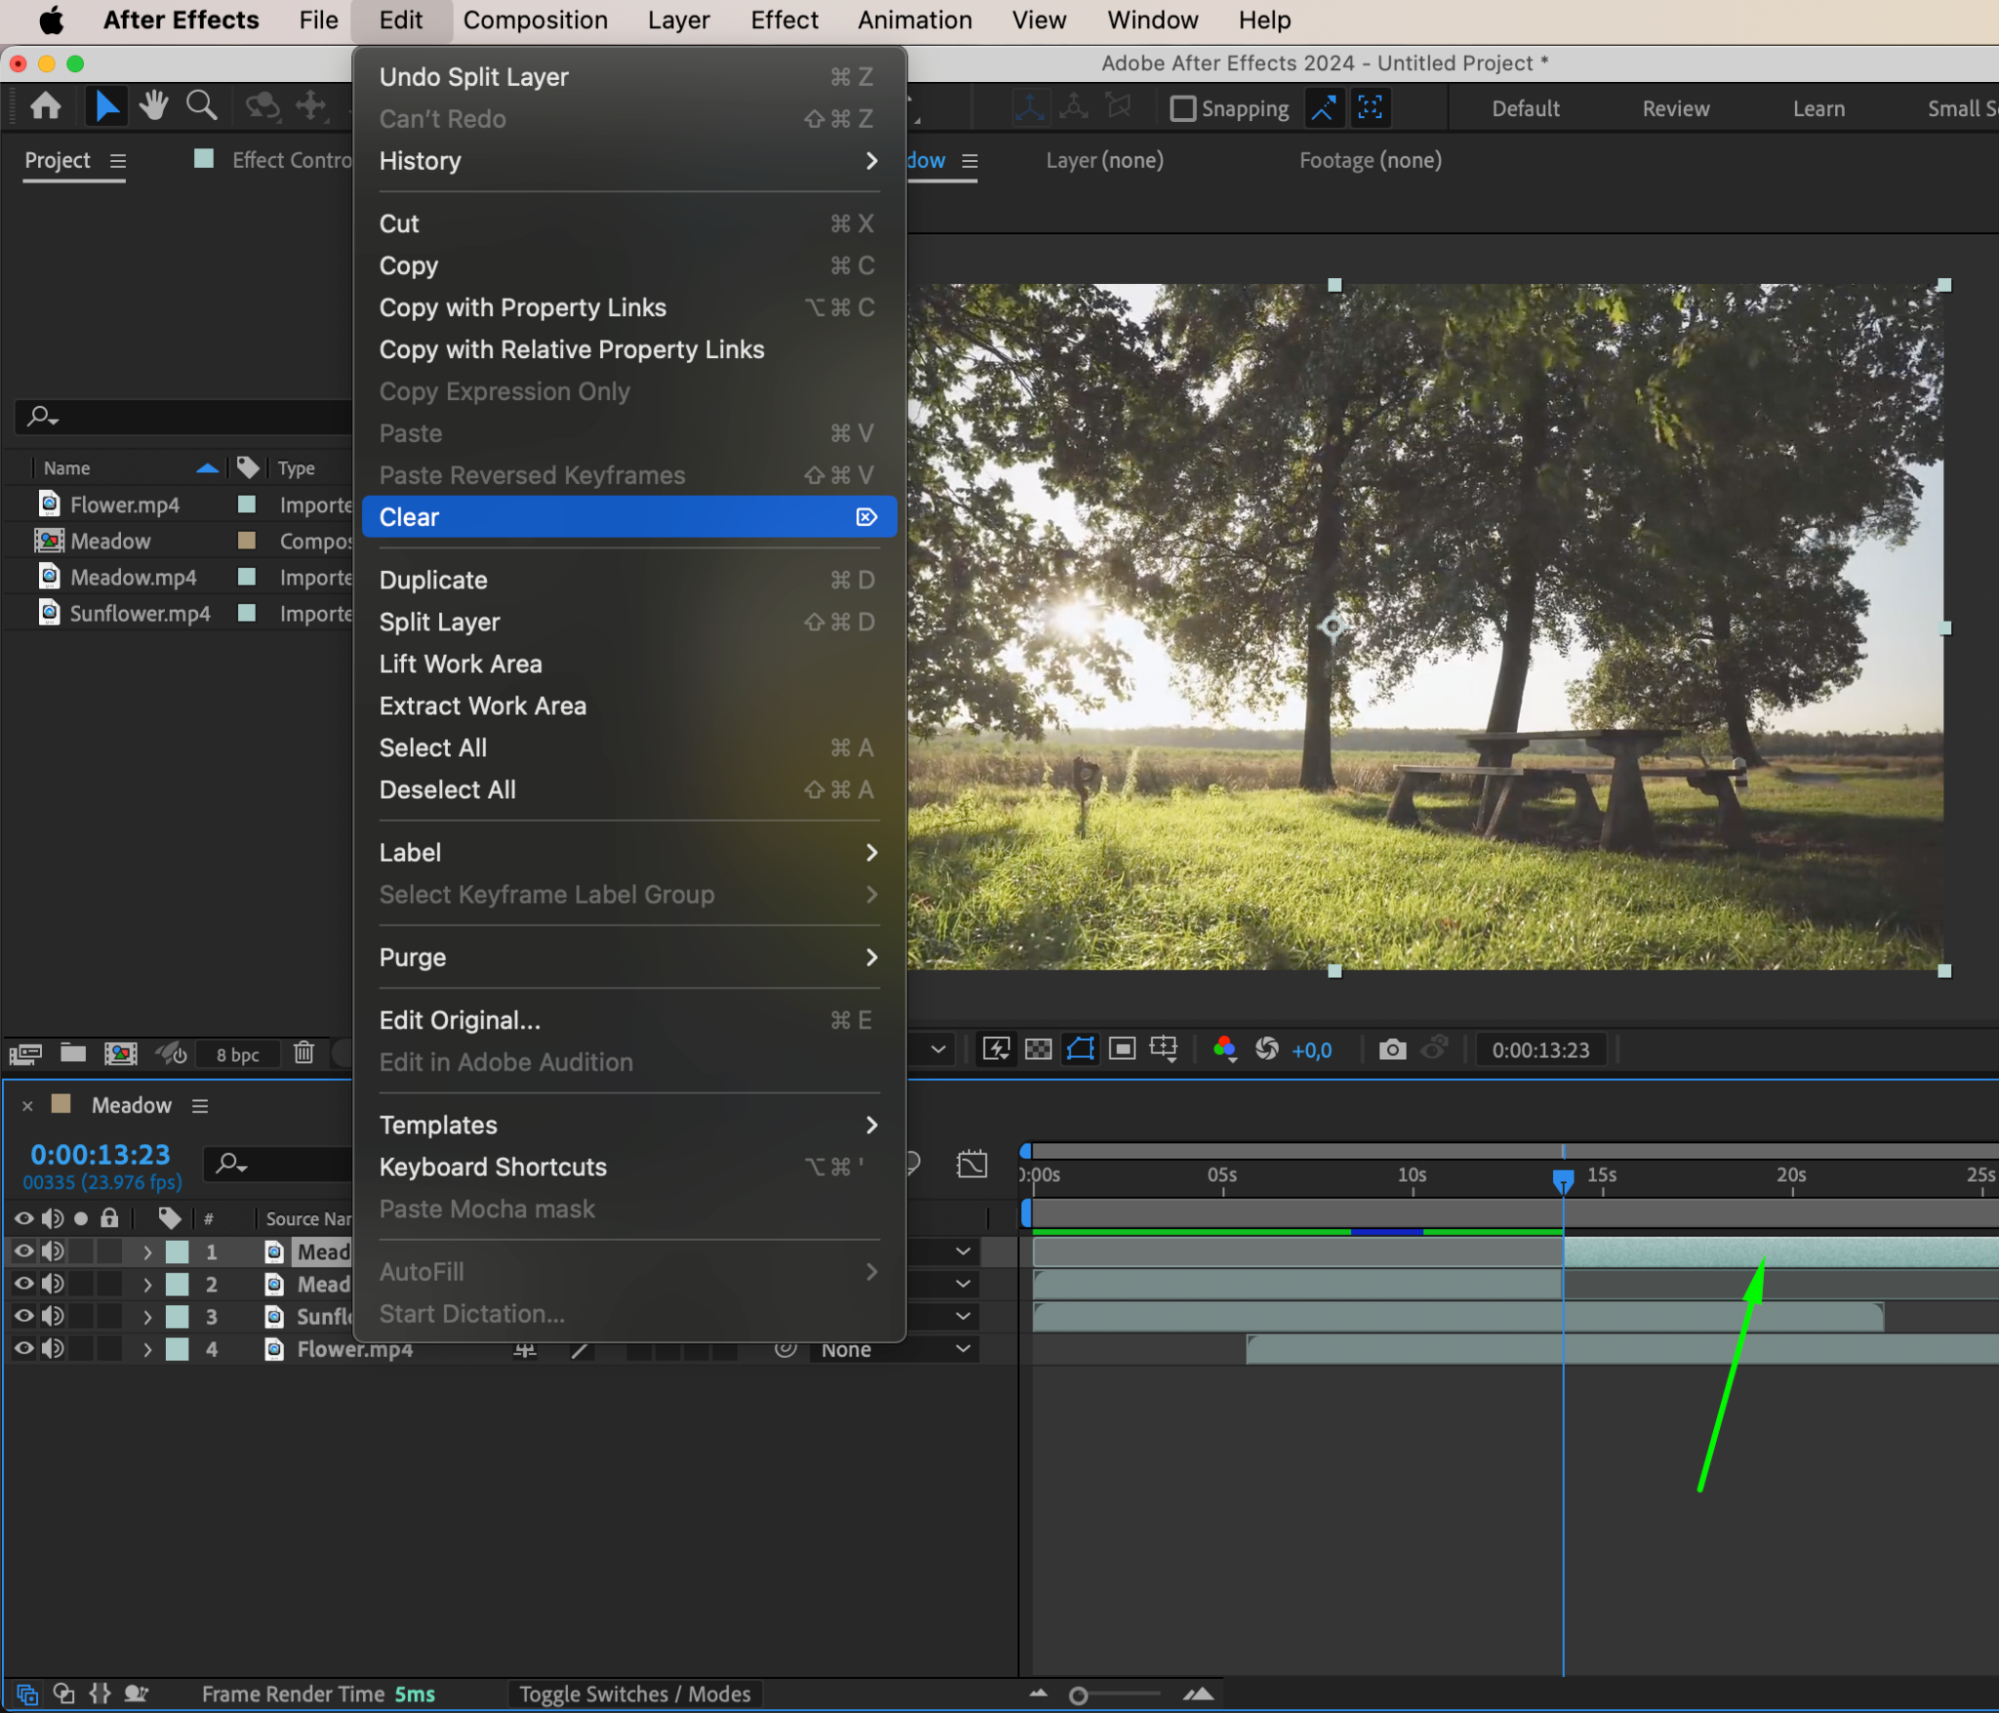
To cut your footage, place the Current Time Indicator at the point where you want the cut to begin. Use the shortcut “Ctrl/Cmd + Shift + D” to split the layer at the selected point. After splitting the layer, you can remove the unwanted portion by selecting it and pressing the Delete key. This allows you to trim away excess footage and keep only the segments you need.
 Step 3: Trimming Layers with Shortcuts
Get 10% off when you subscribe to our newsletter

For more precise trimming, you can use the shortcuts “Alt/Option + [” and “Alt/Option + ]”. These shortcuts allow you to trim the in-point and out-point of a layer based on the Current Time Indicator. This method is useful for making quick adjustments without needing to split the layer entirely.


 Step 4: Arranging and Editing Segments
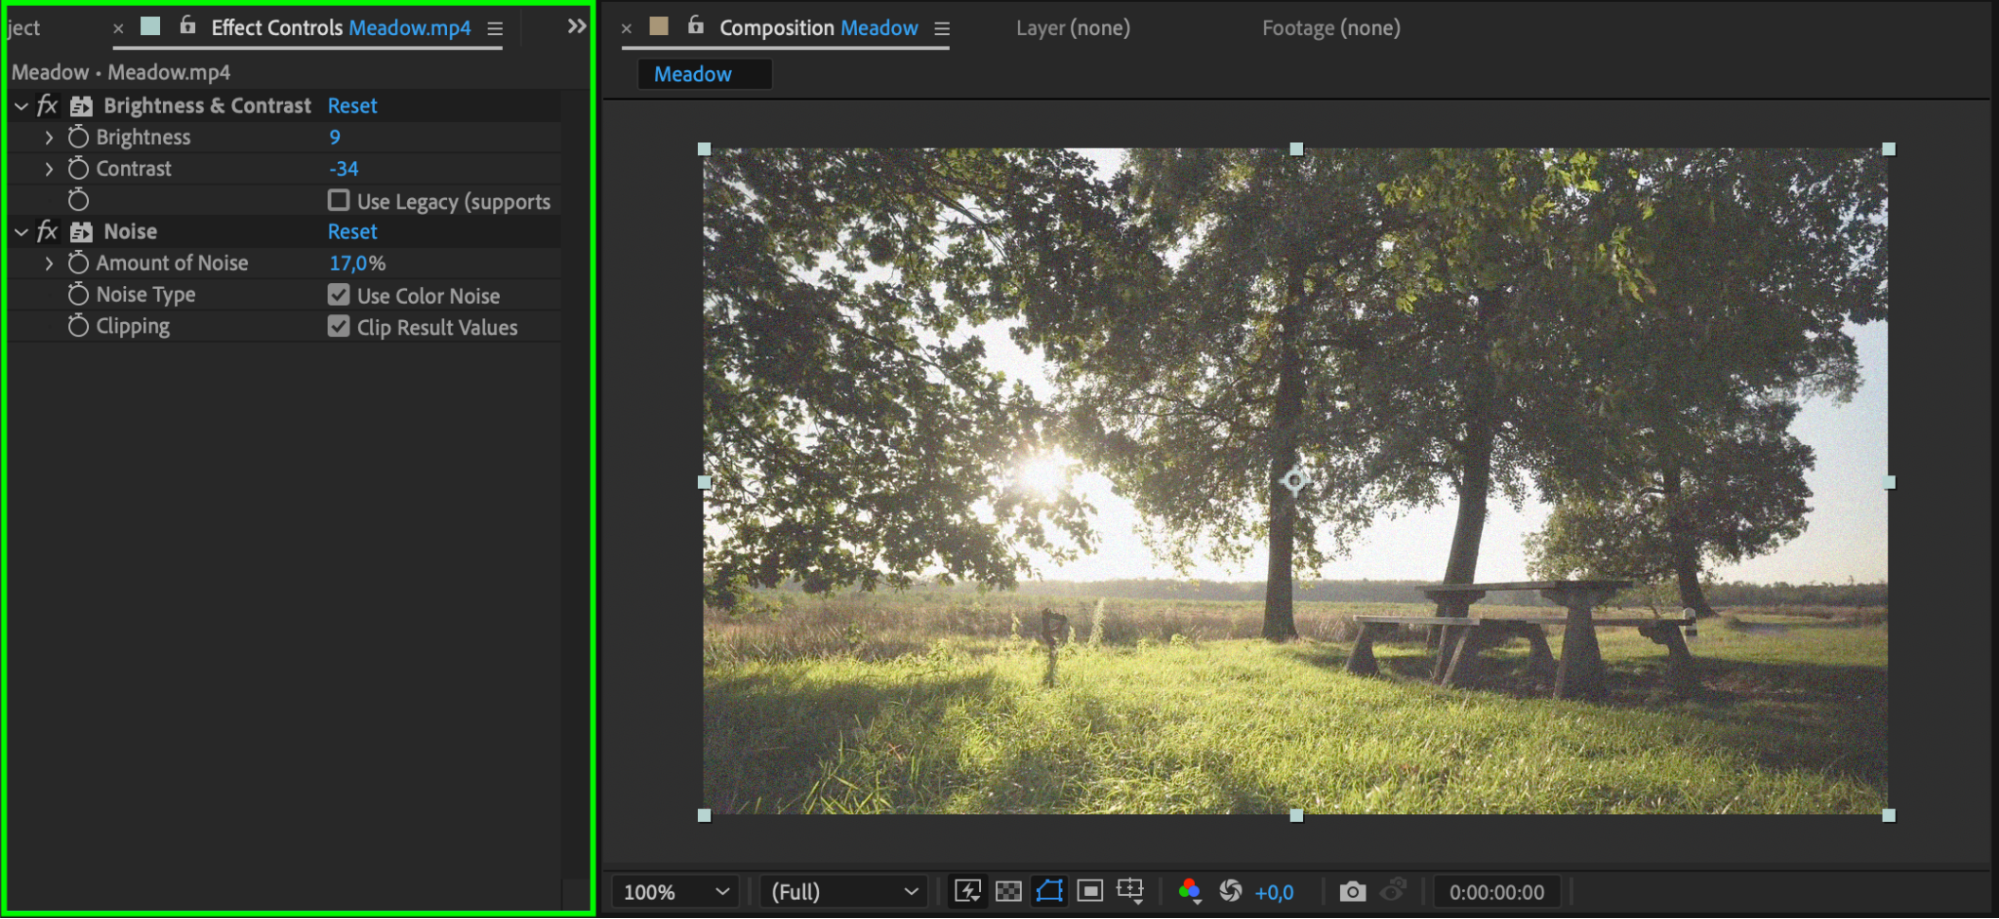
Once your footage is cut into segments, you can rearrange and edit them on the timeline. Use the Selection Tool to drag the segmented clips to your desired positions. This is the stage where you can start crafting a narrative or visual flow. You can also add transitions, effects, and adjustments to enhance the overall look of your project.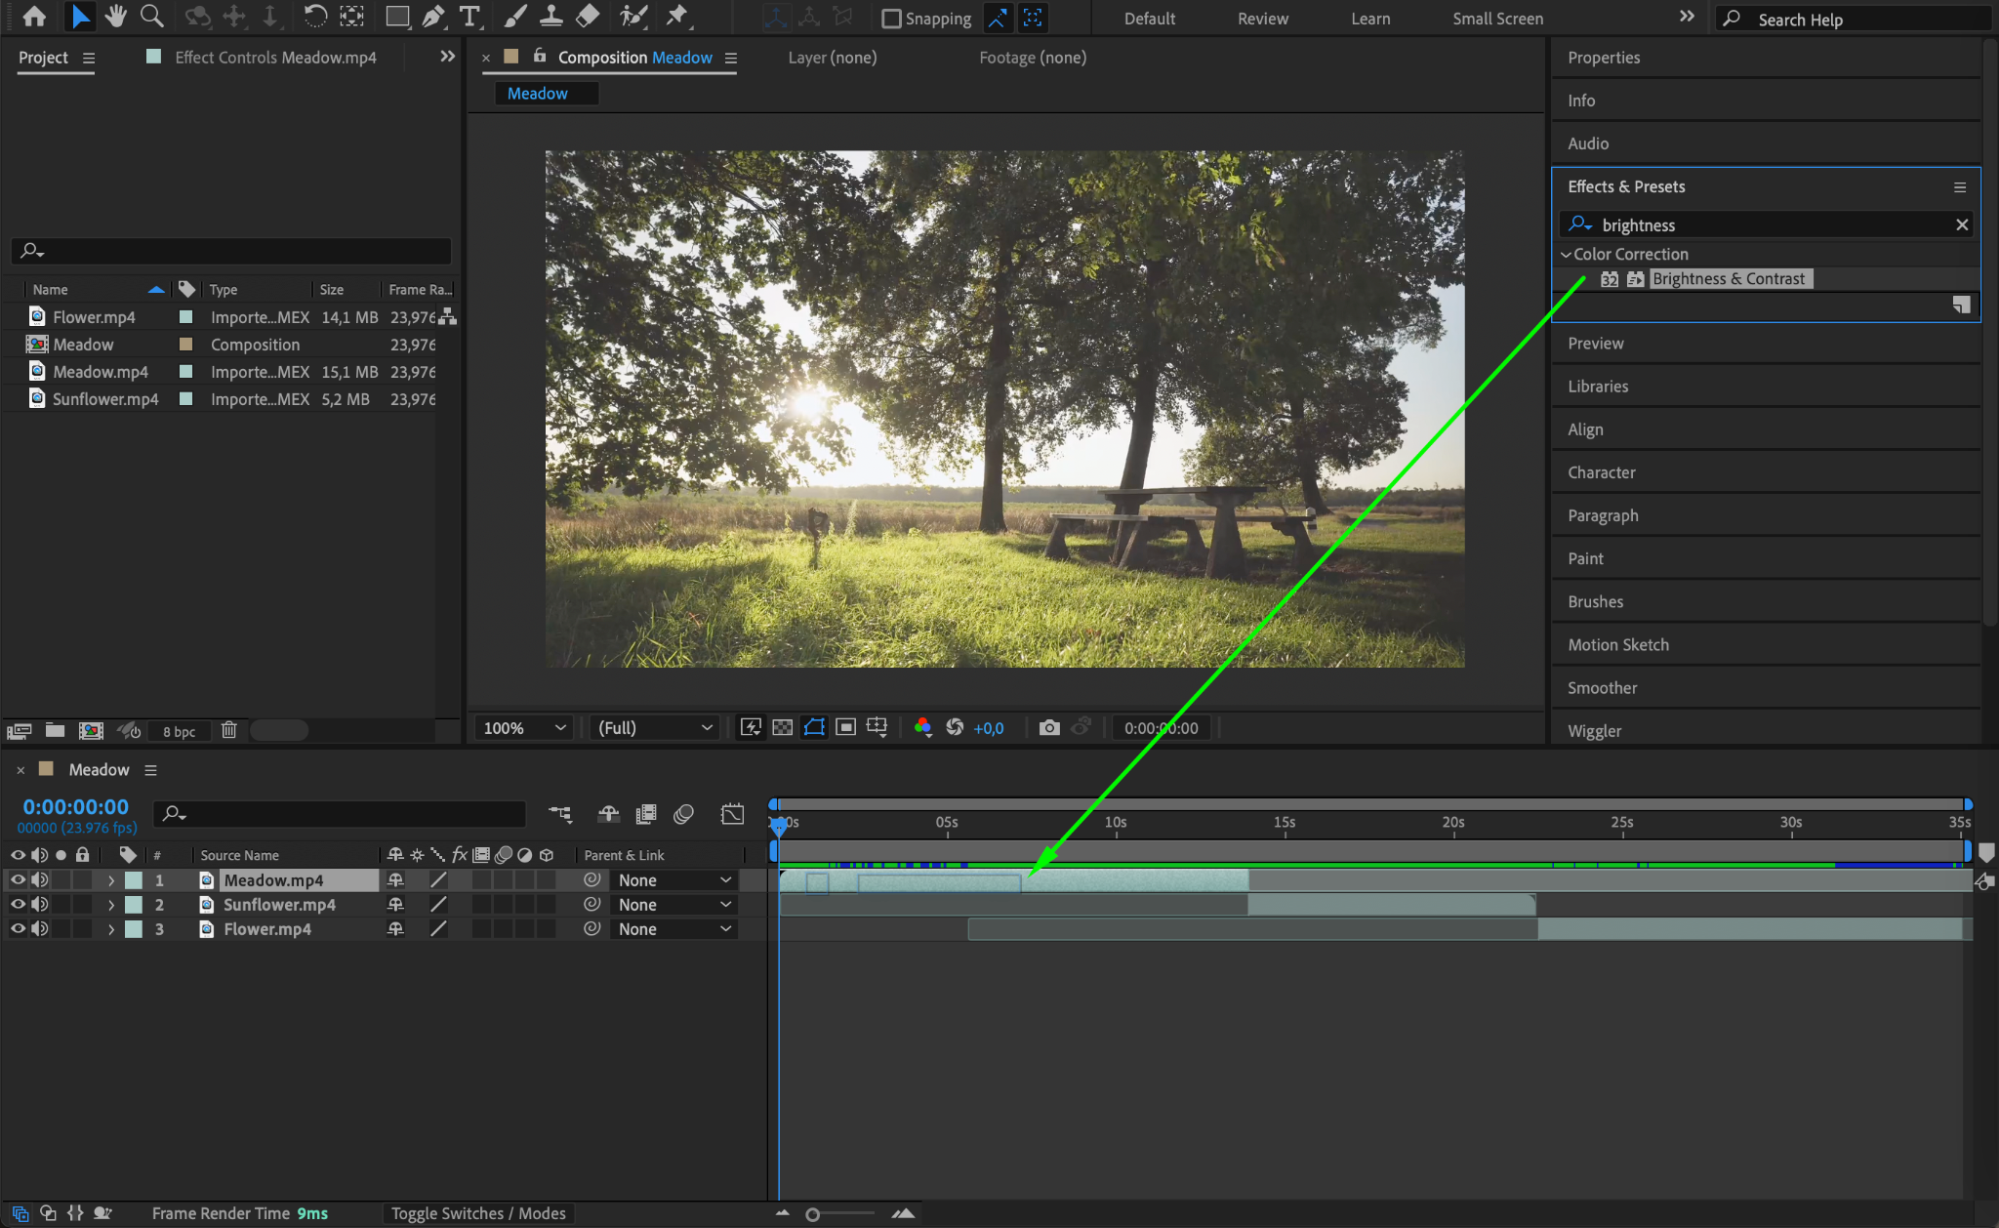
 Step 5: Creating Animations with Keyframes
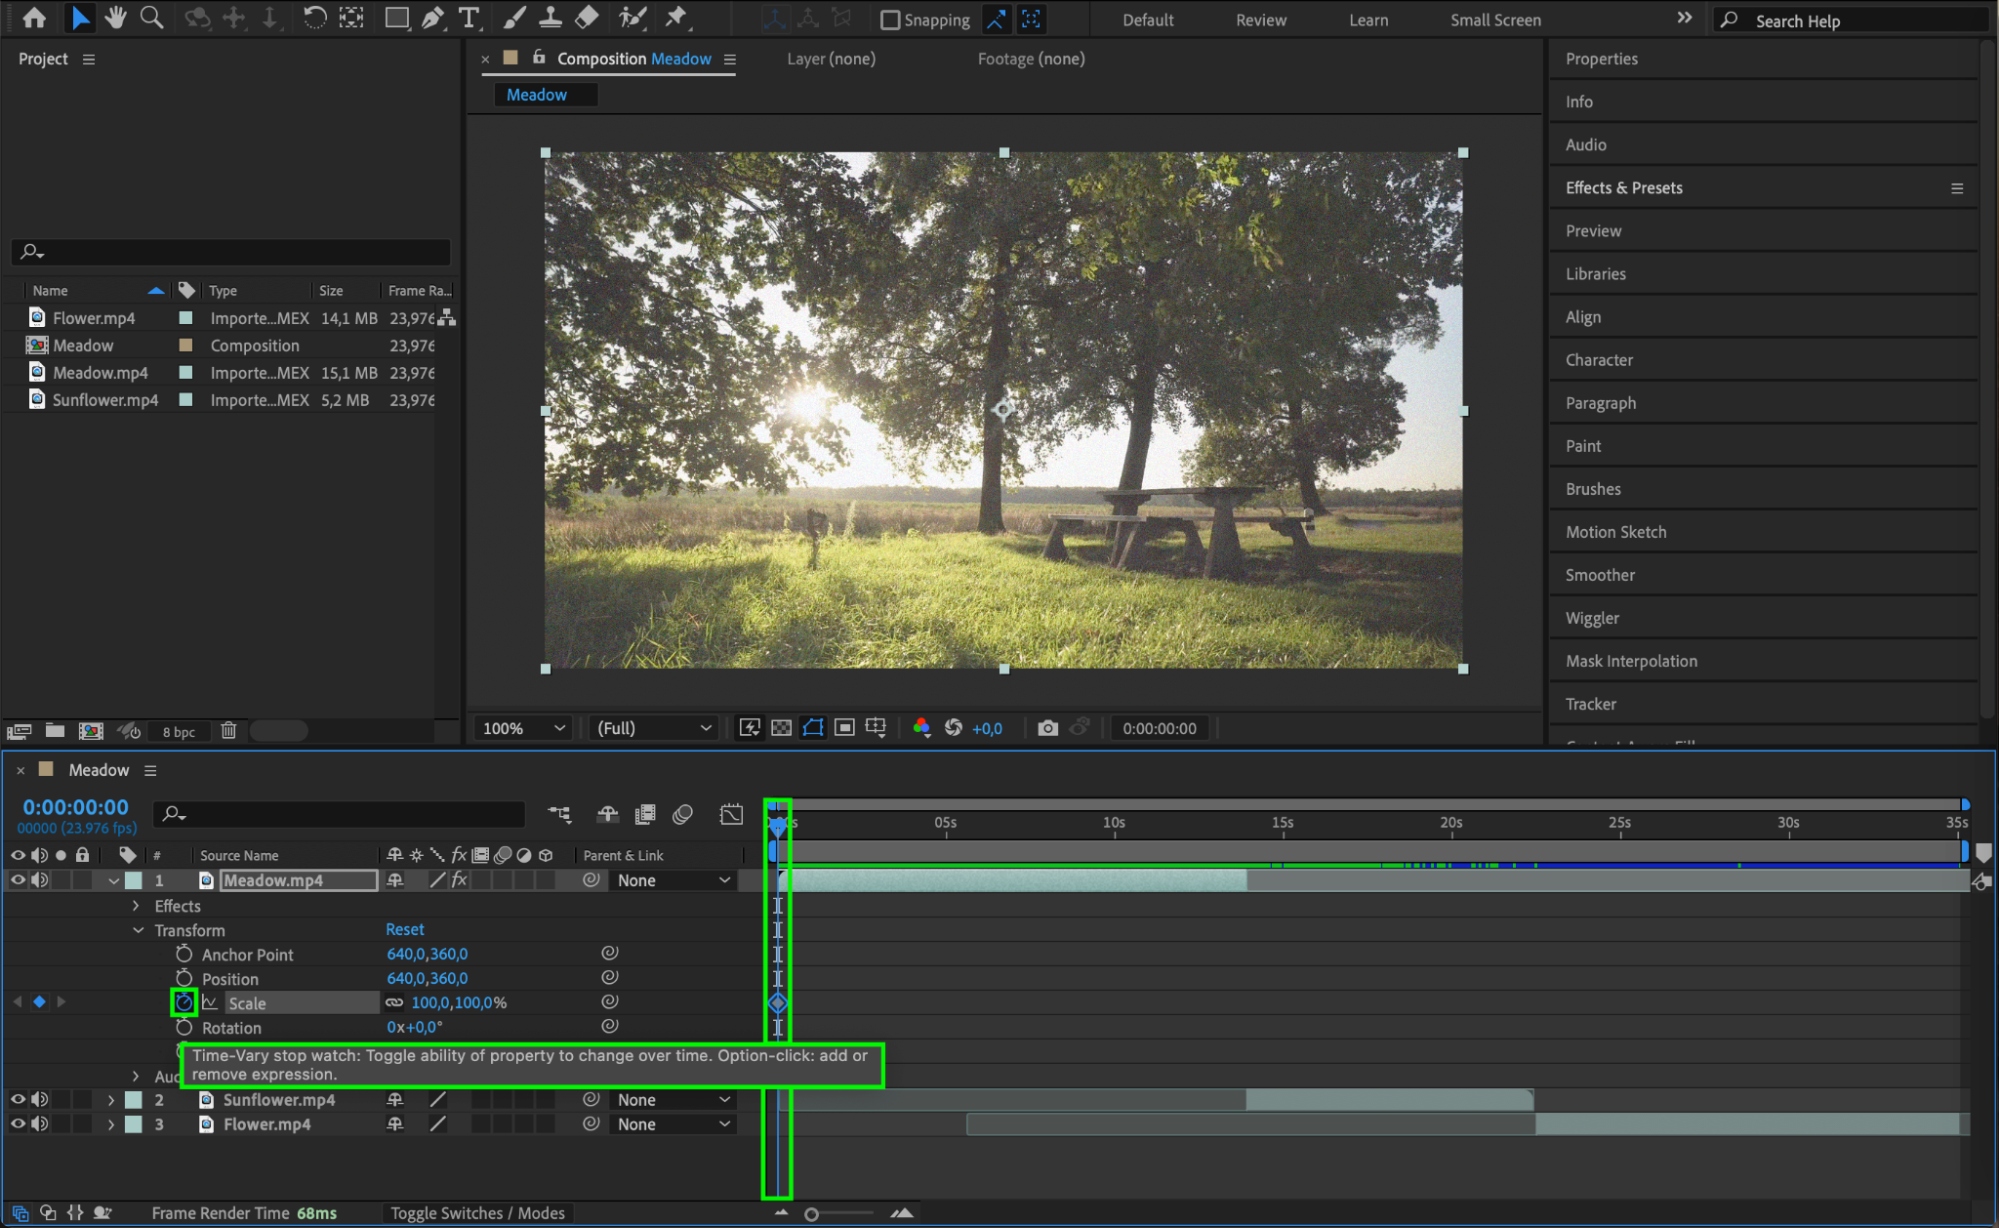
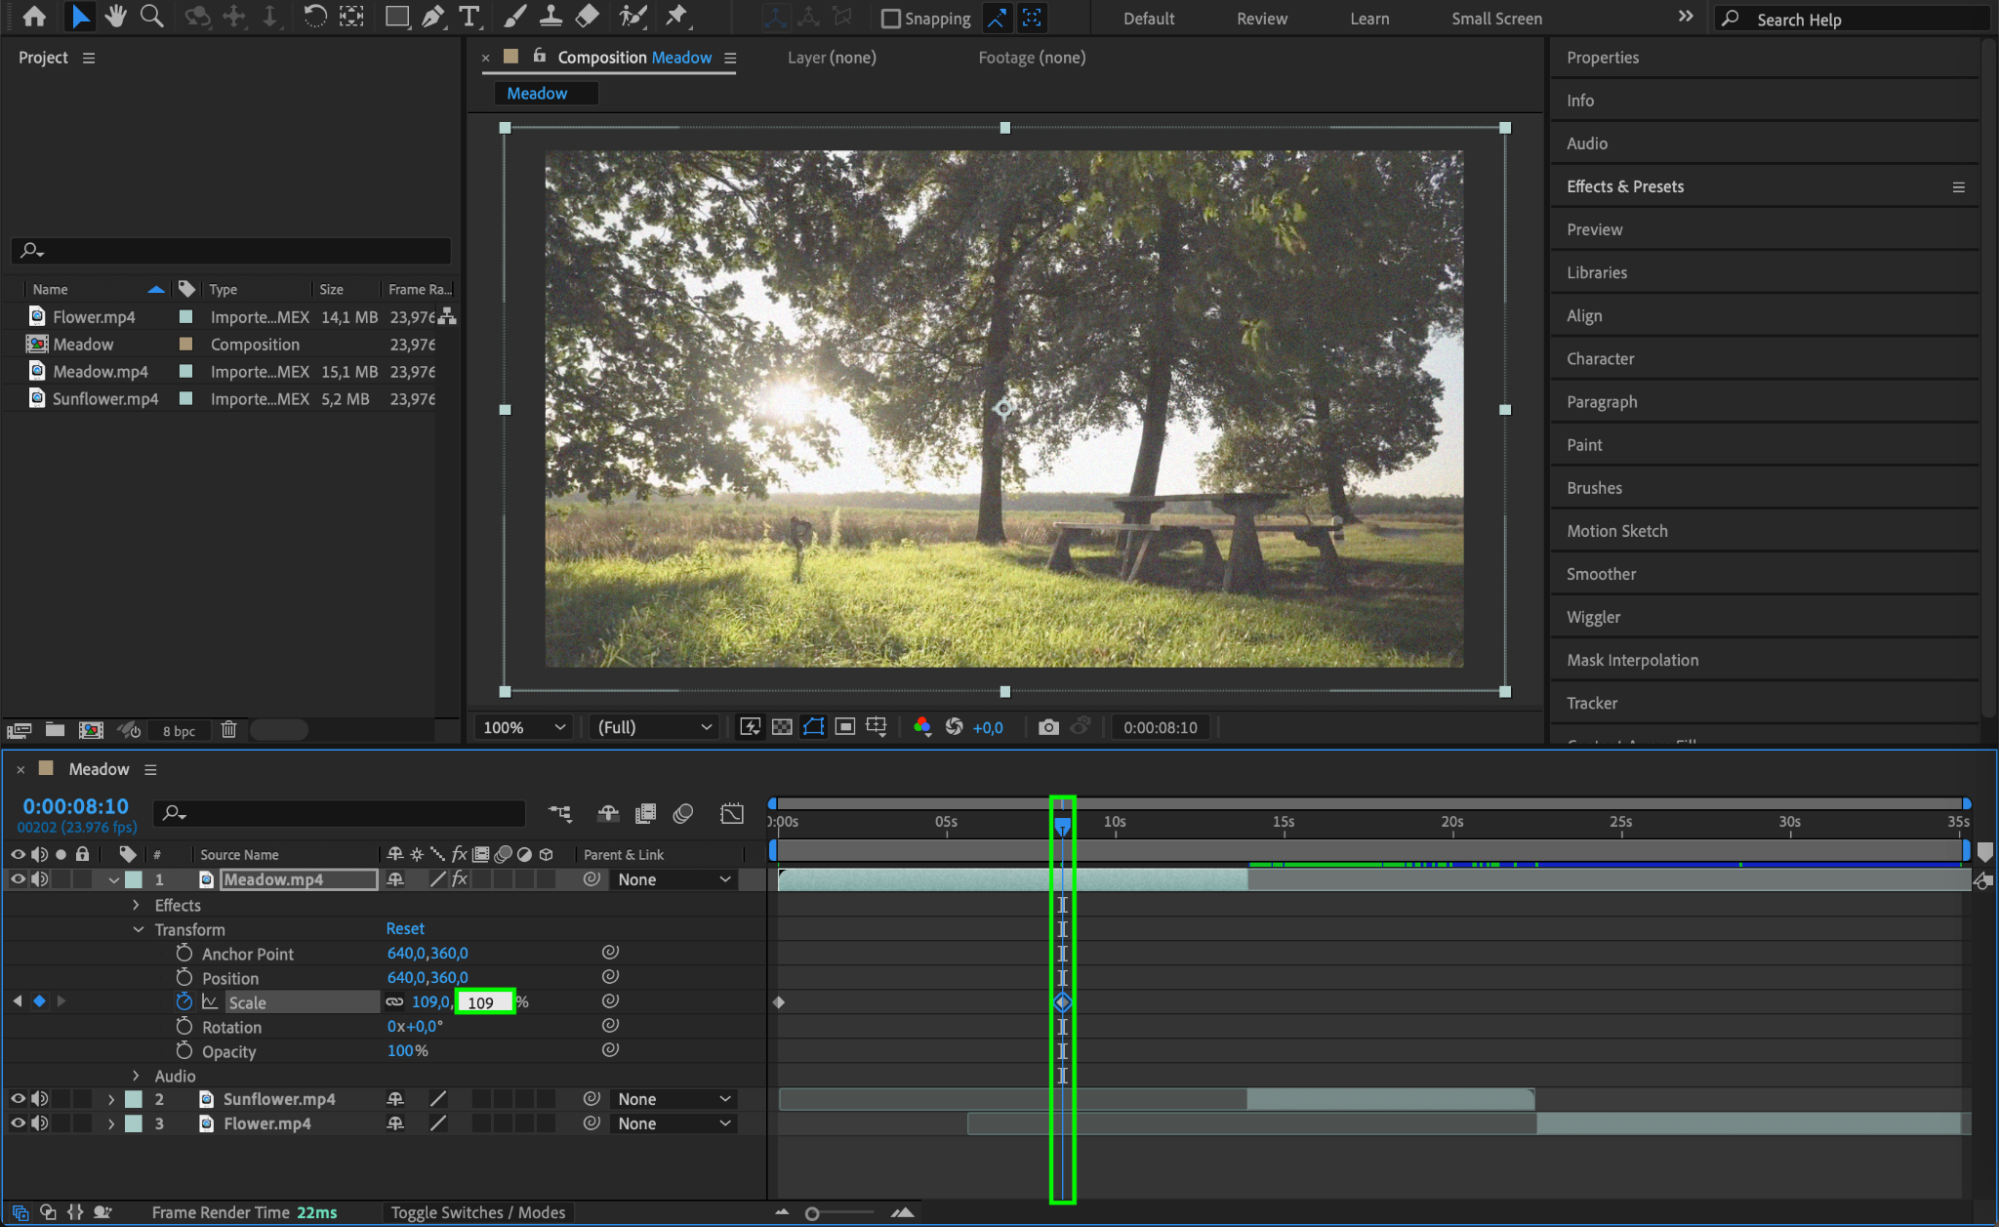
To add more dynamic elements to your project, you can create animations using keyframes. Expand the layer properties and click the stopwatch icon next to parameters like Scale, Rotation, Opacity, Position, and Anchor Point to set initial keyframes. Move the Current Time Indicator forward and adjust the parameter values to create animations. Additionally, use the Easy Ease effect to smooth out the motion between keyframes for more natural transitions.
 Step 6: Previewing Your Edits
Before finalizing your project, it’s important to preview your edits. Use the Preview Panel to play through your composition and check for any errors or areas that need adjustment. This step ensures that your final video looks exactly as intended before you move on to exporting.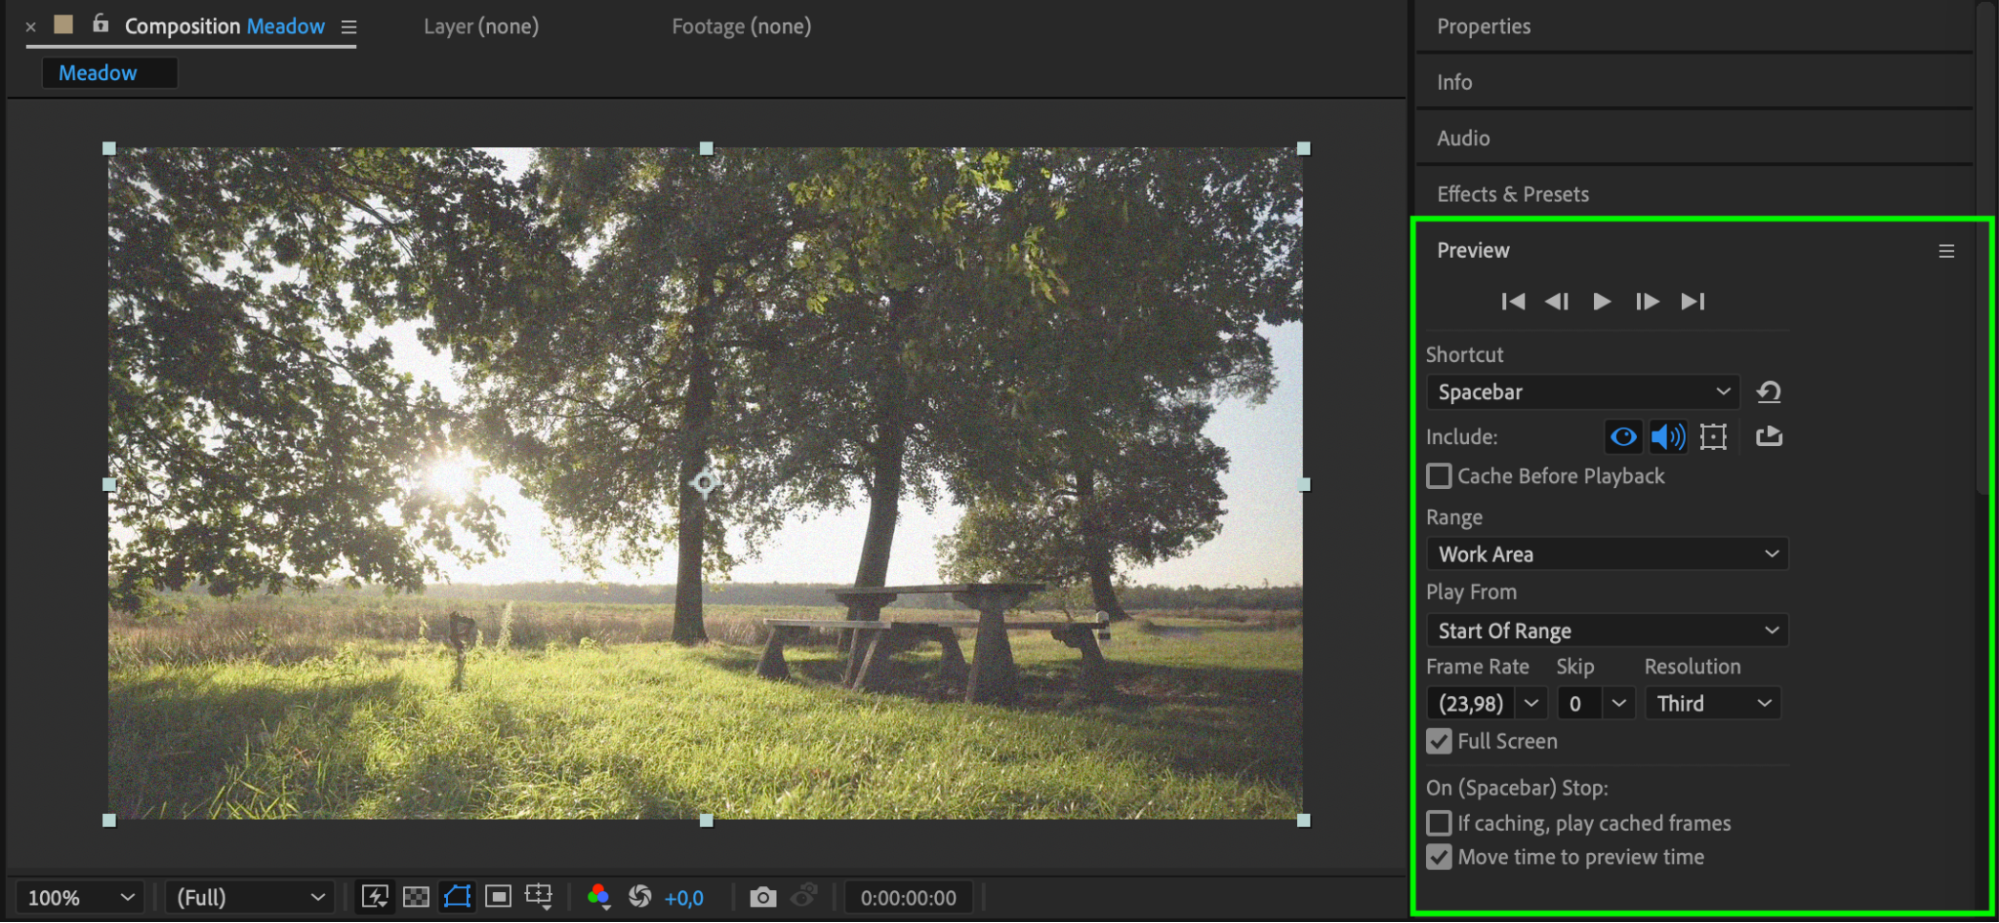 Step 7: Exporting Your Project
Get 10% off when you subscribe to our newsletter

Once you are satisfied with your edits, it’s time to export your video. Click on Composition > Add to Render Queue. In the Render Queue, choose your desired video format, resolution, and other settings. Finally, click on Render to export your project. This step converts your edited composition into a final video file, ready for sharing or further use.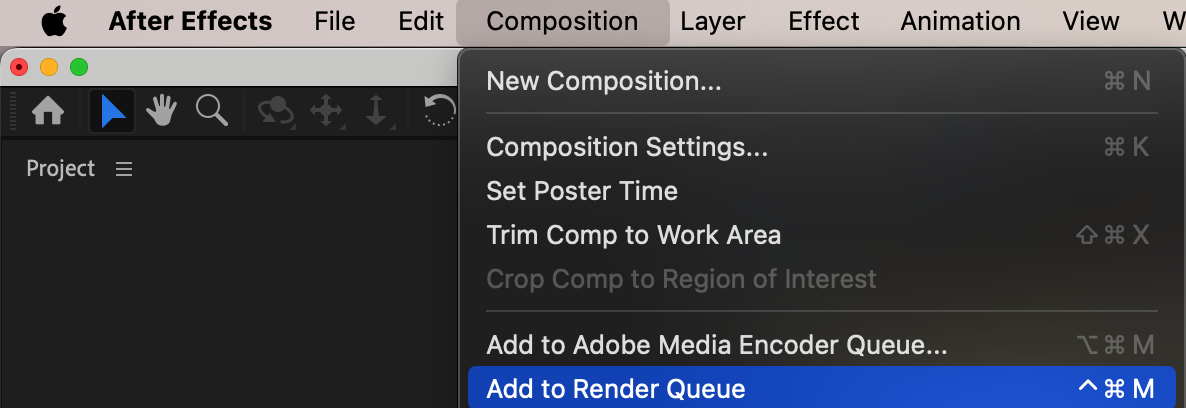
 Conclusion
By following these steps, you can efficiently cut and edit videos in Adobe After Effects. The key to mastering video editing is practice and experimentation. Adobe After Effects offers a vast array of tools and options, so don’t hesitate to explore and push your creative boundaries. With time and experience, you’ll develop your unique editing style and be able to create professional-grade videos with ease. Happy editing!


