“Step-by-Step Guide to Applying Video Distortion in After Effects”
“Introduction – Add a Creative Edge to Your Videos with Distortion”
Distorting video in After Effects is a powerful way to add creative flair to your projects. Whether you’re creating a glitch effect, warping visuals, or adding a surreal touch, After Effects provides several tools and effects to achieve distortion. This guide will walk you through the steps to effectively distort video in After Effects using built-in effects.
Get 10% off when you subscribe to our newsletter

Step 1: Import Your Video File
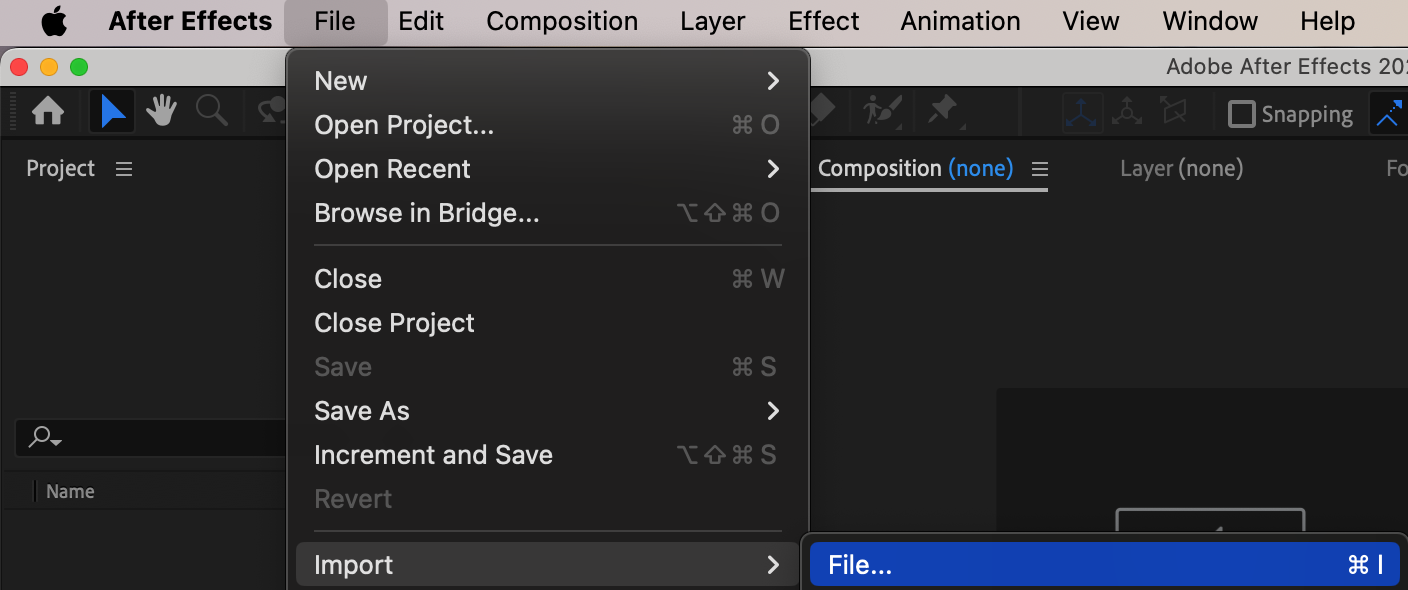
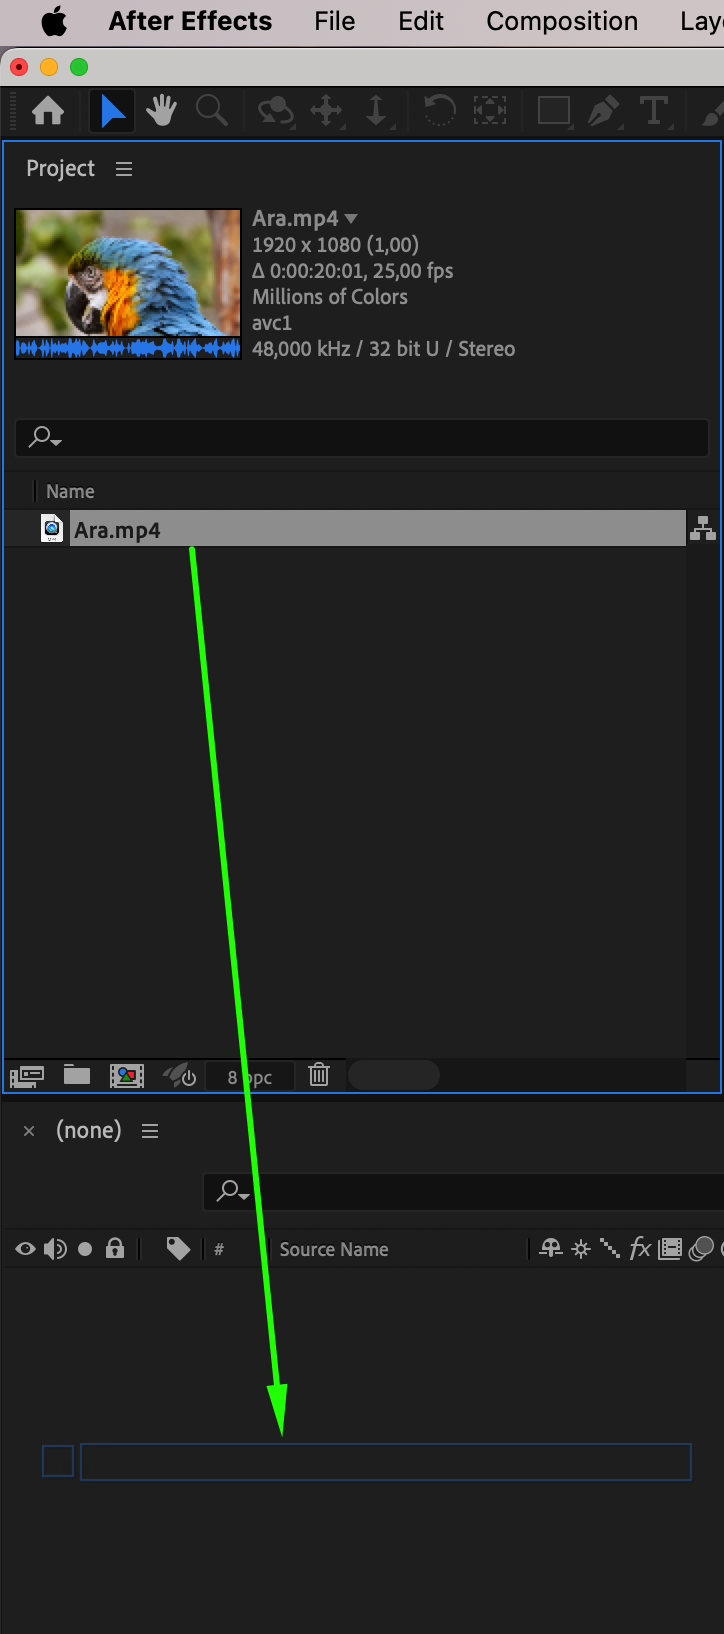
Begin by importing your video into After Effects. Go to File > Import > File, select your video file, and click Open. Drag the imported file onto the timeline to create a composition. Ensure the video is properly scaled and positioned within the frame.
Step 2: Create an Adjustment Layer
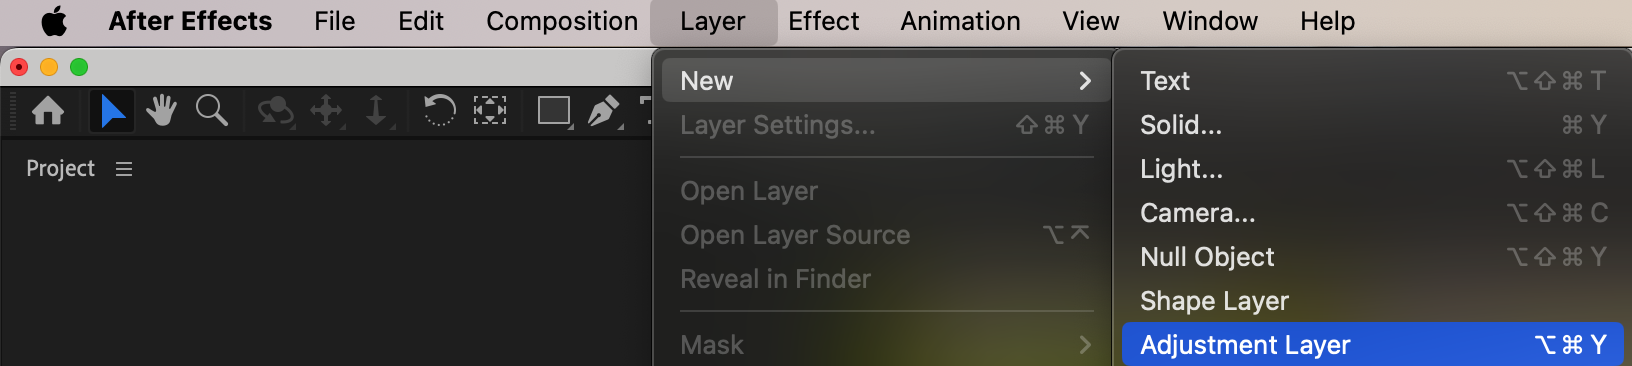
To apply distortion without directly affecting the original video, create an adjustment layer. Go to Layer > New > Adjustment Layer. This layer sits above your video layer and allows you to apply effects non-destructively.
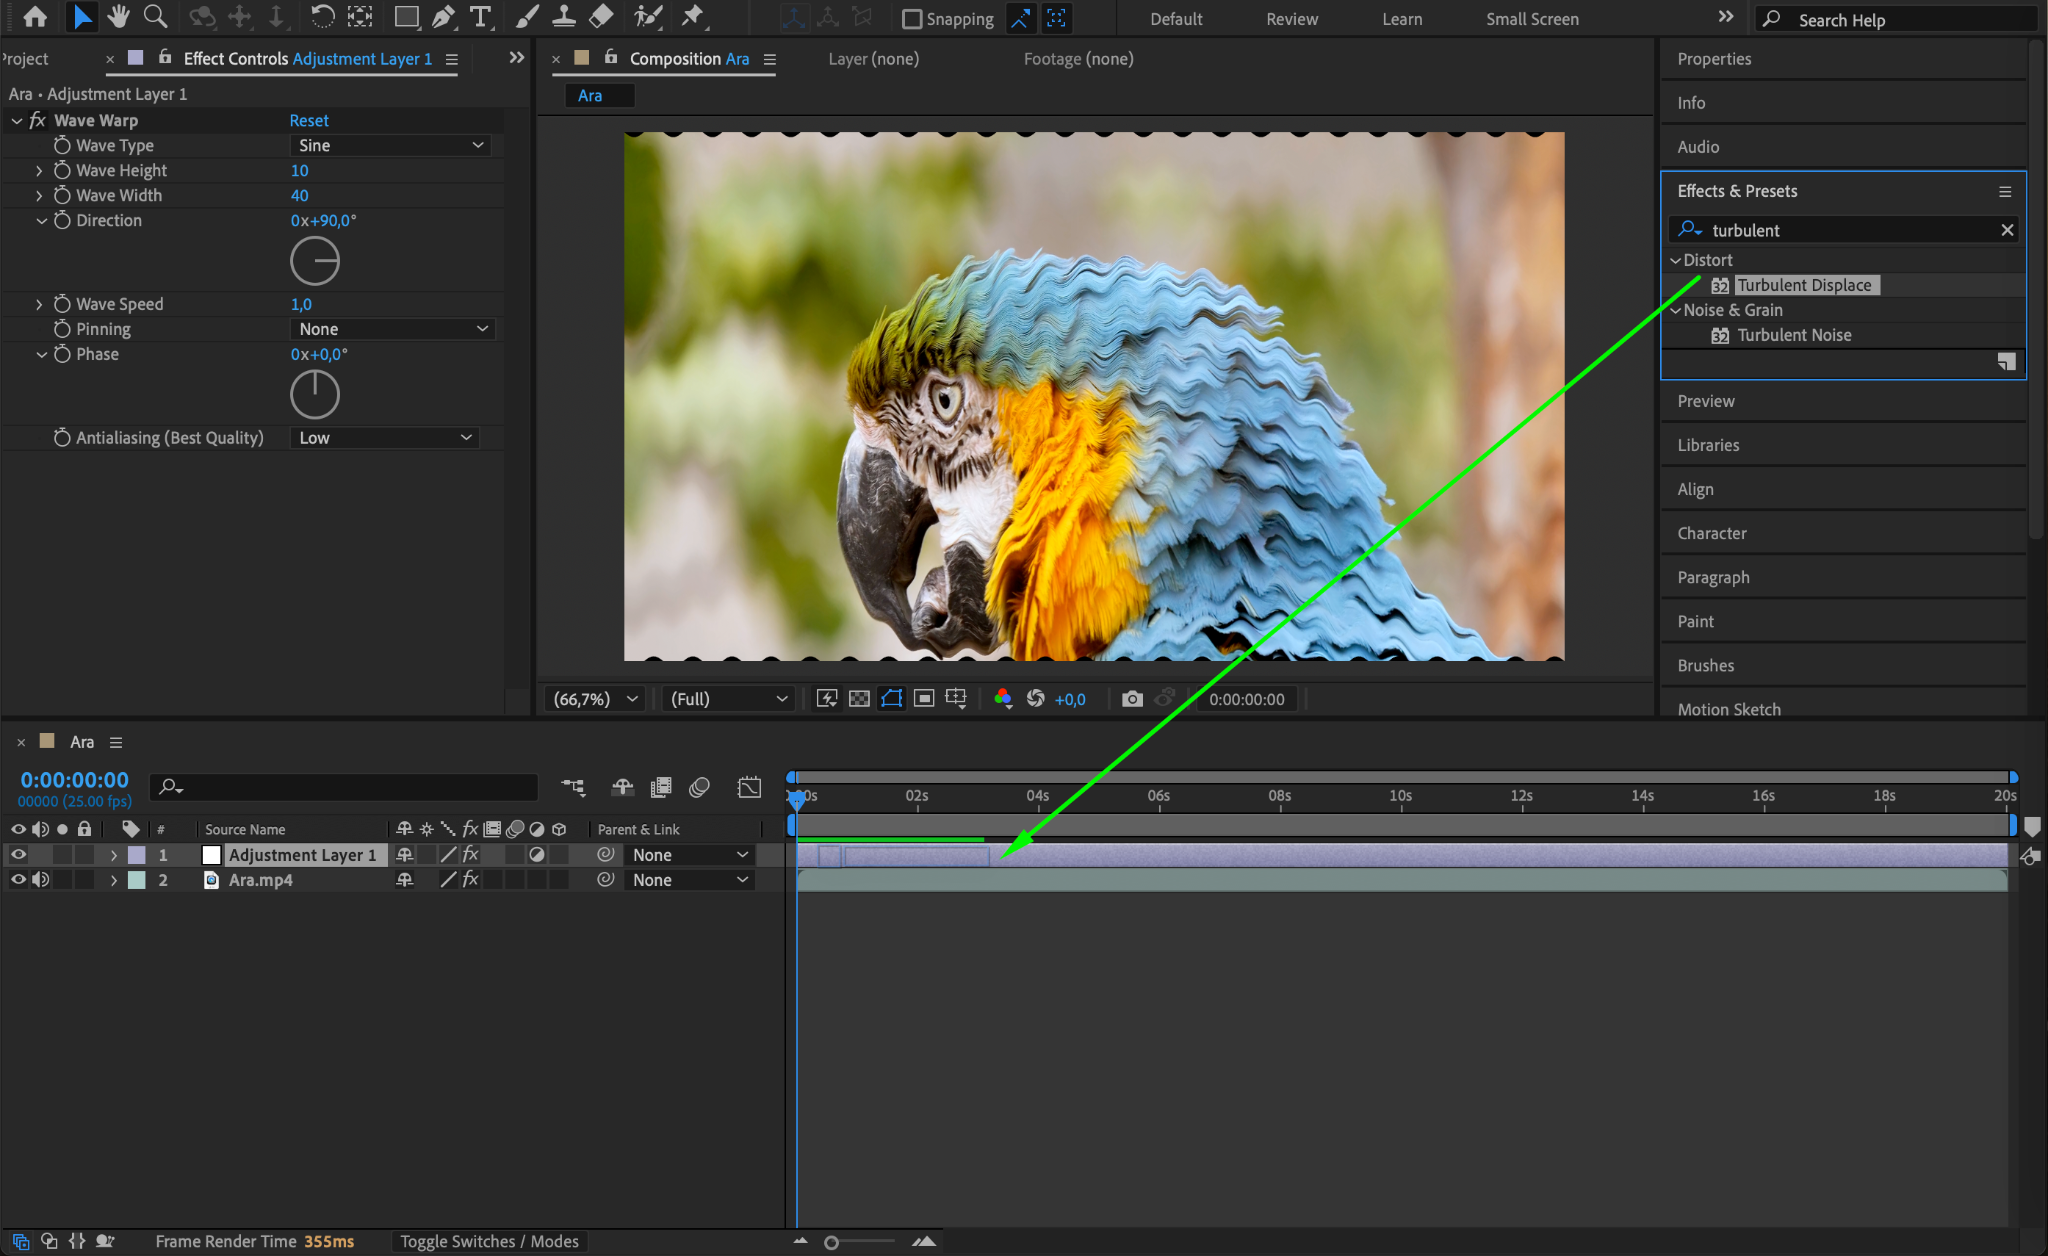
Step 3: Apply a Distortion Effect
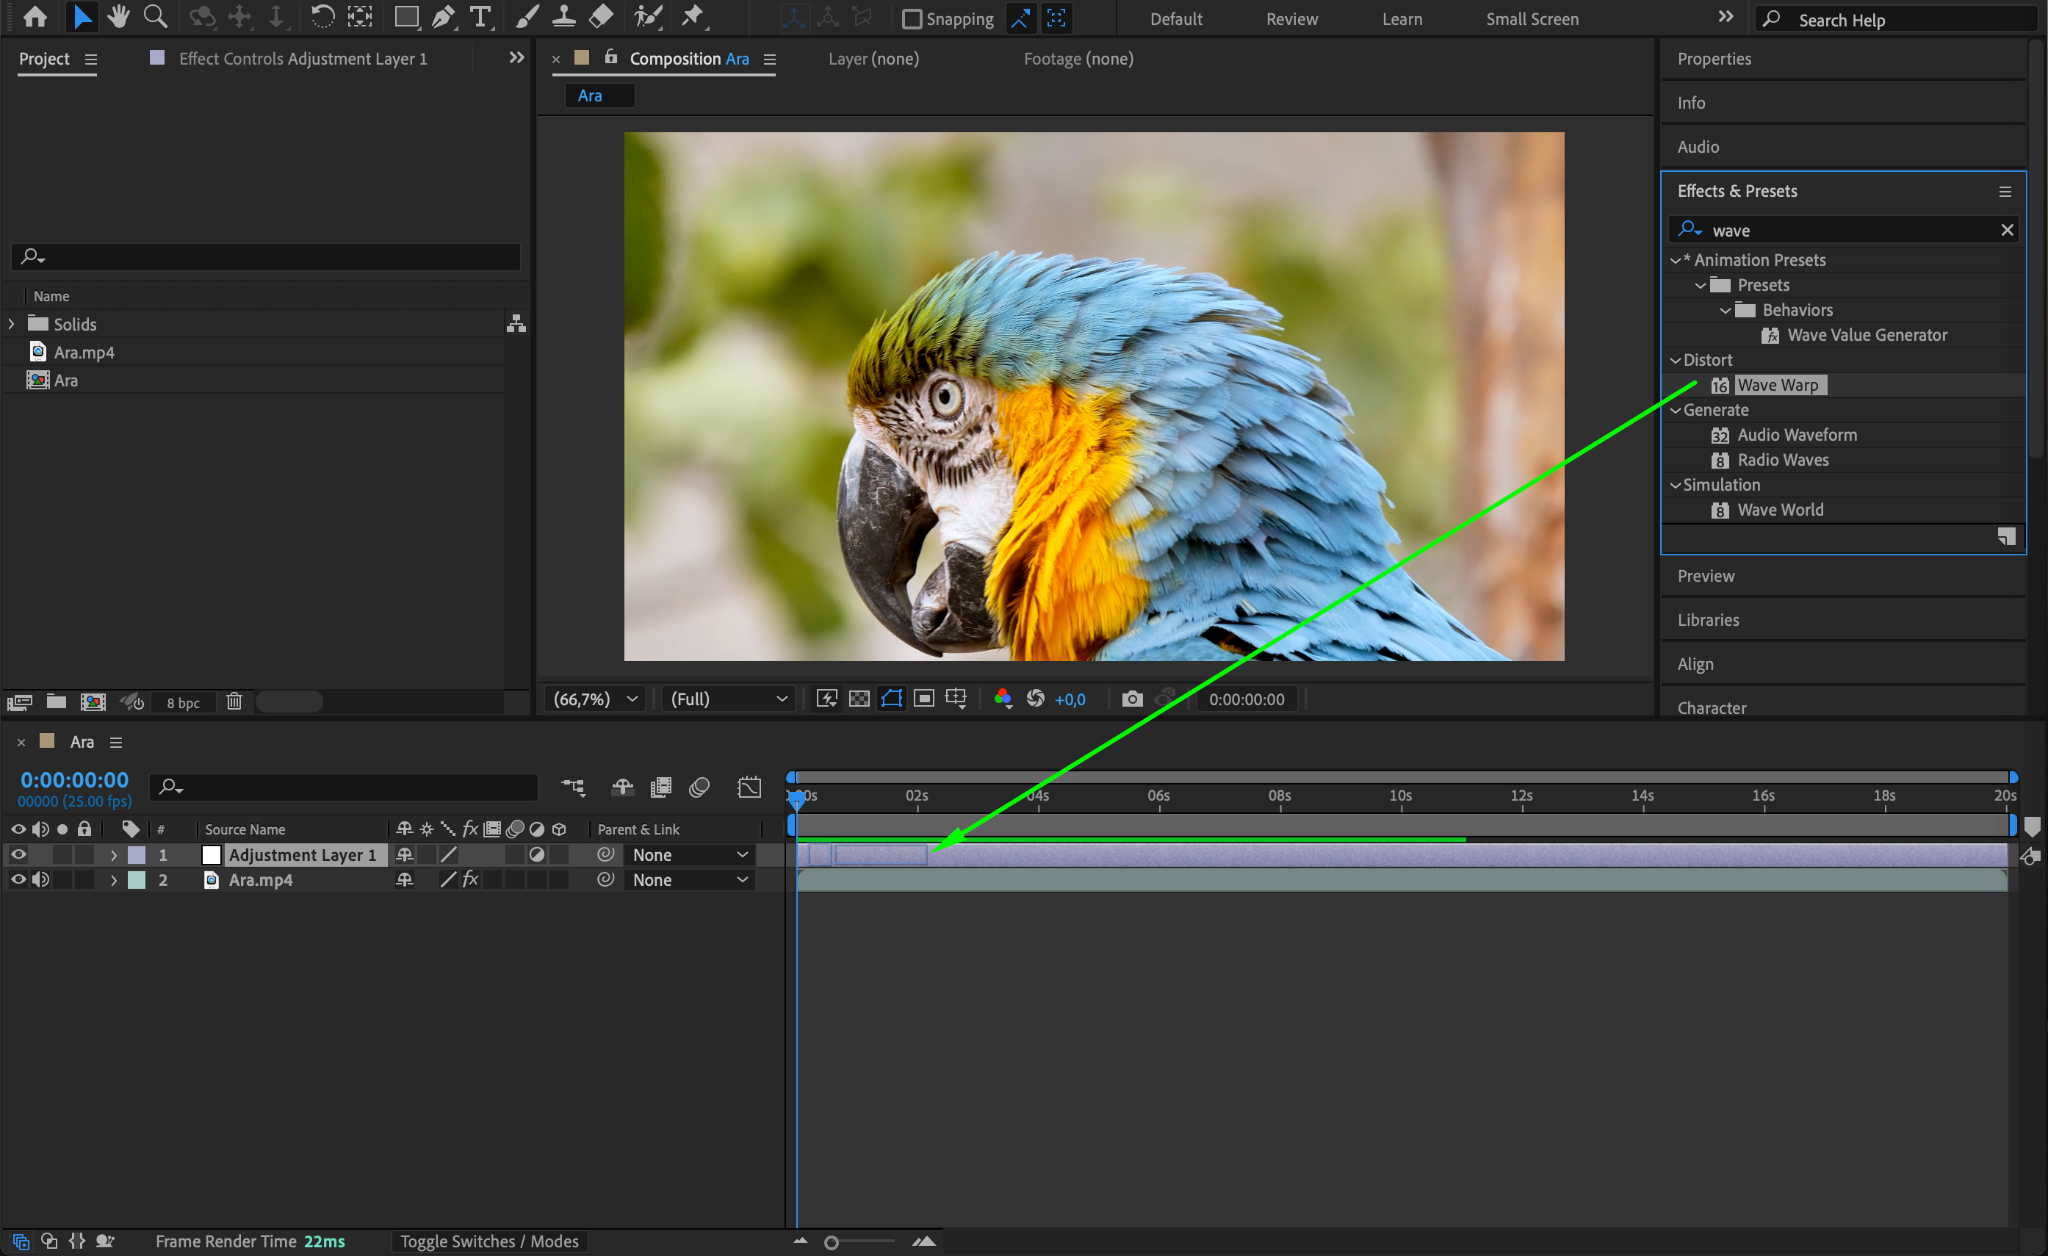
Go to the Effects & Presets panel and choose a distortion effect. Popular options include:
Wave Warp: Creates wavy motion across the video.
Turbulent Displace: Adds a chaotic and organic distortion.
CC Lens: Simulates a fisheye lens effect.
Drag your chosen effect onto the adjustment layer. The effect will immediately be applied to the video beneath it.

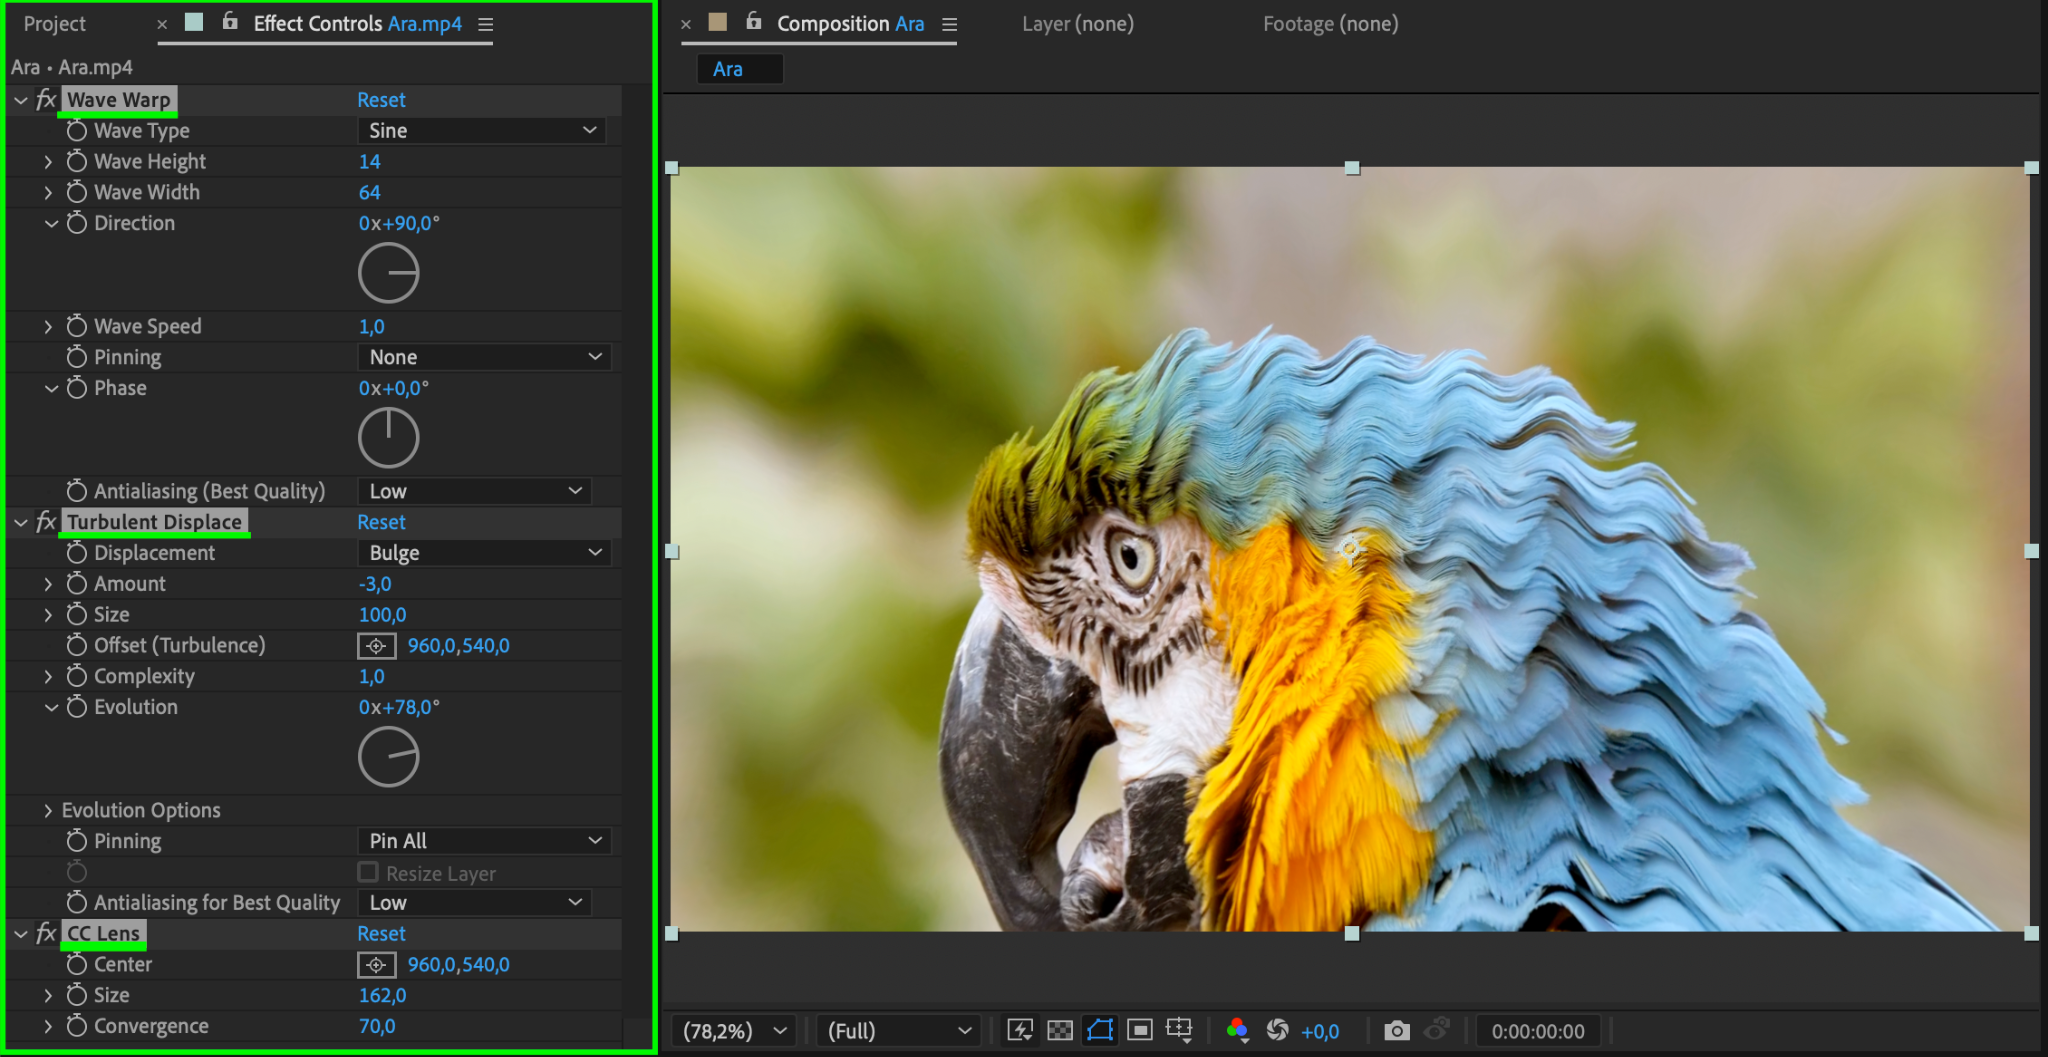
Step 4: Adjust the Effect Settings
In the Effect Controls panel, fine-tune the settings of the distortion effect:
For Wave Warp, adjust the Wave Type, Height, and Speed for smoother or more dramatic waves.
For Turbulent Displace, tweak the Amount and Complexity to control the intensity and detail of the distortion.
For CC Lens, modify the Size and Convergence for a realistic or exaggerated fisheye effect.
You can use each effect individually for subtle changes or combine multiple effects to create more complex and layered distortions.
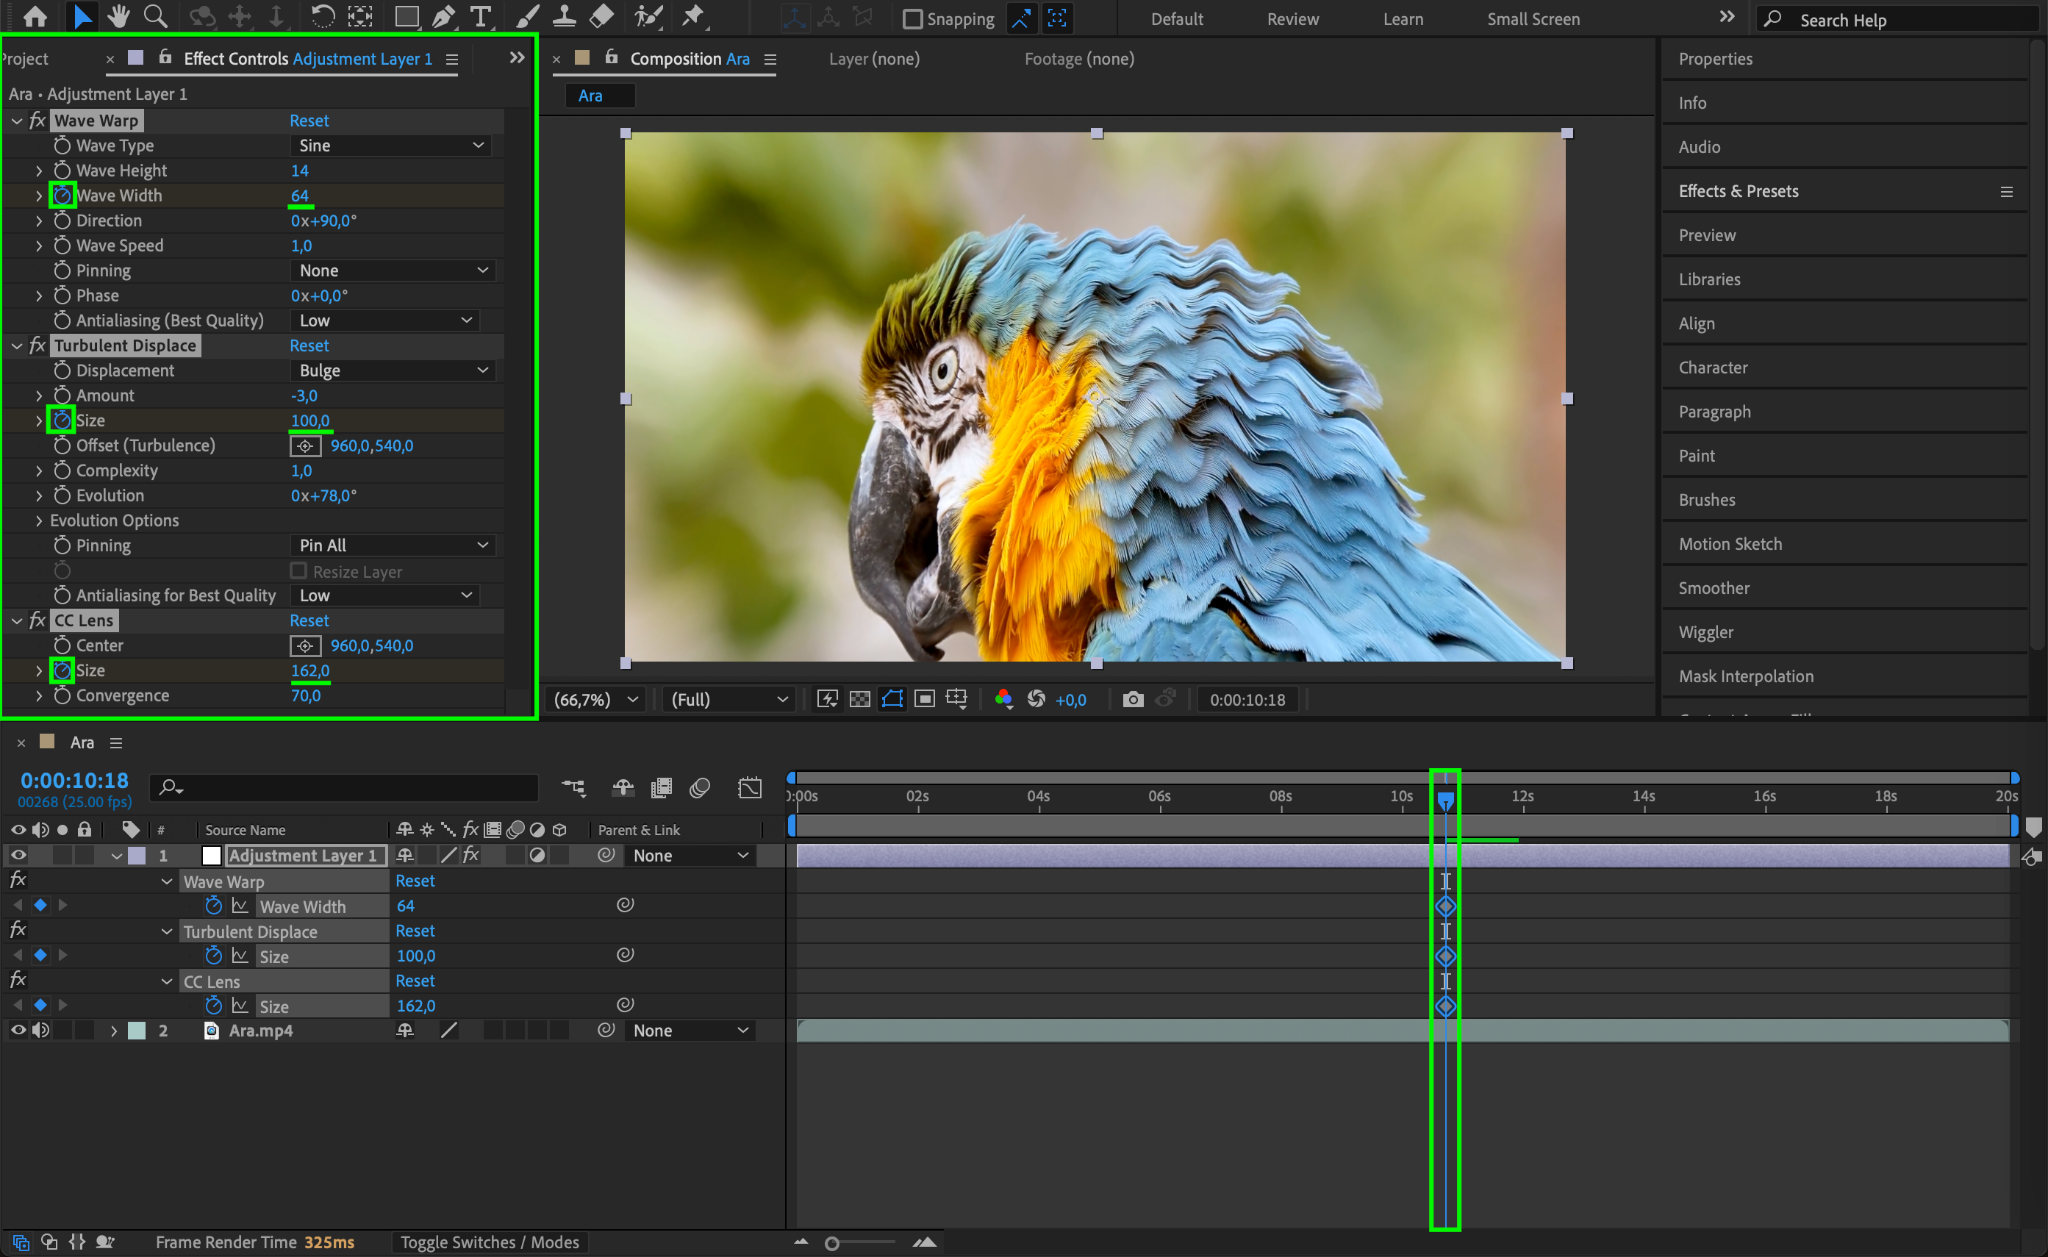
Step 5: Animate the Effects
To bring your distortion effects to life, animate their parameters using keyframes. Position the CTI (Current Time Indicator) on the timeline where you want the animation to start. In the Effect Controls panel, click the stopwatch icon next to the property you want to animate, such as Wave Height or Amount. Move the CTI to a new point in time and adjust the property value to create another keyframe. Repeat this process for other properties to create a dynamic animation that evolves over time.
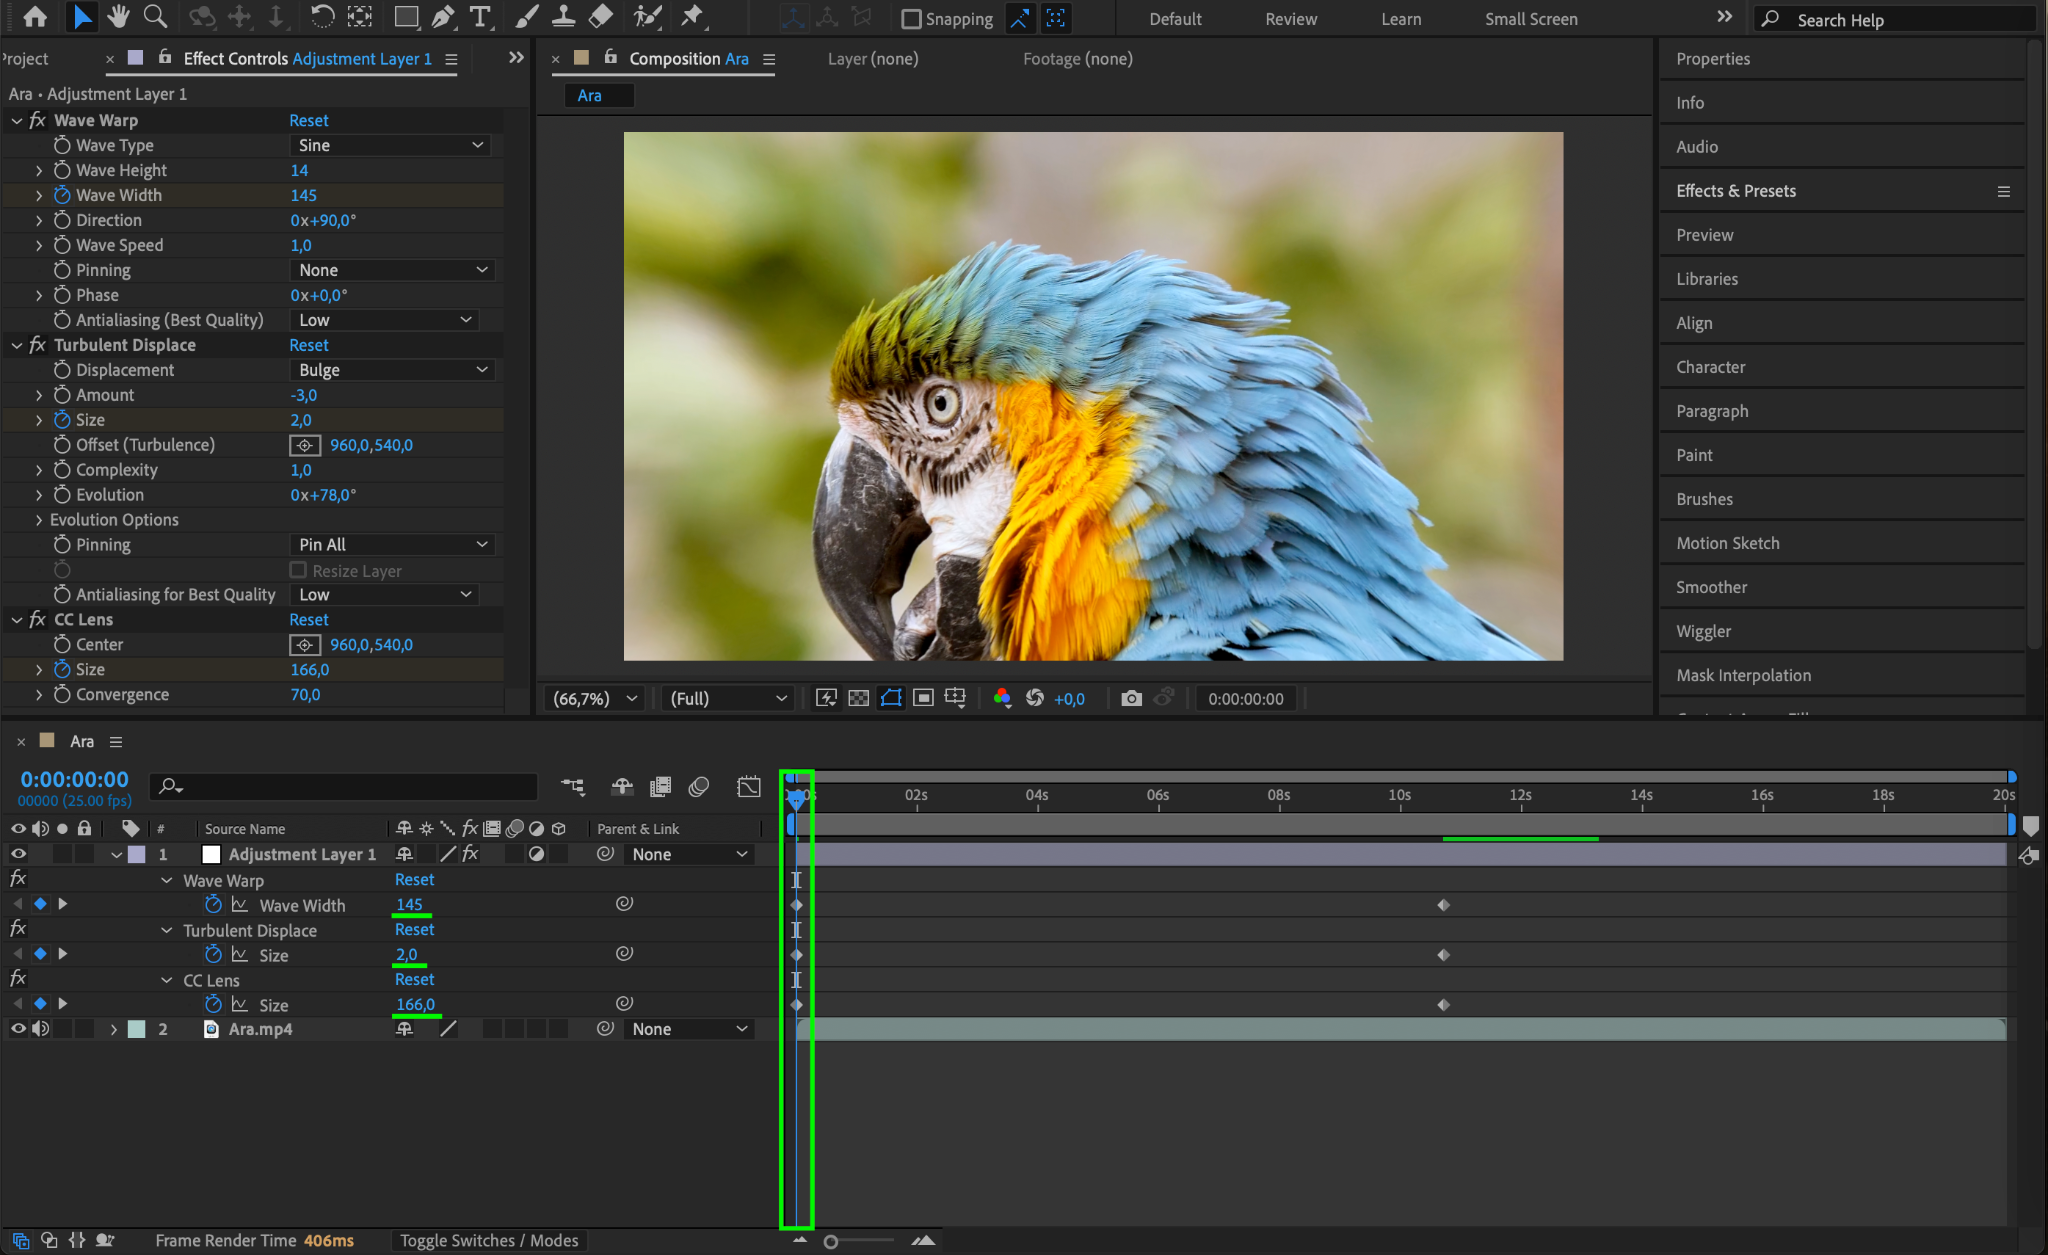
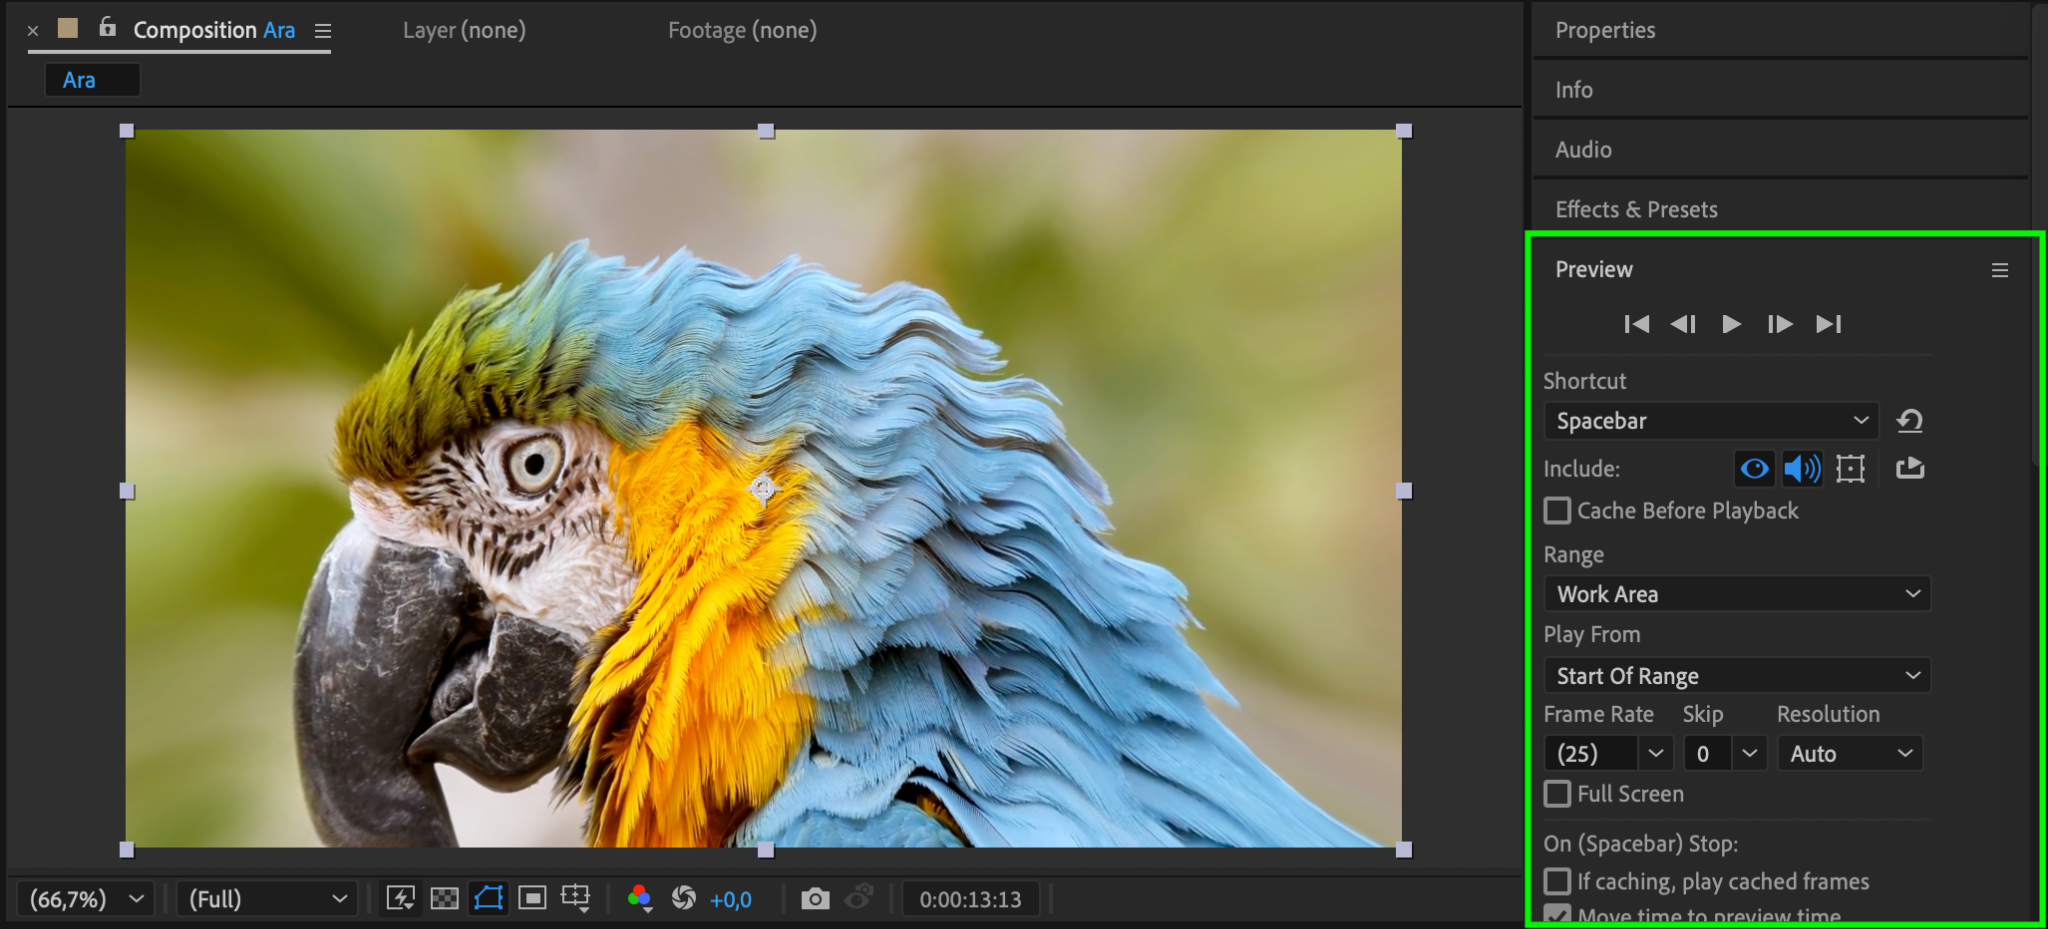
Step 6: Preview and Refine
Play back your composition by pressing the spacebar to preview the distortion. Make any necessary adjustments to the effect settings or animation to achieve the desired look.
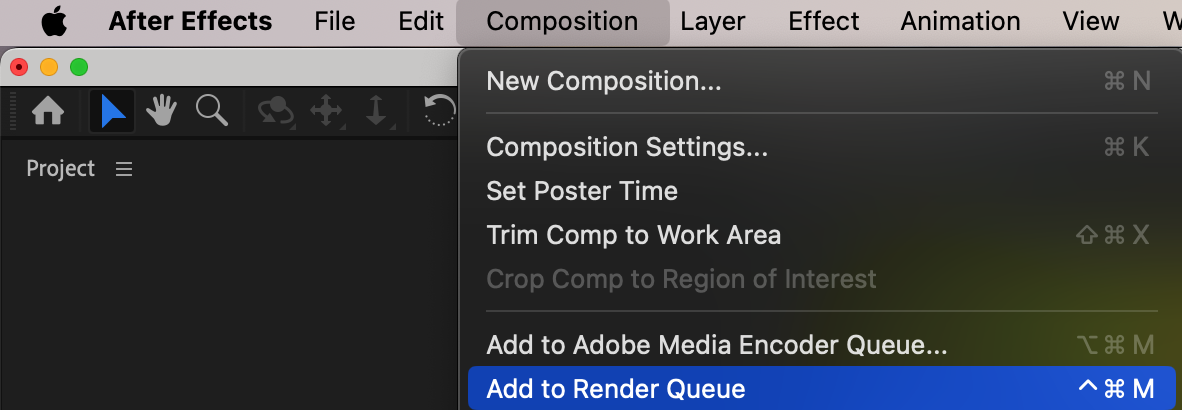
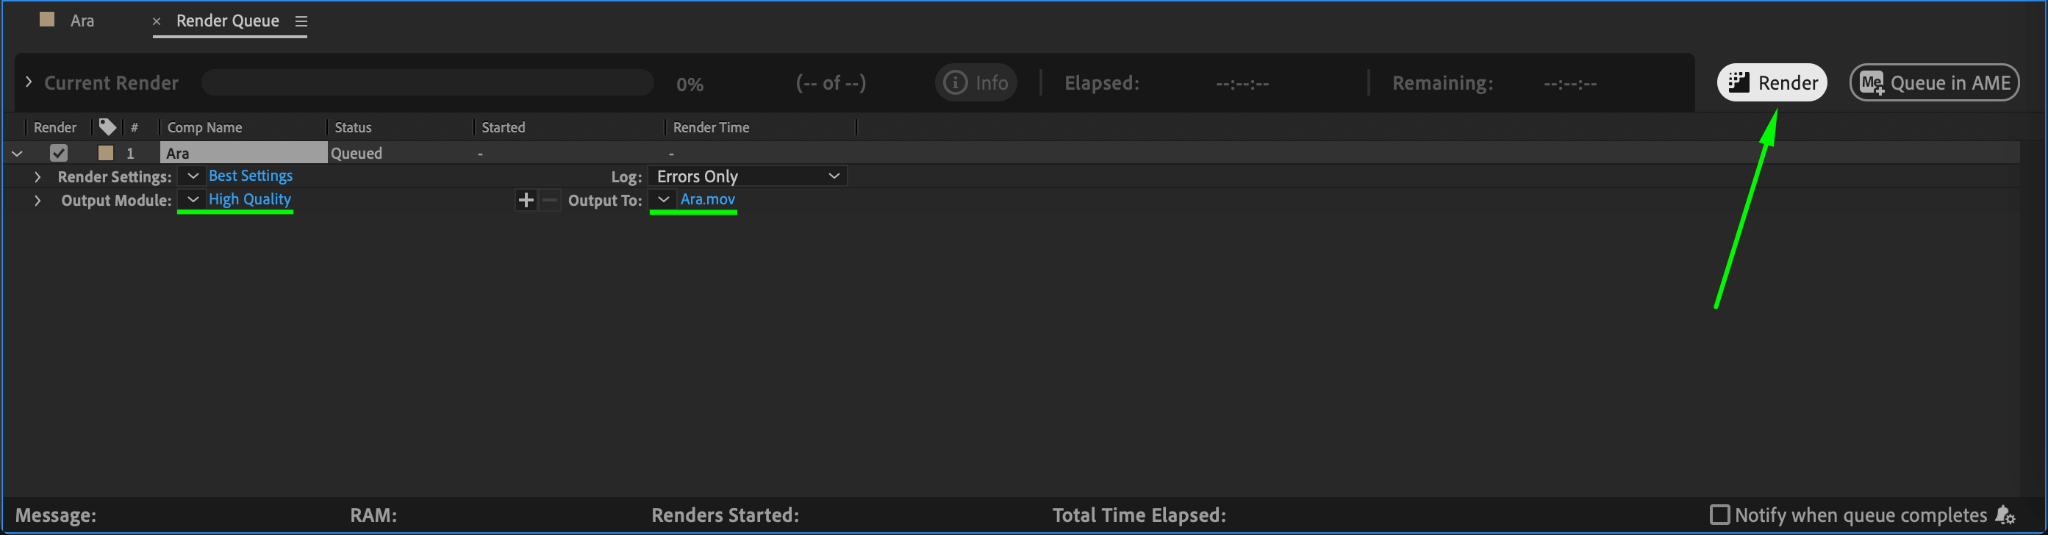
Step 7: Render Your Video
Once satisfied with the results, render your project. Go to Composition > Add to Render Queue, select your output settings, and click Render. Ensure your final video is exported in a format suitable for your needs.
Conclusion
Distorting video in After Effects opens up endless possibilities for creative storytelling and design. By using adjustment layers and experimenting with distortion effects, you can transform ordinary footage into visually striking content. Follow these steps to explore and master video distortion in your projects.
Our Bestsellers


