How to Use the 3D Camera Tracker in After Effects
Introduction
The 3D Camera Tracker in After Effects allows you to integrate 3D elements into your footage by analyzing the camera motion and creating a virtual camera. This guide will walk you through the process of using the 3D Camera Tracker to enhance your video projects.
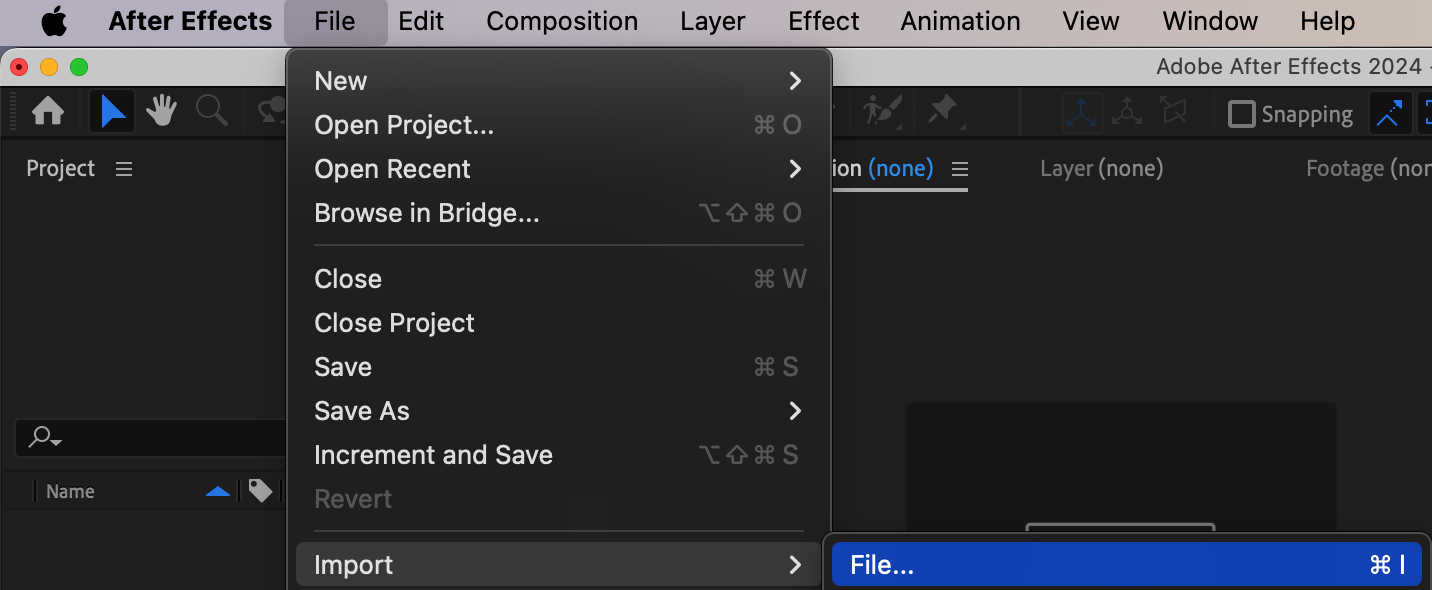
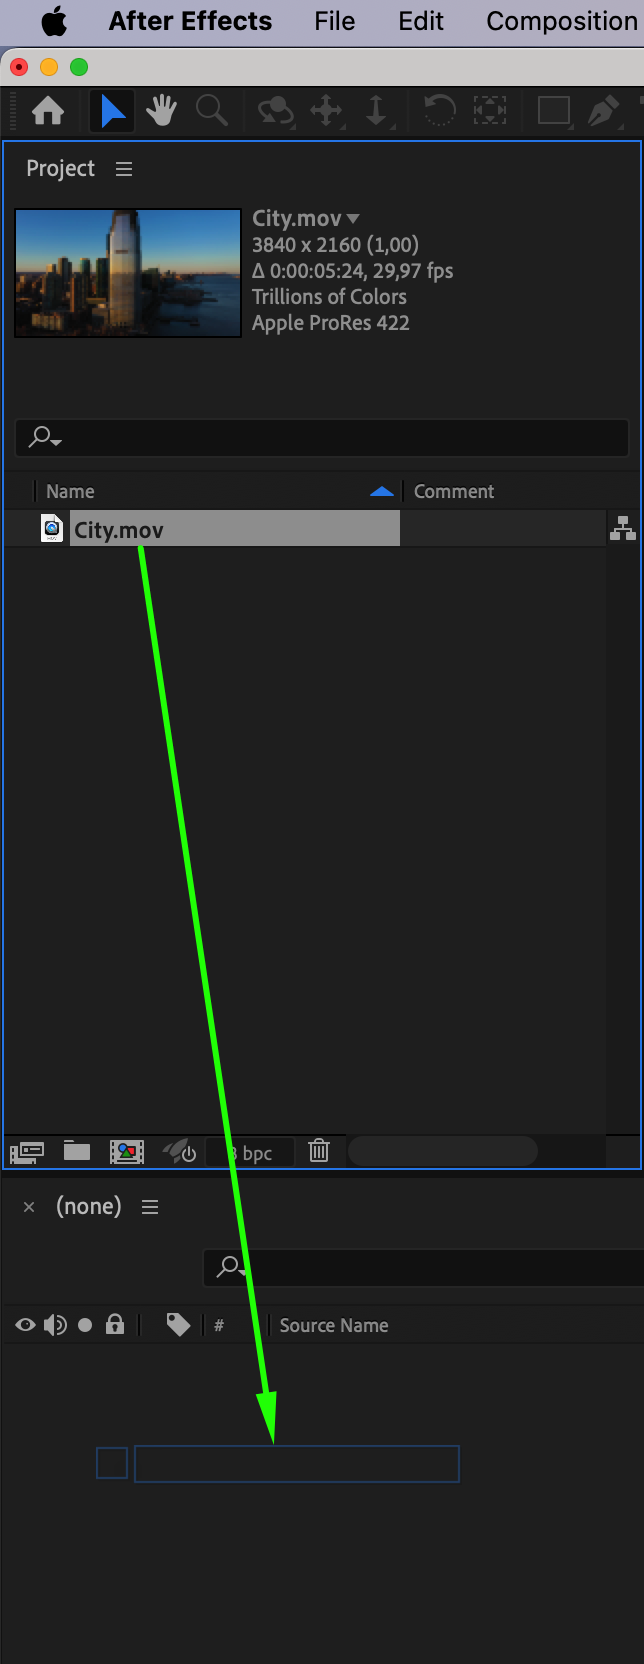
Step 1: Import Your Footage
Begin by importing the video you want to work with. Go to File > Import > File, select your video clip, and click Open. The footage will appear in the Project Panel. Drag the clip onto the Timeline Panel to start editing.
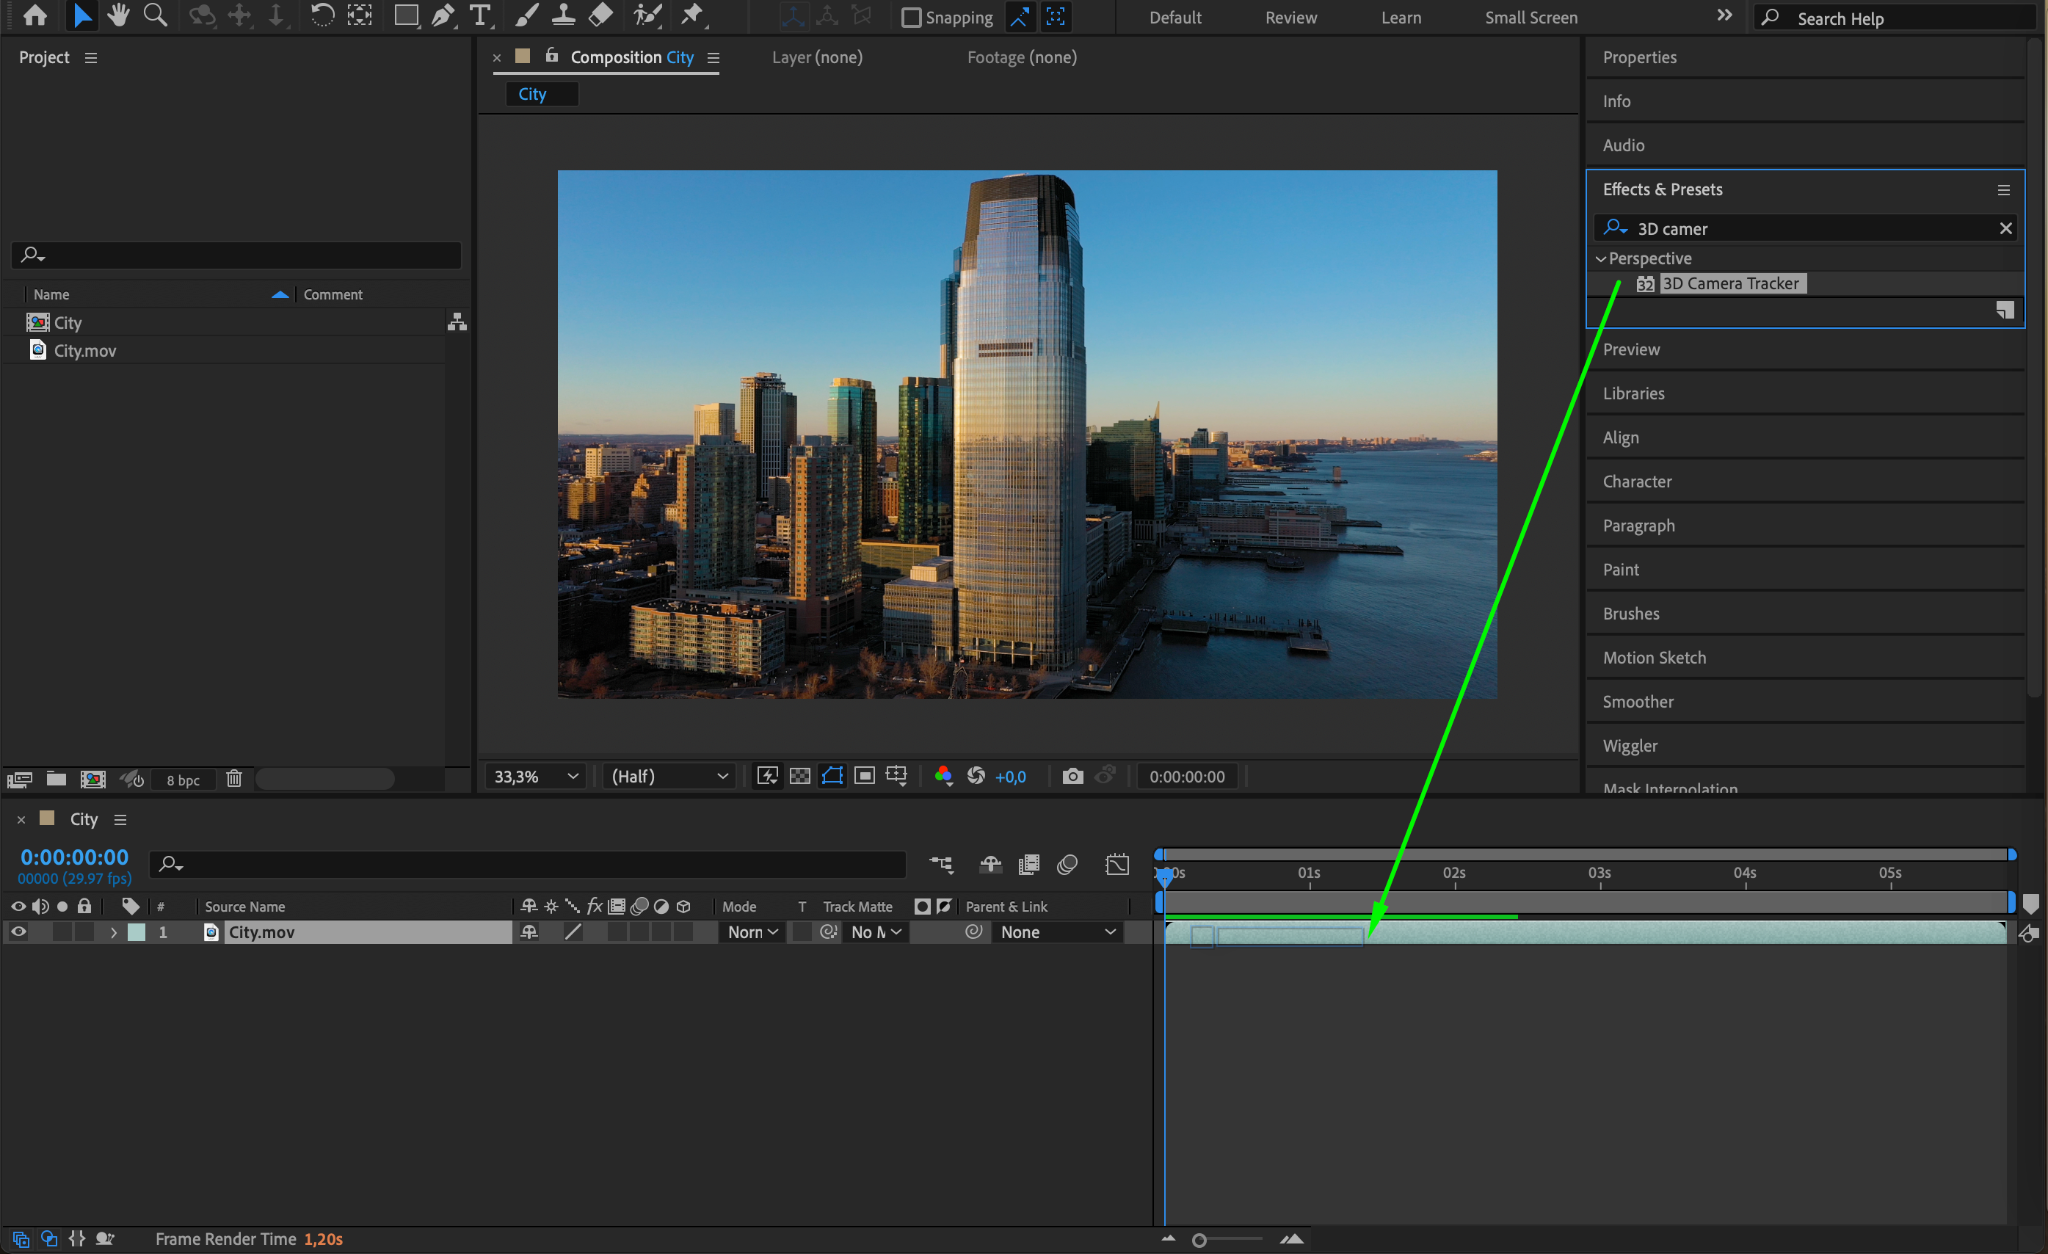
Step 2: Apply the 3D Camera Tracker Effect
Next, navigate to the Effects & Presets panel and search for the 3D Camera Tracker effect. Drag and drop this effect onto your video layer in the Timeline Panel. The effect will start analyzing the footage to detect camera movements and track 3D points.

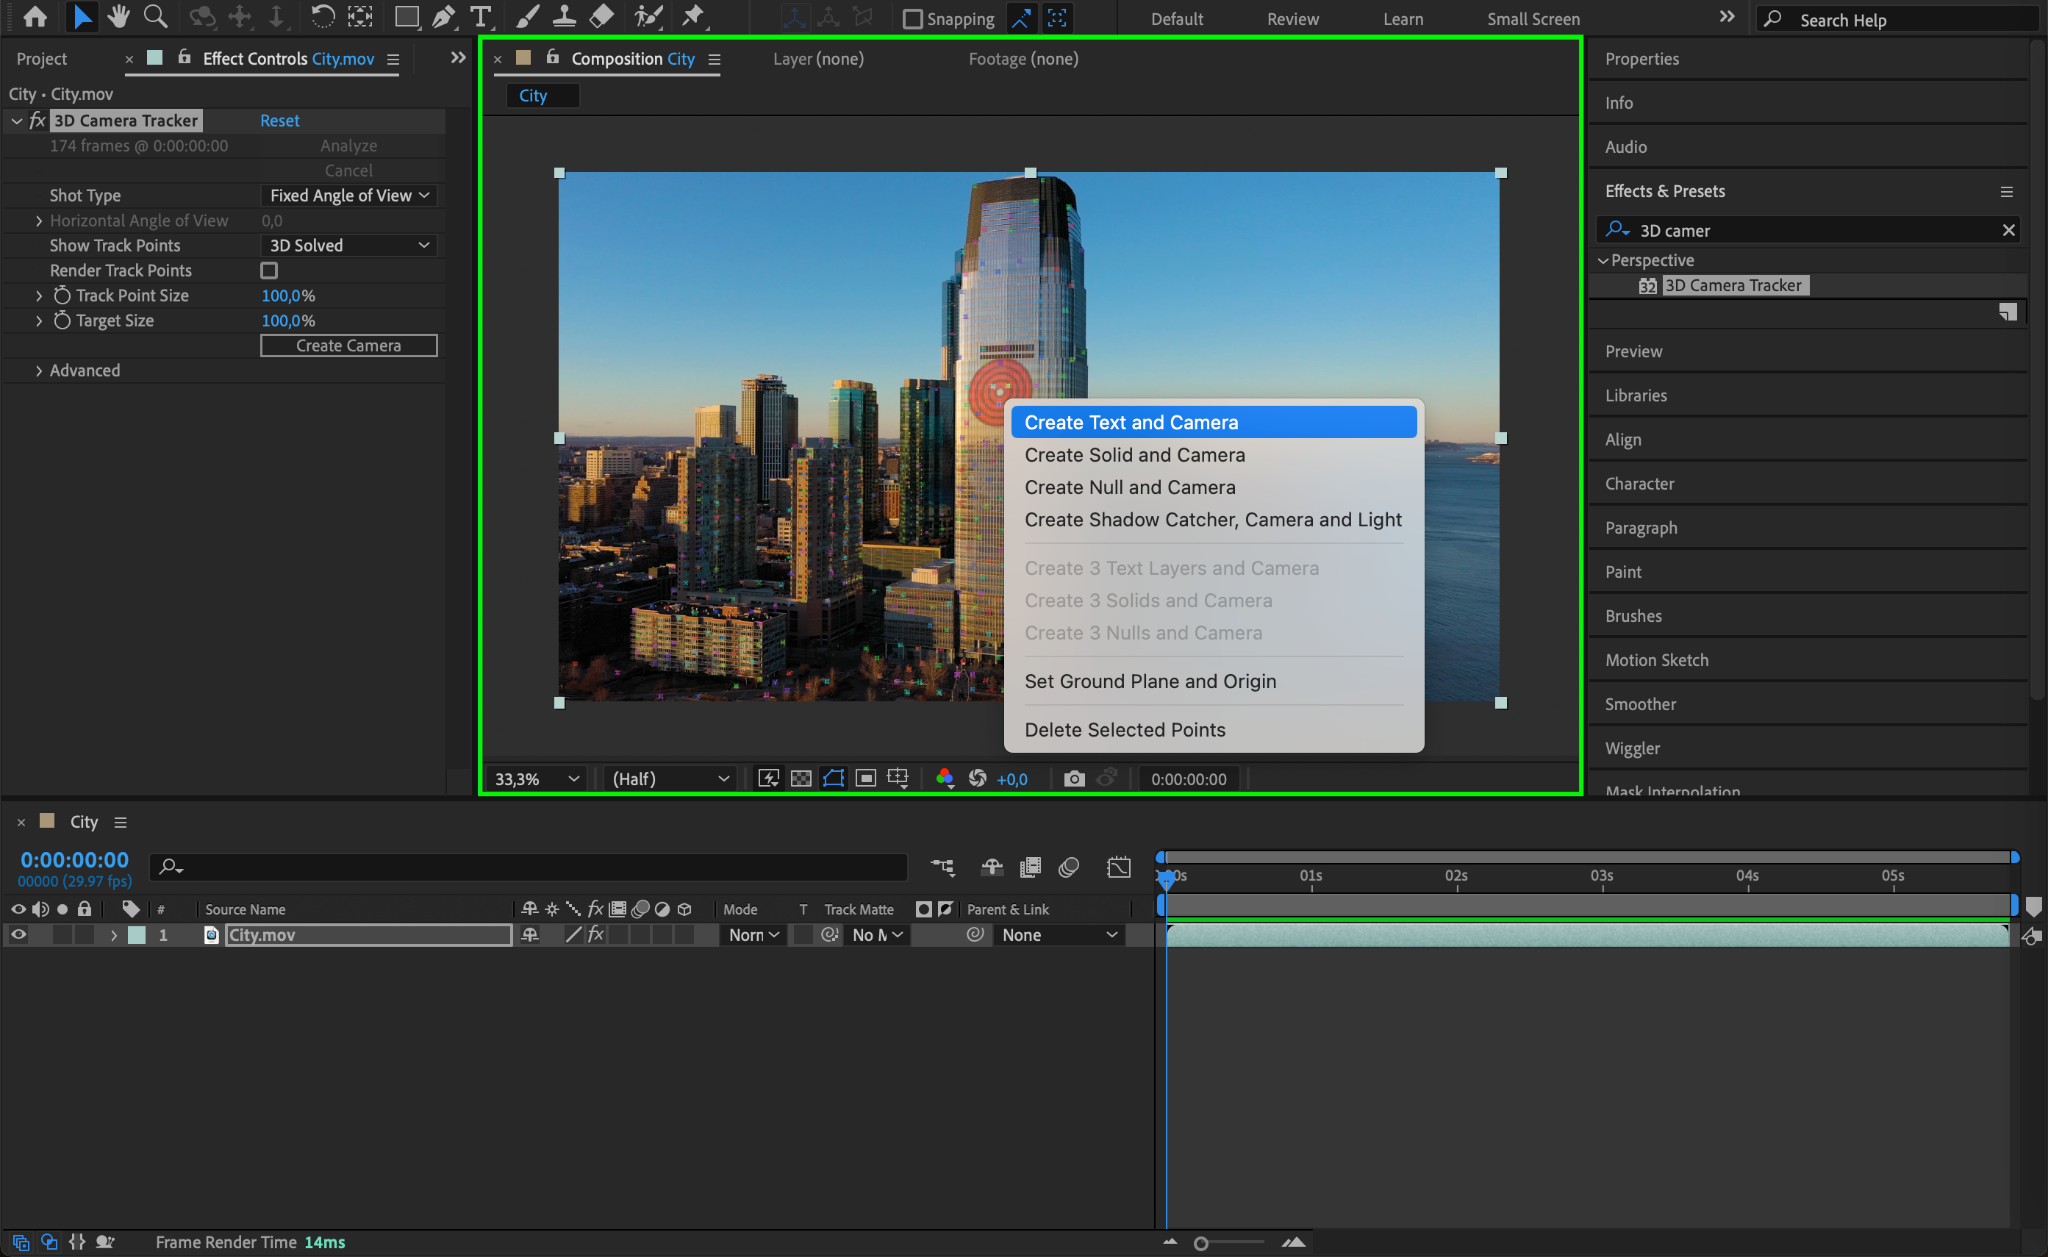
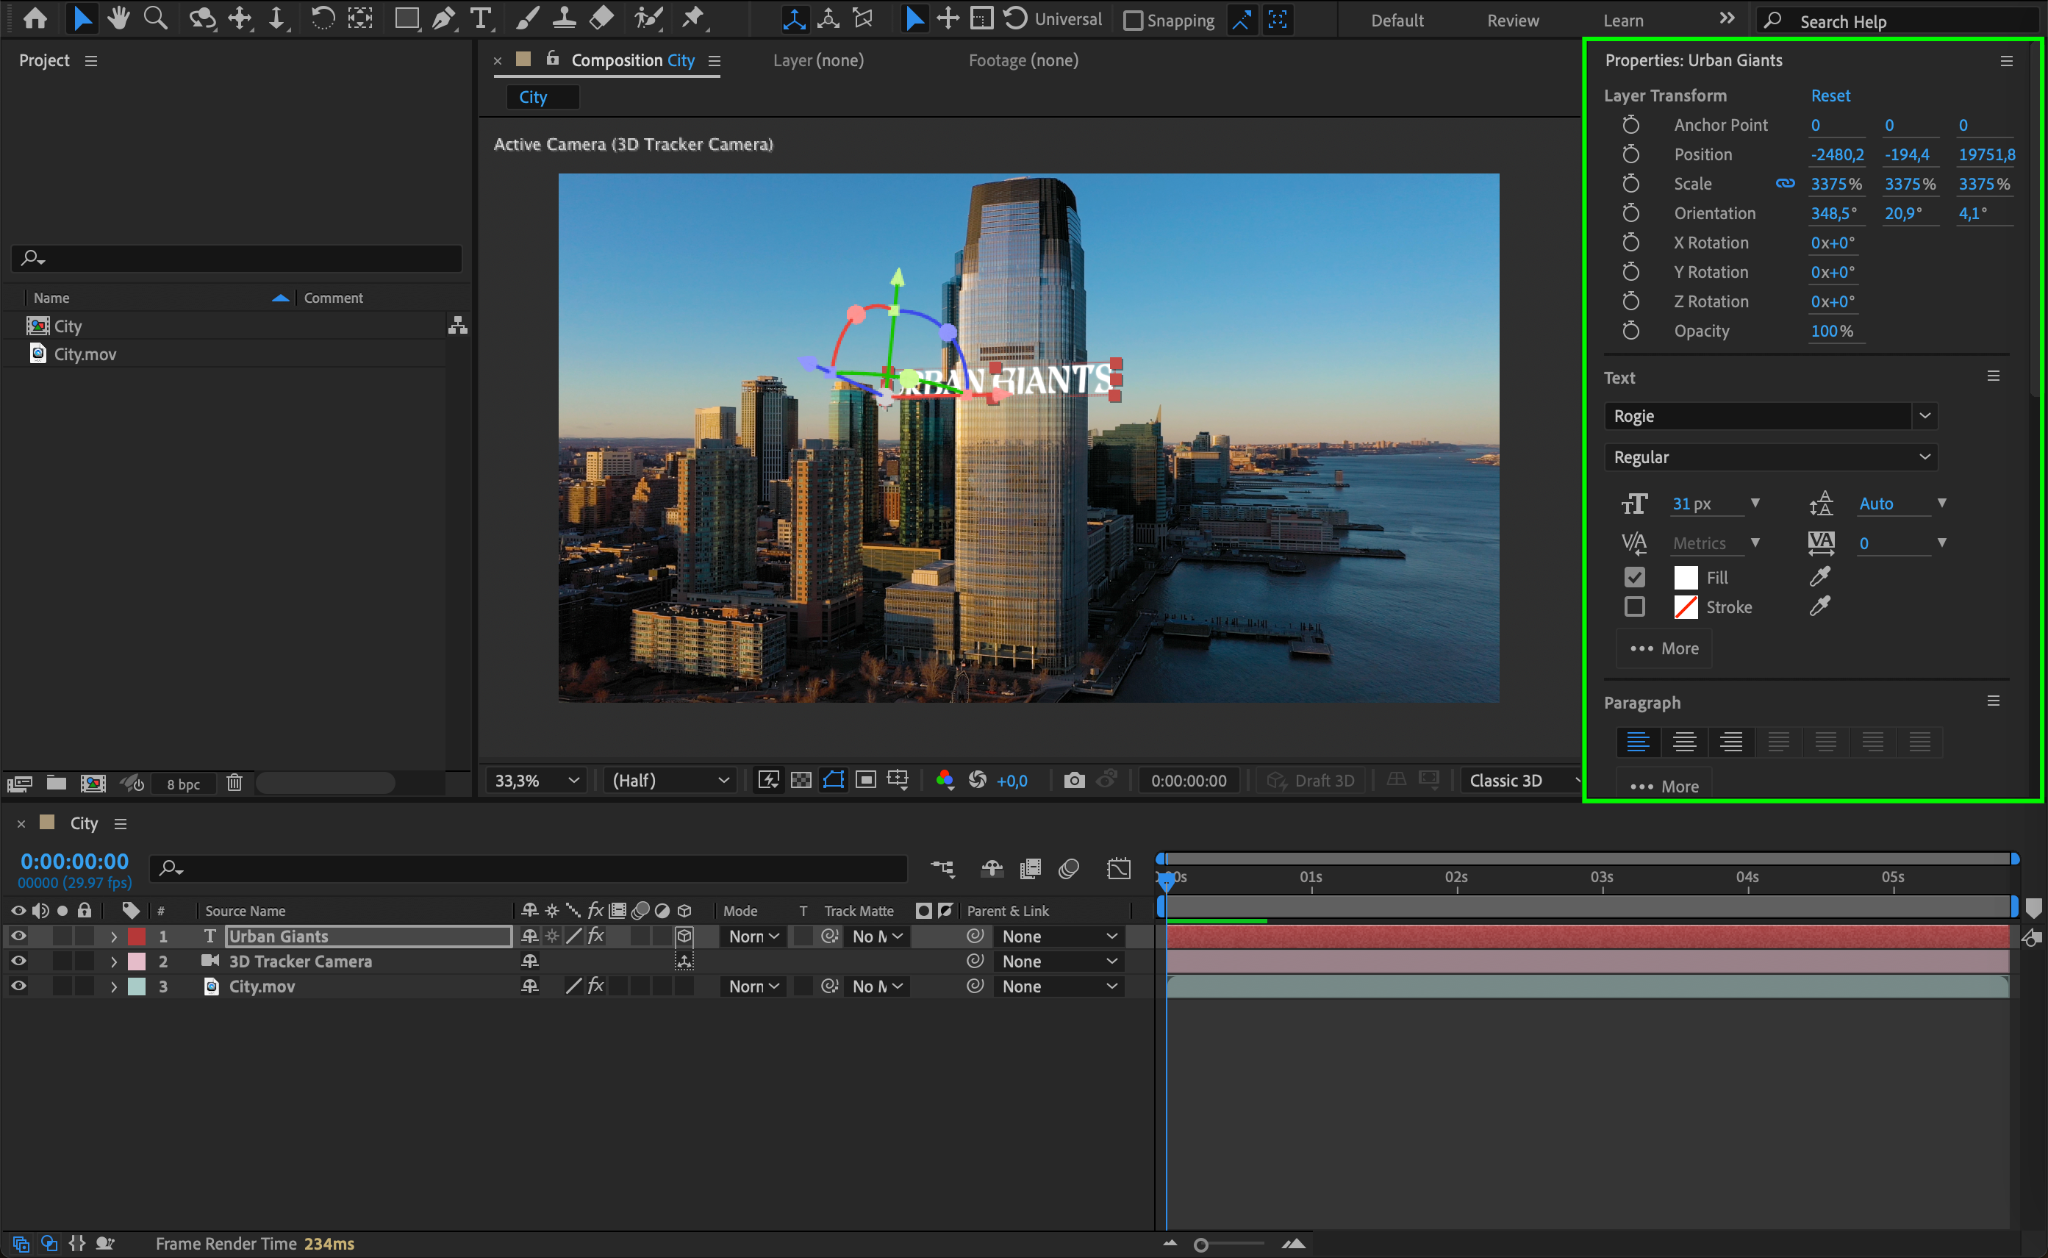
Step 3: Create 3D Elements
Once the analysis is complete, hover your cursor over a tracked point in the footage where you want to add a 3D element. Right-click on the point and choose Create Text and Camera if you want to add text, or select other options based on the type of 3D object you want to insert. After creating the 3D element, you can adjust its position and orientation.
Step 4: Customize Your 3D Element
Edit the newly created text or 3D object according to your preferences. You can change text content, font, size, color, and apply additional effects to make it fit seamlessly into the scene.
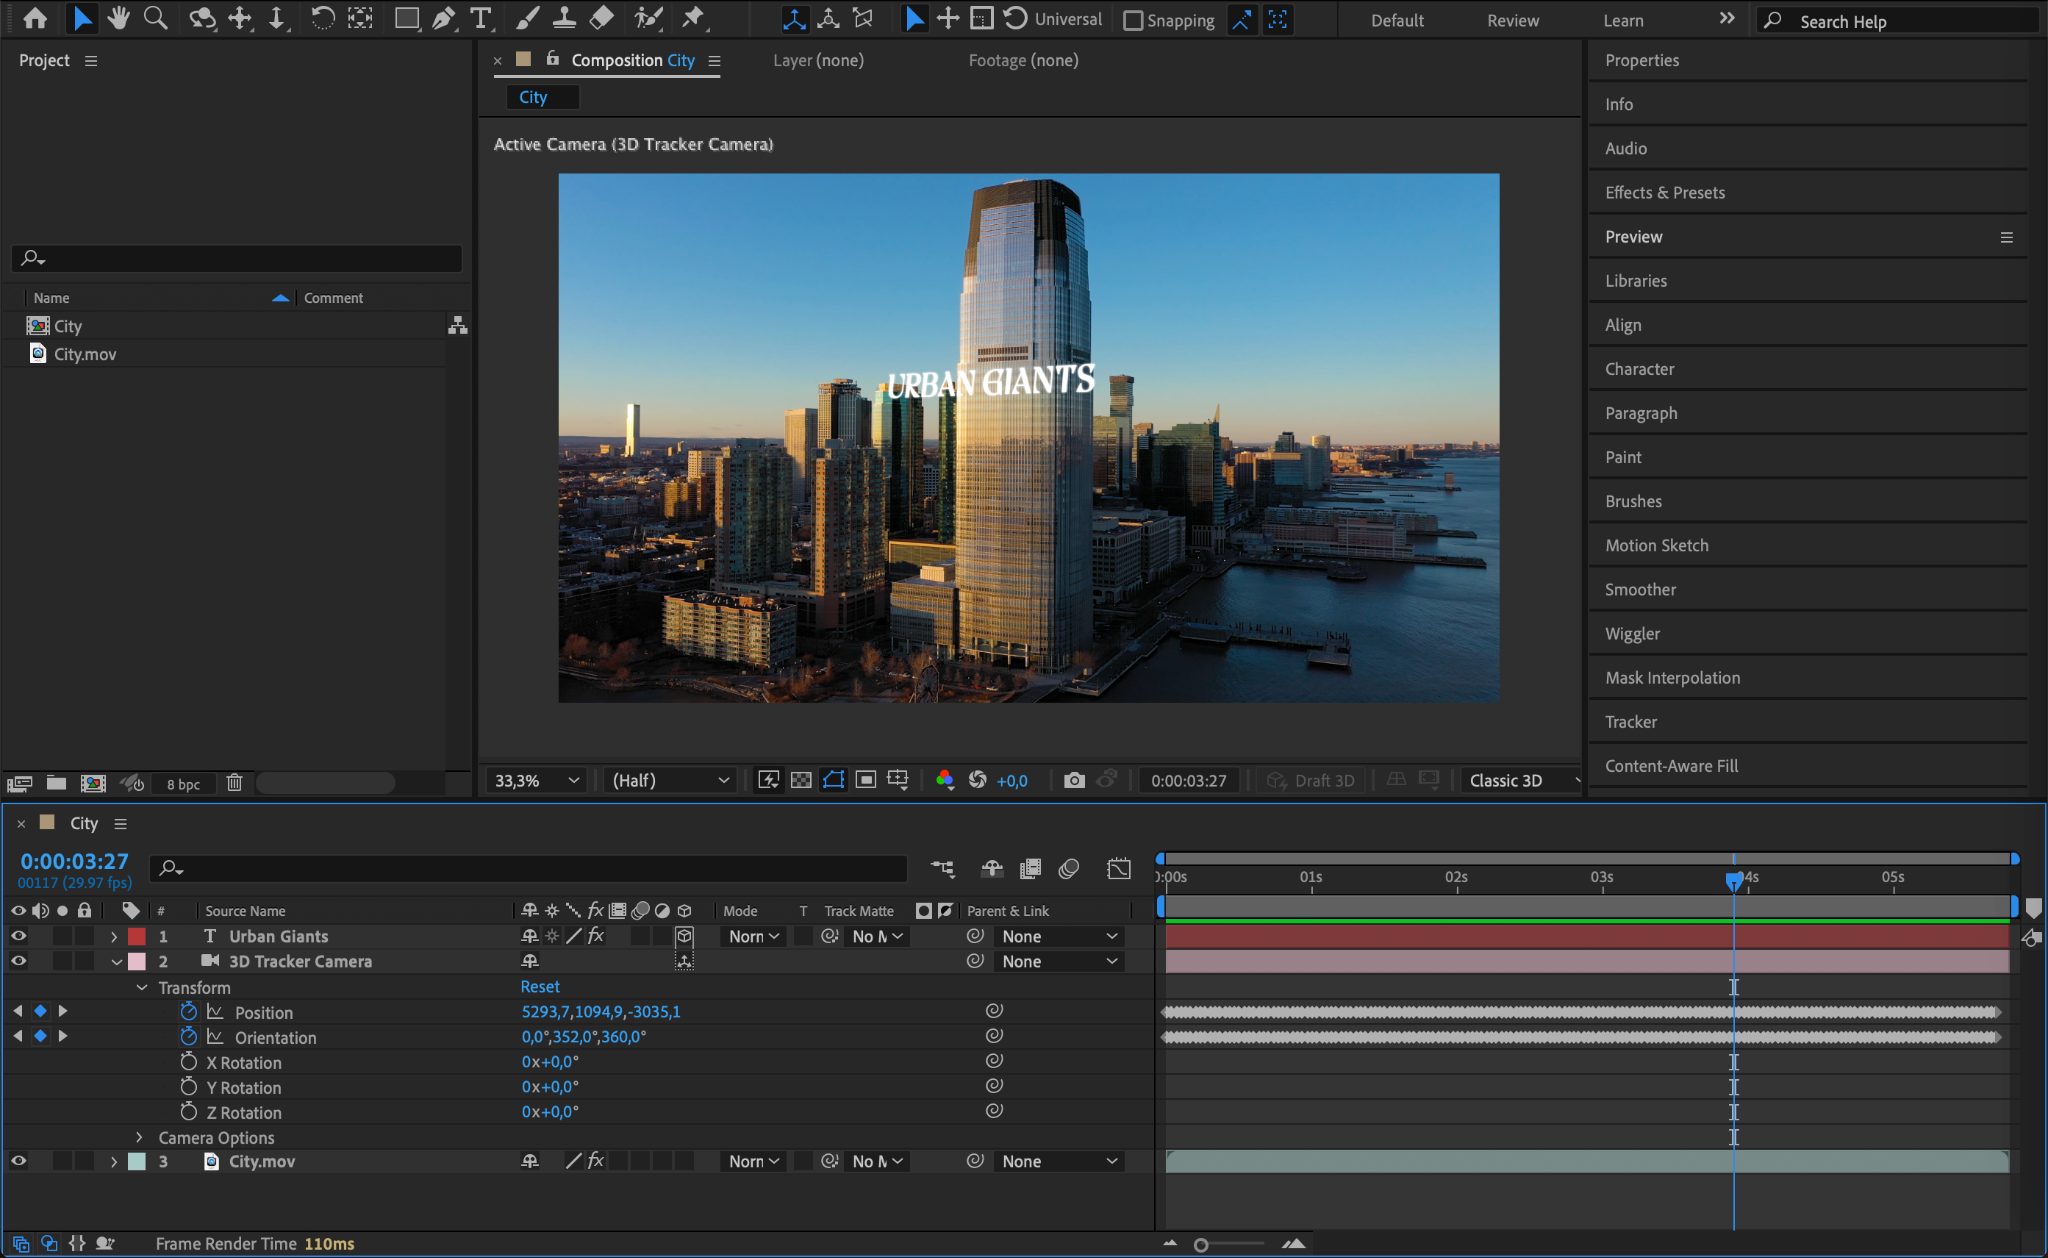
Step 5: Animate and Refine
The 3D Camera Tracker automatically generates keyframes for properties such as position and orientation. You can further animate these properties or add new animations by adjusting other camera parameters to achieve the desired effect.
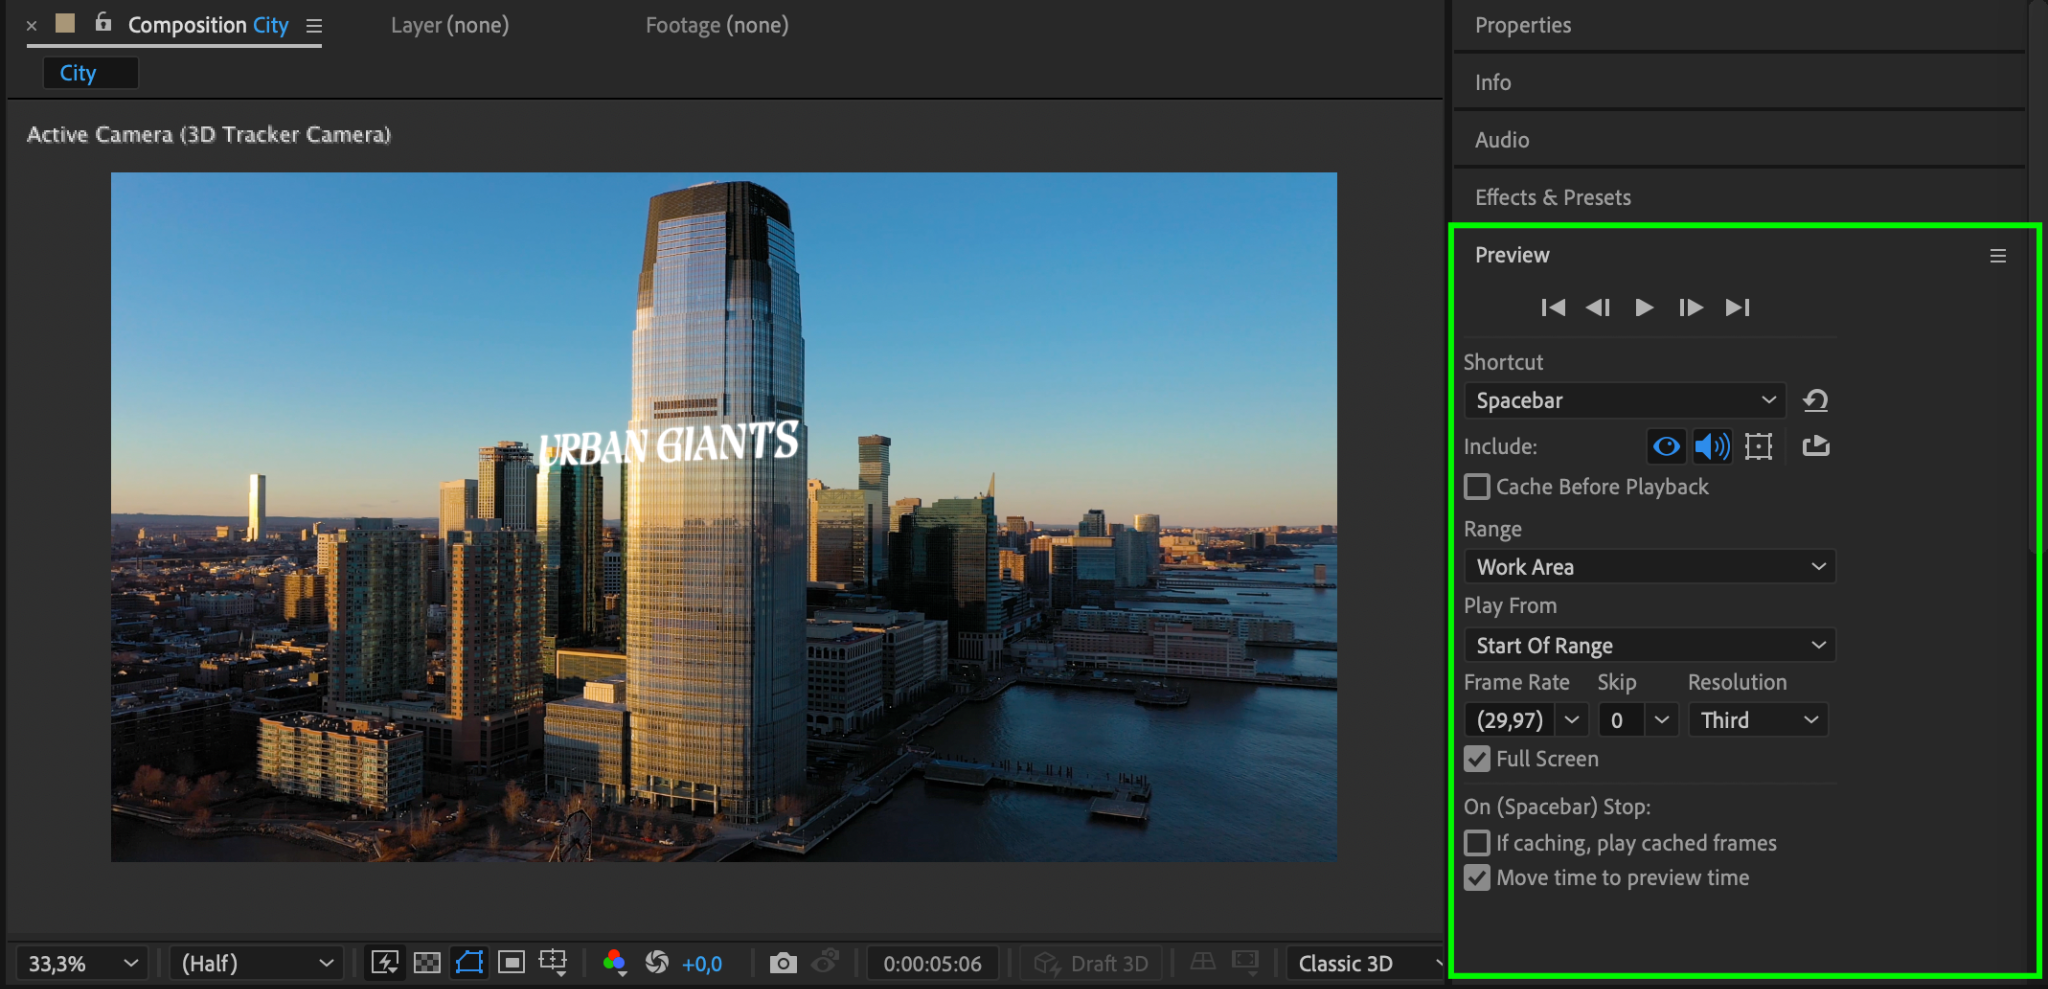
Step 6: Preview Your Composition
Use the Preview feature to review your composition. Ensure that the 3D elements integrate well with the original footage and make any necessary adjustments to improve the visual outcome.
Get 10% off when you subscribe to our newsletter

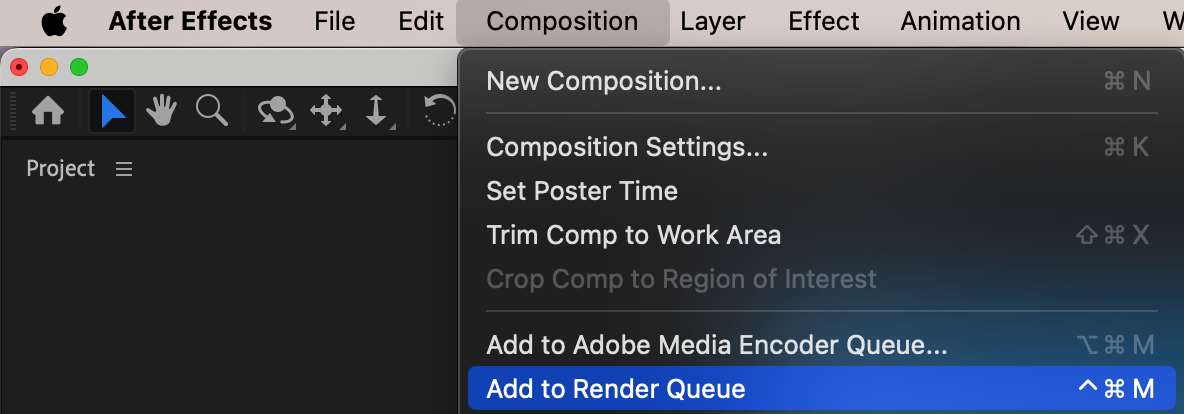
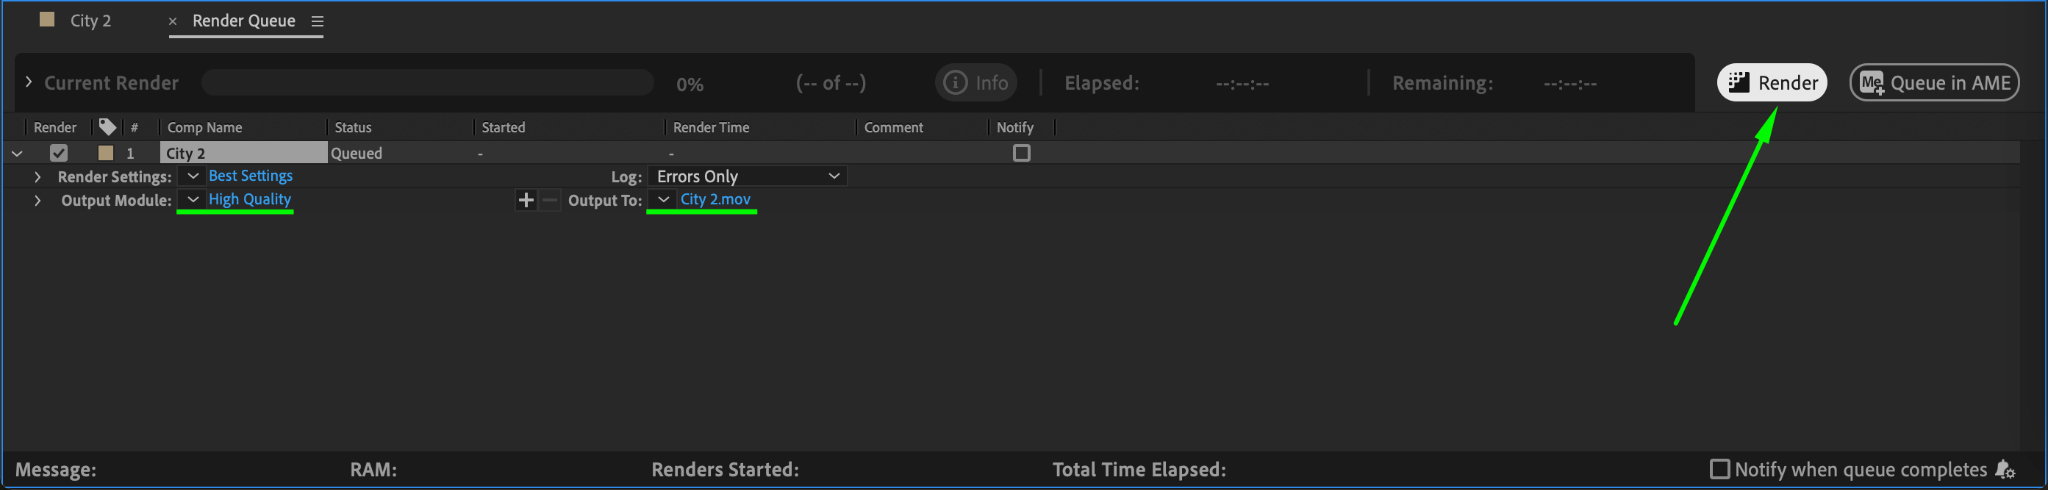
Step 7: Render and Export Your Composition
When you’re satisfied with the results, render your composition to produce the final video. Go to Composition > Add to Render Queue, configure your render settings, and click Render. Your video will now include the 3D elements, seamlessly integrated with the original footage.
Conclusion
The 3D Camera Tracker in After Effects is a powerful tool for adding realistic 3D elements to your videos. By following these steps, you can enhance your footage with dynamic and visually compelling 3D content.
Our Bestsellers


