
A Complete Guide to Creating Mind-Blowing Transitions in After Effects
Introduction
Are you ready to take your motion graphics to a whole new level? One of the most captivating aspects of any video or animation is often the seamless transitions between scenes. These transitions not only provide a visually appealing way to switch between shots but also add depth and professionalism to your work.
Get 10% off when you subscribe to our newsletter

If you’re wondering how to achieve those impressive transitions in your After Effects projects, you’ve come to the right place. In this comprehensive guide, we’ll walk you through the step-by-step process of creating stunning transitions using After Effects.
Whether you’re a beginner just diving into the world of motion graphics or an experienced professional looking to enhance your skills, mastering After Effects transitions is a valuable skillset to have in your toolkit. Transitions allow you to blend, morph, or animate elements between two shots, resulting in visually striking and engaging visuals.
Throughout this article, we’ll cover a range of techniques, from basic transitions, such as fades and dissolves, to more advanced methods like shape morphing and kinetic typography. You’ll gain insights into various tools, effects, and timings, ensuring you have all the knowledge required to create impressive transitions for any type of video project.
So, whether you’re working on a creative artistic piece, a corporate video, or even a YouTube vlog, let’s embark on this journey of mastering After Effects transitions. Buckle up, and get ready to transform your videos from ordinary to extraordinary!
Essential Tips and Techniques for Creating After Effects Transitions
Transitions not only serve to smoothly bridge the gap between shots, but they also play a crucial role in enhancing the overall cinematic experience. To help you design impressive transitions with ease, we’ve compiled a list of essential tips and techniques:
1. Understand the Power of Keyframes:
Keyframes are the building blocks of motion in After Effects. By setting keyframes for properties like opacity, position, and scale, you can create dynamic and fluid transitions between elements.
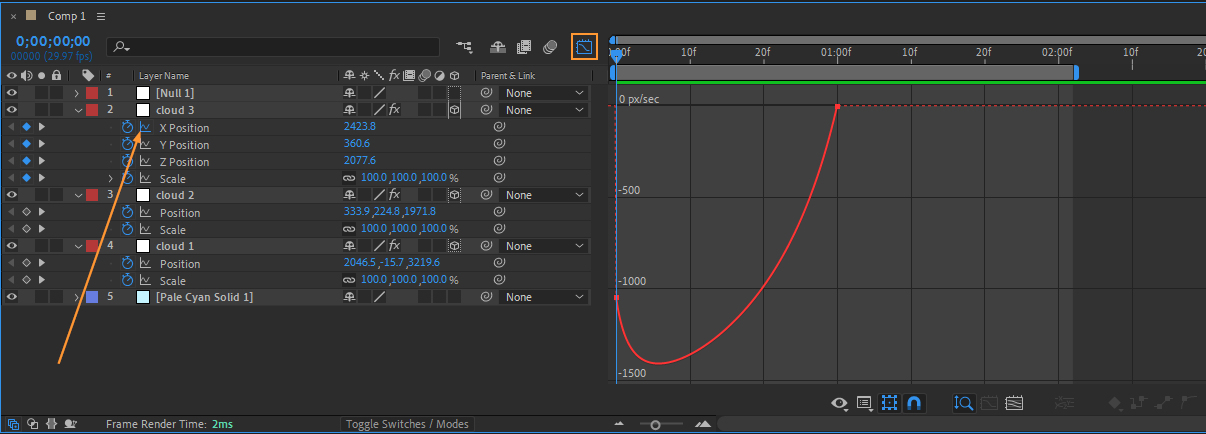
 2. Utilize the Graph Editor:
To add more finesse and control to your transitions, leverage the Graph Editor. This tool allows you to adjust the timing and speed of keyframe animations, resulting in more natural and visually appealing transitions.
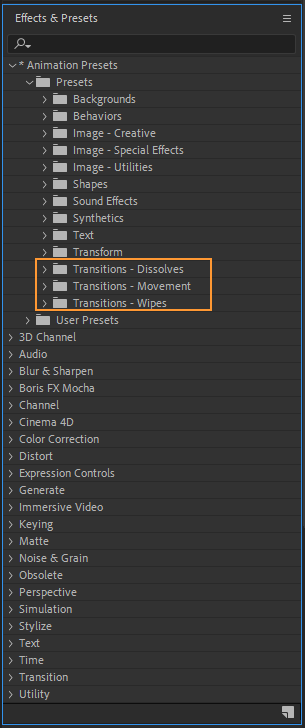
3. Take Advantage of Presets:
While After Effects provides a plethora of built-in effects and transitions, you can also save time and effort by utilizing pre-made presets. These presets offer a wide range of creative options, from simple fades to intricate motion graphics transitions.
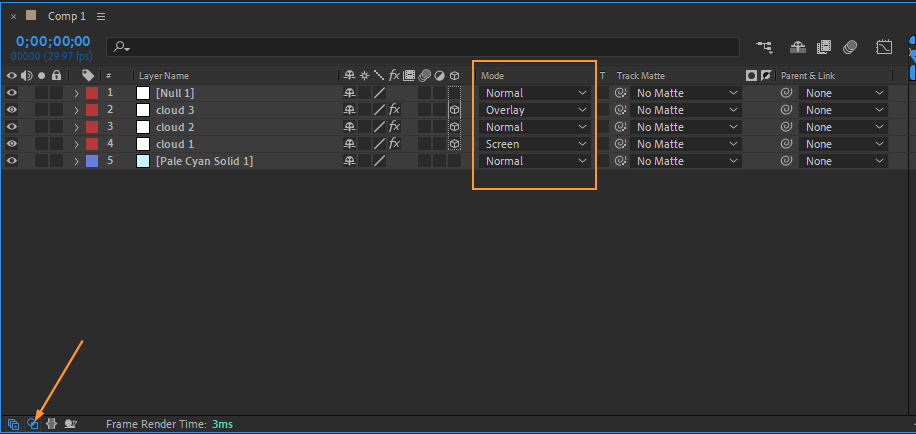
 4. Blend Modes for Seamless Transitions:
Experiment with blend modes to achieve smoother transitions. By selecting the appropriate blend mode for your layers, you can seamlessly merge elements together, creating visually stunning transitions.
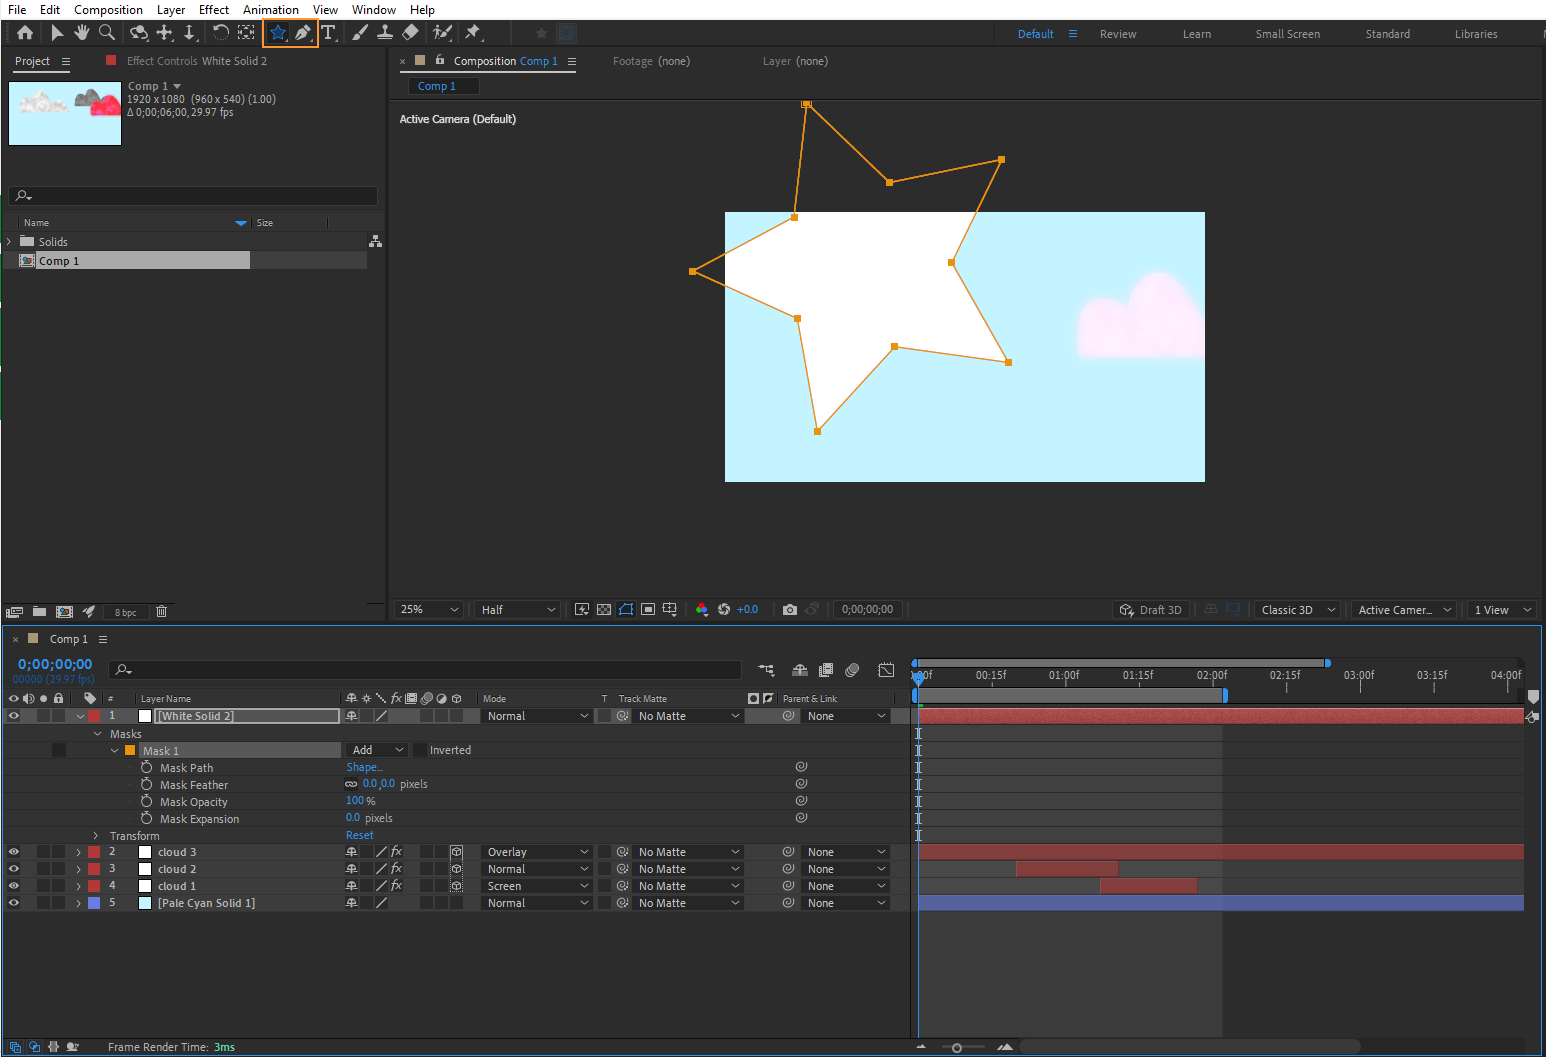
 5. Explore Masking Techniques:
Use masks to selectively reveal or hide elements during transitions. Whether it’s a simple rectangular shape or a complex custom mask, proper masking techniques can add depth and intrigue to your transitions.
6. Handy Hotkeys for Efficiency:
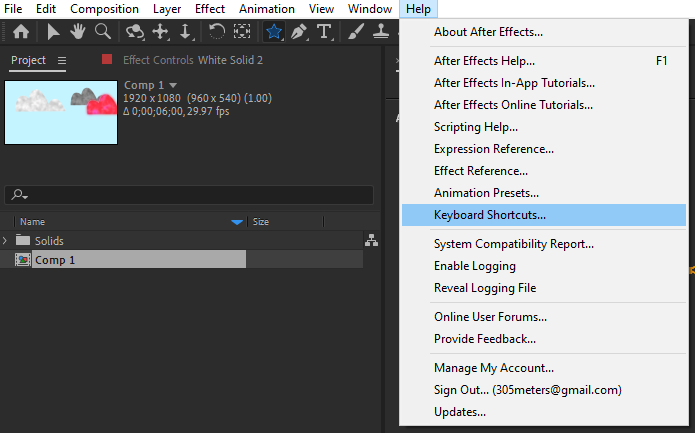
Save time by utilizing hotkeys in After Effects. For example, press “T” to bring up the opacity property, “P” for position, or “S” for scale. Learning and using these shortcuts can significantly speed up your workflow and improve efficiency.
 7. Experiment with Effects:
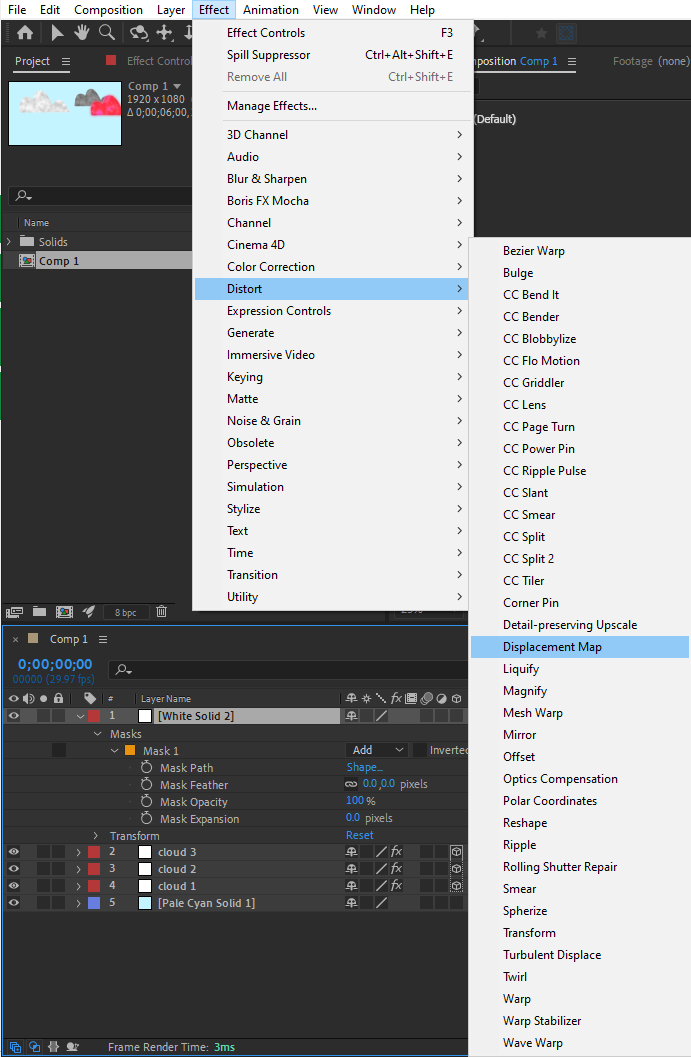
After Effects offers a wide range of effects that can enhance your transitions. For example, try applying motion blur to create a smoother transition between two moving elements or experiment with displacement maps to add an artistic touch.
8. Be Mindful of Timing:
The timing of your transitions plays a vital role in their effectiveness. Whether it’s a quick cut or a slow crossfade, make sure to consider the pace and mood of your project to create transitions that complement the overall narrative.
By implementing these tips and techniques, you’ll be well on your way to mastering After Effects transitions. Remember, practice makes perfect, so don’t be afraid to experiment and push your creative boundaries. With dedication and a keen eye, you’ll soon be creating impressive and captivating transitions that will leave your audience in awe.
Conclusion
By understanding keyframes, utilizing the Graph Editor, and exploring preset options, you’ll have a strong foundation for designing captivating transitions. Additionally, experimenting with blend modes, masking techniques, and effects will allow you to add depth and creativity to your transitions.
Remember, efficiency is key, so make use of handy hotkeys to streamline your workflow. But most importantly, practice and experiment with various timing and pacing to ensure your transitions enhance the overall narrative and engage your audience.
With these newfound skills and knowledge, you’ll be able to breathe life into your videos and create visually stunning animations. Whether you’re working on a short film, a promotional video, or even an eye-catching social media post, mastering After Effects transitions will set you apart in the world of motion graphics.
So, what are you waiting for? It’s time to unleash your creativity, explore the vast possibilities After Effects has to offer, and create stunning transitions that will leave a lasting impact on your viewers.
Thank you for joining us on this journey. We hope this guide has provided you with valuable insights and inspiration to push the boundaries of your motion graphics work. Happy transitioning!


