A Step-by-Step Guide to Editing Green Screen Video in After Effects
Introduction: Mastering Green Screen Editing in After Effects
Editing green screen video in After Effects is a powerful skill that allows you to place your subject in any environment with just a few simple steps. Using After Effects’ keying and compositing tools, you can achieve professional results that make your videos stand out. This guide will take you through the process of removing green screen backgrounds and integrating your subject into a new setting, making it easier than ever to create stunning visual effects.
Step 1: Import Your Green Screen Footage
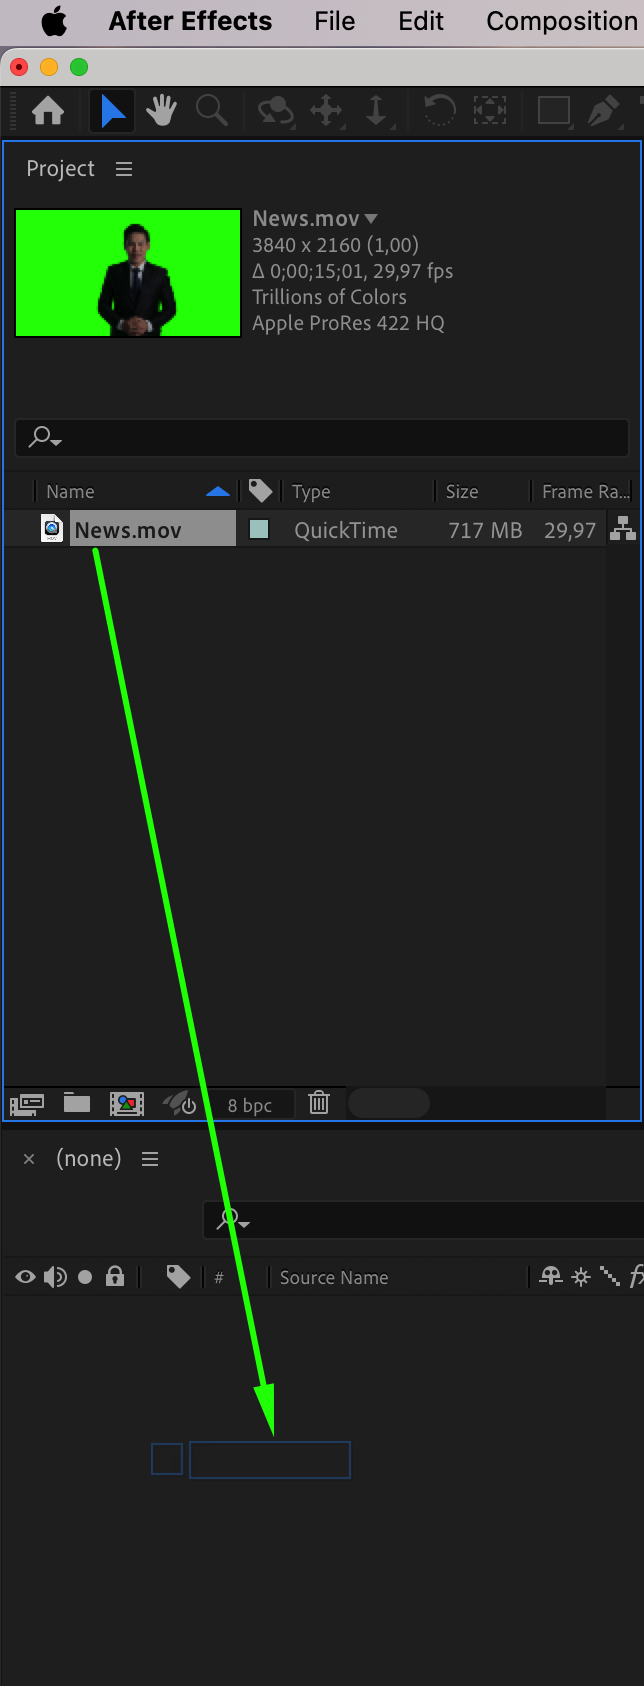
Start by importing your green screen footage into After Effects. Navigate to File > Import > File and select your footage. Once imported, drag and drop the footage onto the timeline panel to create a new composition. This composition will serve as the workspace for your green screen editing.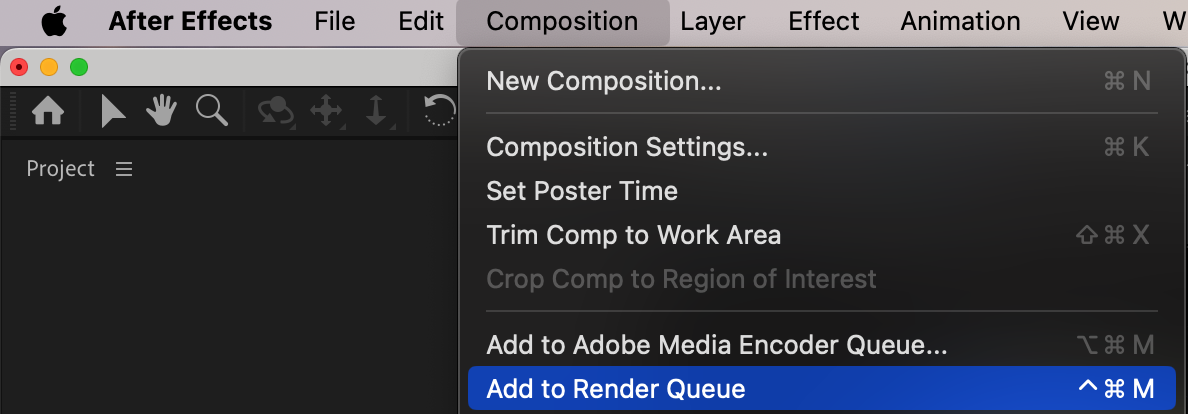
 Step 2: Apply the Keylight Effect
With your green screen footage layer selected, apply the Keylight (1.2) effect from the Effects & Presets panel. Keylight is a robust keying plugin that allows you to remove the green background with precision, ensuring that your subject is cleanly separated from the green screen.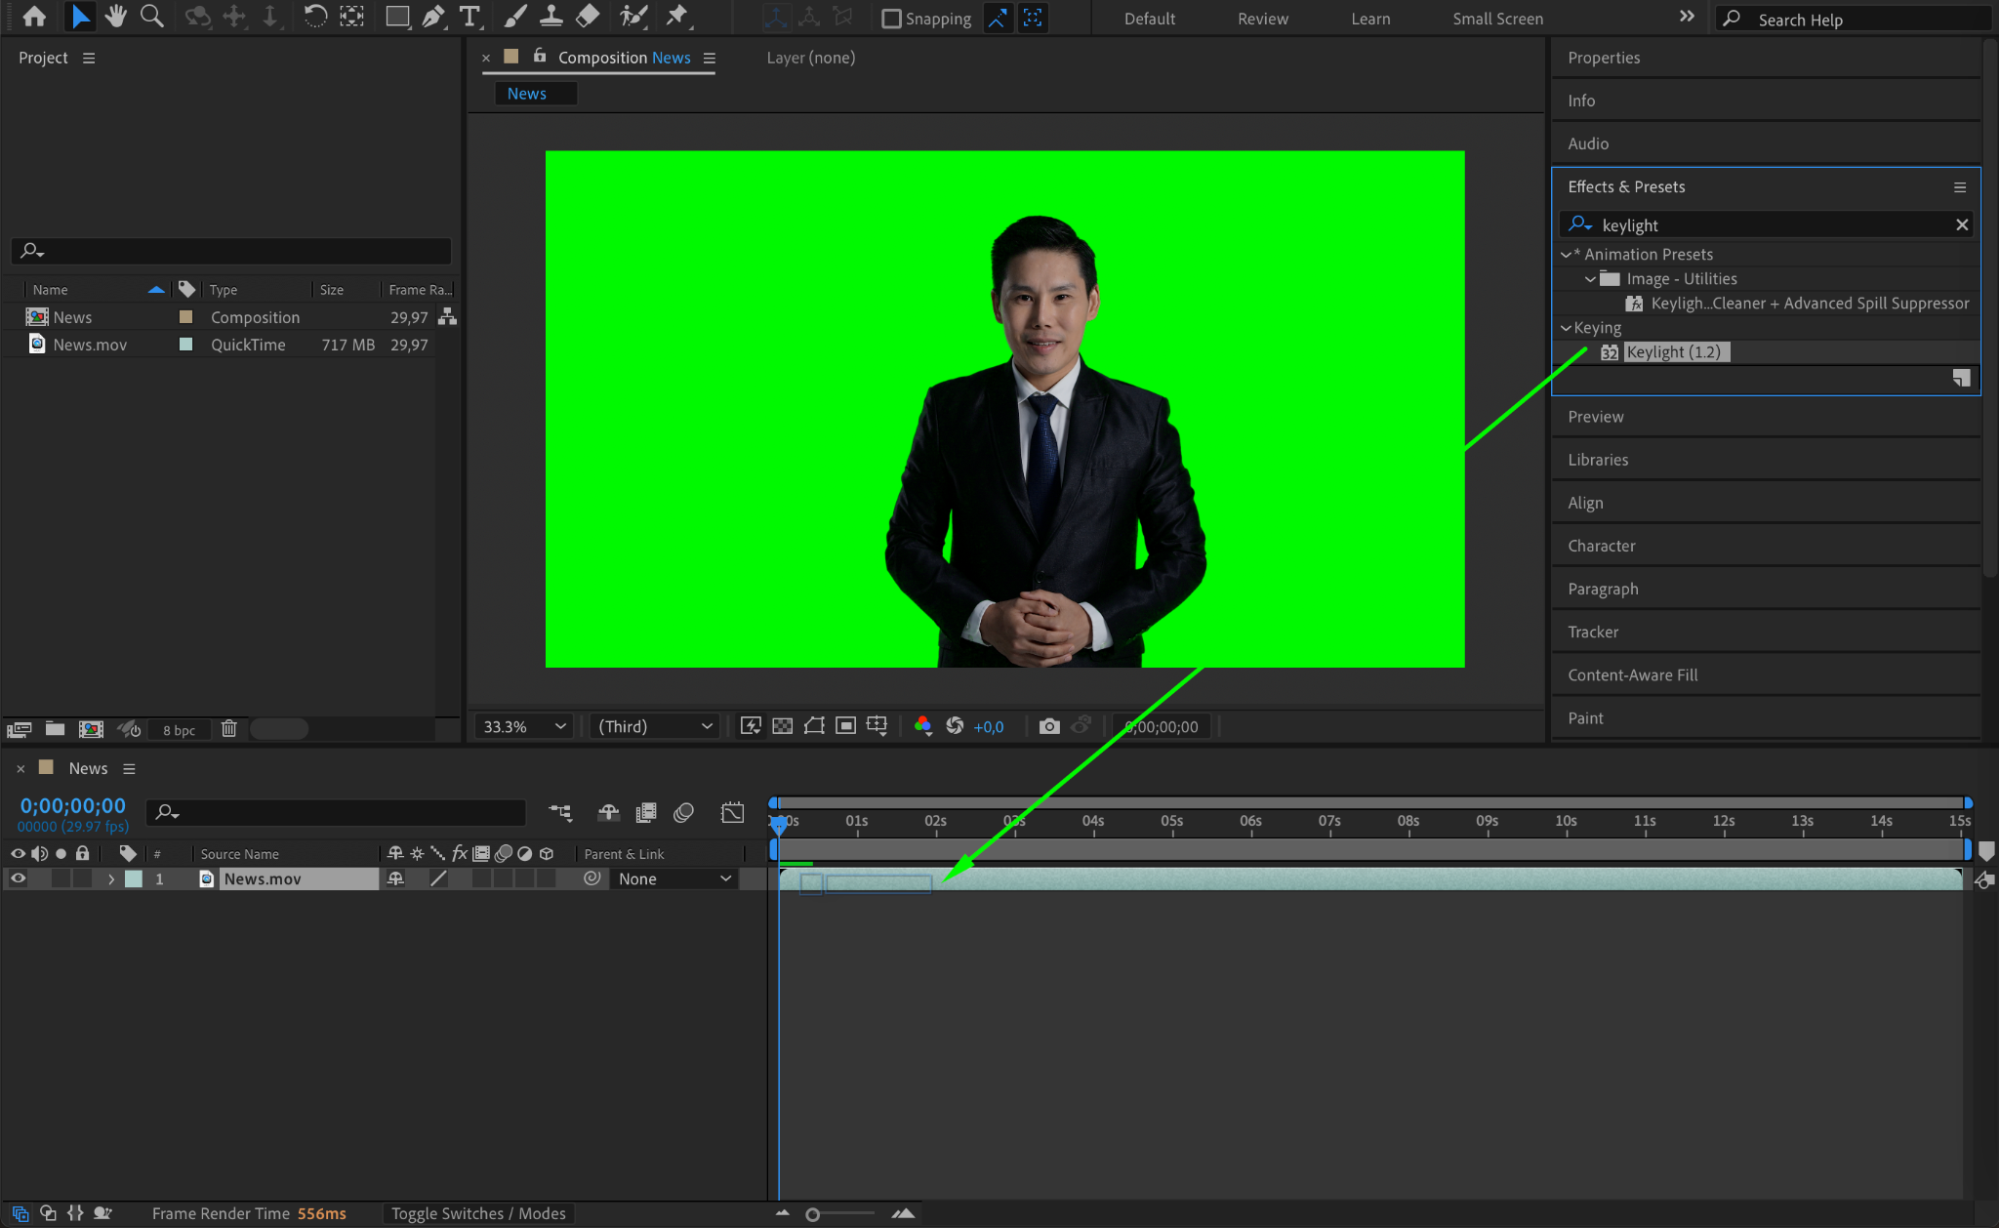 Step 3: Select the Screen Color and Adjust Settings
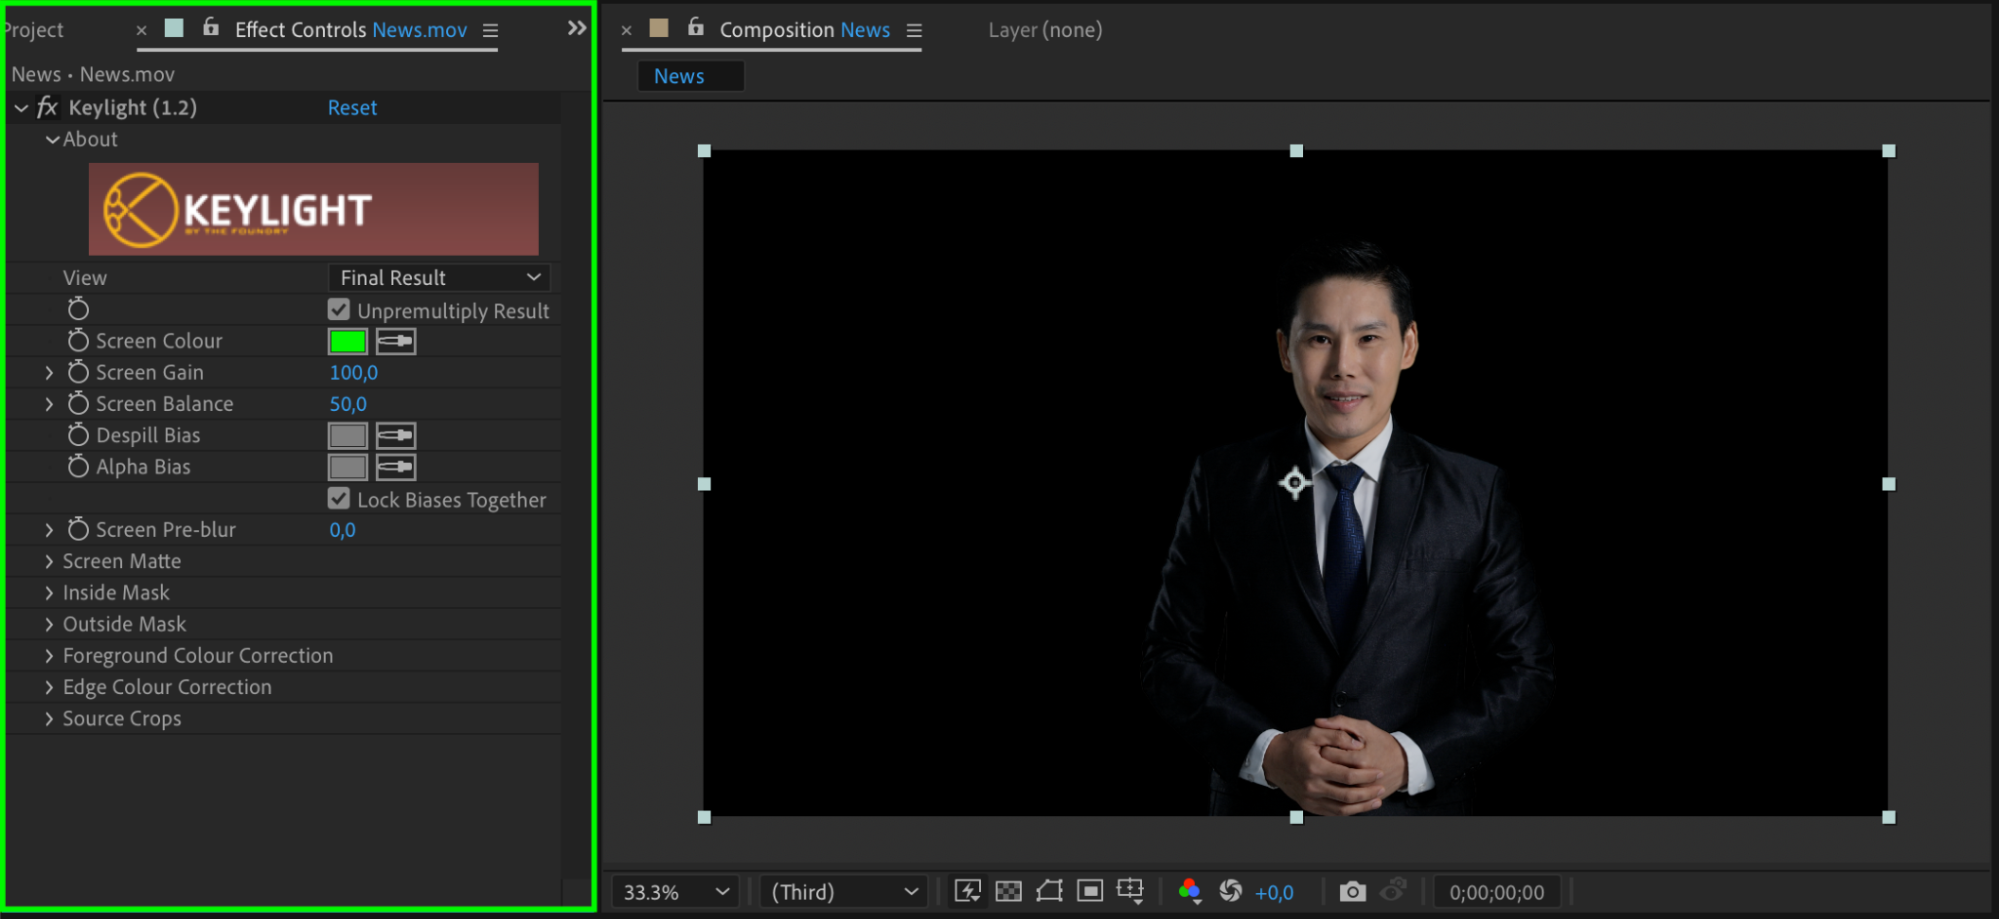
In the Keylight effect settings, use the eyedropper tool to select the green color from your footage as the Screen Color. This step is crucial for accurately removing the green background. Next, adjust the Screen Gain and Screen Balance settings to fine-tune the keying process. These adjustments will help eliminate any remnants of the green screen and refine the edges around your subject.
 Step 4: (Optional) Refine with Roto Brush Tool
Get 10% off when you subscribe to our newsletter

If there are still areas that need refinement, you can use the Roto Brush Tool (shortcut: Alt/Option + W) to manually remove any remaining green background. This tool is especially useful for detailed work, allowing you to precisely mask out unwanted areas and ensure a clean key. Step 5: Integrate the Keyed Footage into a New Composition
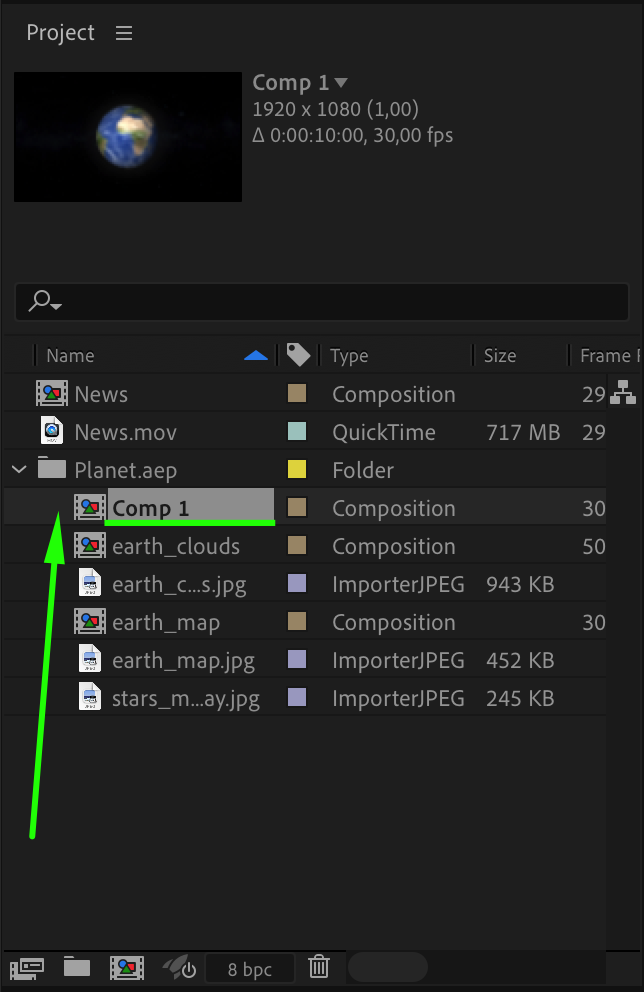
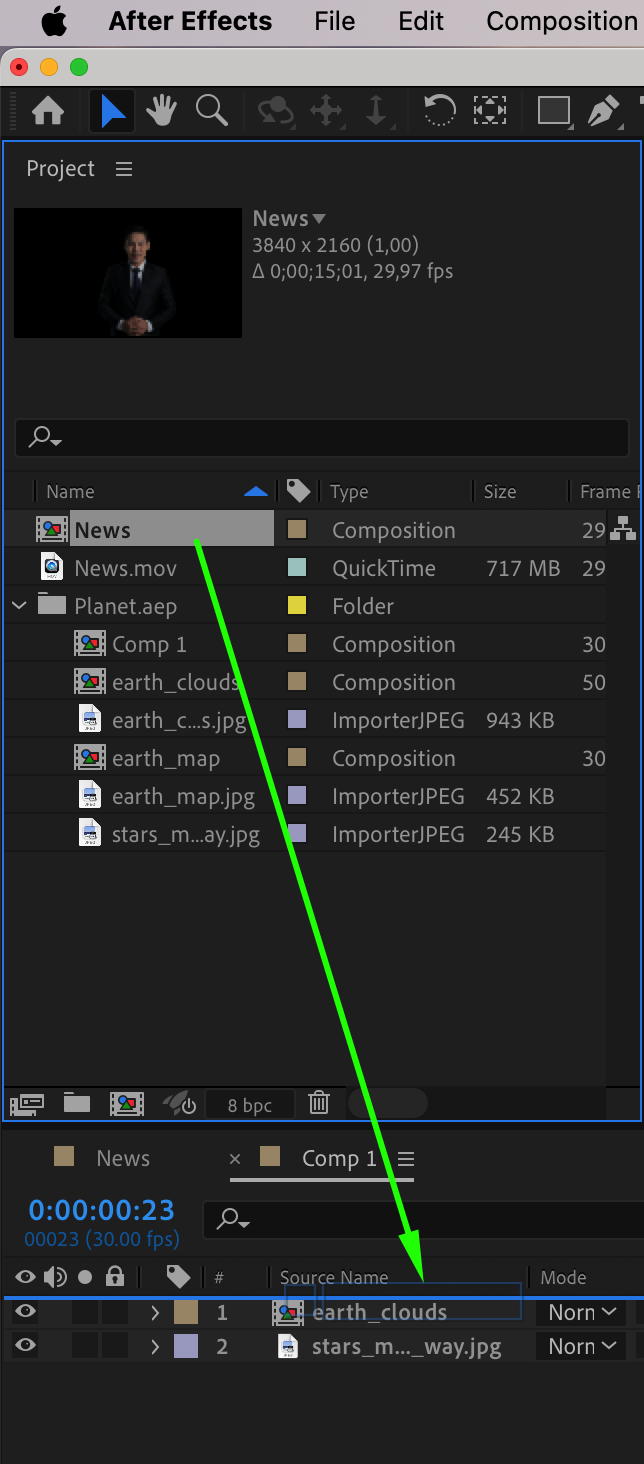
Next, open the composition or project where you want to place the keyed footage. Once the new composition is open, drag and drop the composition containing your keyed footage onto the timeline panel. This step integrates your subject into the new environment, making it ready for further adjustments and enhancements.
 Step 6: Add Finishing Touches and Render
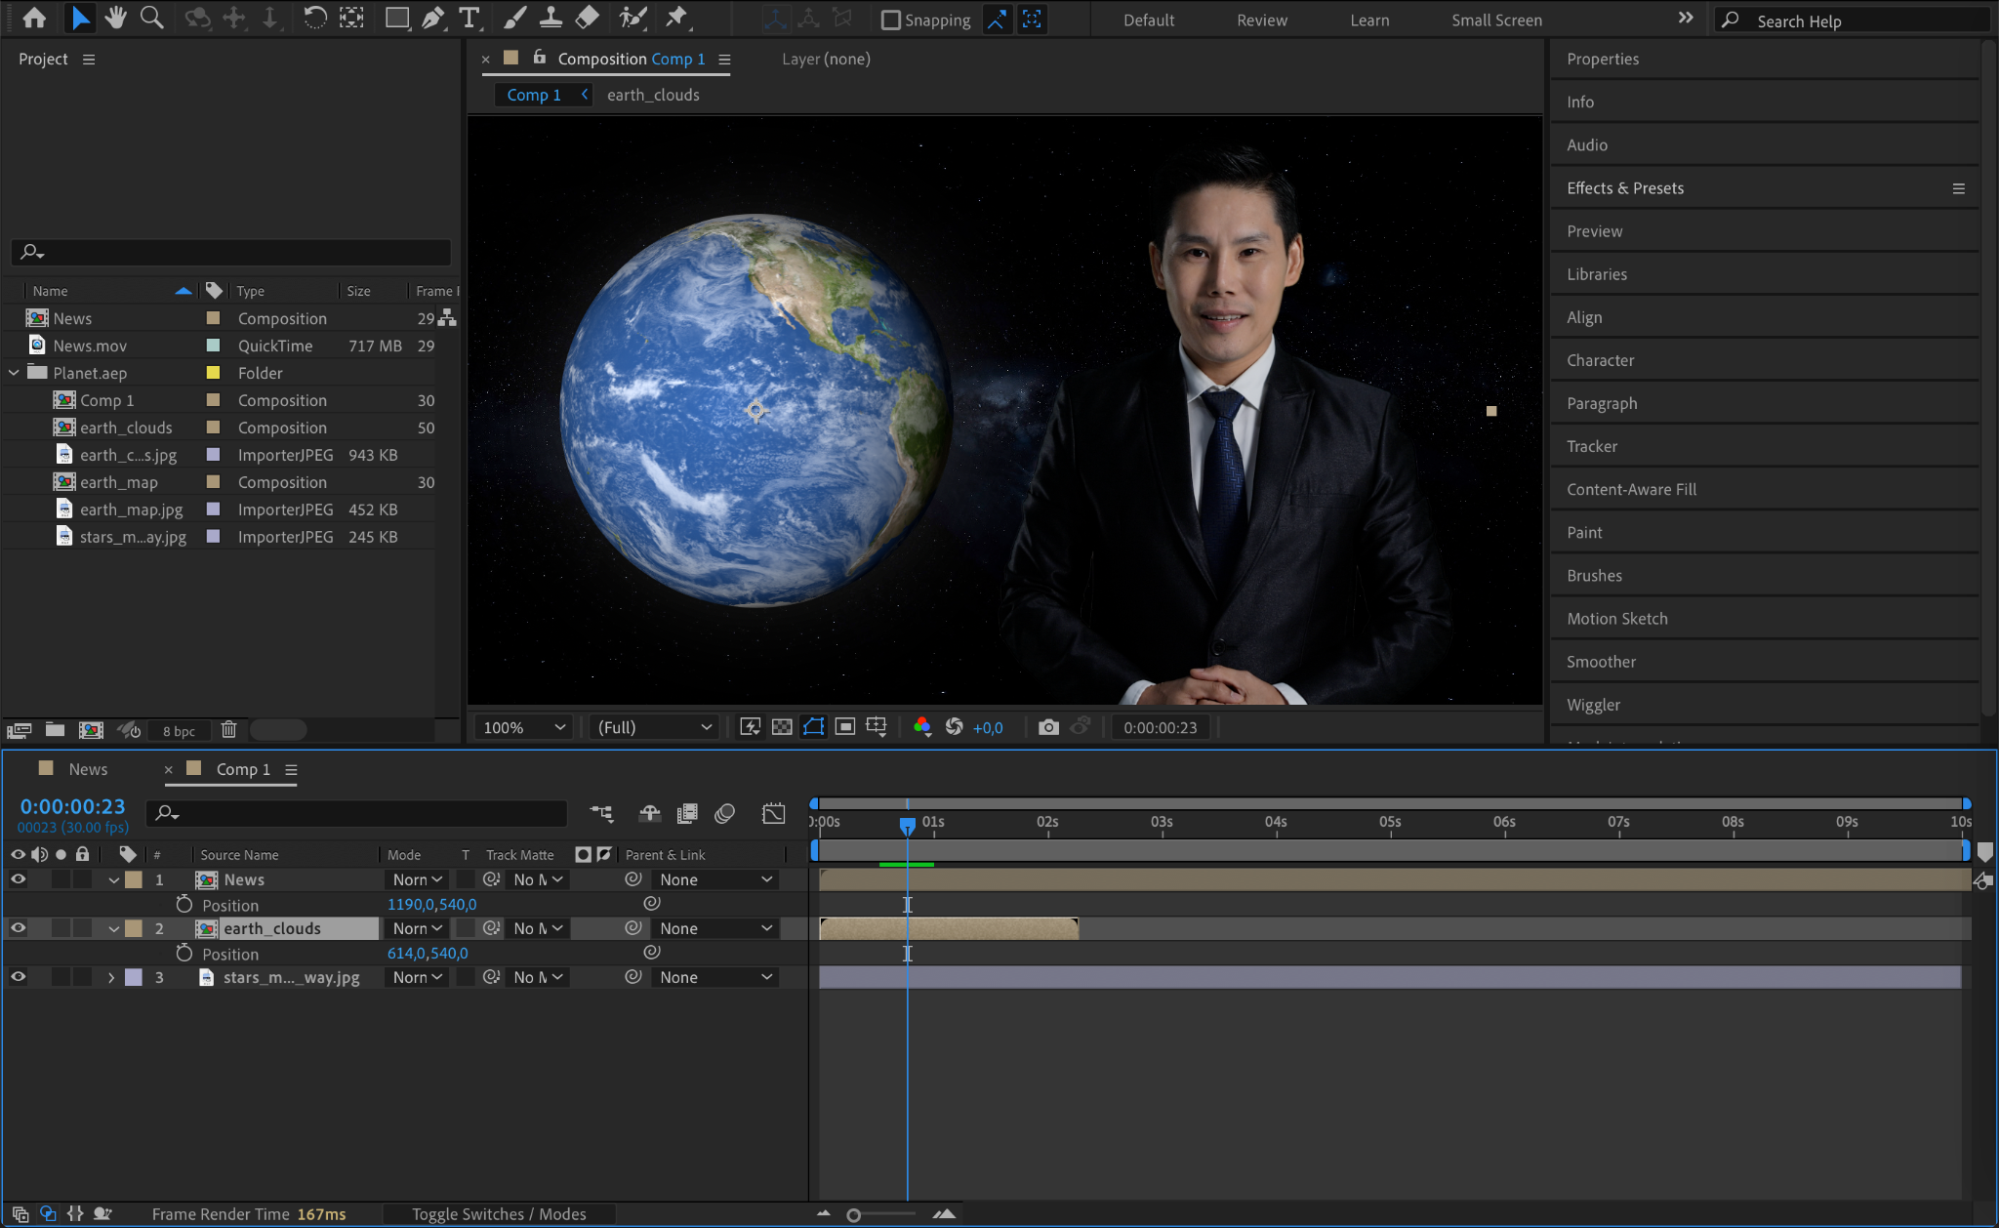
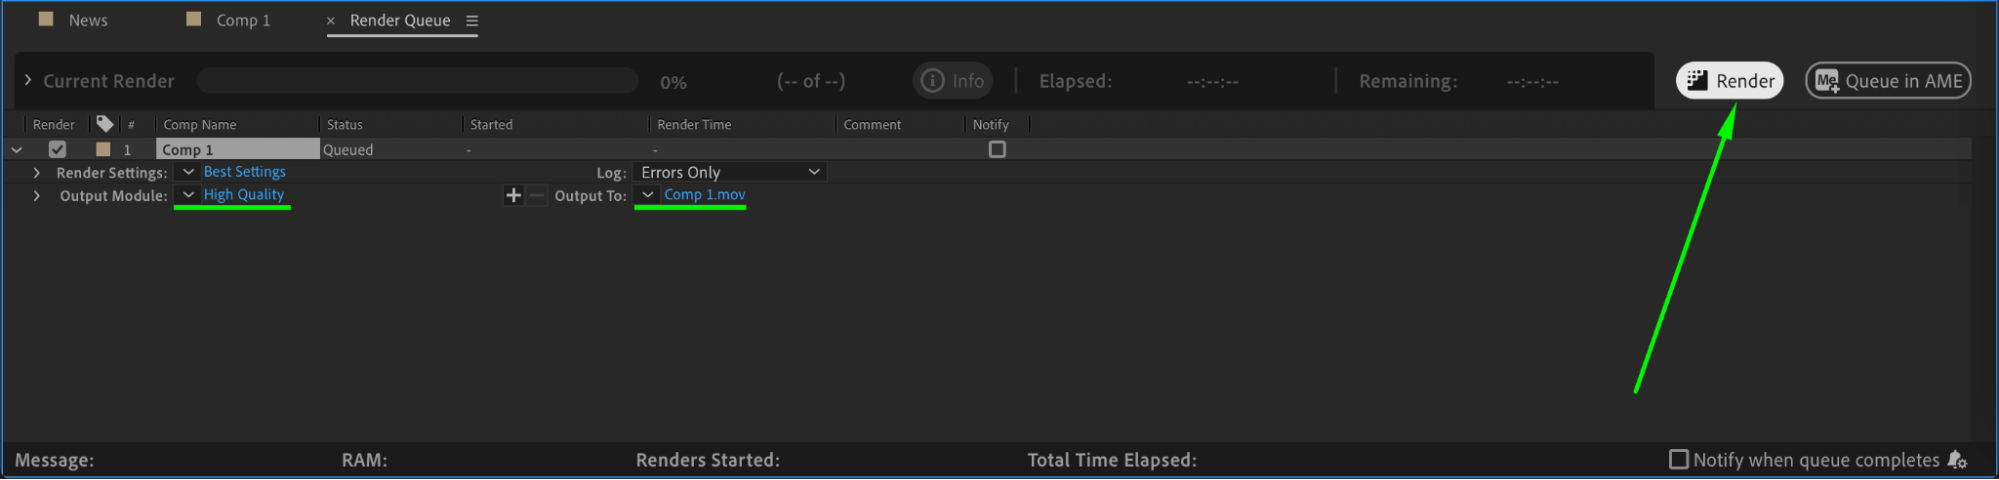
Preview your composition to see how the keyed footage fits into the new environment. You can make additional edits, such as adding shadows or adjusting the lighting, to enhance the realism of the integration. Once you’re satisfied with the result, go to the Composition menu and choose Add to Render Queue to export your final video.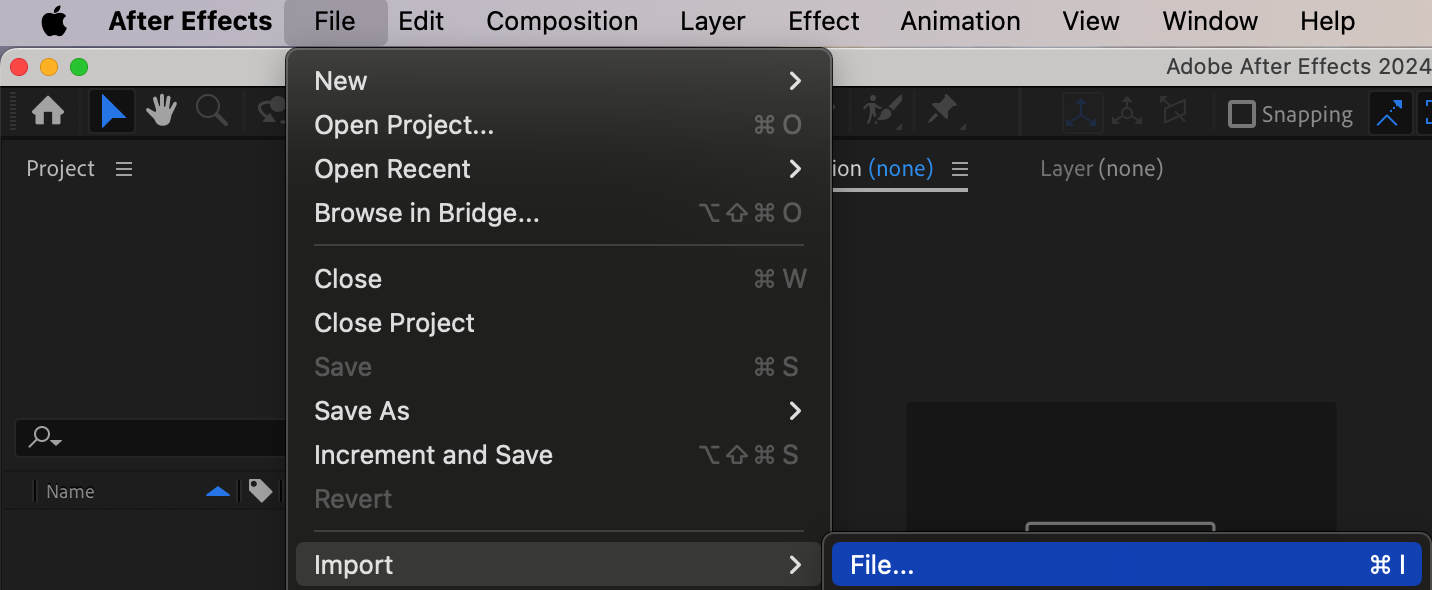
 Conclusion
Editing green screen video in After Effects is a powerful way to create dynamic and professional-looking videos. By following these steps and experimenting with different settings, you can master the art of keying and compositing, transforming your green screen footage into impressive visual effects. Save your project regularly and explore the wide range of tools that After Effects offers to enhance your creativity. Start editing your green screen videos in After Effects today and bring your creative visions to life!
Our Bestsellers


