Enabling and Using Expressions in After Effects
Introduction – What Are Expressions in After Effects?
Expressions are scripts written in JavaScript that allow you to create complex animations and effects automatically. They can help you save time by linking properties and controlling animations with mathematical formulas, making your workflow more efficient. In After Effects, enabling expressions is easy and can be done in just a few simple steps.
Step 1: Open Your Project
Start by opening your project in After Effects. Make sure the layer or property you want to apply the expression to is selected. You can apply expressions to almost any property in After Effects, such as position, scale, opacity, rotation, and more.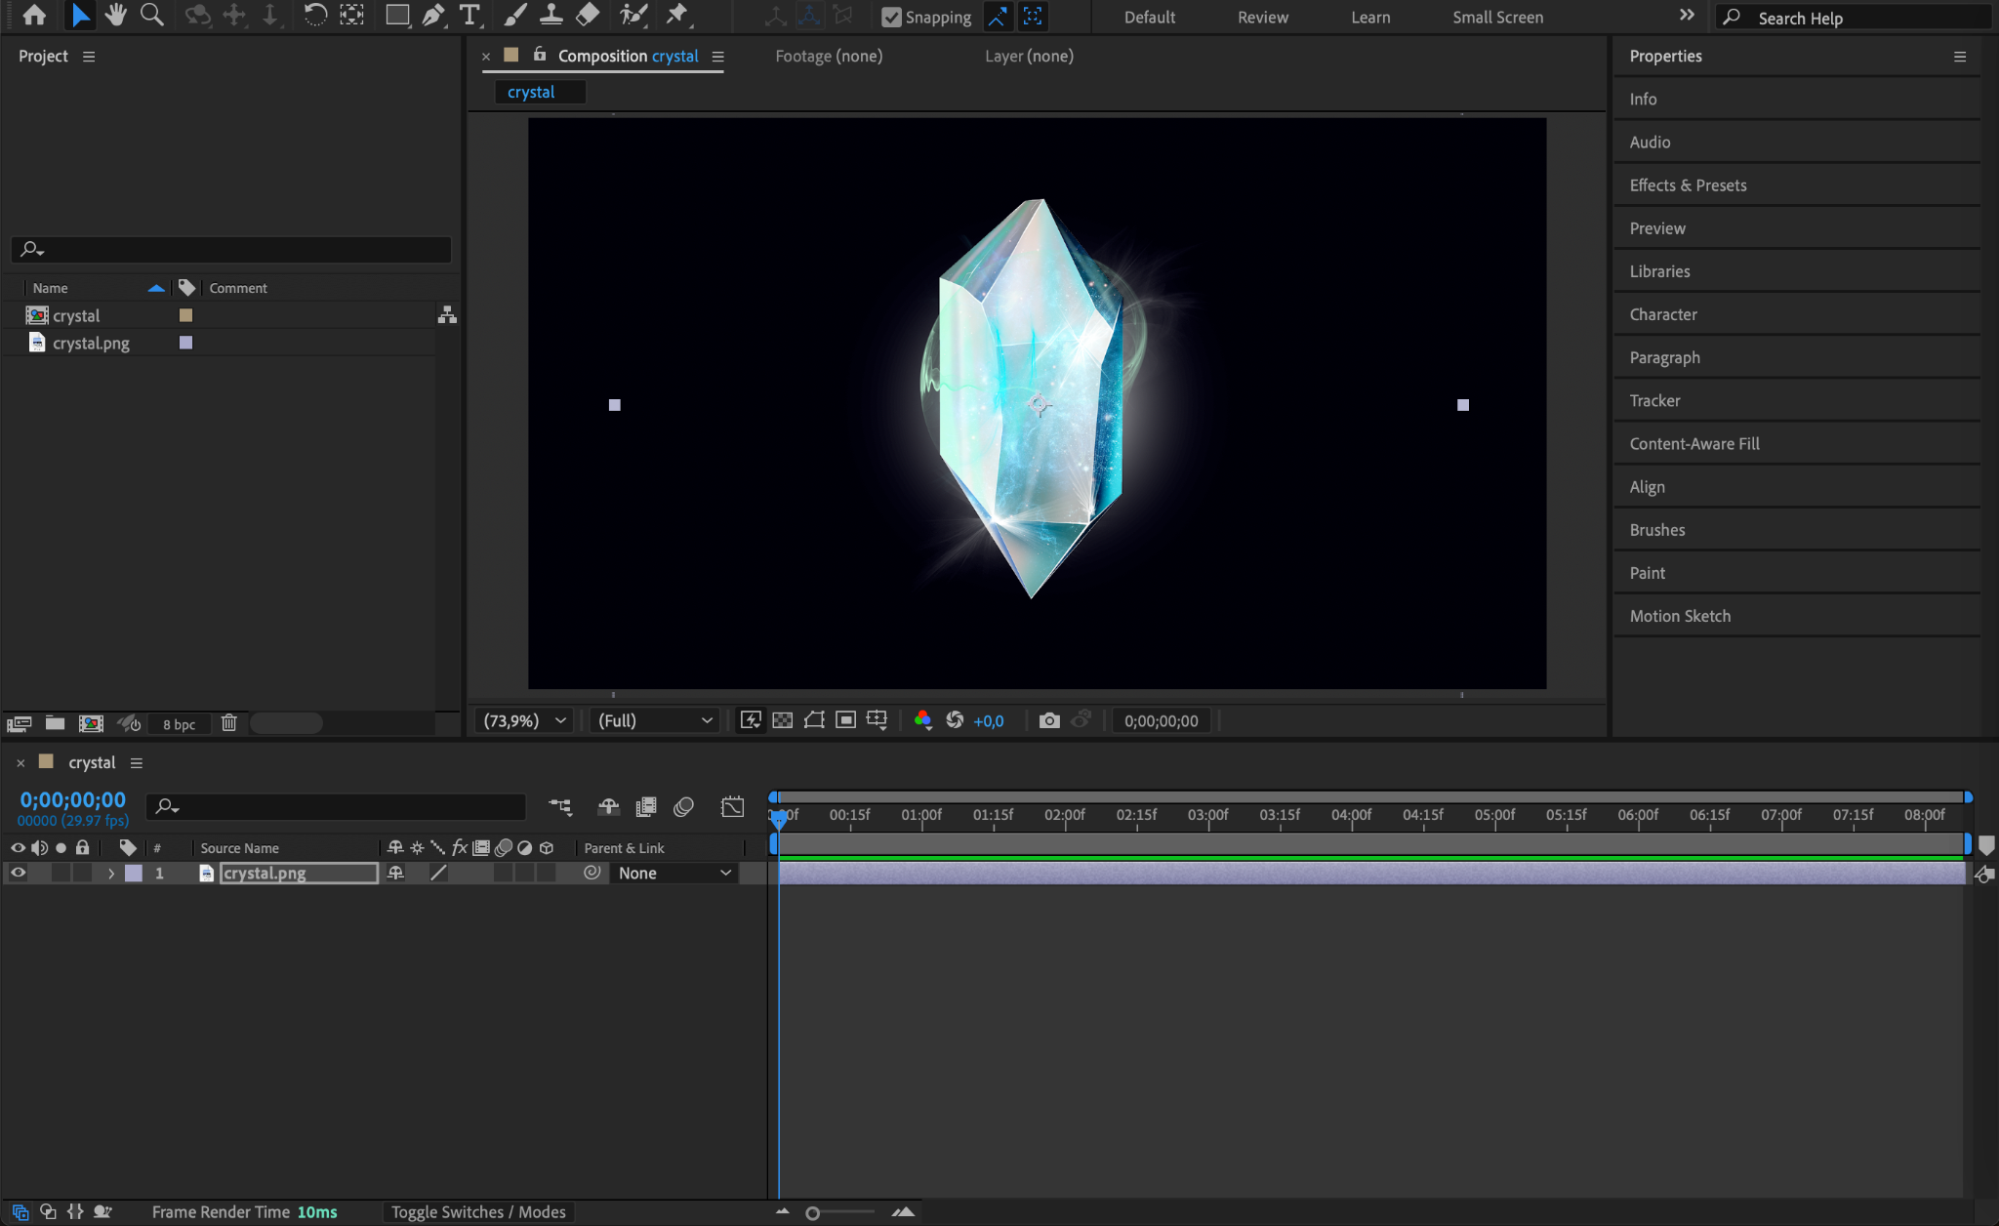 Step 2: Access the Property You Want to Animate
To apply an expression, you need to access the property of the layer you want to animate. For example, if you want to animate the position of a layer, click the layer to select it, and press P to reveal the position property. You can do the same for other properties like scale (press S), opacity (press T), or rotation (press R).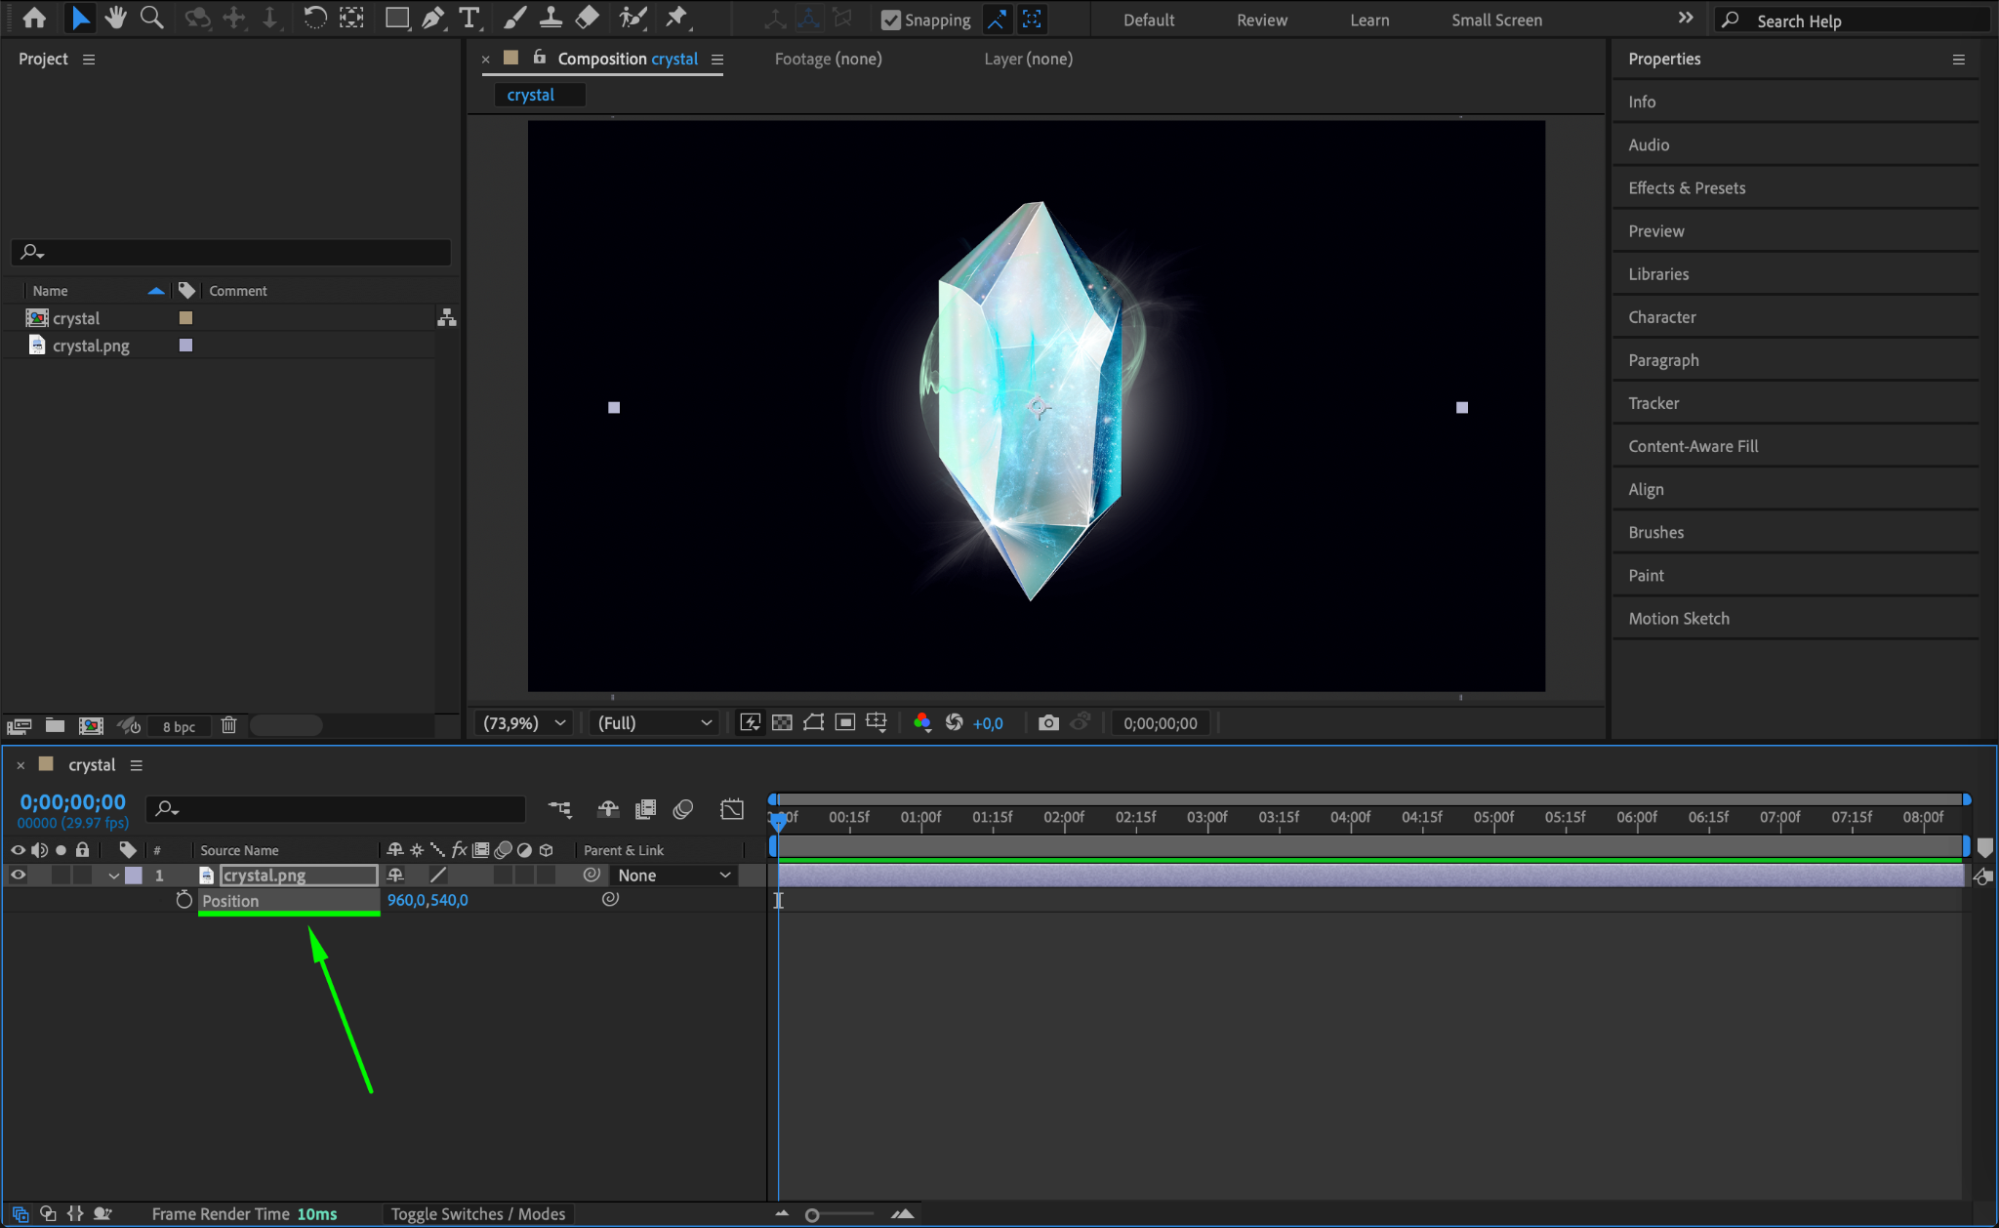 Step 3: Enable Expressions
Get 10% off when you subscribe to our newsletter

Hold down the Alt (Windows) or Option (Mac) key on your keyboard and click on the stopwatch icon next to the property you want to animate or go animation menu>add expression. This will enable the expression editor, allowing you to write or paste your expression.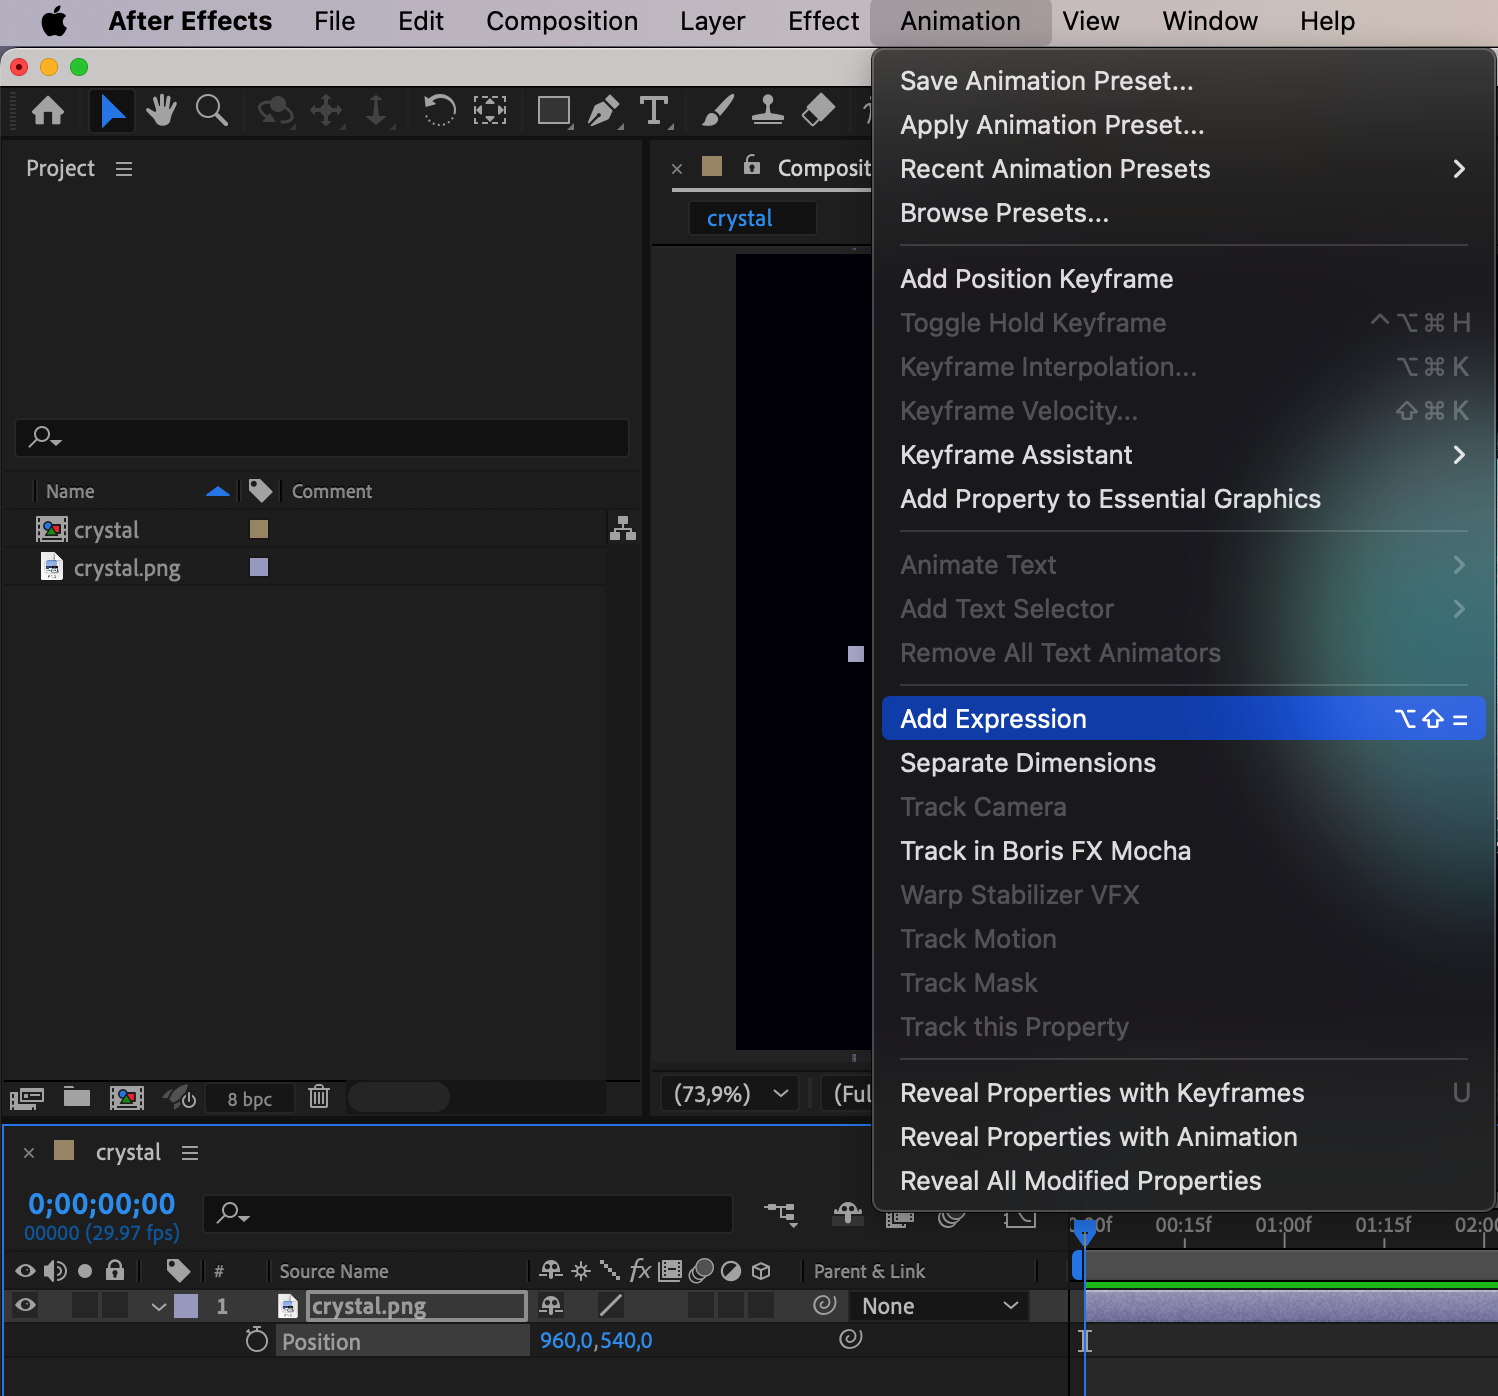
When you click the stopwatch while holding down Alt/Option, a small text field appears where you can type in your expression. This is where you can use mathematical formulas, link properties, or use other functions to control your animation.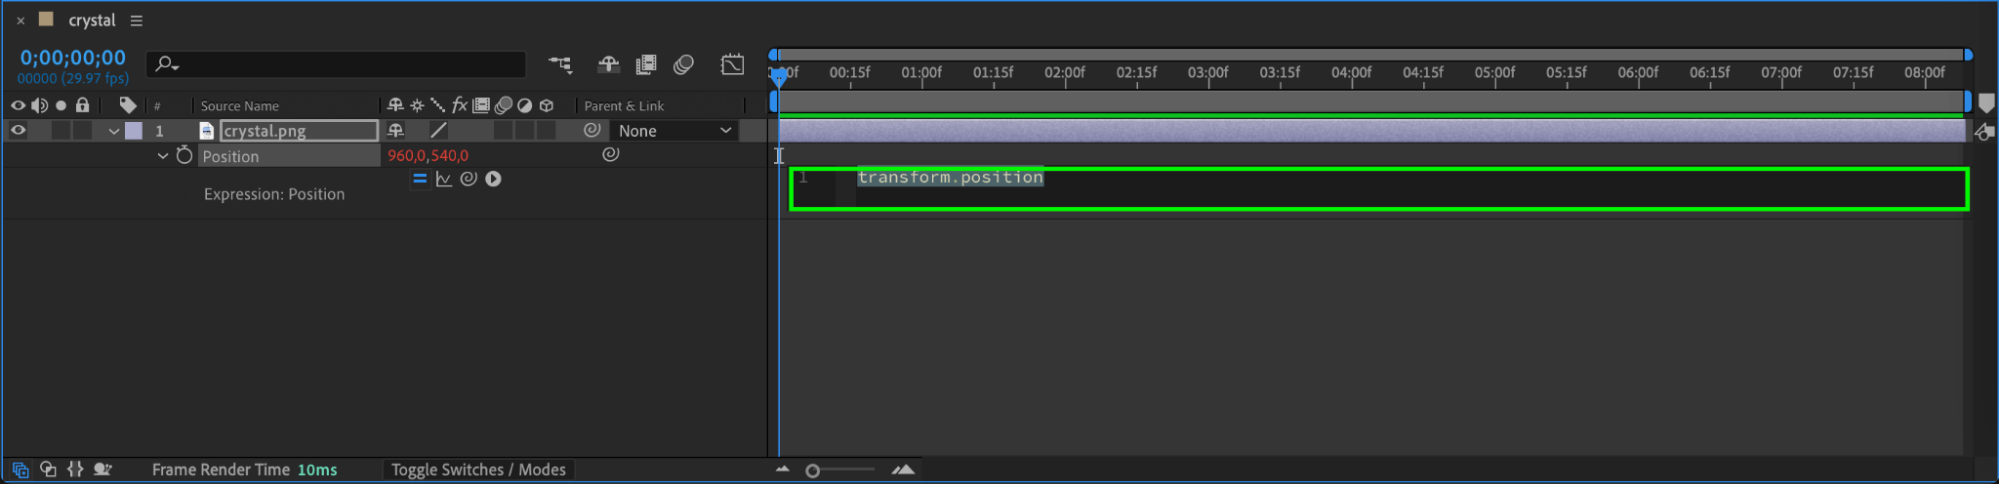 Step 4: Writing Your Expression
After clicking the stopwatch, the text box will appear in the timeline where you can enter your expression. For example, if you want to create a simple bounce effect for a layer’s position, you can type:
wiggle(2, 50)
This expression will make the position of the layer wiggle randomly with a frequency of 2 and amplitude of 50. You can create more complex expressions depending on your needs.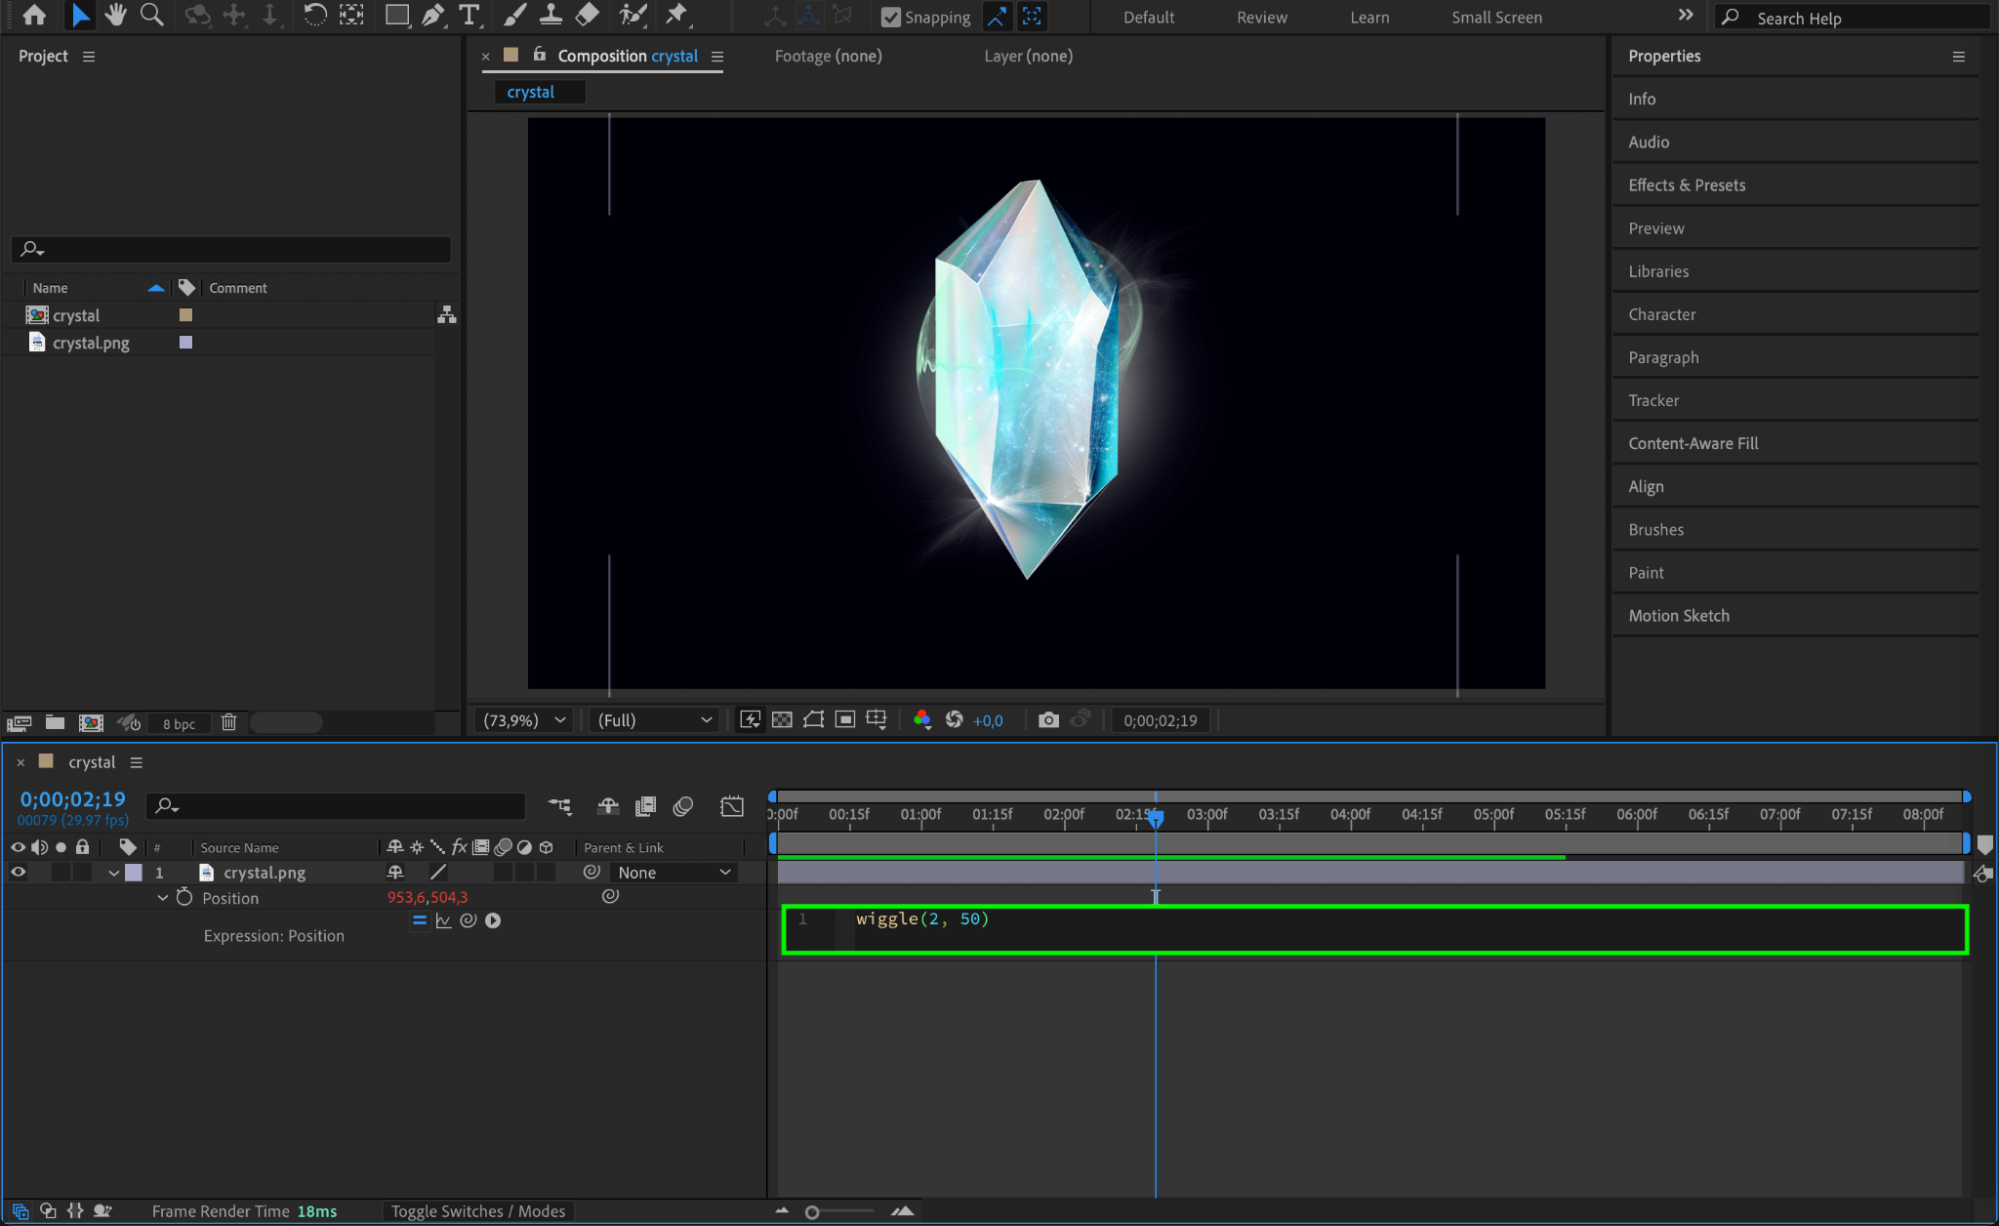 Step 5: Test and Adjust the Expression
Get 10% off when you subscribe to our newsletter
Once you’ve written your expression, you can test it by moving the timeline cursor or previewing your animation. If the result is not what you expected, you can adjust the expression or values to refine it. You can also use the Expression Language Menu (click the small arrow next to the text box) to select pre-built expressions for common effects.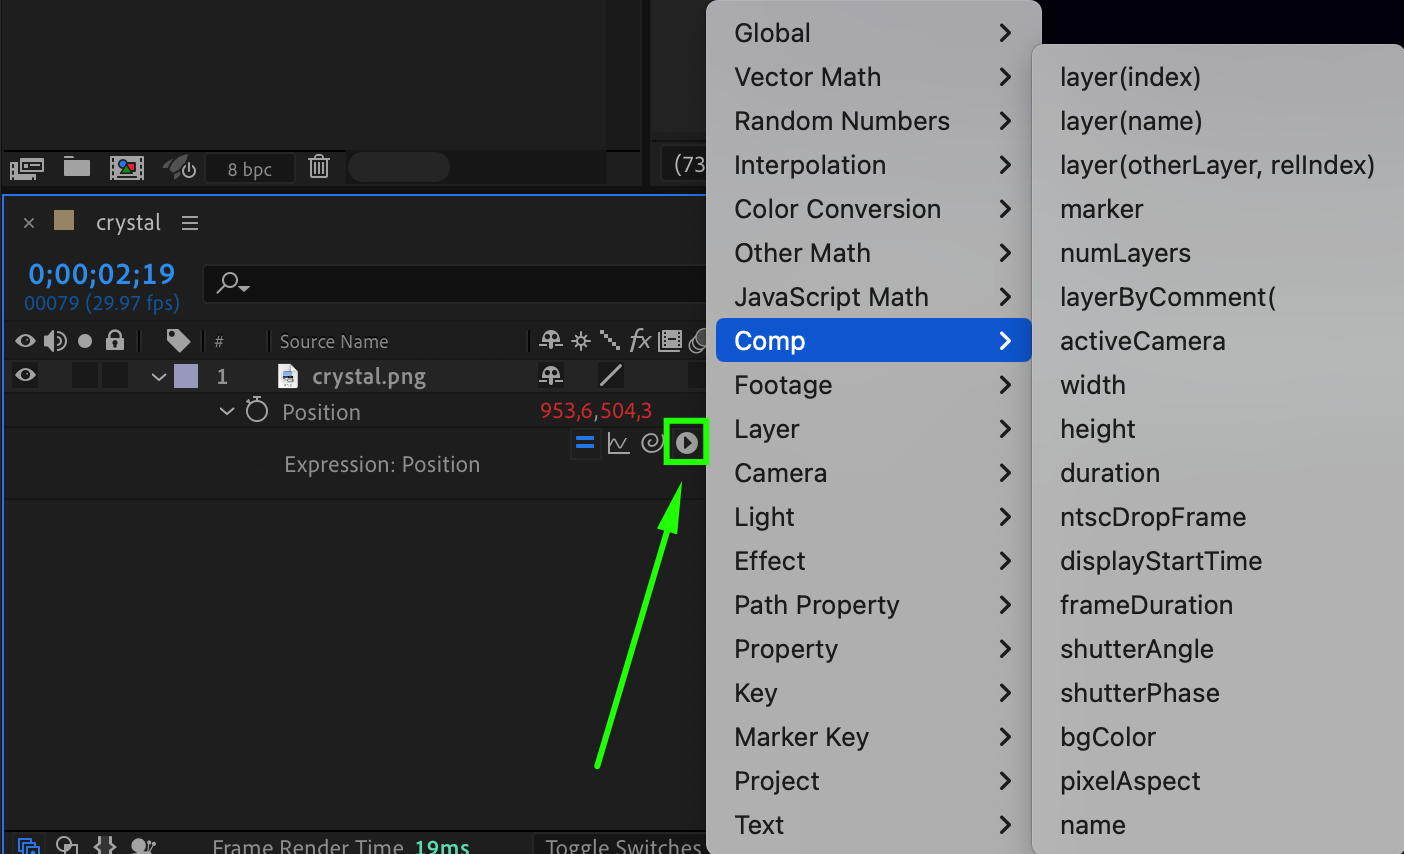
Get 10% off when you subscribe to our newsletter
Step 6: Disable or Modify Expressions (Optional)
If you need to disable an expression or modify it later, you can simply Alt/Option-click the stopwatch again. This will disable the expression, returning the property to its original state. You can also modify the expression in the text field if you want to change the way the property behaves.
Conclusion
Expressions in After Effects are a powerful tool for automating animations and creating complex effects without keyframes. By enabling and writing expressions, you can greatly increase your workflow efficiency. Whether you are linking properties, creating dynamic effects, or automating repetitive tasks, learning to use expressions will make your animations more flexible and powerful.
Our Bestsellers


