Mastering Erasing Techniques in After Effects
Introduction
Do you ever find yourself needing to erase unwanted elements or objects from a video? Well, you’re in luck! In this blog post, we’re going to teach you everything you need to know about erasing in After Effects. It’s a common task in video editing, and After Effects provides a powerful set of tools to help you achieve seamless and natural-looking erasures.
Get 10% off when you subscribe to our newsletter

Step-by-Step Guide
1. Using Masks to Erase Elements
One of the most essential techniques for erasing in After Effects is masking. Masks allow you to hide or reveal specific portions of your footage. To create a mask, select the layer you want to manipulate, go to the toolbar, and choose the Rectangle Tool (Q). Draw a mask around the area you want to keep visible in your video. You can then use the mask properties to edit and refine the mask shape and feathering for a smooth transition.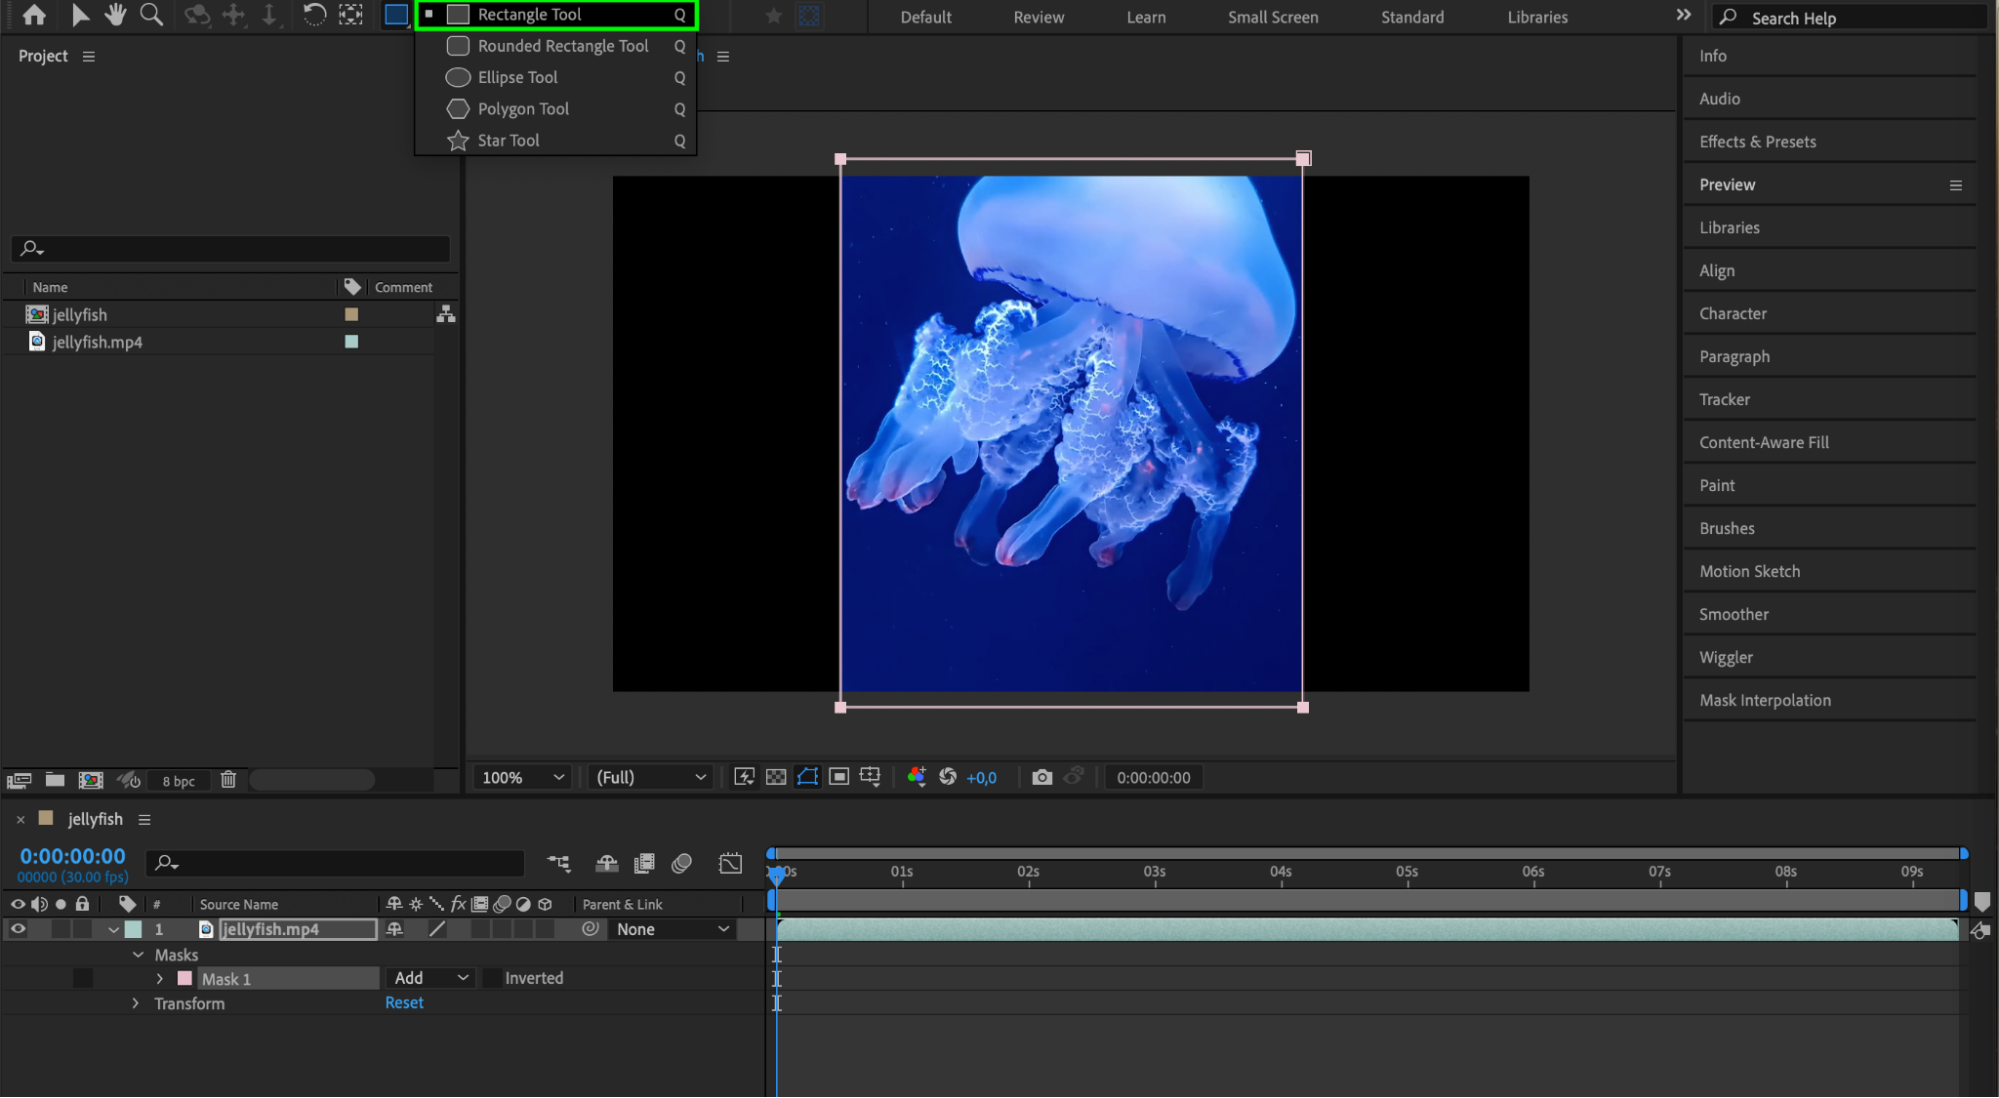
 2. Rotoscoping for Precise Erasure
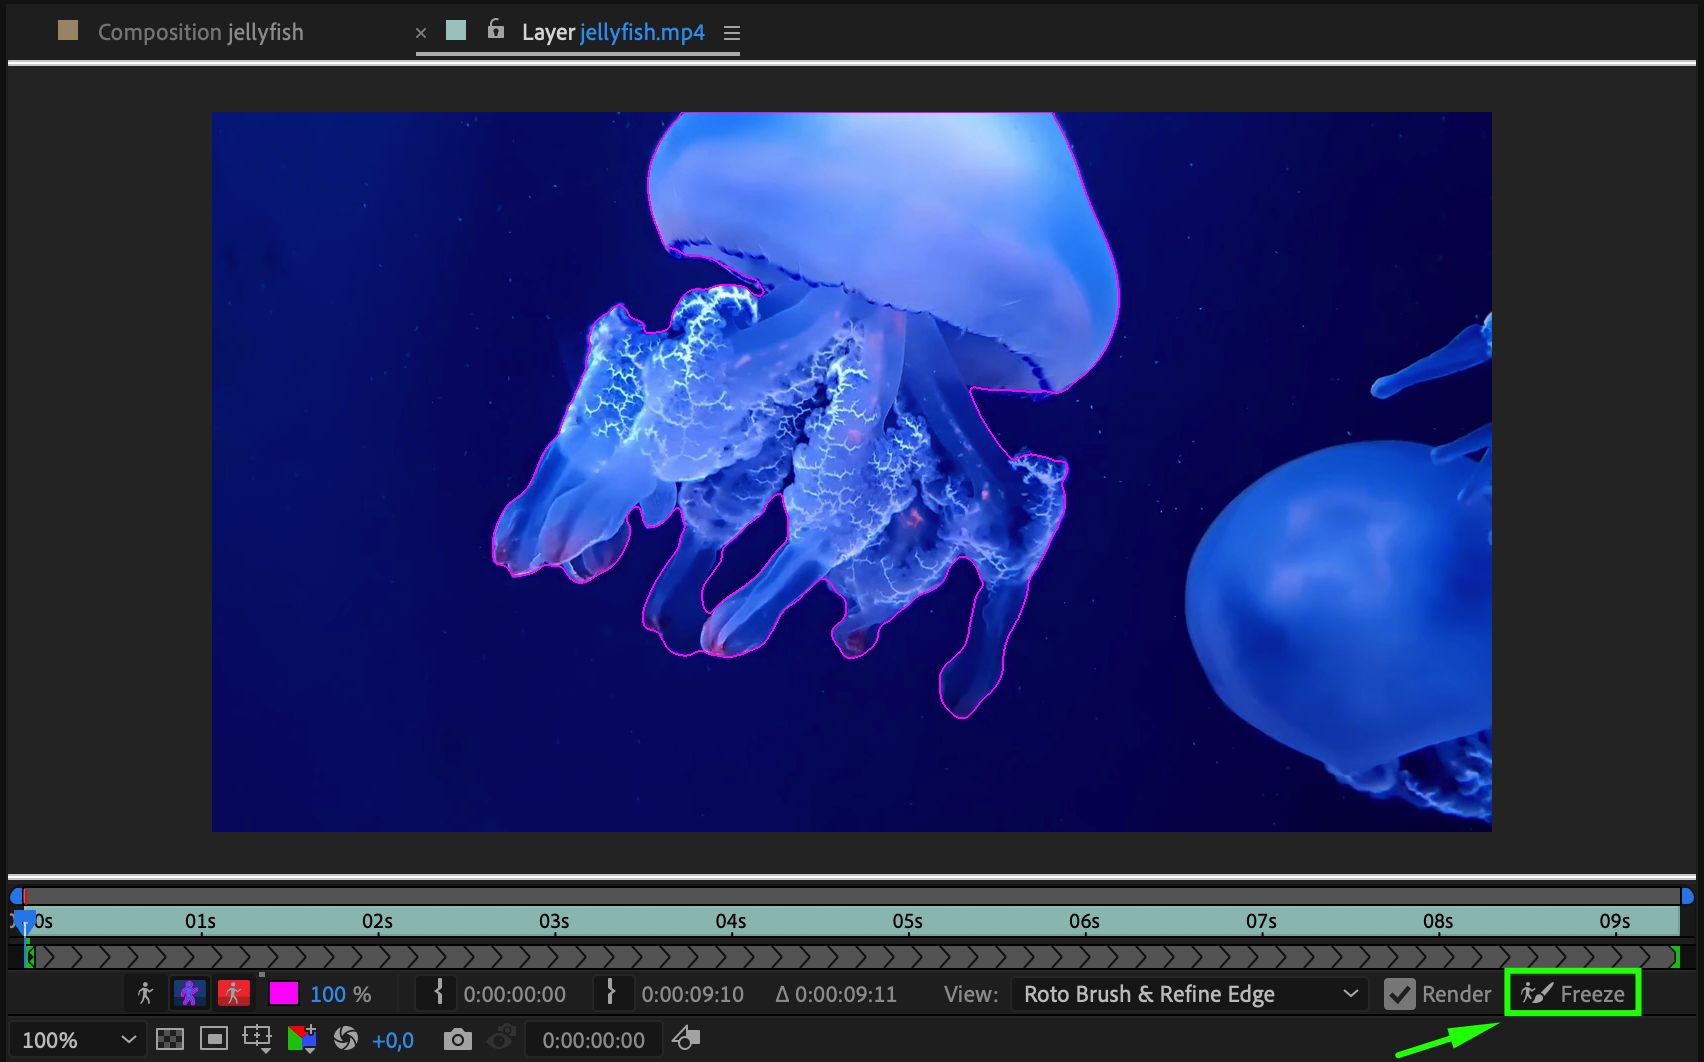
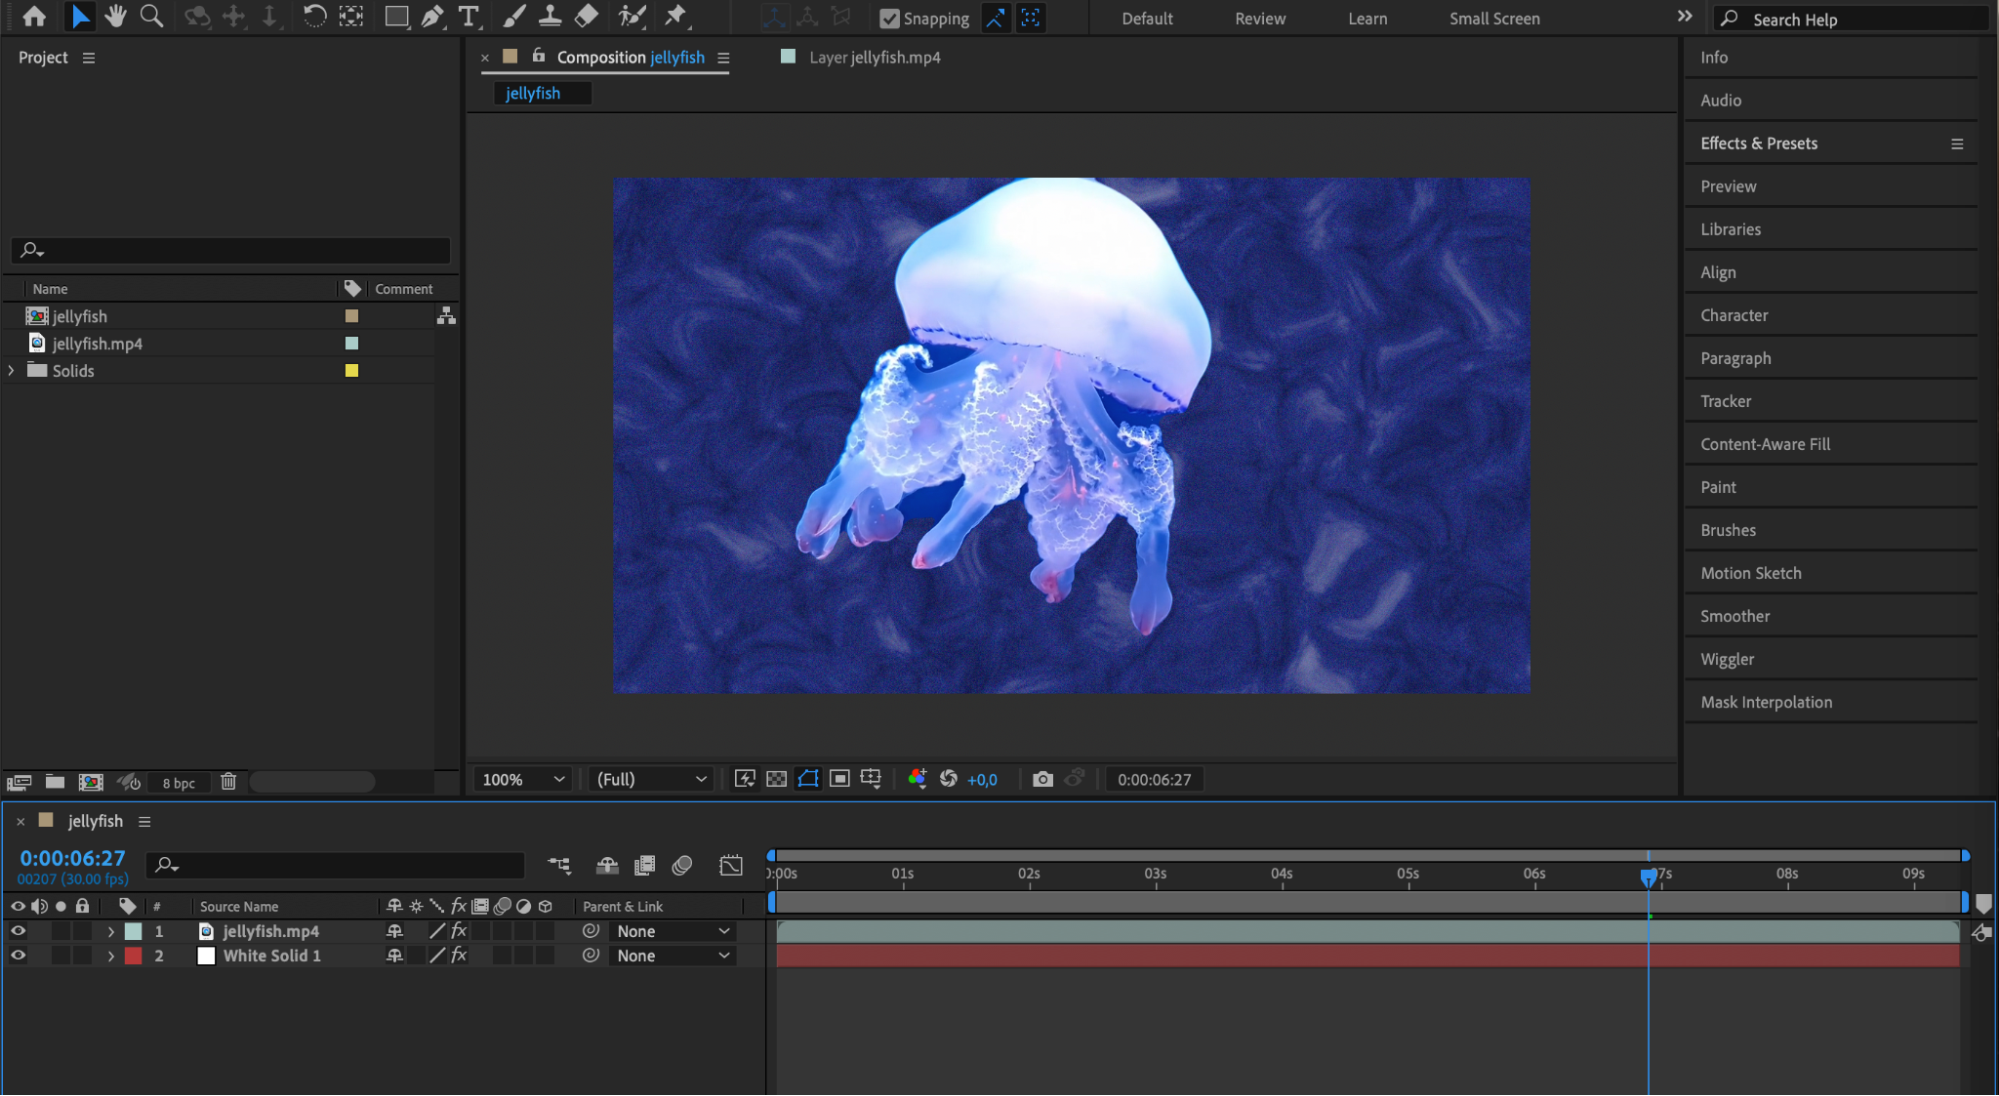
Rotoscoping involves tracing the outline of an object or person frame by frame. After Effects provides the Roto Brush tool (Alt/Option + W), which automatically detects the object’s edges and creates a matte. After selecting the object, you can refine the matte using the Refine Edge tool to achieve a more accurate result. For example, after isolating an object, you can create a new solid layer and use it as a background for your object, effectively erasing the original background.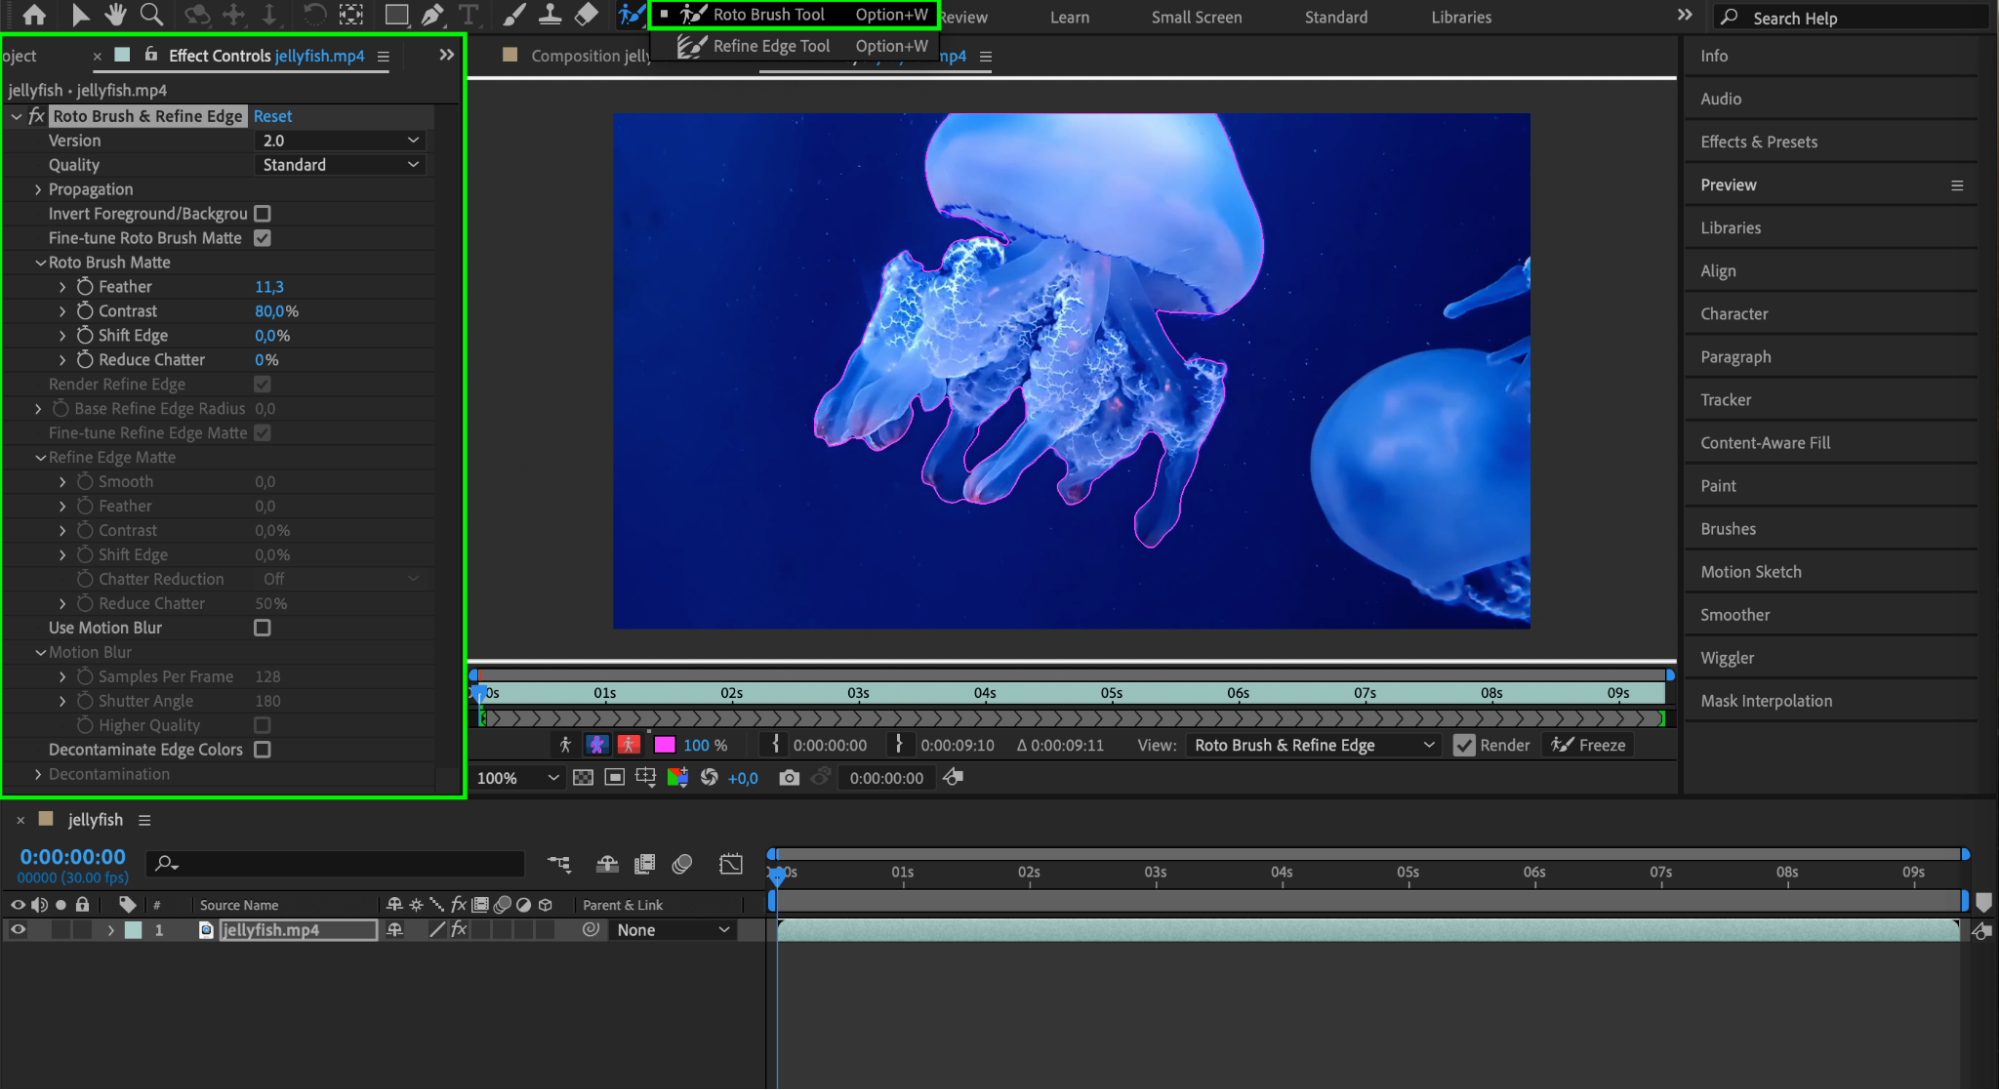
 3. Using the Brush Tool for Small Adjustments
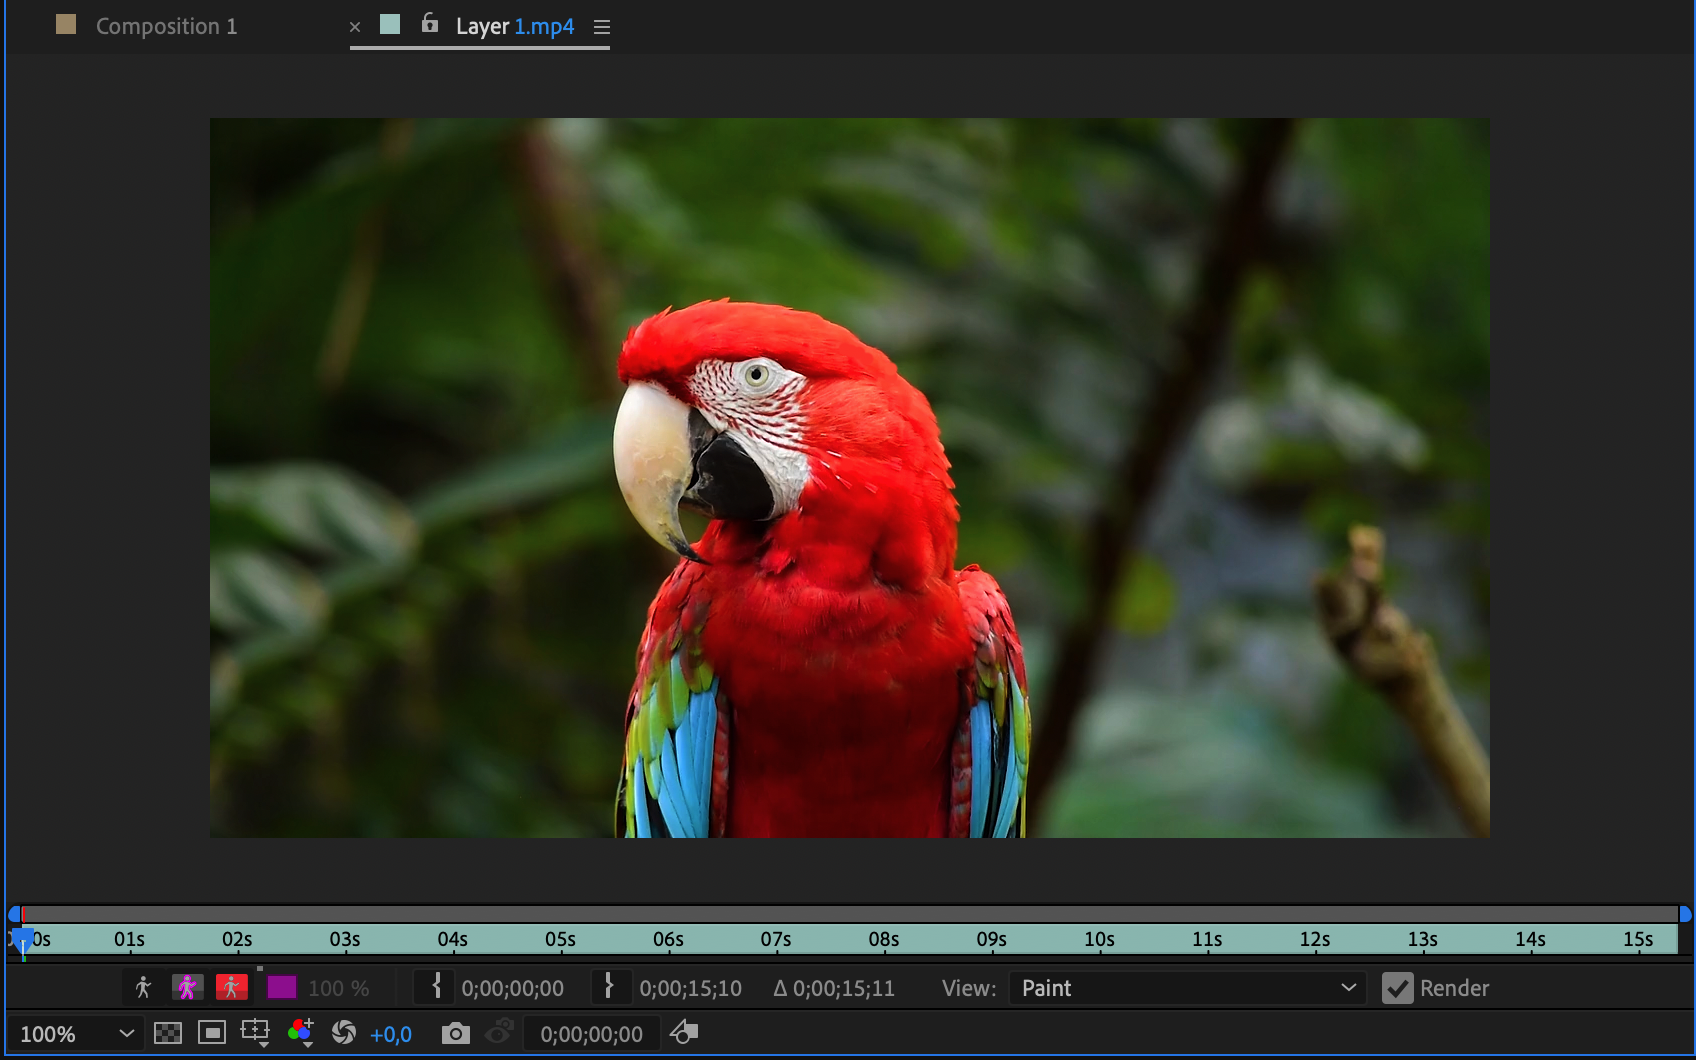
If you need to remove small imperfections or make precise adjustments, the Brush tool (Ctrl/Cmd + B) is your best friend. Select the layer you want to edit, go to the “Paint” menu, and choose “Brush”. Adjust the brush size, opacity, and hardness settings according to your needs. Then, paint over the area you want to erase or modify. This tool is ideal for detailed work and minor touch-ups.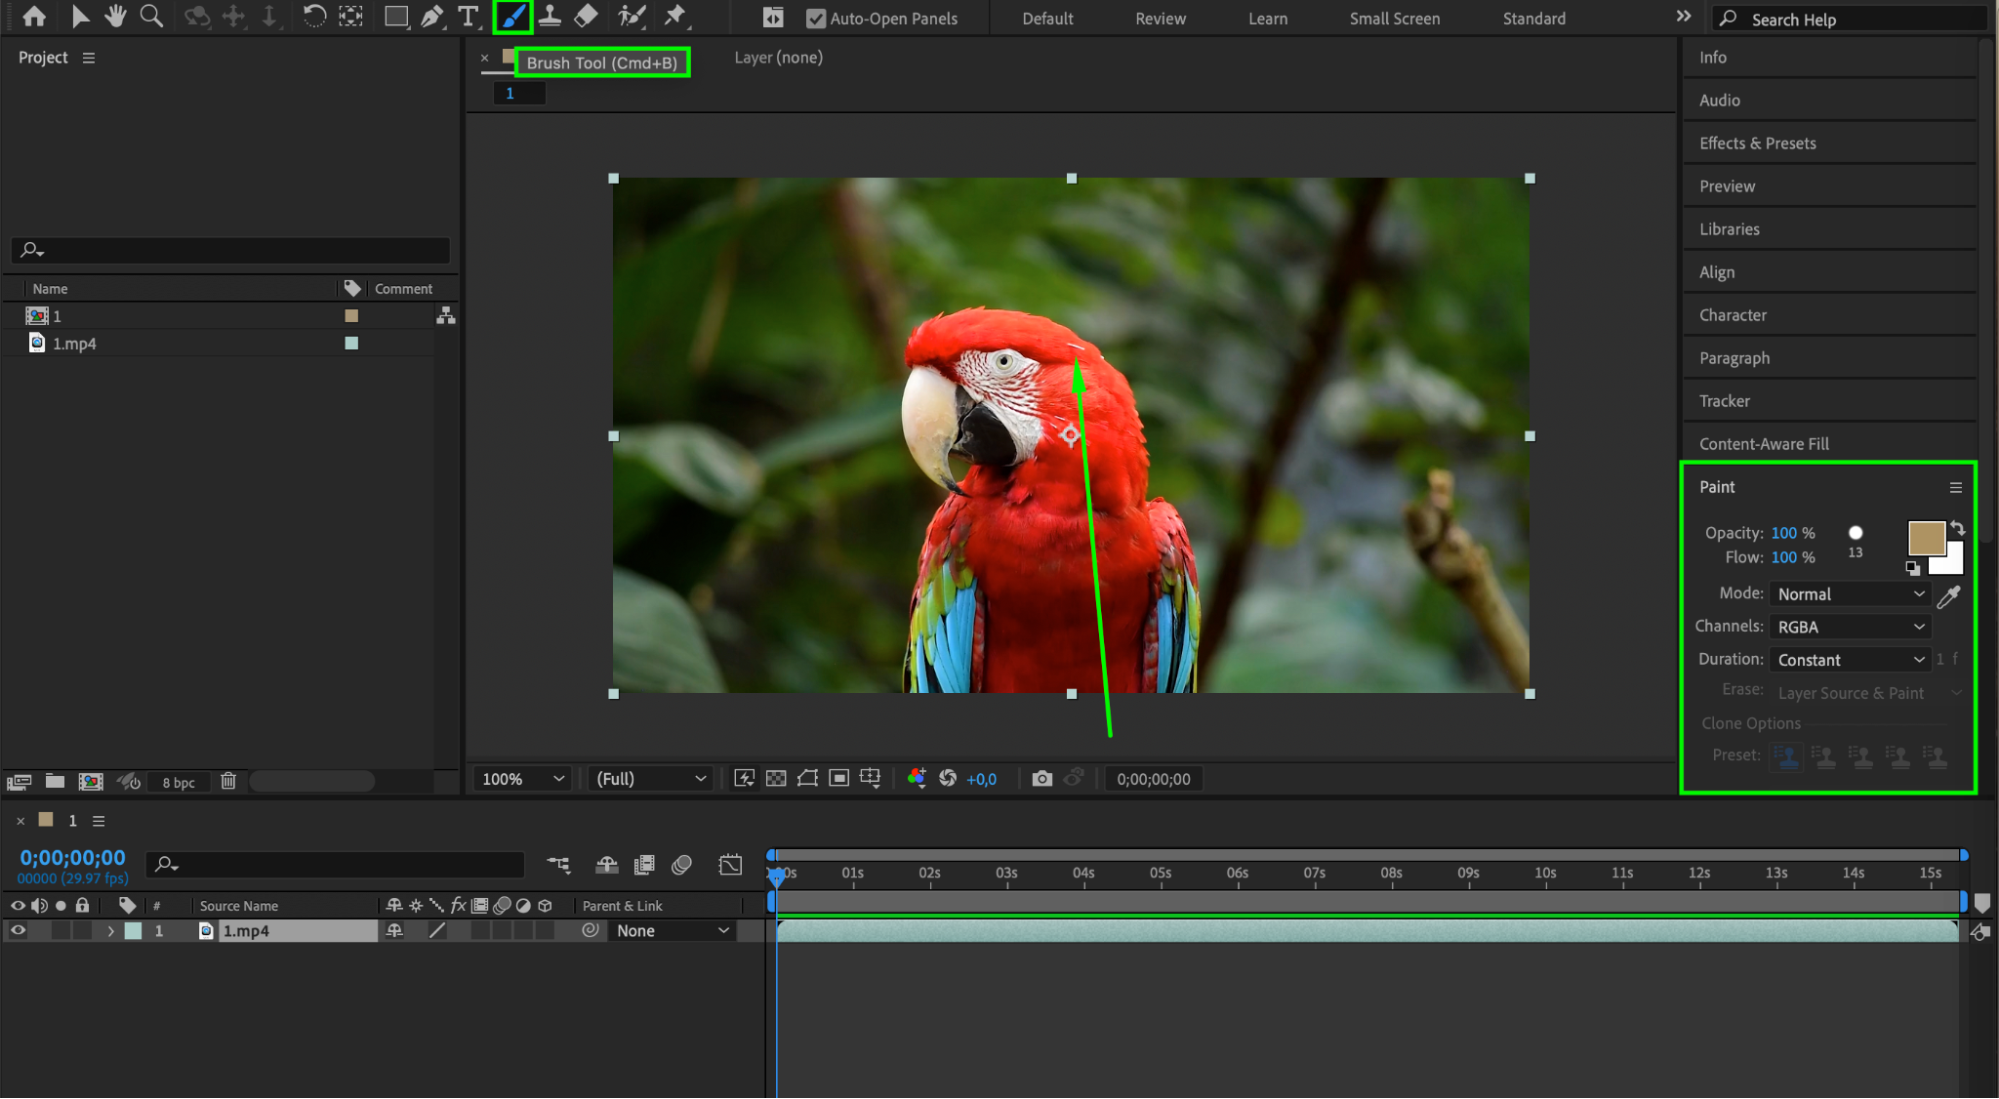
 4. The Clone Stamp Tool for Seamless Erasing
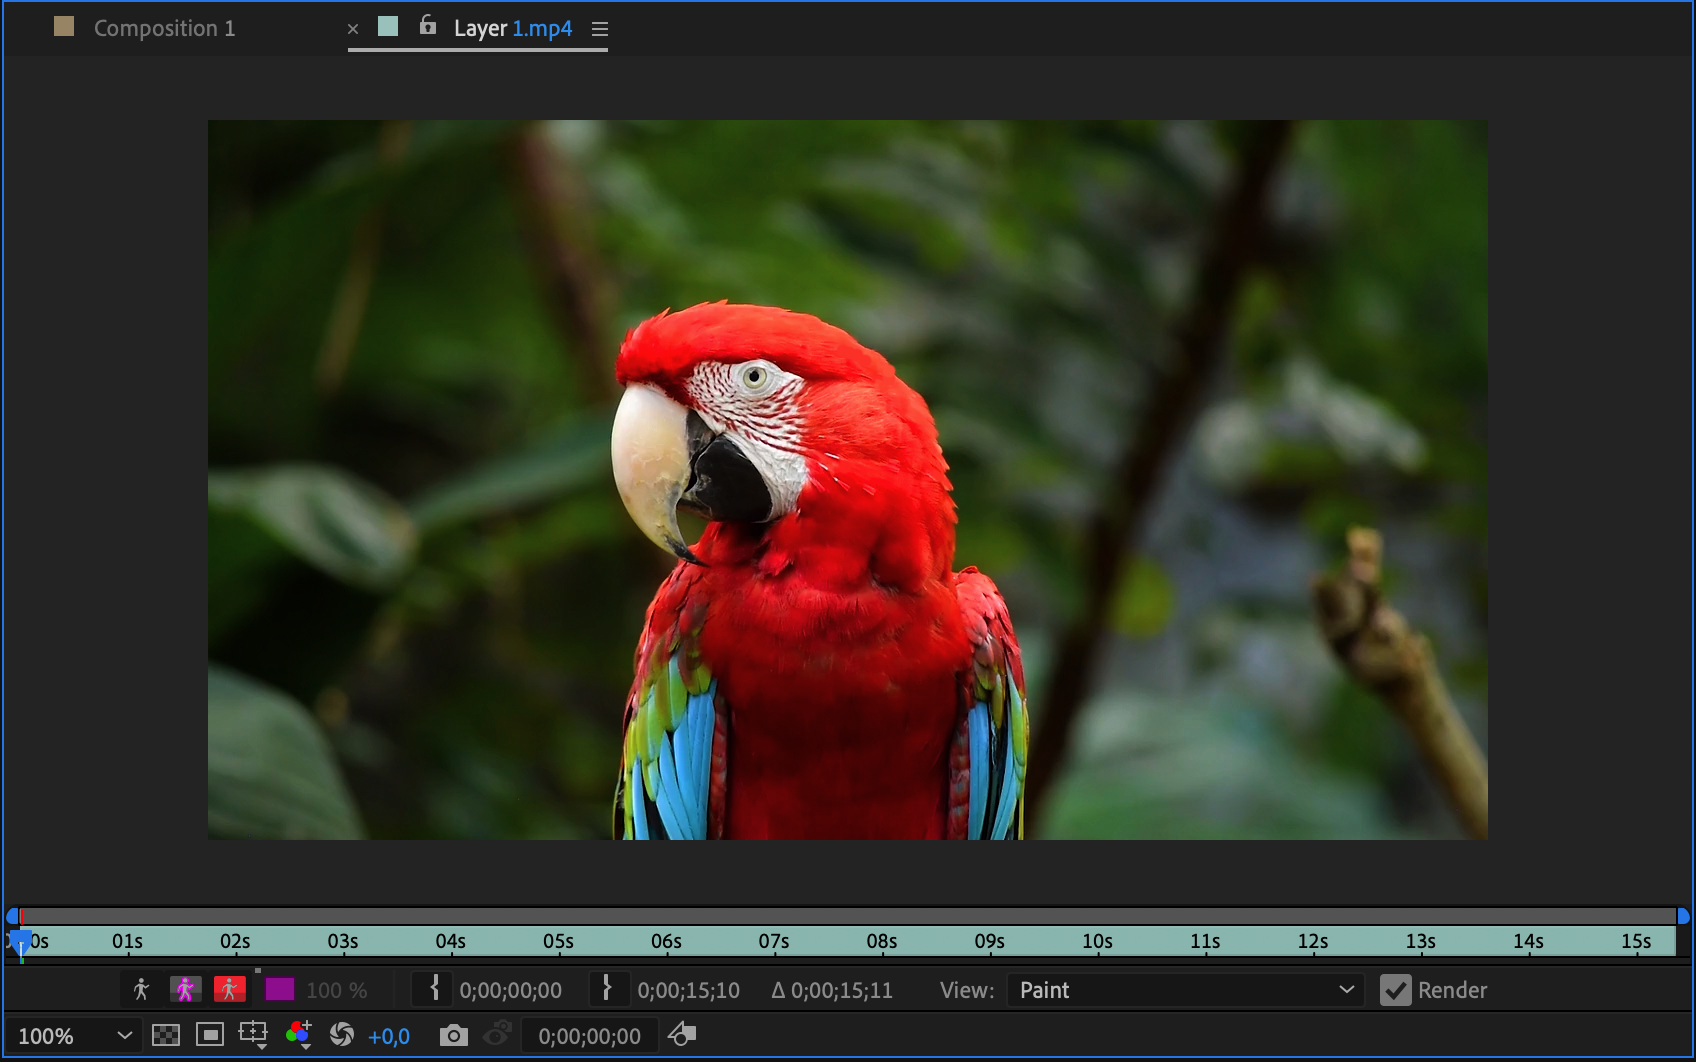
Another handy tool for erasing in After Effects is the Clone Stamp tool (Ctrl/Cmd + B). It allows you to copy pixels from one part of the footage and apply them to another, effectively covering up any unwanted elements. Select the layer you want to edit, go to the “Paint” menu, and choose “Clone Stamp”. Alt-click on the area you want to clone from, and then click and drag over the area you want to cover. This tool is perfect for removing objects and blending the surrounding area seamlessly.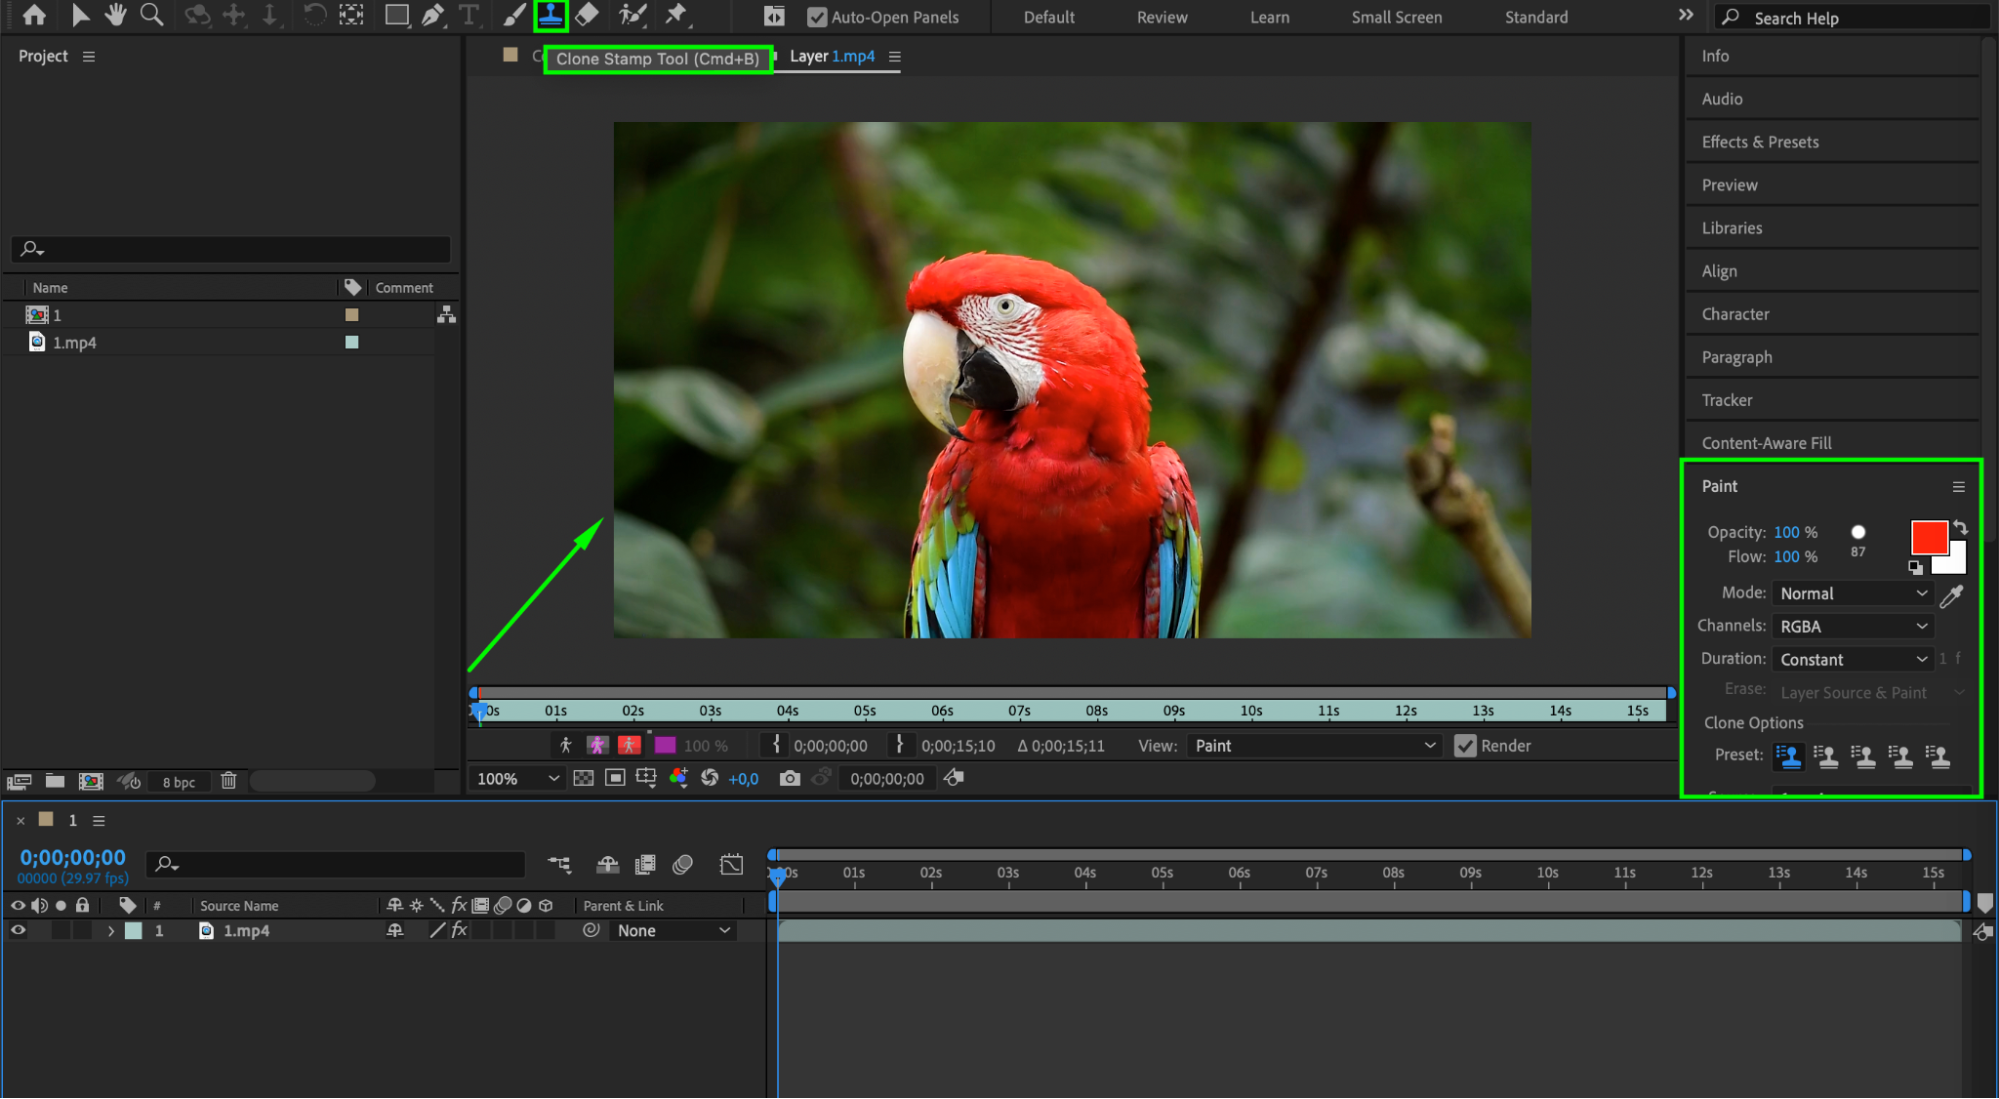
 5. Enhancing Erasure with Effects and Keying
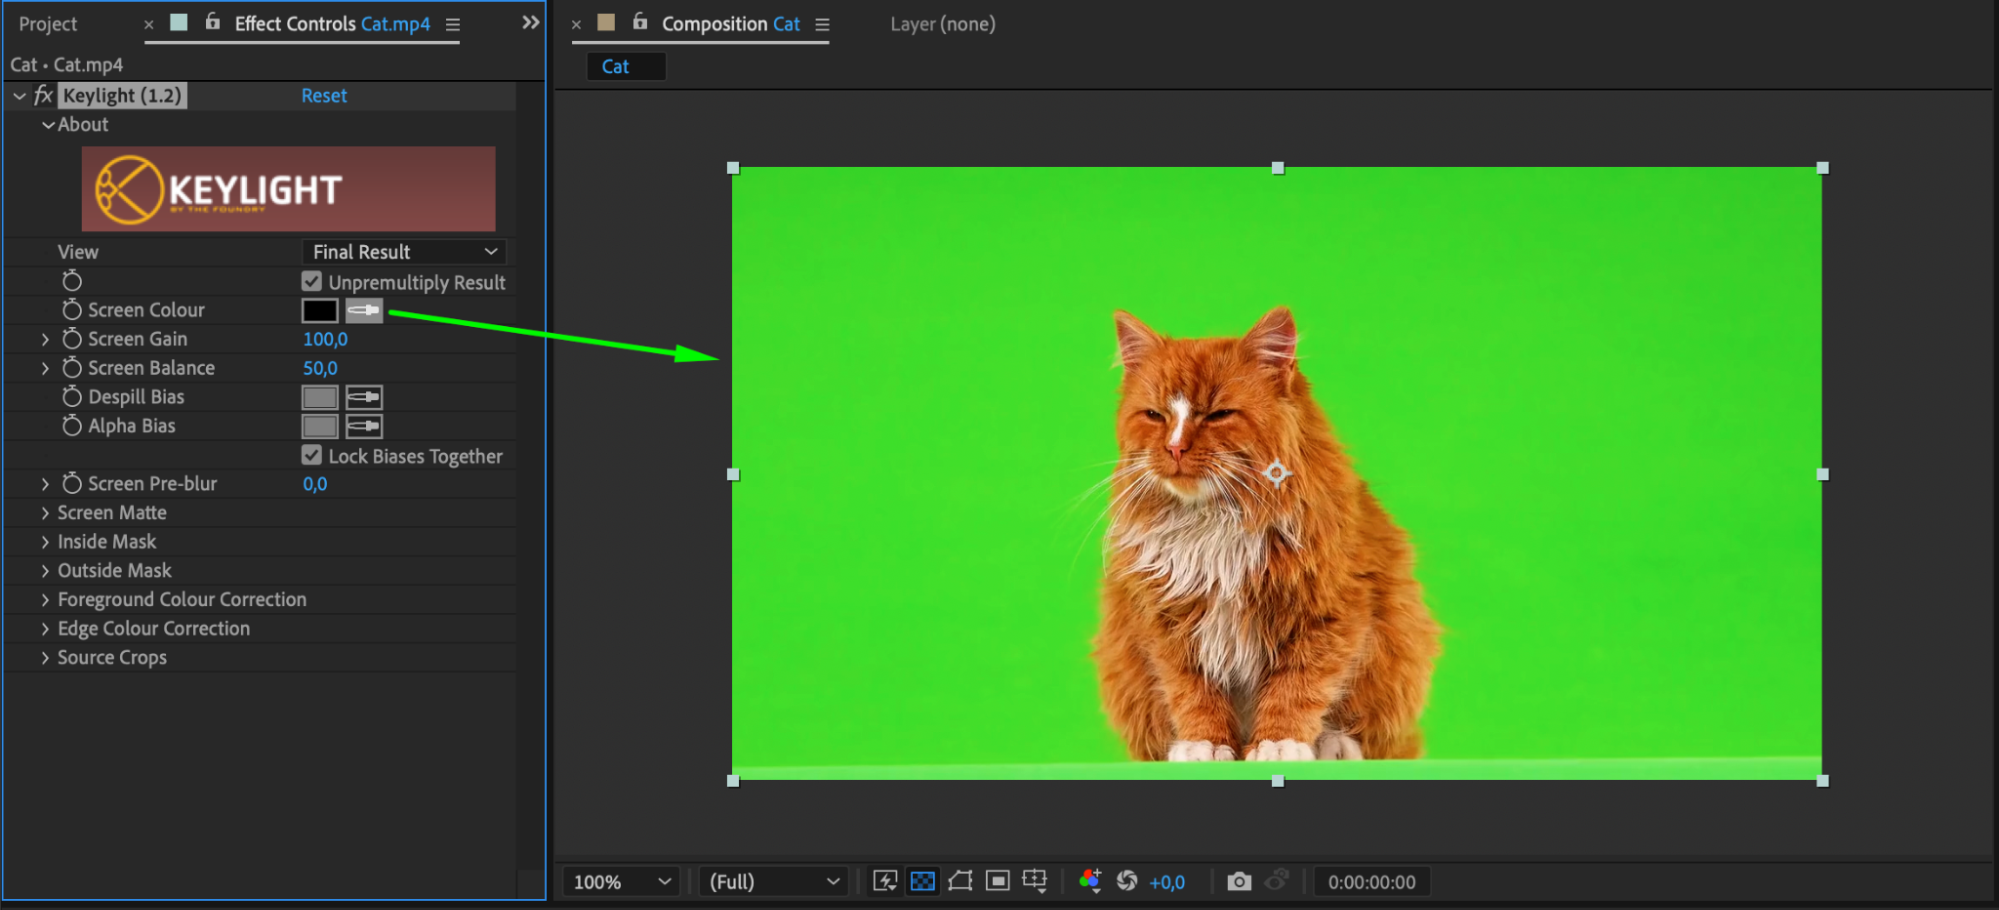
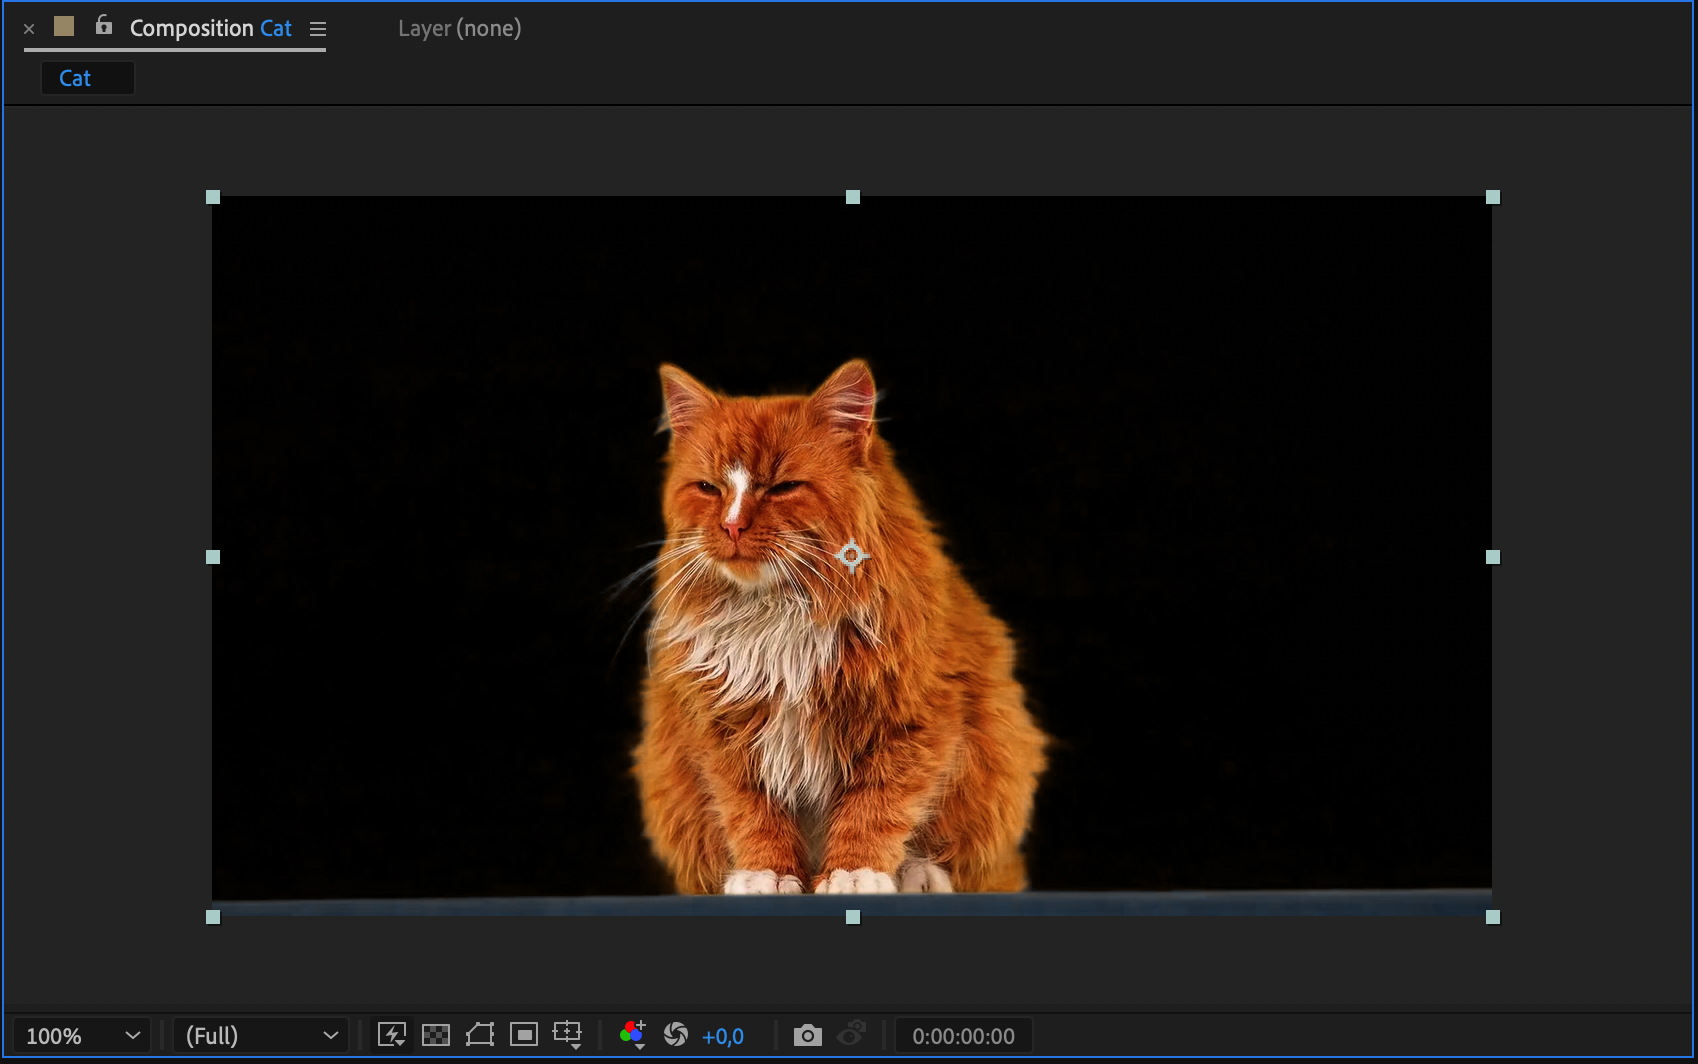
Using effects and keying techniques can enhance your erasing results. For instance, the Keylight effect can create a difference matte, allowing you to key out specific colors or luminance values. This is useful when removing a green screen background or isolating a specific element in the footage. Don’t hesitate to experiment with different effects and settings to find the best approach for your project. Combining keying with other erasing techniques can yield highly professional results.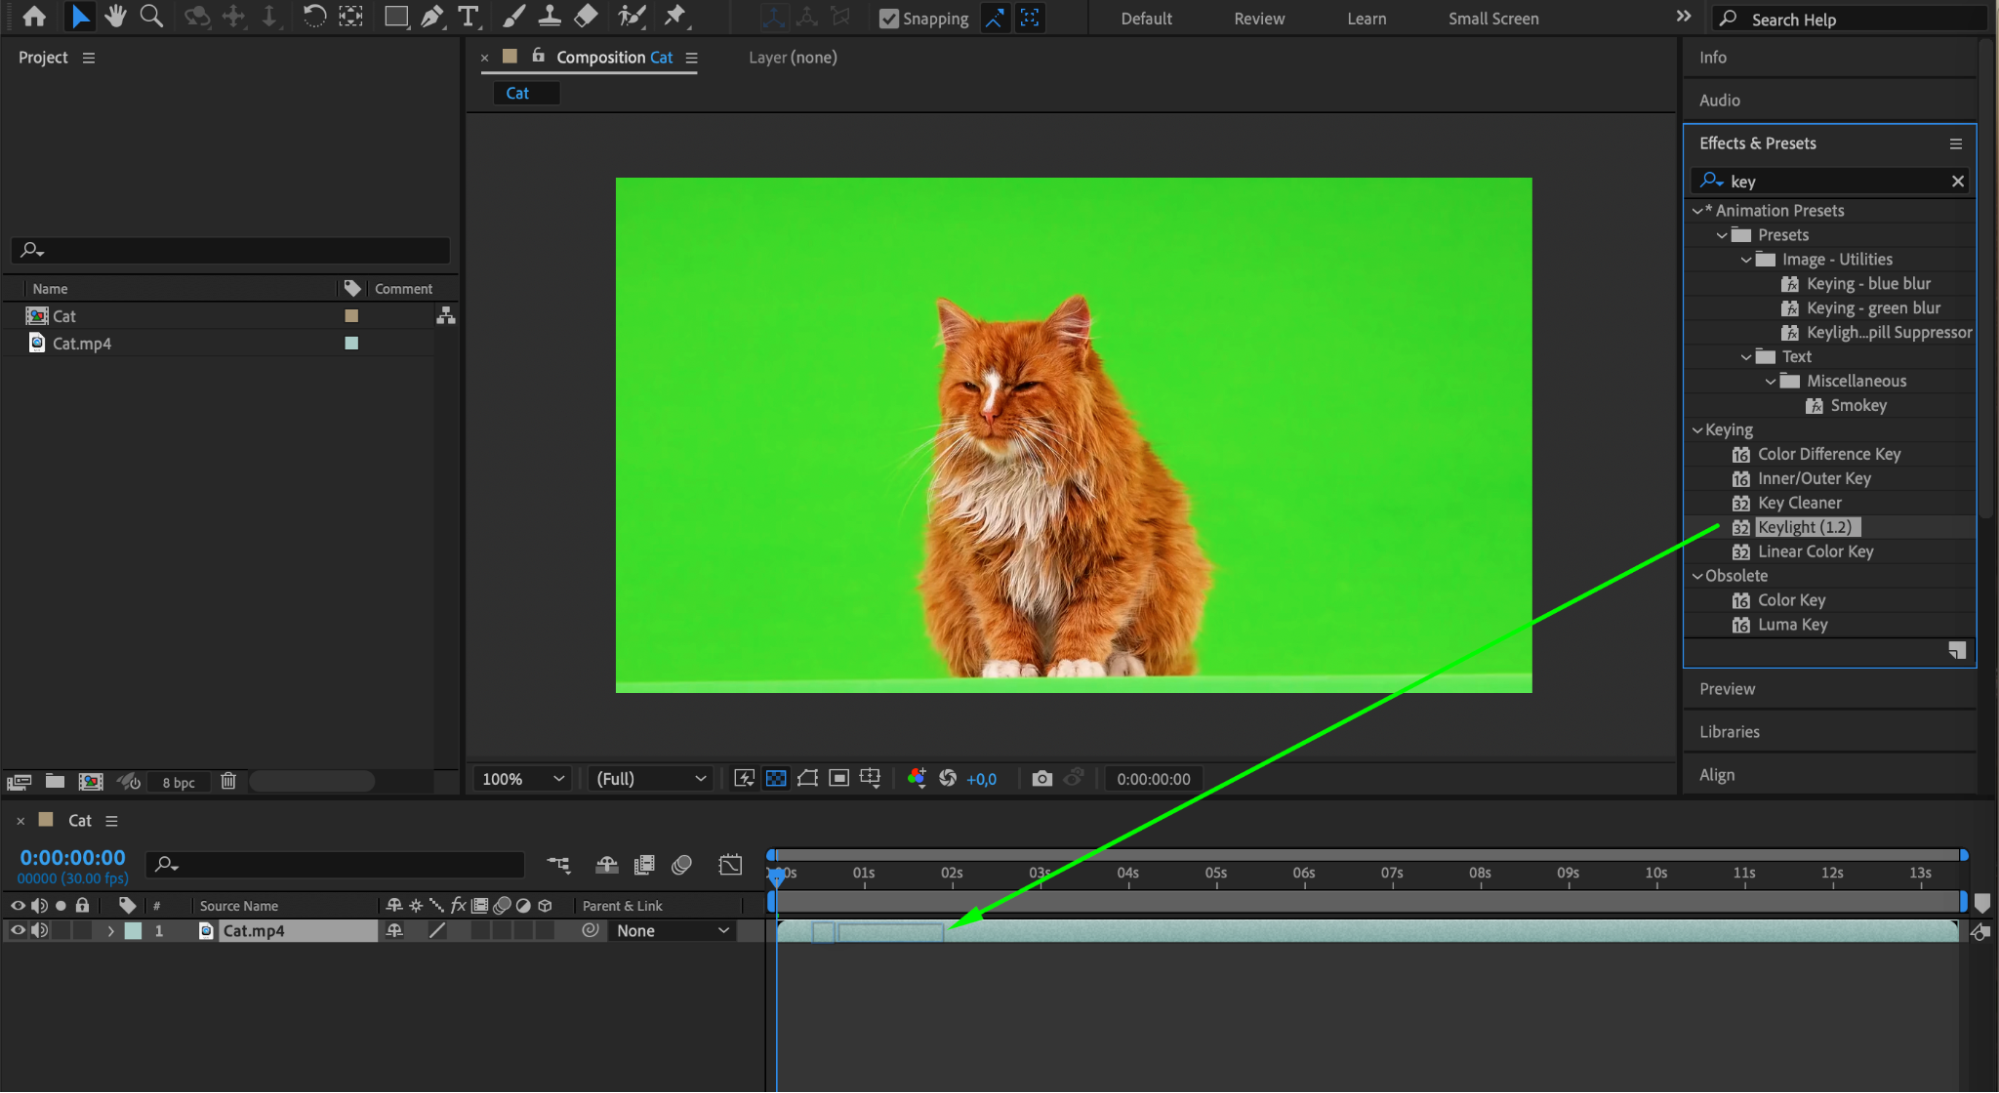
 Conclusion
To summarize, erasing in After Effects requires combining various techniques and tools. Whether you choose to use masking, rotoscoping, the Brush tool, Clone Stamp, or effects and keying, it’s essential to experiment and find the best approach for your project. With practice and patience, you’ll be able to achieve seamless and natural-looking erasures, giving your videos a professional and polished look. So, take these techniques, explore the possibilities, and start mastering the art of erasing in After Effects!


