To export your project as a GIF file, you will need After Effects and a GifGun script to use this method.
1. To install the GifGun script, open your browser and search for “GifGun”. Download and install it by following the prompts to complete the installation.
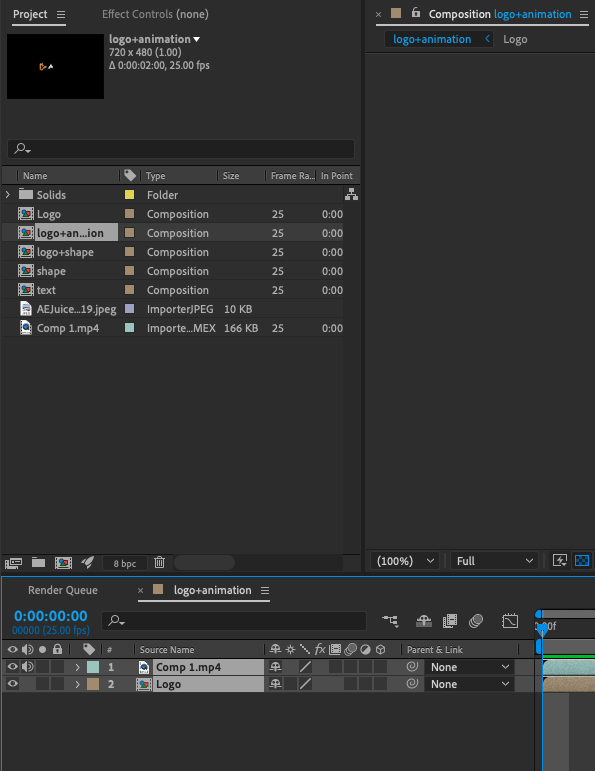
2. Before you start, make sure that your After Effects project is complete and ready to be exported. This includes ensuring that all layers are correctly arranged and that any effects or animations are working as intended.
3. Then select the layer or composition you want to export as a GIF. You can do this by clicking on the layer in the timeline or by selecting it in the project panel.

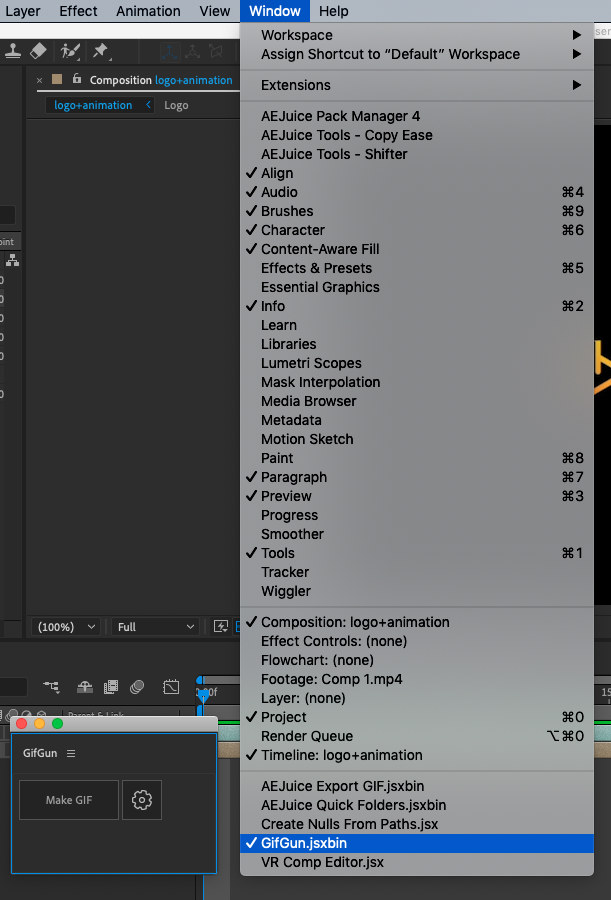
4. Go to the window menu and open GifGun script.

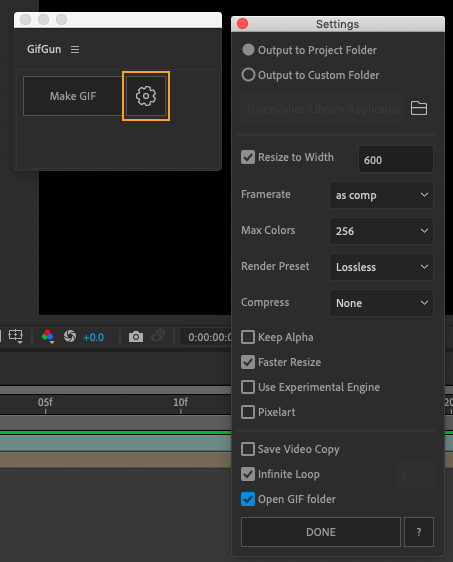
5. In the GifGun window, click on the Settings button to adjust the format and location for your exported file.

6. Choose the location where you want to save your GIF and other parameters available. Experiment with different settings to find the ones that work best for your GIF and hit Done.
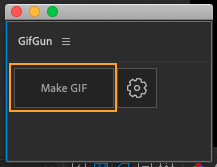
7. When you are satisfied with your settings, click the “Make GIF” button to start the rendering process. This may take some time, depending on the size and complexity of your GIF.

8. Once the rendering is complete, your GIF will be saved to the location you specified. You can then use it in any way you wish, such as sharing it online or using it in a video project.
There are a few reasons why you might want to export a GIF from After Effects:
- If you want to share your animation or video on social media platforms, GIFs are a great way to do so because they are widely supported and generally have small file sizes.
- If you want to create a simple, looping animation, such as an icon or loading spinner, GIFs are a good choice because they support looping natively.
Get 10% off when you subscribe to our newsletter


