How to Export RGB + Alpha in After Effects
Understanding RGB + Alpha Export in After Effects
Exporting a video with transparency (RGB + Alpha) allows you to retain the background’s transparency, making it easy to overlay your animation on other footage. This is especially useful for motion graphics, logos, and overlays. Follow these steps to export your composition correctly.
Get 10% off when you subscribe to our newsletter

Step 1: Prepare Your Composition
Ensure your project contains transparent elements. To check this, enable the Transparency Grid (the checkerboard icon) in the Composition panel. If your background is solid, remove it or change it to transparent.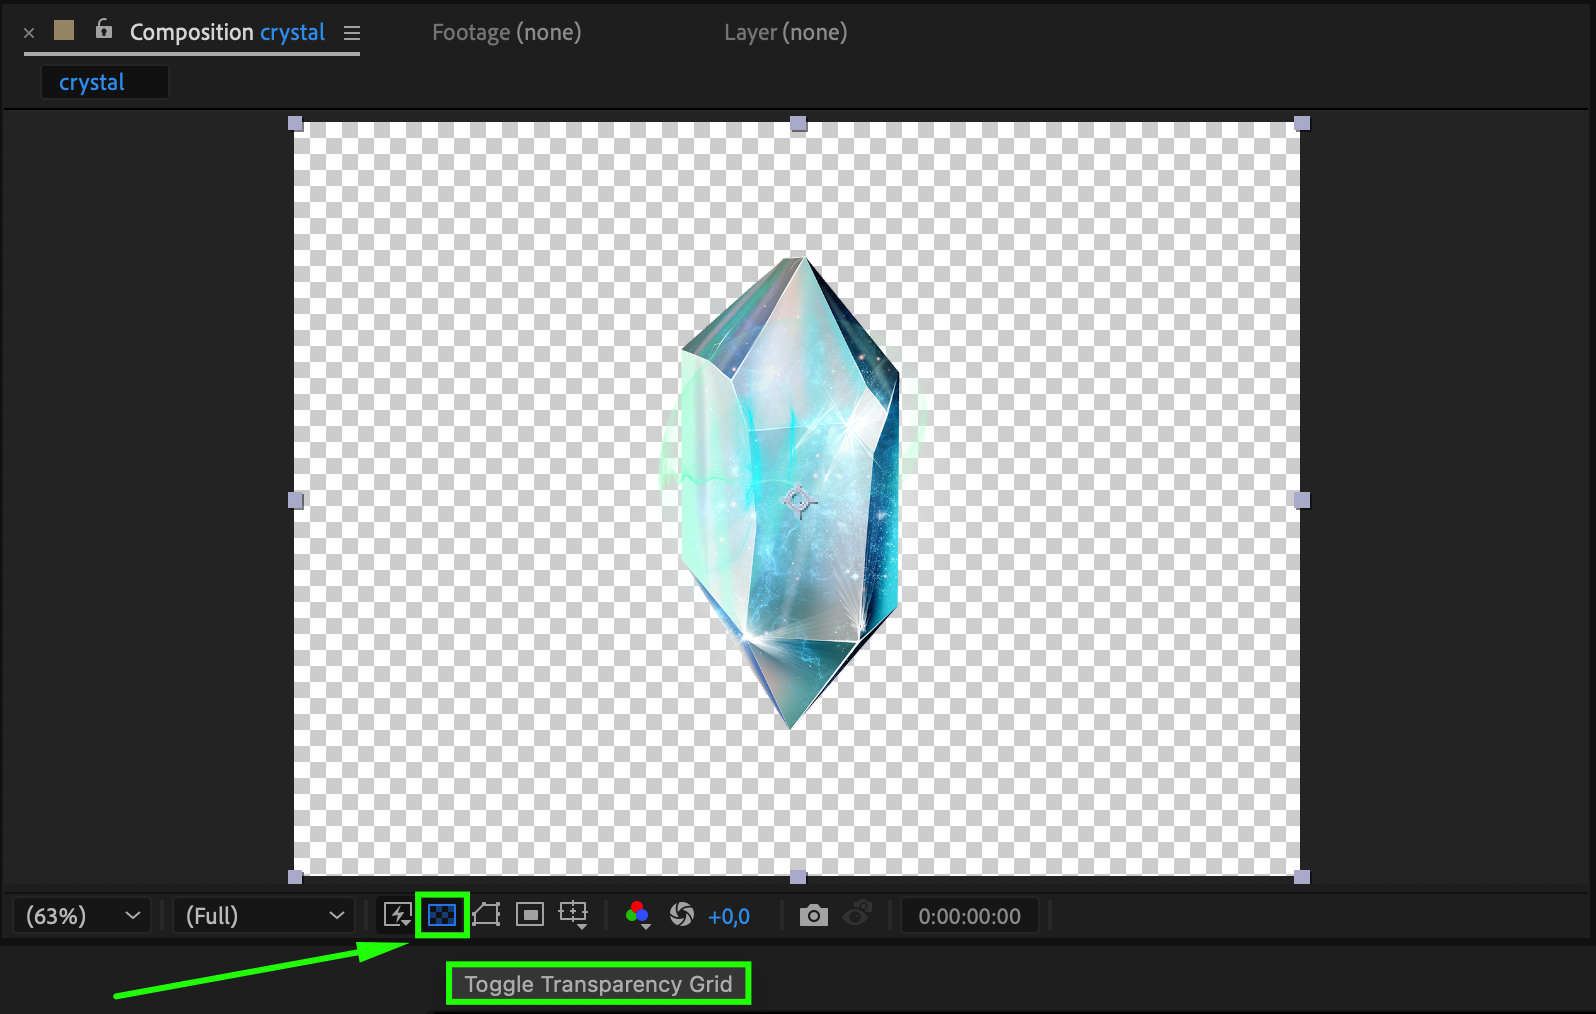 Step 2: Add Your Composition to the Render Queue
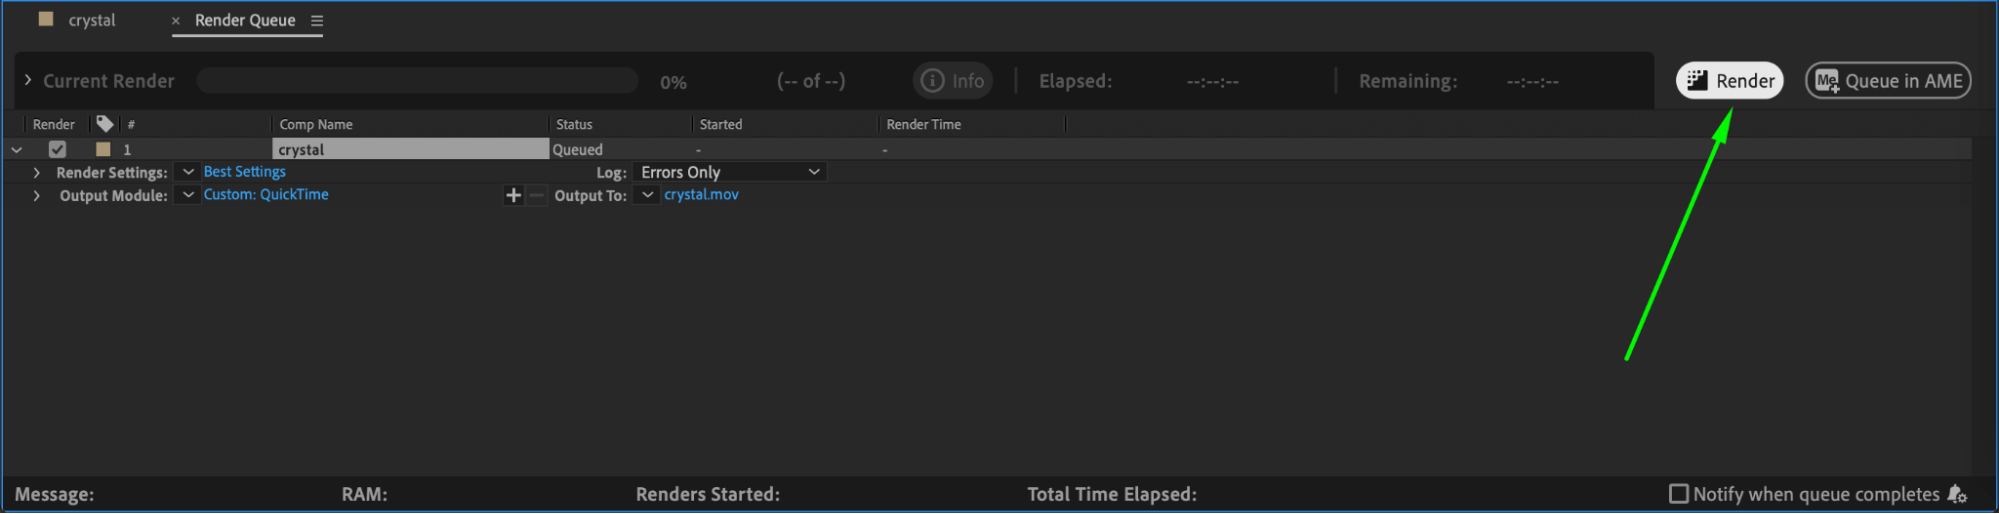
Go to Composition > Add to Render Queue. This will open the Render Queue panel, where you can set the output format and transparency options.
Step 3: Choose the Right Output Format
Click on Output Module, then select a format that supports transparency:
QuickTime (Apple ProRes 4444 or Animation codec)
PNG Sequence
TIFF Sequence
These formats preserve the Alpha channel, ensuring your video keeps its transparency.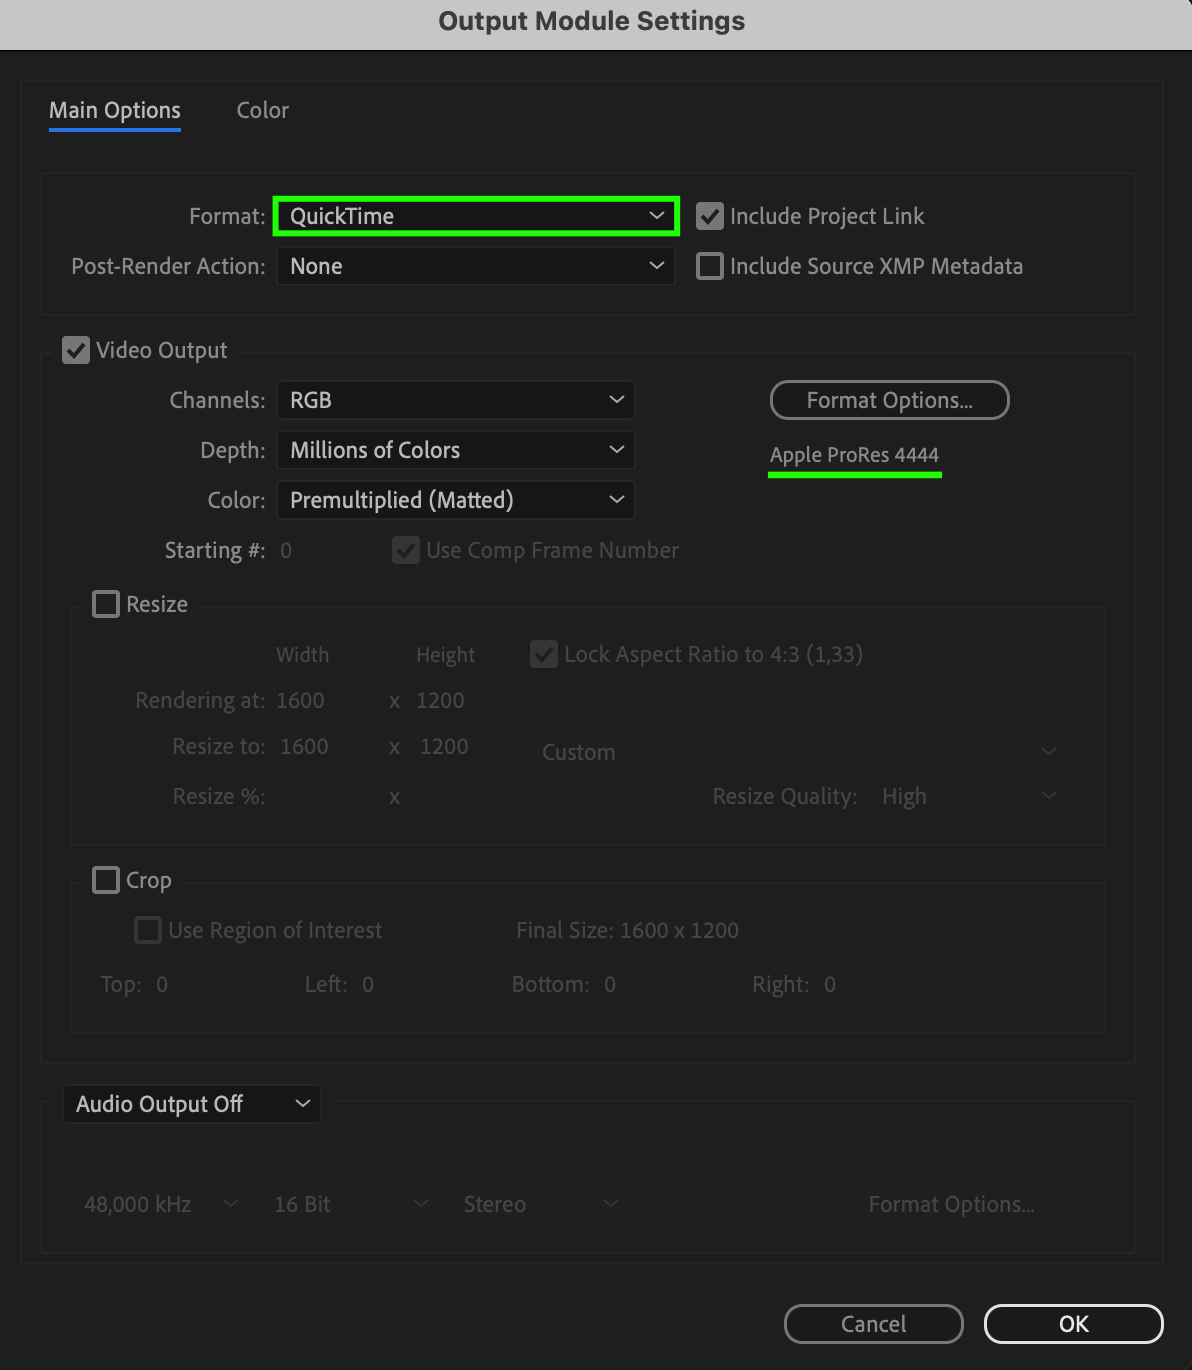 Step 4: Enable RGB + Alpha
Under Channels, select RGB + Alpha instead of just RGB. This setting ensures that both color and transparency information are included in the export.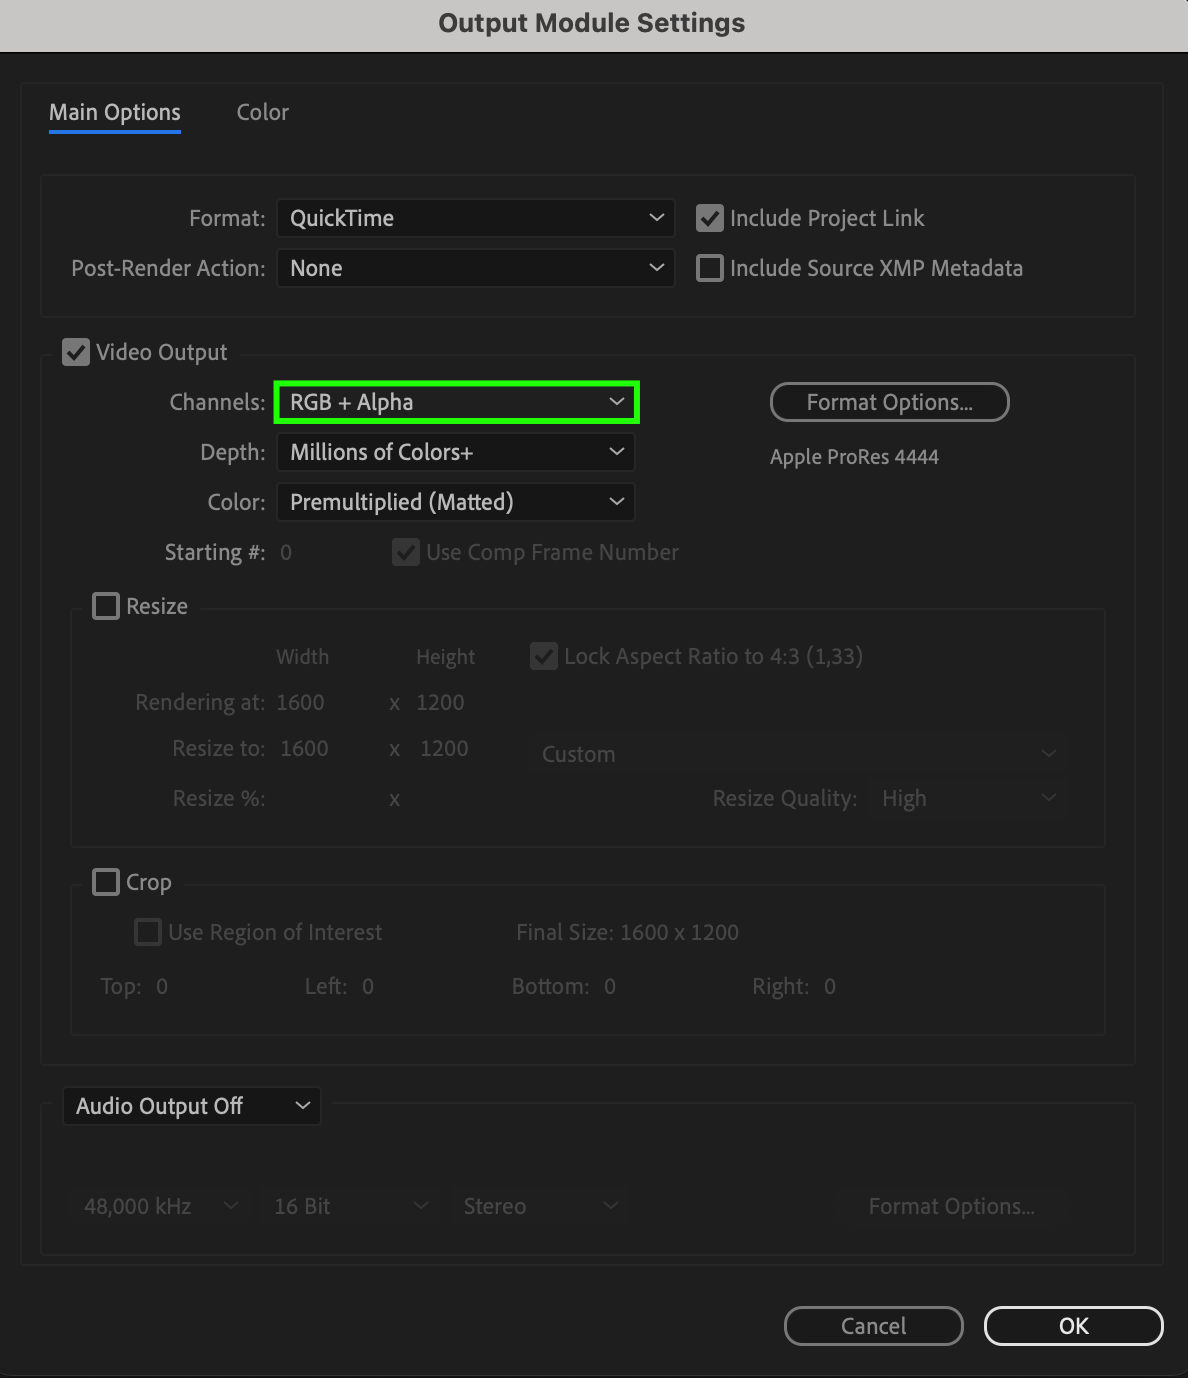 Step 5: Set the Correct Color Depth
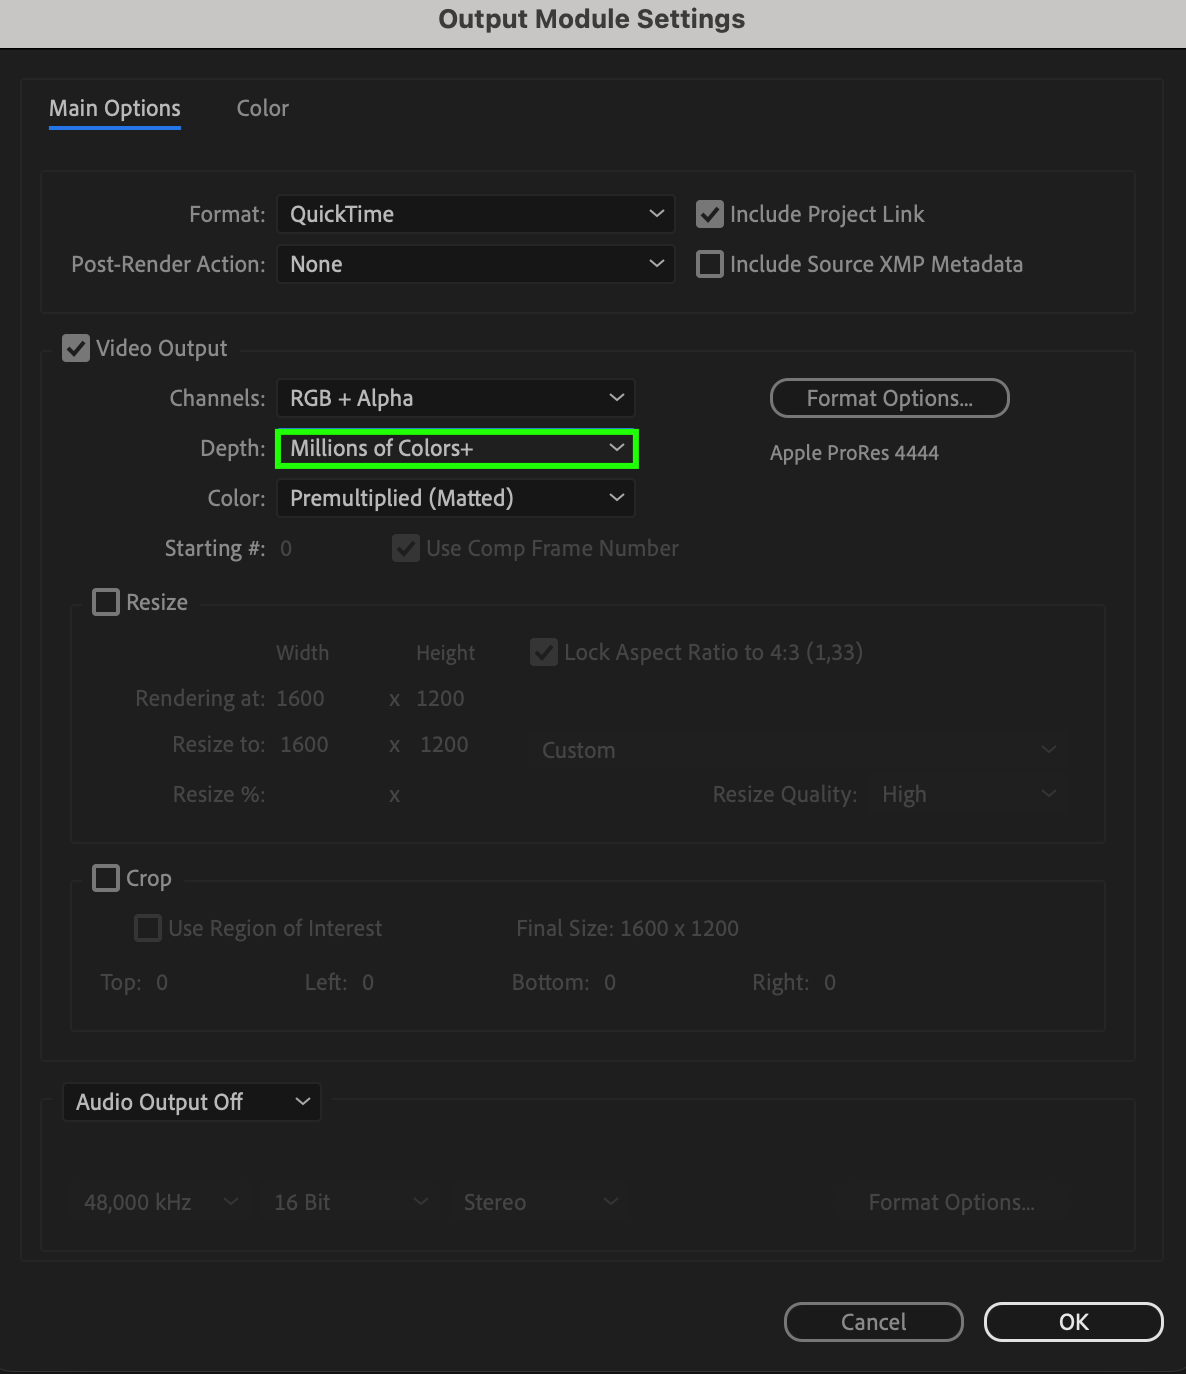
For the best quality, choose Millions of Colors+ in the color depth settings. The “+” symbol indicates that the Alpha channel is included.
 Step 6: Export the File
Click Render to export your video. If you’re using Adobe Media Encoder, make sure to select a format that supports Alpha channels (such as ProRes 4444).
 Conclusion
Exporting in RGB + Alpha ensures your video retains transparency, making it versatile for compositing. Using the correct format and settings will help you achieve a high-quality result that integrates seamlessly into other projects.
Our Bestsellers


