How to Export Videos as MP4 in Adobe After Effects
Mastering the Art of Exporting MP4 Videos in After Effects
Exporting videos in the correct format is essential, especially if you plan to share your work online or across different platforms. One of the most commonly used formats for high-quality video with manageable file size is MP4. However, exporting an MP4 file directly from After Effects can be a bit tricky since After Effects doesn’t natively export MP4s without the help of a few settings adjustments.
In this guide, we’ll walk you through the step-by-step process of exporting your videos in MP4 format, ensuring that your files maintain excellent quality without becoming too large. Whether you’re a beginner or a seasoned After Effects user, this tutorial will help you export your videos smoothly and efficiently.
Step 1: Add Your Composition to the Render Queue
To start the export process, go to the Composition menu at the top of the After Effects interface and select Add to Render Queue. This will send your current composition to the render queue, where you can adjust export settings and prepare it for rendering. The render queue is where all your export options are controlled, allowing you to select formats, resolutions, and other output preferences.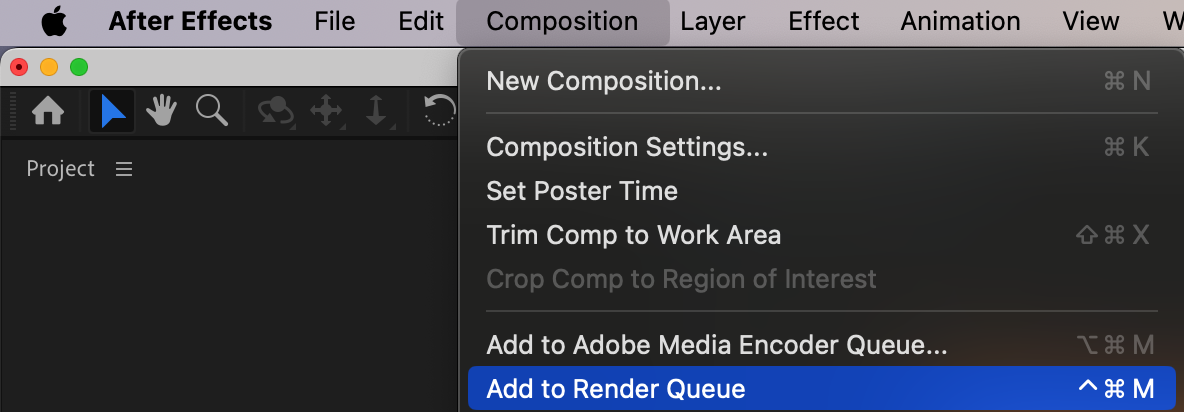 Step 2: Adjust the Output Module Settings for MP4
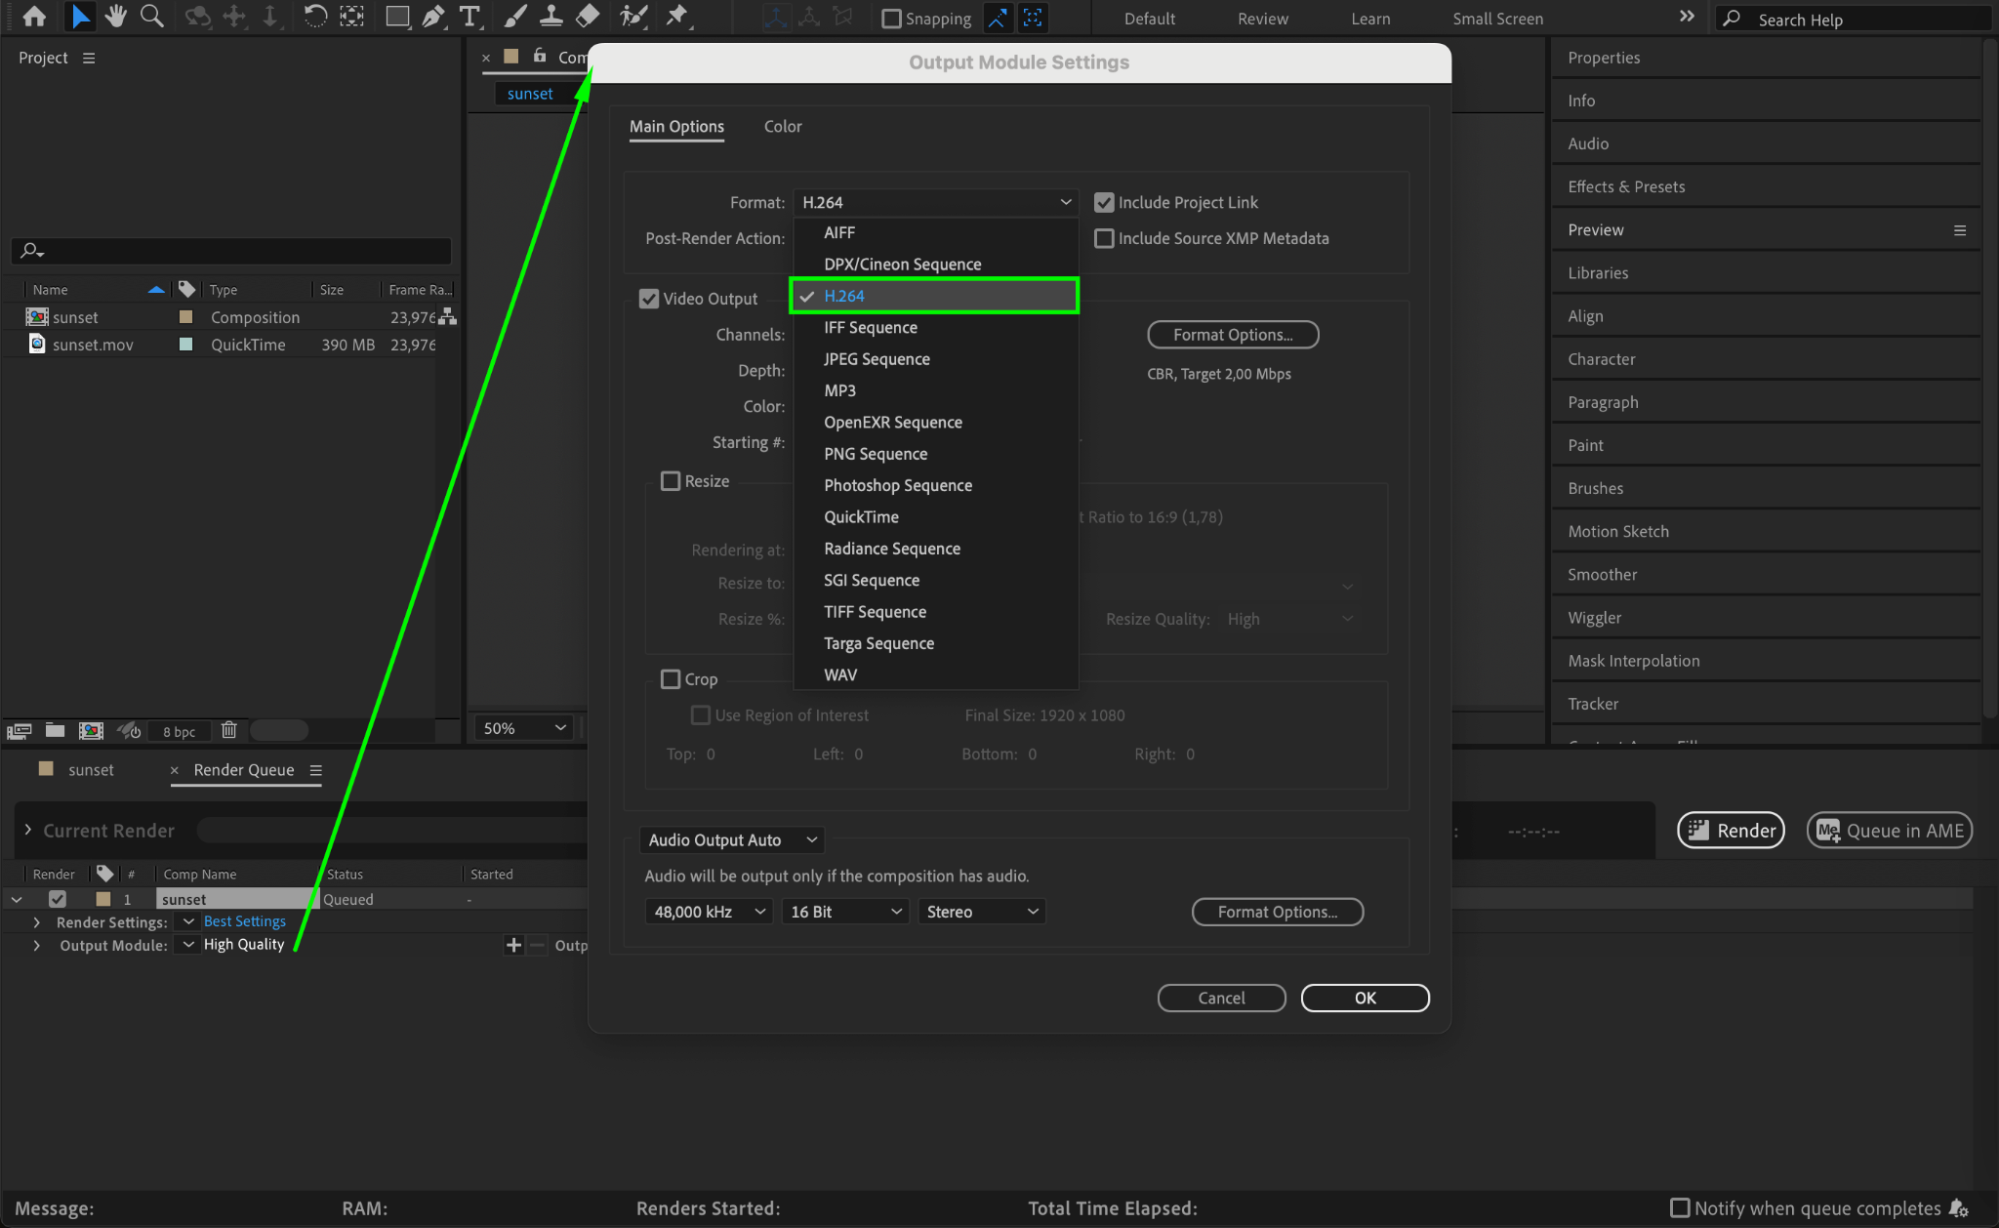
Get 10% off when you subscribe to our newsletter

In the Render Queue panel, you’ll see an option next to Output Module. Click on the text next to it (it will likely say “High Quality” by default). This opens the Output Module Settings window. In the dropdown menu under Format, choose H.264, which is the codec necessary for exporting MP4 files. After selecting H.264, the file format will automatically be set to export as MP4 once the process is complete.
 Step 3: Customize the Export Settings
To fine-tune your export settings, click on the Format Options button. This will open additional settings where you can adjust parameters such as encoding and bitrate. Choose the encoding that works best for your project. High settings offer better quality but may result in larger file sizes. You can set a custom bitrate to control the size and quality of your MP4 file. 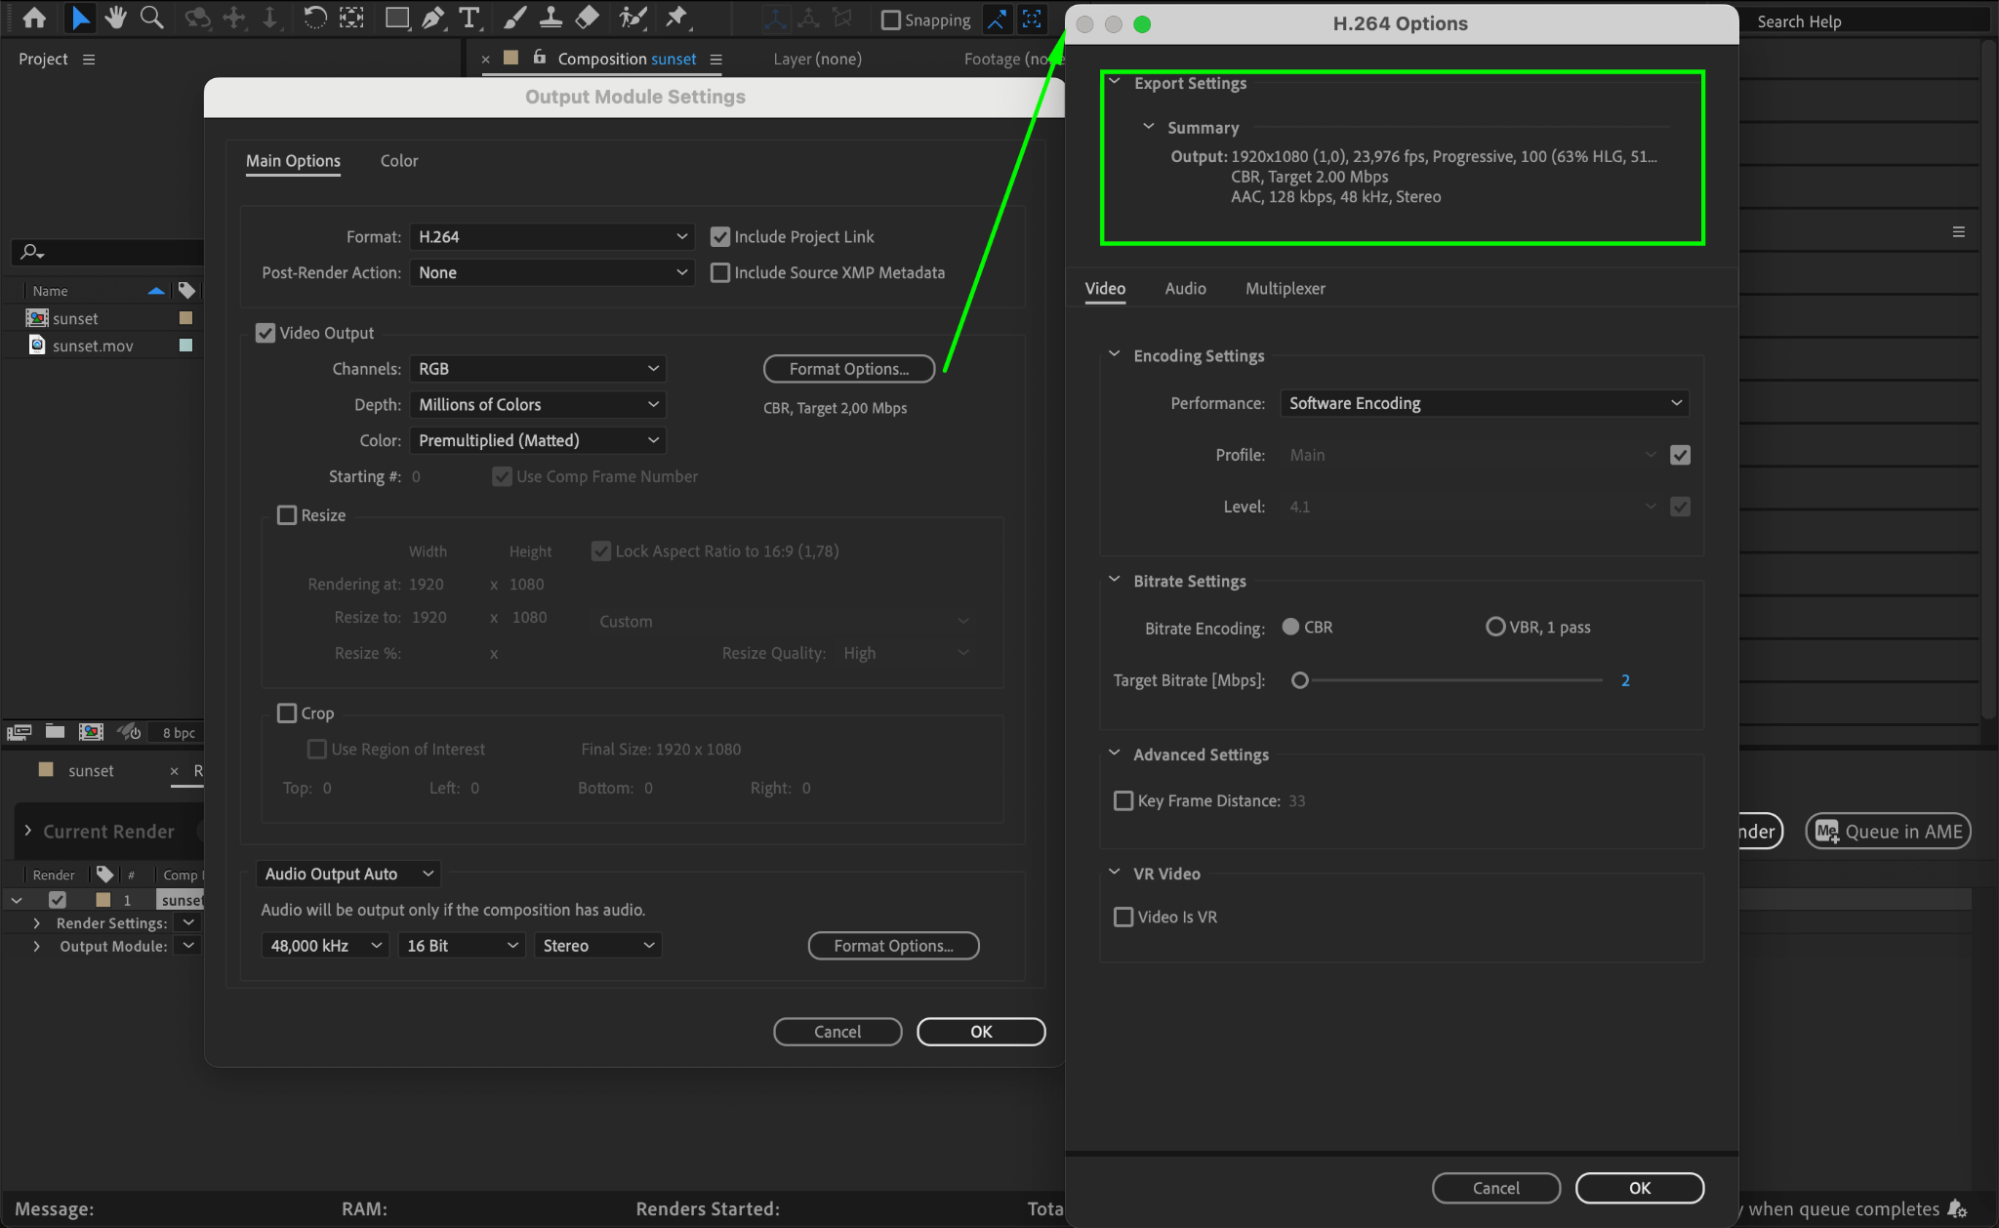 Step 4: Select Output Location and File Name
In the render queue, next to Output To, click on the text displaying the current file name. This opens a dialog box where you can choose where to save your file and give it an appropriate name. Ensure you’re saving it in a location where you can easily find it once the render is complete. Choosing an appropriate file name and location is important for organizing your projects.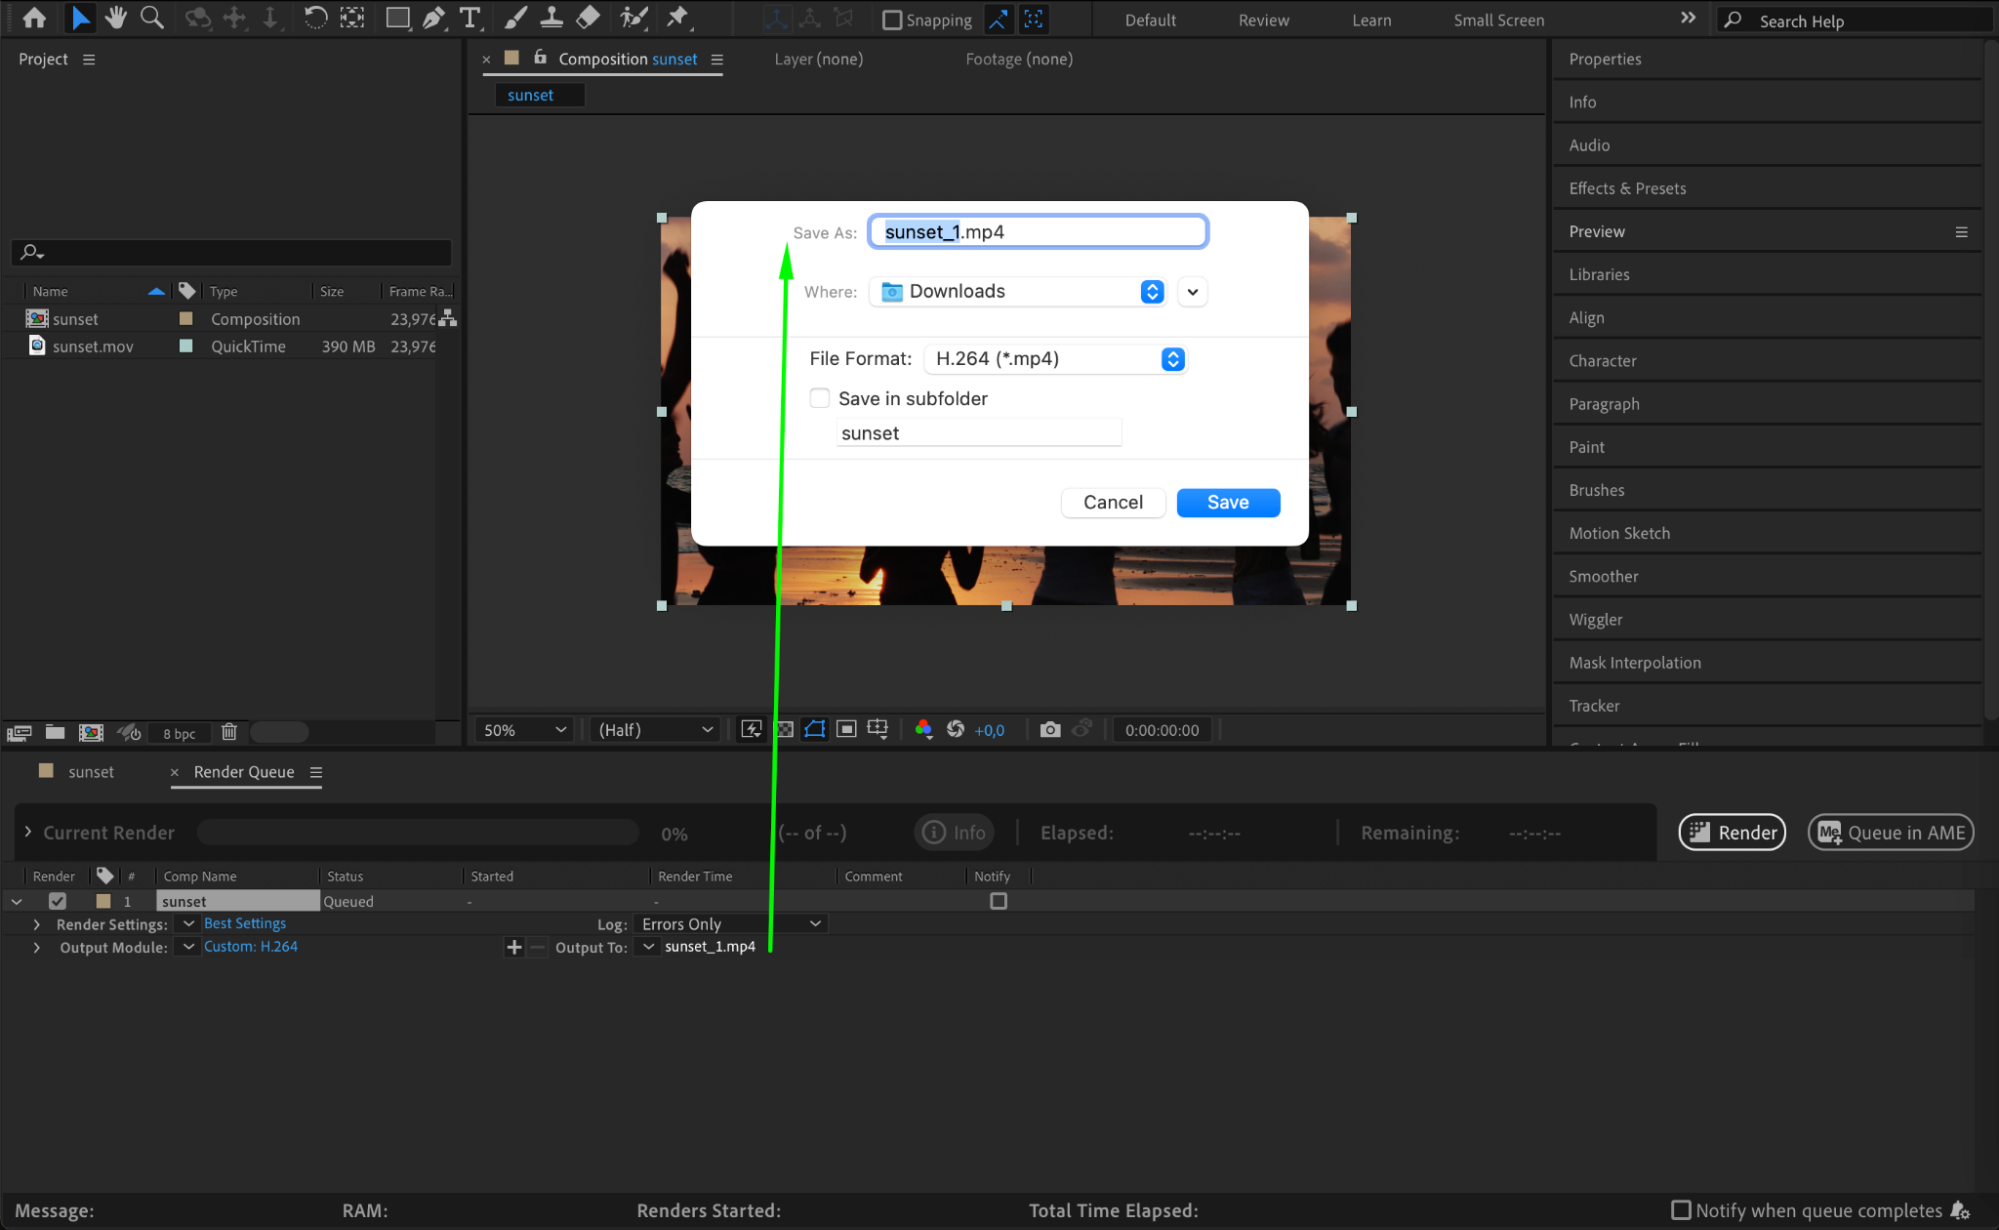 Step 5: Render Your Video
Now that all settings are in place, you’re ready to export! Simply press the Render button in the Render Queue panel. The rendering process will begin, and After Effects will convert your composition into an MP4 video. The time it takes to render will depend on the complexity of your project and the settings you chose, but once finished, you’ll have a high-quality MP4 video ready to be shared or published.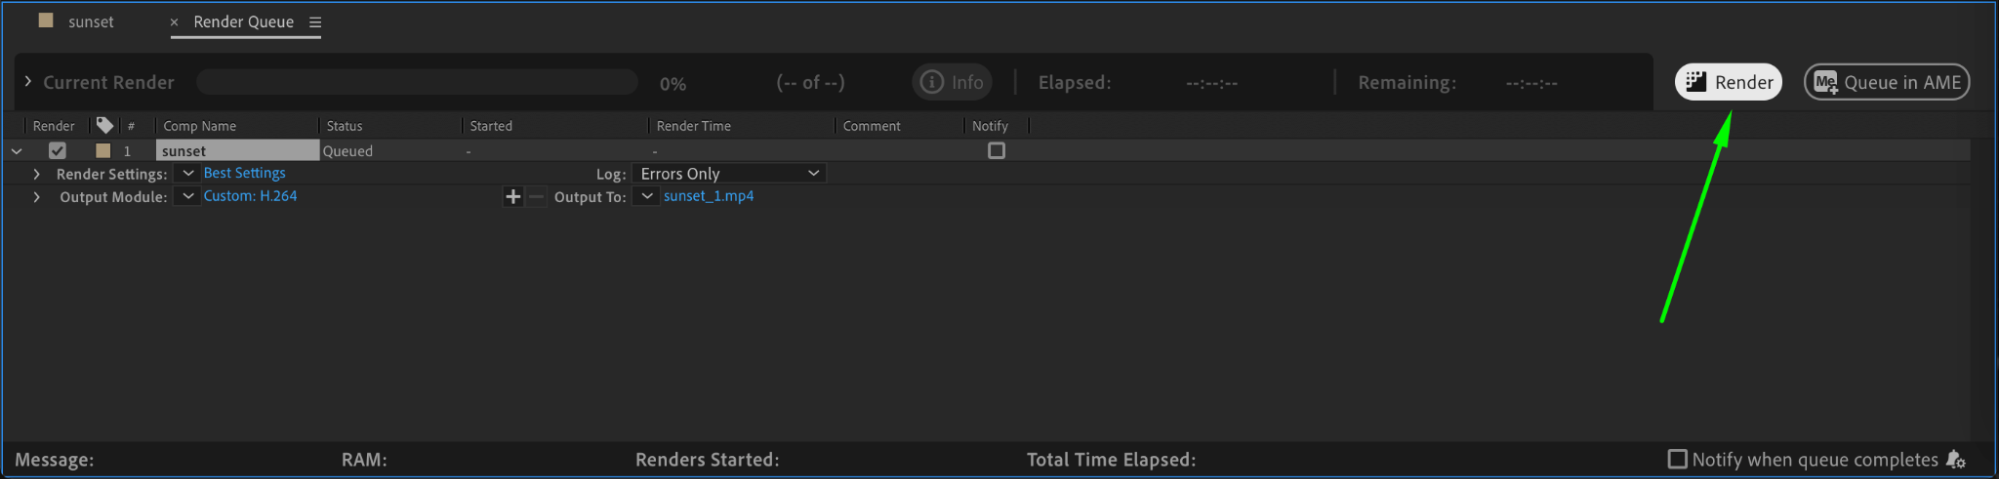
Conclusion
Exporting videos as MP4 in After Effects is essential for delivering high-quality videos with manageable file sizes. By following the steps in this tutorial, you’ll be able to seamlessly export your After Effects compositions as MP4, ready for online sharing, client delivery, or personal archiving.
Now that you’ve mastered this crucial skill, you’re one step closer to optimizing your workflow in After Effects. So go ahead, export your videos, and showcase your creativity to the world!
Our Bestsellers


