A Complete Guide to Exporting Videos from Adobe After Effects
Getting Started with Video Exports
Are you ready to take your video exports to the next level? Whether you’re a video designer or just someone who wants to share their creations, exporting videos from Adobe After Effects is easier than you might think. In this comprehensive guide, we’ll walk you through the process step by step, ensuring your videos look their best and are compatible with different platforms and devices.
Get 10% off when you subscribe to our newsletter

Step 1: Prepare Your Composition
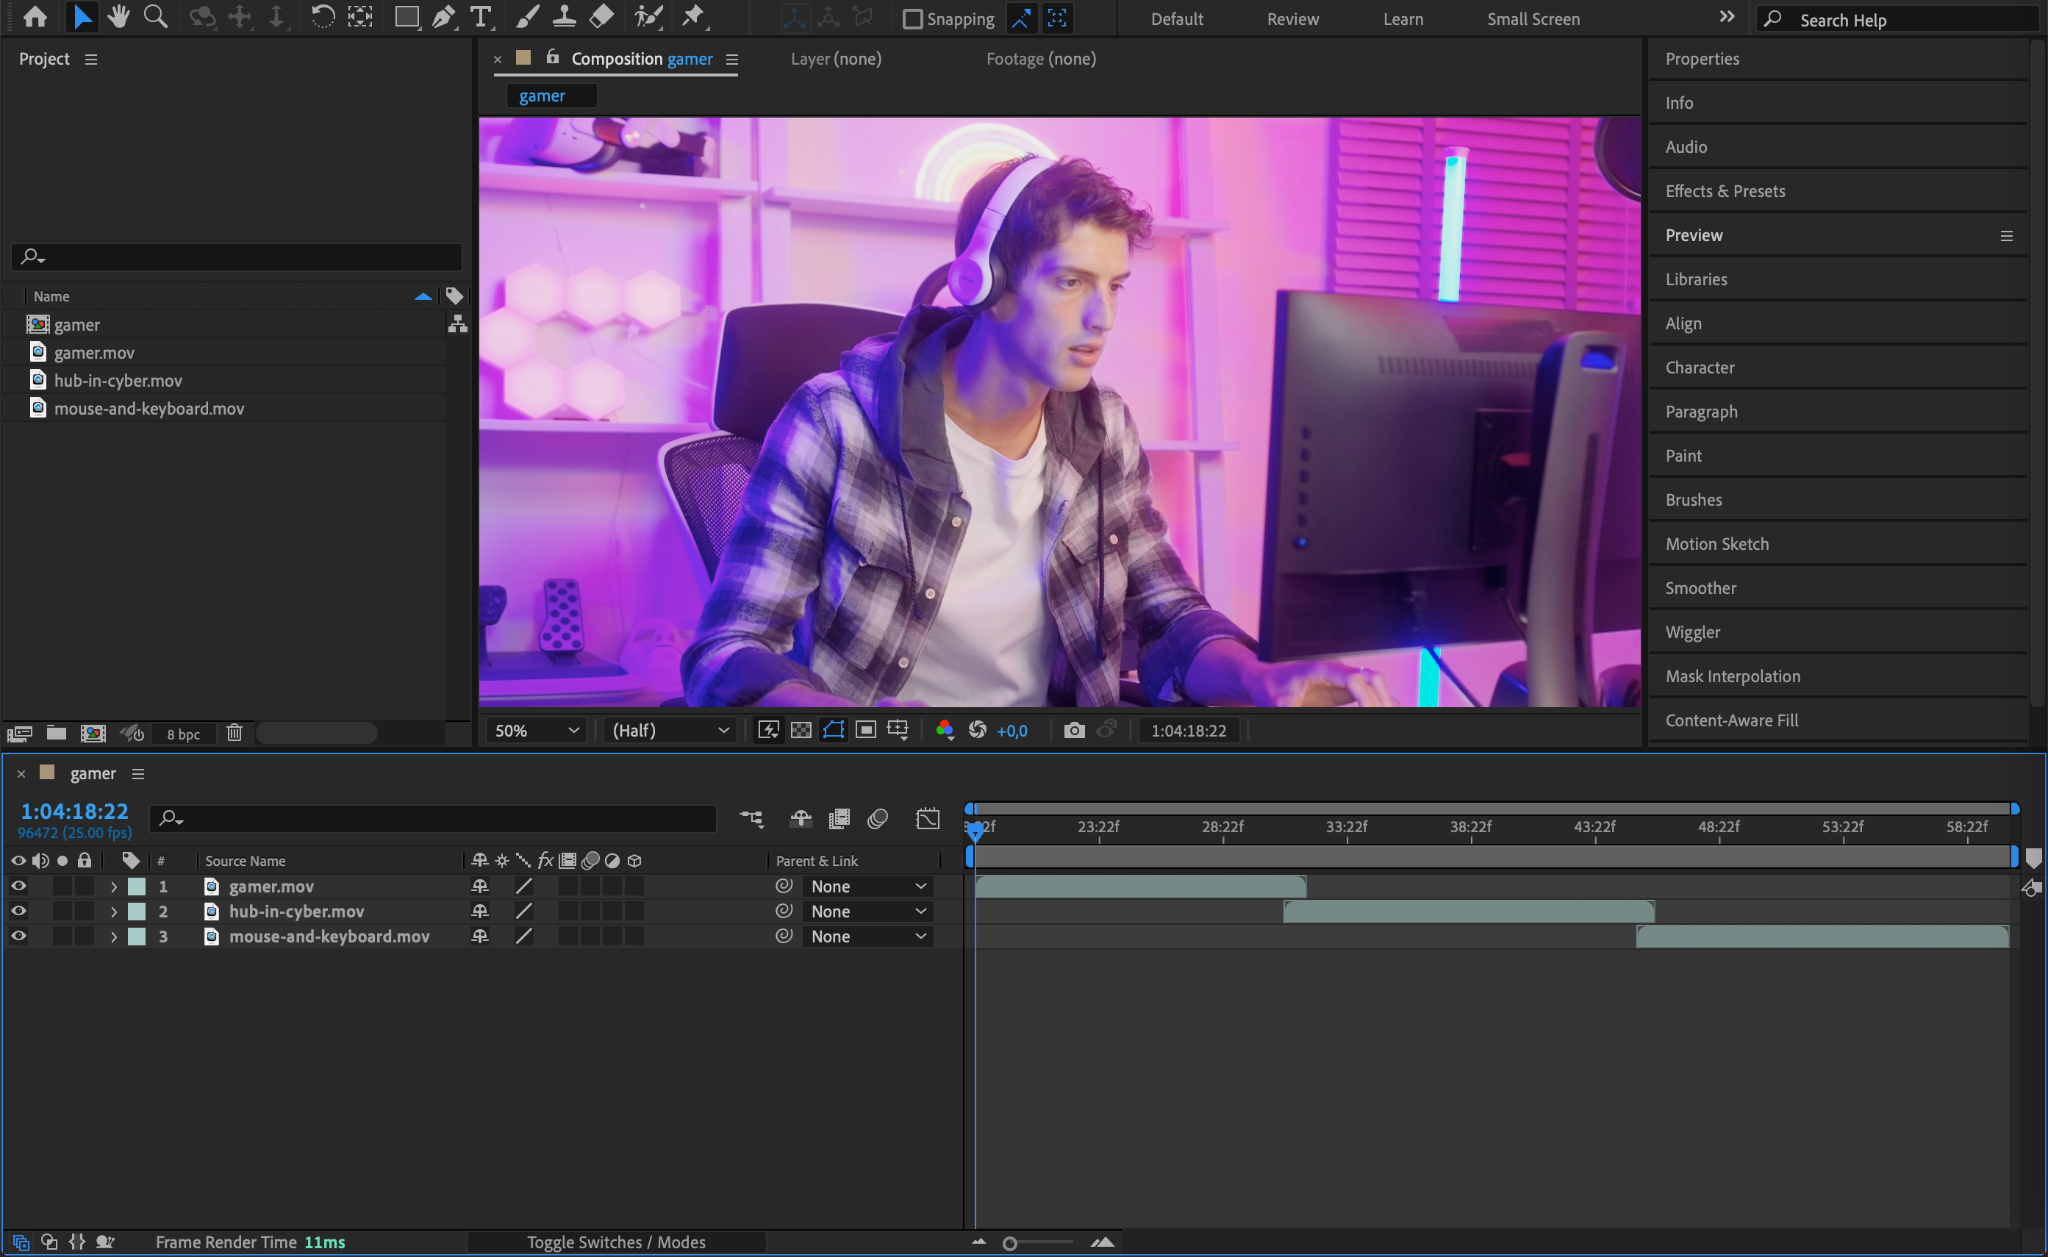
Before exporting, make sure your composition is ready for the final output. This means double-checking all effects, transitions, and animations. Take the time to preview your project and ensure everything looks just the way you want it. Finalizing your edits now will save you from the hassle of re-rendering later. Ensure that your composition settings (resolution, frame rate, and duration) match your desired output.
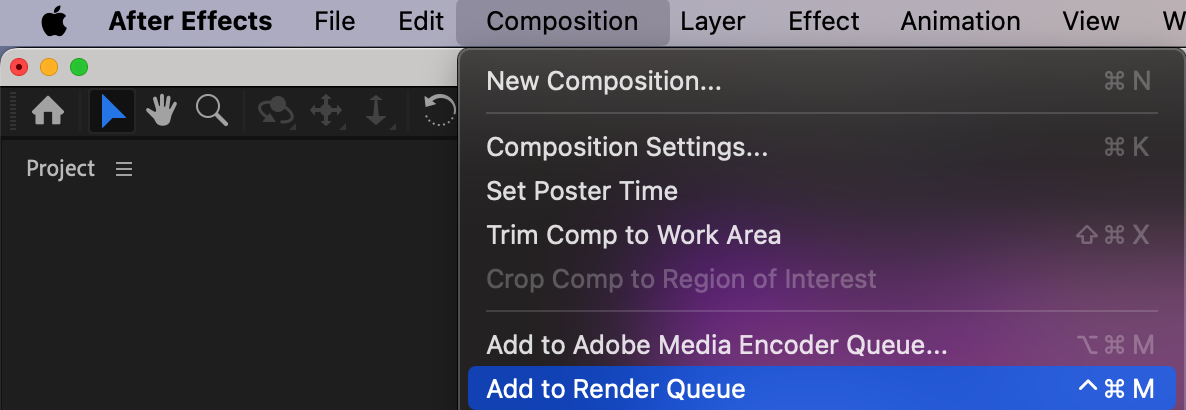
Step 2: Add to Render Queue
Select your composition from the Timeline or Project panel. Navigate to the Composition menu and choose Add to Render Queue. This action opens the Render Queue panel, where you can adjust the export settings. The Render Queue is where you can manage multiple compositions for export, allowing for a streamlined workflow.
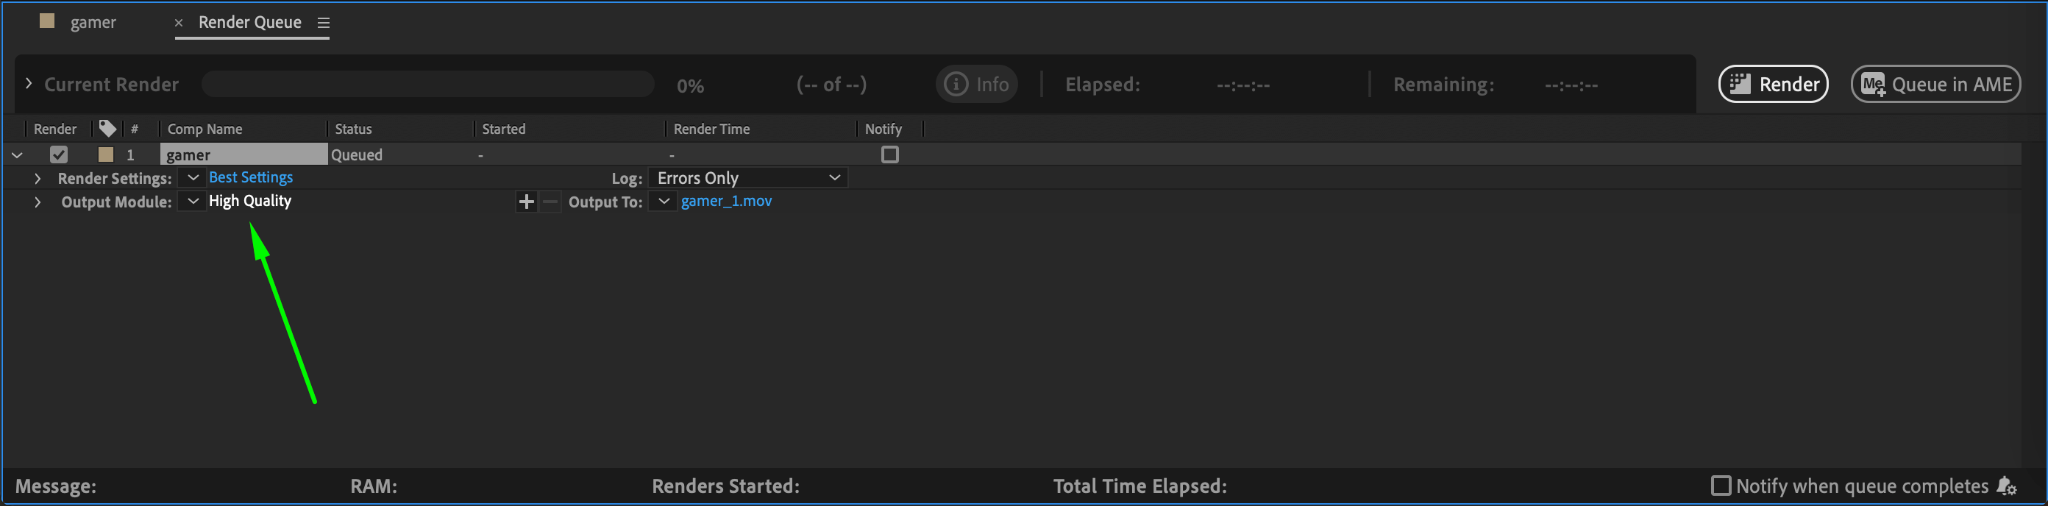
Step 3: Open Output Module Settings
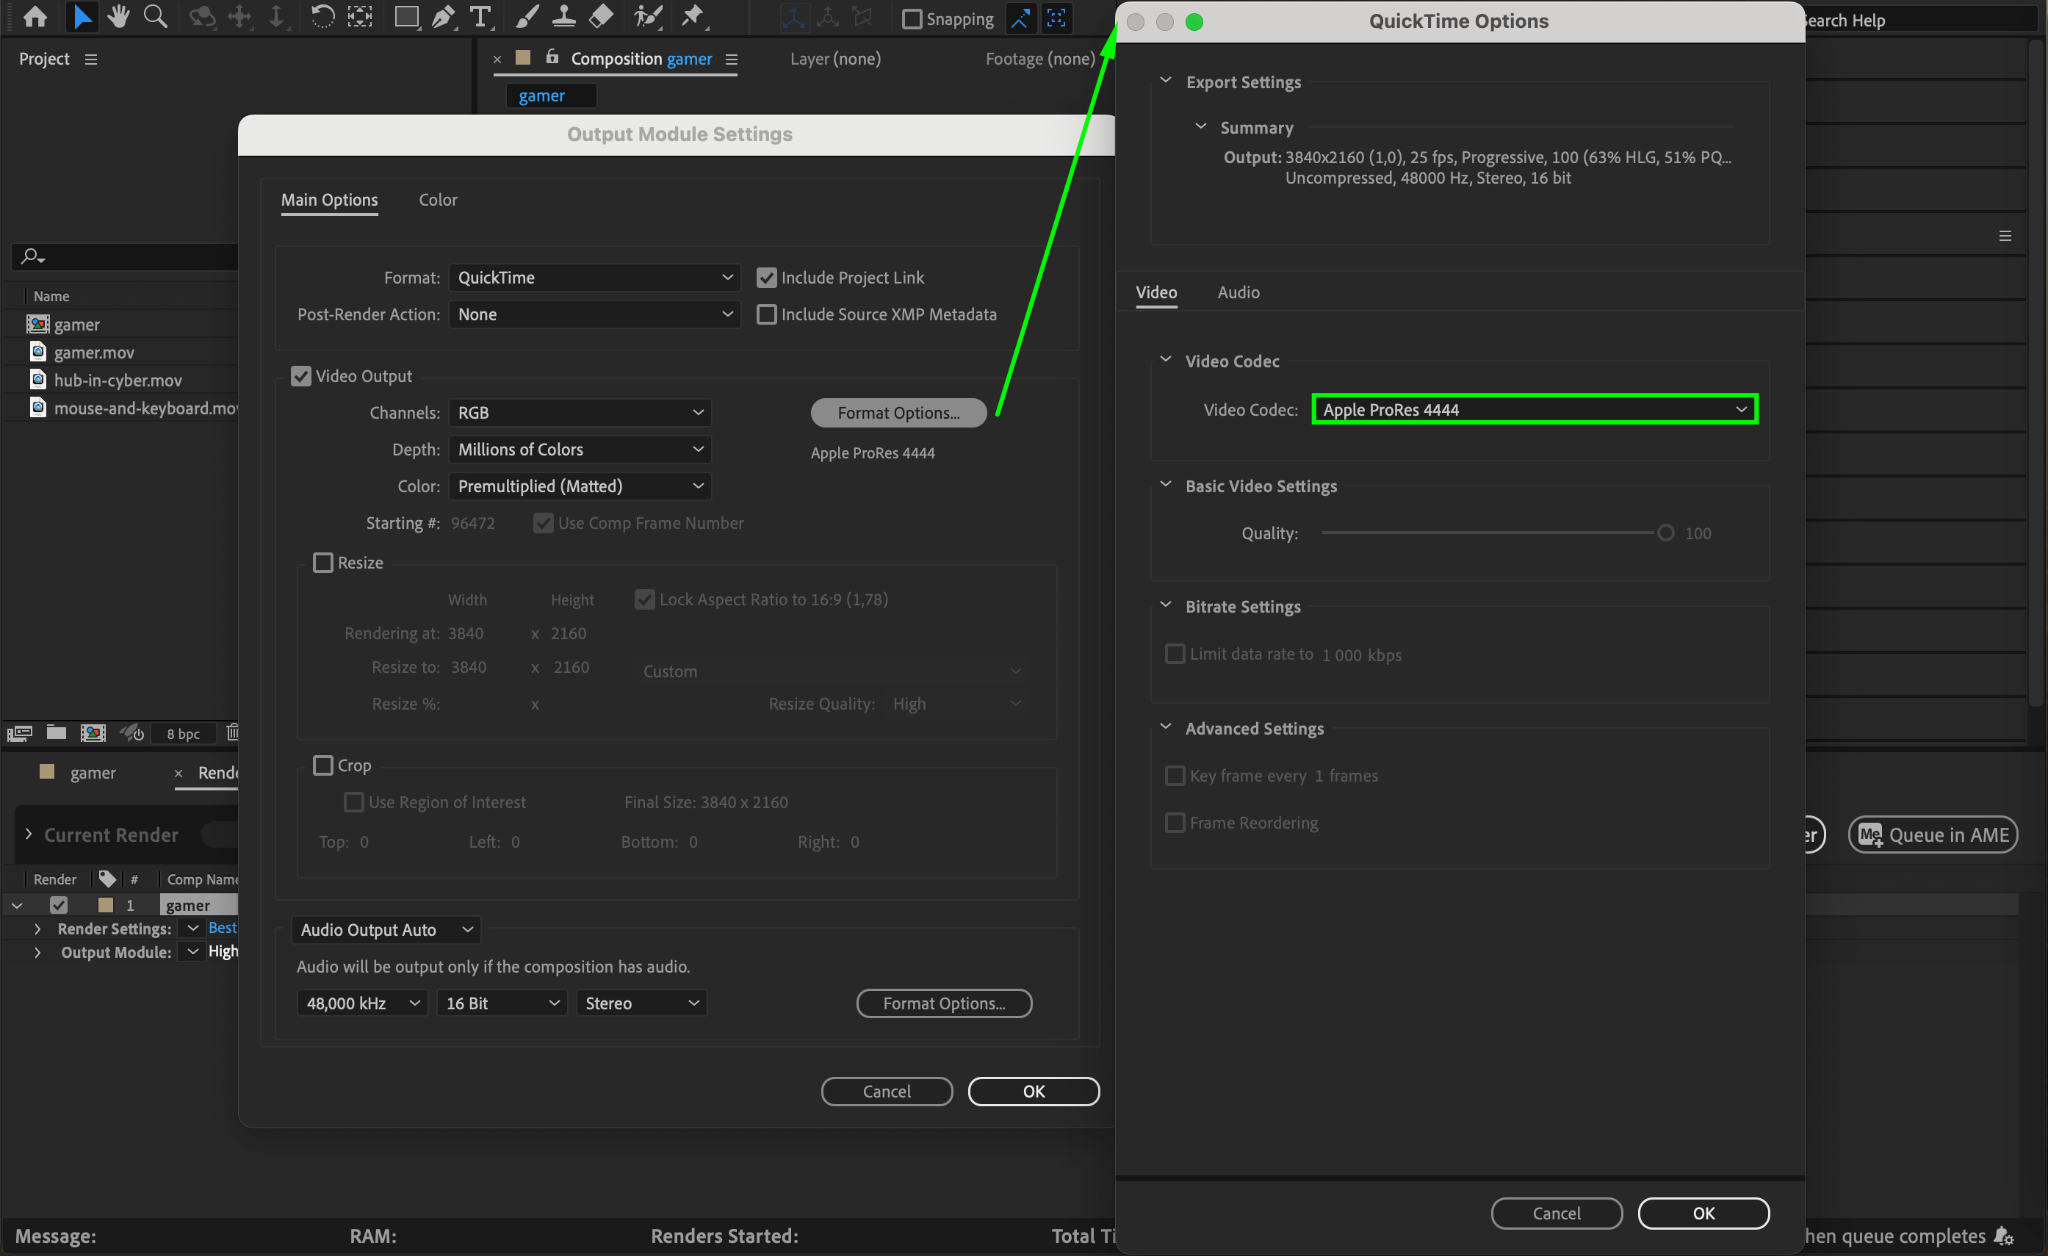
In the Render Queue panel, find the text next to Output Module and click on it to open the Output Module Settings. This window allows you to specify the format and settings for your export. Here, you can choose between various formats depending on your needs, such as QuickTime or H.264. Understanding these settings is crucial for achieving the desired output quality.
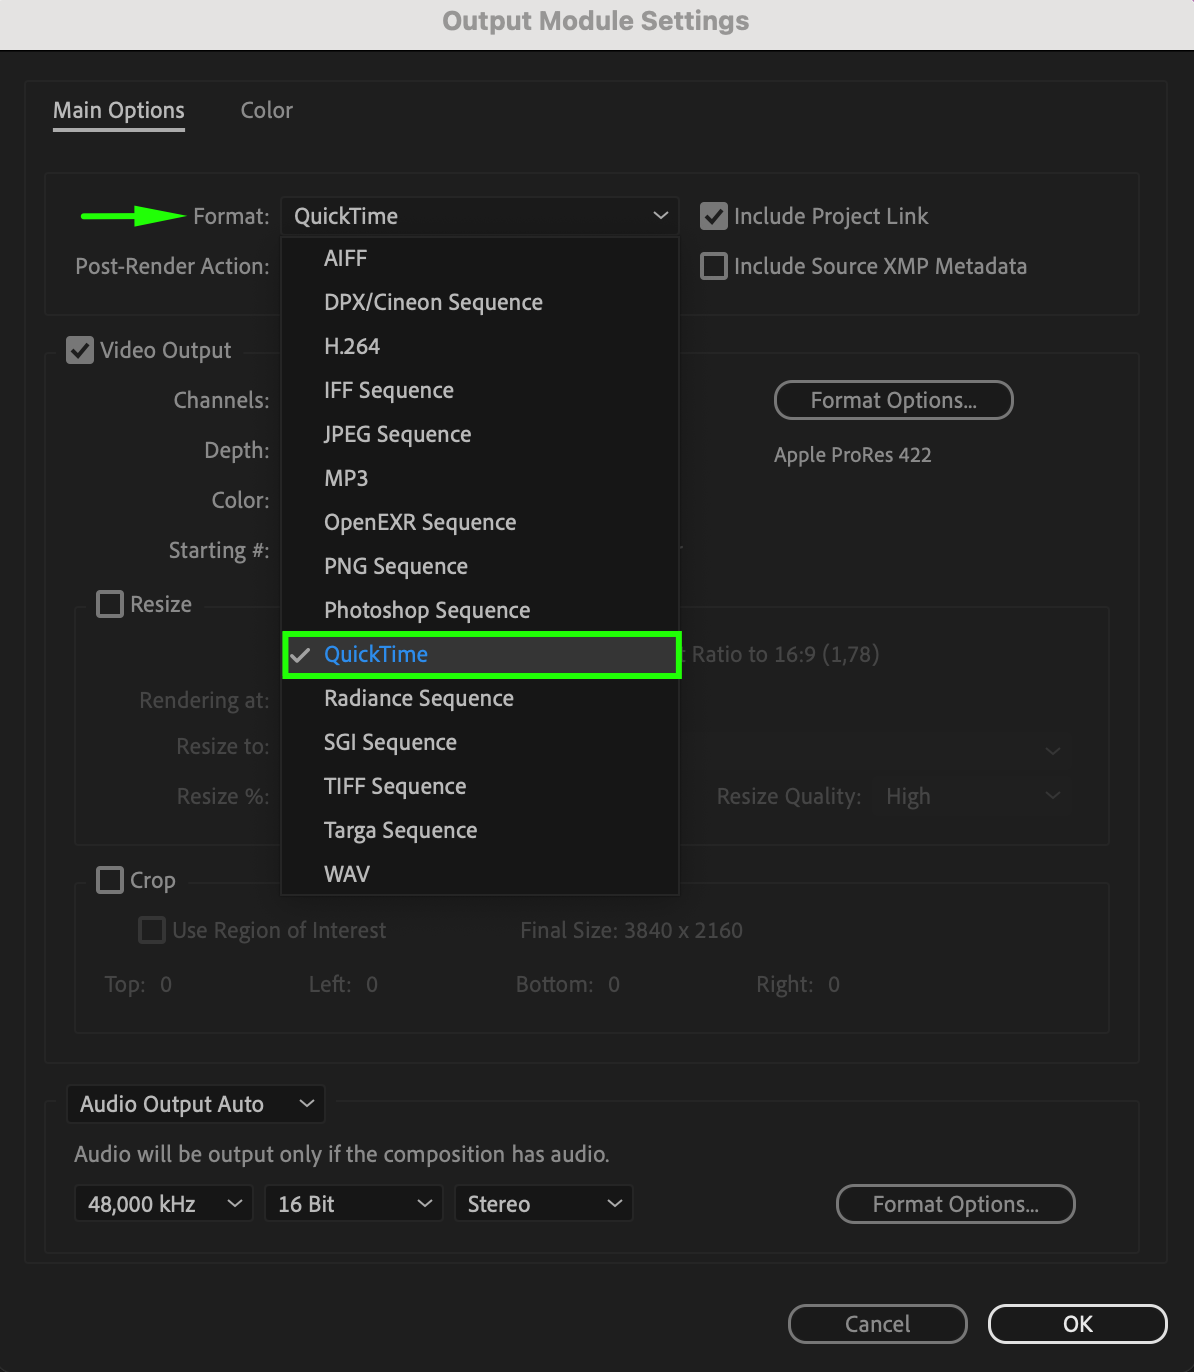
Step 4: Choose the Format
In the Output Module Settings, select QuickTime for .mov files or H.264 for .mp4 files as the format. Click on Format Options to define specific export settings, such as bitrate and quality. For QuickTime format, consider selecting the Apple ProRes 4444 codec for high quality. Adjust these settings based on your desired output quality and file size; higher bitrates typically result in better quality but larger files.
Step 5: Set Output Destination
Specify the output destination by clicking on the composition name next to Output To in the Render Queue panel. Choose a name for your exported file and select a location on your computer where you want to save it. It’s a good practice to organize your output files in specific folders to make them easier to find later.
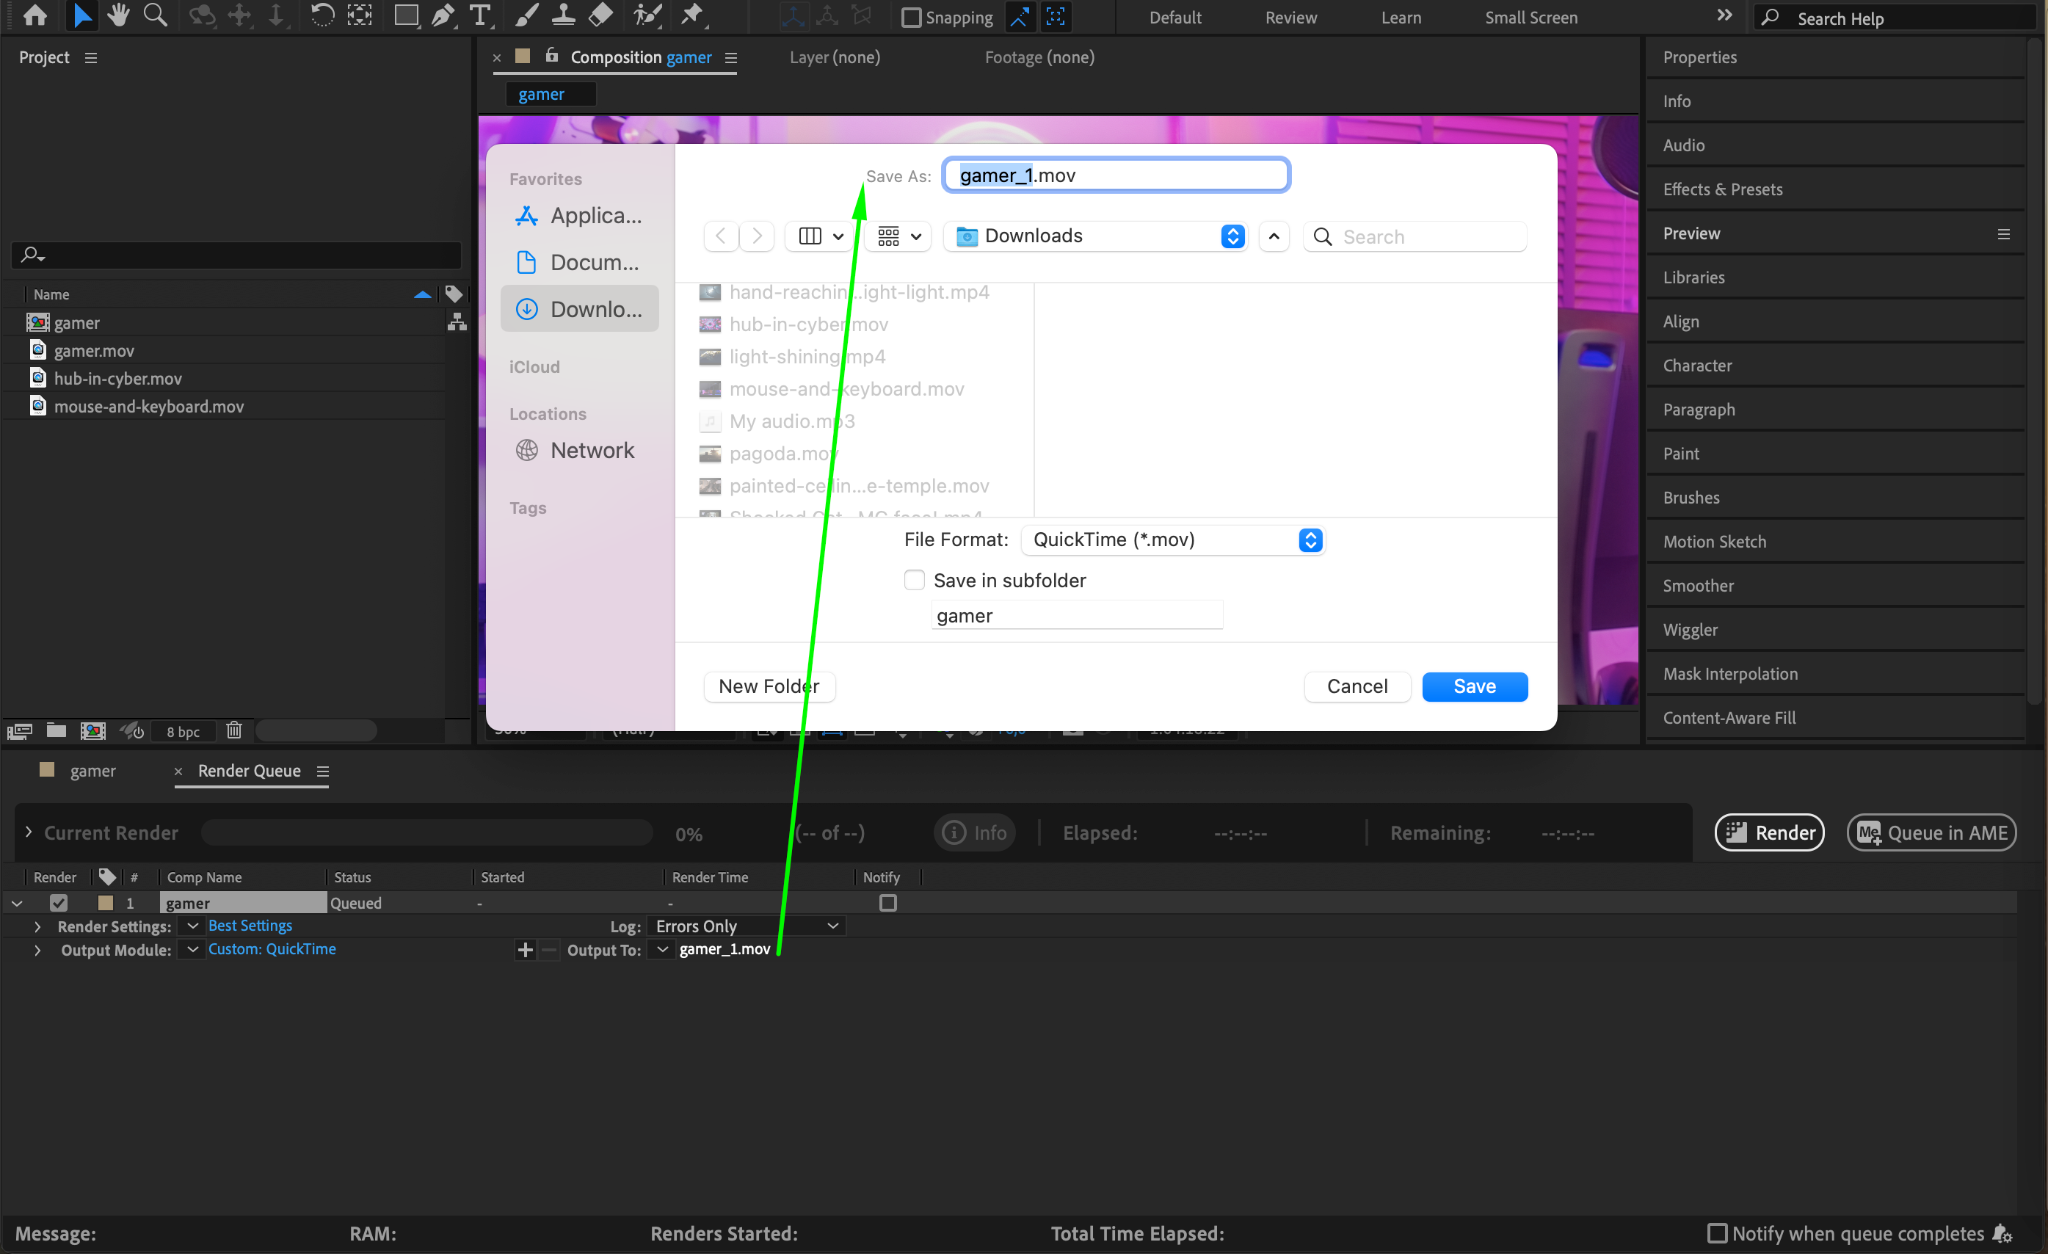
Step 6: Render Your Composition
Once all settings are configured, click on Render to start the export process. After Effects will render your composition and save it as a file in the chosen format at the location you specified. Depending on the complexity of your project and your computer’s processing power, this may take some time, so be patient. Once rendering is complete, you can find your exported file in the location you selected.

Conclusion
Congratulations! You’ve successfully learned how to export videos from Adobe After Effects. By following these steps, you can create high-quality videos ready for sharing across various platforms. Remember that practice makes perfect; the more you familiarize yourself with the export process, the more efficient you’ll become.
Keep exploring different export settings and formats to find what works best for your projects. Whether you’re creating for social media, professional presentations, or personal projects, mastering video export will elevate your video production skills!
Our Bestsellers


