How to Export After Effects Video as MP4 Format
Introduction
Exporting your After Effects project into an MP4 format is a crucial step if you want to share your video across multiple platforms or devices. MP4 is one of the most versatile and widely-used video formats, making it an ideal choice for sharing your work. In this guide, I’ll walk you through the exact steps to export your After Effects composition in MP4 while maintaining high video quality.
Get 10% off when you subscribe to our newsletter

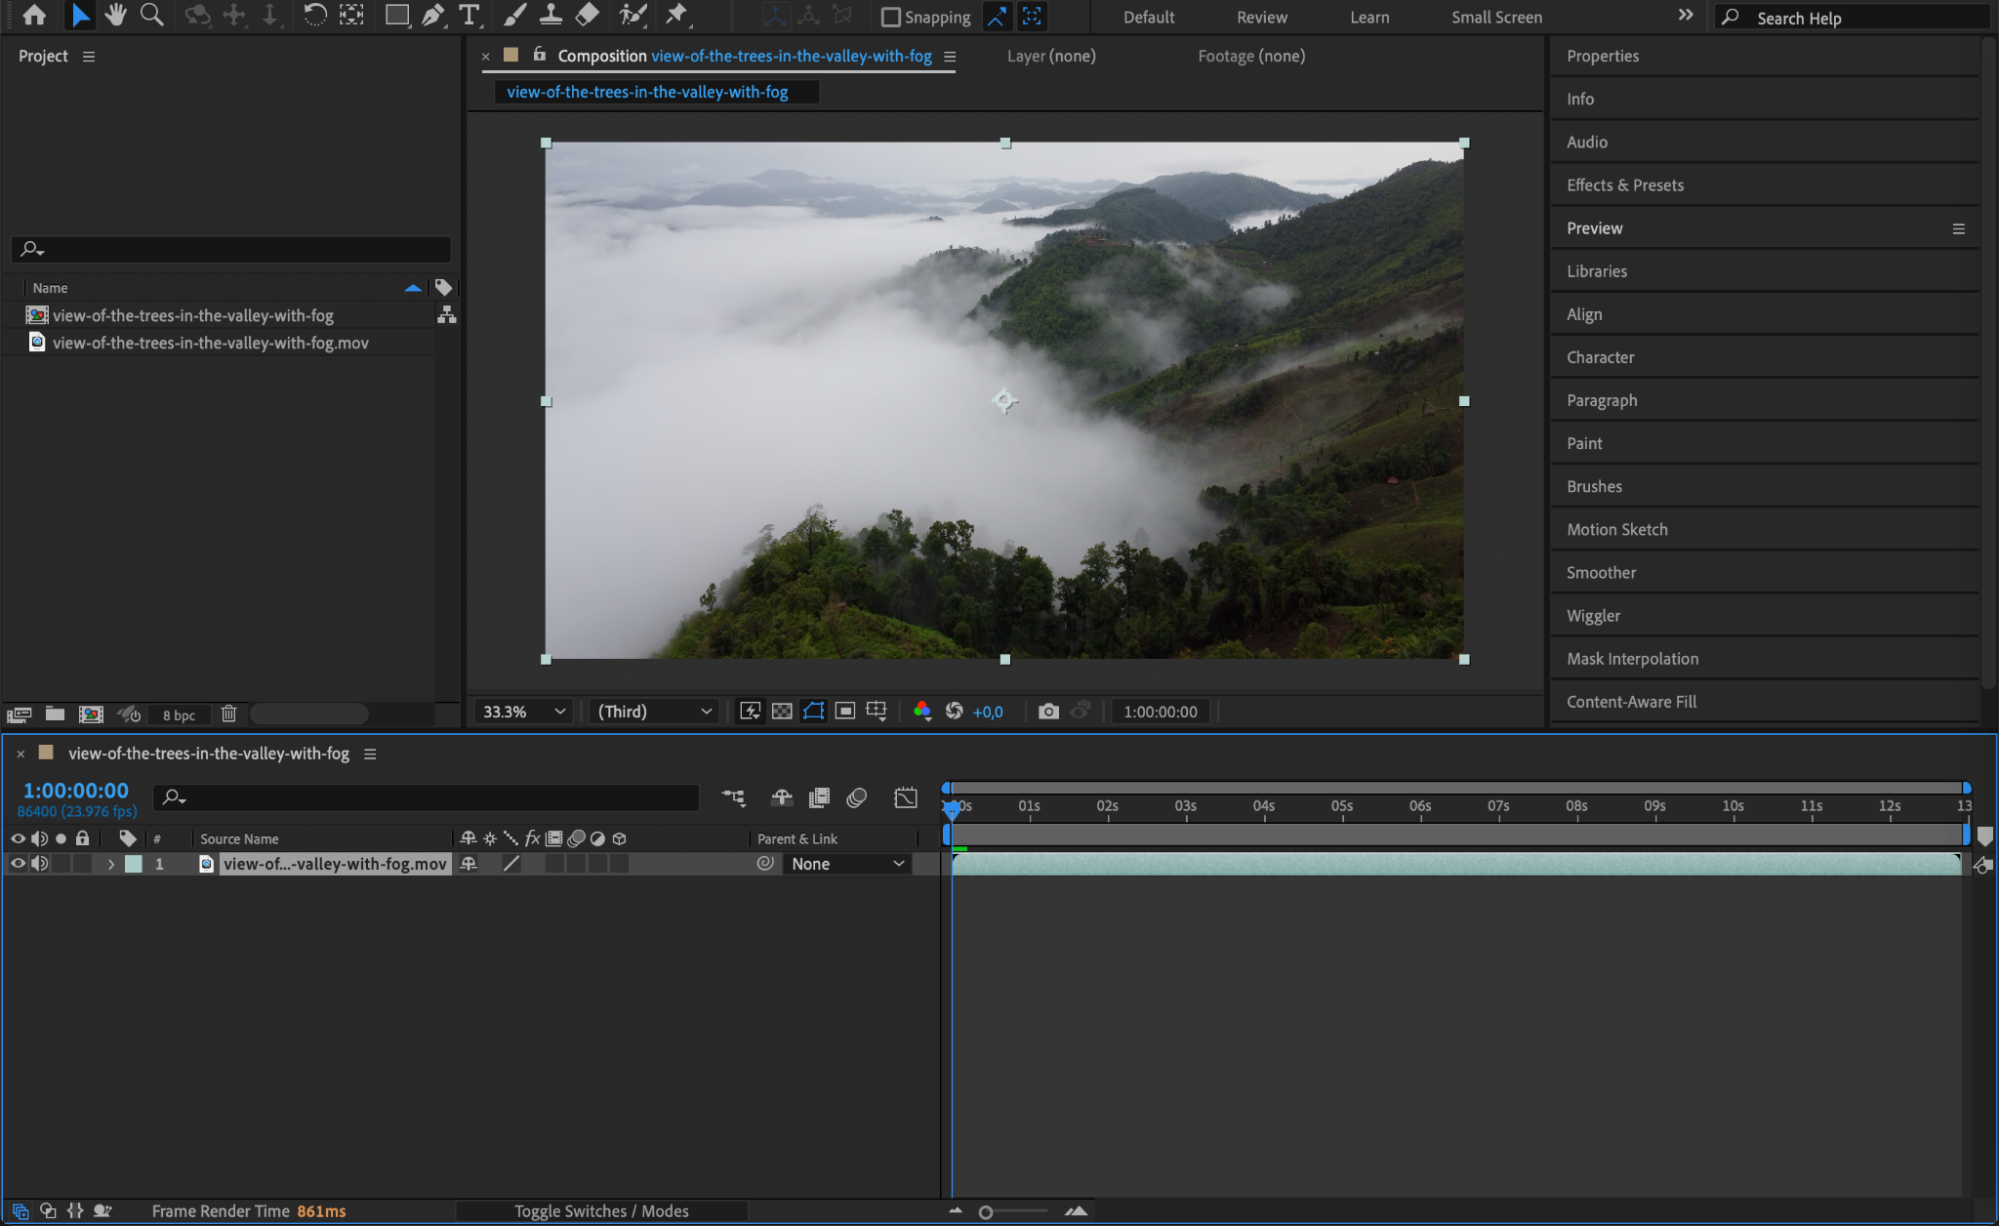
Step 1: Prepare Your Composition for Export
Before exporting your video, ensure that your composition is properly prepared. This means checking that your video starts and ends at the right points and ensuring all elements such as transitions, effects, and layers are correctly in place.
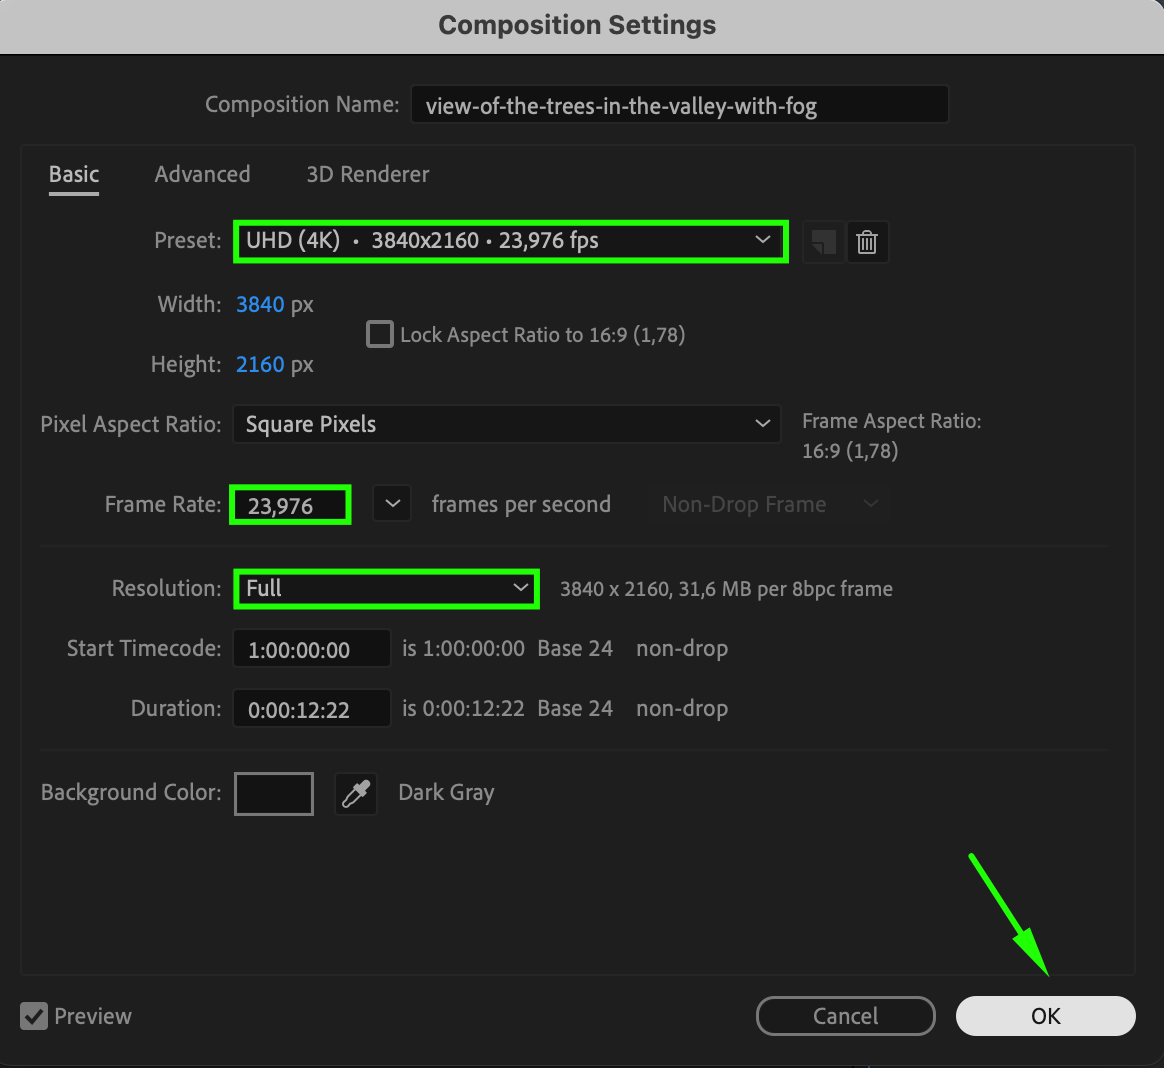
 Step 2: Adjust Composition Settings
Once your video is set, you’ll want to make sure the composition settings are configured correctly. Head to the “Composition” menu and select “Composition Settings.” In this window, you can adjust crucial details such as resolution, frame rate, and duration to match the final output you desire. Ensure that the settings reflect the final look and feel of your project.

 Step 3: Add Composition to Render Queue
With your composition ready and settings configured, the next step is to add your project to the Render Queue. Go to the “Composition” menu and select “Add to Render Queue.” This action will open the Render Queue panel at the bottom of After Effects. The Render Queue allows you to control how your project is exported, including format, quality, and other essential details. This is a crucial step, as it sets the stage for the final export of your video.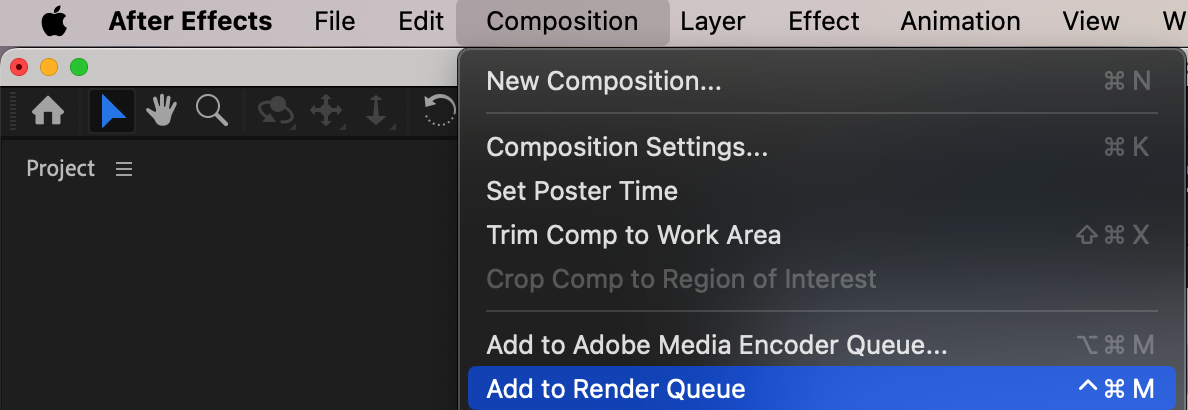
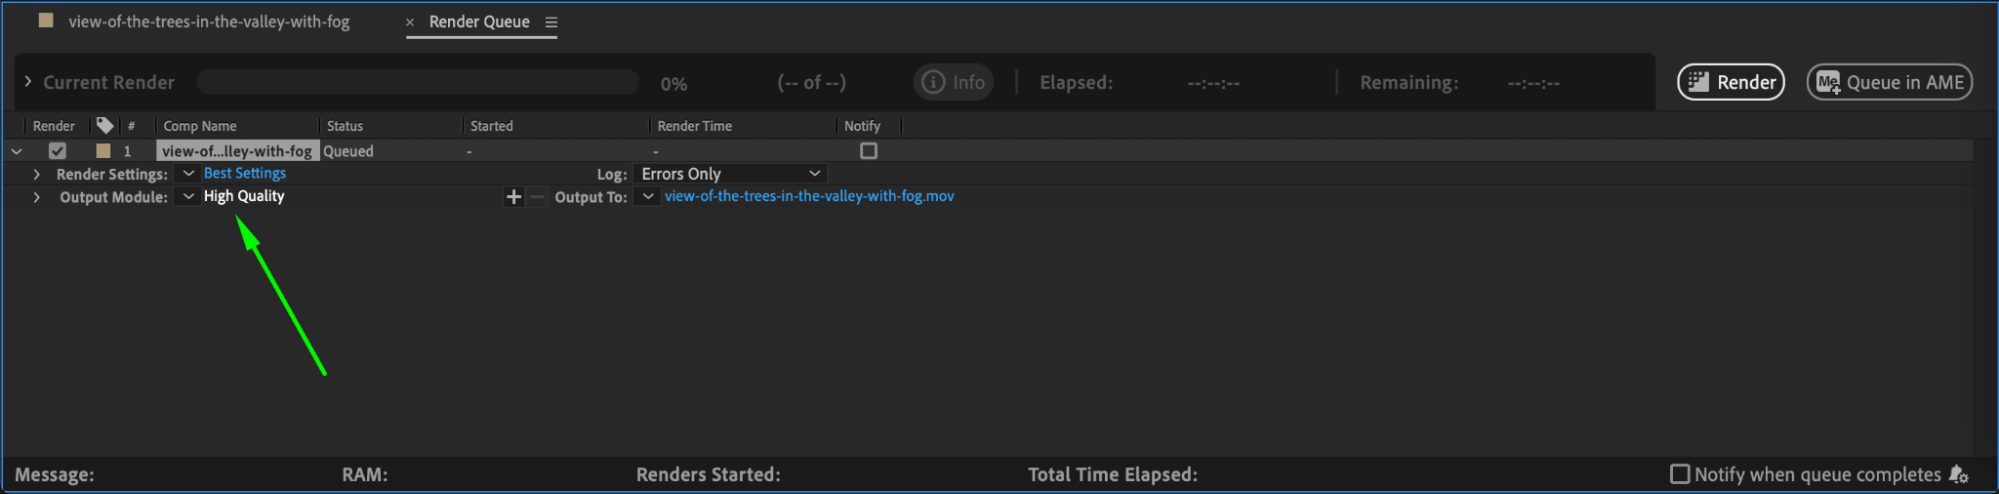
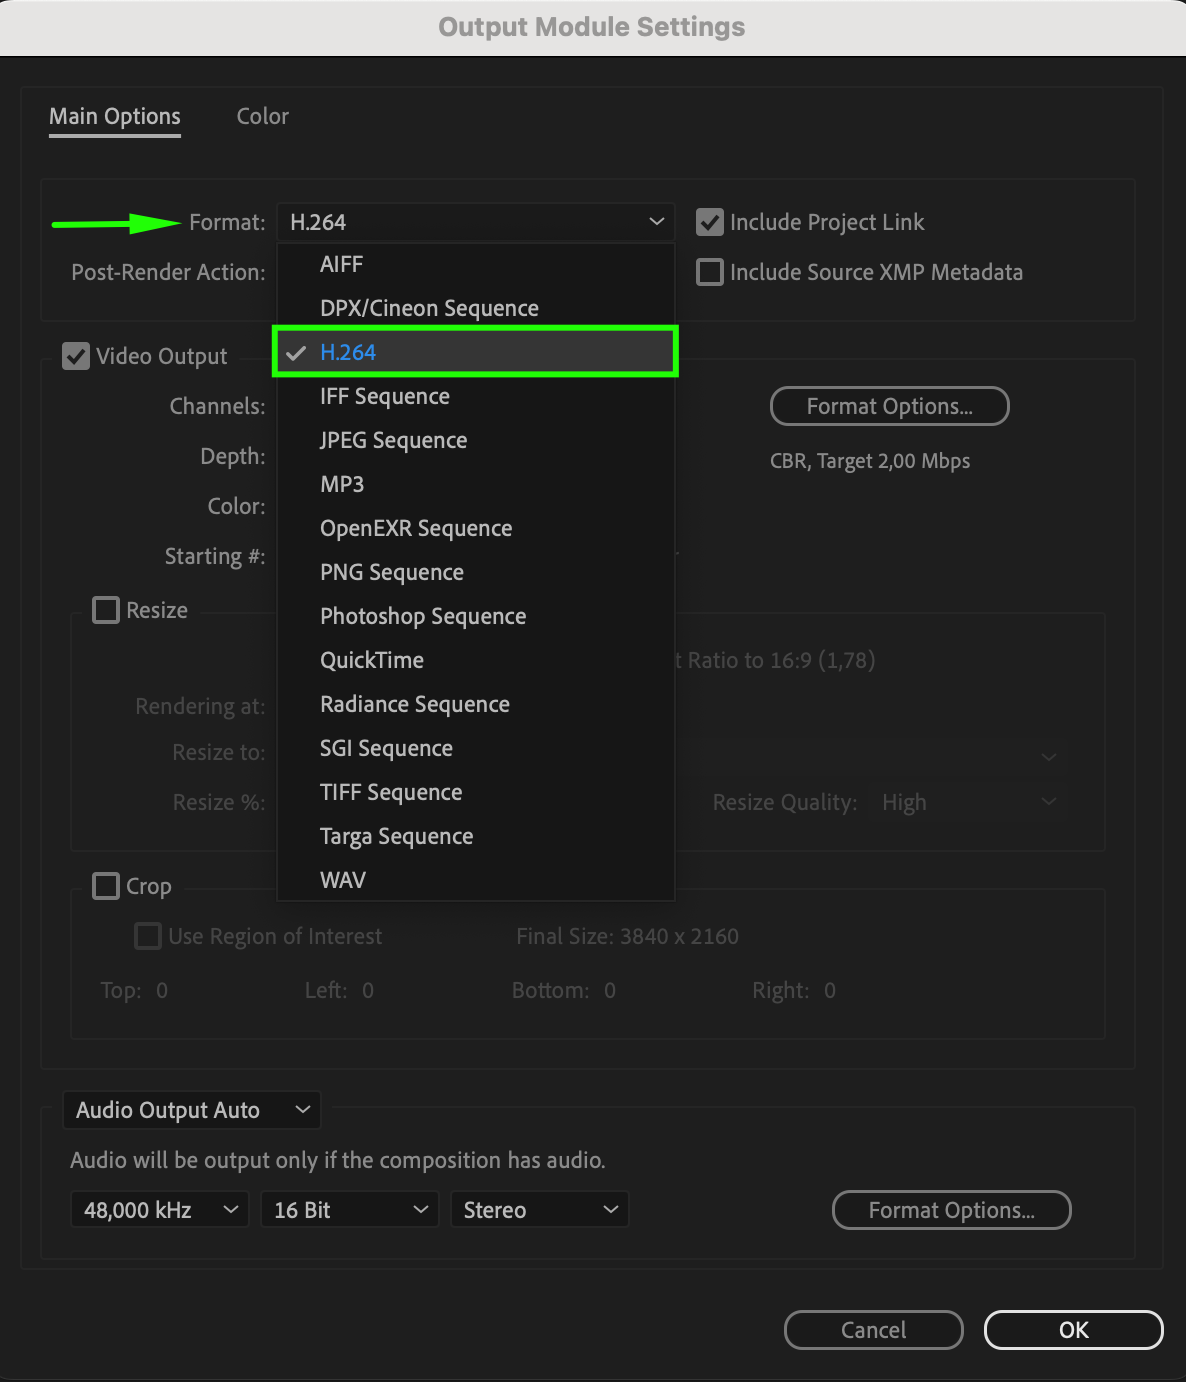
Step 4: Set Output Module Format to H.264
To export your video as an MP4 file, you’ll need to change the output format to H.264, which is the standard format for MP4. In the Render Queue, click on the text next to “Output Module” (it might say “High Quality” by default). In the Output Module Settings window, select H.264 from the Format dropdown menu. You can also adjust additional export settings, such as the bitrate, to ensure the best balance between video quality and file size. Using H.264 ensures your video is encoded in a universally supported format.

Step 5: Select the Destination and File Name
After configuring the export format, the next step is to choose where to save your file and give it an appropriate name. In the Render Queue, click on the composition name next to “Output To.” This will open a window where you can select the save location and specify the file name. It’s important to choose a clear, easily accessible folder and use a descriptive file name, especially if you’re working on multiple projects. Staying organized at this stage will save time later when locating your exported video.

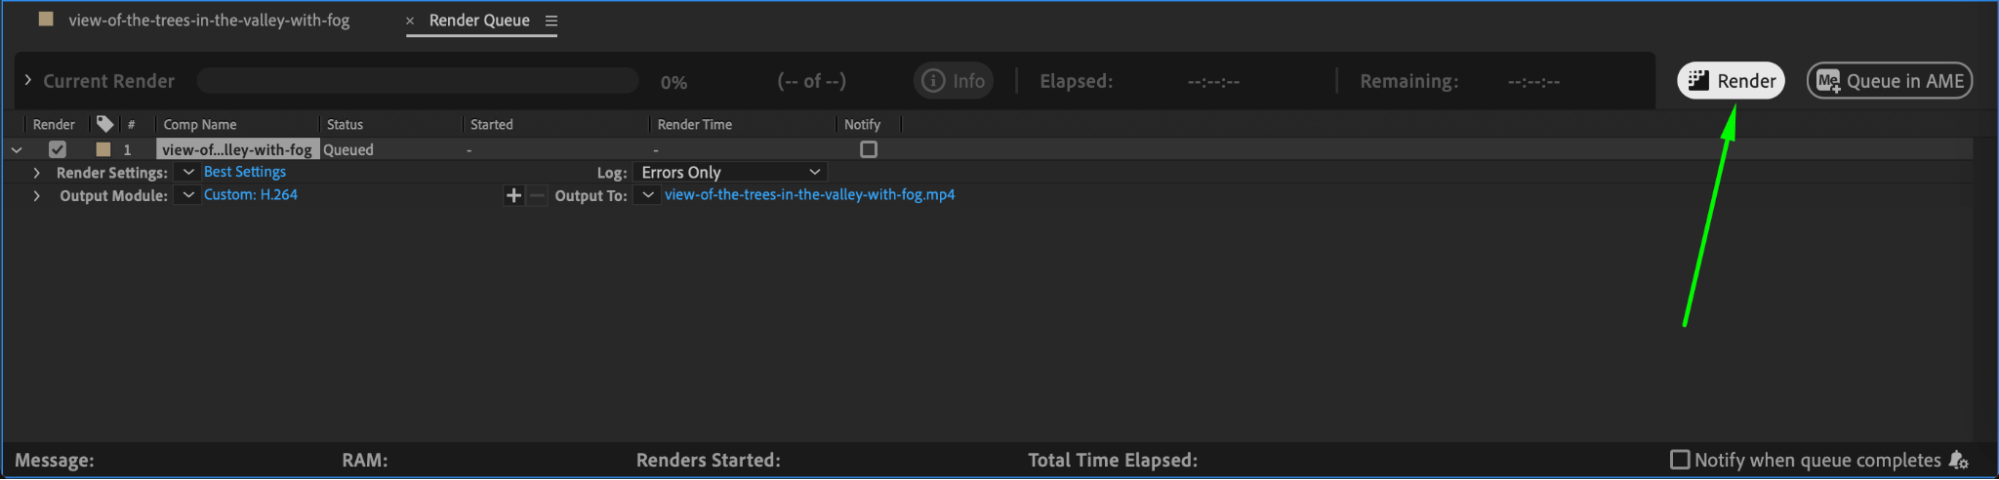
Step 6: Render the Video
Now that all the settings are in place, it’s time to render and export your video. Simply press the Render button in the Render Queue to begin the export process. Depending on the size and complexity of your project, rendering may take some time. It’s best to avoid running other resource-heavy applications during this process to ensure After Effects can use all available resources. Once rendering is complete, your video will be available as an MP4 file in the location you specified.
Conclusion
Congratulations! You’ve successfully exported your video from After Effects in MP4 format. This widely compatible format makes sharing your work across platforms and devices a breeze. With these steps, you can confidently export high-quality videos that will be easy to share on social media, websites, or with clients. Now that you’ve mastered MP4 export, you’re ready to bring your creations to the world!
Our Bestsellers


