Mastering Audio Fades in After Effects
Introduction
Fading in and out audio effects can greatly enhance your video projects, creating smooth transitions and a professional feel. In this article, we will explore how to achieve these effects in After Effects, a powerful software used by video designers and editors.
Before we dive into the steps, it’s important to understand the benefits of fading in and out audio. Fading allows for seamless transitions between audio clips, eliminates harsh cuts, and enhances the overall quality and impact of your work.
Get 10% off when you subscribe to our newsletter

Now, let’s get started on how to fade in and out audio in After Effects:
Step 1: Import Your Audio File
Start by importing your audio file into the After Effects project. Go to File > Import > File, select your audio file, and click Open. The audio file will now appear in the Project panel, ready to be added to your composition.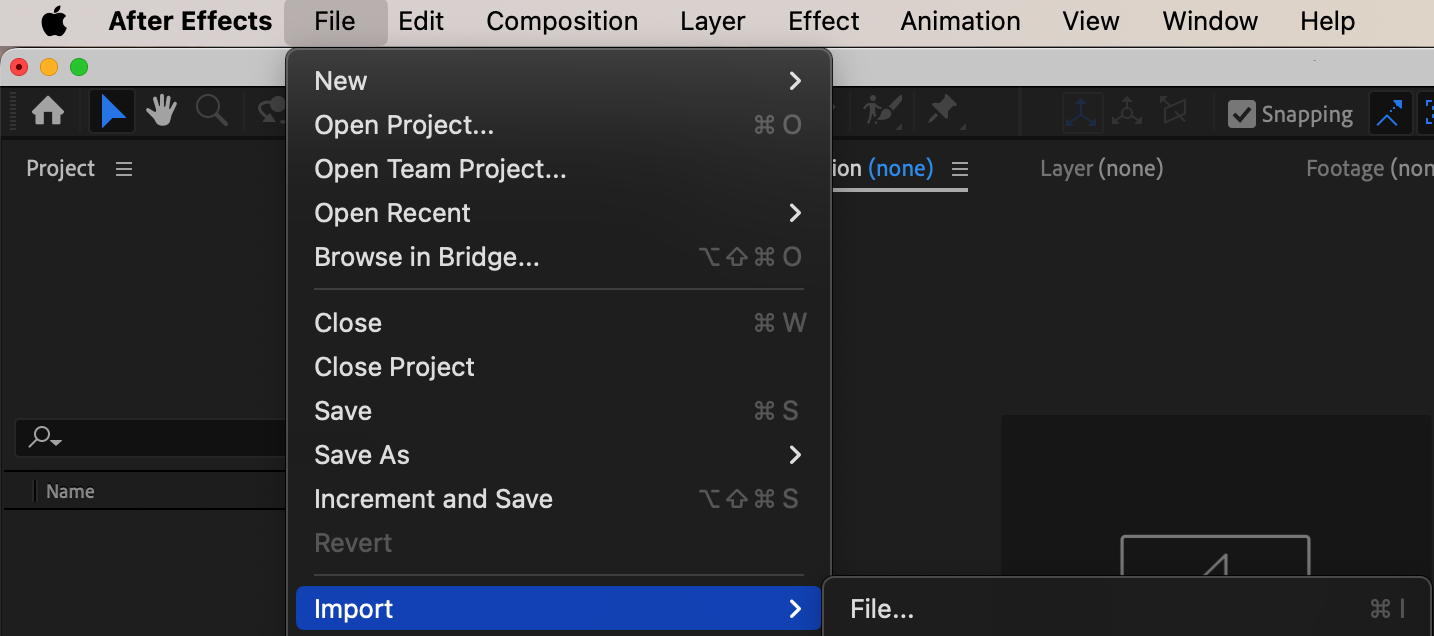 Step 2: Create a New Composition
Right-click on the audio file in the Project panel and select New Comp from Selection. This creates a new composition with the same settings as your audio file and places your audio file on the timeline, ready for editing.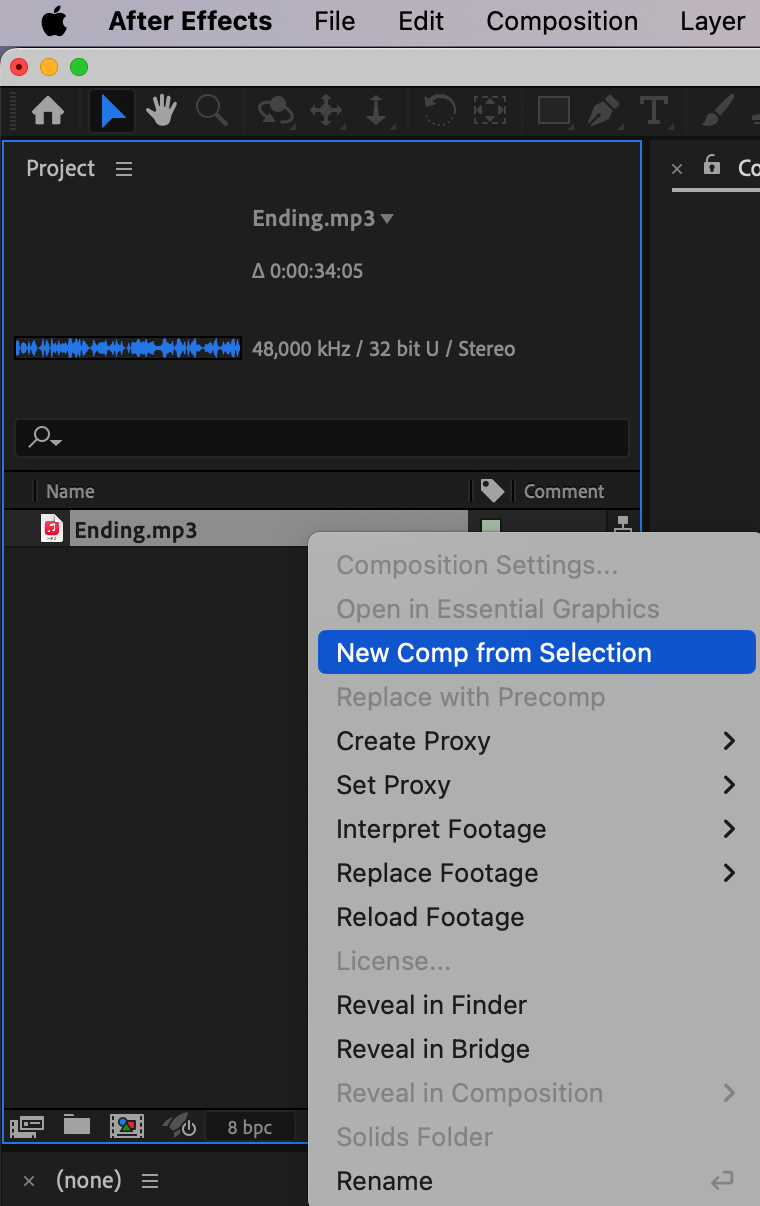 Step 3: Apply the Audio Fade Effect
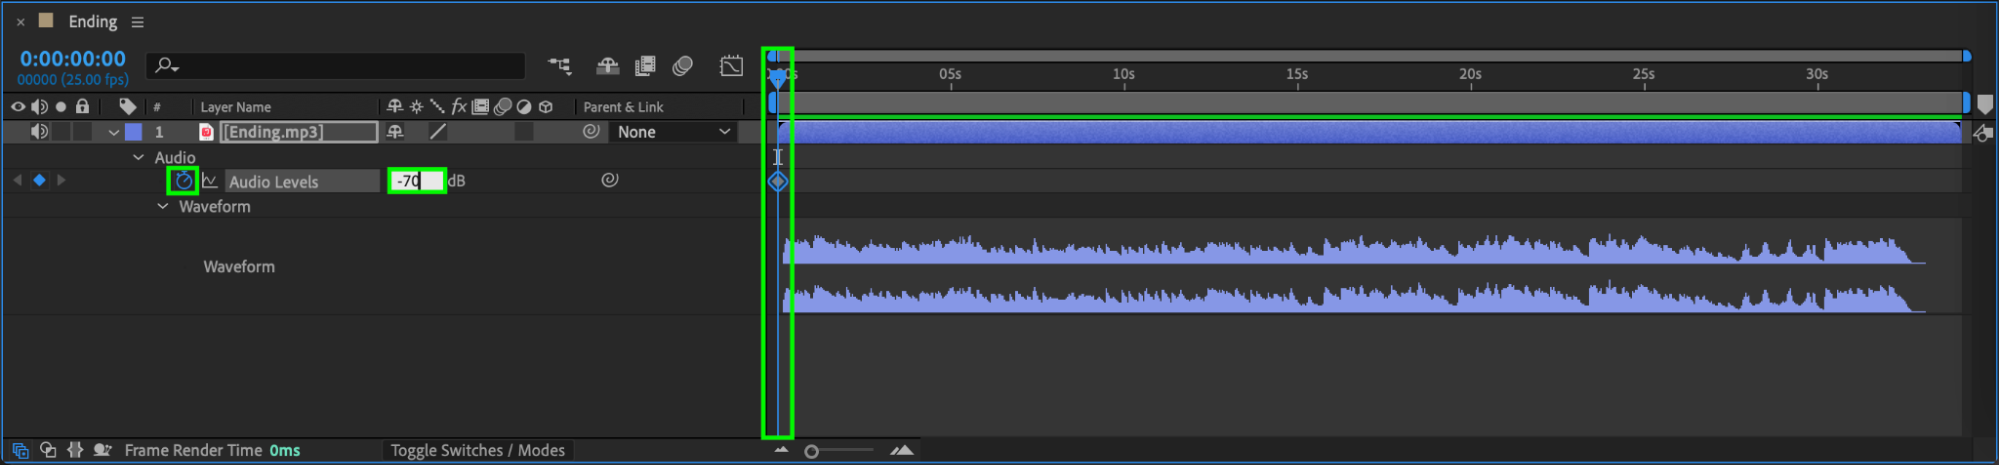
To fade in the audio, click on the stopwatch icon next to the Audio Levels property in the Timeline panel, setting the value to -70 (which represents no sound). This creates a keyframe at the current time indicator (CTI) position. 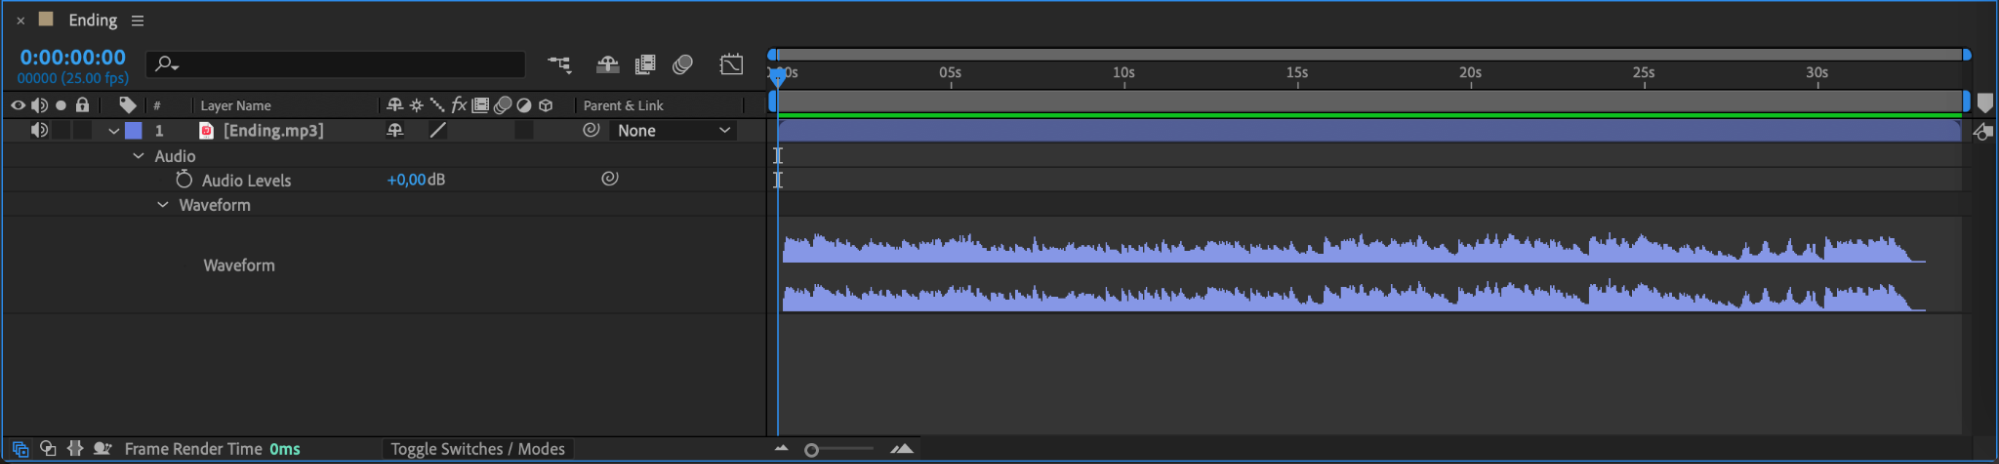
 Step 4: Adjust the Fade-In Duration
Move the CTI a few frames forward and raise the Audio Levels property to the desired volume level (from -70 to 0 or higher). By manipulating these keyframes, you can control the duration and smoothness of the fade-in effect, making the audio gradually increase in volume.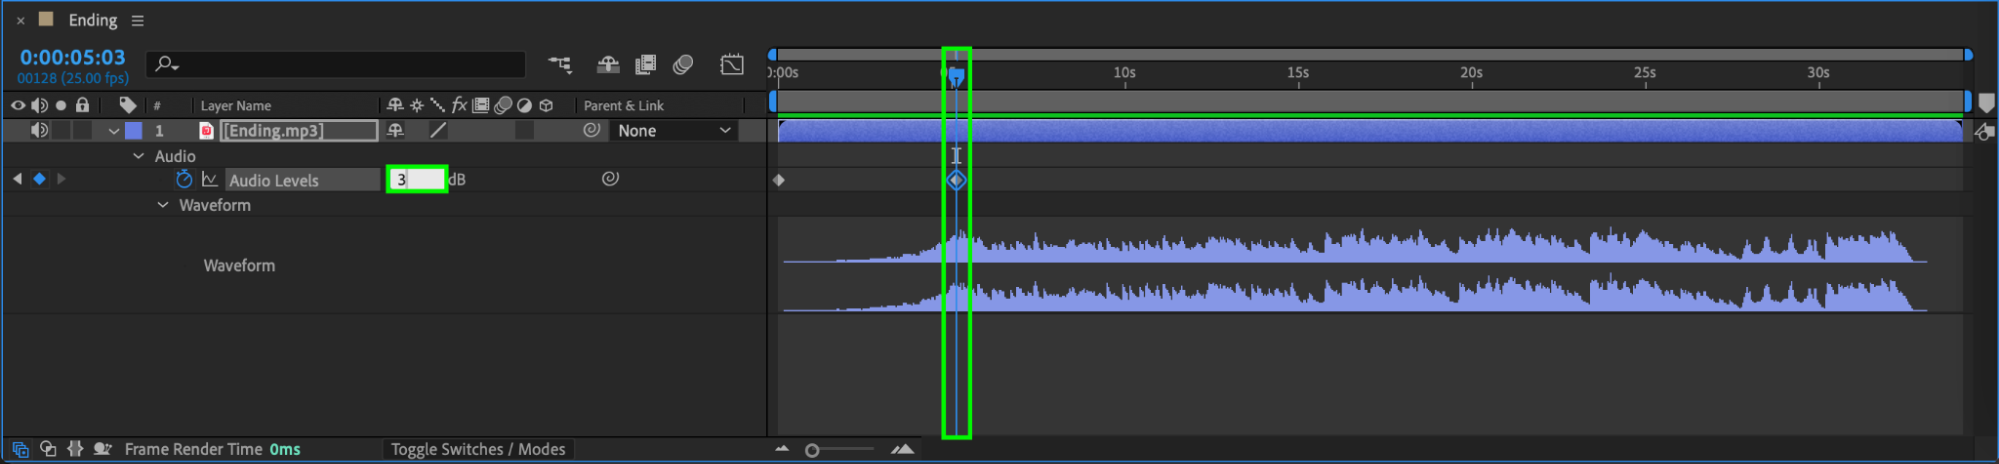 Step 5: Fade Out the Audio
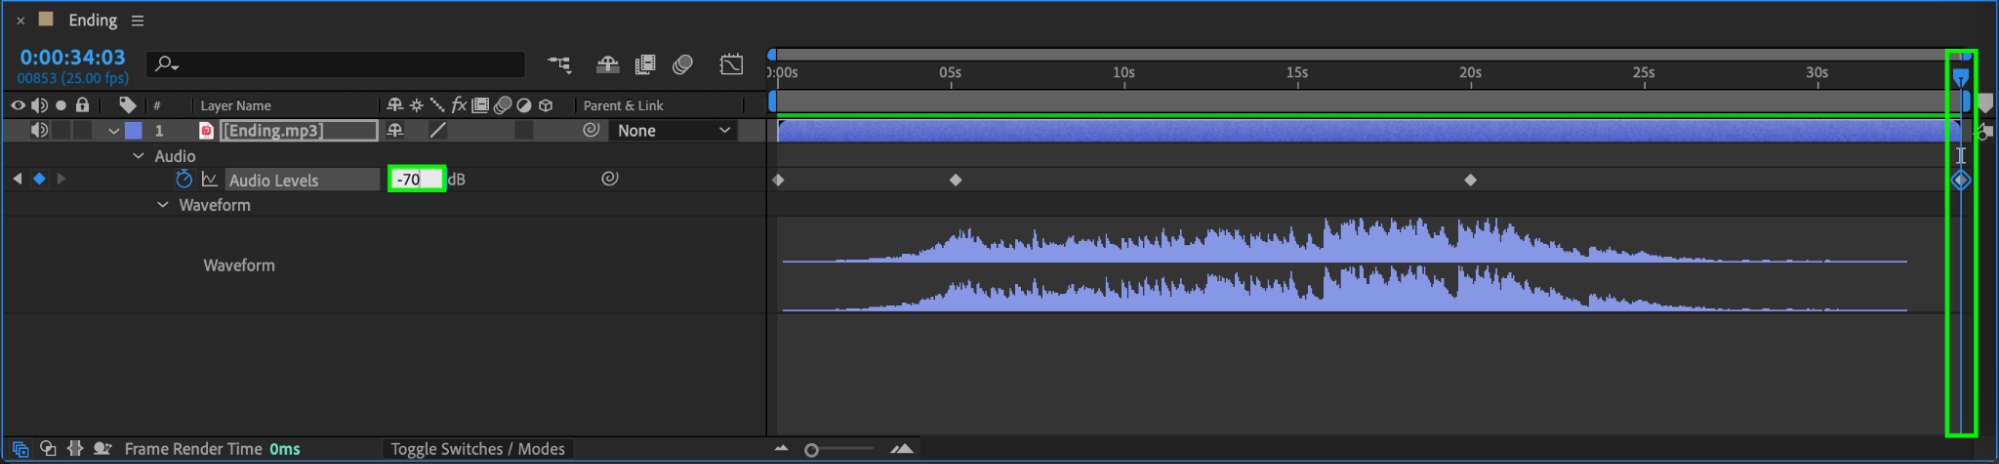
To fade out the audio, follow the same process. Move the CTI to the desired start time for the fade-out effect, create a keyframe with the current audio level, then move the CTI forward to the point where you want the audio to fade out completely and set the Audio Levels property to -70.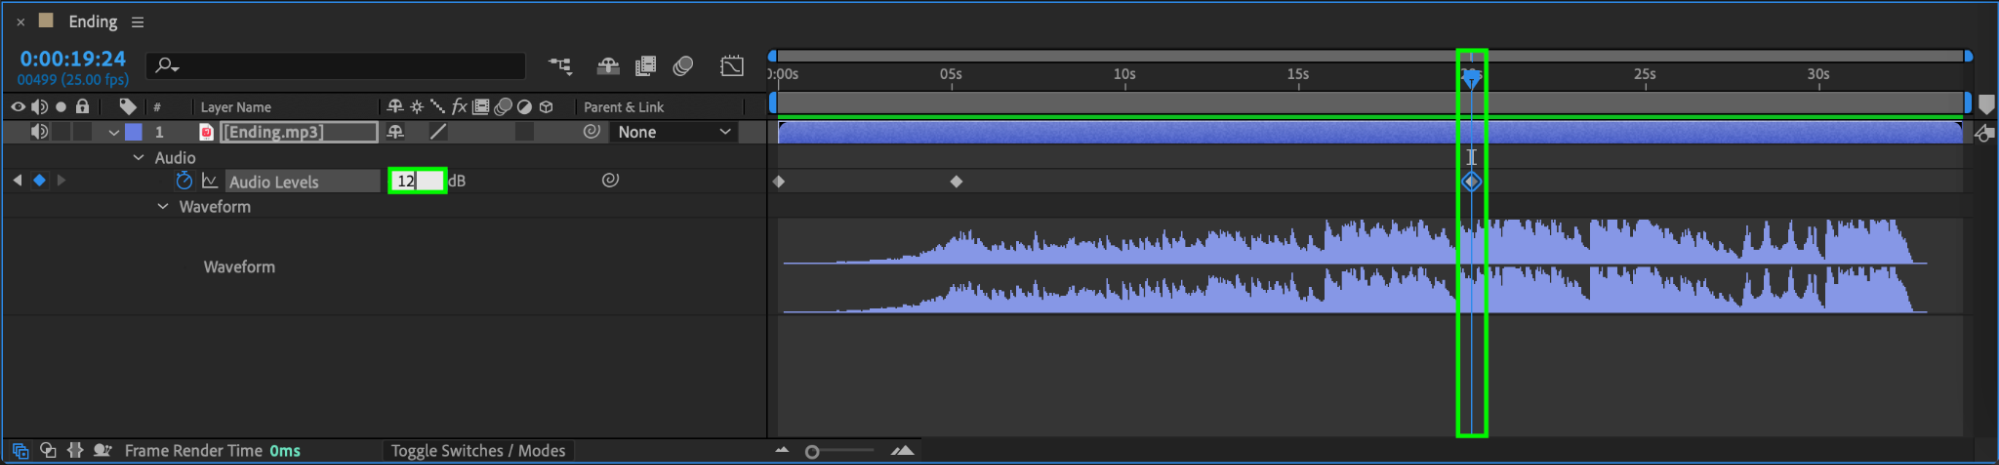
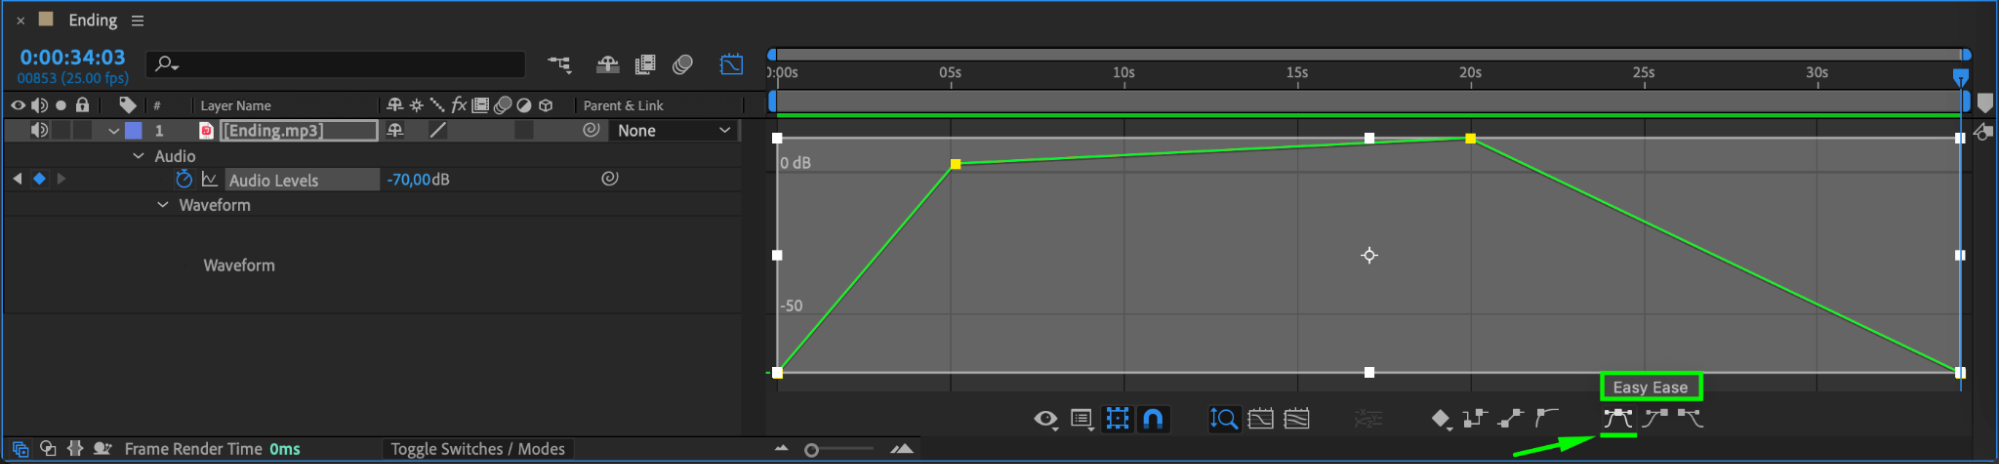
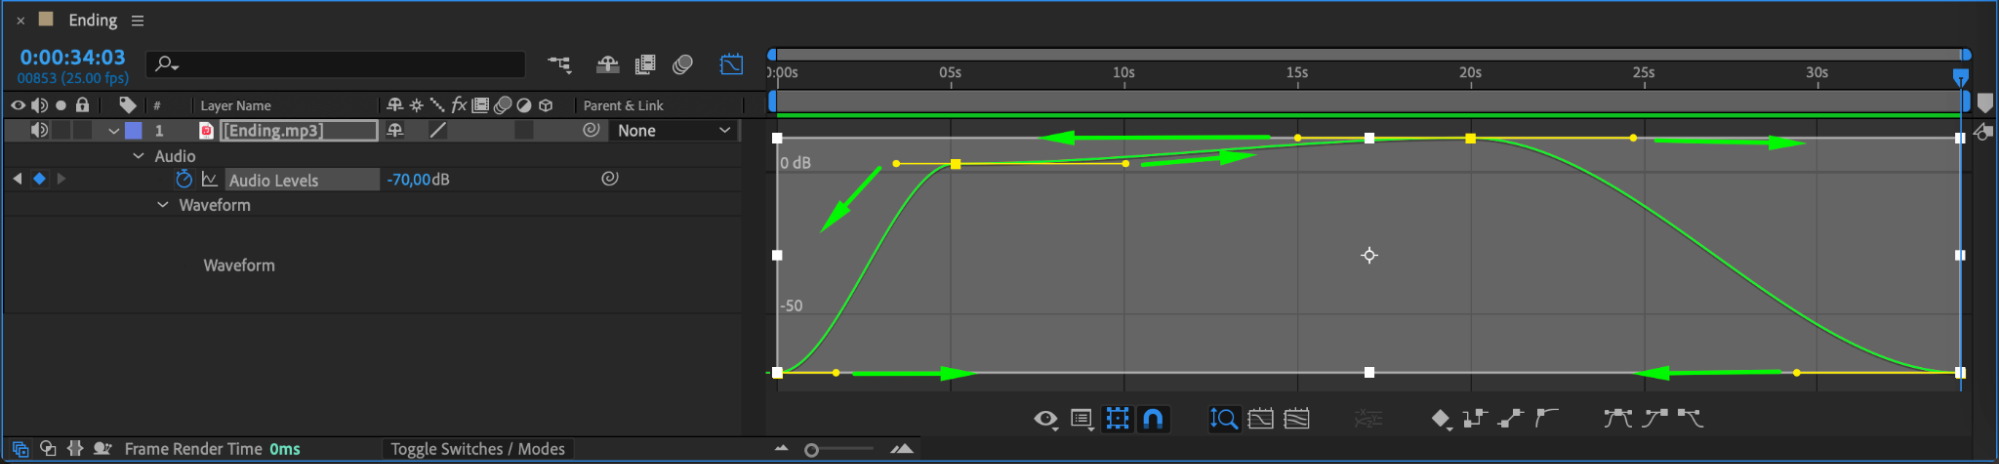
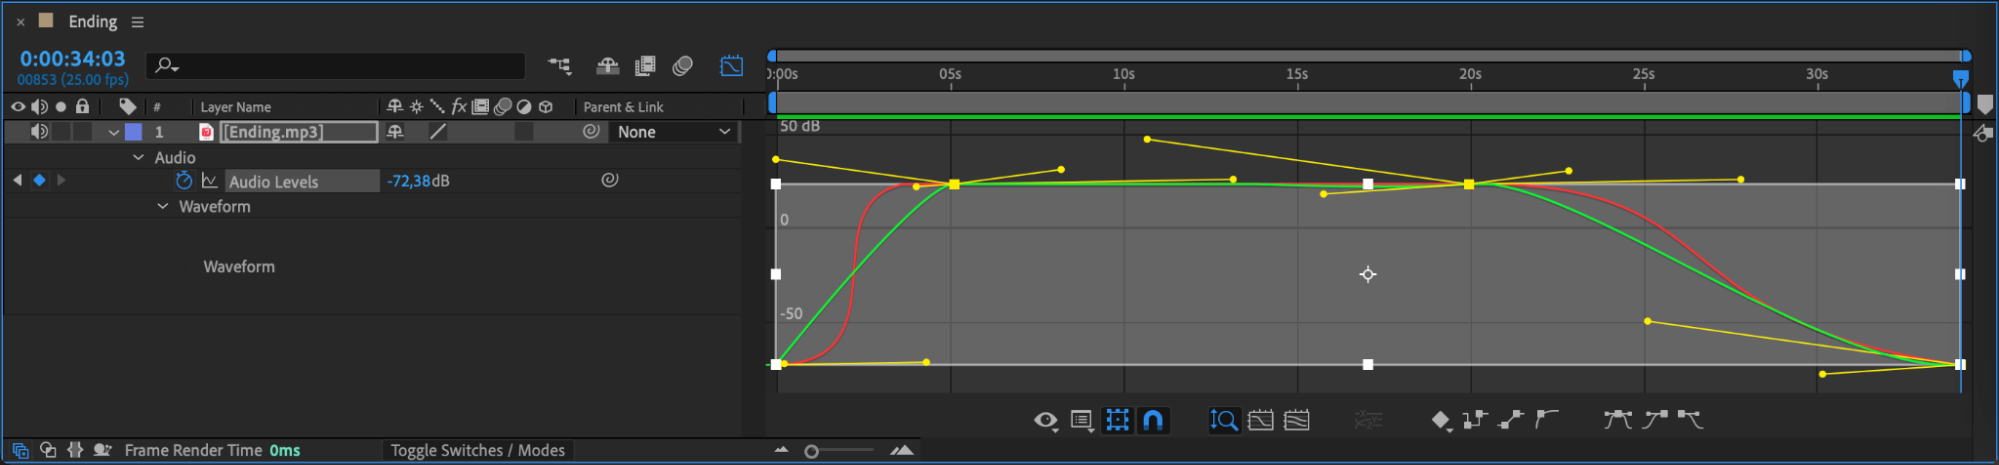
 Step 6: Adjust the Audio Fade Curves
After Effects applies linear fade curves by default, which may result in abrupt audio changes. To create smoother fades, adjust the fade curves. Select the keyframes in the Timeline panel, then use the Graph Editor to modify the curves. Smoother curves result in more gradual and natural-sounding fades.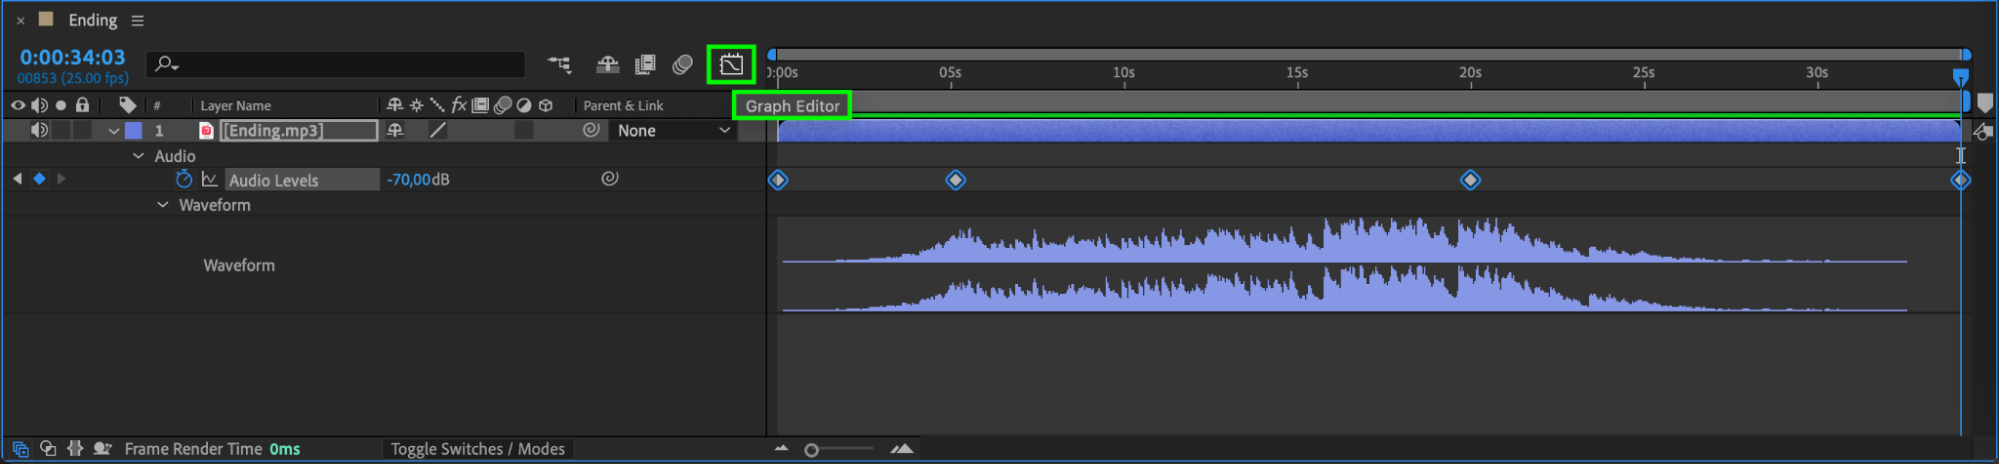
 Step 7: Preview and Export
Get 10% off when you subscribe to our newsletter
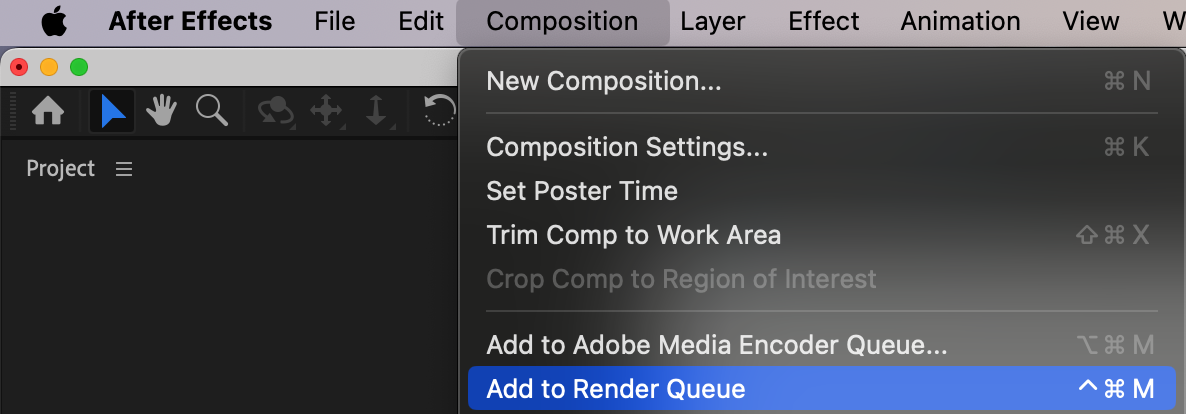
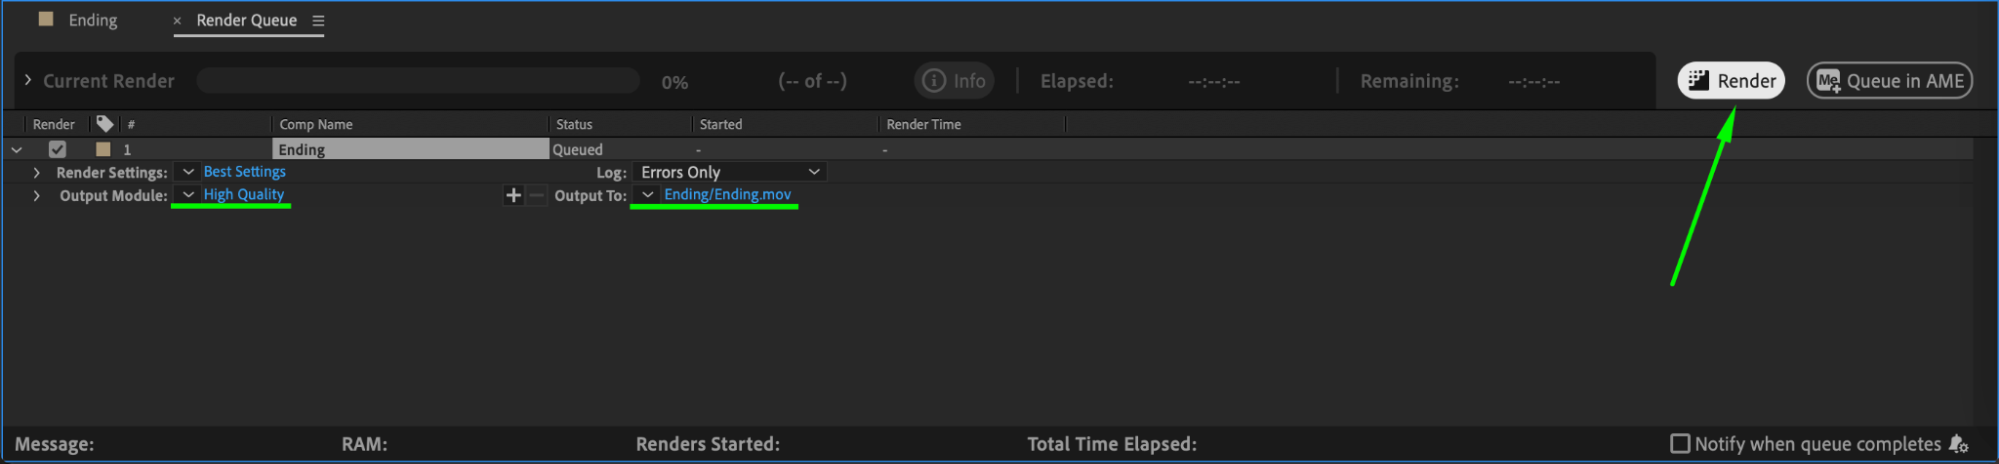
To see how your audio fades in and out, scrub through the timeline or press the Spacebar to play the video. Make any additional adjustments to the keyframes or fade curves until you are satisfied with the result. When you’re ready to export your video, go to Composition > Add to Render Queue. Select the desired output format and settings, then click Render to save your video with the audio fade effects.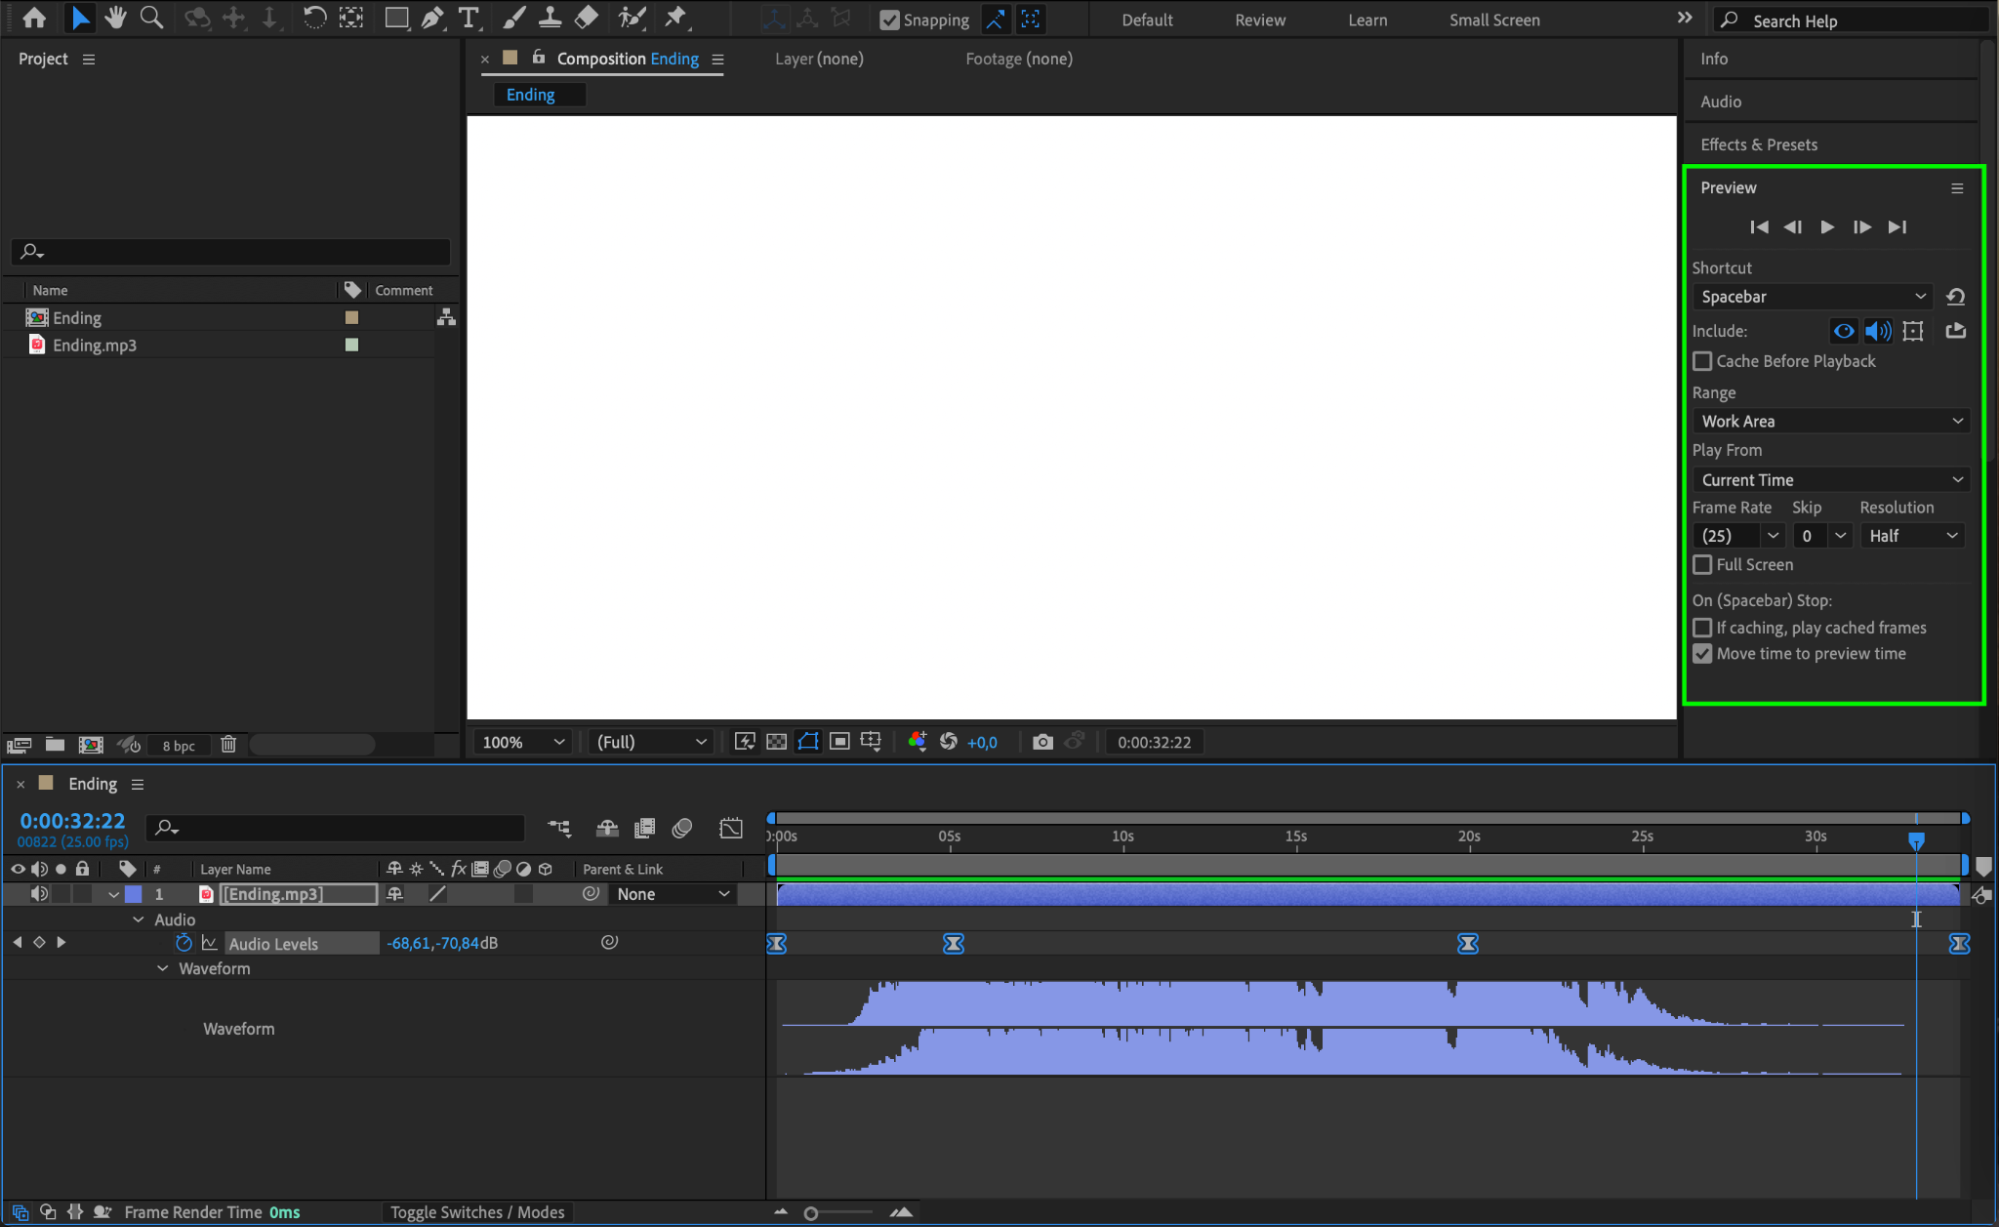
 Conclusion
Mastering the art of audio fading in After Effects allows you to create polished and professional videos. Whether you want to add dramatic fades between scenes, smoothly blend music tracks, or soften the audio at specific moments, these techniques will undoubtedly enhance your video projects. So give it a try and take your video editing skills to the next level with seamless audio fades in After Effects!
Our Bestsellers


