How to Find and Use Snapshots in After Effects
Understanding Snapshots in After Effects
Snapshots in After Effects allow you to temporarily save a frame to compare it with your current composition. This feature is useful when making adjustments and ensuring consistency in your edits. Here’s how to take, find, and use snapshots effectively.
Step 1: Take a Snapshot
Get 10% off when you subscribe to our newsletter

To capture a snapshot of the current frame in your composition, press the Camera button in the Composition Panel or use the shortcut Shift + F5. This saves the frame in temporary memory but does not create an actual file.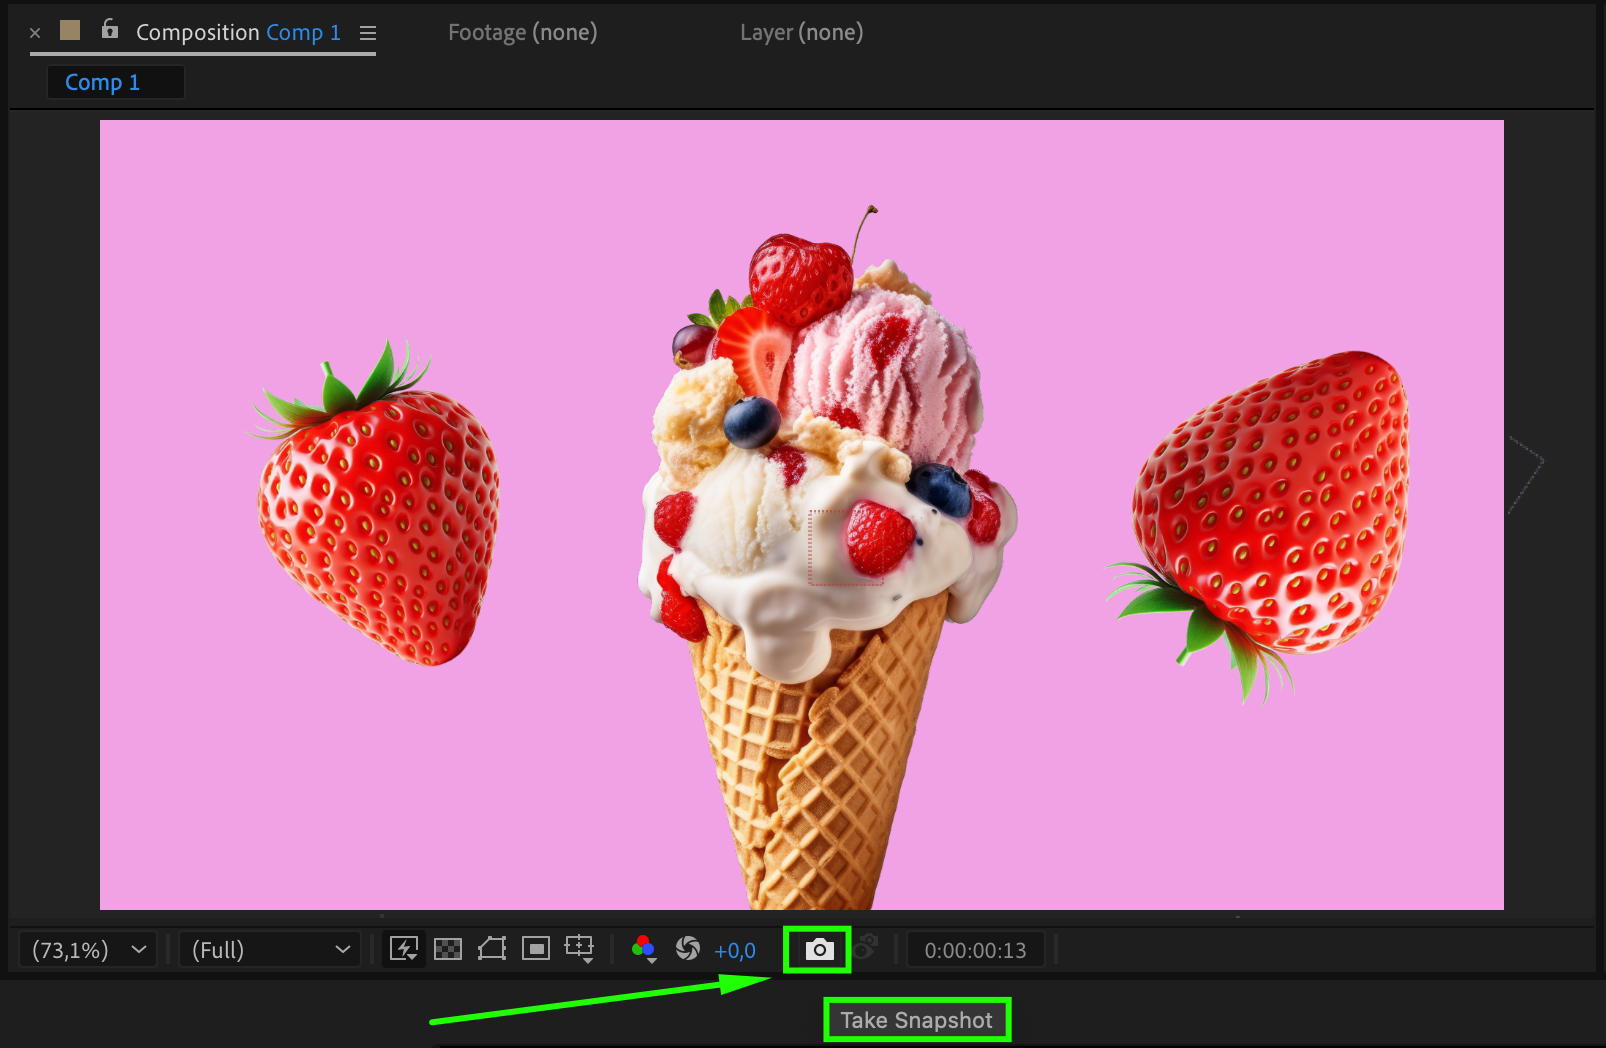 Step 2: View the Snapshot
To compare your current frame with the saved snapshot, press and hold F5. This will overlay the snapshot on your viewport, allowing you to check differences without rendering. Step 3: Use Multiple Snapshots (Optional)
After Effects allows you to store multiple snapshots using Shift + F6, Shift + F7, and Shift + F8. You can recall them using F6, F7, or F8, respectively. This is useful for comparing multiple stages of your project.
Step 4: Clearing Snapshots
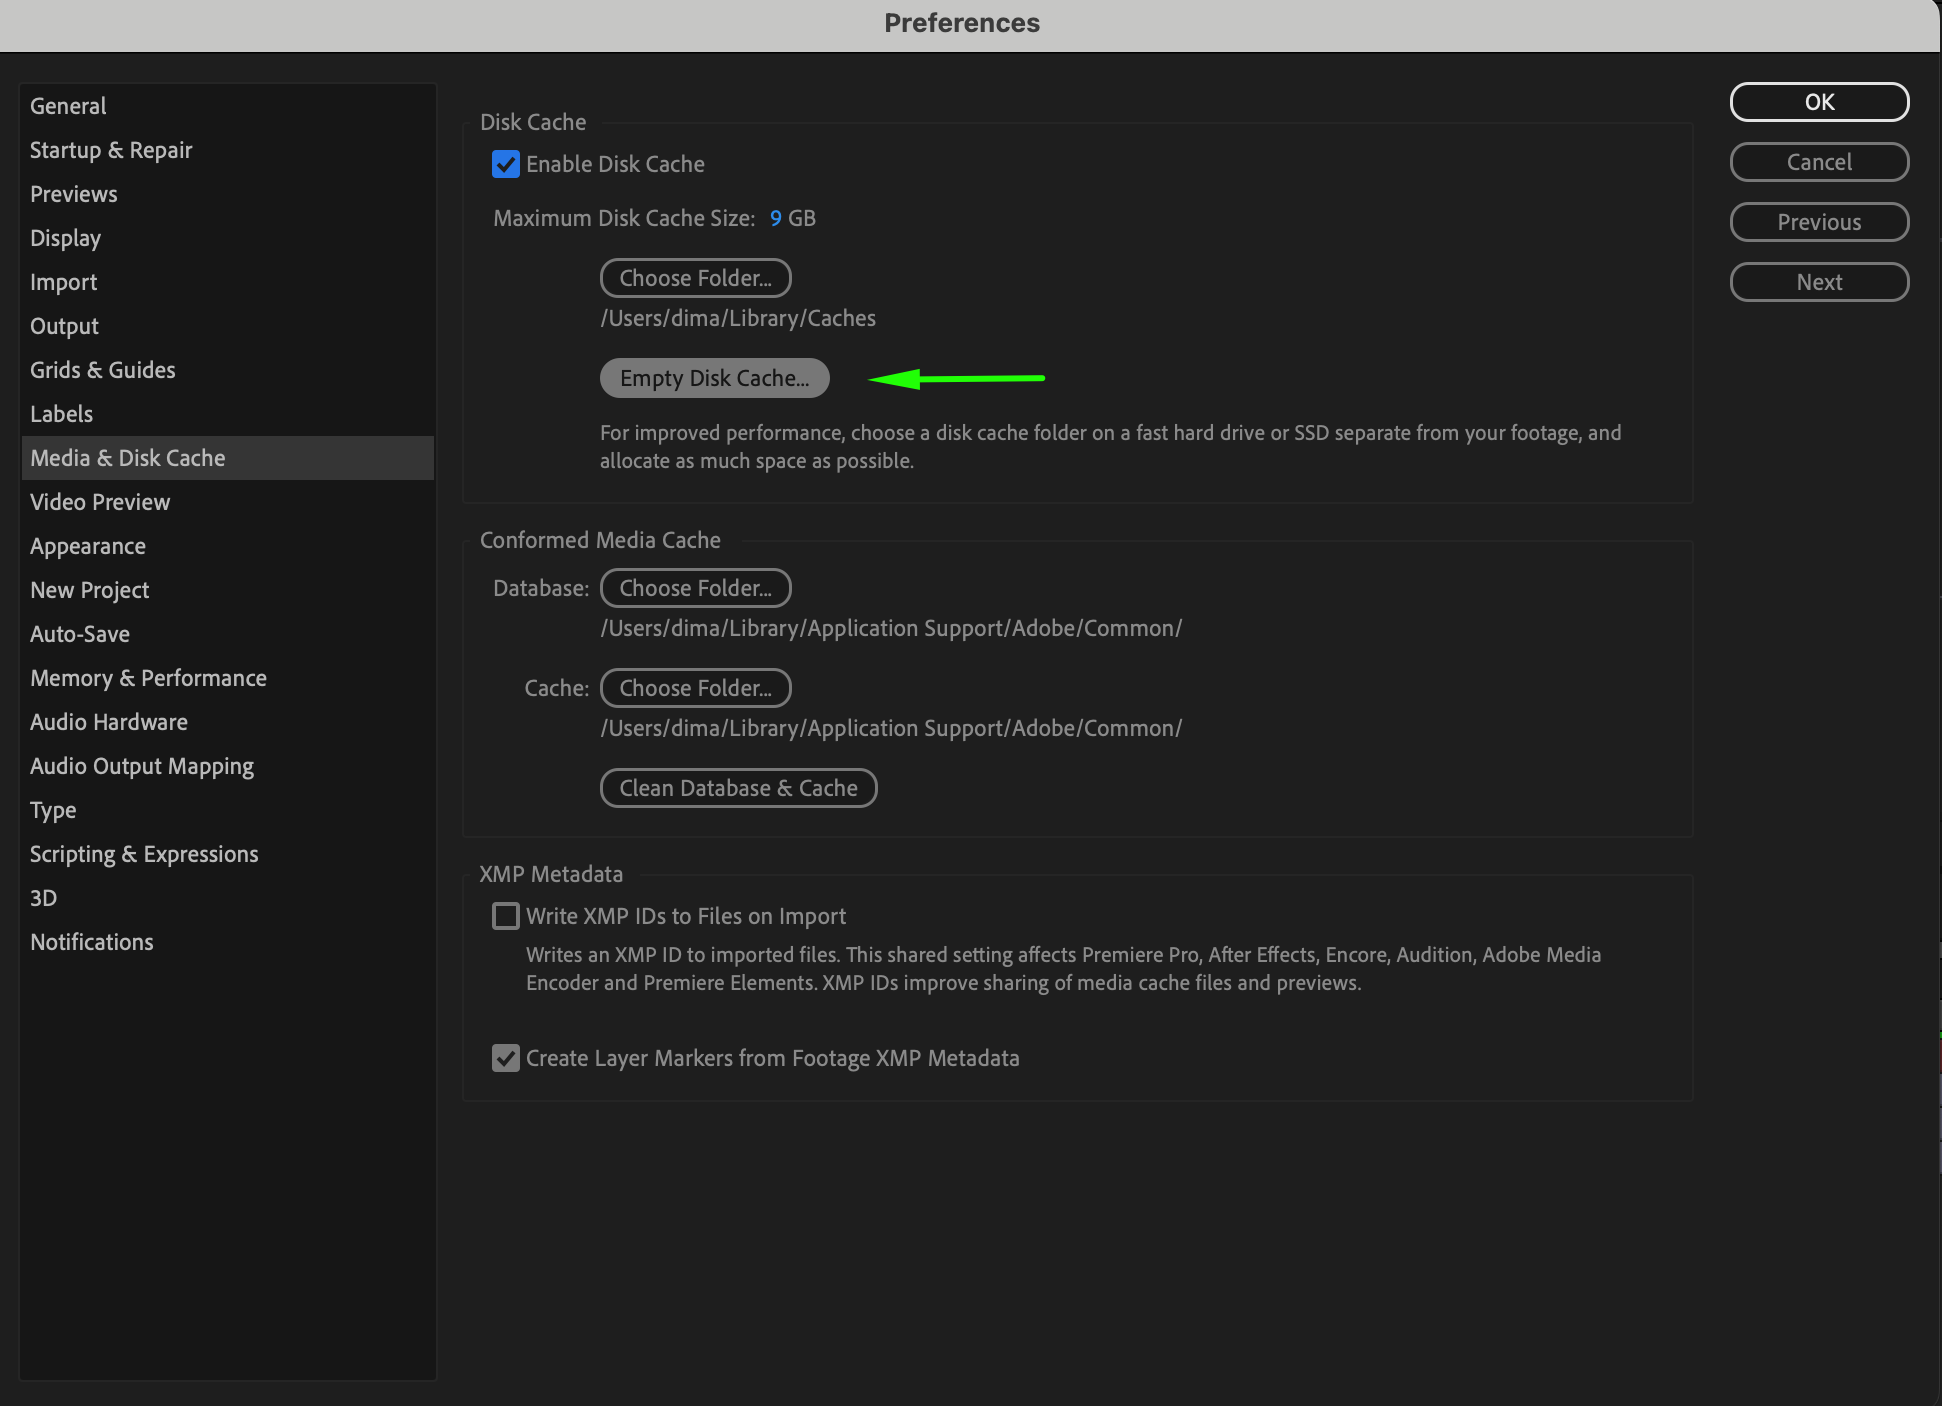
Since snapshots are stored temporarily, they will be lost when you close After Effects. If you need to clear them while working, go to Edit > Purge > All Memory & Disk Cache (Windows) or After Effects > Preferences > Media & Disk Cache (Mac). Then, click on Empty Disk Cache to remove all saved snapshots and free up memory.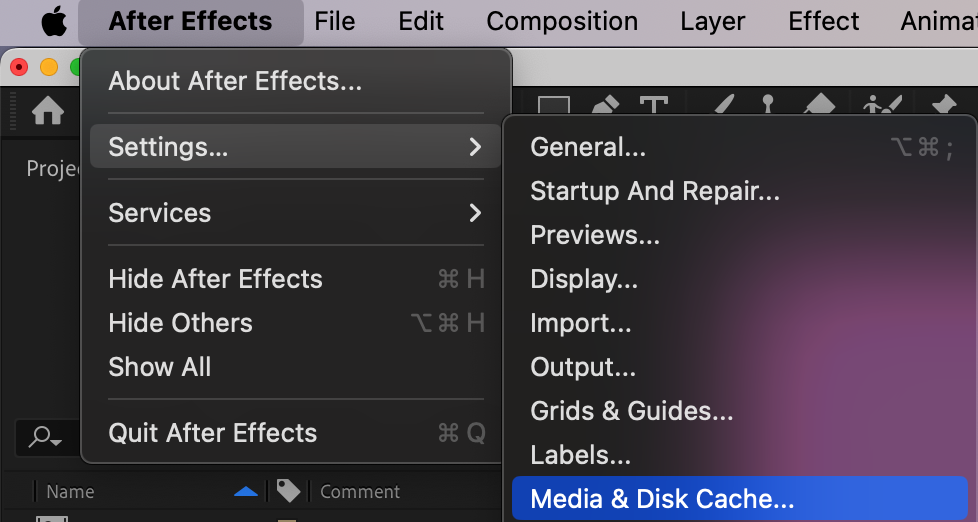
 Step 5: Saving a Snapshot as an Image File (Alternative Method)
If you need a permanent copy of a frame, use Composition > Save Frame As > File… and export it as an image. This allows you to reference the snapshot even after closing After Effects.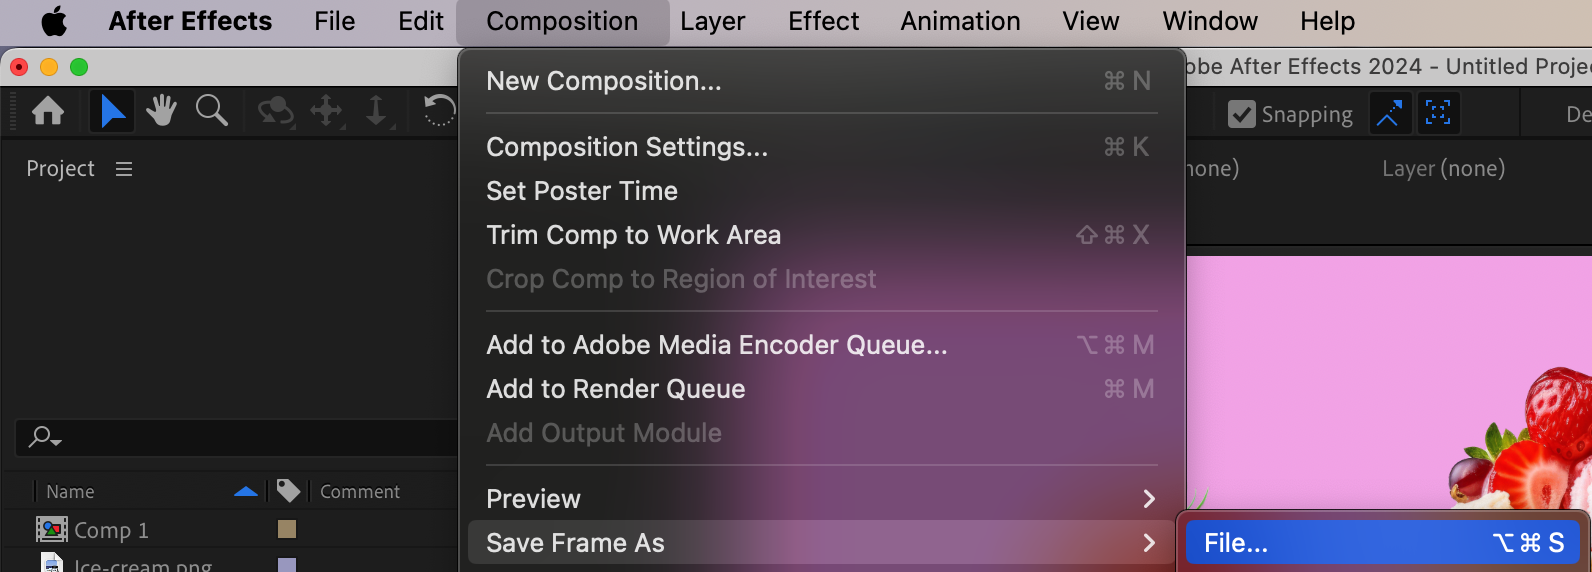
Conclusion
Snapshots are a great way to compare changes while working in After Effects. While they don’t save automatically, using the preview and save features can help maintain consistency in your animations and edits.
Our Bestsellers


