Locating and Adjusting the Anchor Point in After Effects: A Step-by-Step Guide
Understanding the Anchor Point in After Effects
Whether you’re a beginner or an experienced user of Adobe After Effects, finding and adjusting the anchor point is a crucial skill to master. The anchor point determines the point of rotation, scaling, and position for a layer in After Effects. By learning how to find and manipulate the anchor point, you’ll have complete control over transforming and animating your videos.
Step-by-Step Guide to Finding the Anchor Point in After Effects:
Step 1: Select the Layer
To start, choose the layer you want to work with in your After Effects composition. You can do this by clicking on the layer in the timeline or selecting it in the Composition panel.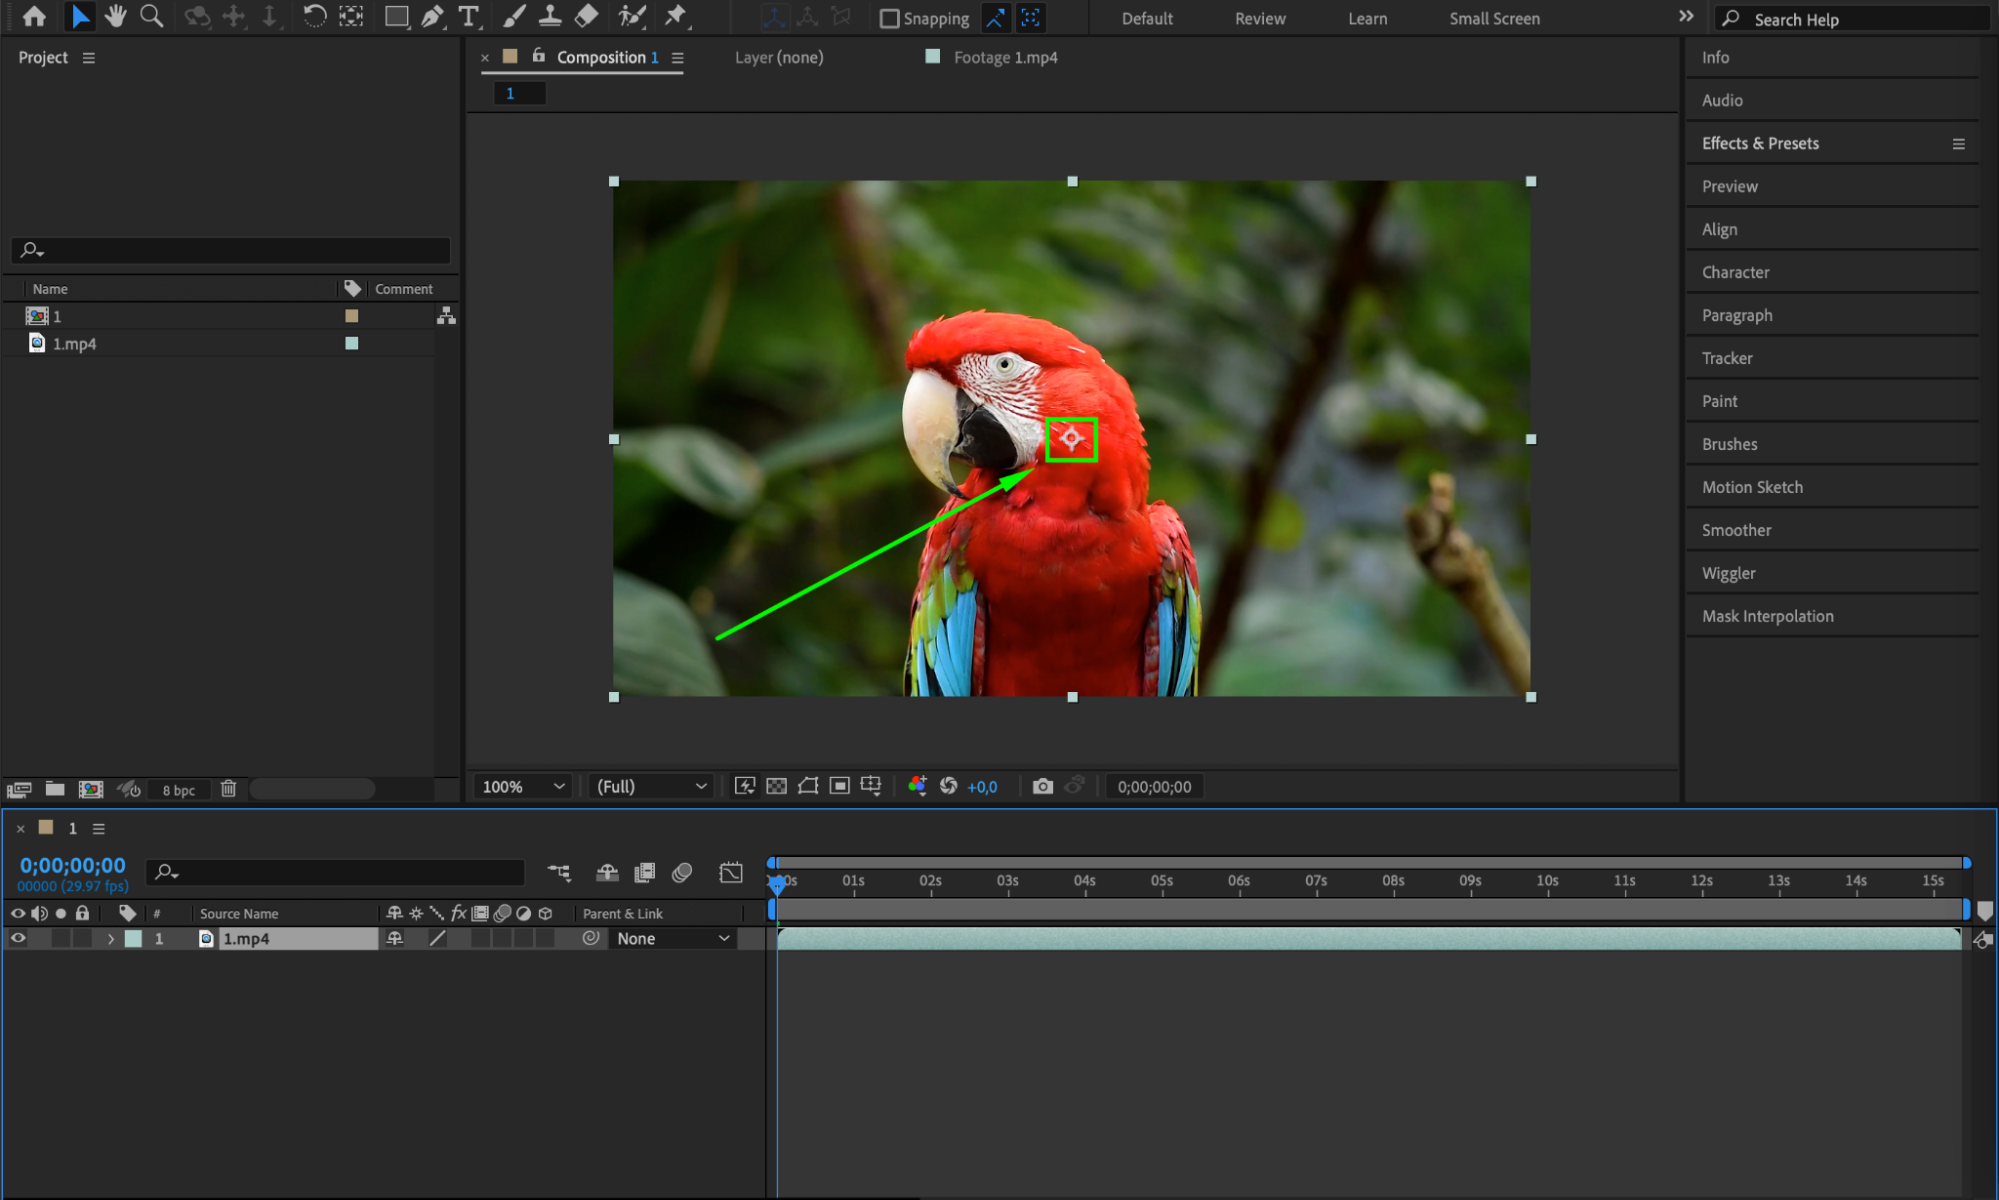 Step 2: Open the Transform Properties
Get 10% off when you subscribe to our newsletter

After selecting the layer, go to the timeline panel and expand the layer properties. Then, expand the Transform section to view the layer properties (Anchor Point, Position, Scale, Rotation, and Opacity) and gain access to editing them.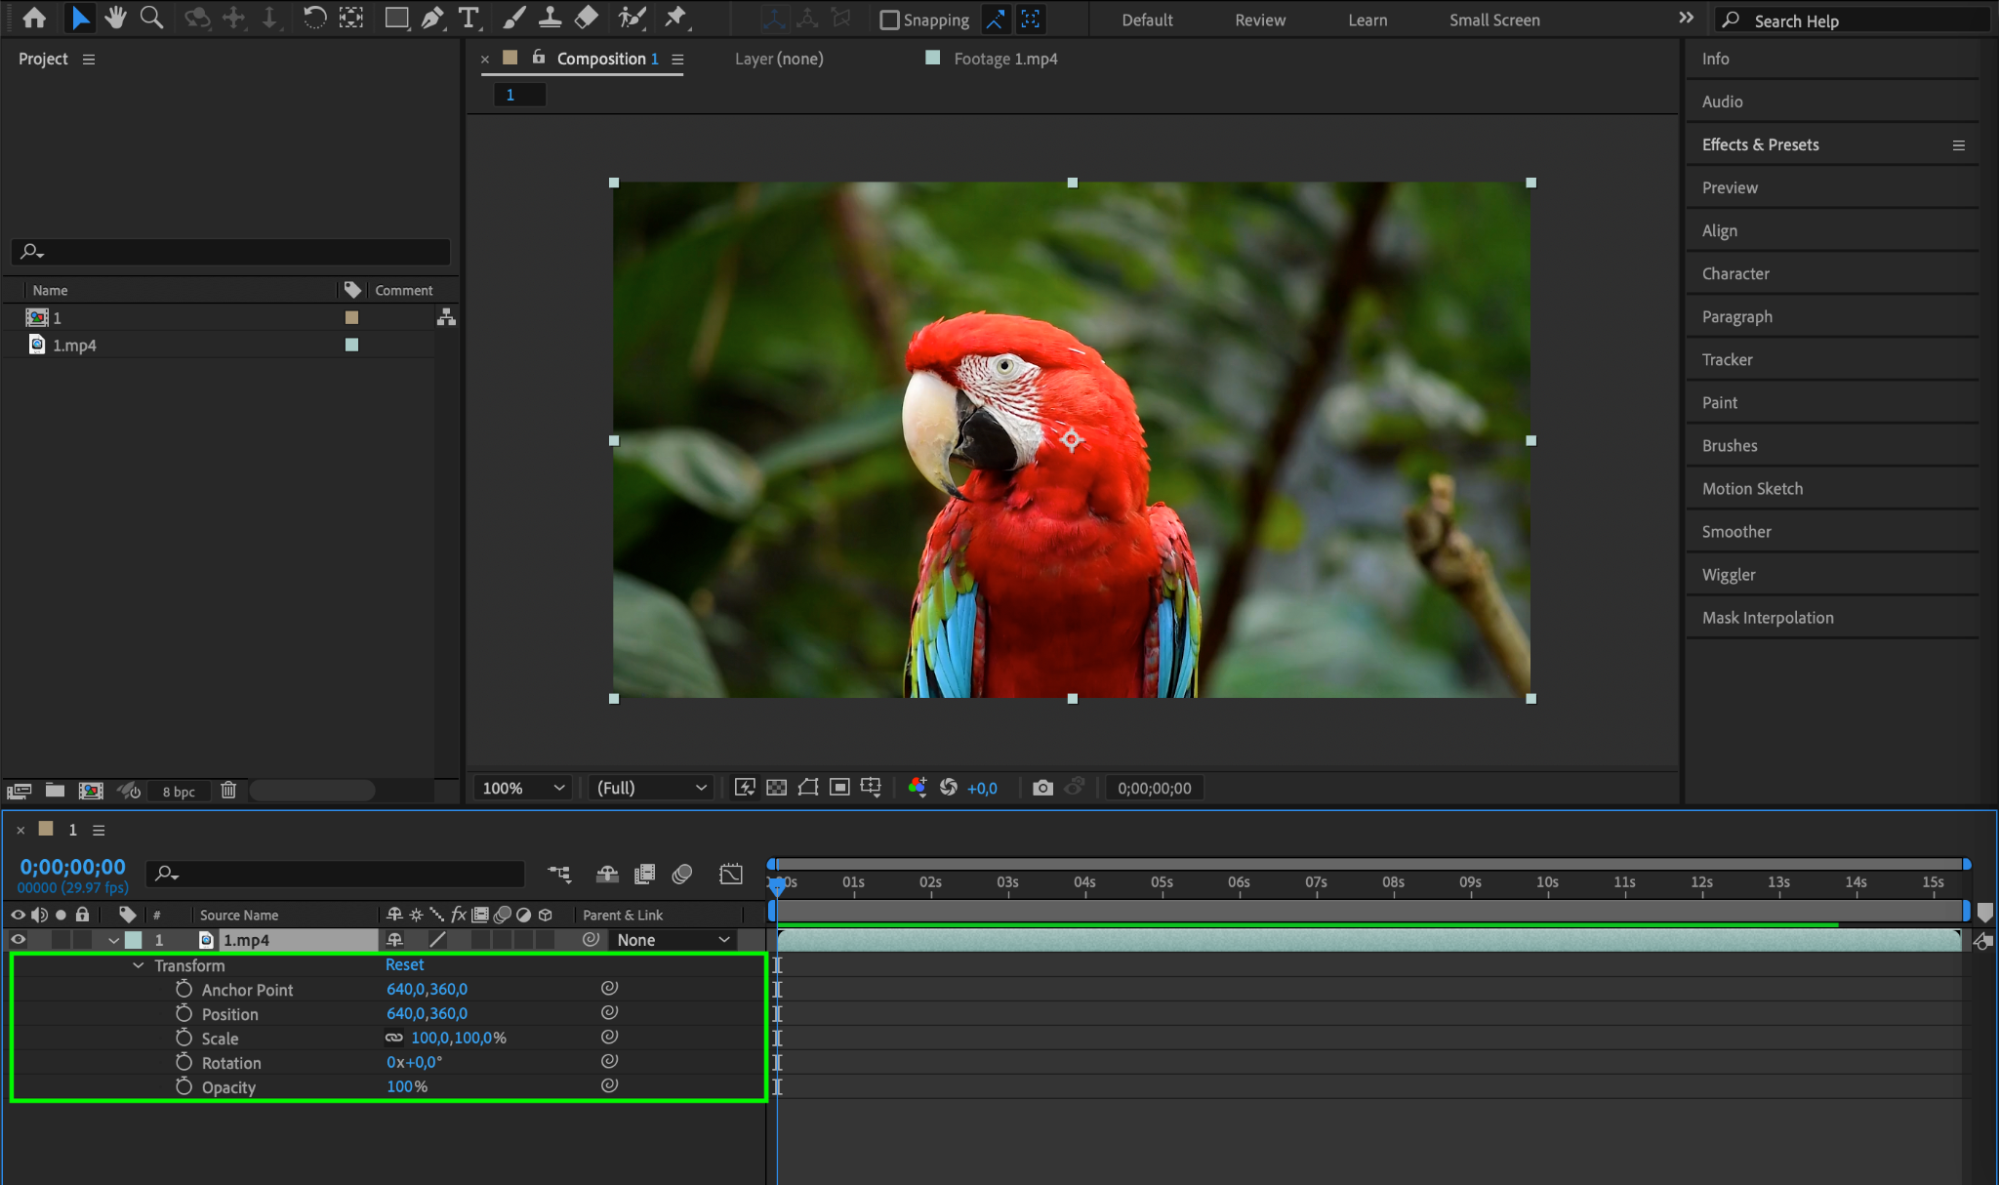 Step 3: Locate the Anchor Point
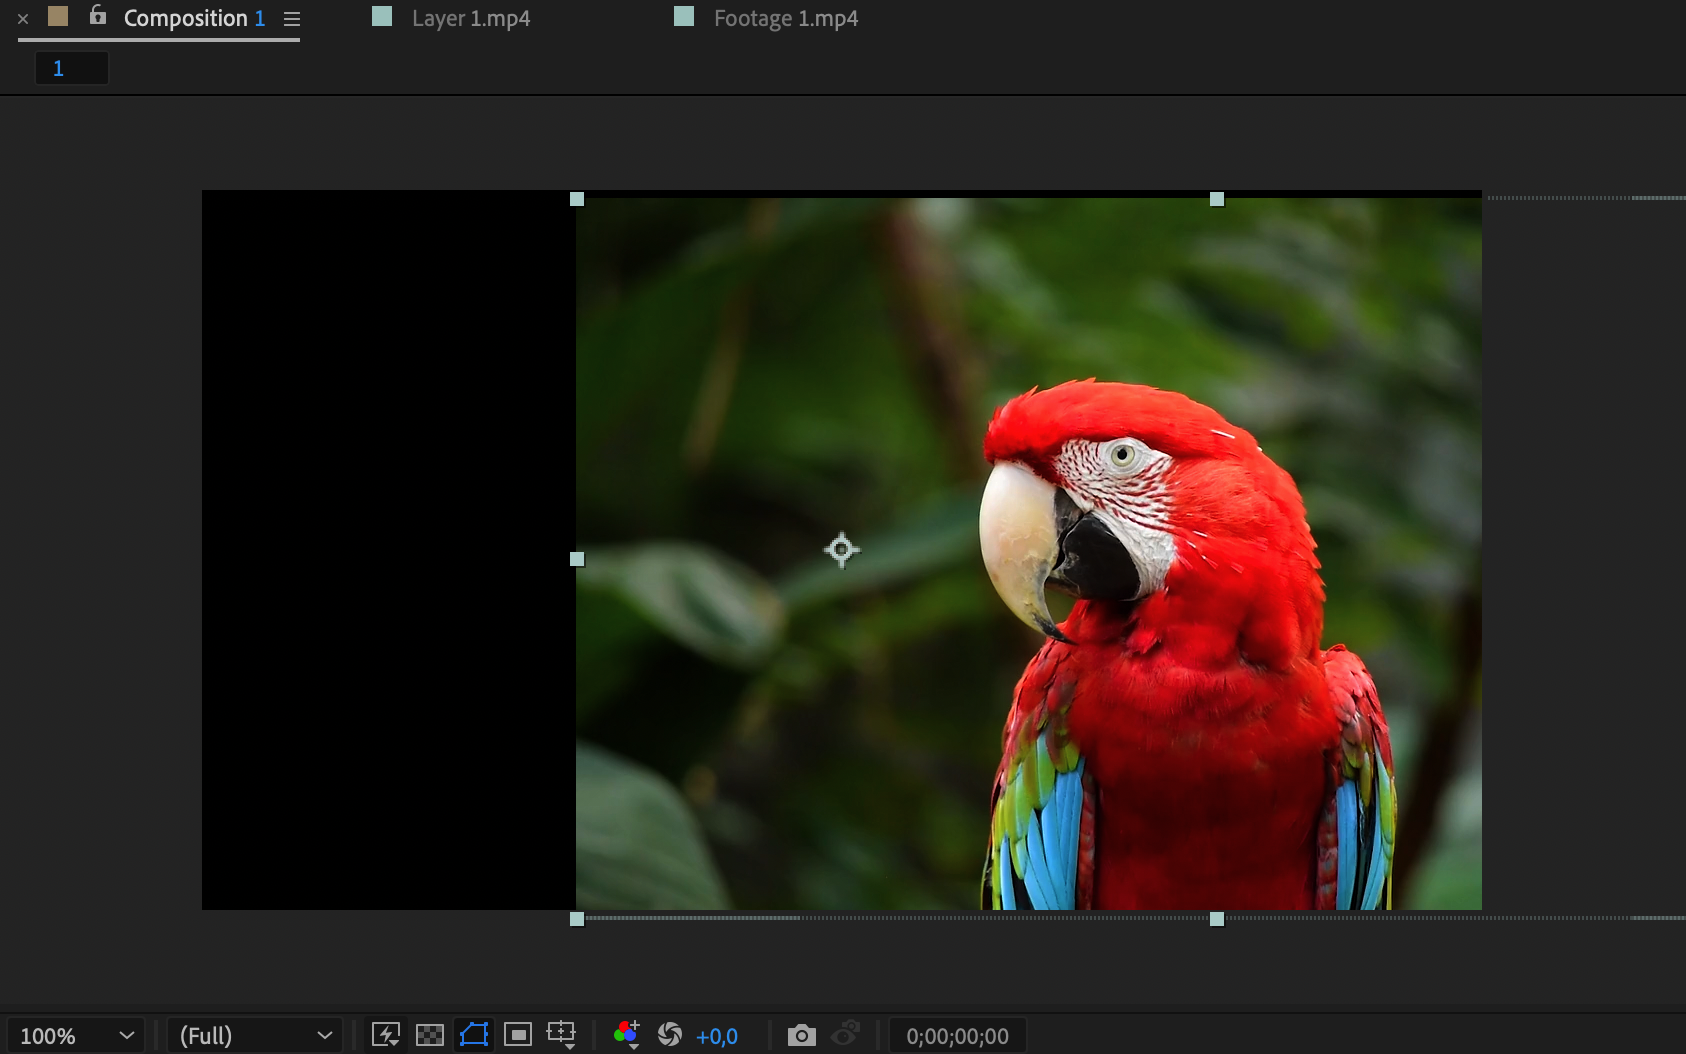
Within the Transform properties, you’ll find the “Anchor Point” section. This parameter indicates the position of the anchor point for the selected layer.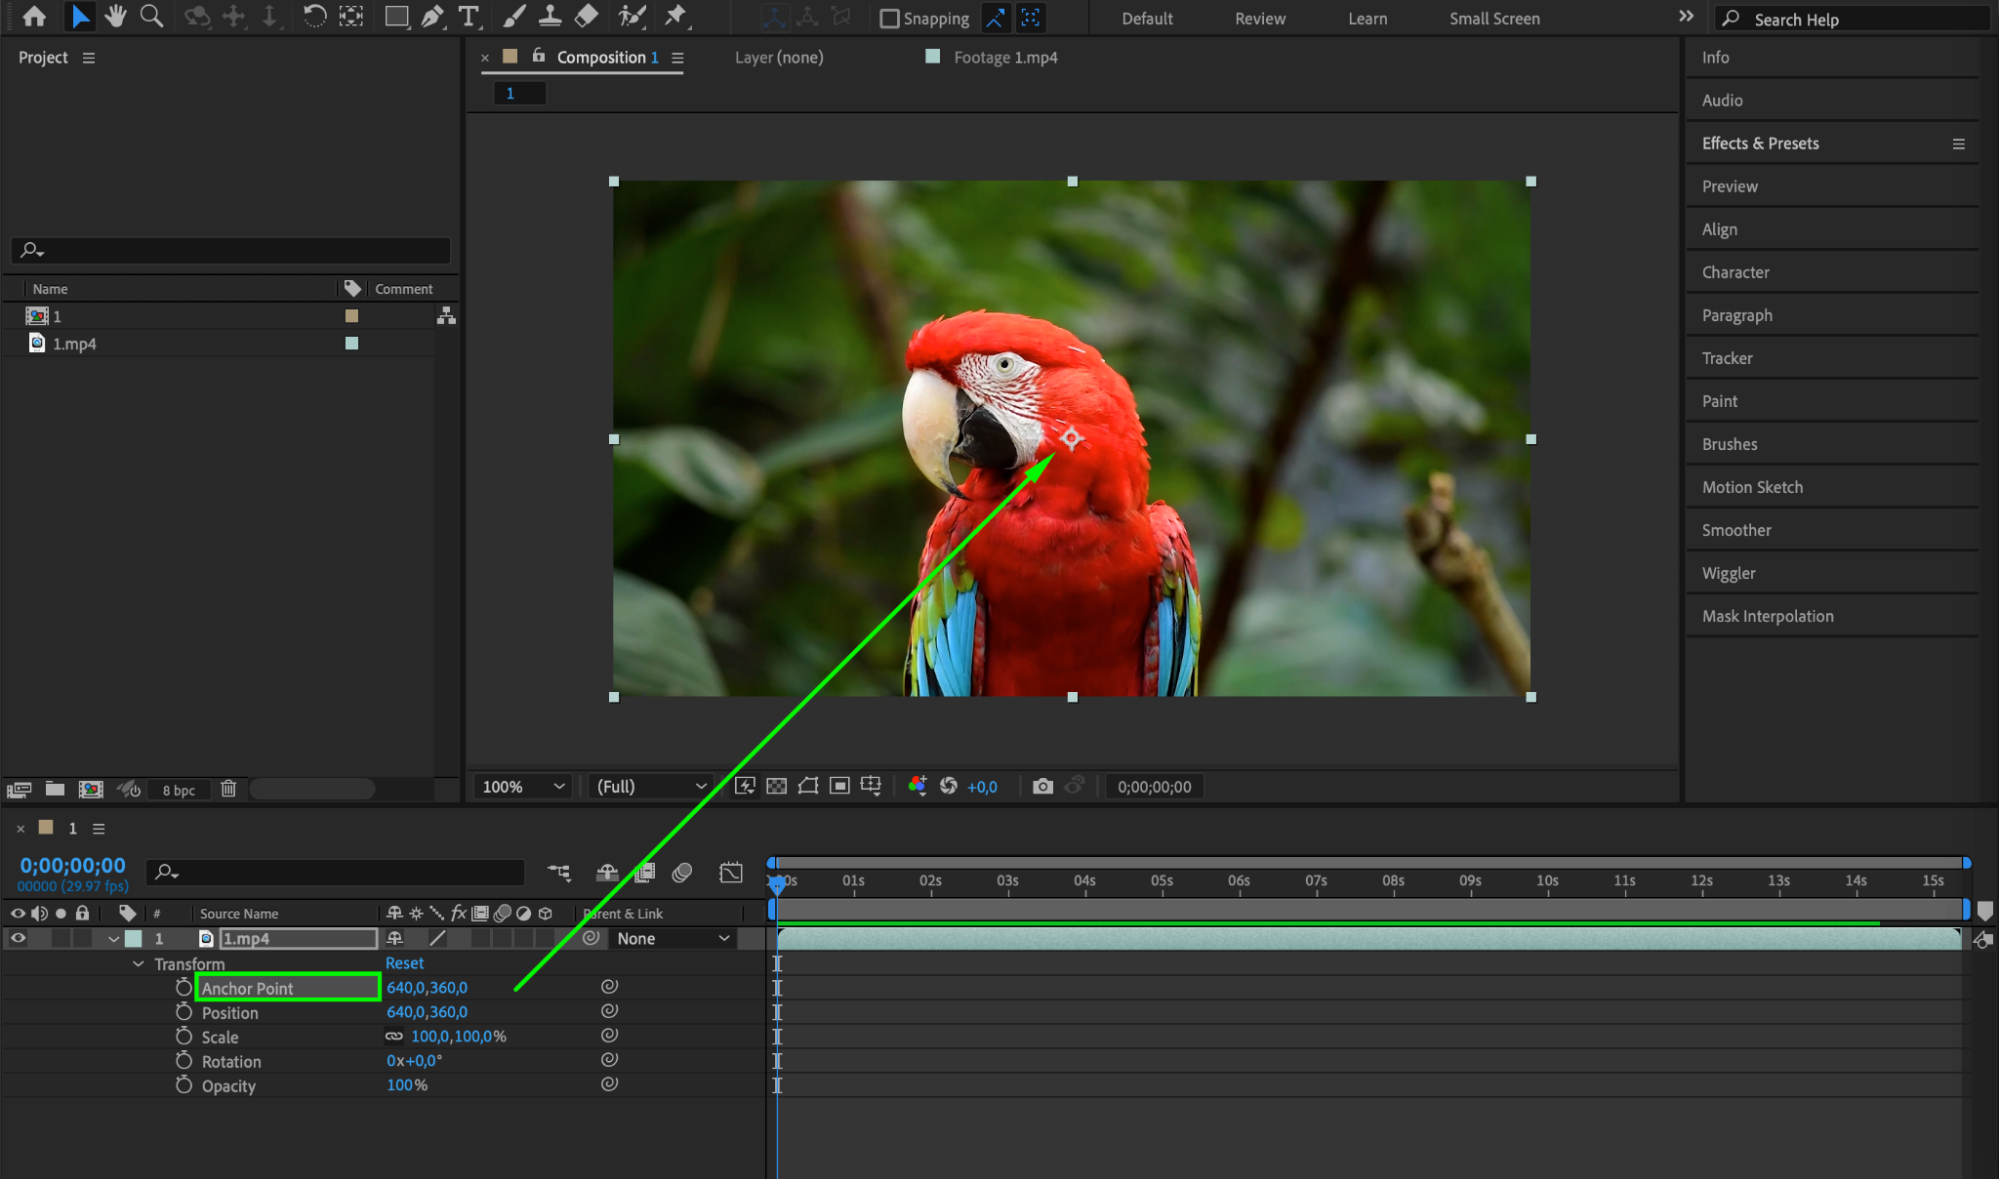 Step 4: Manually Adjust the Anchor Point
Get 10% off when you subscribe to our newsletter
You can manually adjust the position of the anchor point by clicking and holding the Ctrl/Cmd key on your keyboard and dragging the anchor point icon to the desired location on the layer. As you move the anchor point, the position values will update in the Transform properties.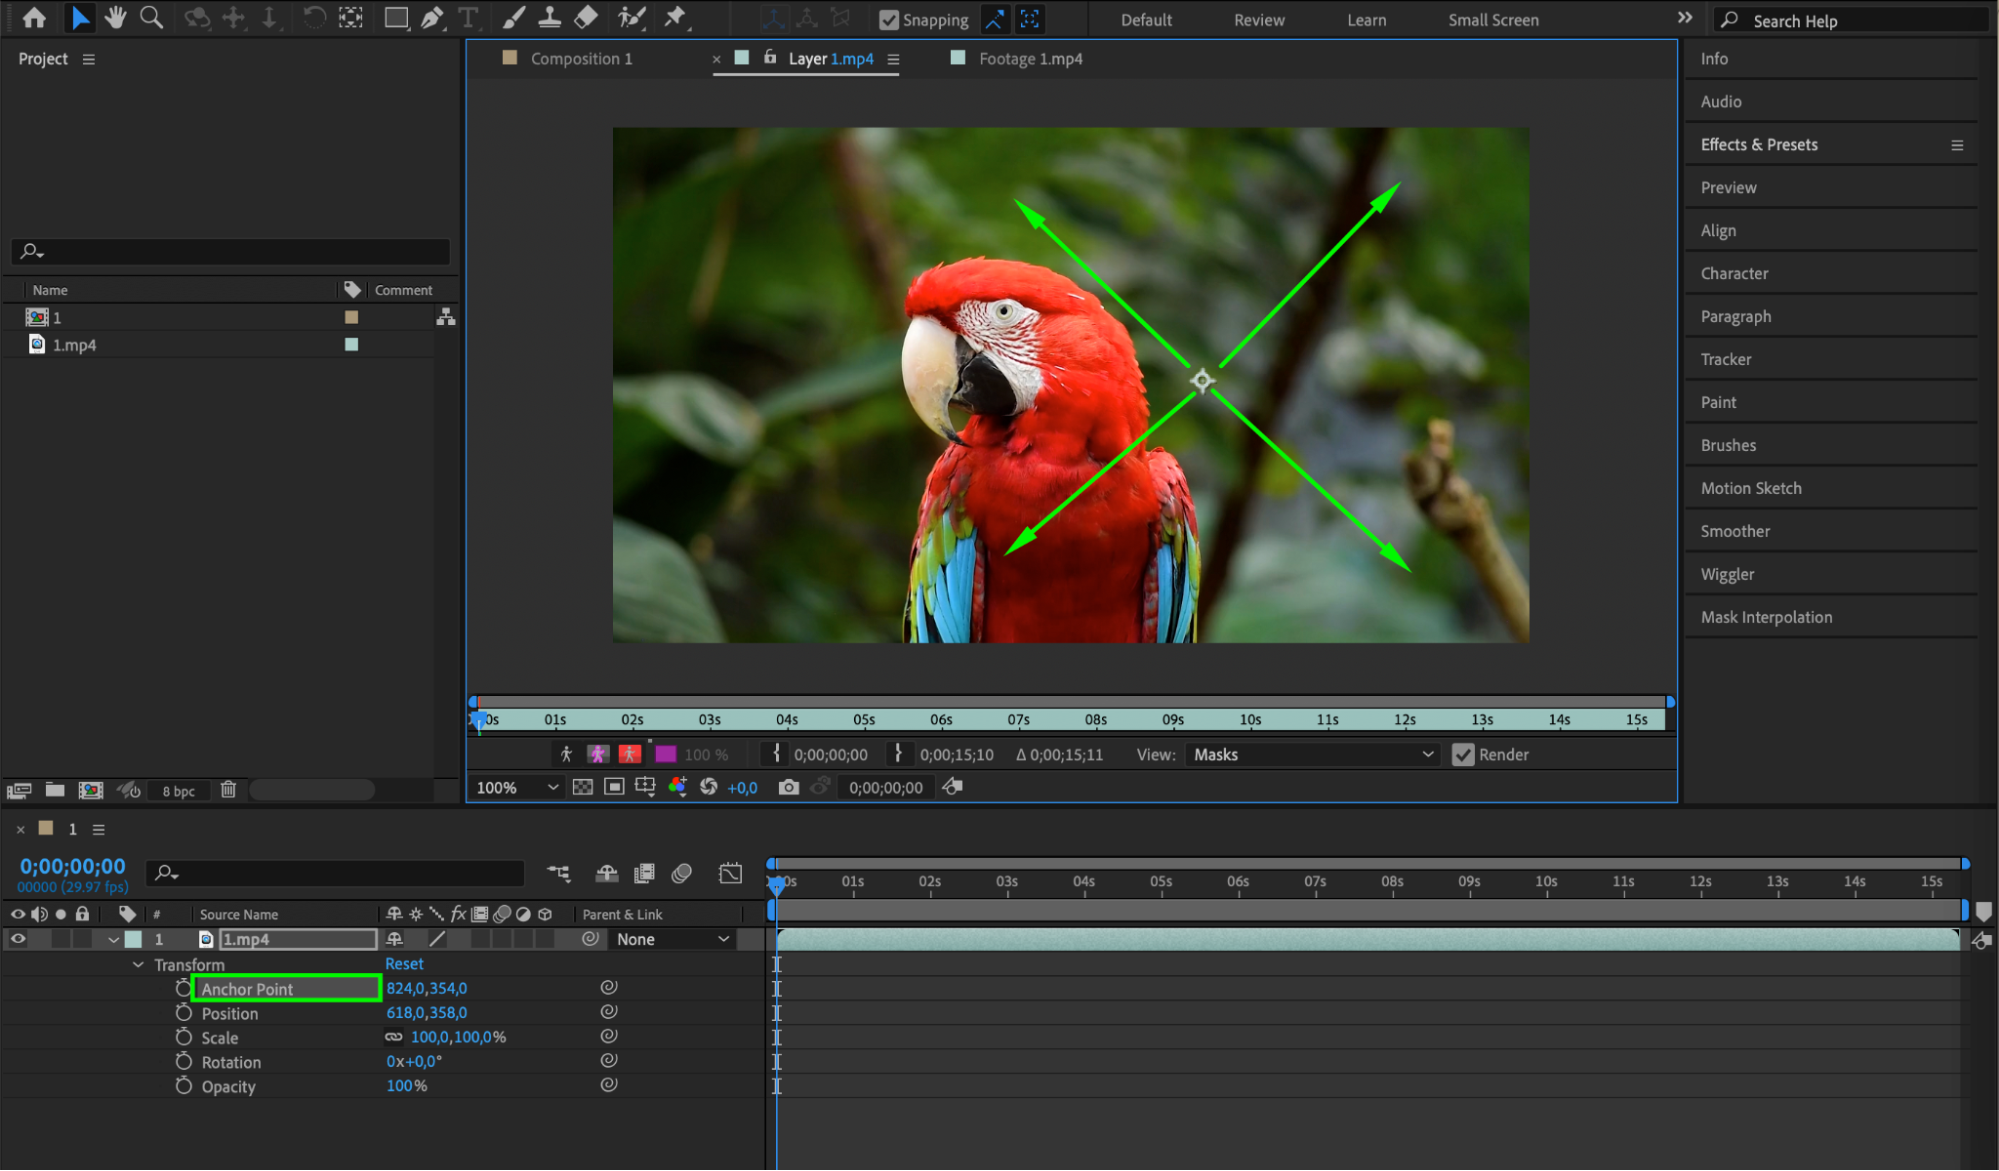
 Step 5: Use the Pan Behind (Anchor Point) Tool
Get 10% off when you subscribe to our newsletter
To quickly center the anchor point on a layer, you can use the Pan Behind (Anchor Point) Tool. Activate the tool by pressing the shortcut key “Y” on your keyboard or selecting it from the toolbar on the left side of the interface. With the tool active, simply click on the layer, and the anchor point will automatically snap to the center.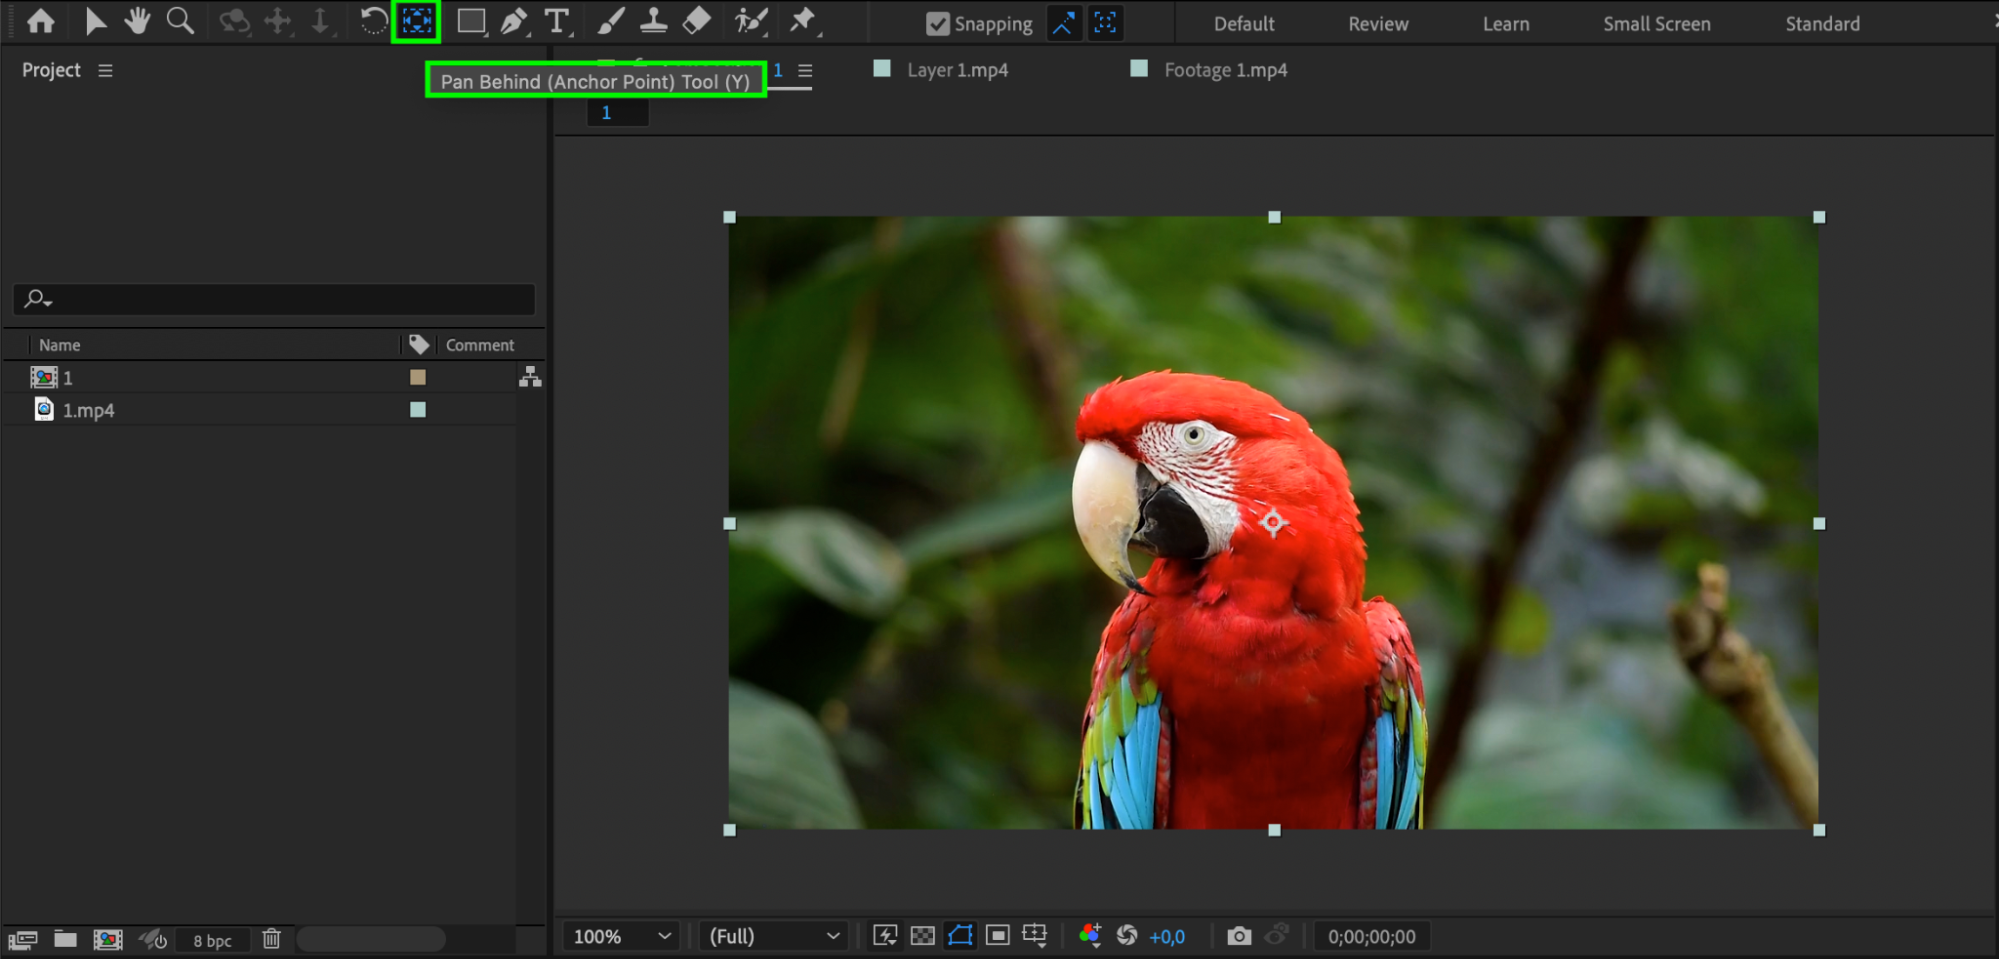
 Step 6: Fine-tune the Position
After positioning the anchor point, you can fine-tune its placement by adjusting the X and Y values in the Transform properties. This level of control allows for precise positioning, which is especially valuable for complex animations or effects.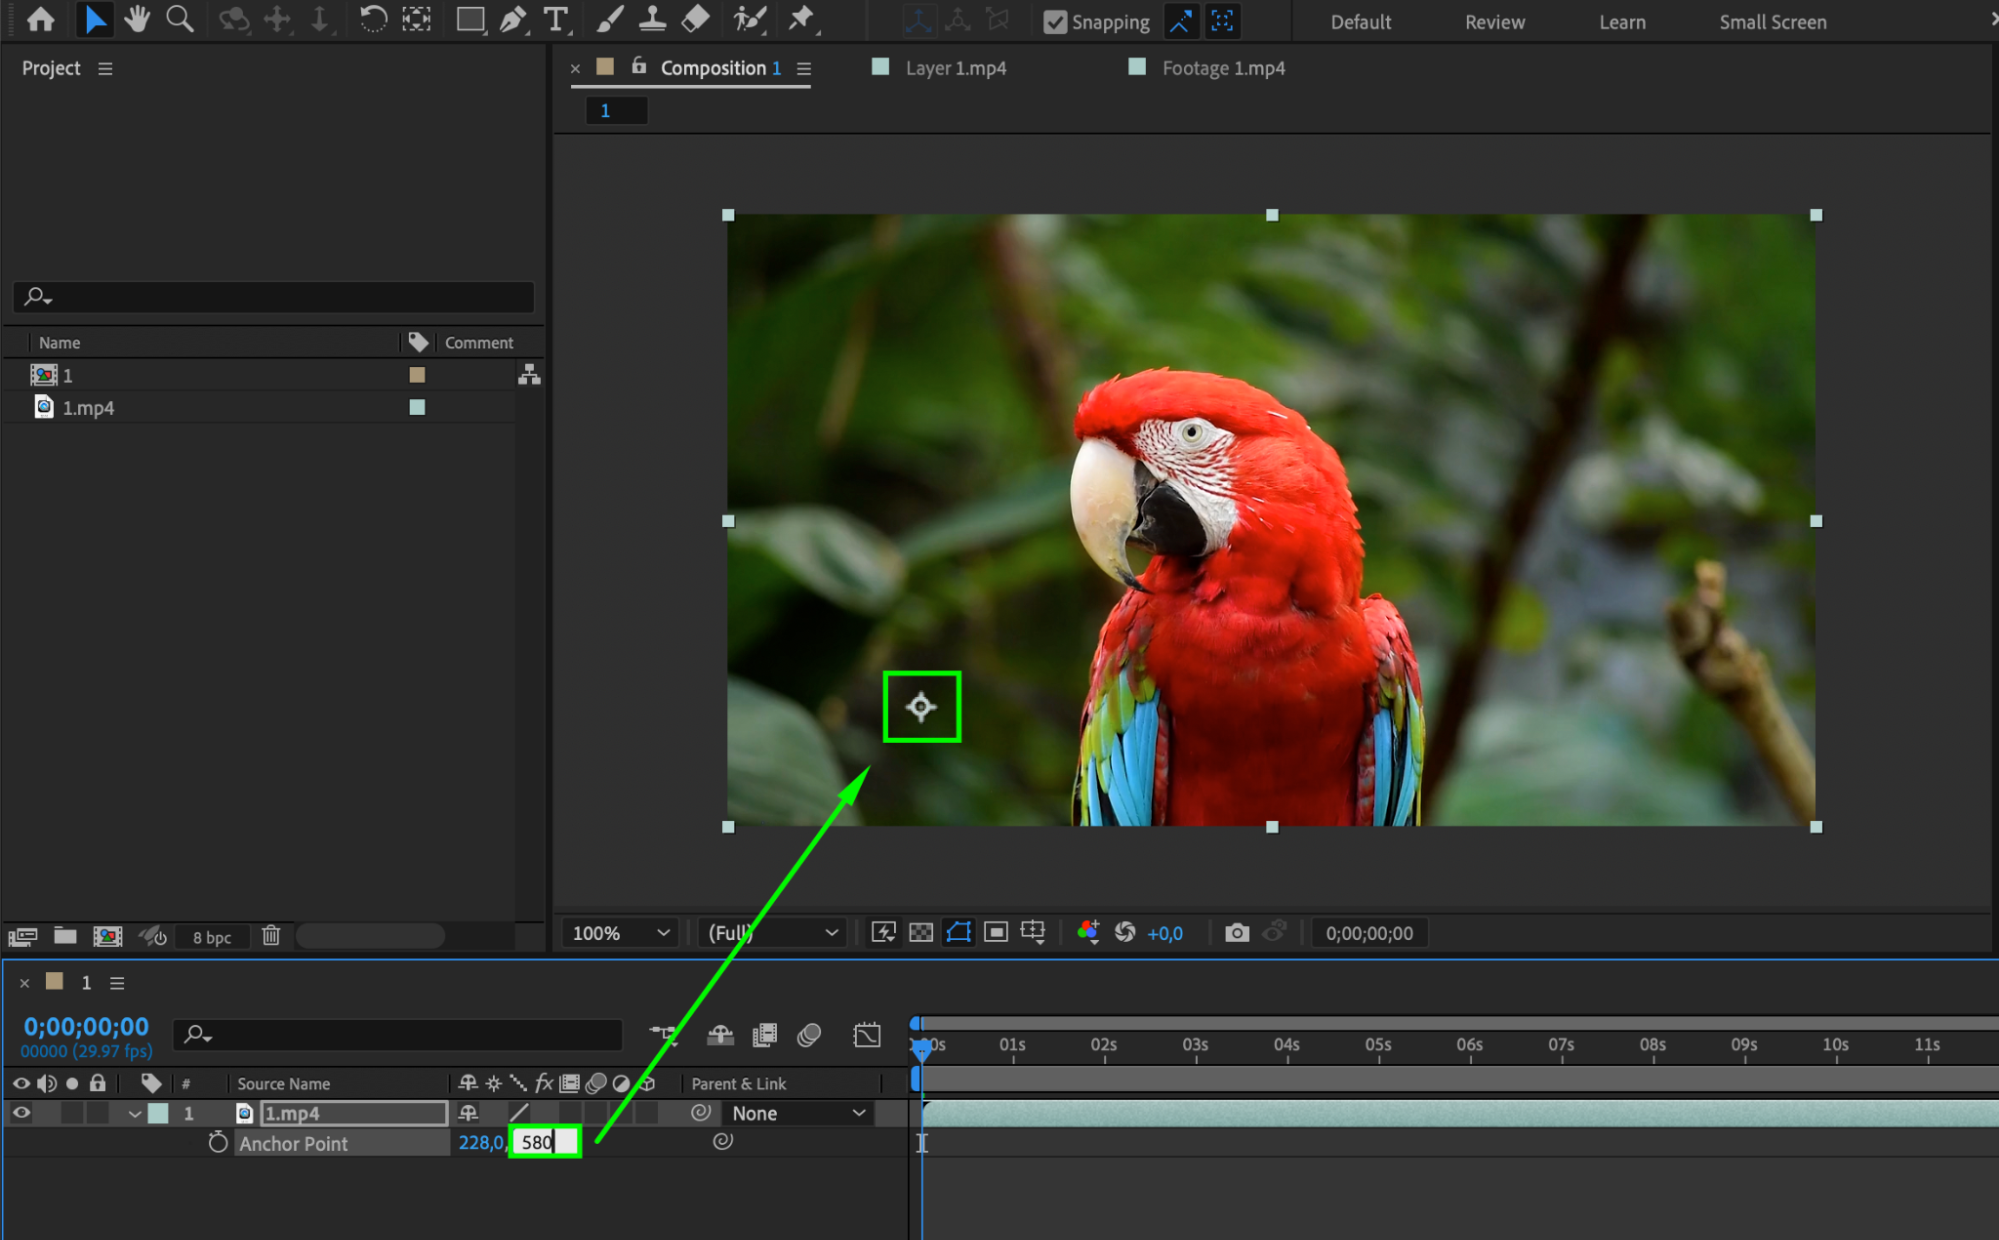 Conclusion
Mastering the art of finding and adjusting the anchor point in After Effects is essential for achieving professional video editing results. By understanding this fundamental feature, you’ll have complete creative control over your compositions, enabling you to create smooth and visually appealing motion graphics, transitions, and visual effects.
Now that you know how to find and manipulate the anchor point in After Effects, take the time to experiment with different techniques and explore the creative possibilities it offers in your video projects. Remember, practice makes perfect, so don’t hesitate to dive in and explore the countless ways this feature can enhance your designs.
Stay tuned to the AEJuice blog for more After Effects tutorials and valuable tips. Happy editing and animating!
Our Bestsellers


