Efficient Solutions for After Effects Render Errors
Troubleshooting After Effects Render Errors: A Comprehensive Guide
Encountering render errors in After Effects can be a frustrating roadblock in your creative process. However, understanding the common issues and knowing how to troubleshoot them can save you time and frustration. This guide will provide step-by-step solutions to common render errors, ensuring that you can overcome these obstacles and achieve smooth project delivery.
Step 1: Organize Your Project
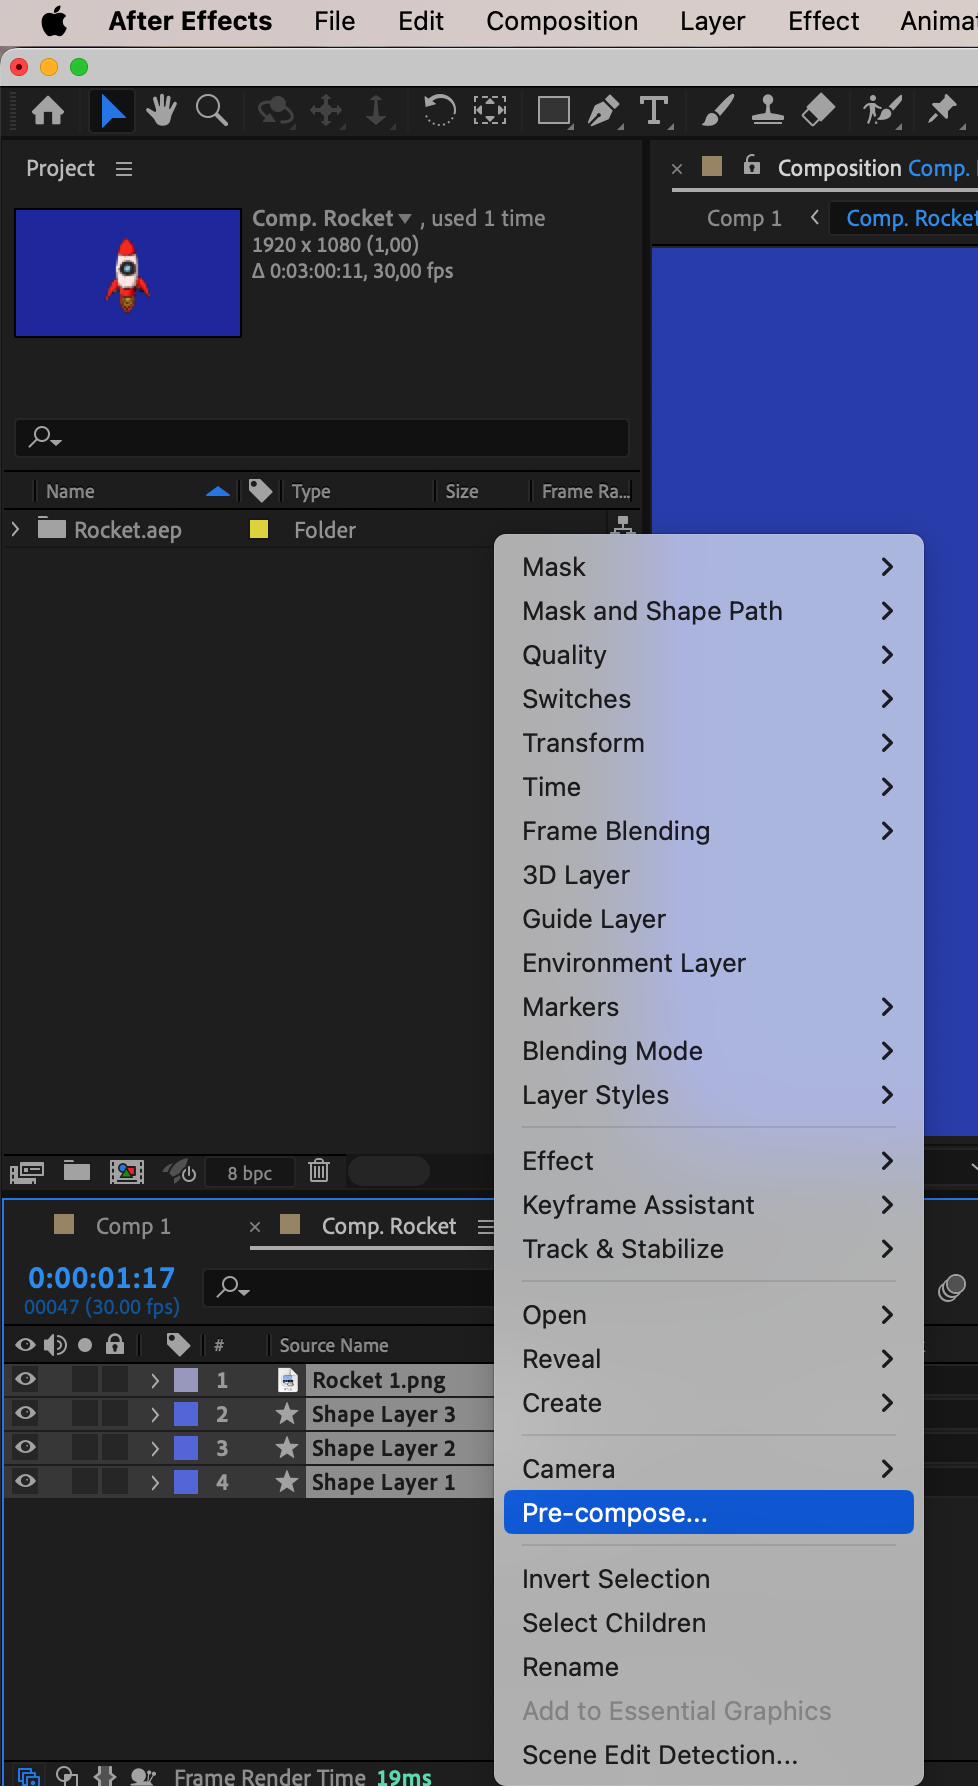
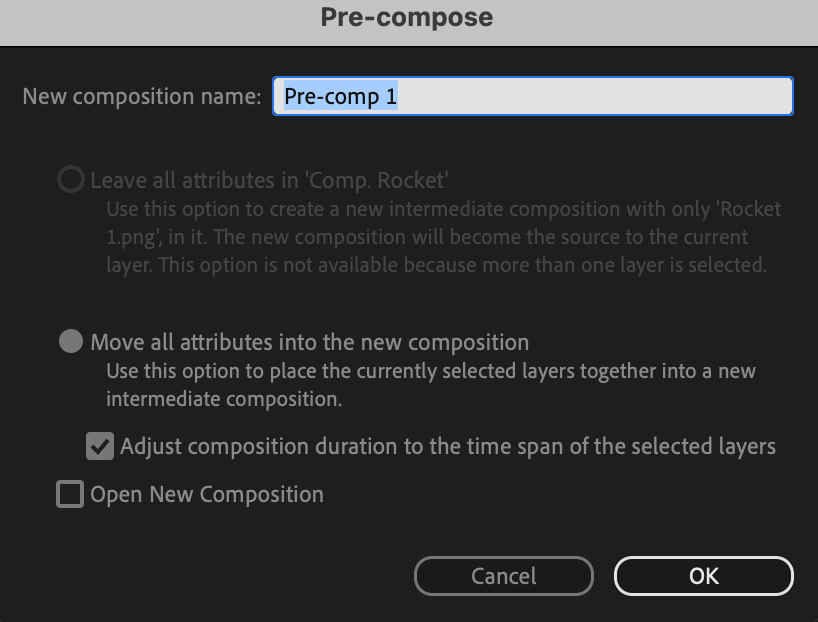
Effective project organization is the foundation for successful rendering in After Effects. Keep your compositions, layers, and assets well-structured to streamline the rendering process and prevent errors due to missing elements. Utilize folders and precompositions to maintain a clear project layout and minimize confusion.
Get 10% off when you subscribe to our newsletter

Step 2: Optimize System Resources
Ensure that your computer meets After Effects’ minimum requirements and allocate sufficient RAM and processing power to the software. Close unnecessary applications during rendering to optimize resource utilization and minimize the risk of system crashes or slowdowns.
Get 10% off when you subscribe to our newsletter
Step 3: Adjust Rendering Settings
Experiment with rendering settings such as resolution and frame rate to find the optimal balance between quality and file size. Consider using proxies for complex compositions to lighten the system workload and improve rendering performance.
Step 4: Optimize Render Queue Settings
Optimizing your render queue settings is essential for enhancing rendering performance in After Effects. Prioritize compositions and use multiprocessing to accelerate rendering times for complex projects. Regularly update After Effects to the latest version to address known bugs and improve stability.
Get 10% off when you subscribe to our newsletter
Step 5: Explore Third-Party Plugins and Scripts
Explore third-party plugins and scripts to enhance rendering capabilities in After Effects. However, ensure compatibility and performance testing before integrating them into your projects to avoid introducing new errors or conflicts.
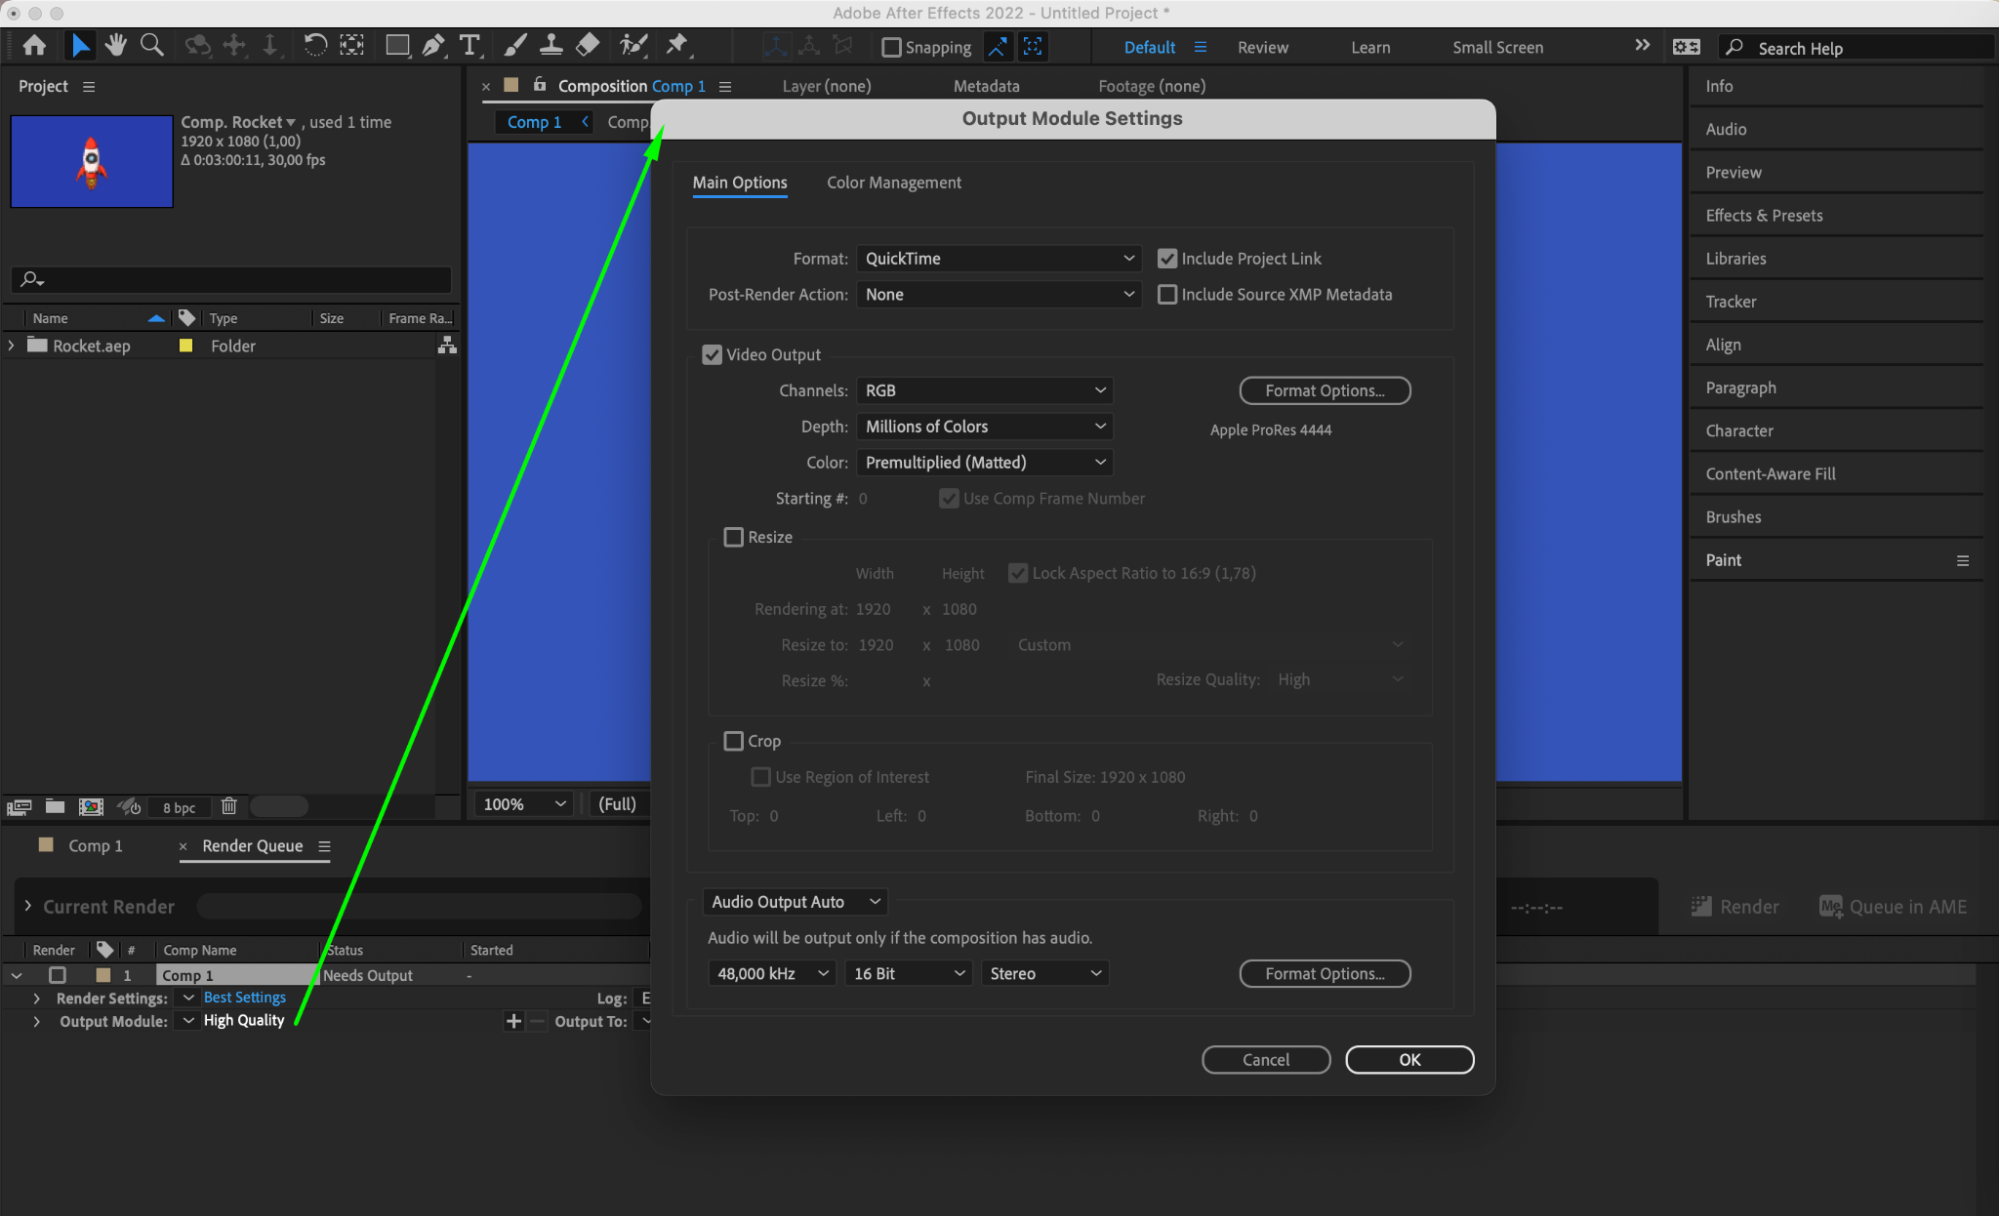
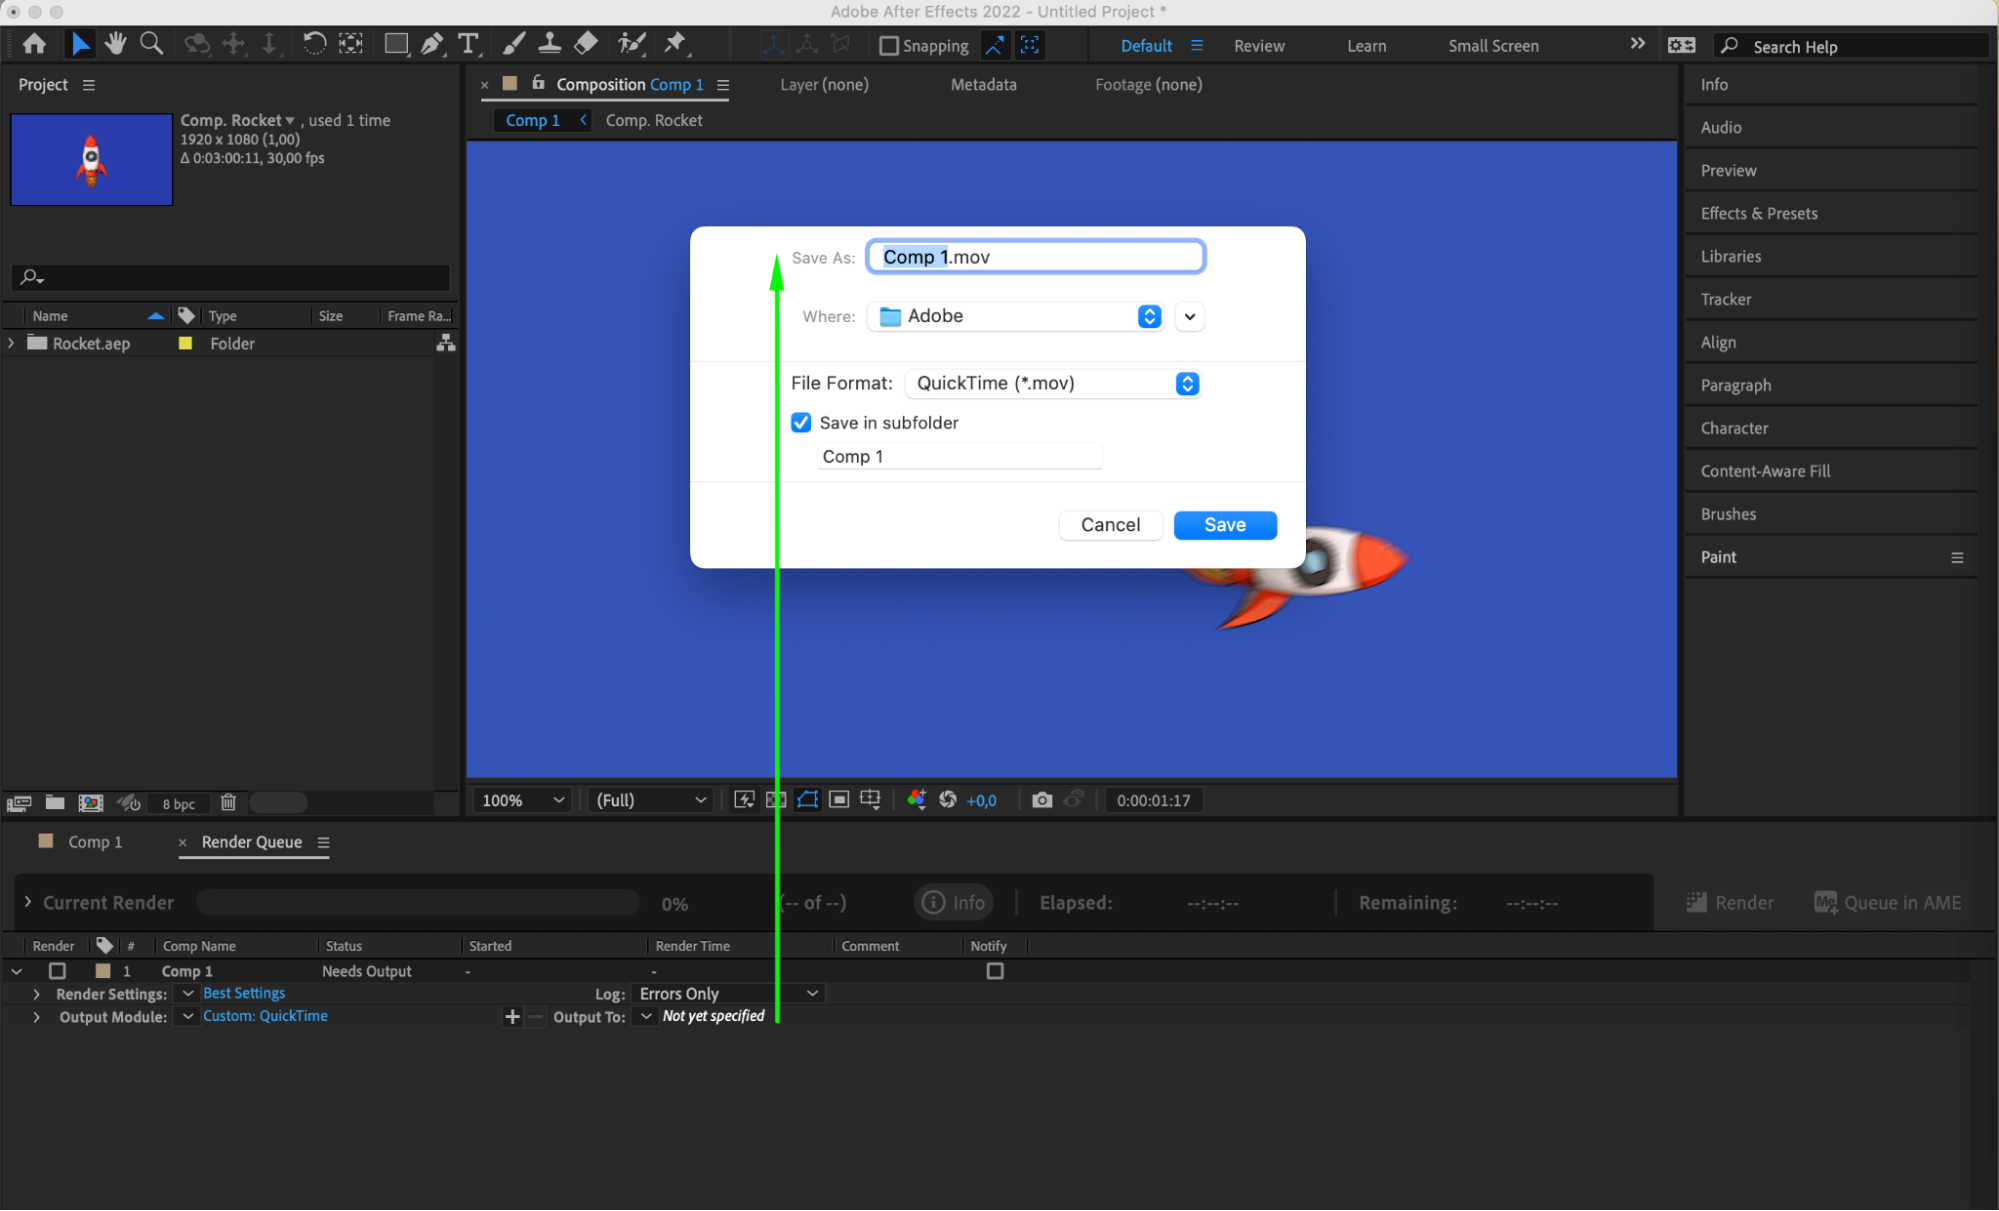
Step 6: Configure Output Settings
Configure Output settings in After Effects to specify the file name, location, and format for rendering. Organize your projects by saving them in separate folders to maintain project cleanliness and facilitate easy access to rendered files.
Get 10% off when you subscribe to our newsletter
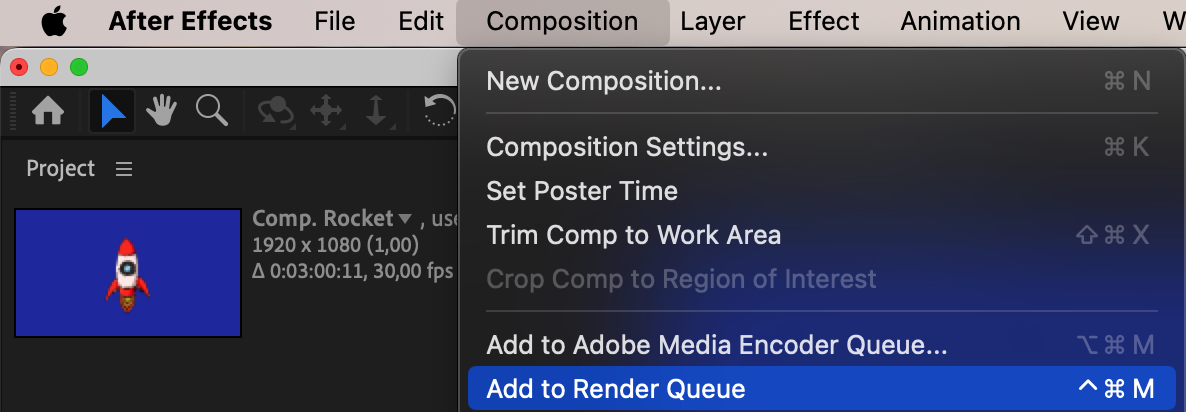
Step 7: Initiate Rendering
After ensuring all settings are configured, initiate the rendering process by clicking the render button. Review the rendering progress and address any issues that may arise during the rendering process.

Conclusion
By following these troubleshooting tips and optimizing your rendering performance in After Effects, you can streamline your workflow, reduce rendering times, and achieve outstanding results in your creative projects. Don’t let render errors hold you back. Take control of your rendering process and unleash your creativity with confidence in After Effects.
Our Bestsellers


