How to Remove Fill in After Effects
Removing Fill from an Object or Shape in After Effects
Sometimes, you may need to remove the fill from an object, shape, or unwanted area in After Effects. This can be done using masks, tracking, and the Content-Aware Fill tool. This guide will walk you through the steps to effectively remove fill and create a clean result.
Step 1: Open Your Project
Get 10% off when you subscribe to our newsletter

Launch After Effects and open the project containing the object or area you want to remove. Make sure your composition is set up correctly with the necessary layers visible.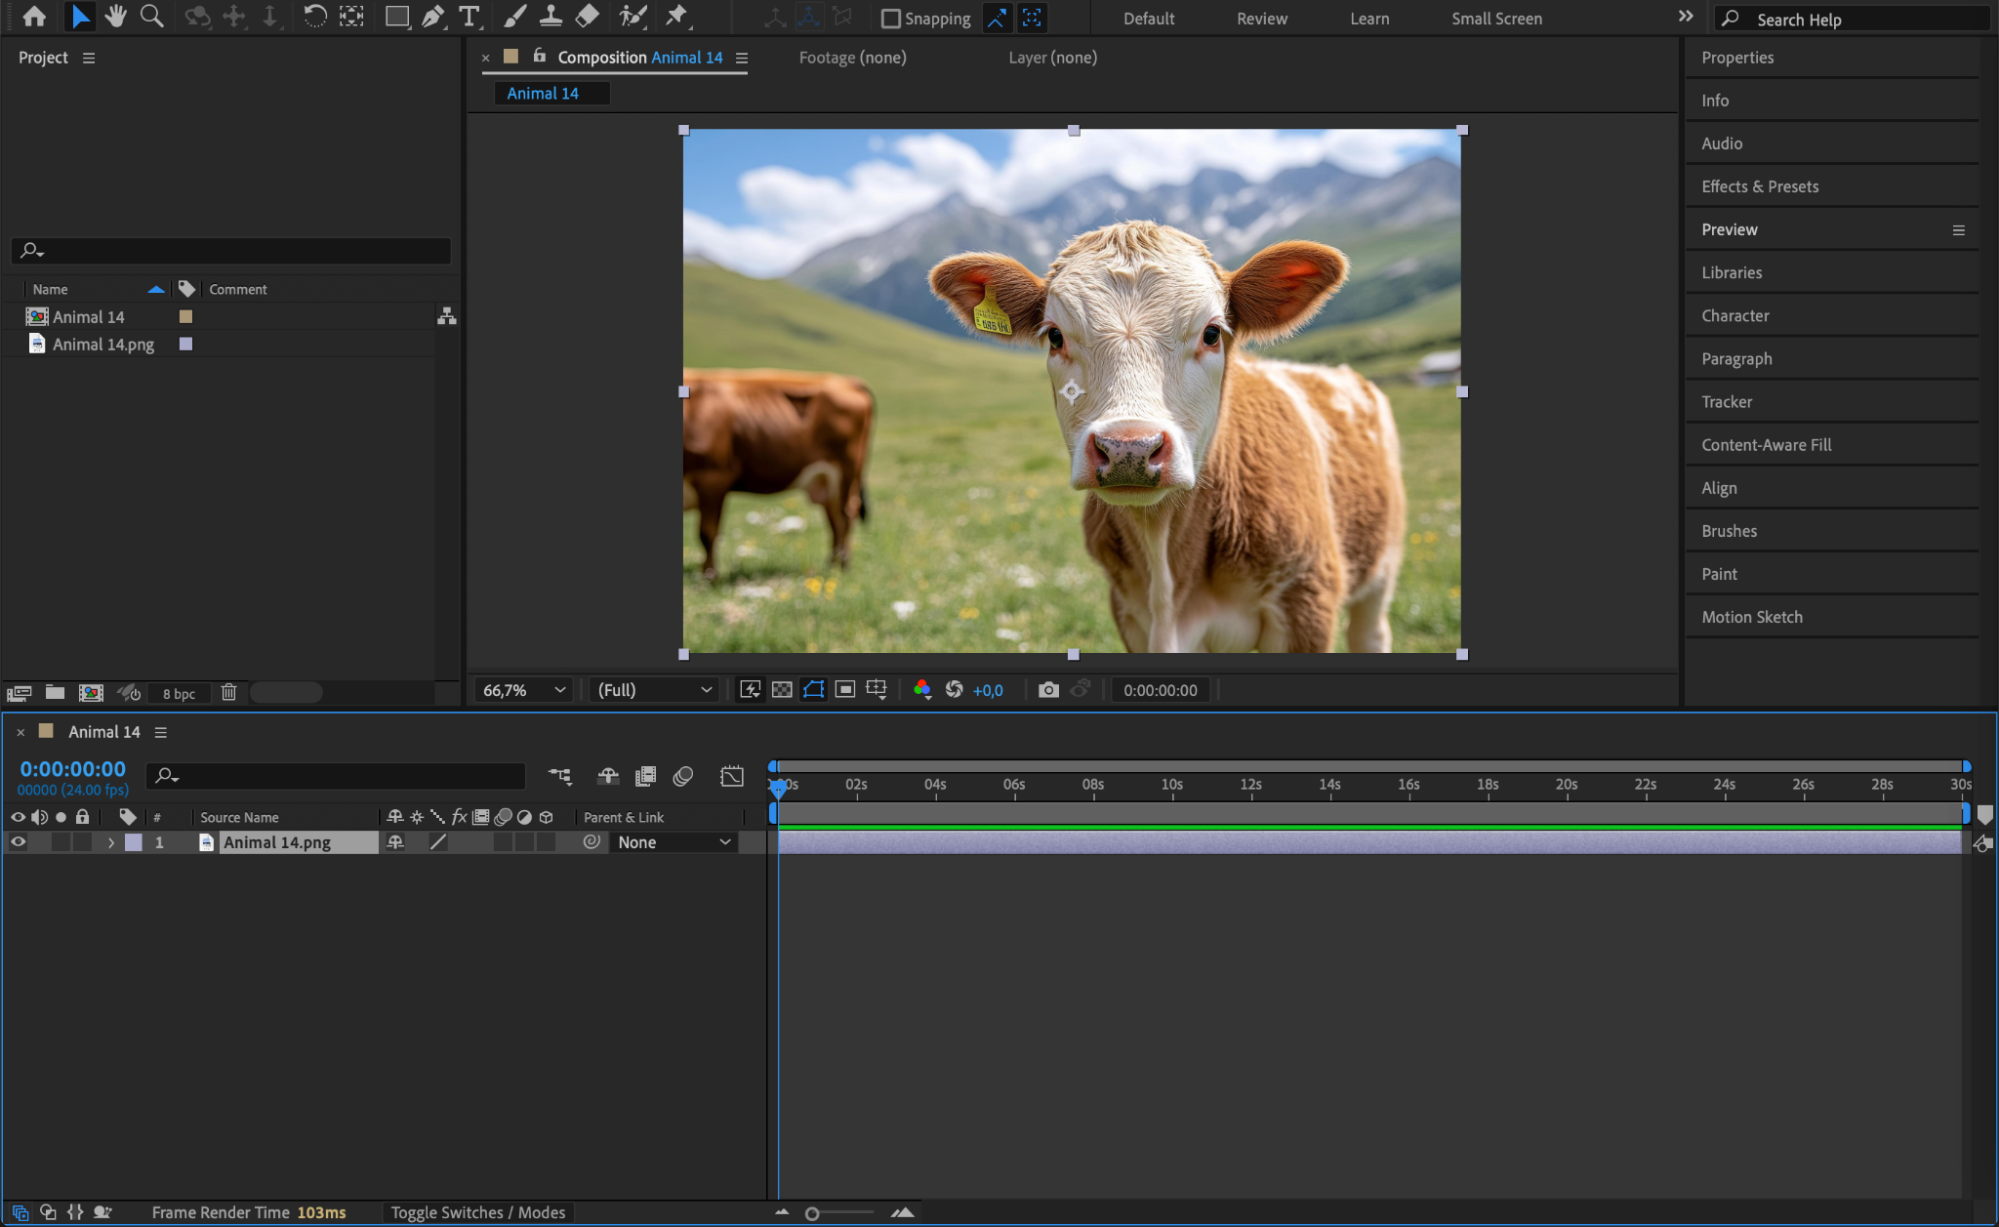 Step 2: Create a Mask Around the Object
Select the layer you want to edit and use the Pen Tool (G) to draw a mask around the area you want to remove. Set the Mask Mode to Subtract in the Timeline Panel to make the masked area disappear.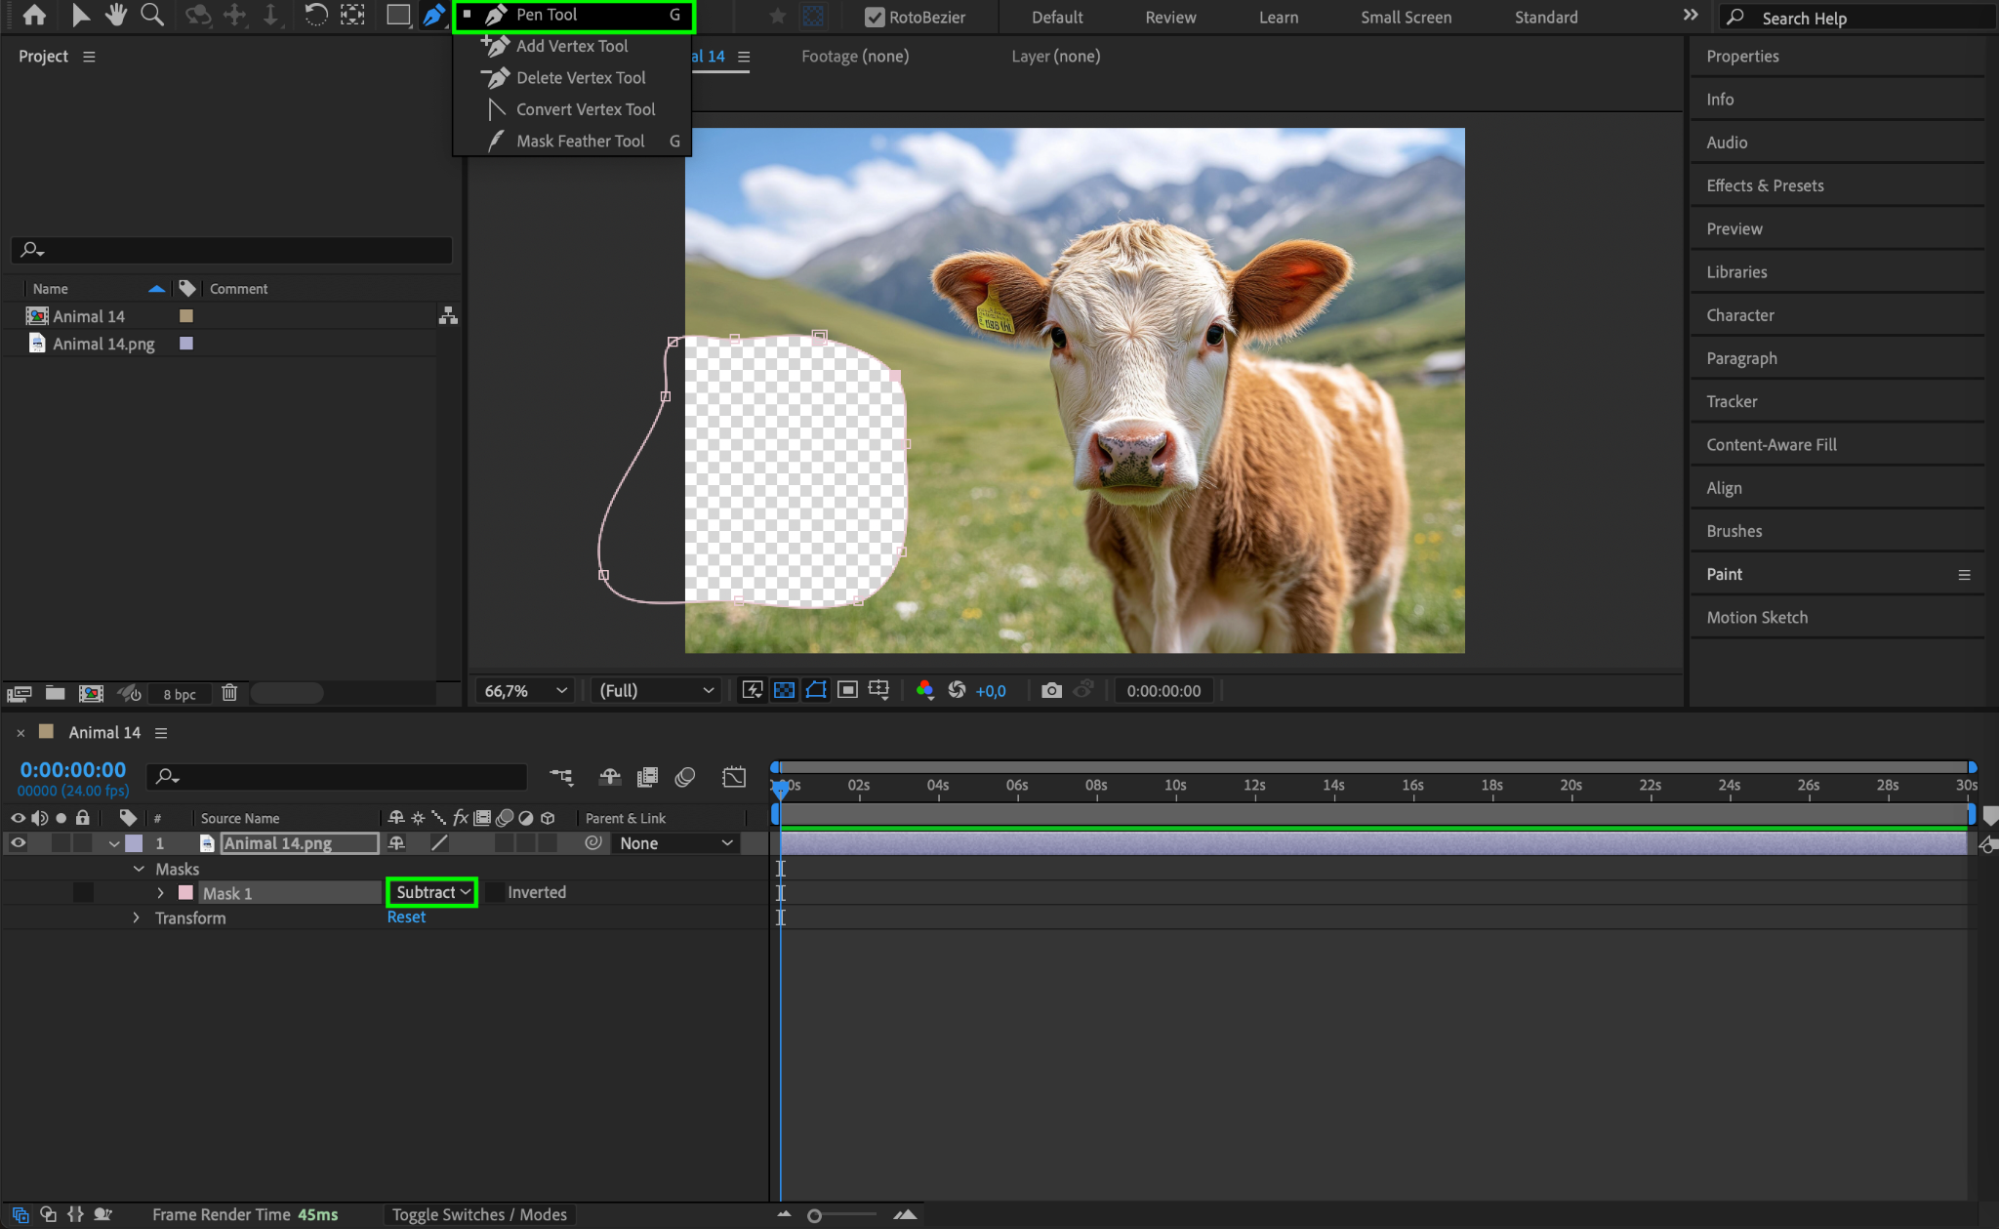 Step 3: Track the Mask for Moving Objects (If Needed)
If the object you are removing is in motion, right-click on the mask and select Track Mask. This will allow After Effects to track the movement of the mask across the video, ensuring a consistent fill removal.
Step 4: Open the Content-Aware Fill Panel
Go to Window > Content-Aware Fill to open the tool. This feature automatically fills the removed area based on surrounding pixels, creating a seamless result.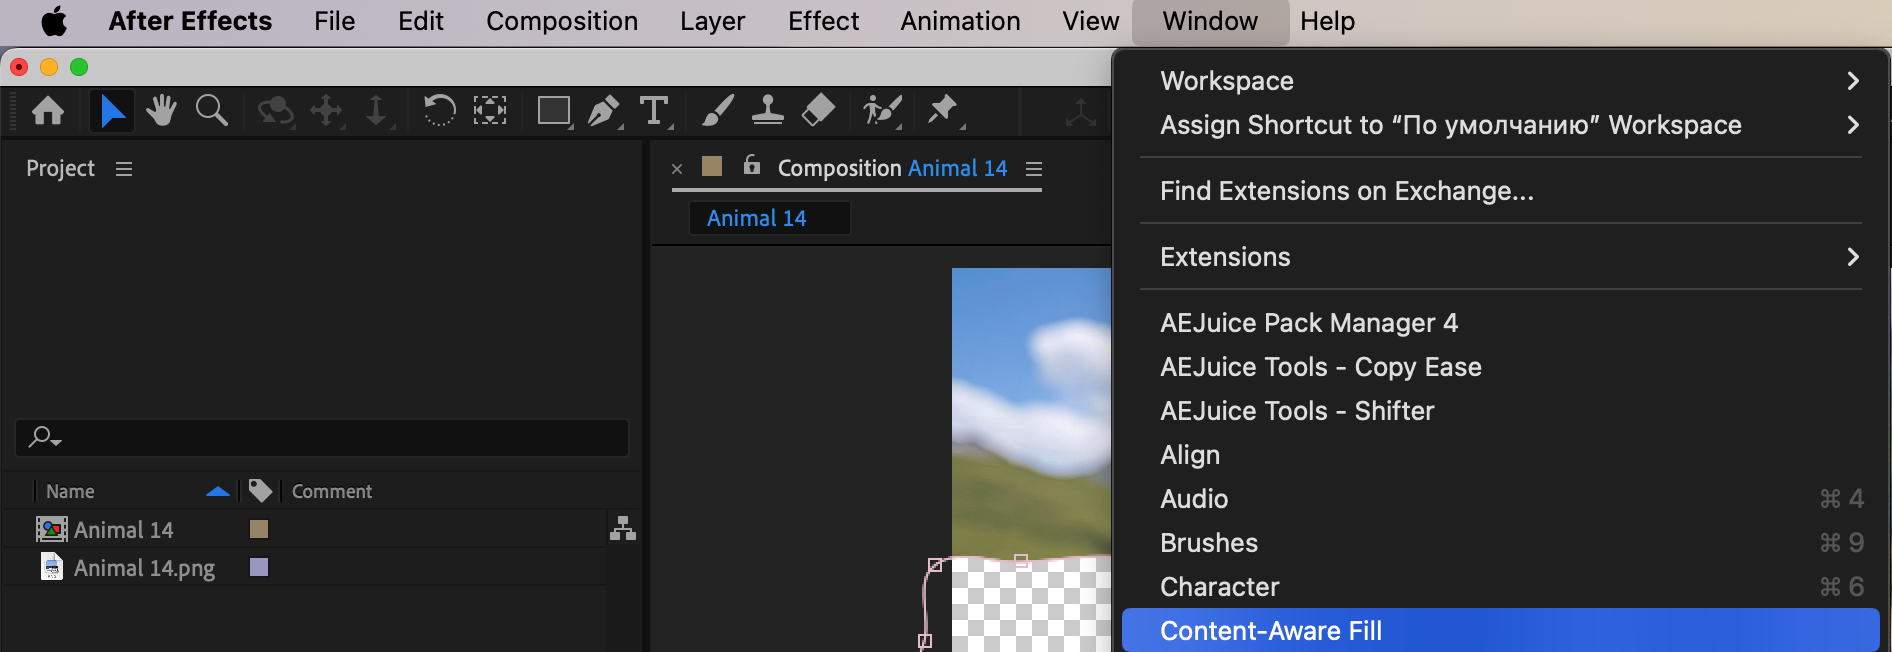 Step 5: Adjust Fill Settings and Generate
In the Content-Aware Fill panel:
Set Fill Method to Object for best results.
Set Range to Work Area to apply the effect across the entire timeline.
Click Generate Fill Layer to let After Effects process the fill removal.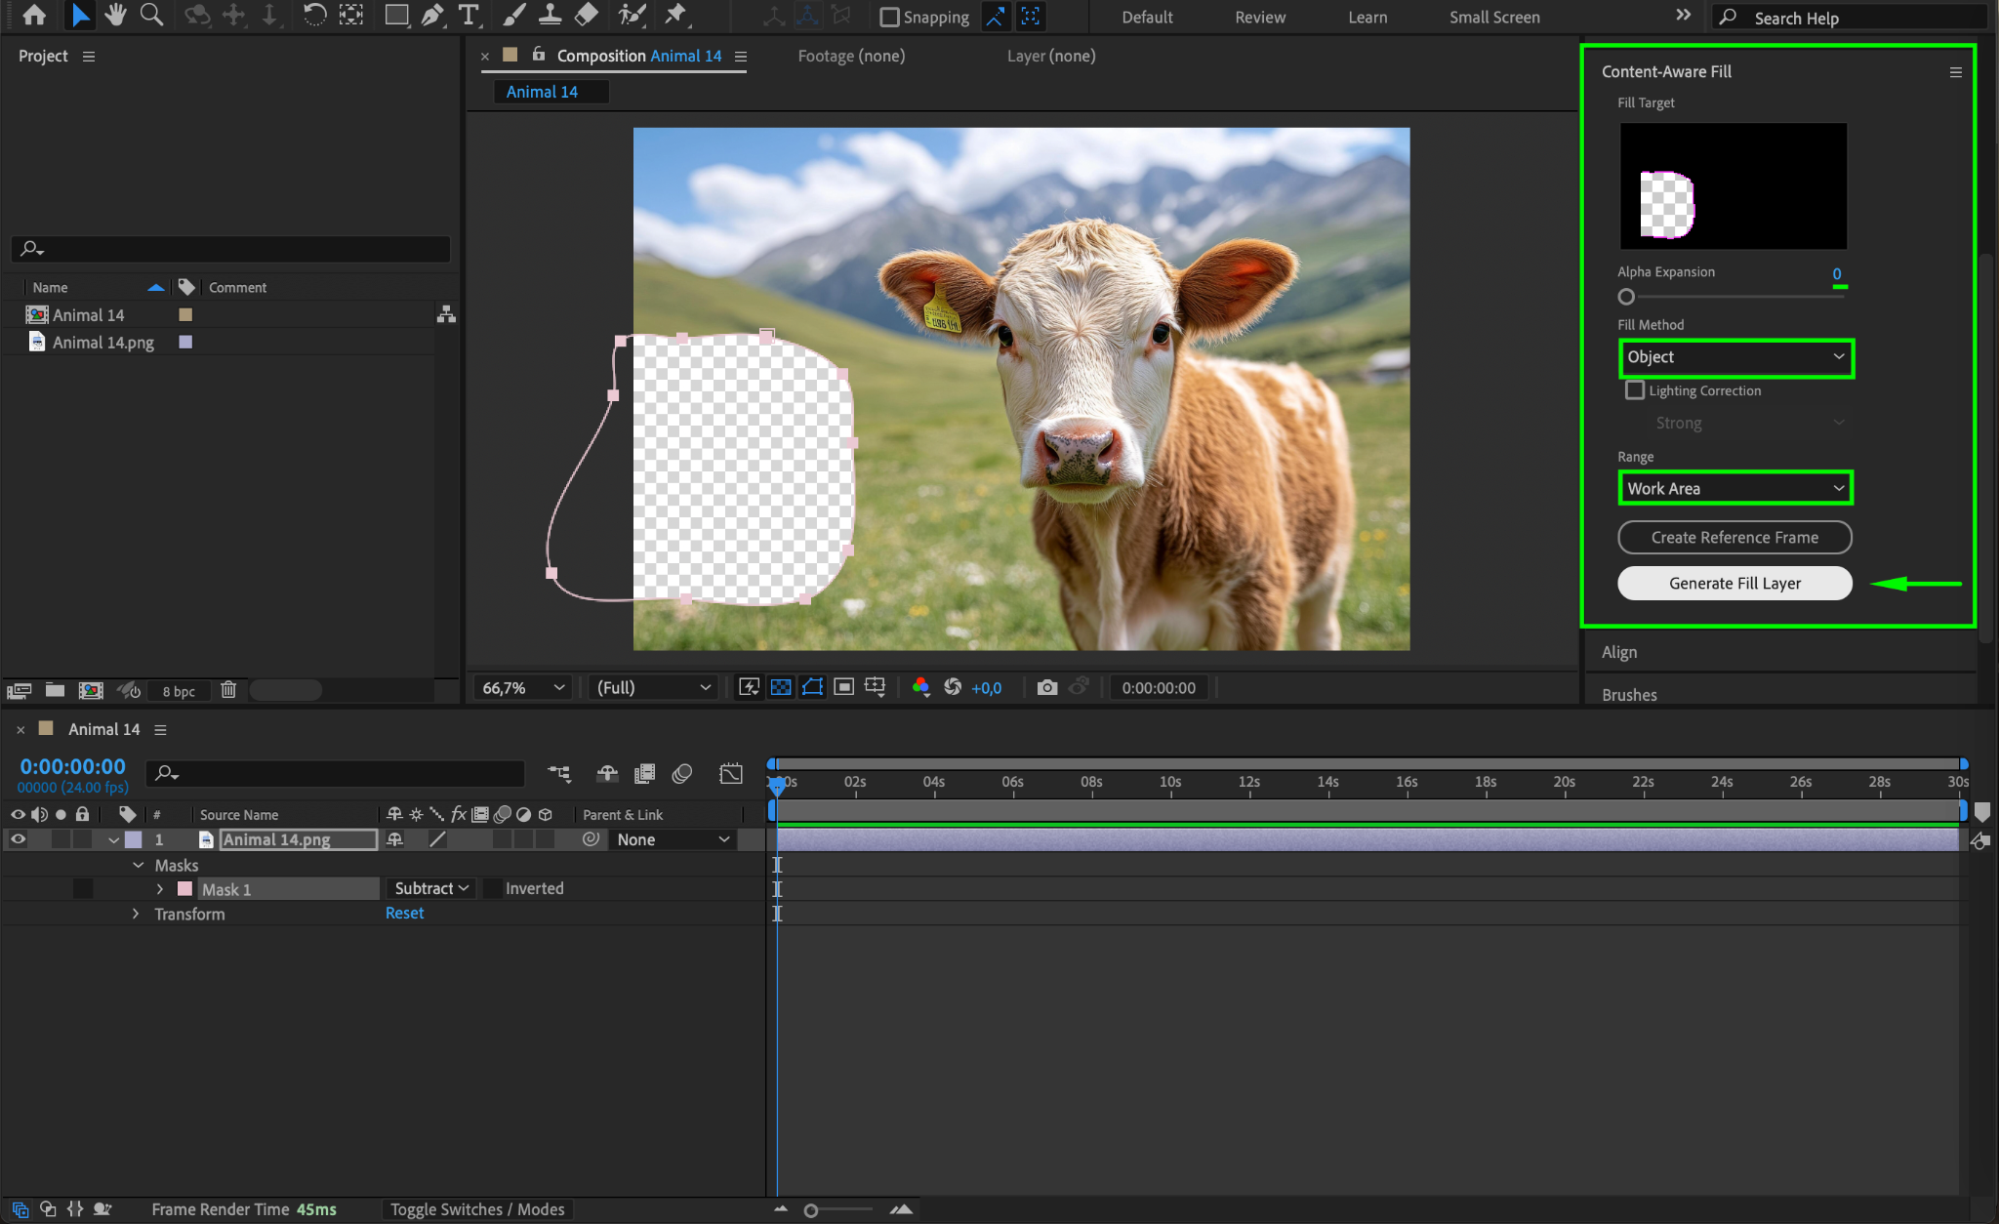 Step 6: Preview the Changes
Play back your composition to check if the fill removal looks natural. If needed, refine the mask edges or adjust the Content-Aware Fill settings for a better result.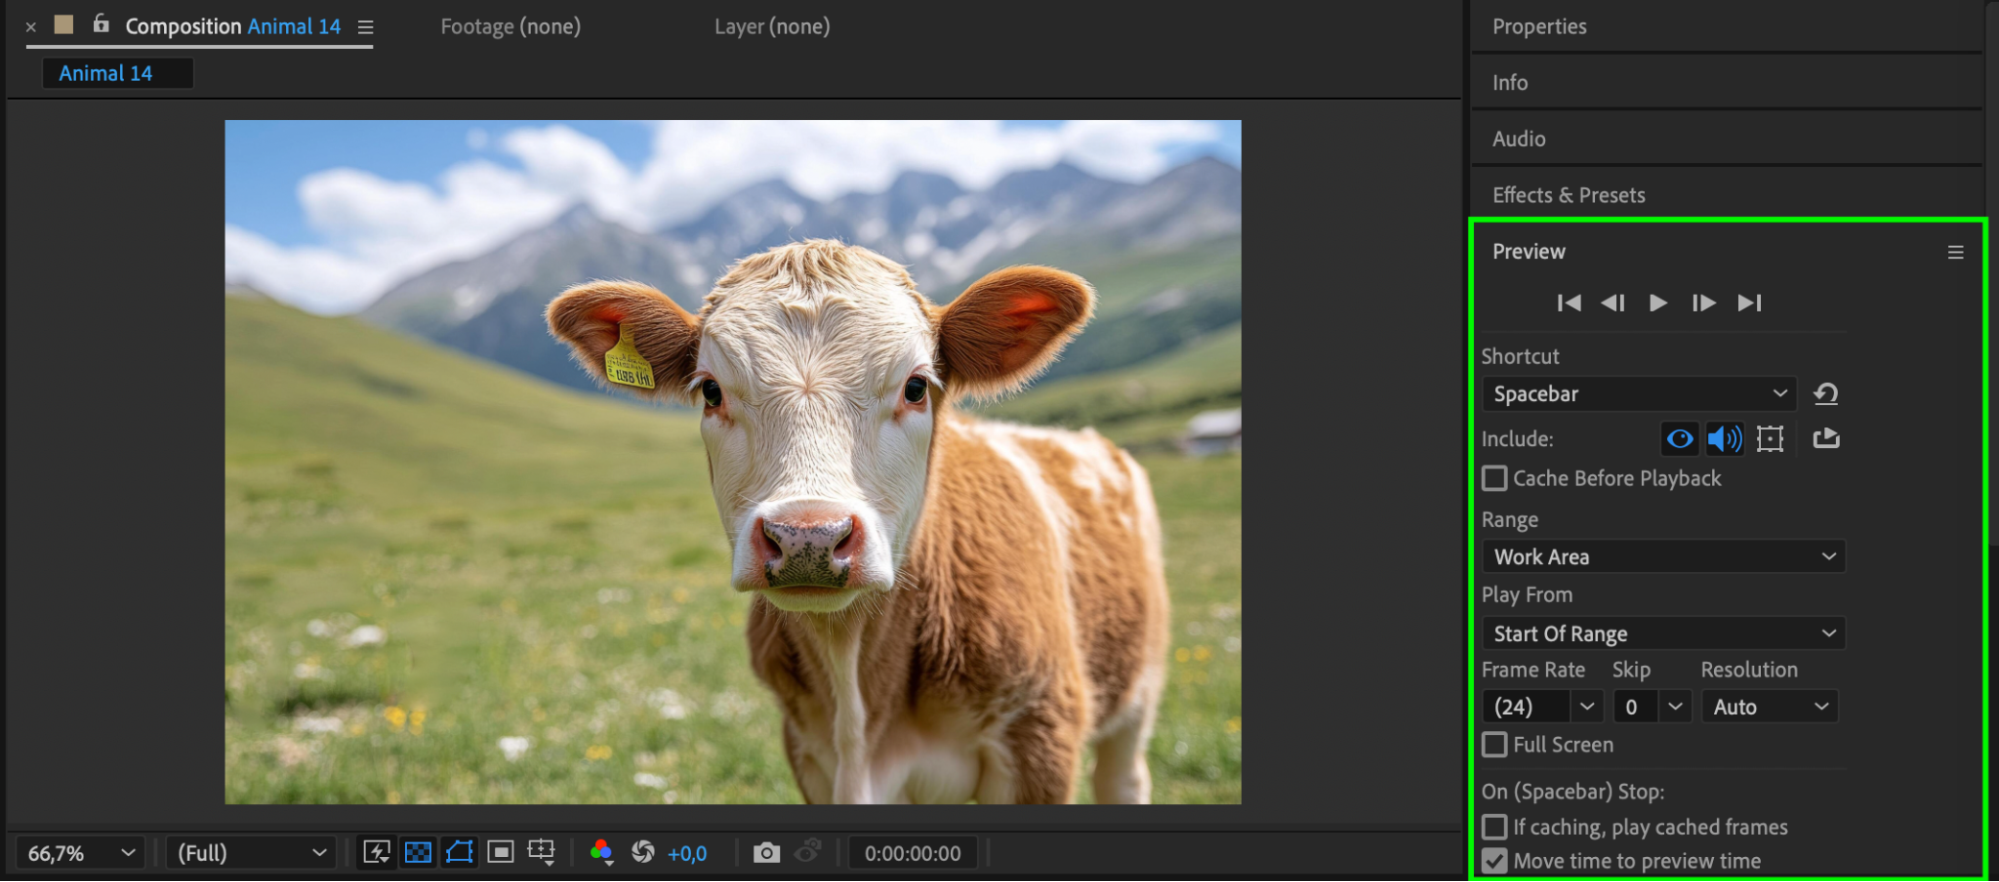 Step 7: Render the Final Composition
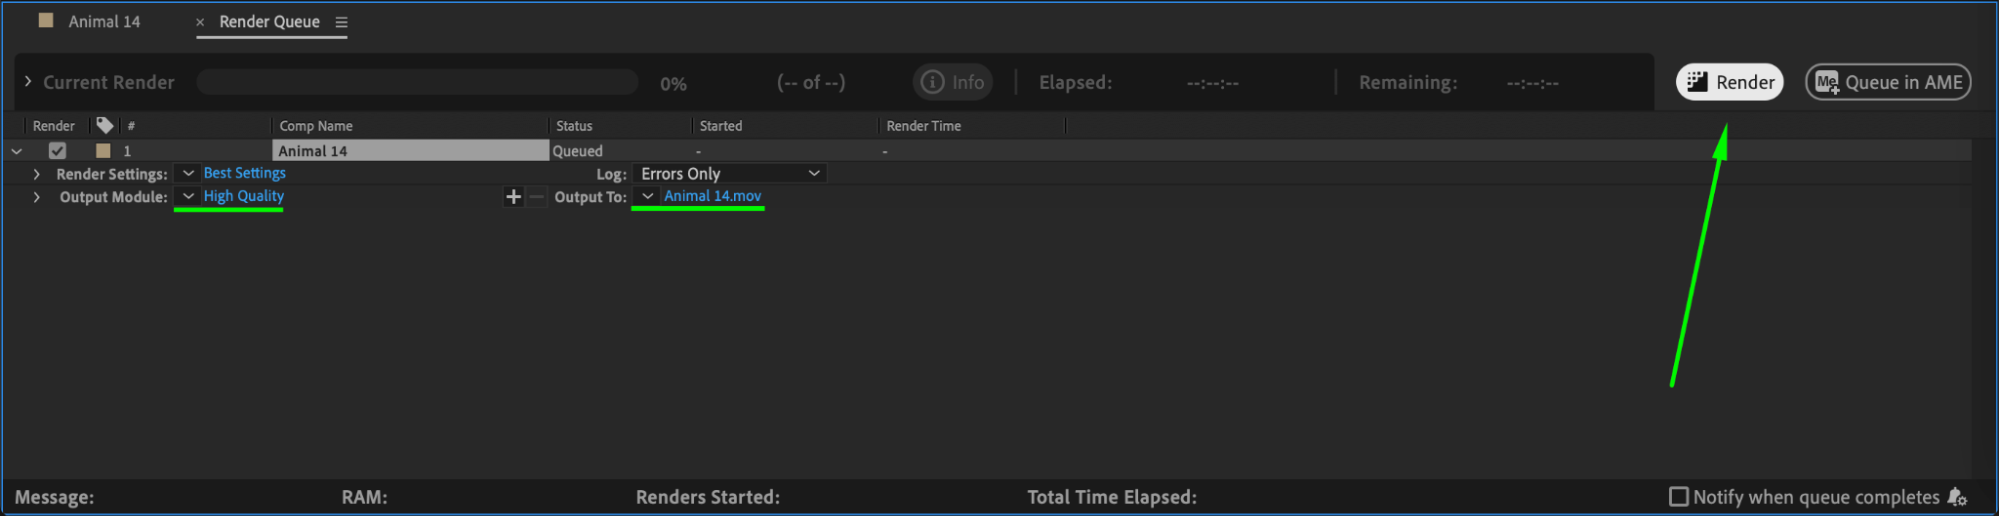
Once satisfied, go to Composition > Add to Render Queue or use Adobe Media Encoder to export your final video with the fill removed.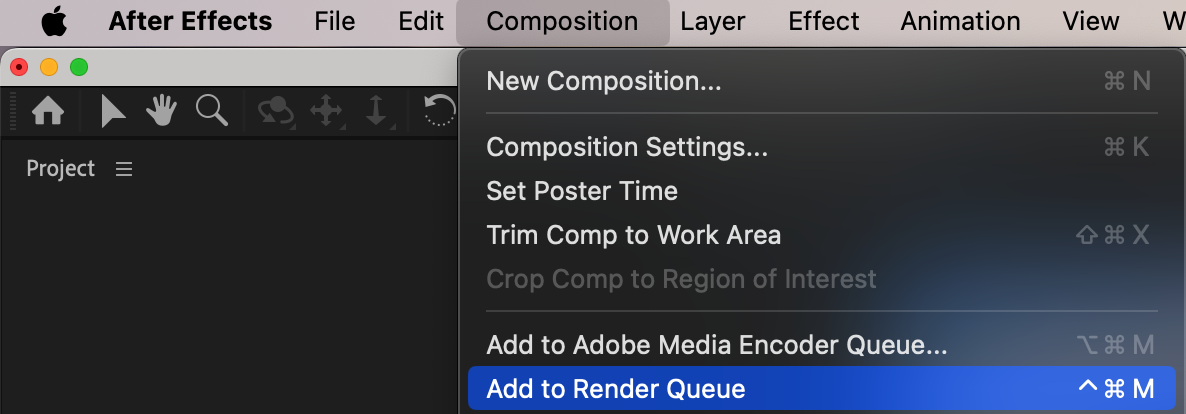
 Conclusion
Removing fill in After Effects is simple with masks and the Content-Aware Fill tool. Whether working with static images or moving videos, these steps will help you achieve a seamless fill removal for a professional-looking edit.
Our Bestsellers


