Navigating Frames in After Effects: Step-by-Step Guide
Introduction to Frame Navigation
Have you ever found yourself needing to navigate to the next frame in After Effects but not sure how to do it efficiently? Don’t worry, we’ve got you covered! In this blog post, we’ll walk you through the different techniques you can use to seamlessly move from one frame to another in After Effects.
Get 10% off when you subscribe to our newsletter

When it comes to creating captivating motion graphics and animations in After Effects, having a solid understanding of frame navigation is essential. Being able to seamlessly move from one frame to another allows you to fine-tune your compositions, create smooth transitions, and ensure accurate timing. So let’s dive right in and unlock the art of seamless frame navigation in After Effects!
1. Use Keyboard Shortcuts
The quickest way to navigate frames is by using keyboard shortcuts. Press Ctrl + Right Arrow (Windows) or Cmd + Right Arrow (Mac) to move forward one frame. Use Ctrl + Left Arrow (Windows) or Cmd + Left Arrow (Mac) to move back one frame. These shortcuts allow for precise, frame-by-frame navigation.
2. Move Multiple Frames
After Effects provides a range of keyboard shortcuts to expedite frame navigation. Hold Ctrl + Shift + Right Arrow (Windows) or Cmd + Shift + Right Arrow (Mac) to move forward ten frames, and Ctrl + Shift + Left Arrow (Windows) or Cmd + Shift + Left Arrow (Mac) to move back ten frames. This can be especially useful for quickly navigating through longer compositions.
3. Customize Keyboard Shortcuts
Get 10% off when you subscribe to our newsletter

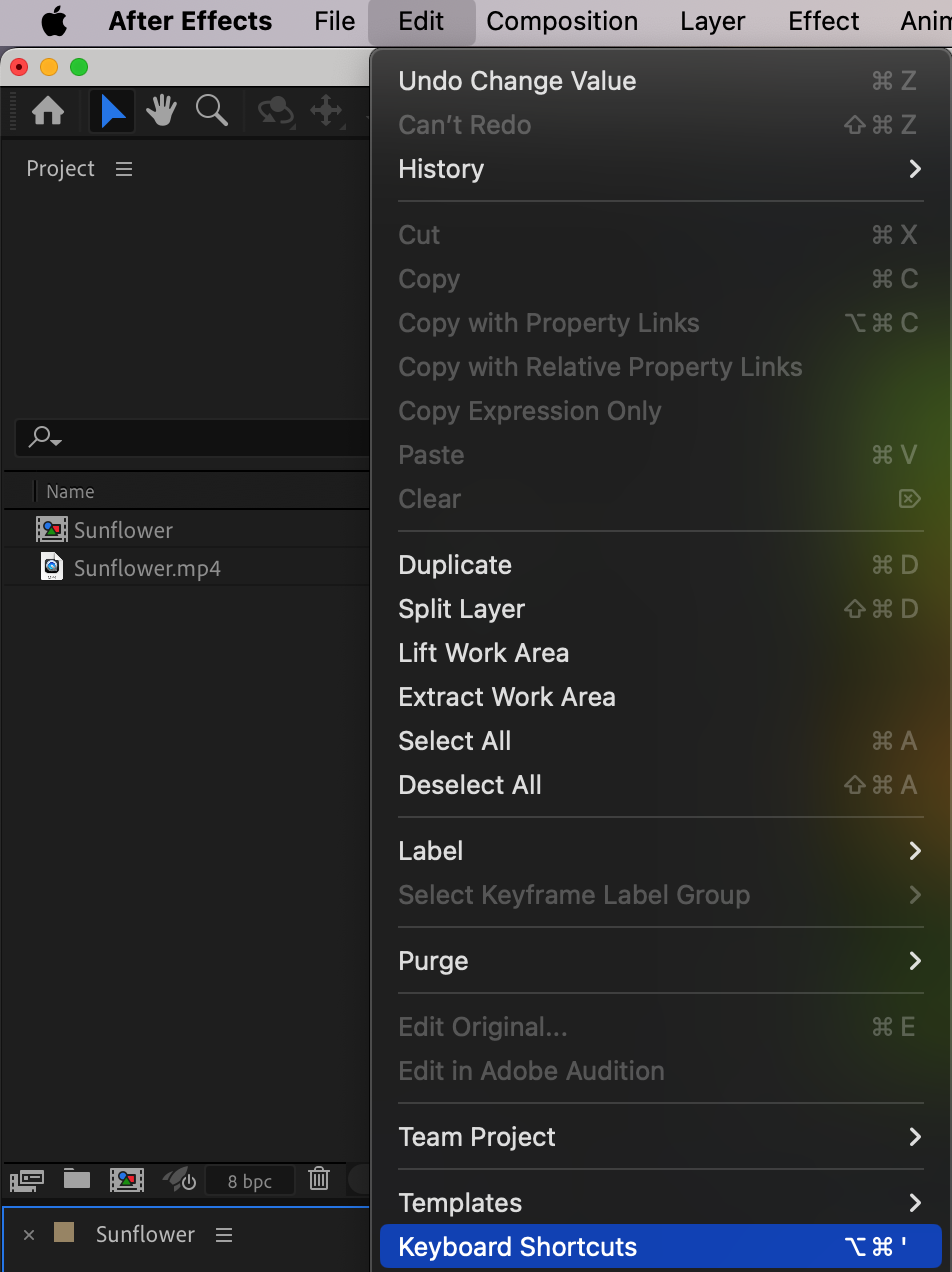
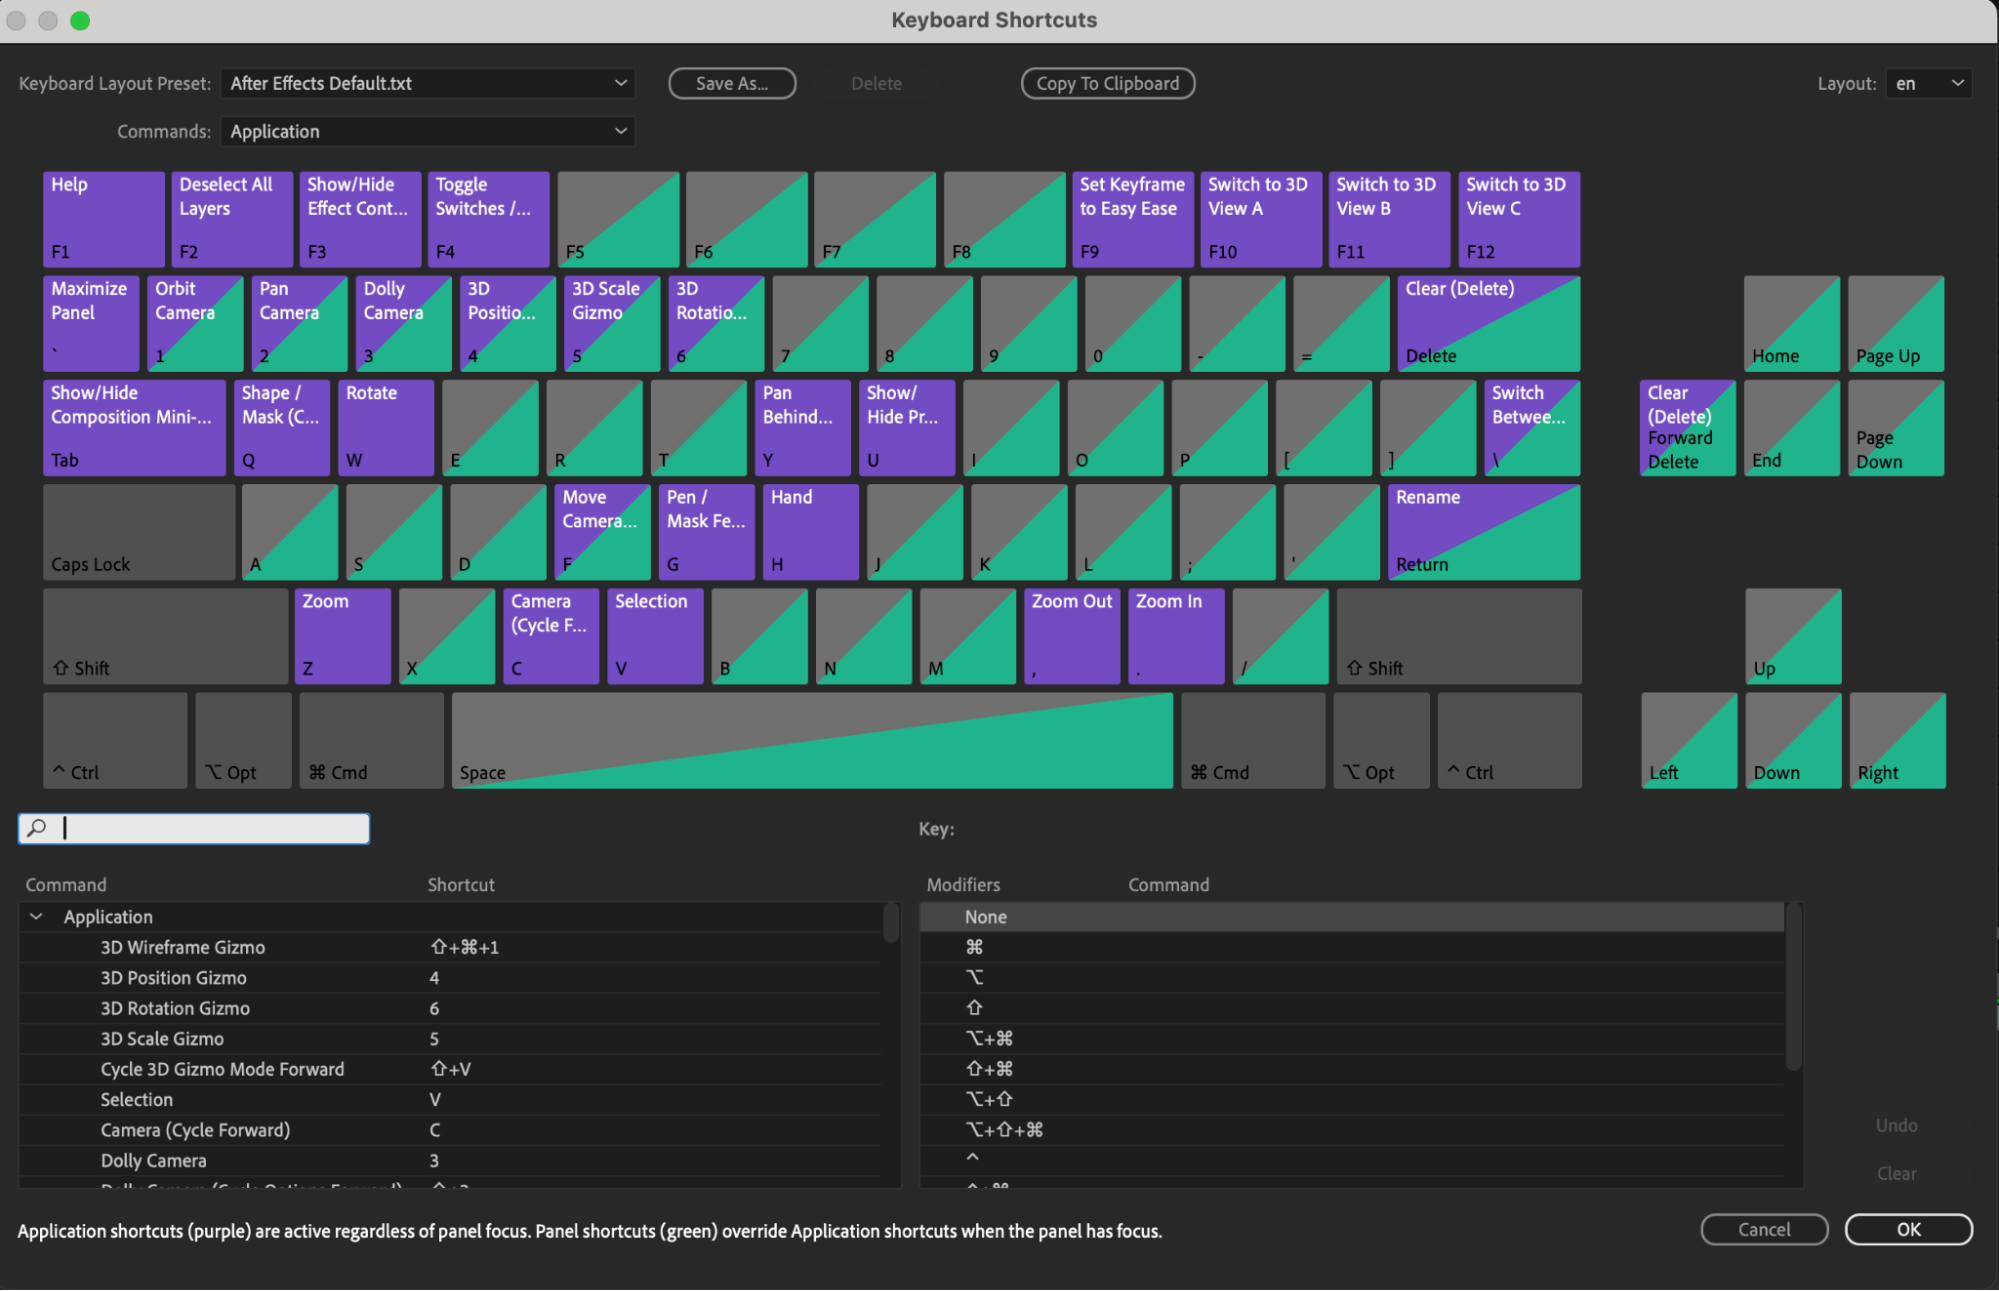
You can customize keyboard shortcuts to better fit your workflow. Go to Edit > Keyboard Shortcuts to adjust the keys used for frame navigation. This allows you to create a personalized and efficient navigation setup.
 4. Use the Timecode Feature
If you need to navigate to a specific frame, using the timecode feature in After Effects can be incredibly handy. Simply click on the current time display in the timeline panel and enter the timecode of the frame you want to go to. Pressing Enter or Return will instantly take you to that specific frame, saving time and streamlining your workflow.

 5. Use the Current Time Indicator
Another effective method for moving to the next frame is by using the Current Time Indicator (CTI). Click and drag the CTI along the timeline to jump to different frames. This technique gives you the freedom to navigate through your composition with precision, ensuring your animations are perfectly timed. 6. Zoom In and Out on the Timeline
For greater control over frame-by-frame navigation, use the Zoom In and Zoom Out buttons at the bottom of the timeline panel. Zooming in allows you to see individual frames more clearly, making it easier to navigate and edit your animation.
 7. Utilize Custom Markers
Get 10% off when you subscribe to our newsletter

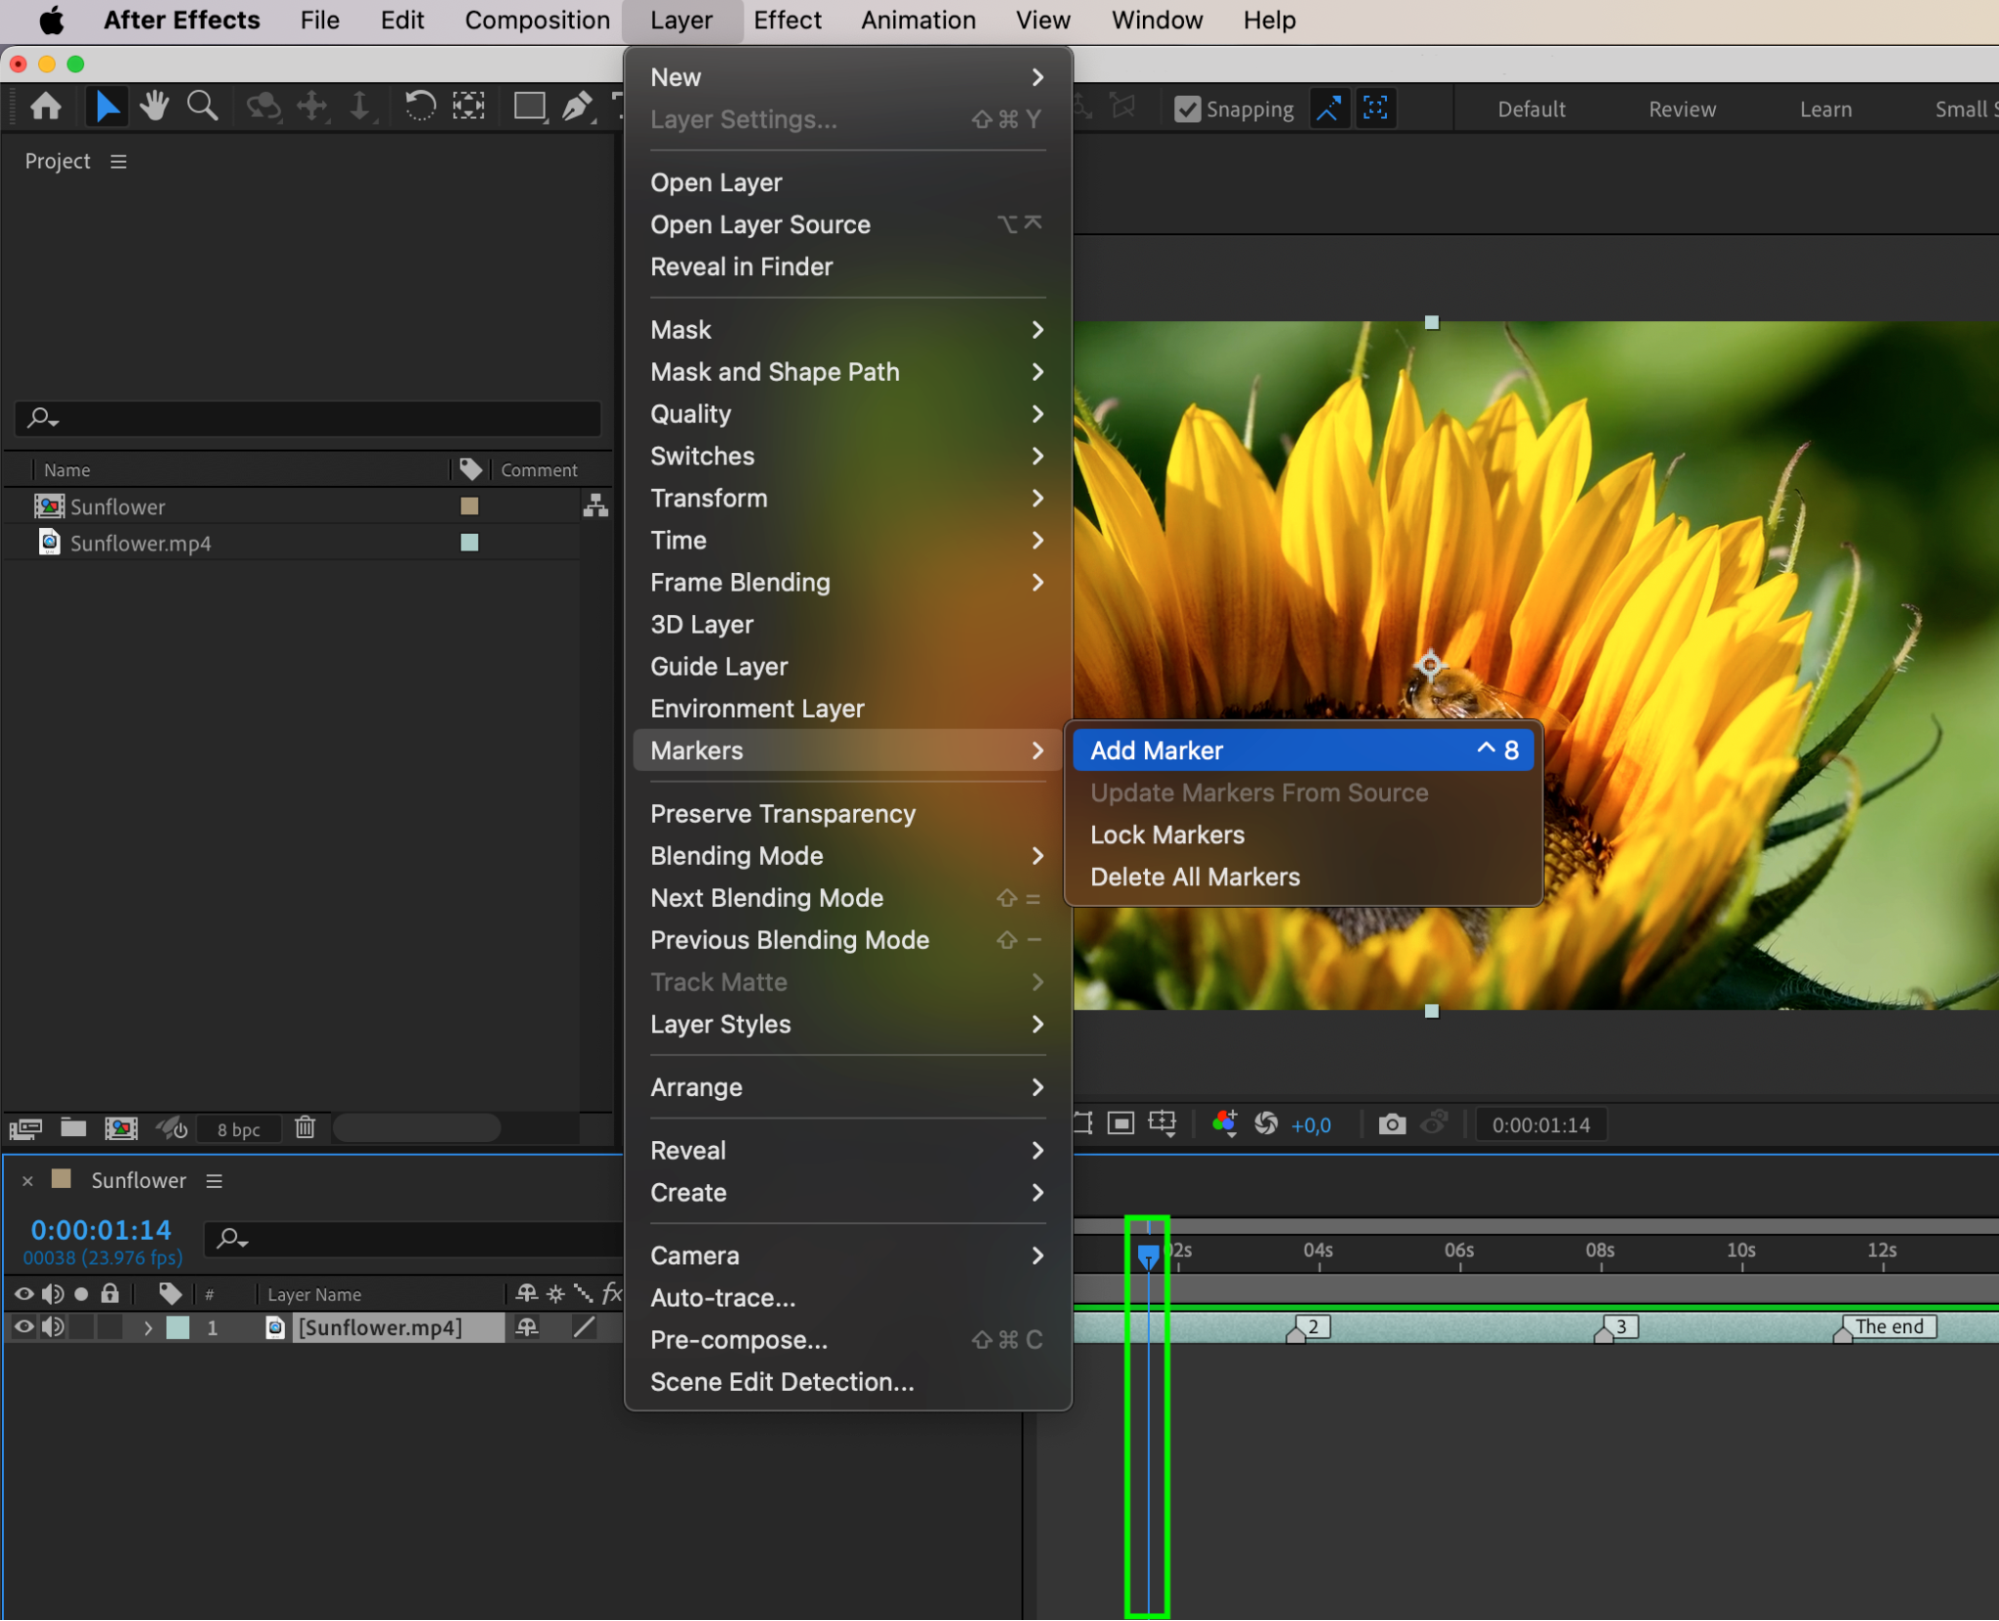
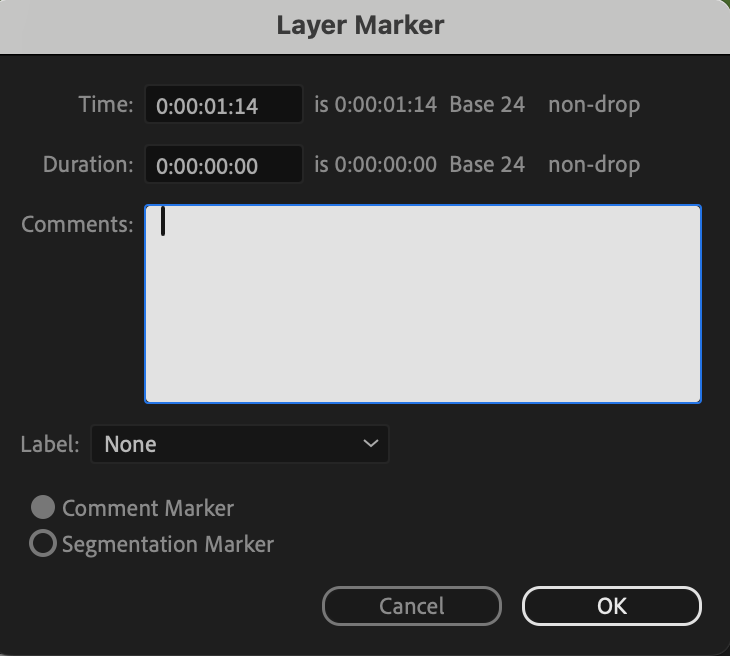
To further enhance your frame navigation in After Effects, consider using custom markers. Place markers at specific frames within your composition, and you can easily jump to those markers using keyboard shortcuts or the marker navigation options. Custom markers help you quickly locate important keyframes or specific points in your animation.

 Conclusion
Get 10% off when you subscribe to our newsletter

Mastering frame navigation in After Effects is crucial for enhancing your workflow and achieving precise results. Whether you prefer using keyboard shortcuts, the timeline scrubber, or custom markers, finding a technique that suits your workflow will significantly streamline your animation process. Start experimenting with these various methods and discover which ones work best for your specific projects. Happy navigating!


