A Complete Guide to Importing Fonts into Adobe After Effects
Enhancing Your After Effects Projects with Custom Fonts
Fonts play a vital role in visual storytelling, allowing you to convey the right mood and tone in your designs. Whether you’re creating a title sequence, lower thirds, or any other text-based elements in Adobe After Effects, using custom fonts can significantly elevate your project. In this guide, we will walk you through the steps to import and use custom fonts in Adobe After Effects, giving your projects a unique and professional look.
Get 10% off when you subscribe to our newsletter

Step 1: Choosing the Right Font for Your Project
Before you can import a font into After Effects, you need to find the right typeface that suits your design concept. Websites like Google Fonts, Adobe Fonts, and other font repositories offer a wide variety of fonts, ranging from classic serif and sans-serif to decorative and script fonts. Take your time to explore the options and select a font that aligns with the style and message you want to convey in your project.
Step 2: Downloading the Font File
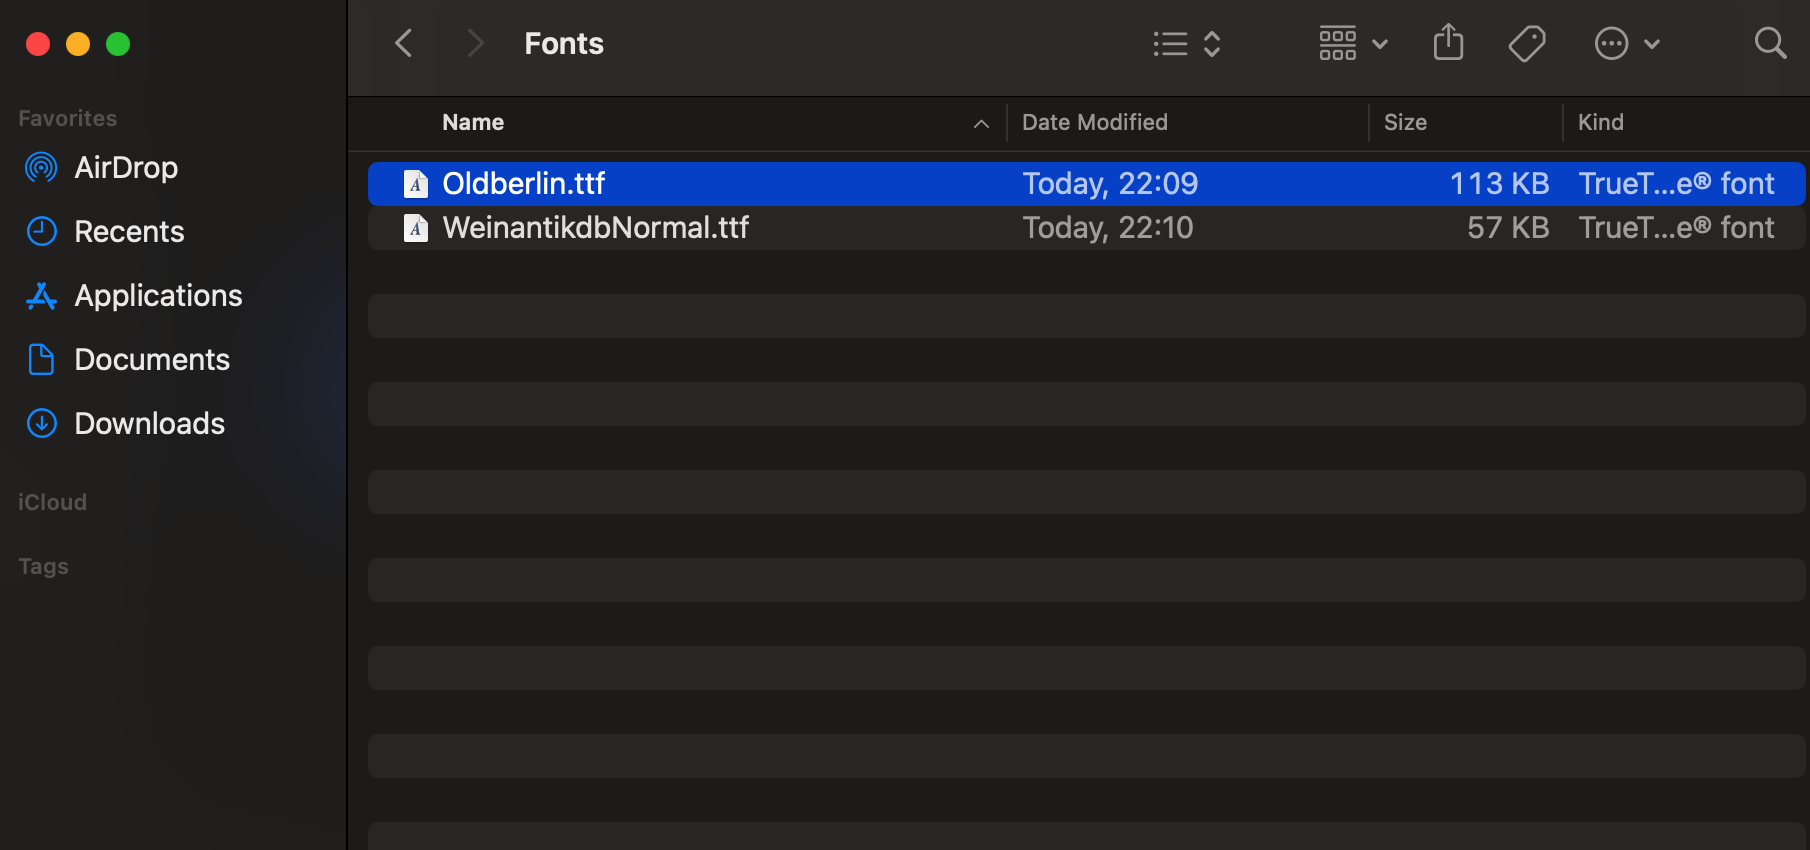
After selecting the perfect font, download the font file to your computer. Fonts are usually available in formats such as .ttf (TrueType Font) or .otf (OpenType Font). These files may be compressed in a .zip or .rar folder. Make sure to extract the font files from the compressed folder before proceeding to the next step. This step is crucial as After Effects requires the font file to be properly installed on your system.
Step 3: Installing the Font on Your System
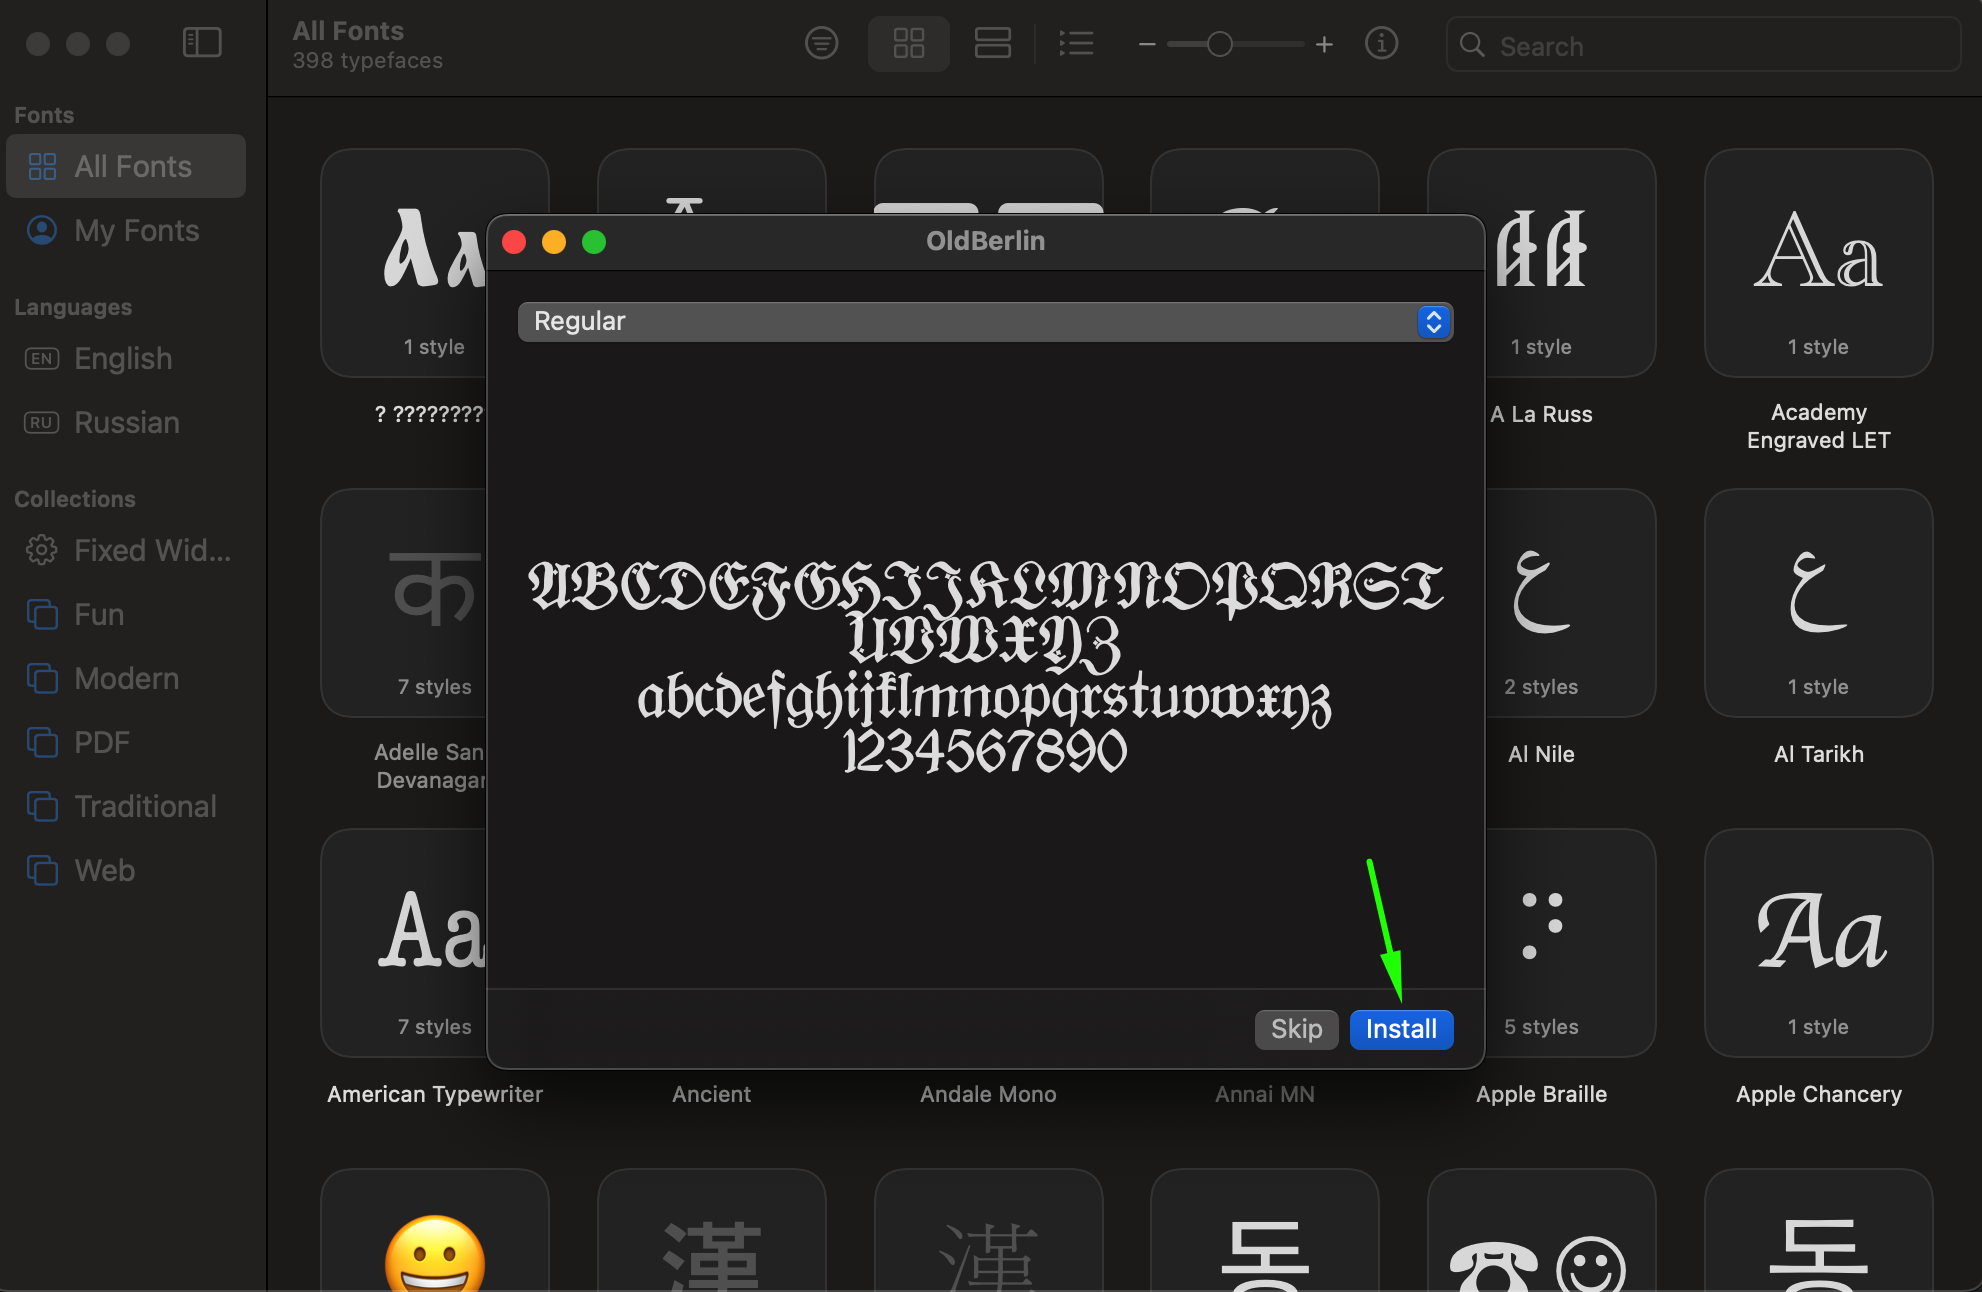
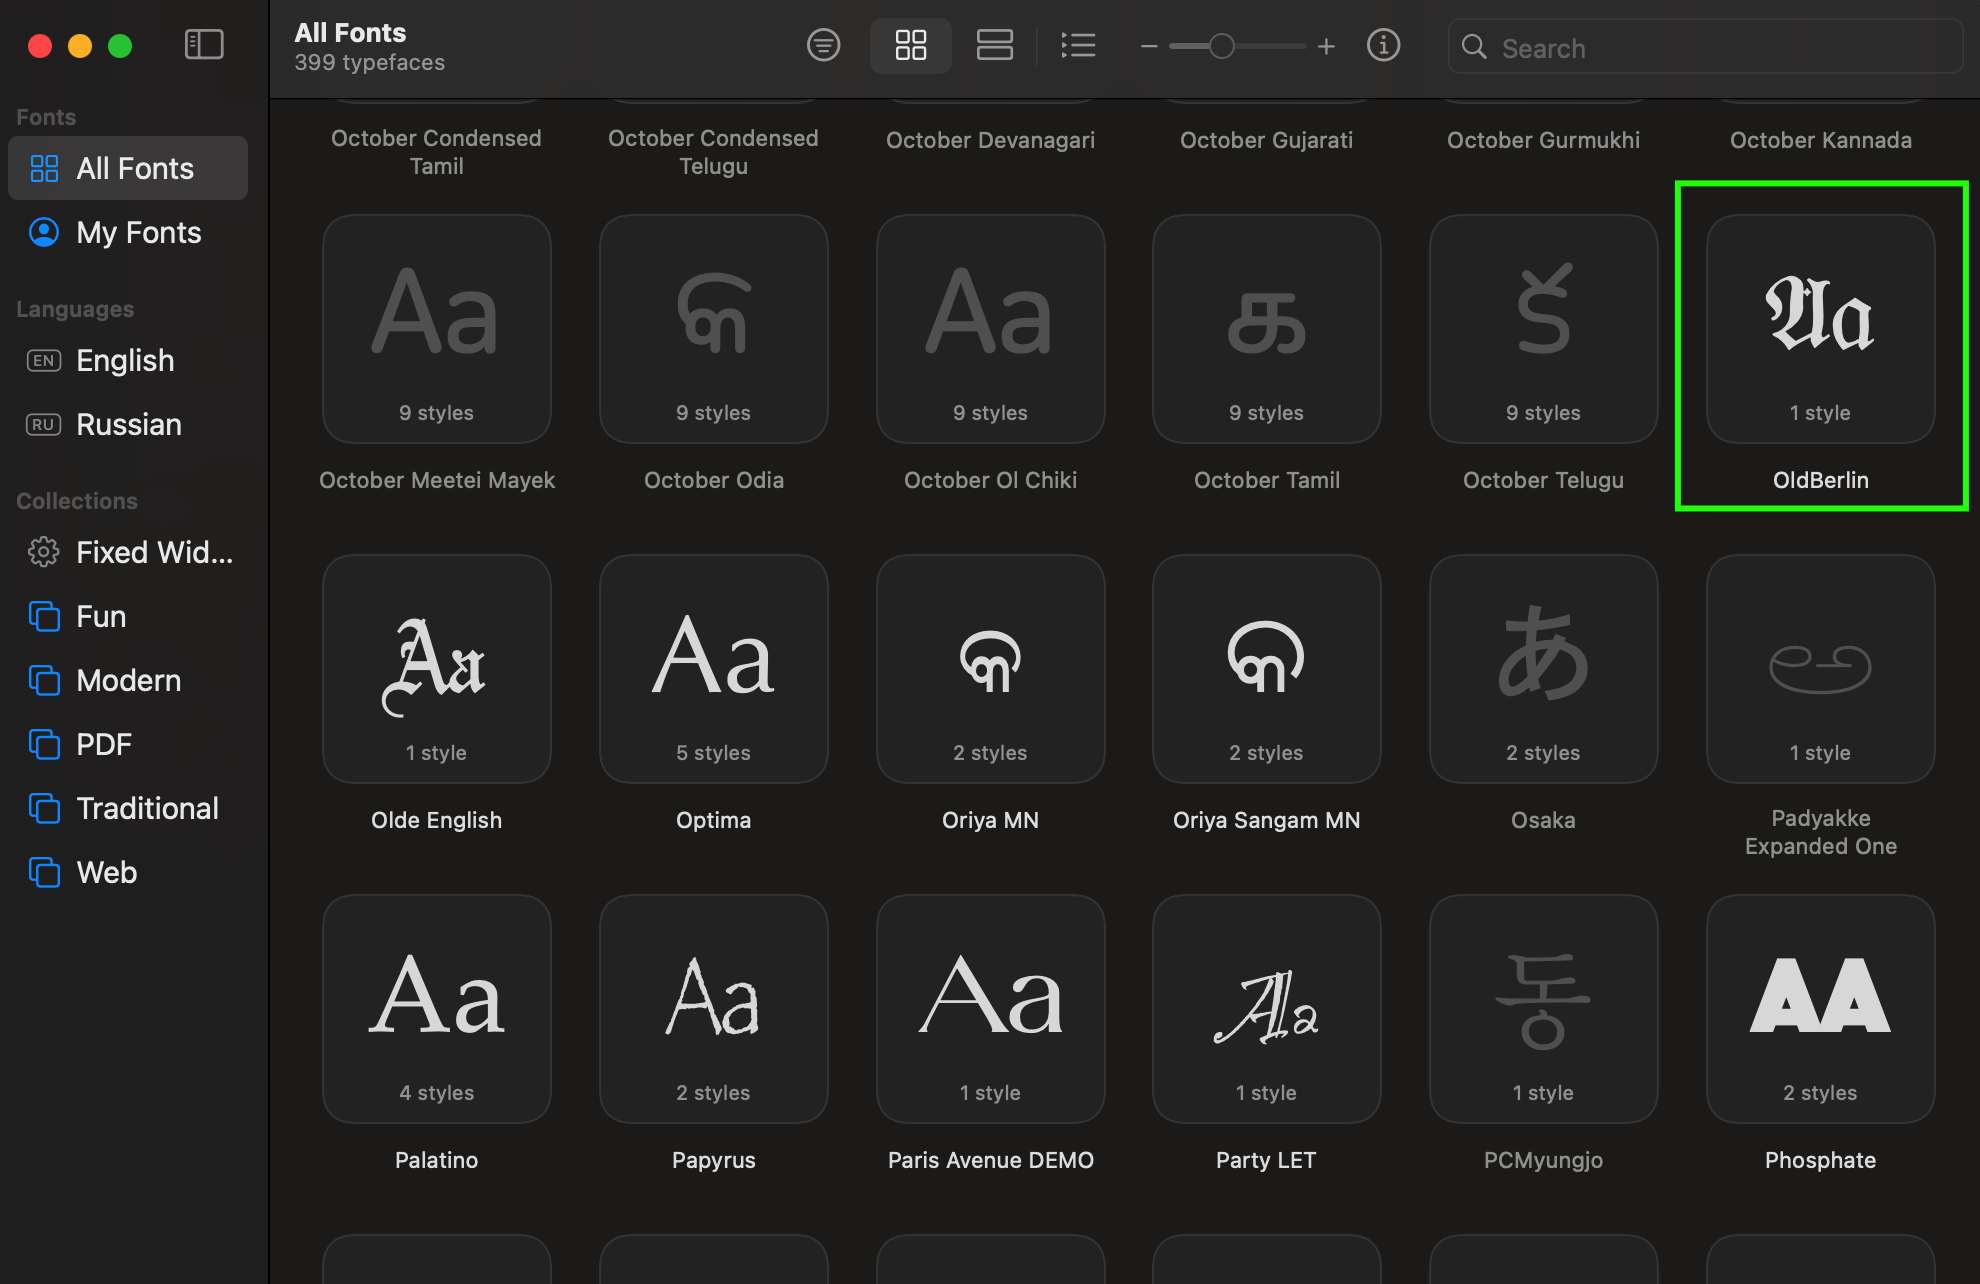
To use the new font in After Effects, you need to install it on your computer. Locate the extracted font file, then double-click on it. A preview window will open, displaying the font’s characters. Click on the “Install” button within this window to add the font to your system’s font library. Once installed, the font will be available for use in all applications on your computer, including After Effects.
Step 4: Launching After Effects and Setting Up Your Composition
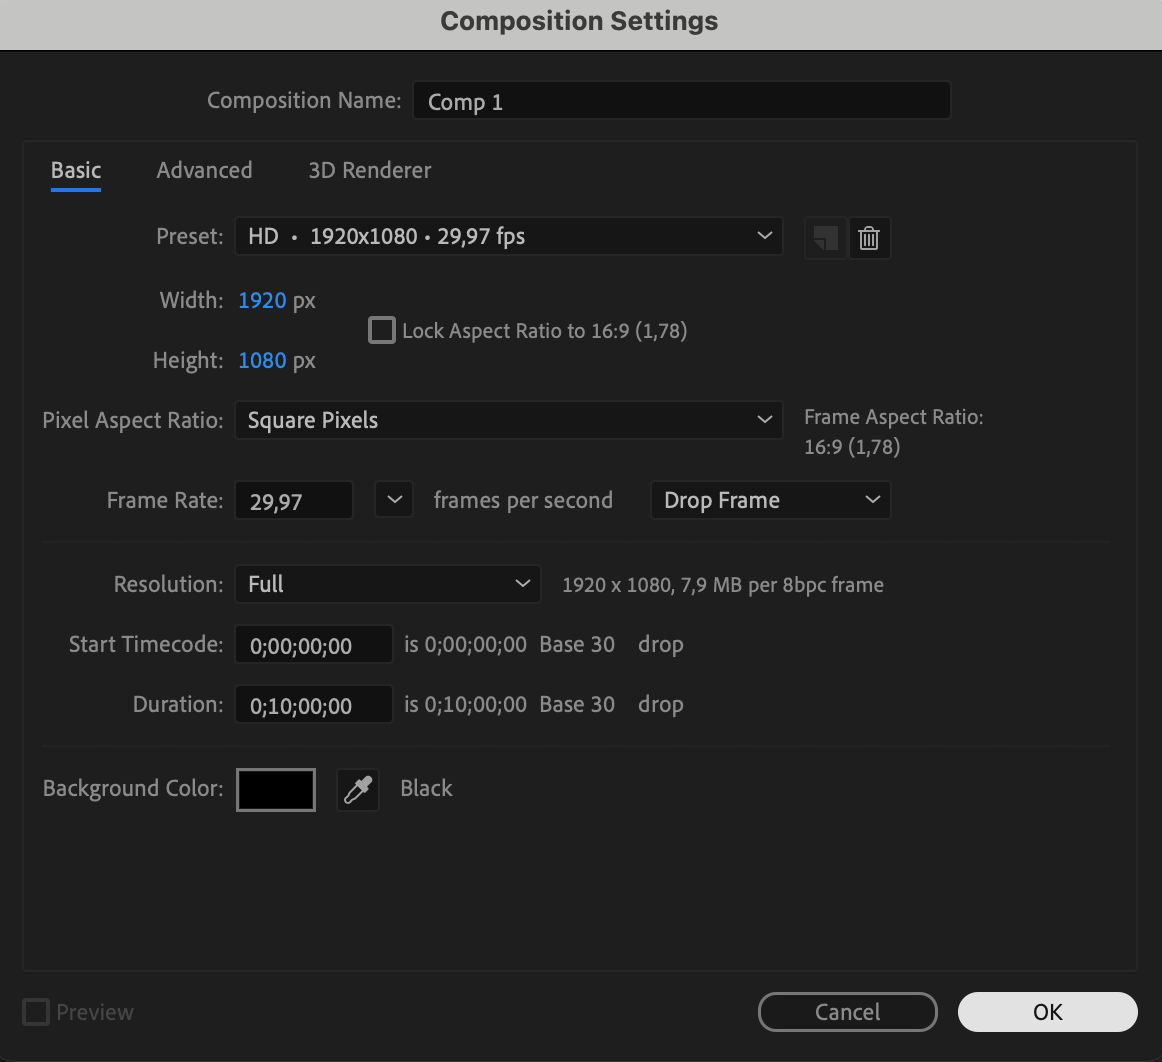
Now that your font is installed, launch Adobe After Effects and create a new composition. To do this, go to Composition > New Composition. Set up your composition according to your project requirements, including the resolution, duration, and frame rate. This composition will serve as the canvas where you’ll apply your new font.
 Step 5: Creating Text Using the Type Tool
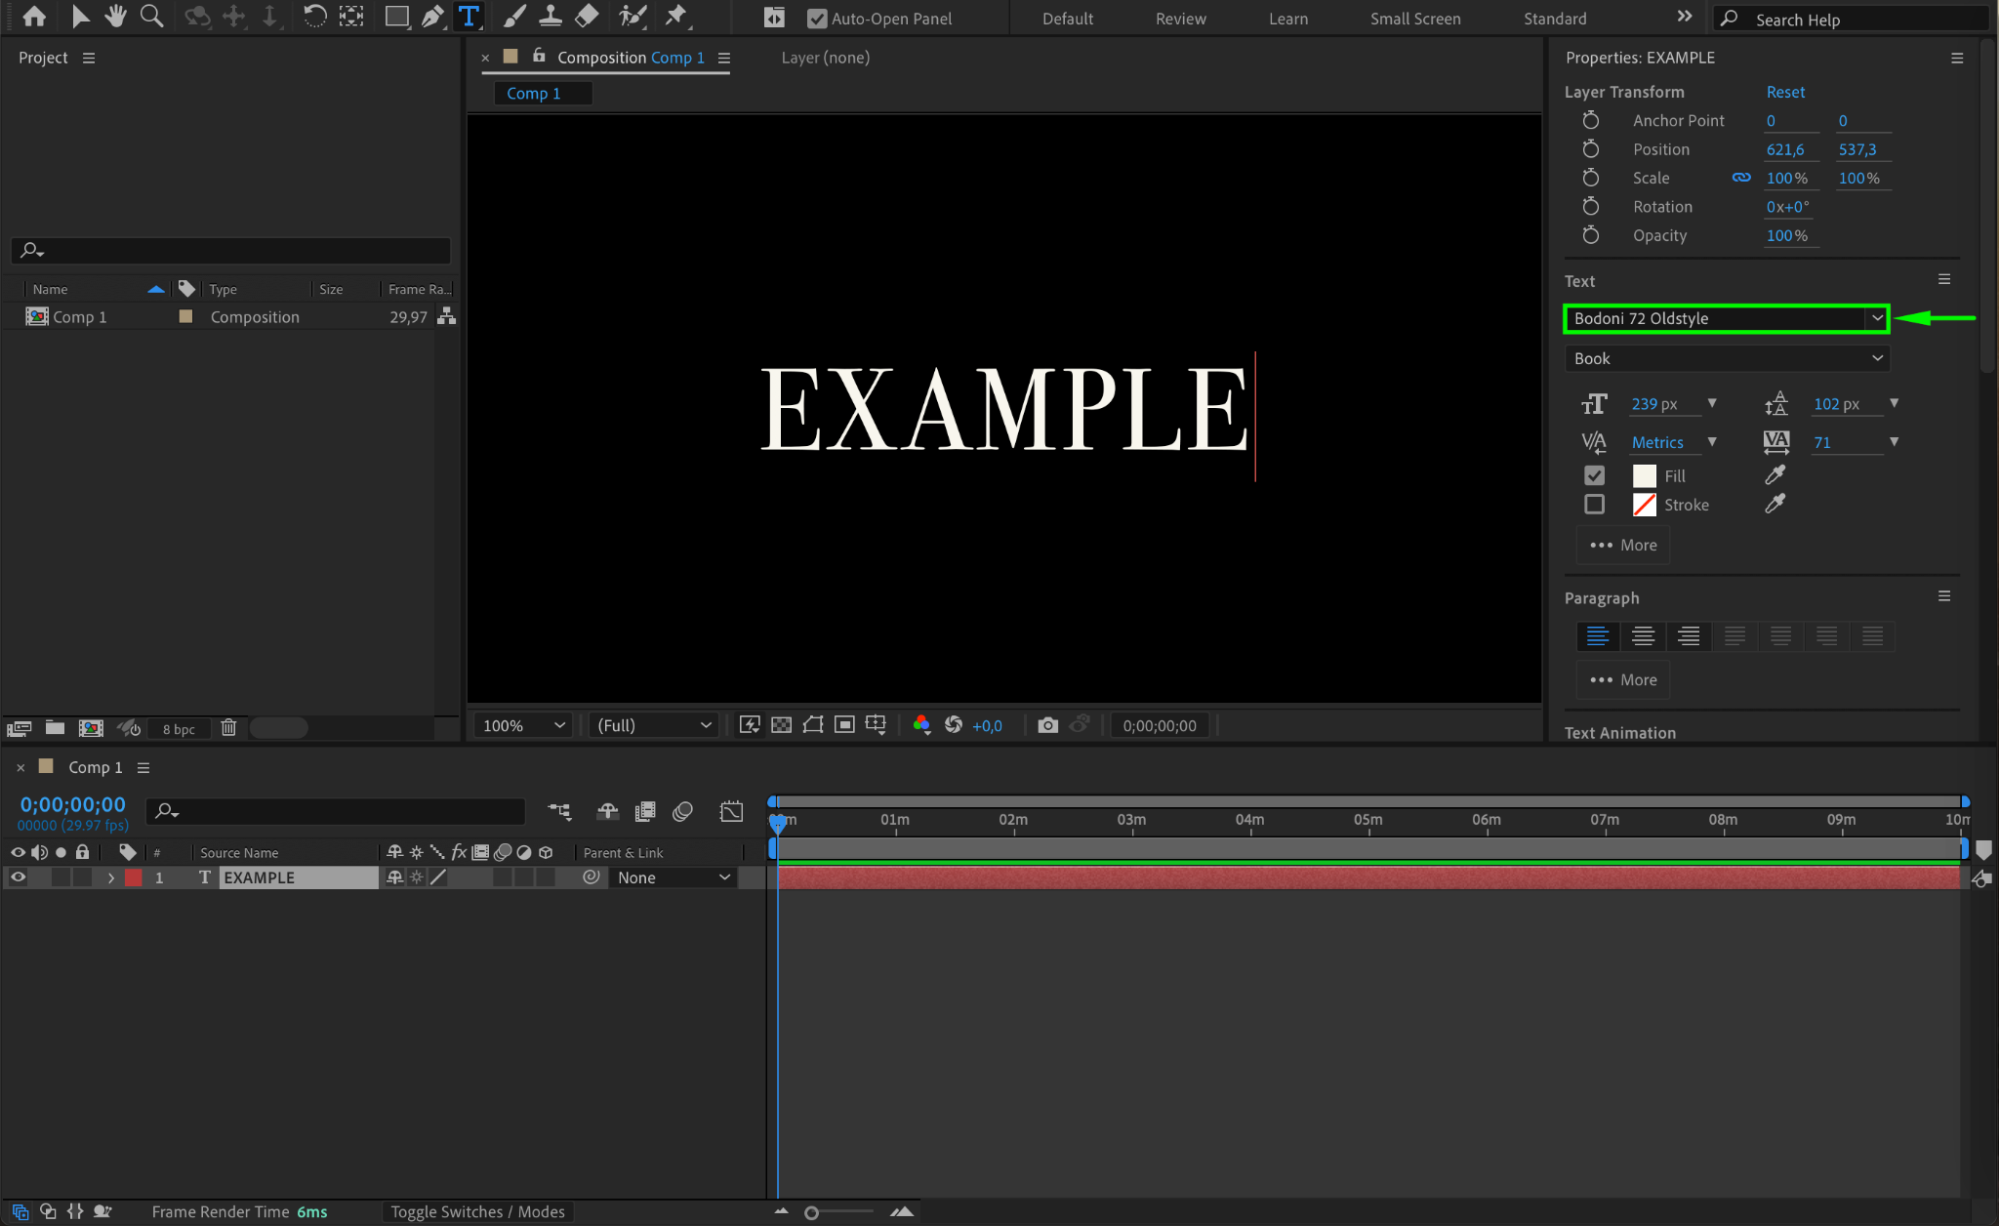
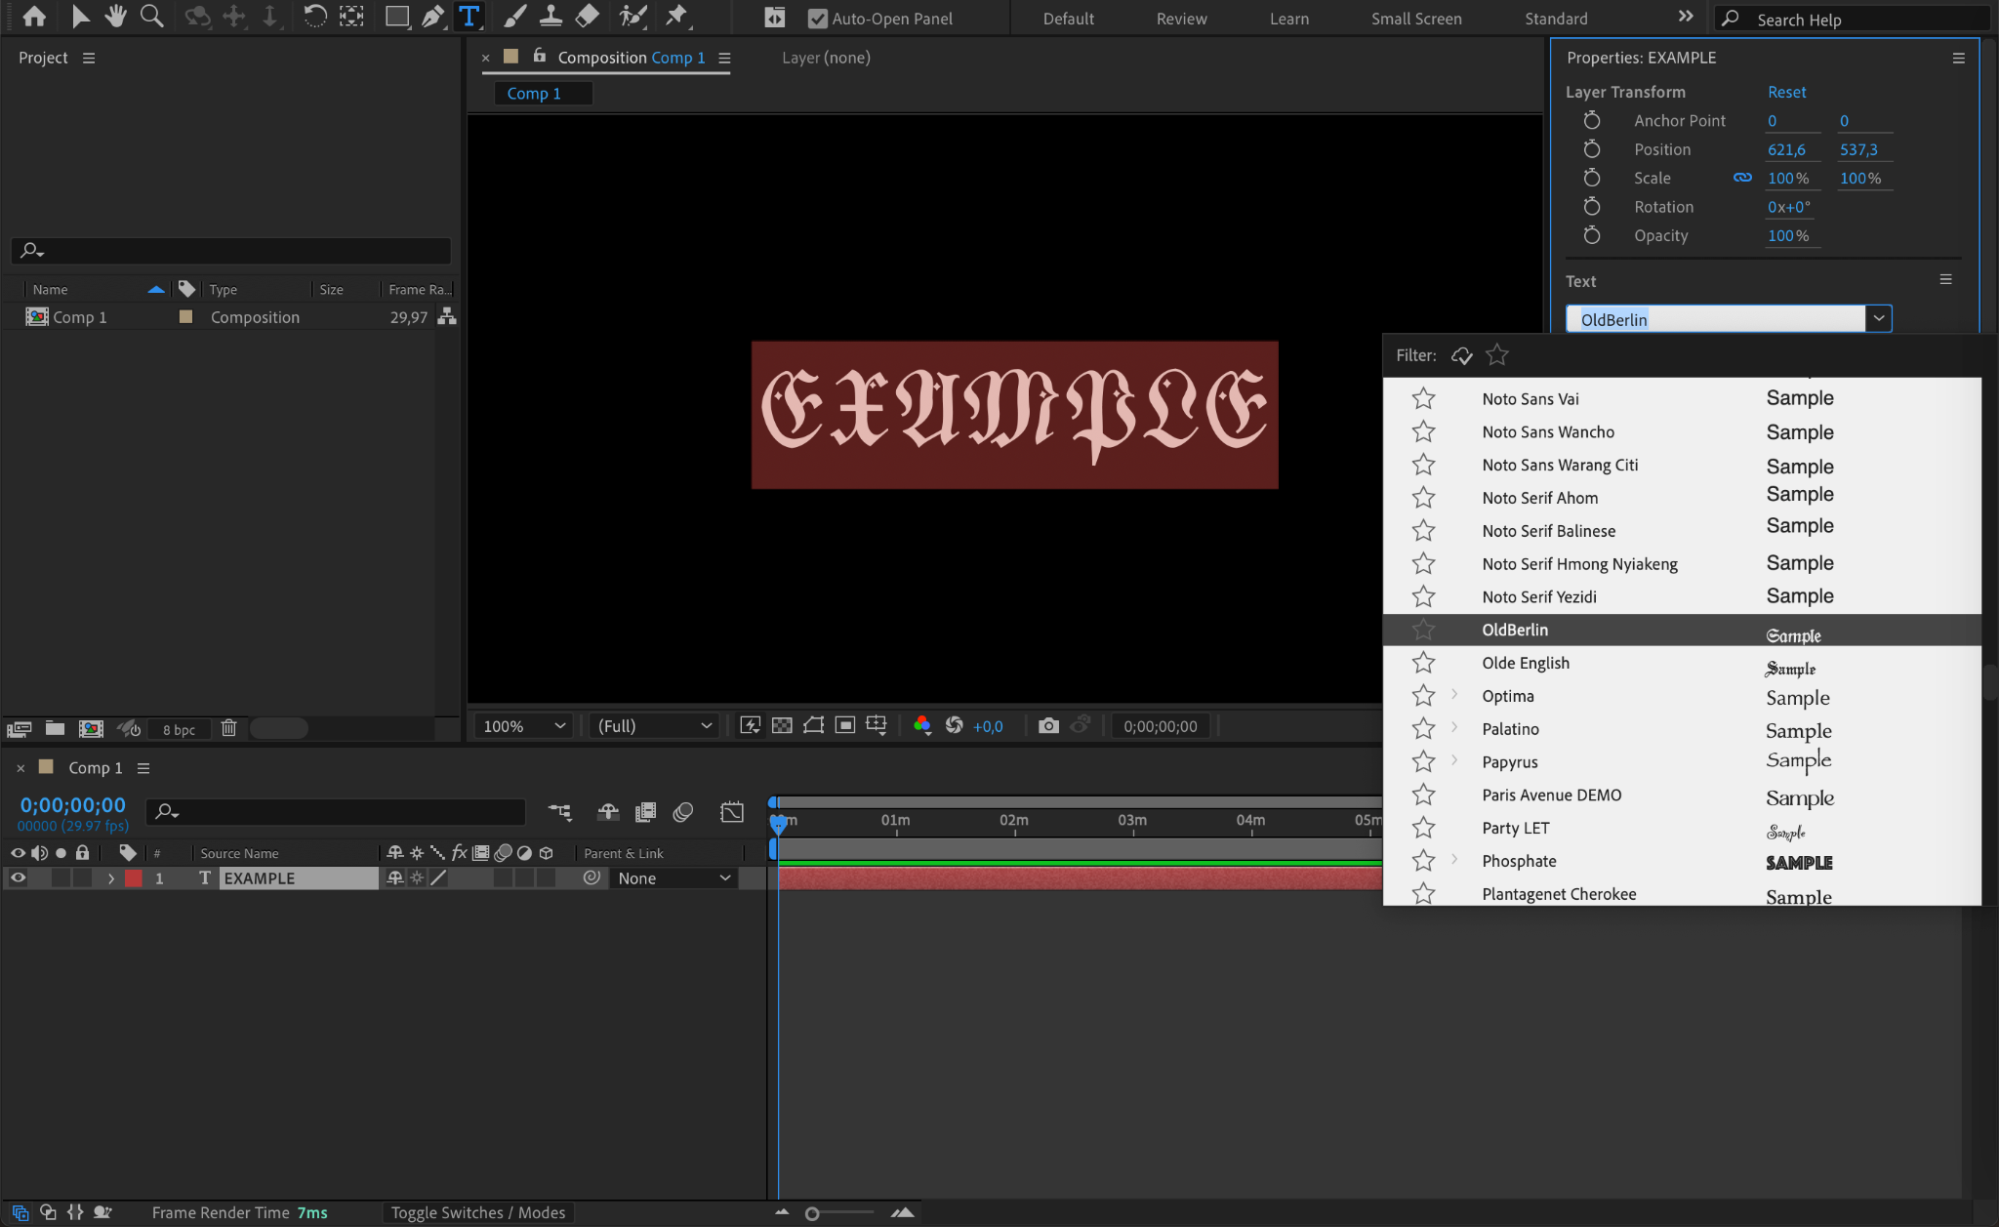
With your composition ready, it’s time to create text using your newly installed font. Select the Type Tool (Ctrl/Cmd + T) from the toolbar and click anywhere in your composition to start typing. A text layer will be created automatically. To change the font, go to the Character or Text panel (usually located on the right side of the screen). Click the drop-down menu in the font selection box, scroll through the list, and find the font you just installed. Select it to apply the font to your text layer.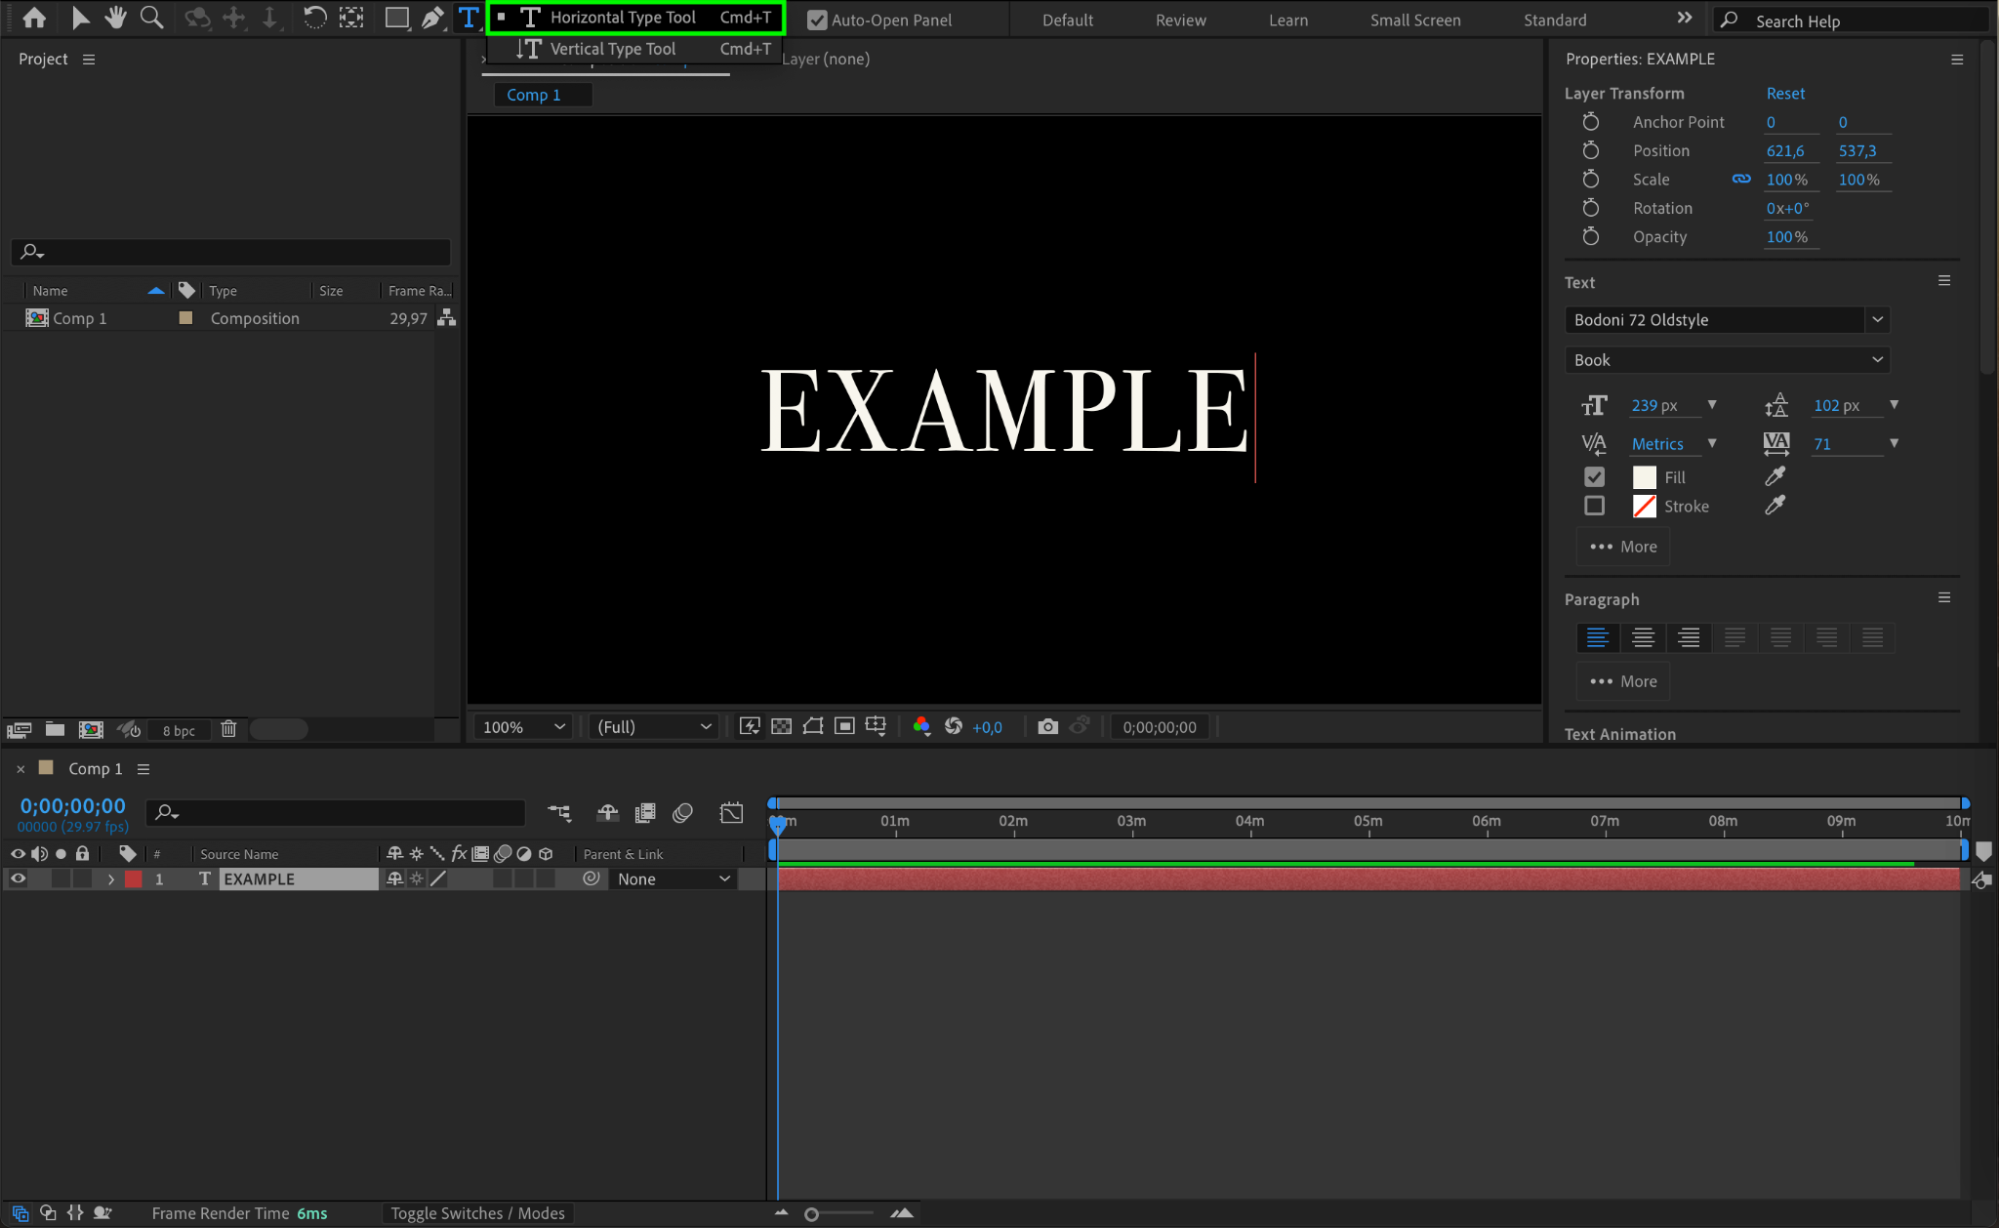
 Step 6: Customizing Your Text Appearance
After applying the font, you can further customize the appearance of your text using the Character panel. Adjust the font size, color, tracking, leading, and other properties to fine-tune your text to fit the design of your composition. The Character panel gives you full control over the typography, allowing you to achieve the exact look you want.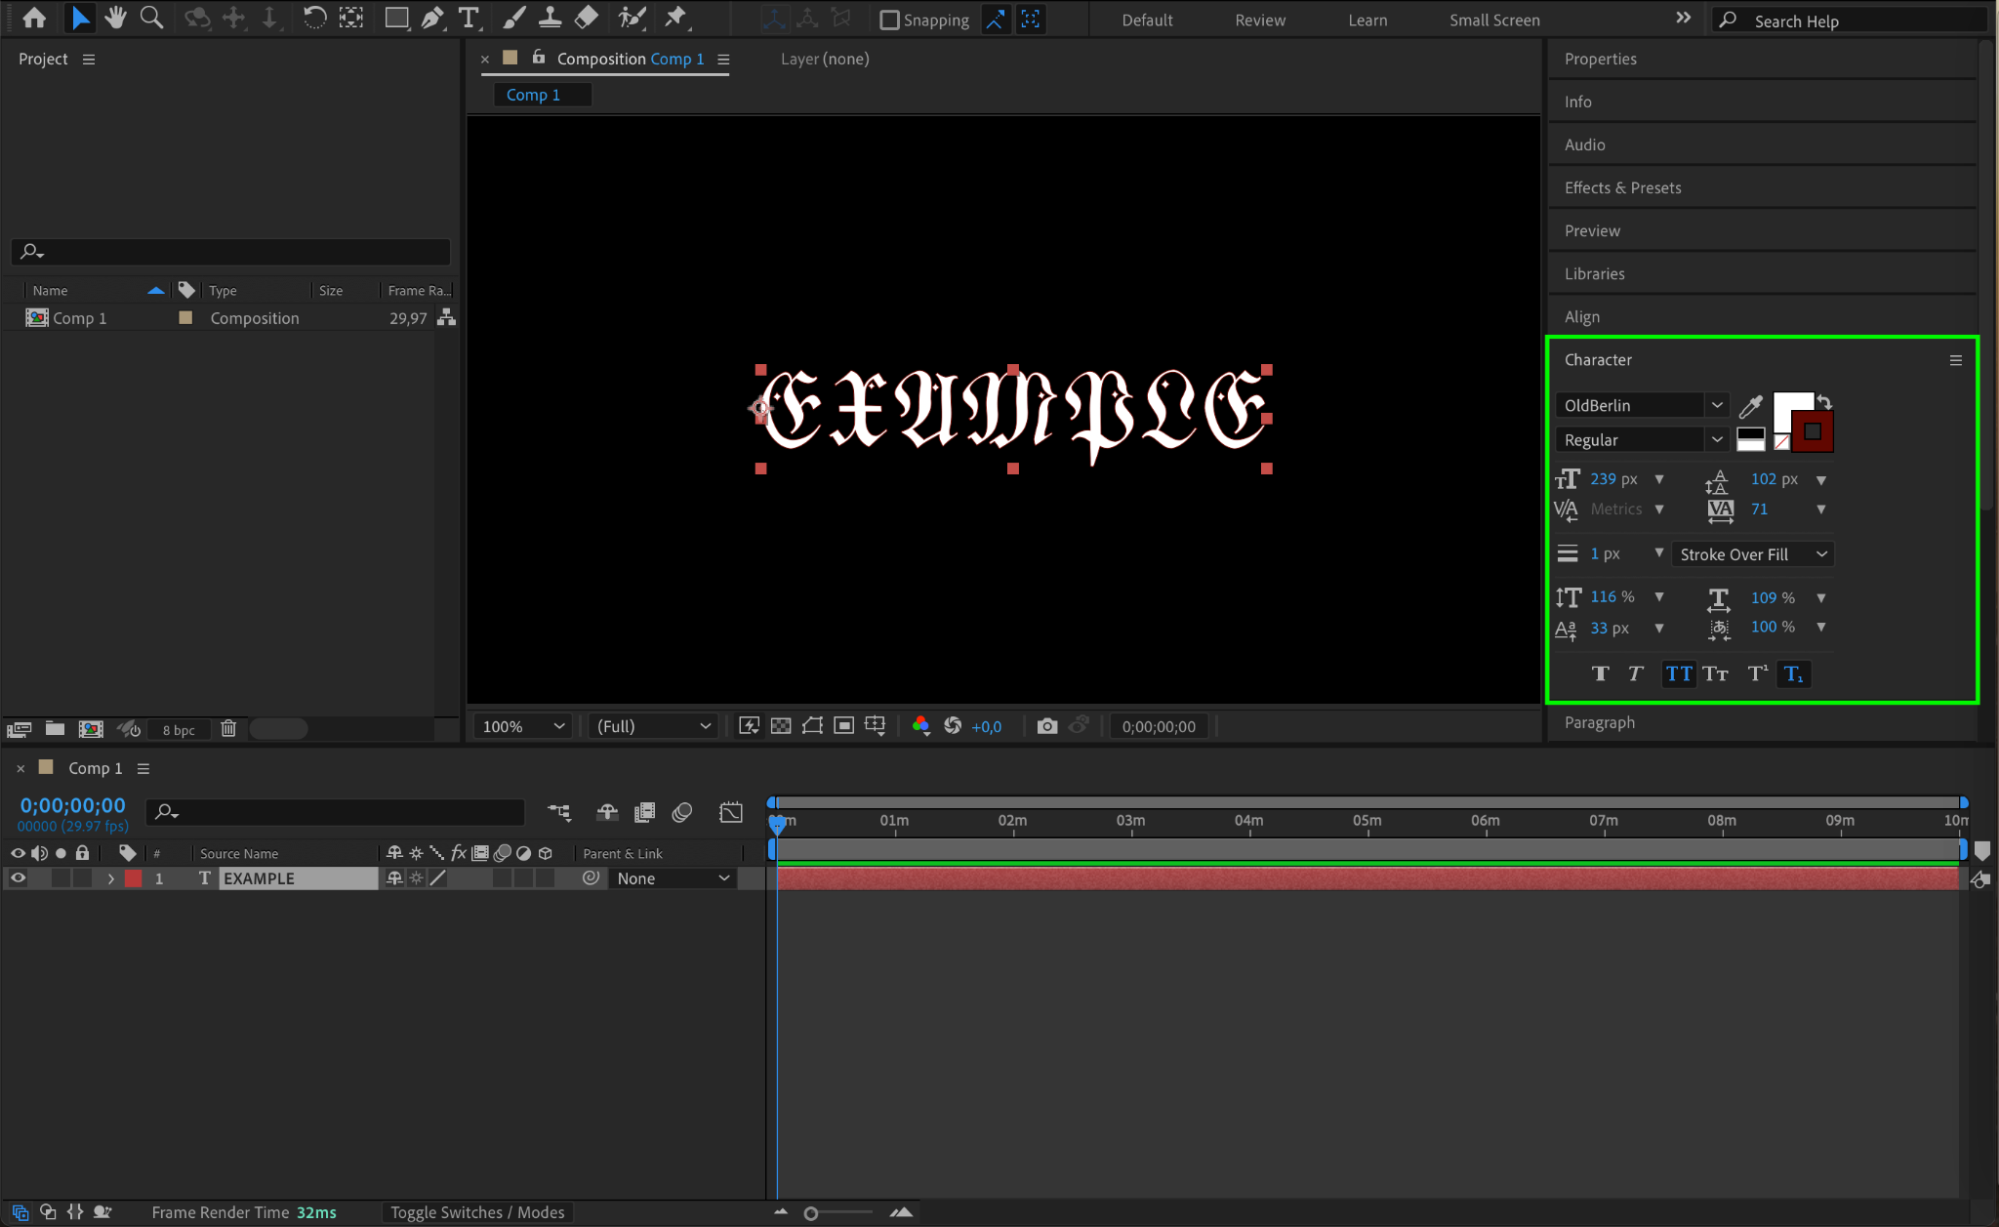 Step 7: Animating Your Text
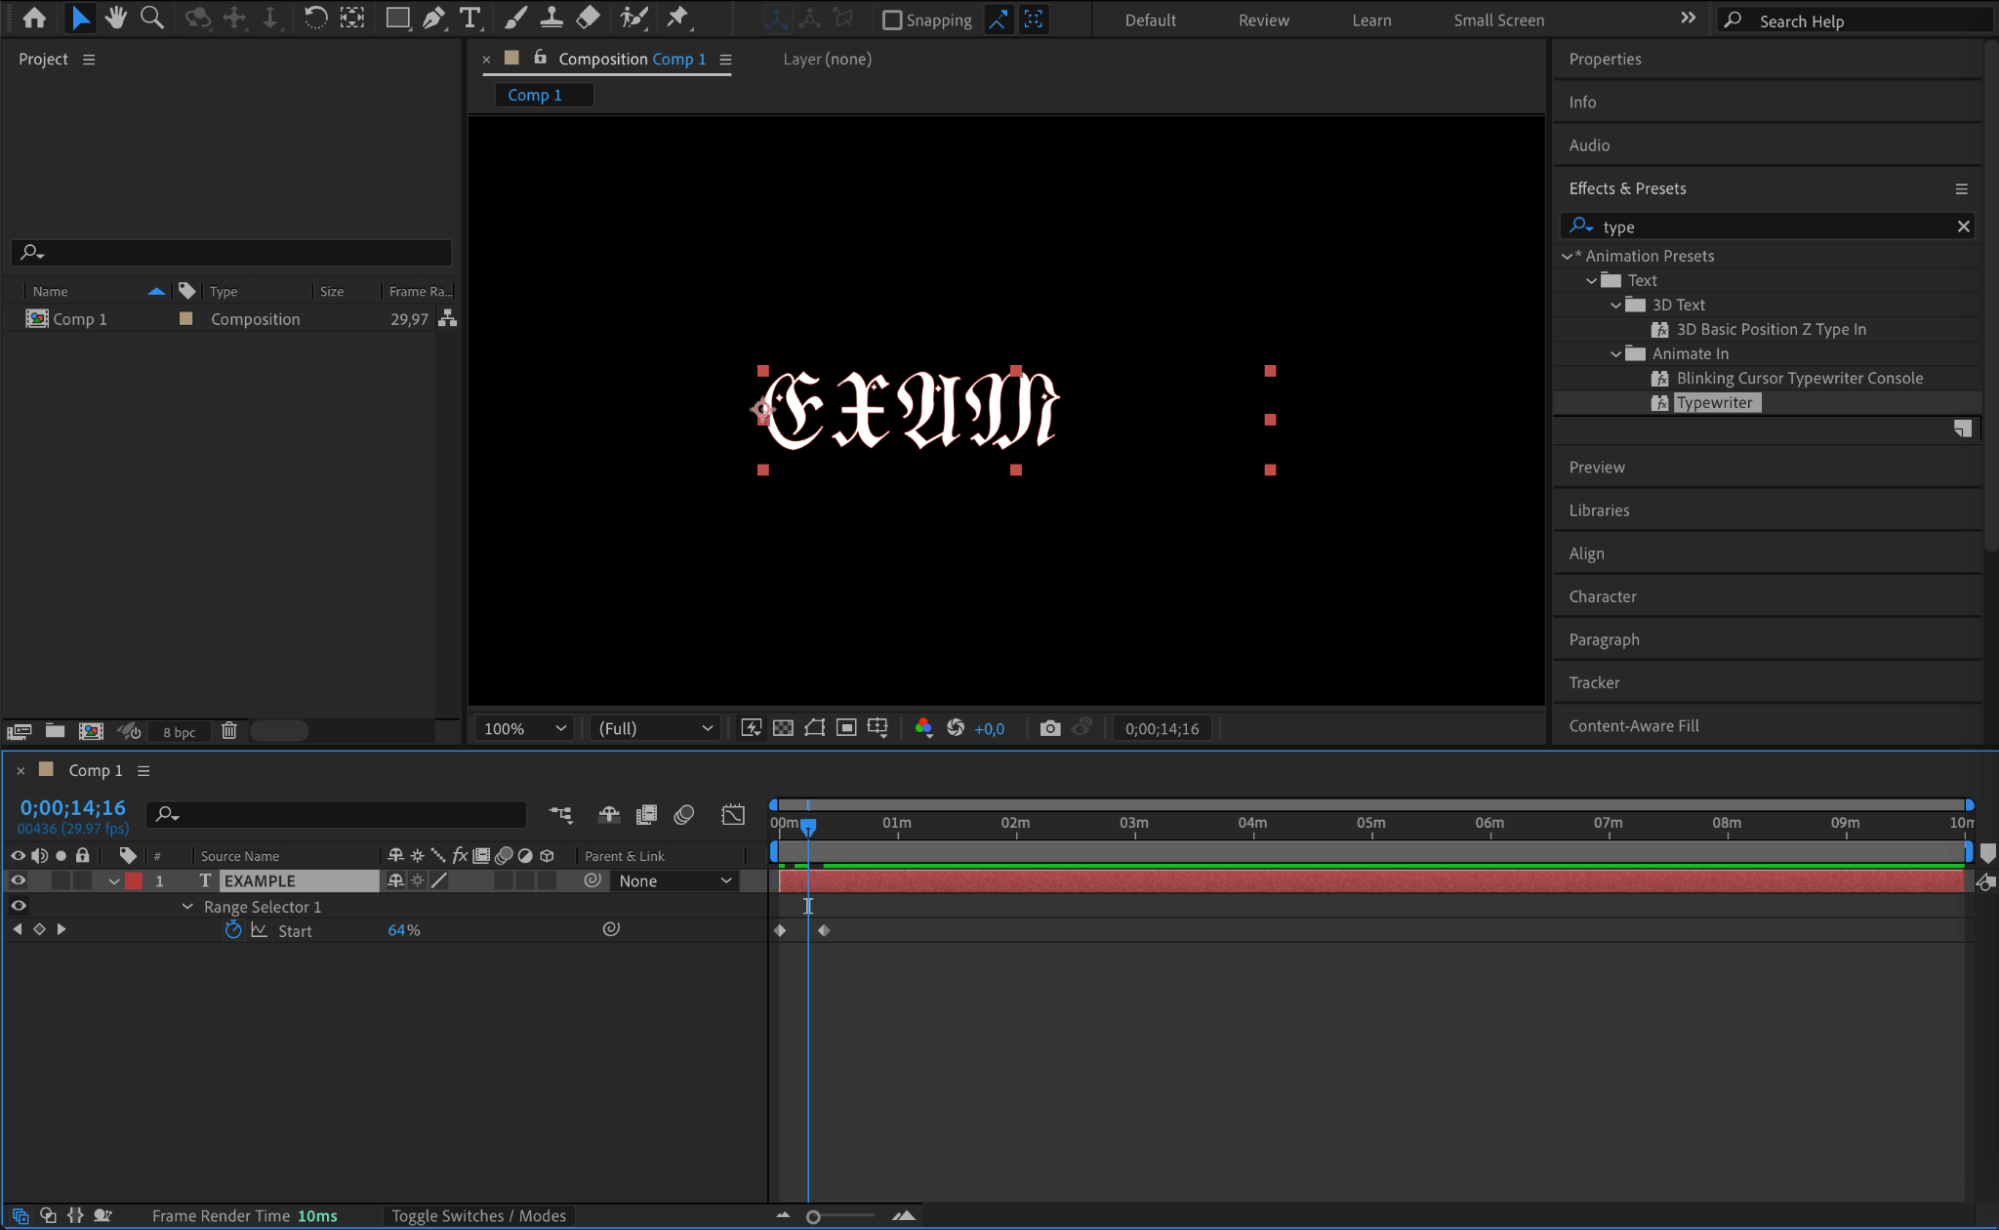
Once your text is styled to your liking, you can bring it to life by adding animations. Go to the Effects & Presets panel and search for text animation presets. Drag and drop your desired preset onto the text layer in the timeline to apply the animation. You can further customize the animation by adding keyframes or tweaking the preset settings to match the timing and style of your project.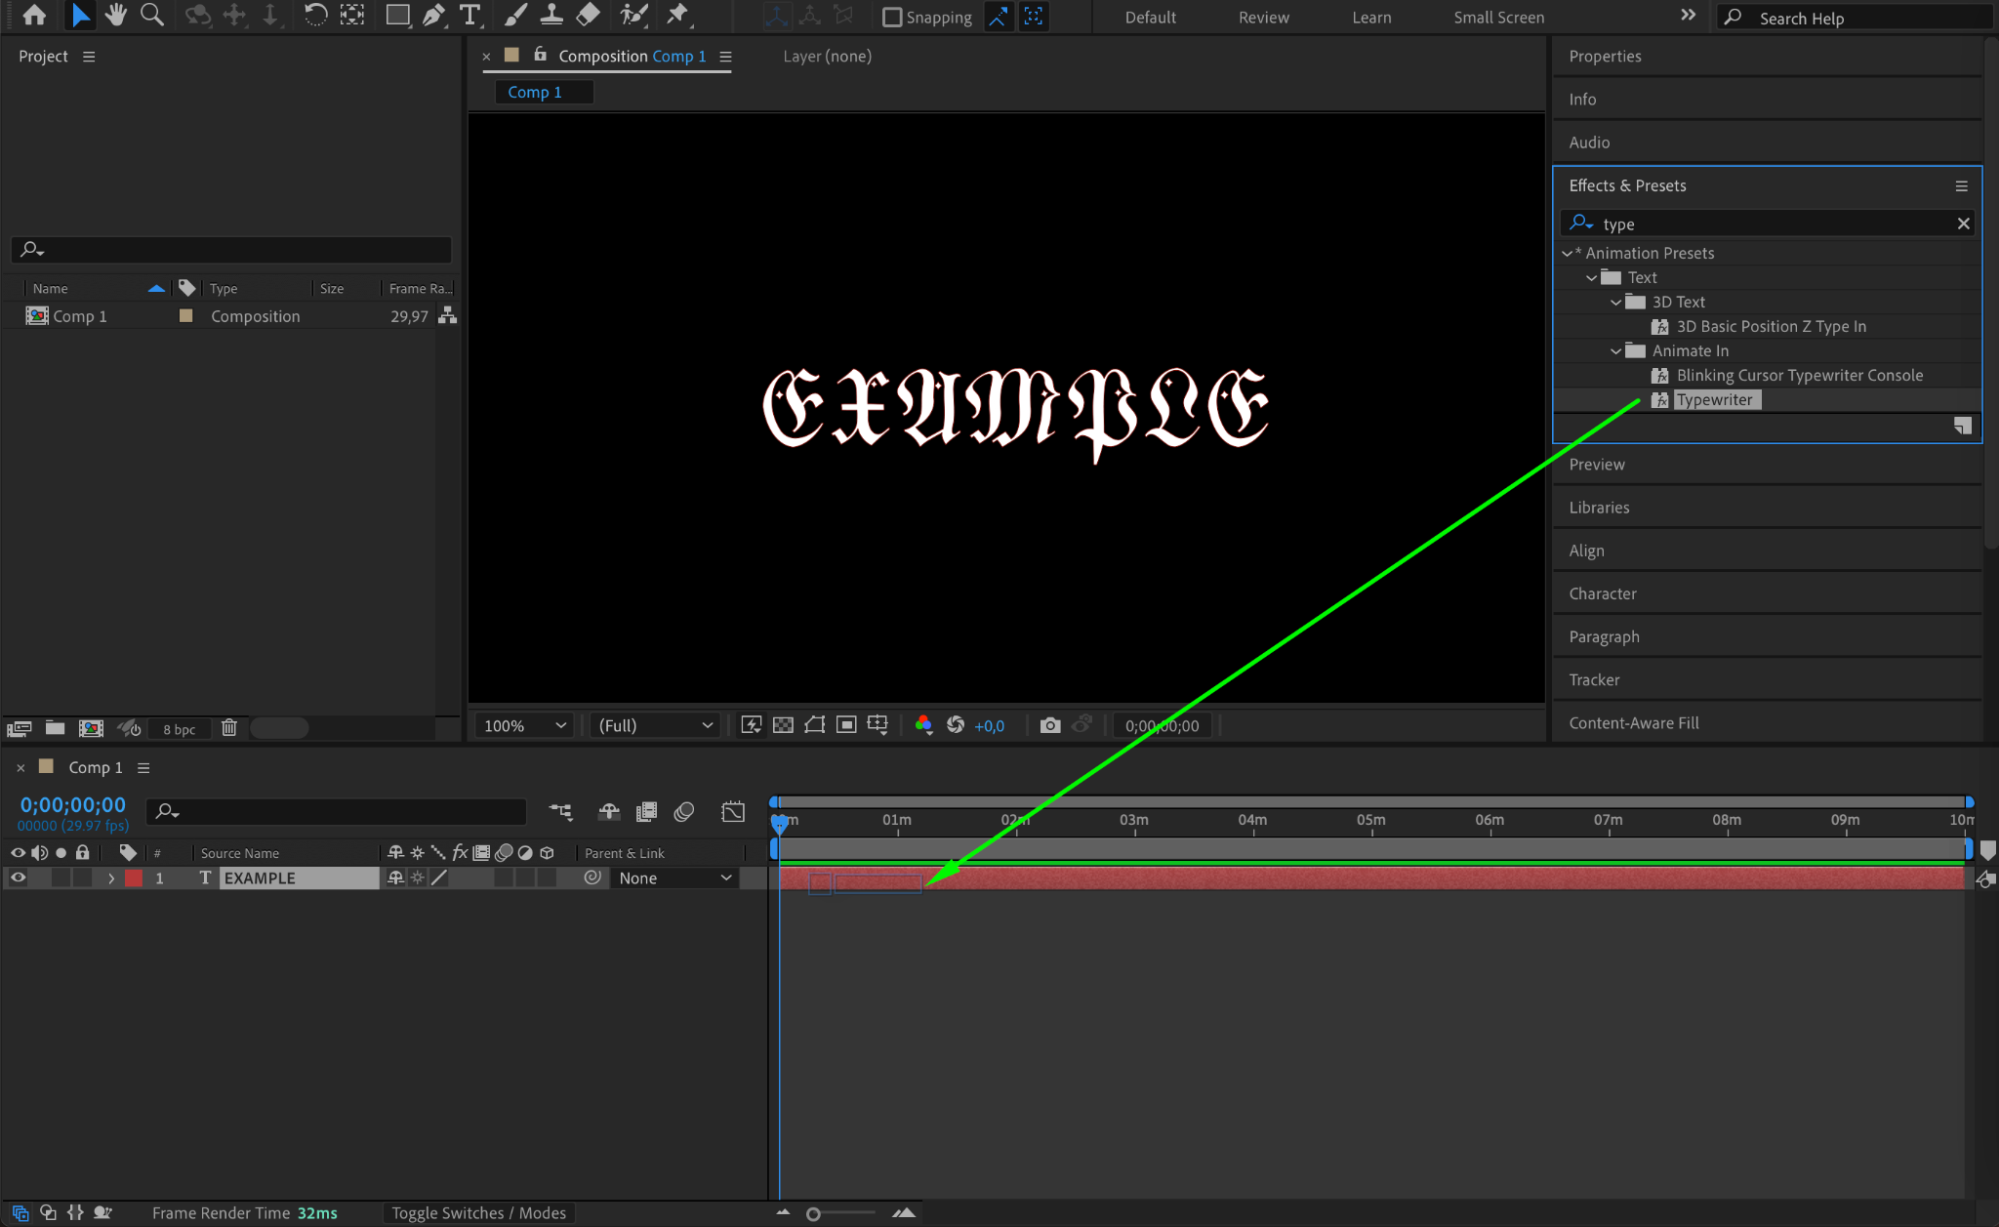
 Step 8: Rendering Your Final Composition
Get 10% off when you subscribe to our newsletter

When you’re satisfied with the look and animation of your text, it’s time to render the final composition. Go to Composition > Add to Render Queue to prepare your project for export. In the Render Queue panel, adjust the output settings, choose the desired format, and click Render to export your composition. Your text, now featuring the custom font, will be part of the final video file.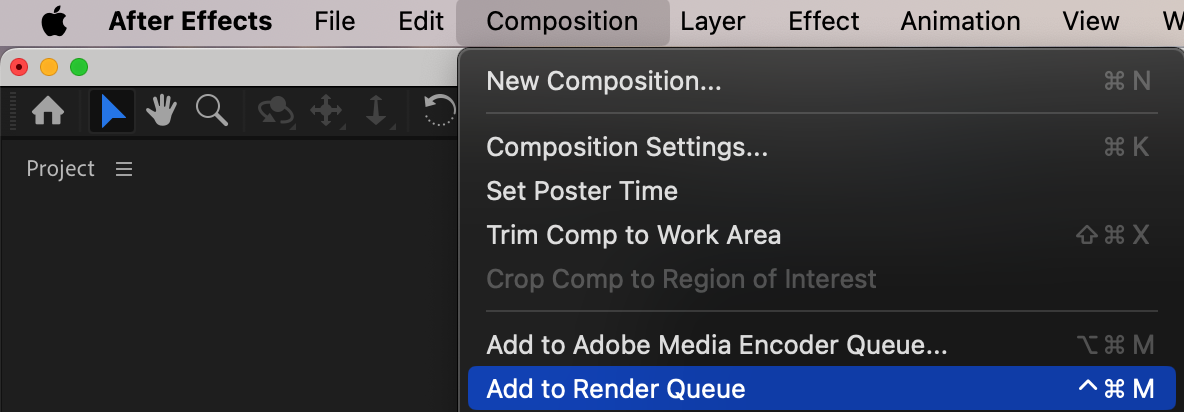
 Conclusion
Get 10% off when you subscribe to our newsletter

By importing and using custom fonts in Adobe After Effects, you can enhance the visual appeal of your projects and make your designs truly stand out. With a wide range of fonts available and the powerful tools in After Effects, the possibilities for creative typography are endless. Start experimenting with different fonts, customize your text, and take your designs to the next level in Adobe After Effects.


