How to Integrate FFX Presets in After Effects: A Comprehensive Guide
Unlocking Creativity: A Guide to Integrating FFX Presets in After Effects
Installing FFX files in After Effects unlocks the doors to endless possibilities for creativity and enhances the quality of your projects. The simple steps outlined below will guide you in integrating FFX presets into your compositions, expanding your creative toolkit and achieving stunning visual effects.
Step 1: Locate and Copy the FFX Files
Find the downloaded FFX files on your computer and copy them.

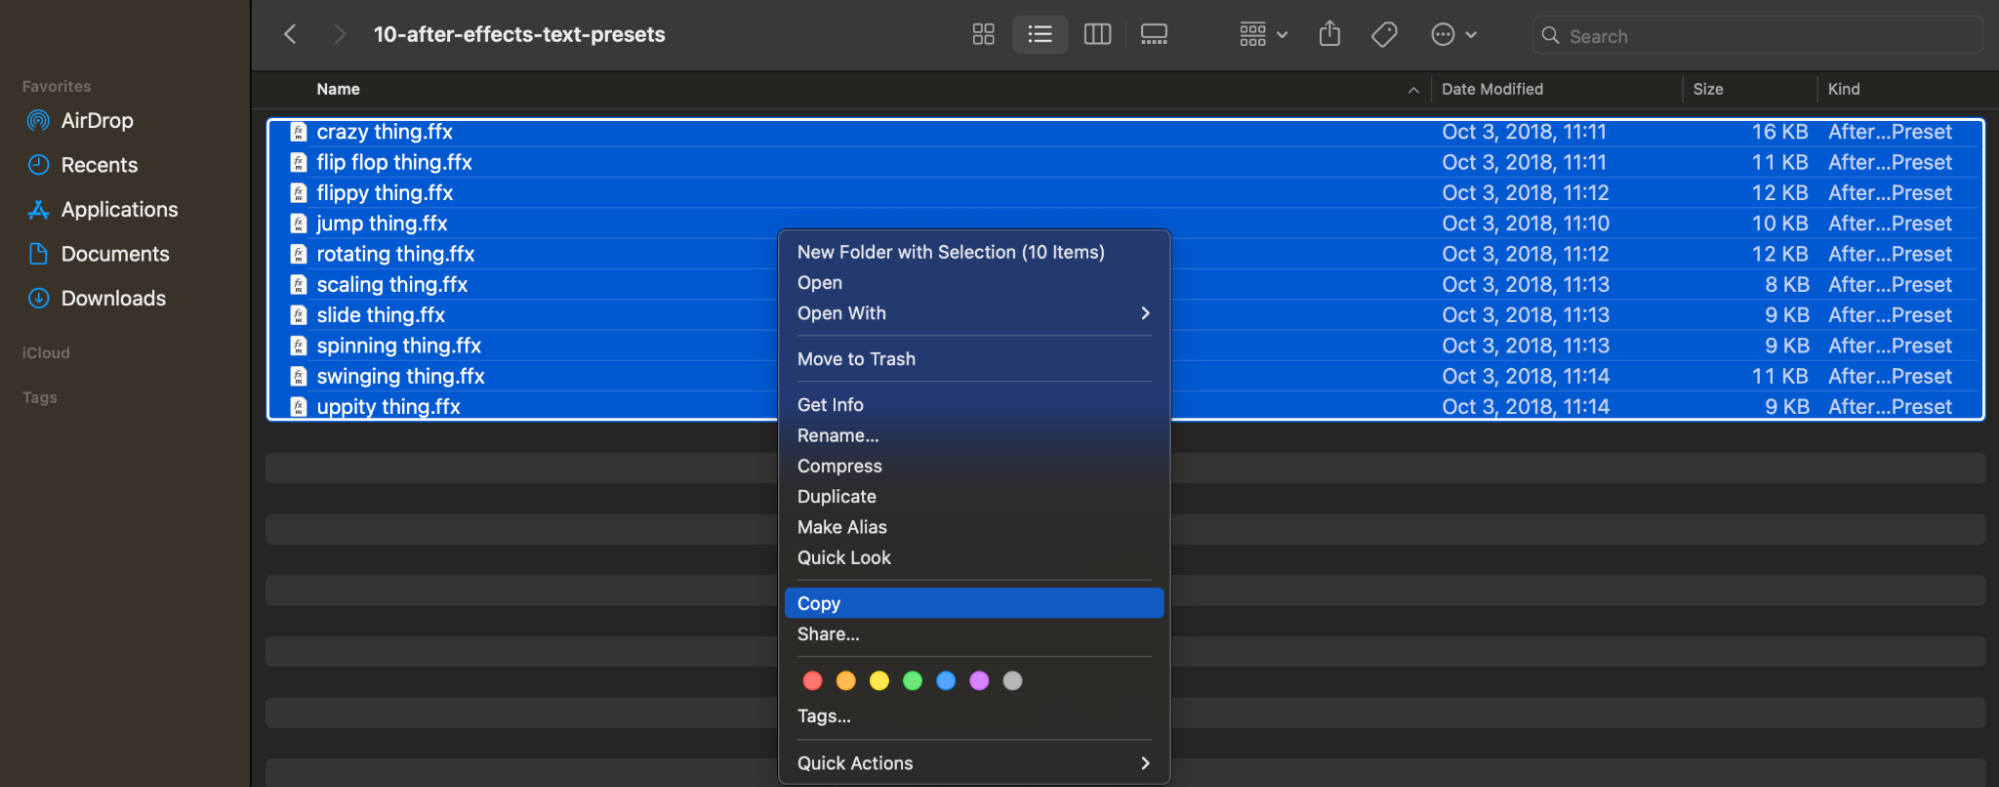
Step 2: Navigate to the User Presets Folder
Find and open the “User Presets” folder on your computer. This directory is designated for storing user-installed presets in After Effects. Paste the copied files into this folder.


Get 10% off when you subscribe to our newsletter

Step 3: Launch After Effects
Open After Effects on your computer.
Step 4: Create a New Composition
Create a new composition in After Effects and adjust its parameters according to your project requirements.

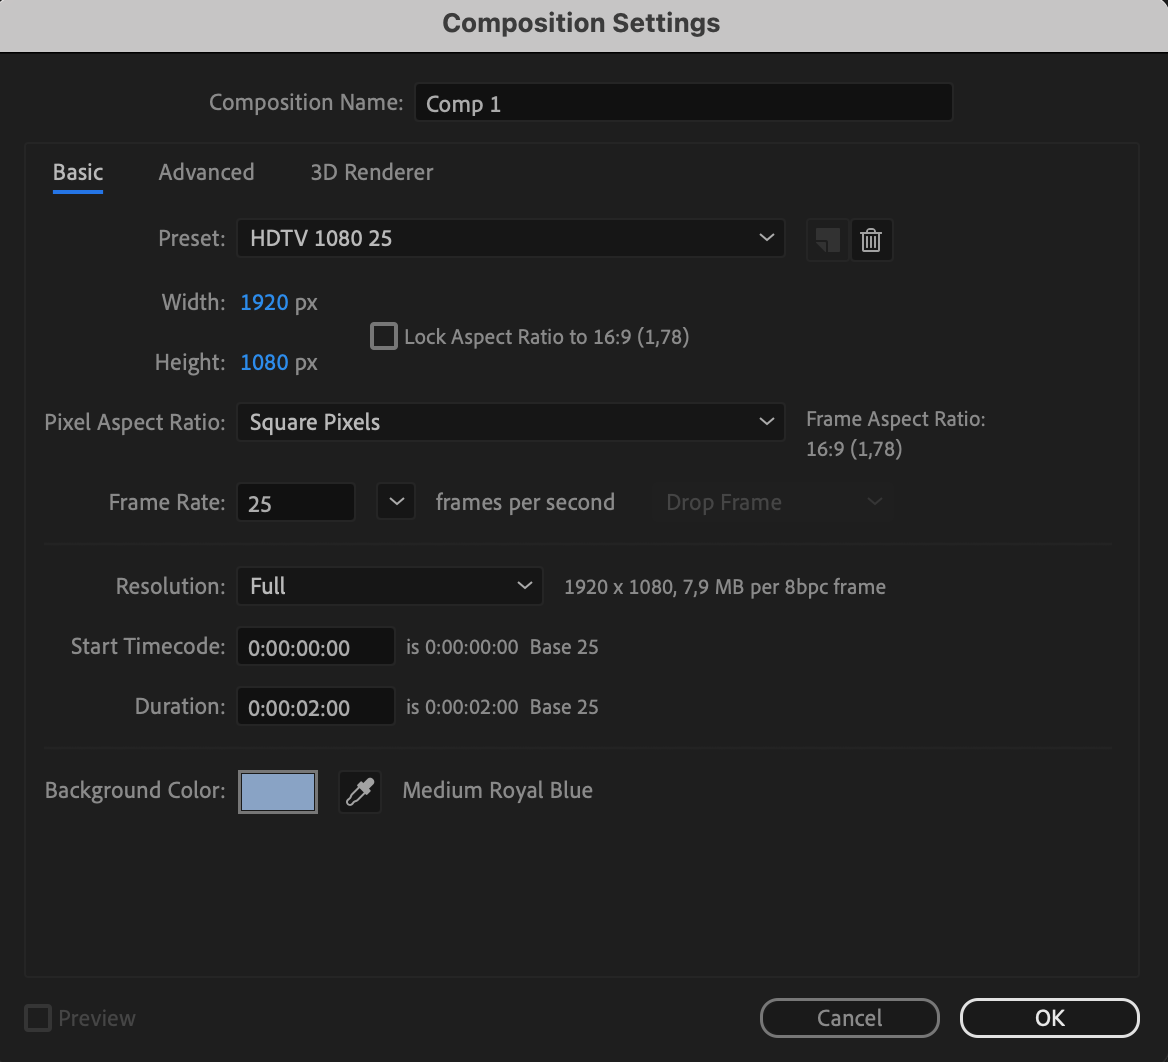
Step 5: Import Files or Create Text
Import the files to which you want to apply the imported presets, or create text layers within your composition.
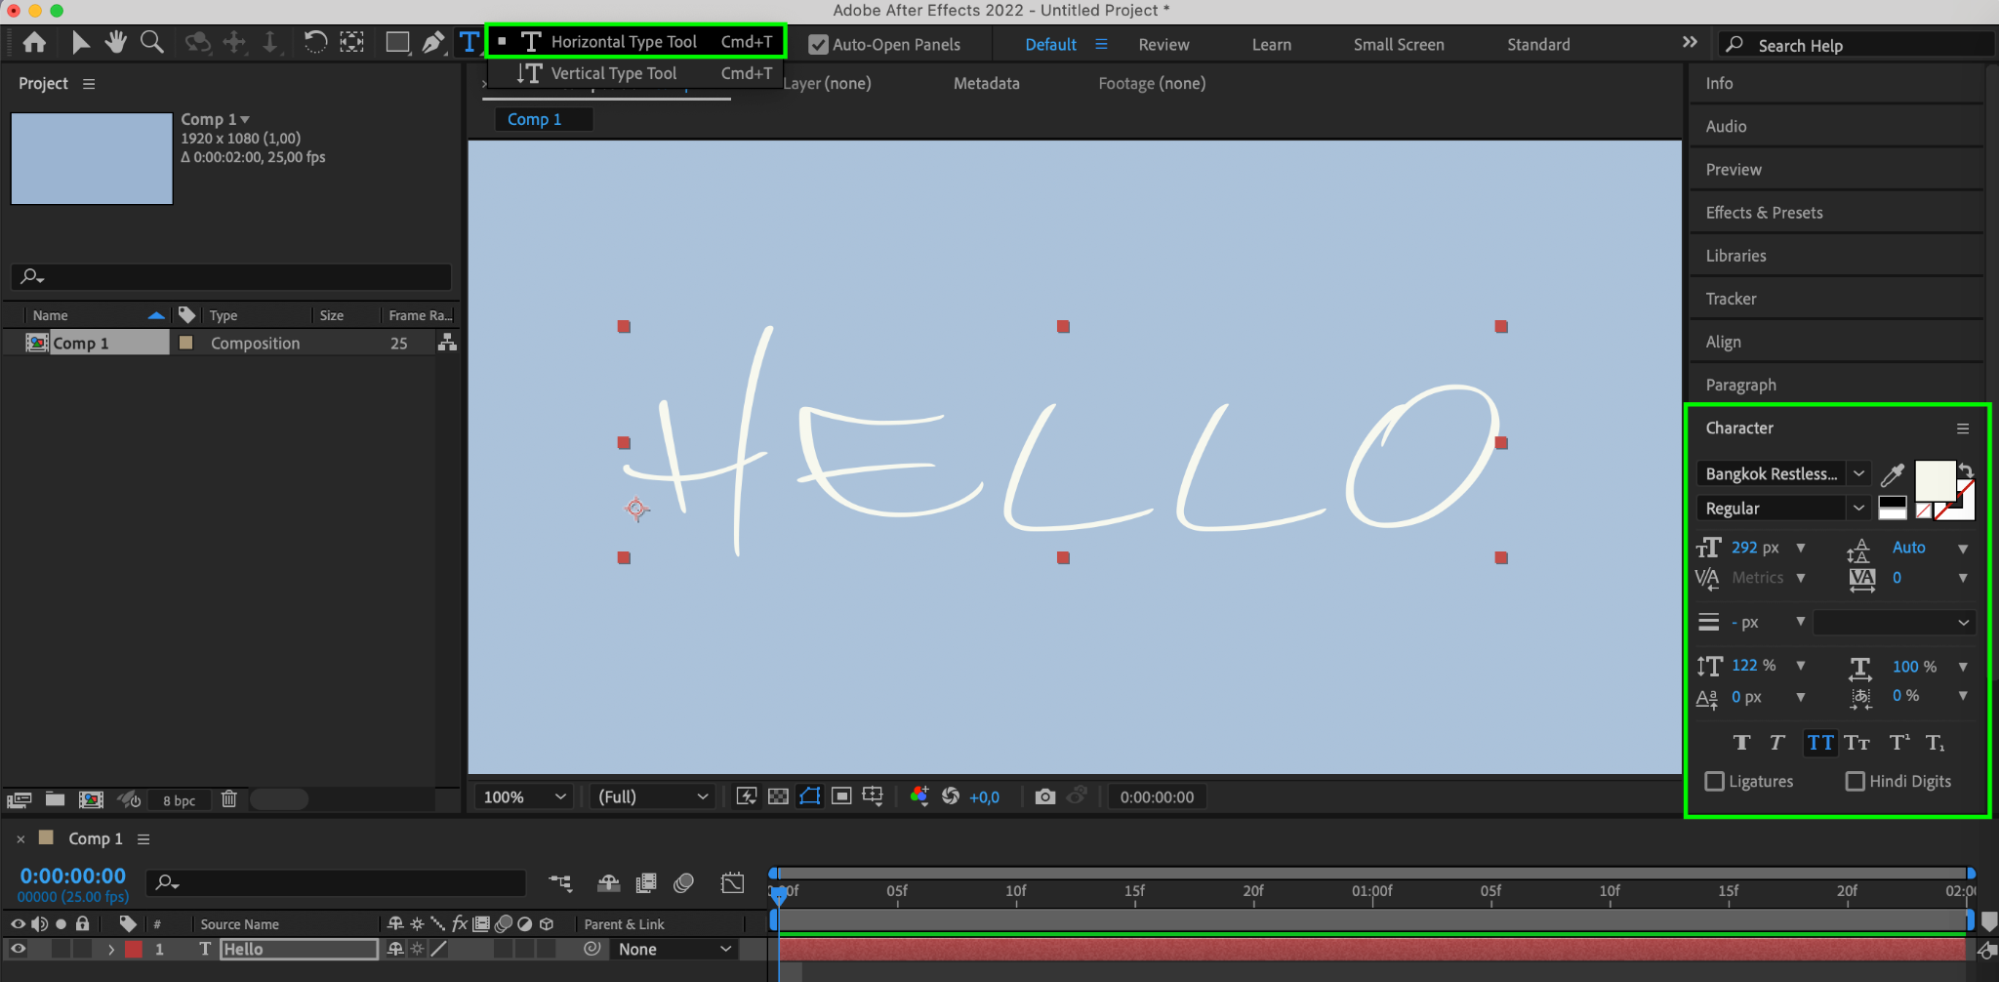
Step 6: Access the Effects & Presets Panel
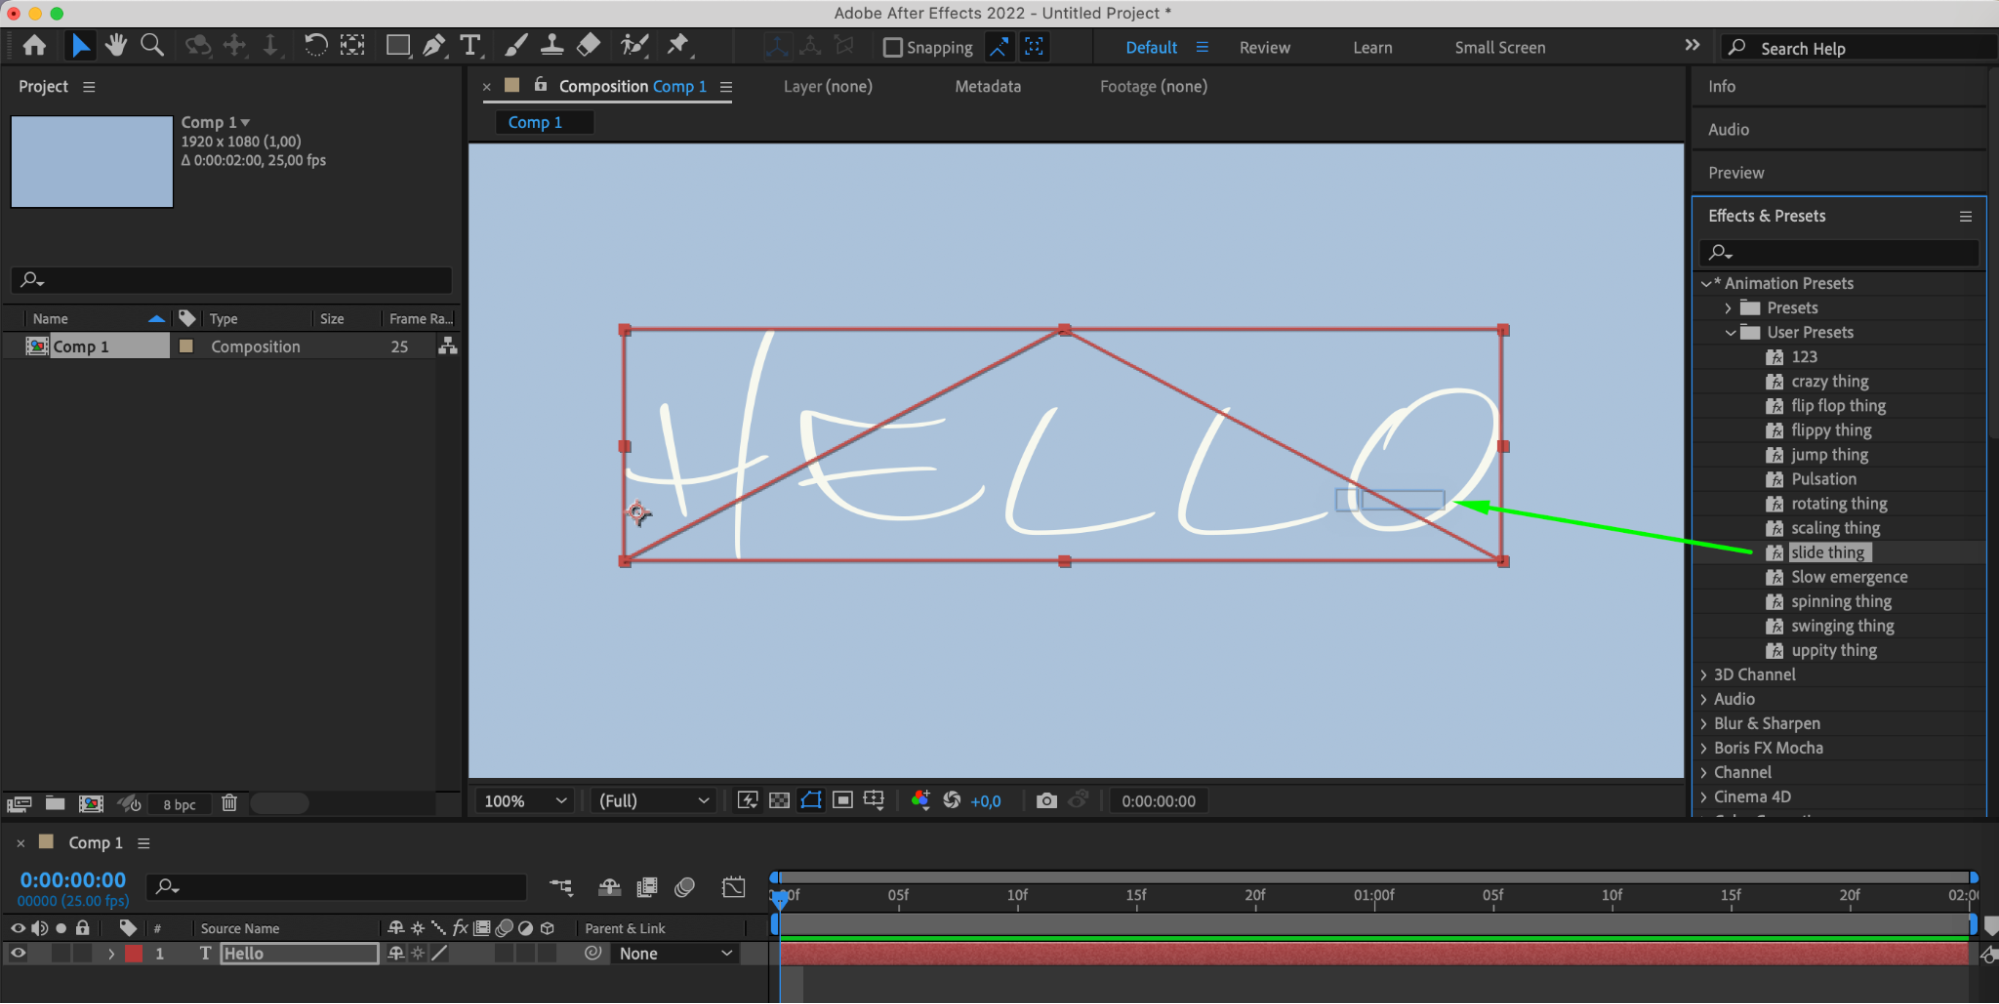
Navigate to the “Effects & Presets” panel and select “Animation Presets” > “User Presets.” Here, you’ll find your imported FFX files.
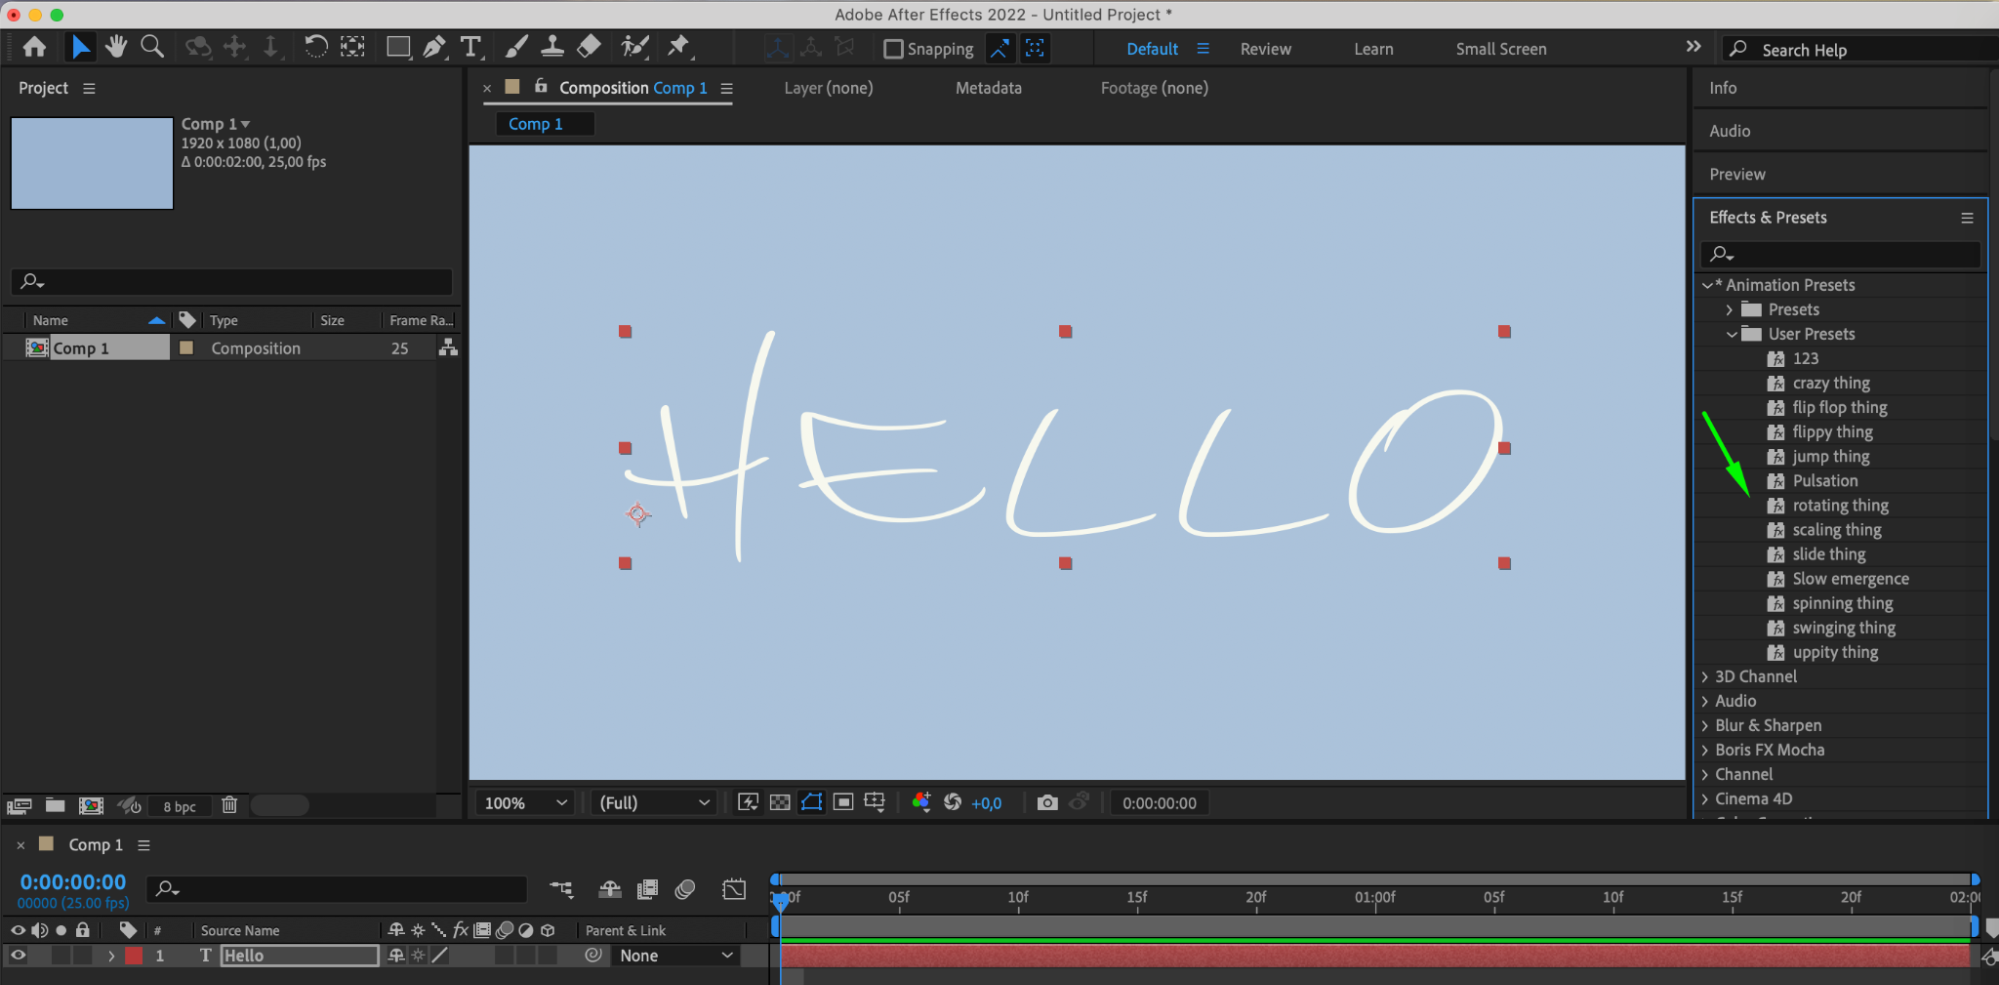
Step 7: Apply the Presets
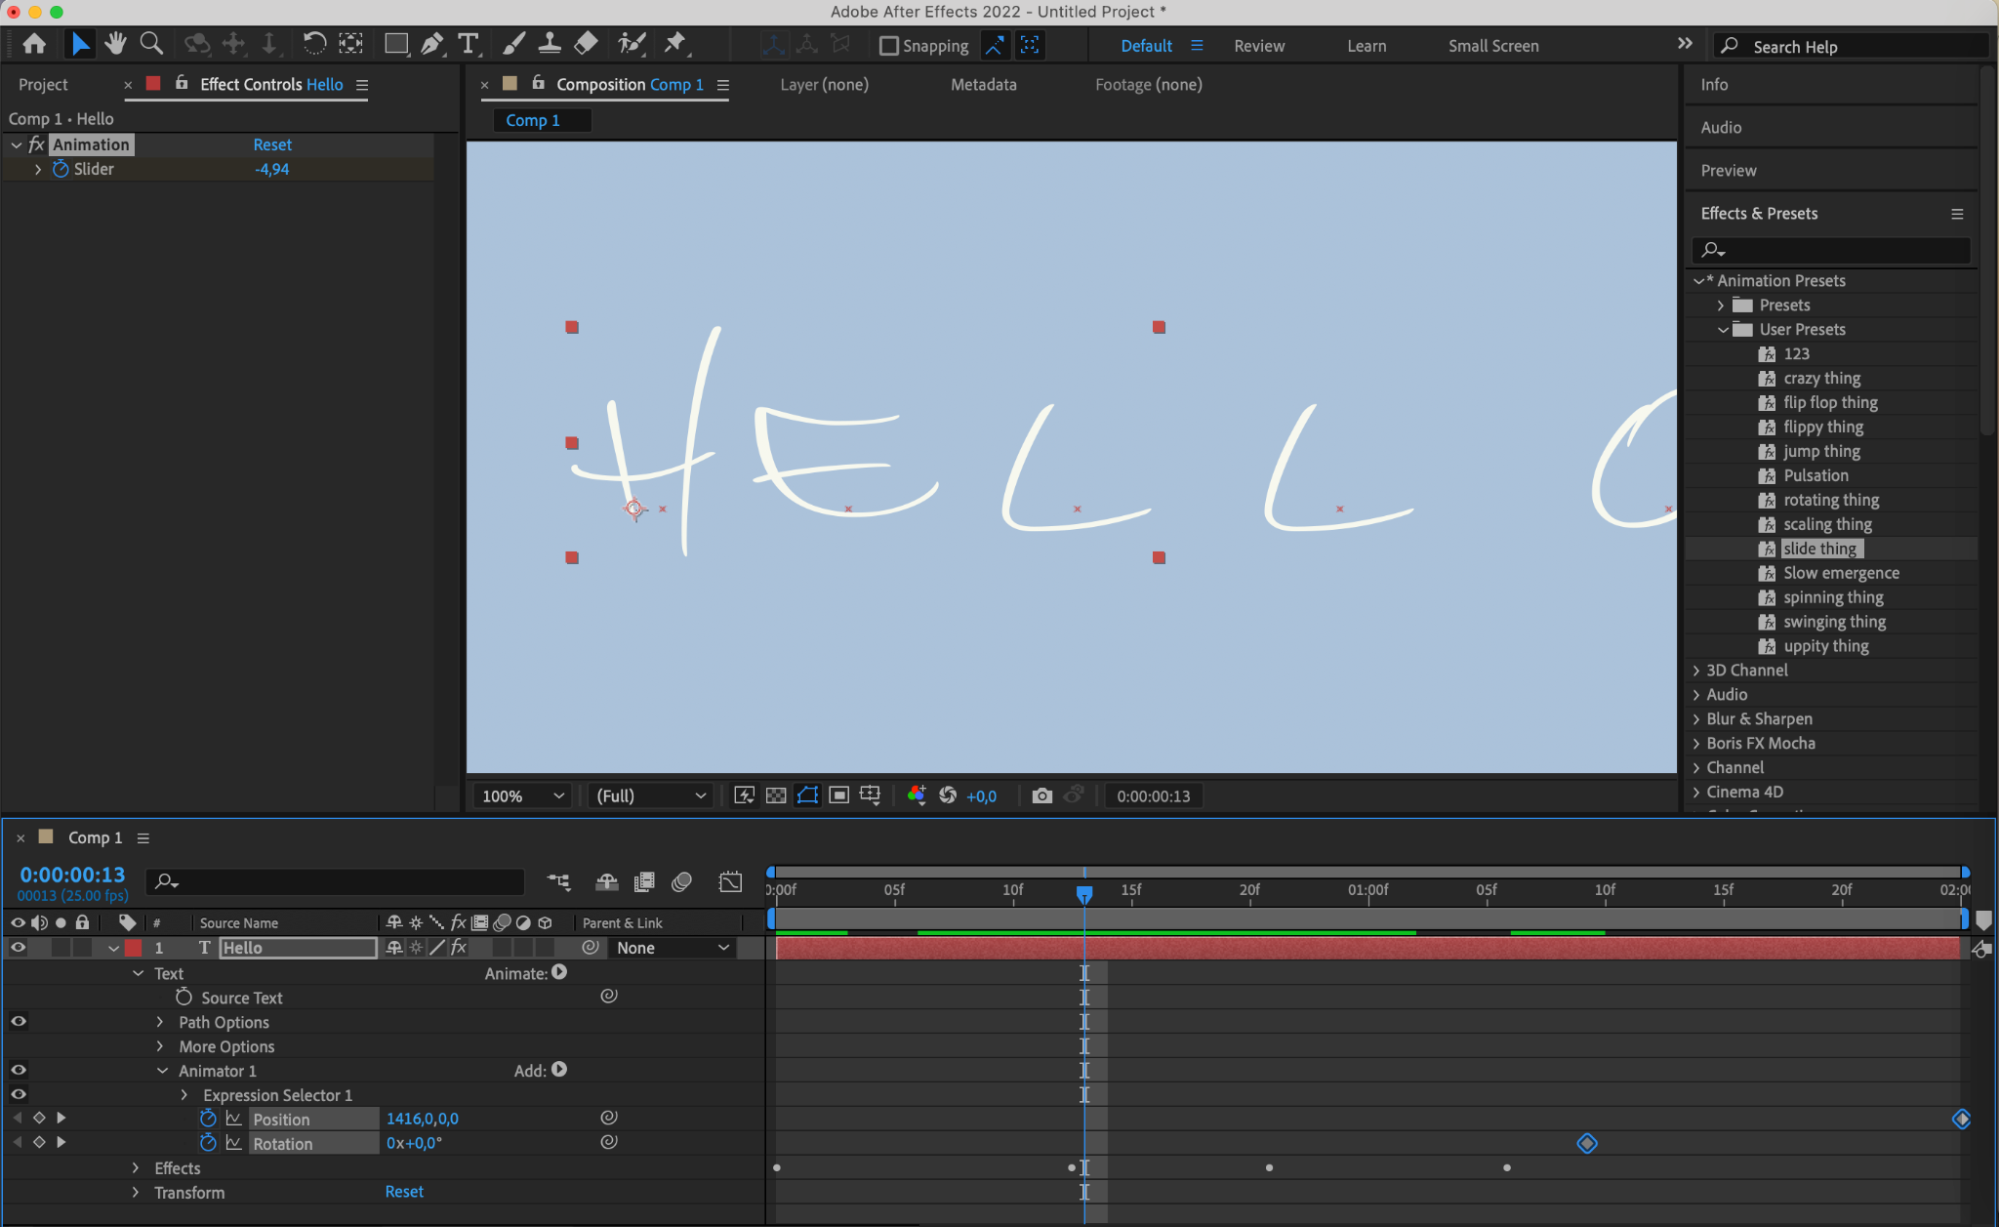
Drag any preset from the User Presets folder onto the composition panel to apply it to your layers. You can then further customize the visual appearance using the Effect Controls panel.
Conclusion
Installing FFX files in After Effects is a quick and easy way to amplify your creative power and visual impact in your projects. By following these simple instructions, you can effortlessly incorporate new presets, customize them to your needs, and achieve magnificent results in design and animation in After Effects.


