How to Invert a Mask in After Effects
Why Inverting a Mask is Useful
Masks in After Effects allow you to hide or reveal parts of a layer. Sometimes, you may need to reverse a mask to make the masked area transparent and the rest visible. This is useful for compositing, effects, and advanced animations. In this guide, we’ll show you how to easily invert a mask and adjust its settings for the best results.
Step 1: Create a Mask
First, select the layer where you want to create a mask. Use the Pen Tool (G) or Shape Tools (Q) to draw the mask directly on the layer in the Composition panel. Adjust the shape as needed.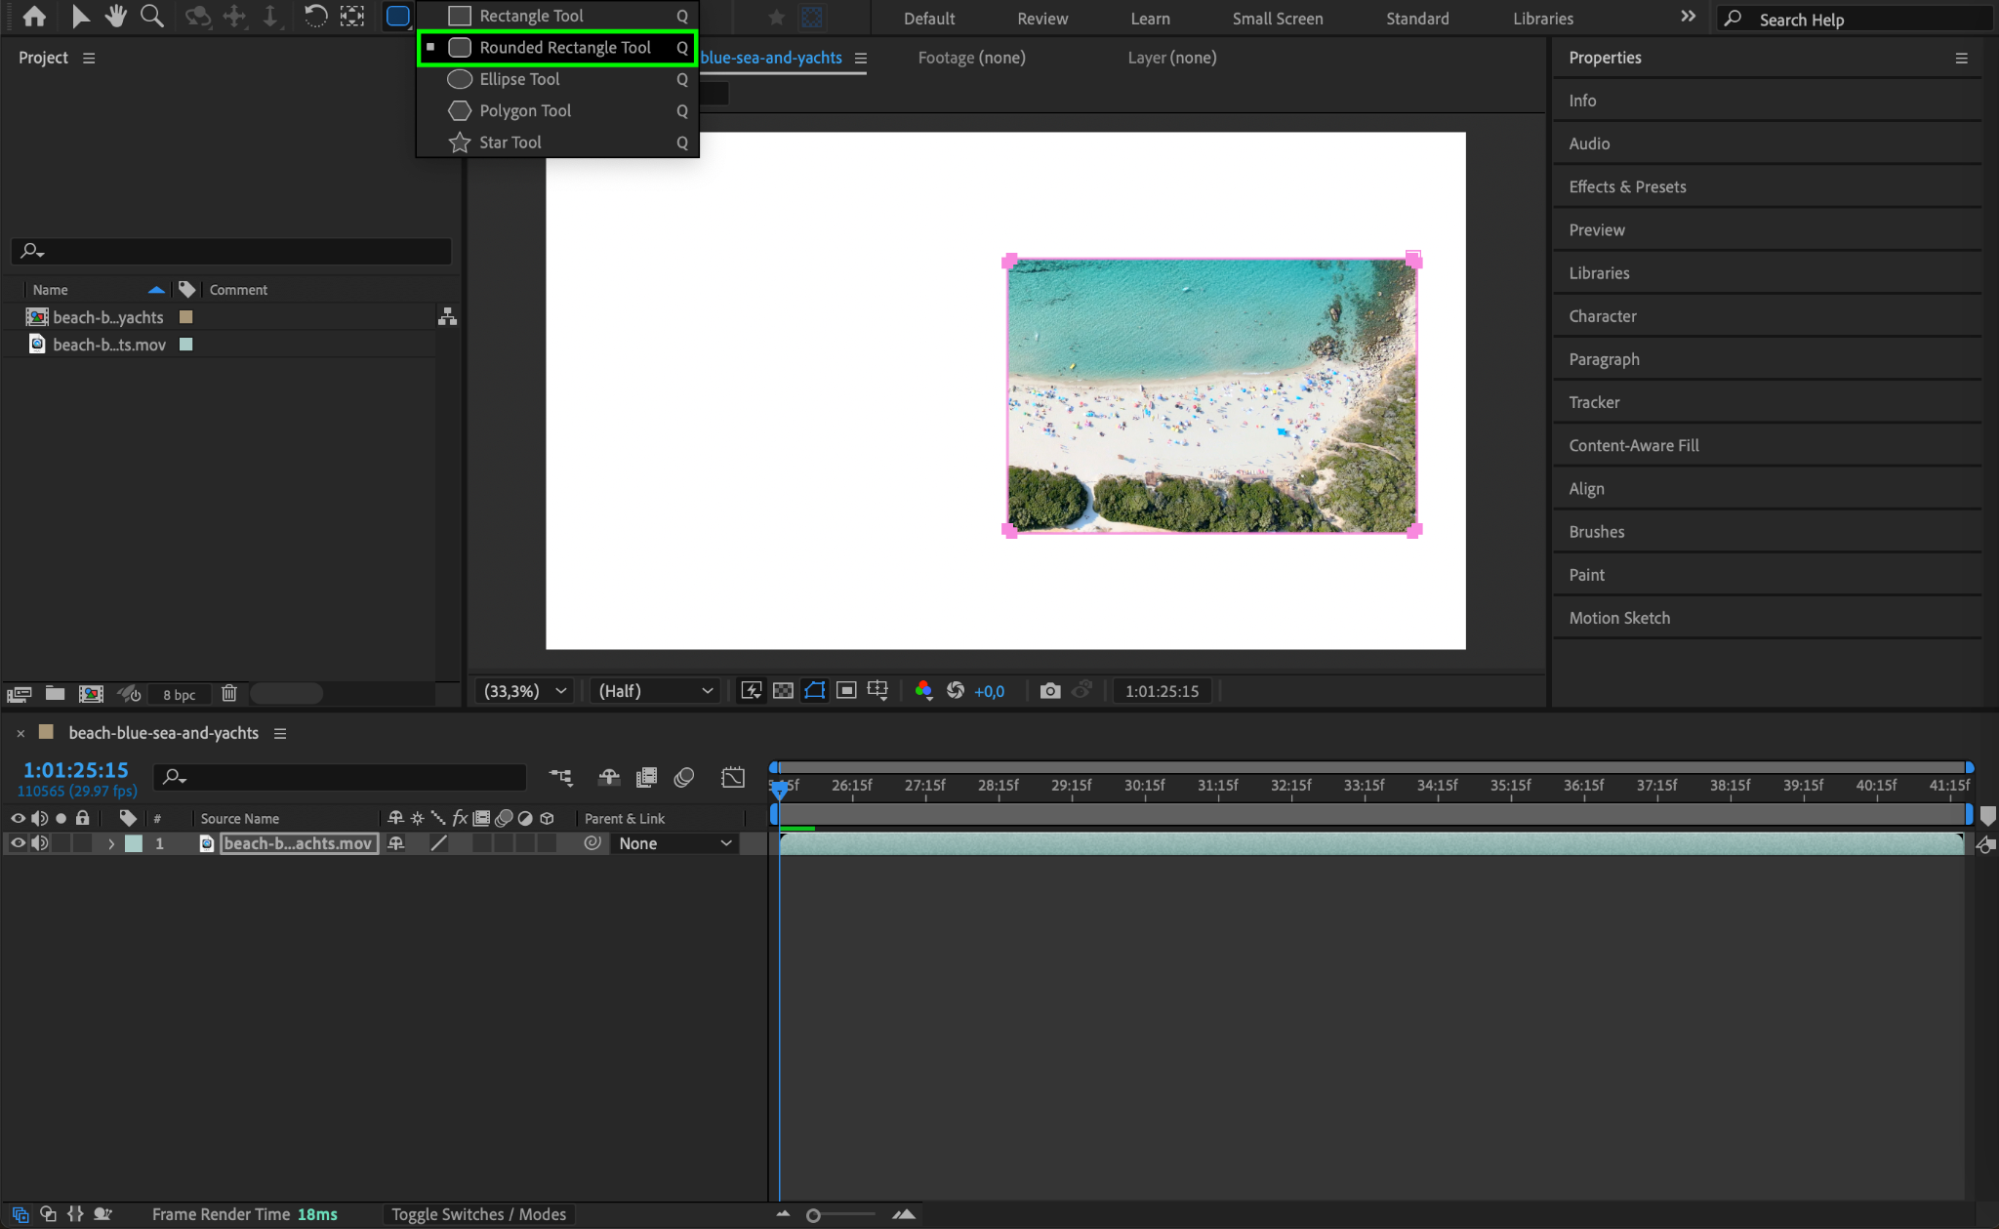 Step 2: Open Mask Settings
Once the mask is created, go to the Timeline Panel and find your layer. Click the small arrow next to the layer name to expand its properties, then open the Masks section.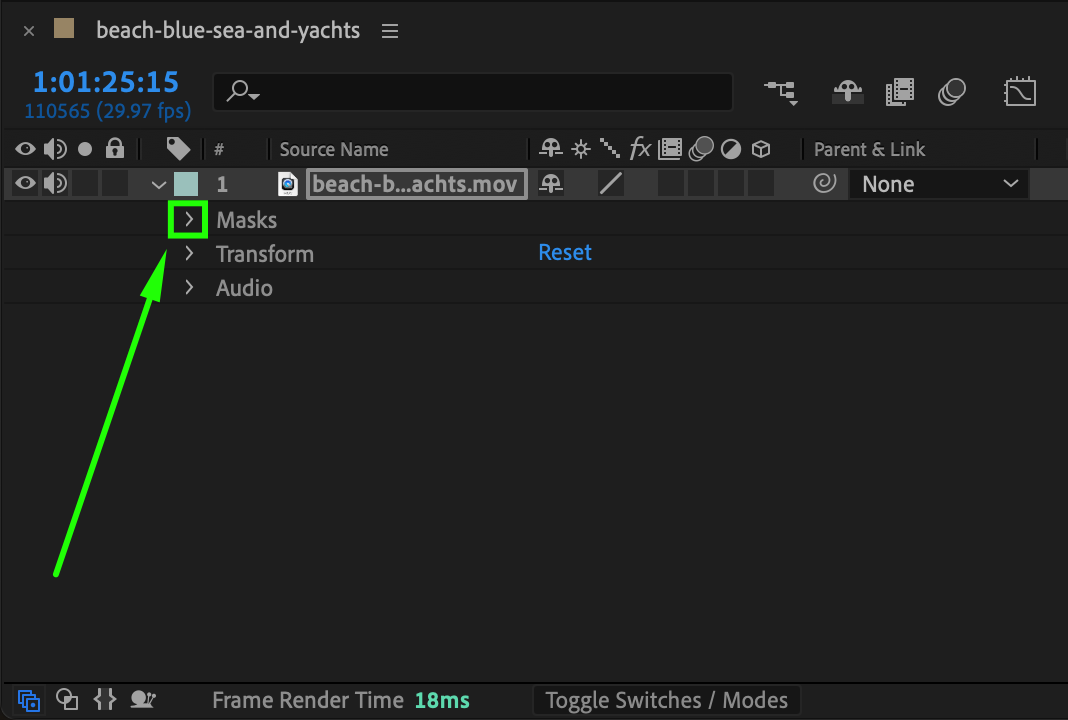 Step 3: Invert the Mask
Locate the mask you created and find the Inverted checkbox next to it. Click this checkbox to reverse the mask, making the masked area transparent and the outside visible.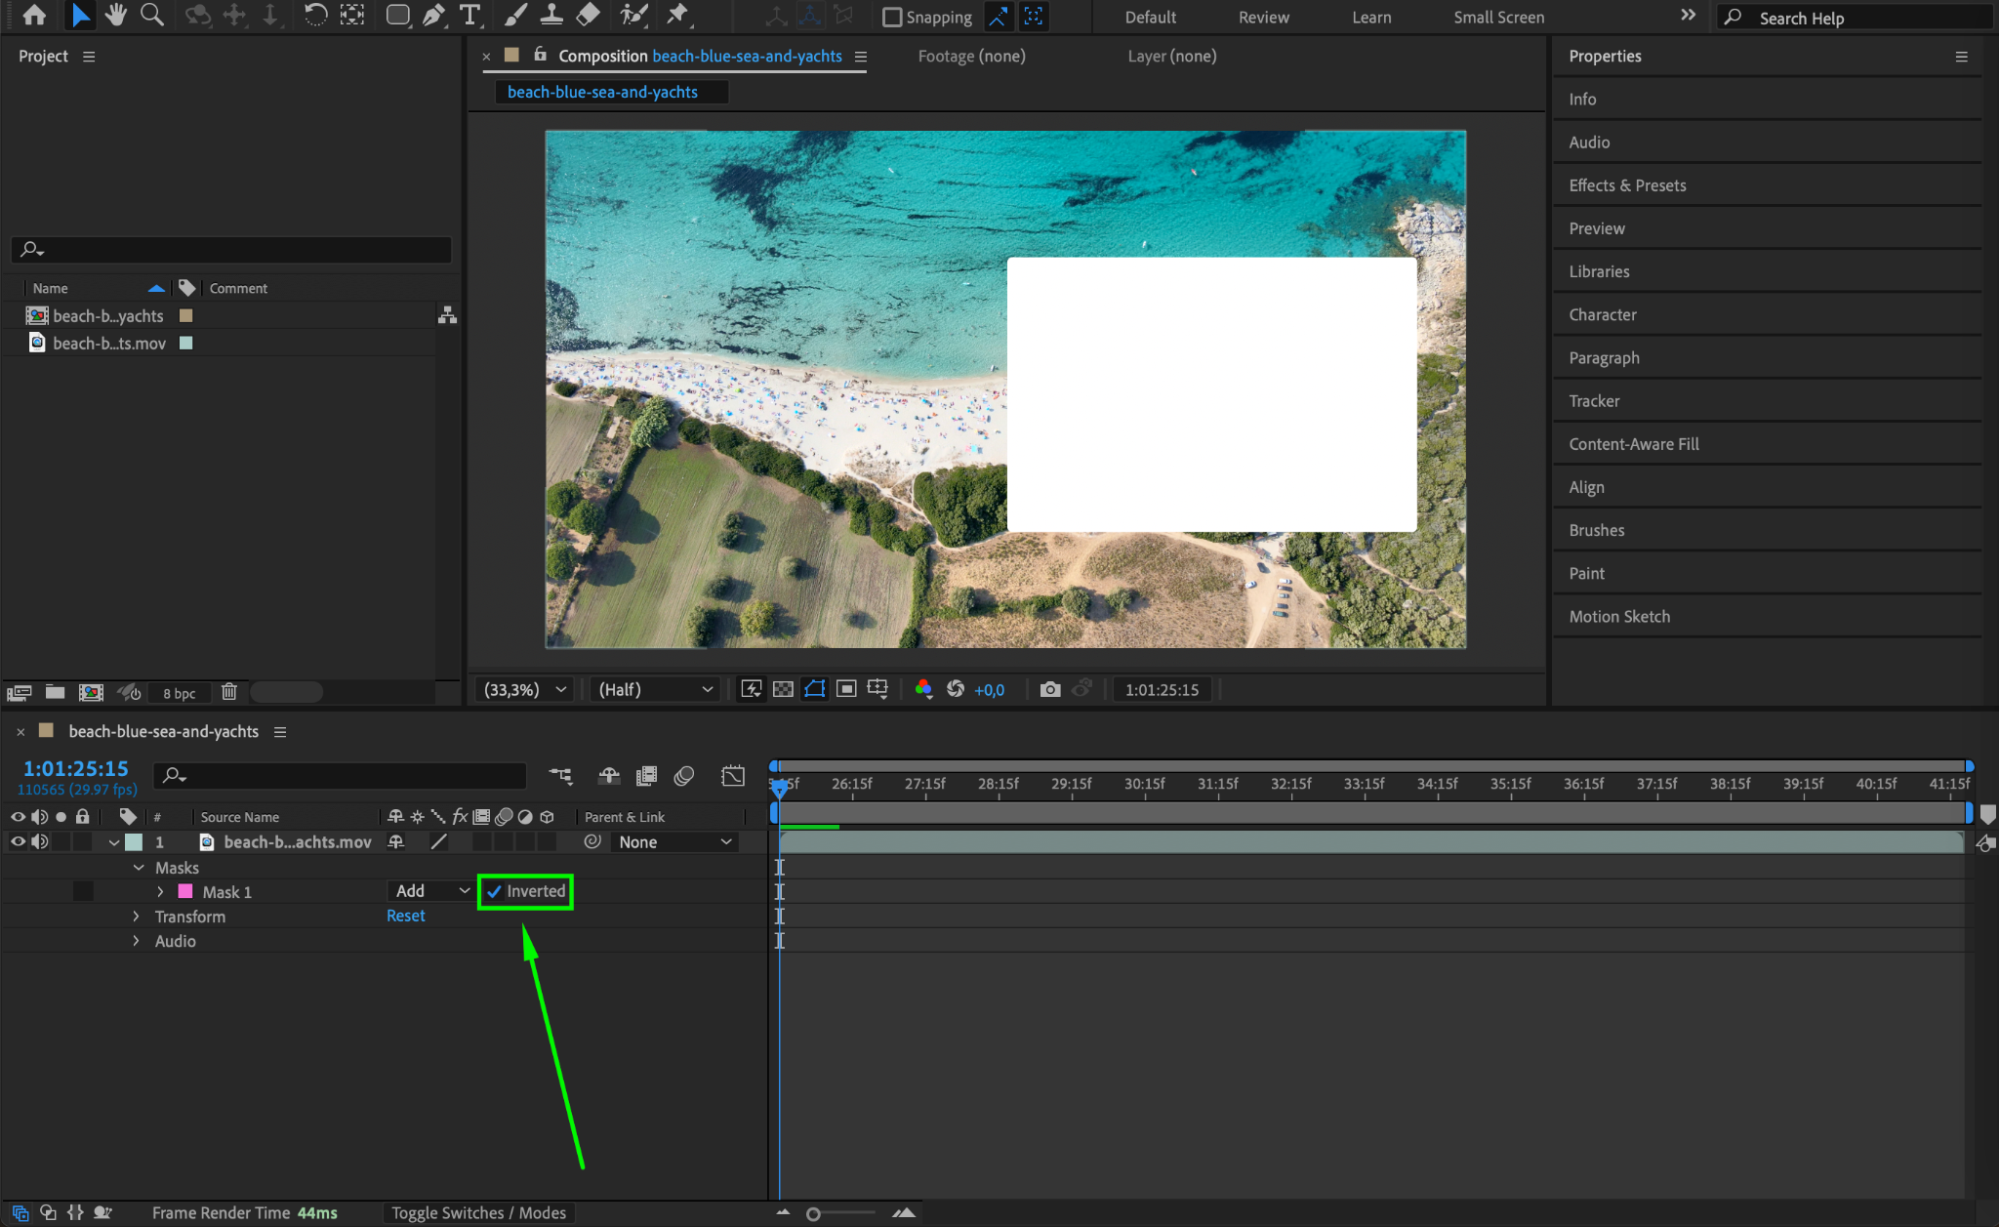 Step 4: Adjust Feathering and Opacity (Optional)To refine the mask, adjust its Feather, Opacity, and Expansion settings in the Mask Properties. Feathering softens edges, opacity controls transparency, and expansion grows or shrinks the mask.
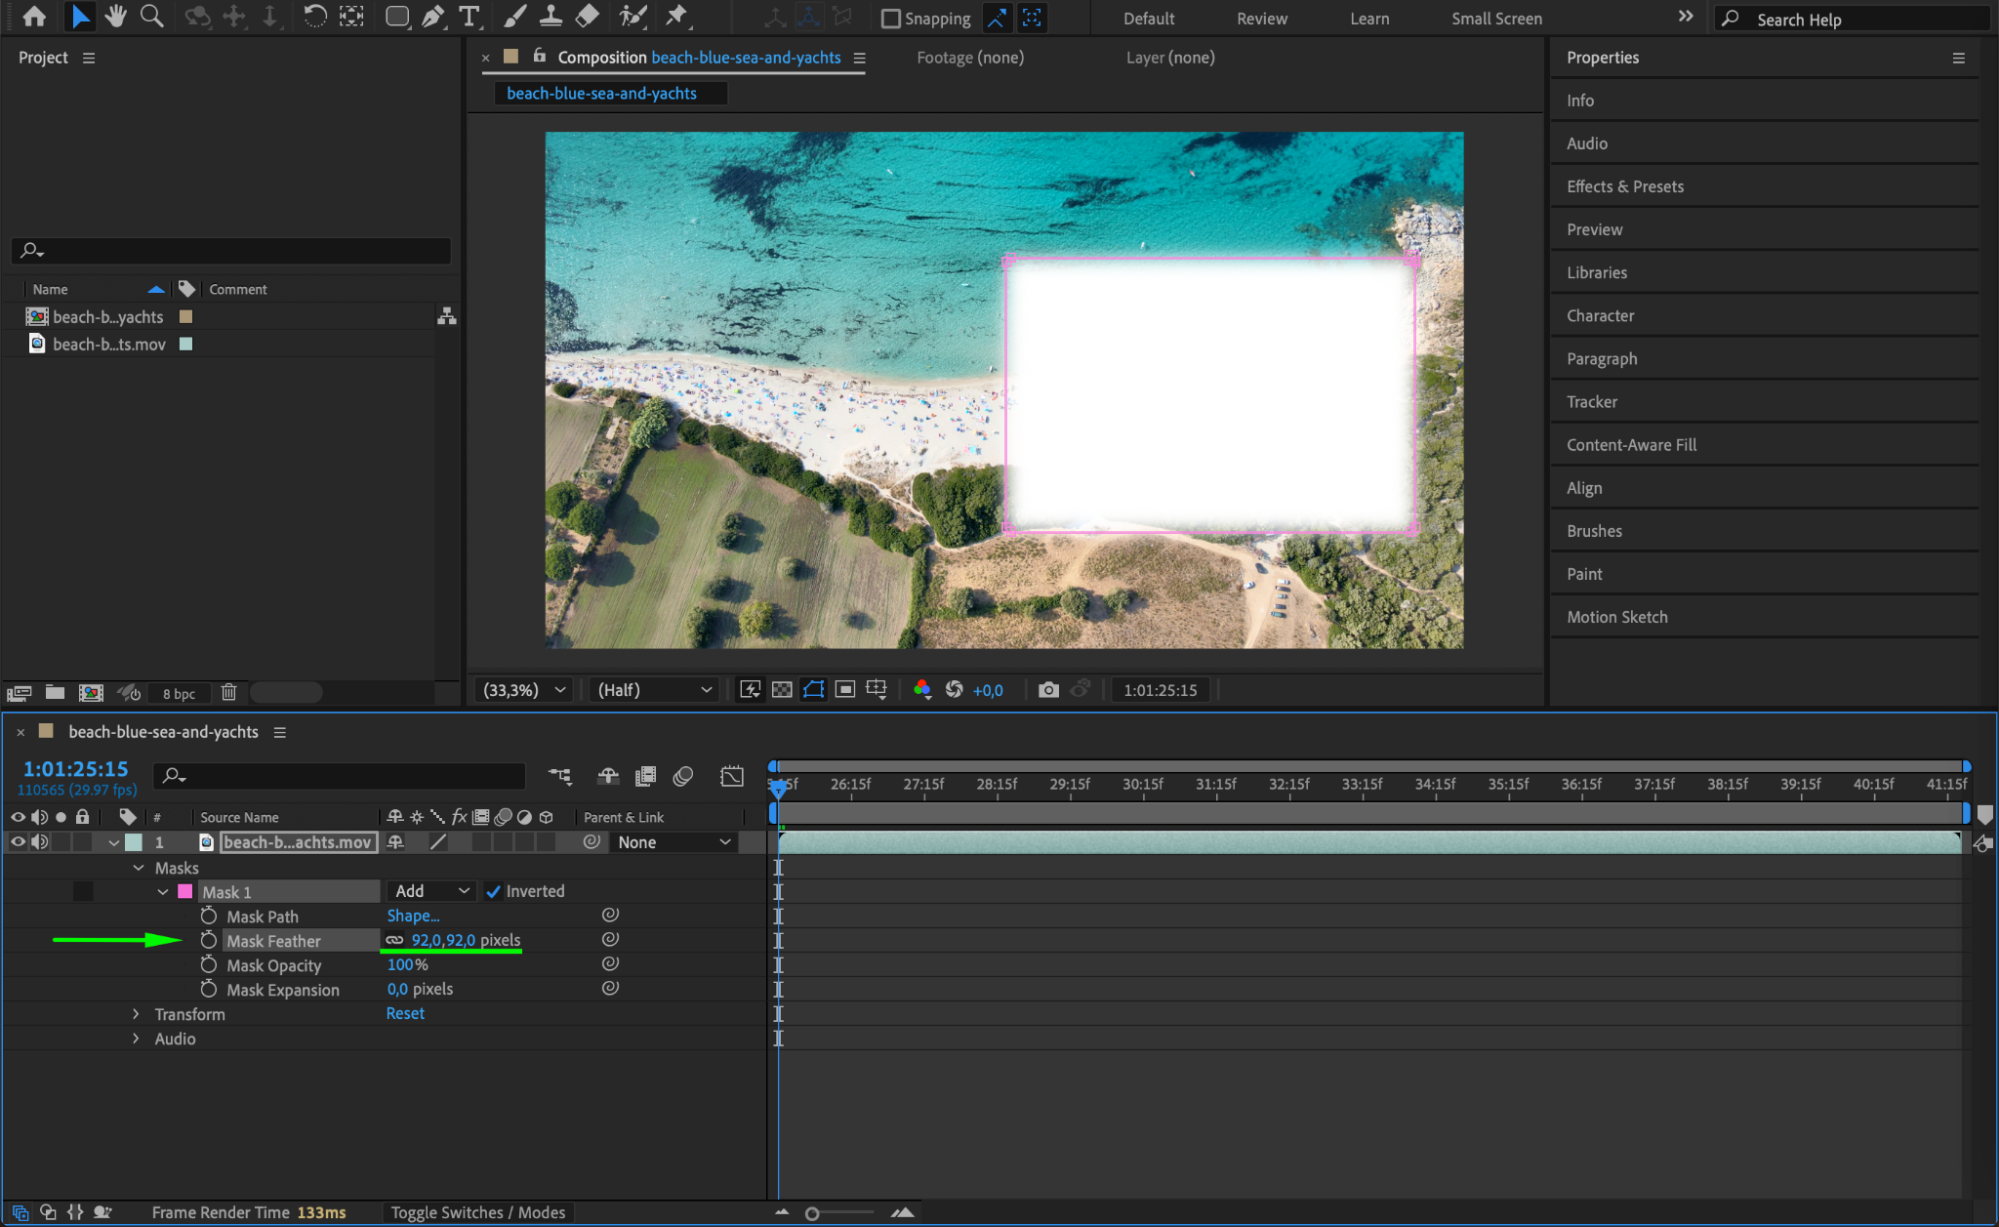 Step 5: Preview and Fine-Tune
Press Spacebar to play back your composition and check if the mask behaves as expected. If needed, adjust its position, shape, or properties for a better result.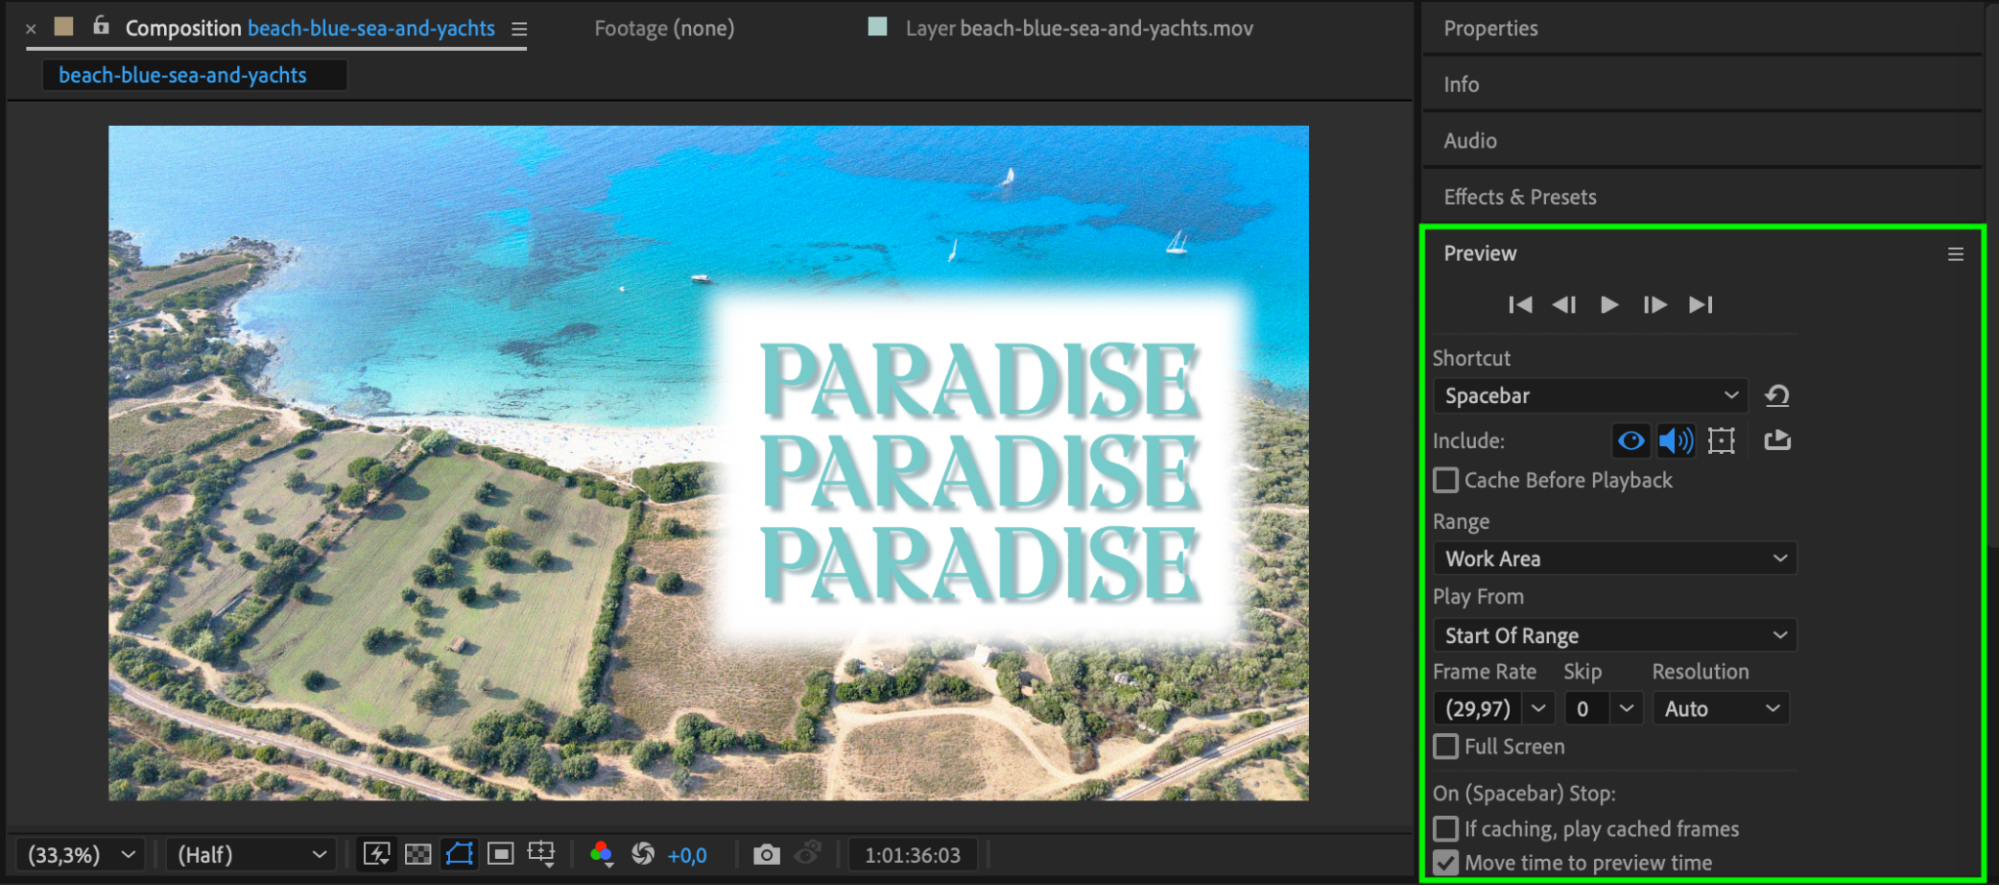
Conclusion
Inverting a mask in After Effects is a quick and essential technique for compositing and effects. By using the Inverted checkbox and refining mask properties, you can create precise and creative visuals in your projects.
Our Bestsellers


