Guide to Inverting Shapes in After Effects
Introduction to Shape Inversion in After Effects
Inverting shapes in After Effects is an excellent way to add dramatic visual effects to your project. Whether you are looking to create contrasting colors, play with negative space, or explore creative mask techniques, this guide will walk you through different methods of inverting shapes. By using color inversion, masks, track mattes, and animation, you can produce stunning and dynamic designs that will capture the attention of your audience. This guide is perfect for those looking to explore After Effects’ creative capabilities and enhance their projects with bold, inverted visuals.
Get 10% off when you subscribe to our newsletter

Step 1: Create a New Composition
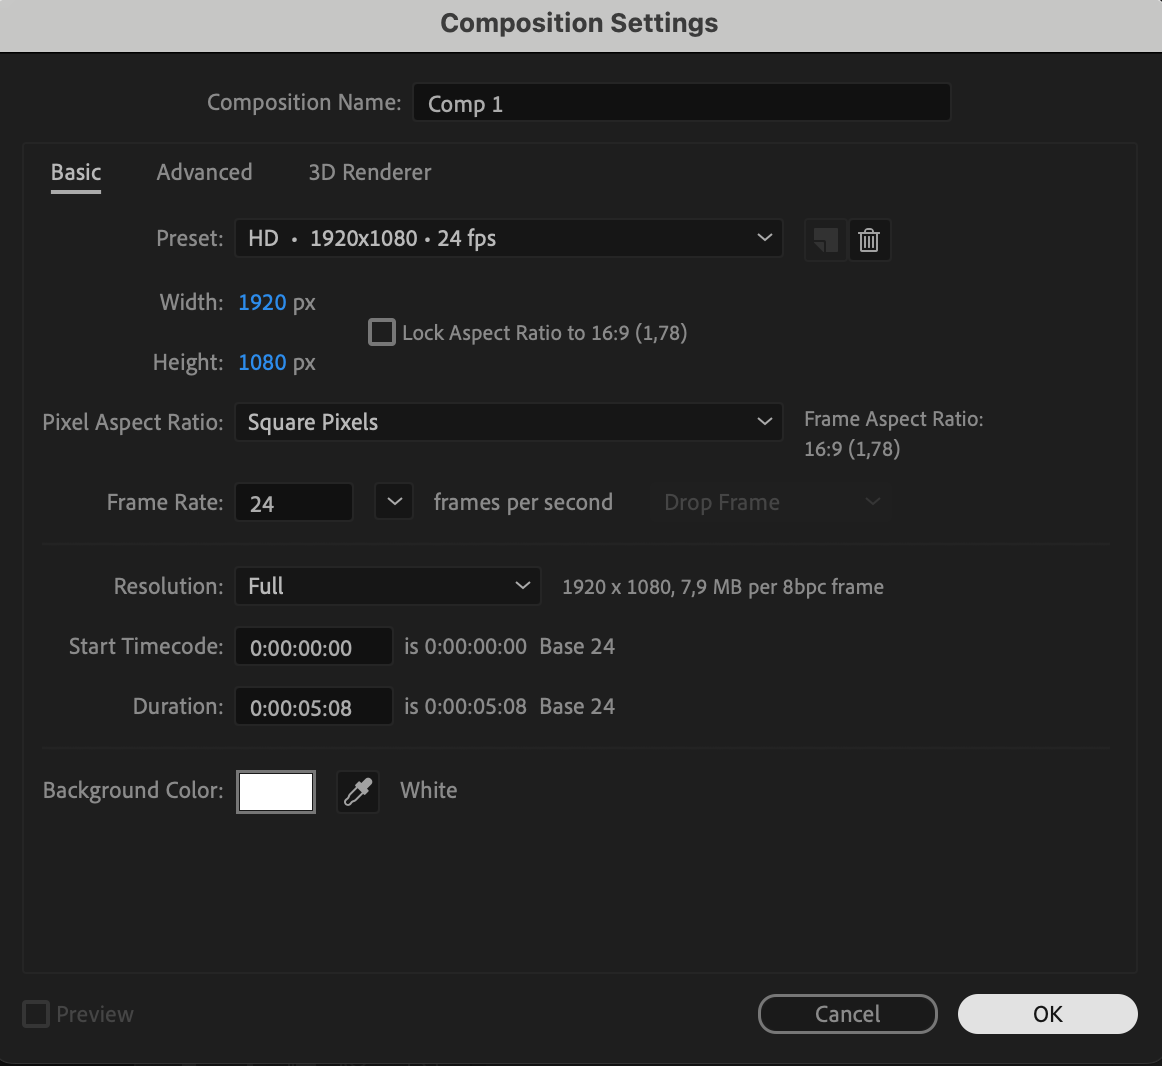
Start by creating a new composition where you’ll work with your shapes. Go to Composition > New Composition and set the resolution, frame rate, and duration. This is your workspace for designing and inverting shapes.
 Step 2: Add and Customize Your Shape
Use the Shape Tool (Q) to create a shape layer. Click and drag to draw a shape, like a rectangle, circle, or custom polygon. Adjust the fill and stroke settings in the Properties panel as needed. This will serve as the main shape you want to invert.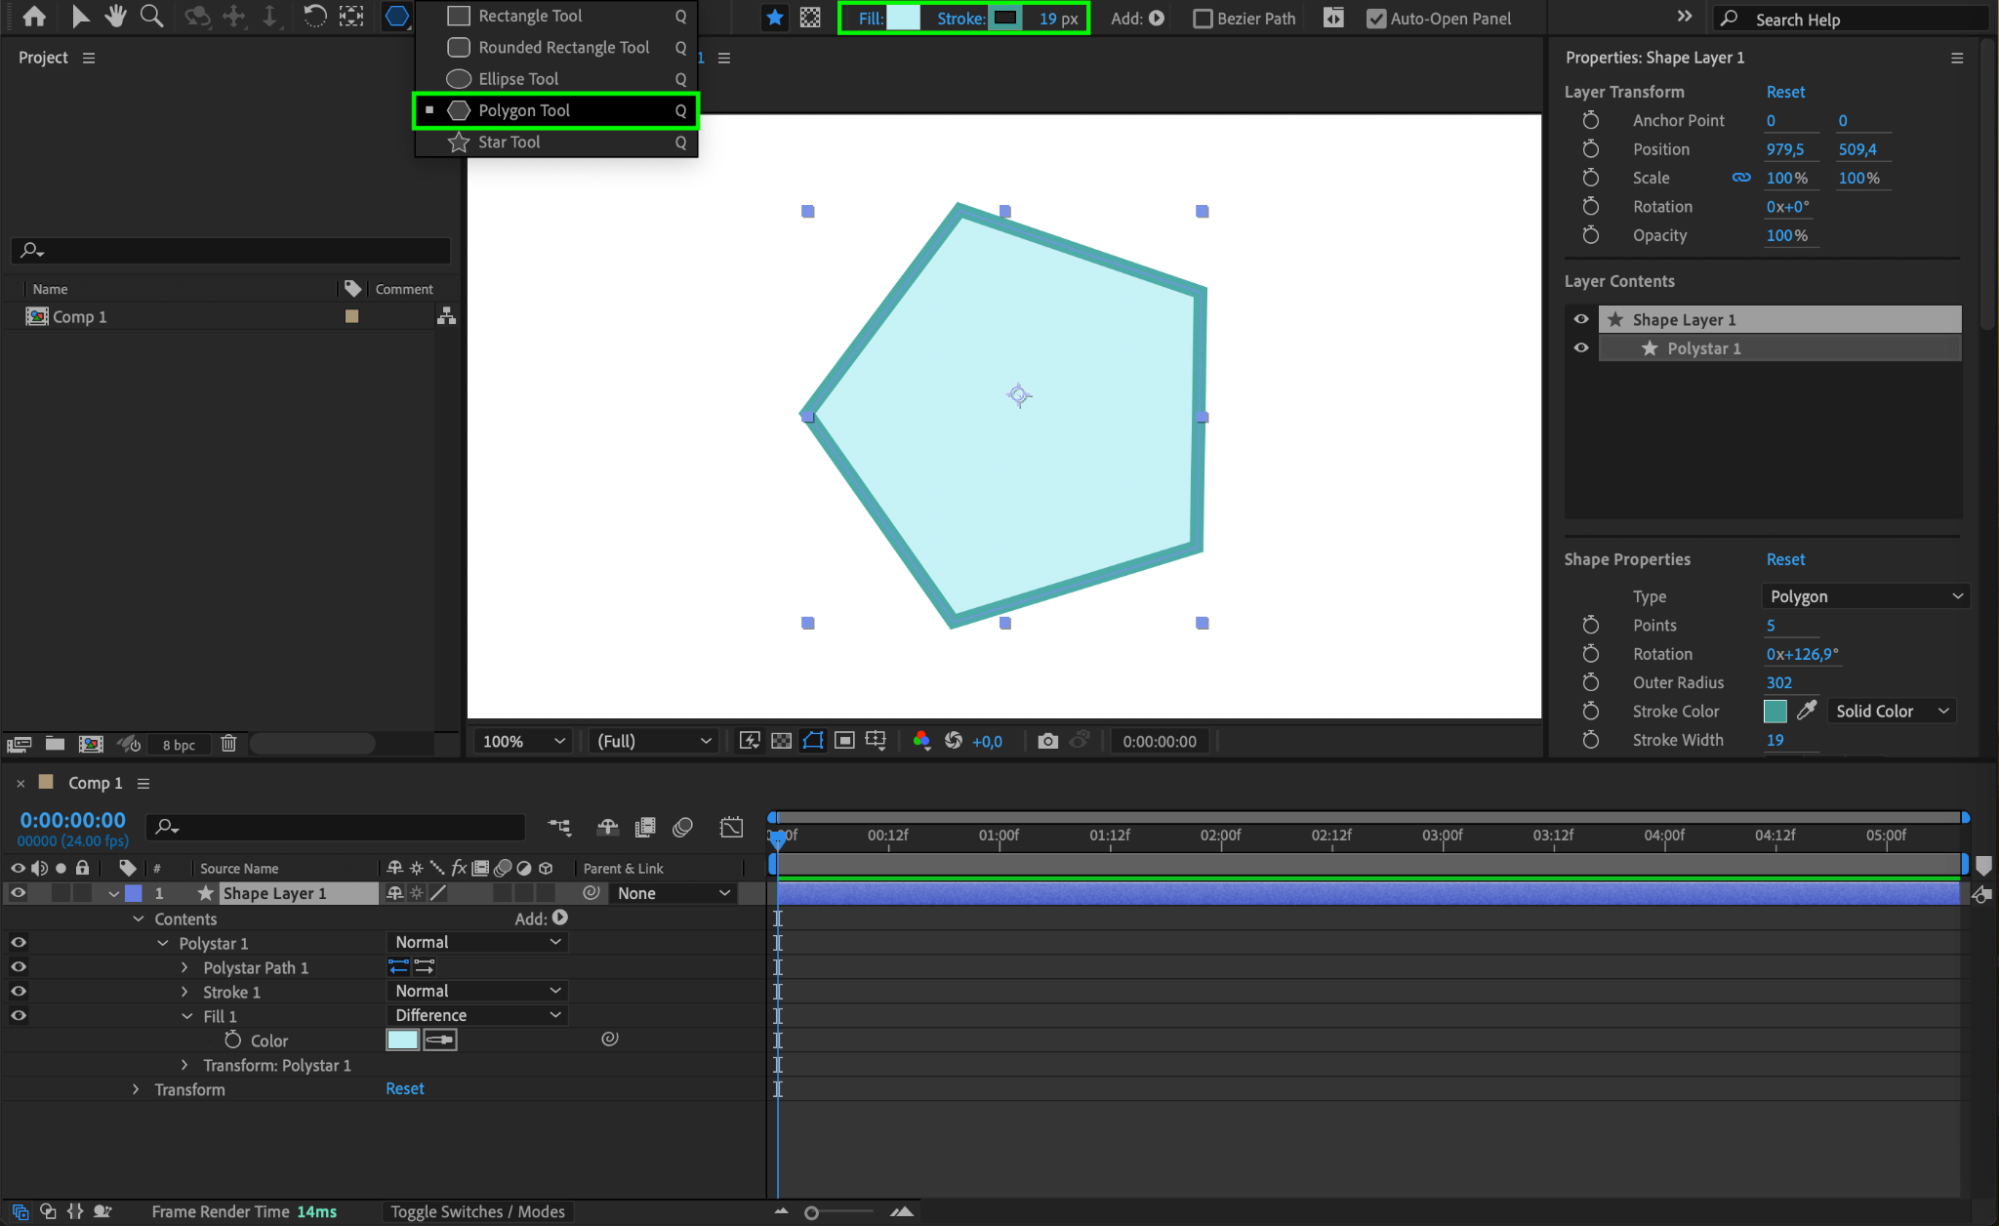 Step 3: Invert the Shape’s Color
To invert the colors, select the shape layer and go to Effects & Presets. Apply the Invert effect from the Channel category. This effect will invert the colors within the shape, making light colors dark and vice versa. Experiment with the color settings to get the desired inverted effect.

 Step 4: Use Masks for Shape Inversion
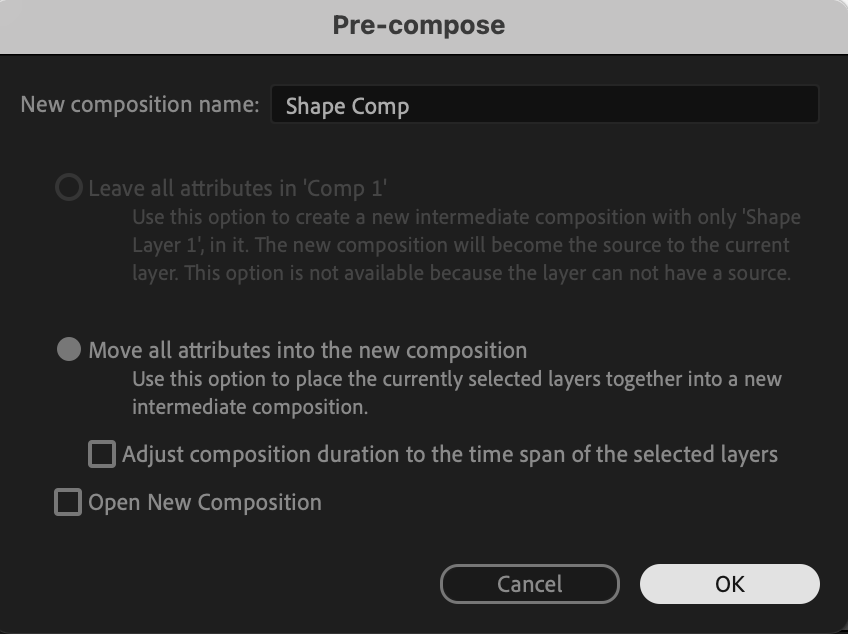
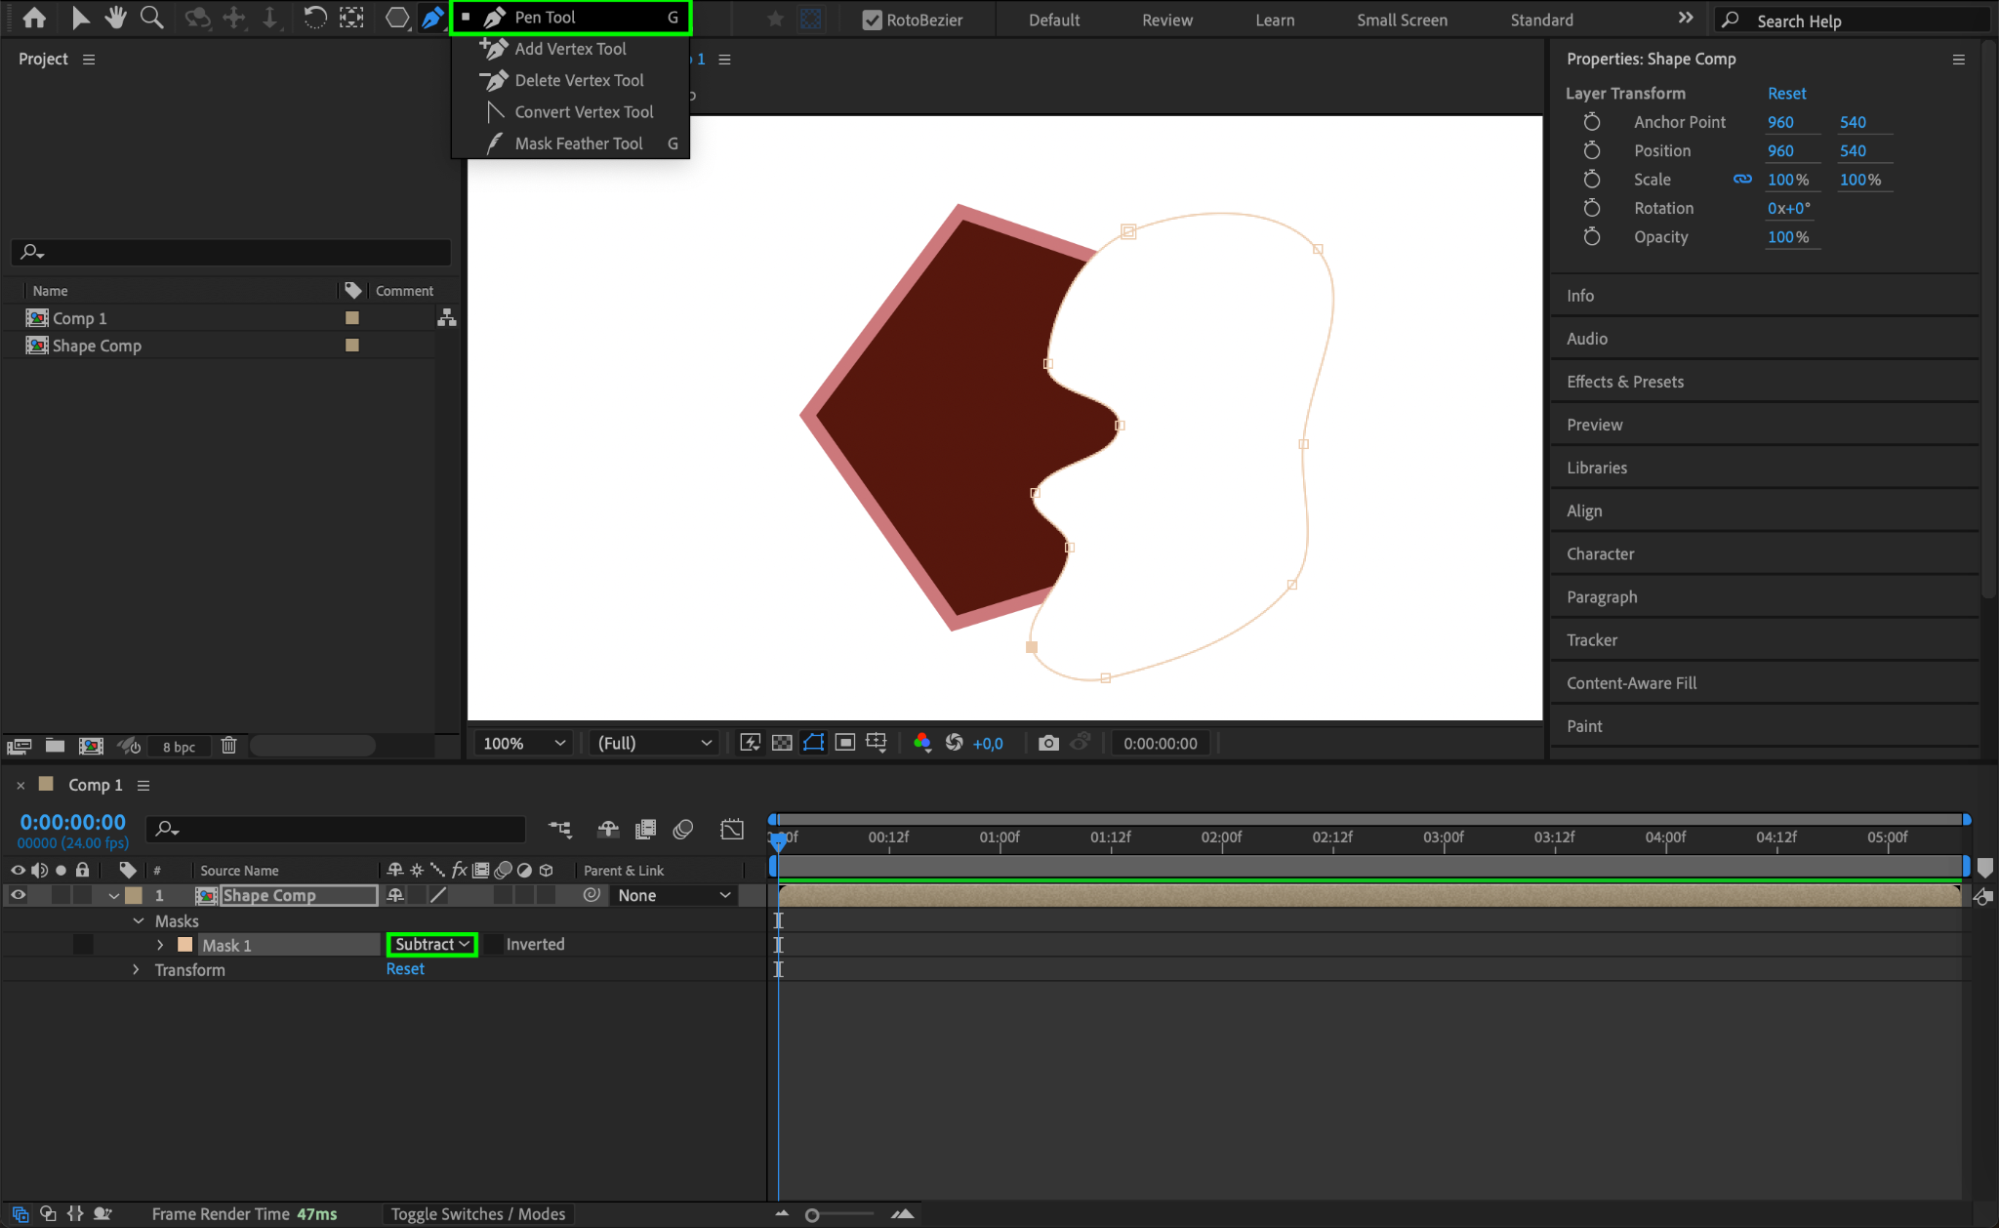
First, pre-compose your shape layer by selecting it, right-clicking, and choosing Pre-compose. This will allow you to apply masking and effects within a contained layer. With your shape layer selected, use the Pen Tool (G) to draw a mask over the area you want to invert. Once the mask is created, open the Mask Properties panel, and set the mask mode to Subtract. This setting will hide the selected area of the shape, creating an inverted or “negative space” effect within the composition.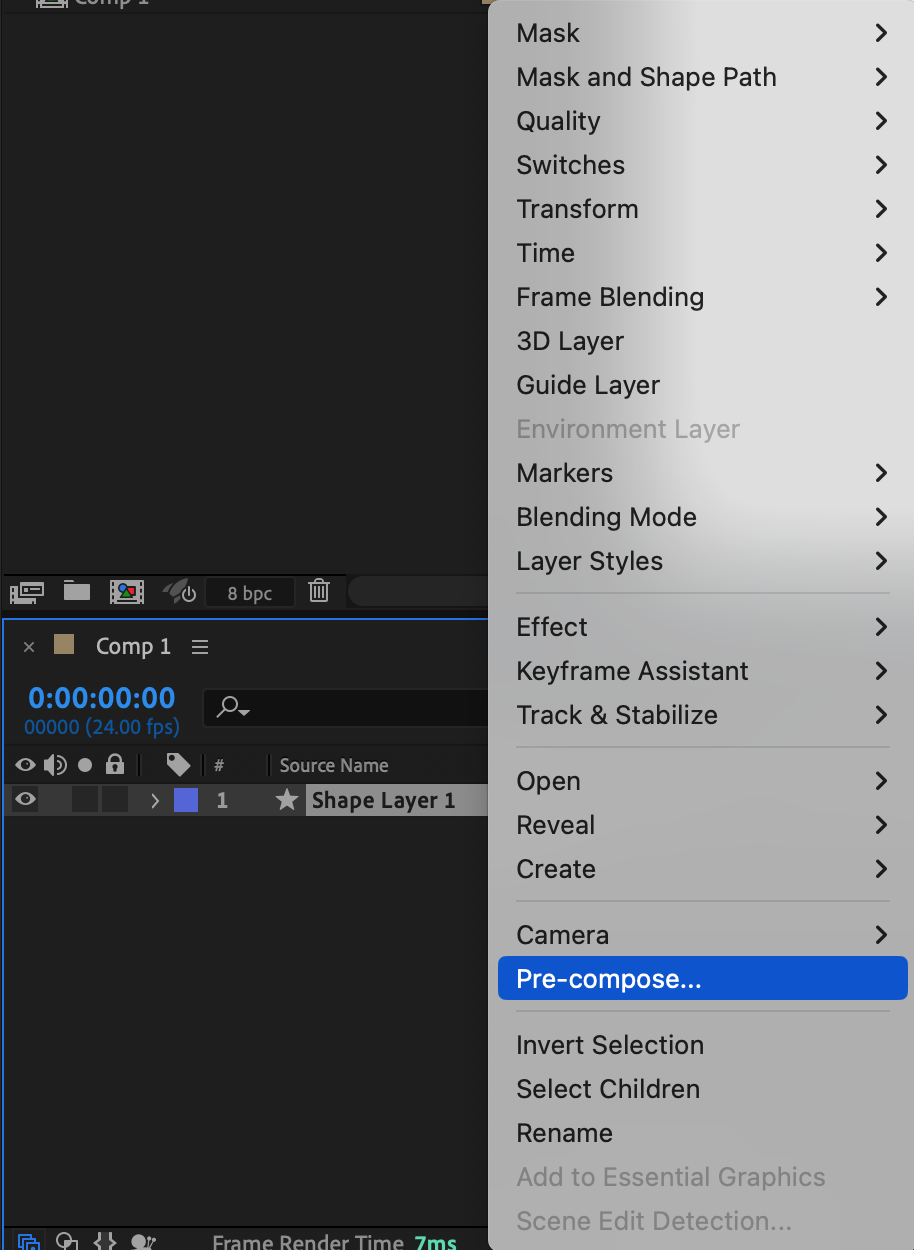
 Step 5: Invert the Entire Shape Using Track Matte
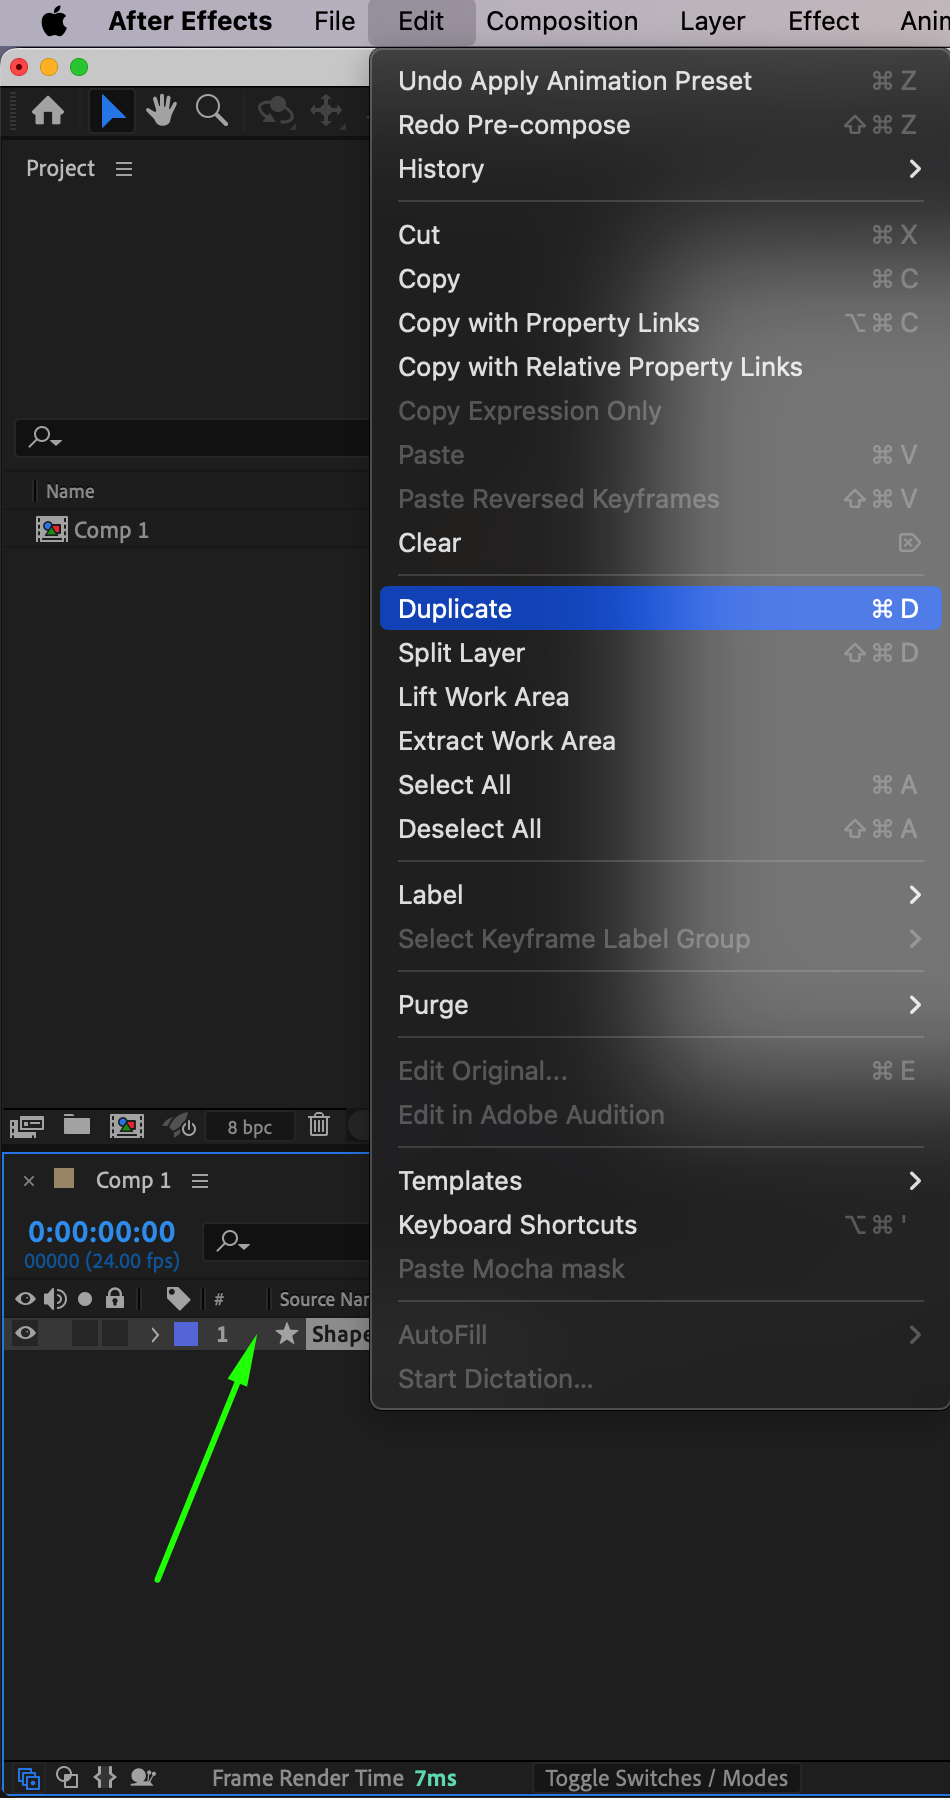
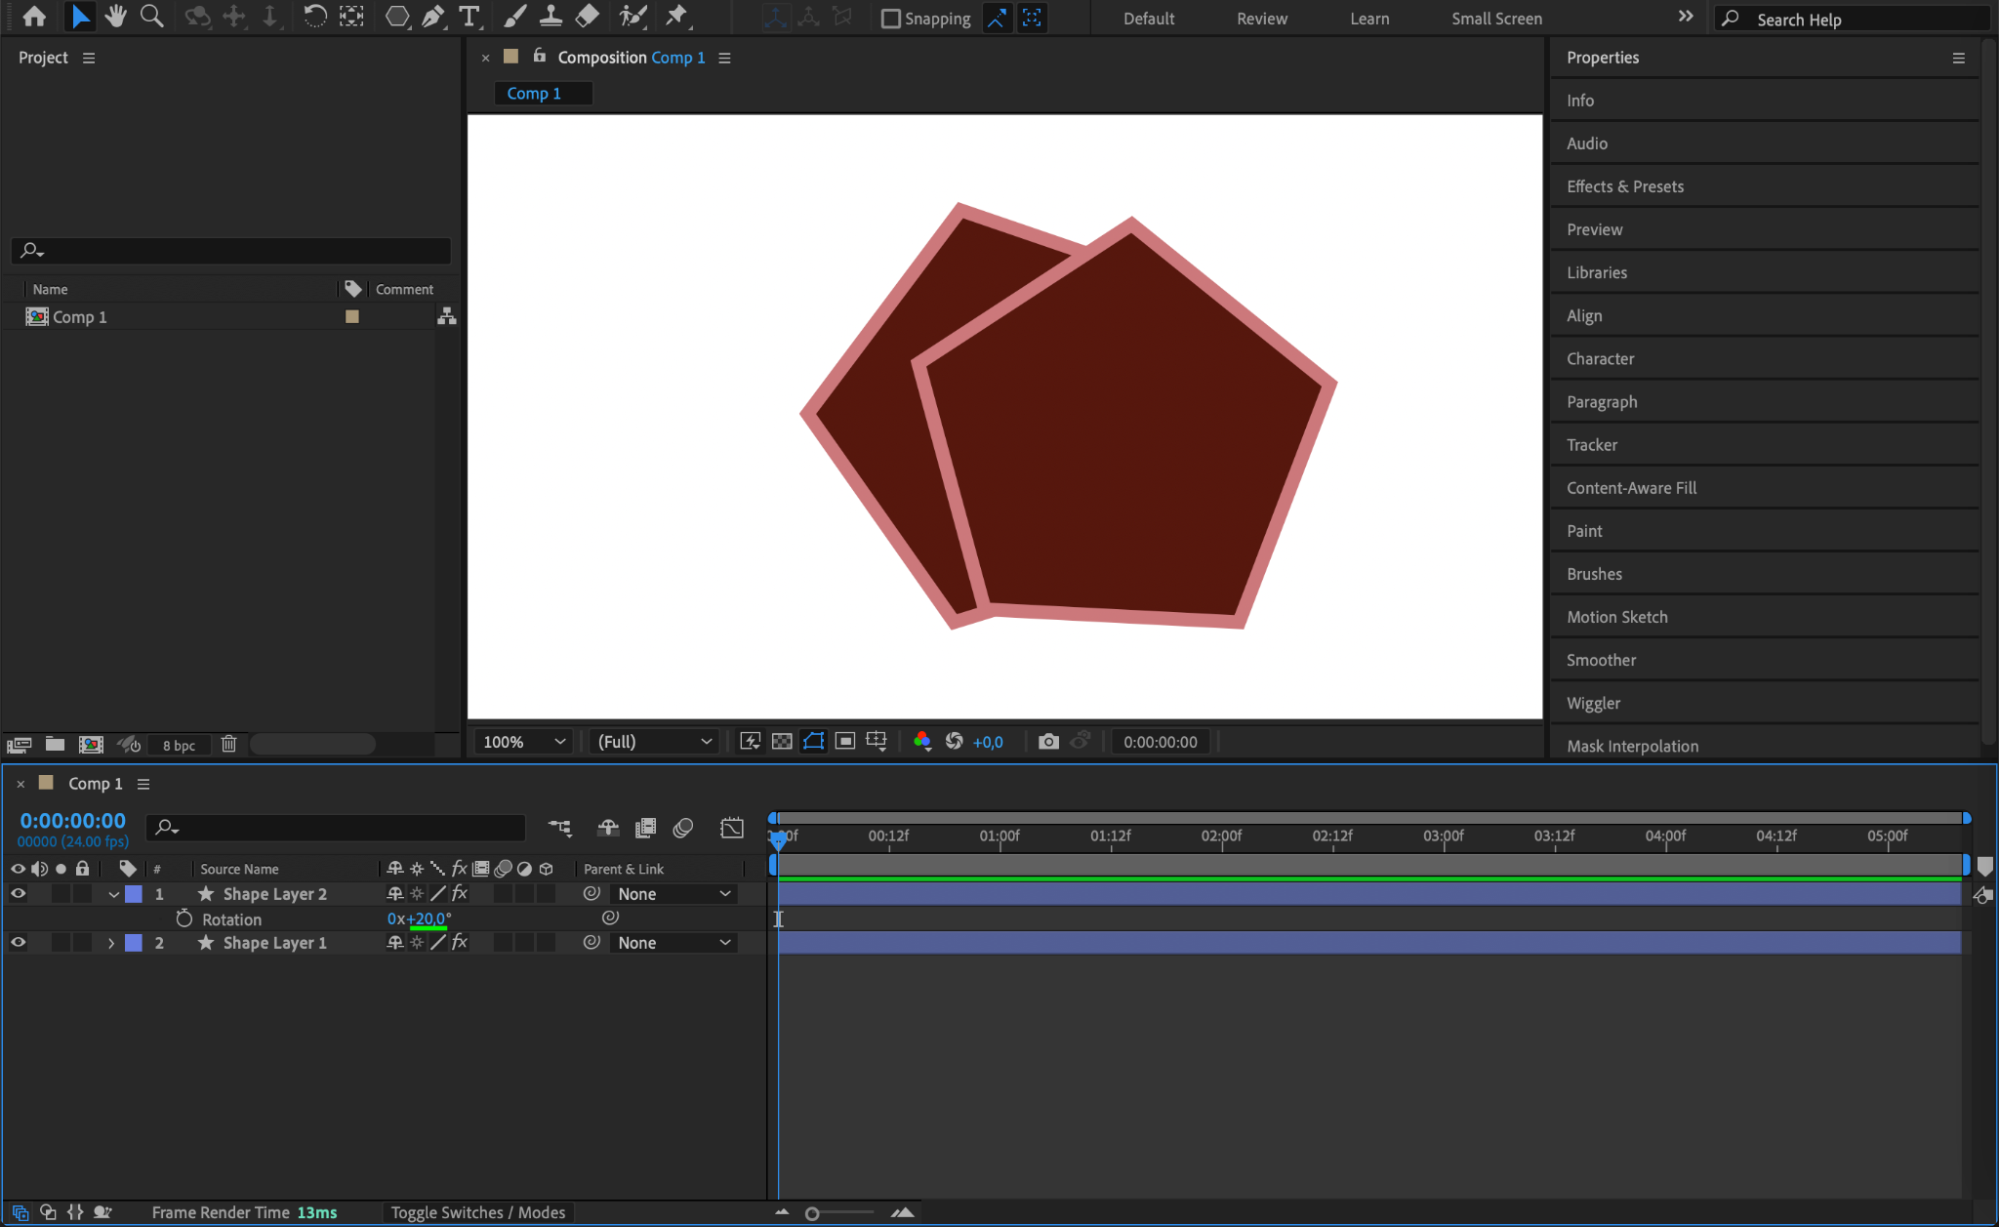
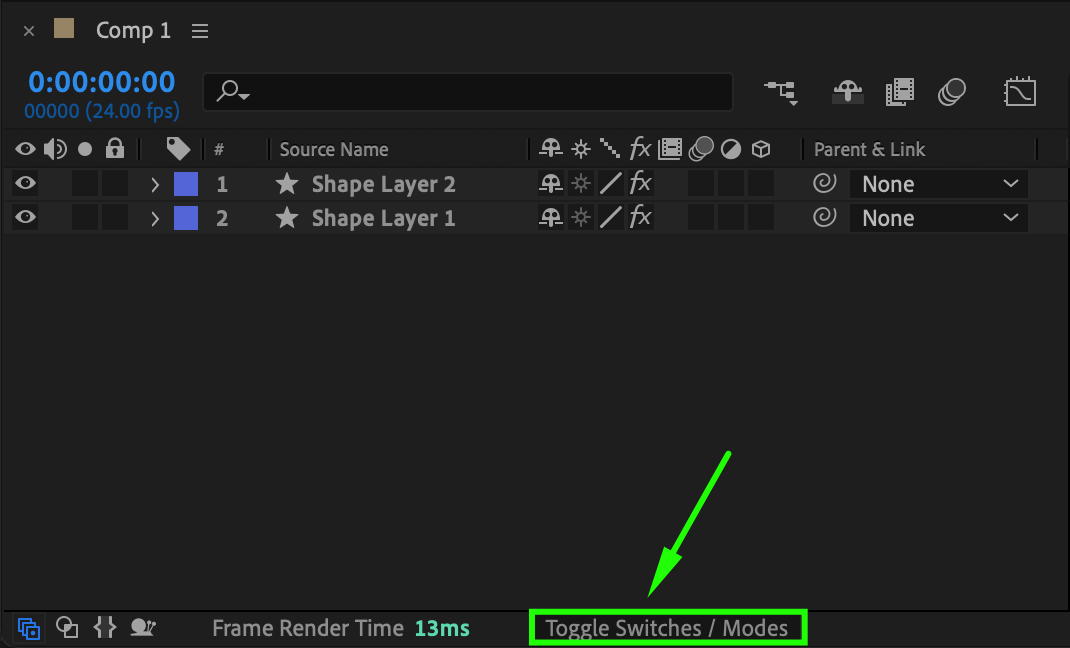
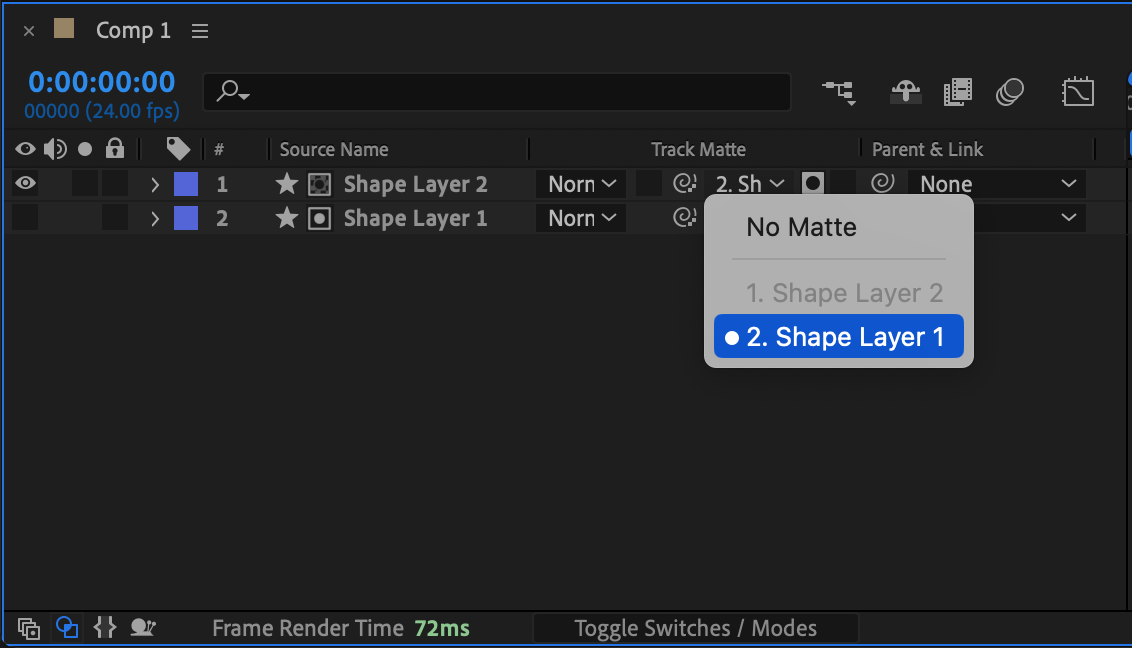
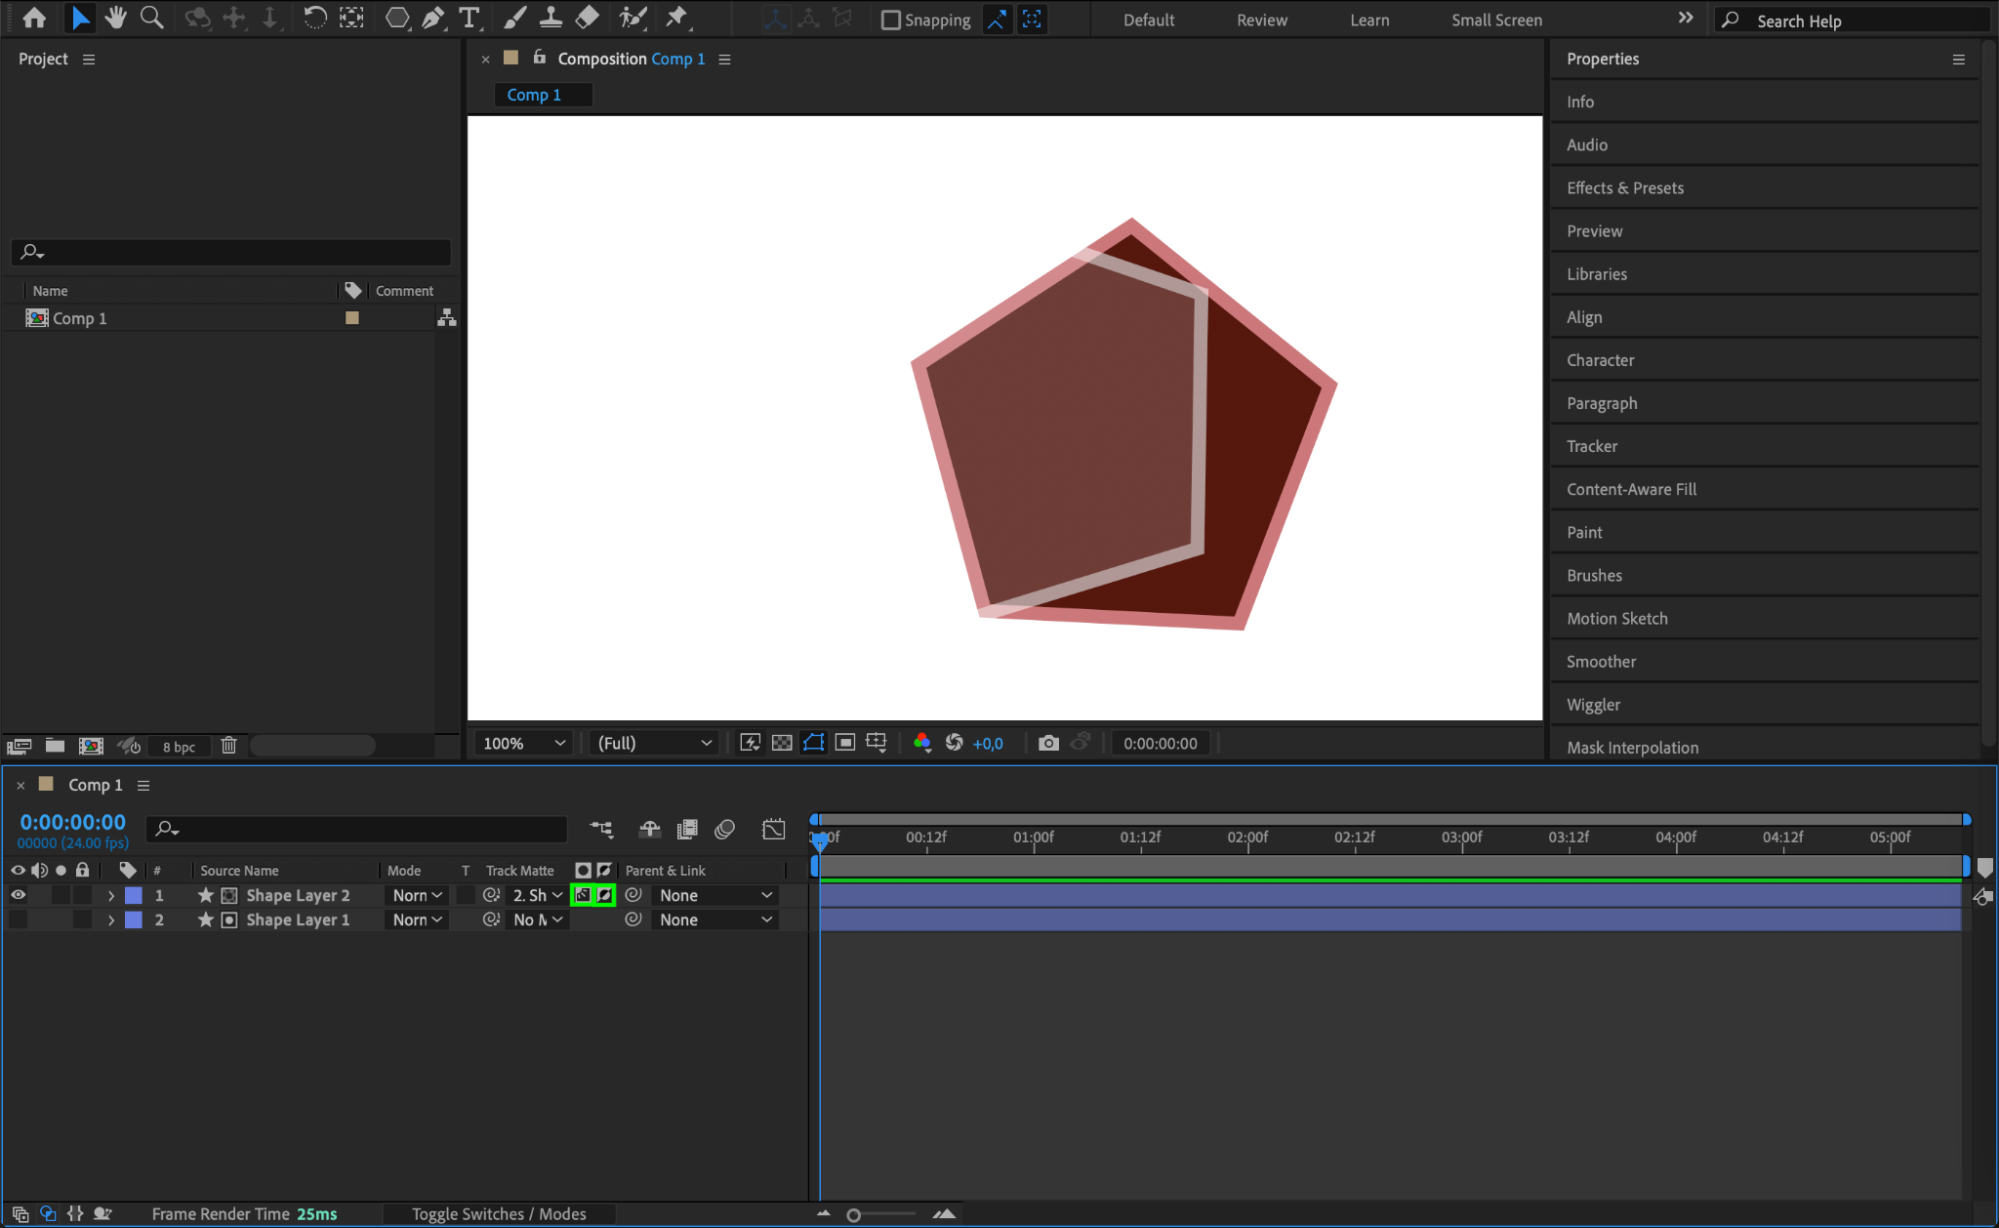
If you’d like to invert the entire shape, start by duplicating the shape layer by selecting it and pressing “Ctrl/Cmd + D”. Adjust the position, rotation, or scale of the duplicated shape to create the desired effect. Then, in the Track Matte column of the duplicated layer, set the Matte to the layer below by choosing Luma Matte. To fully invert the matte, check Invert Matte in the Track Matte settings. This will create an inverted effect across the entire shape layer, using the underlying layer as the basis for the matte.
 Step 6: Animate the Inversion
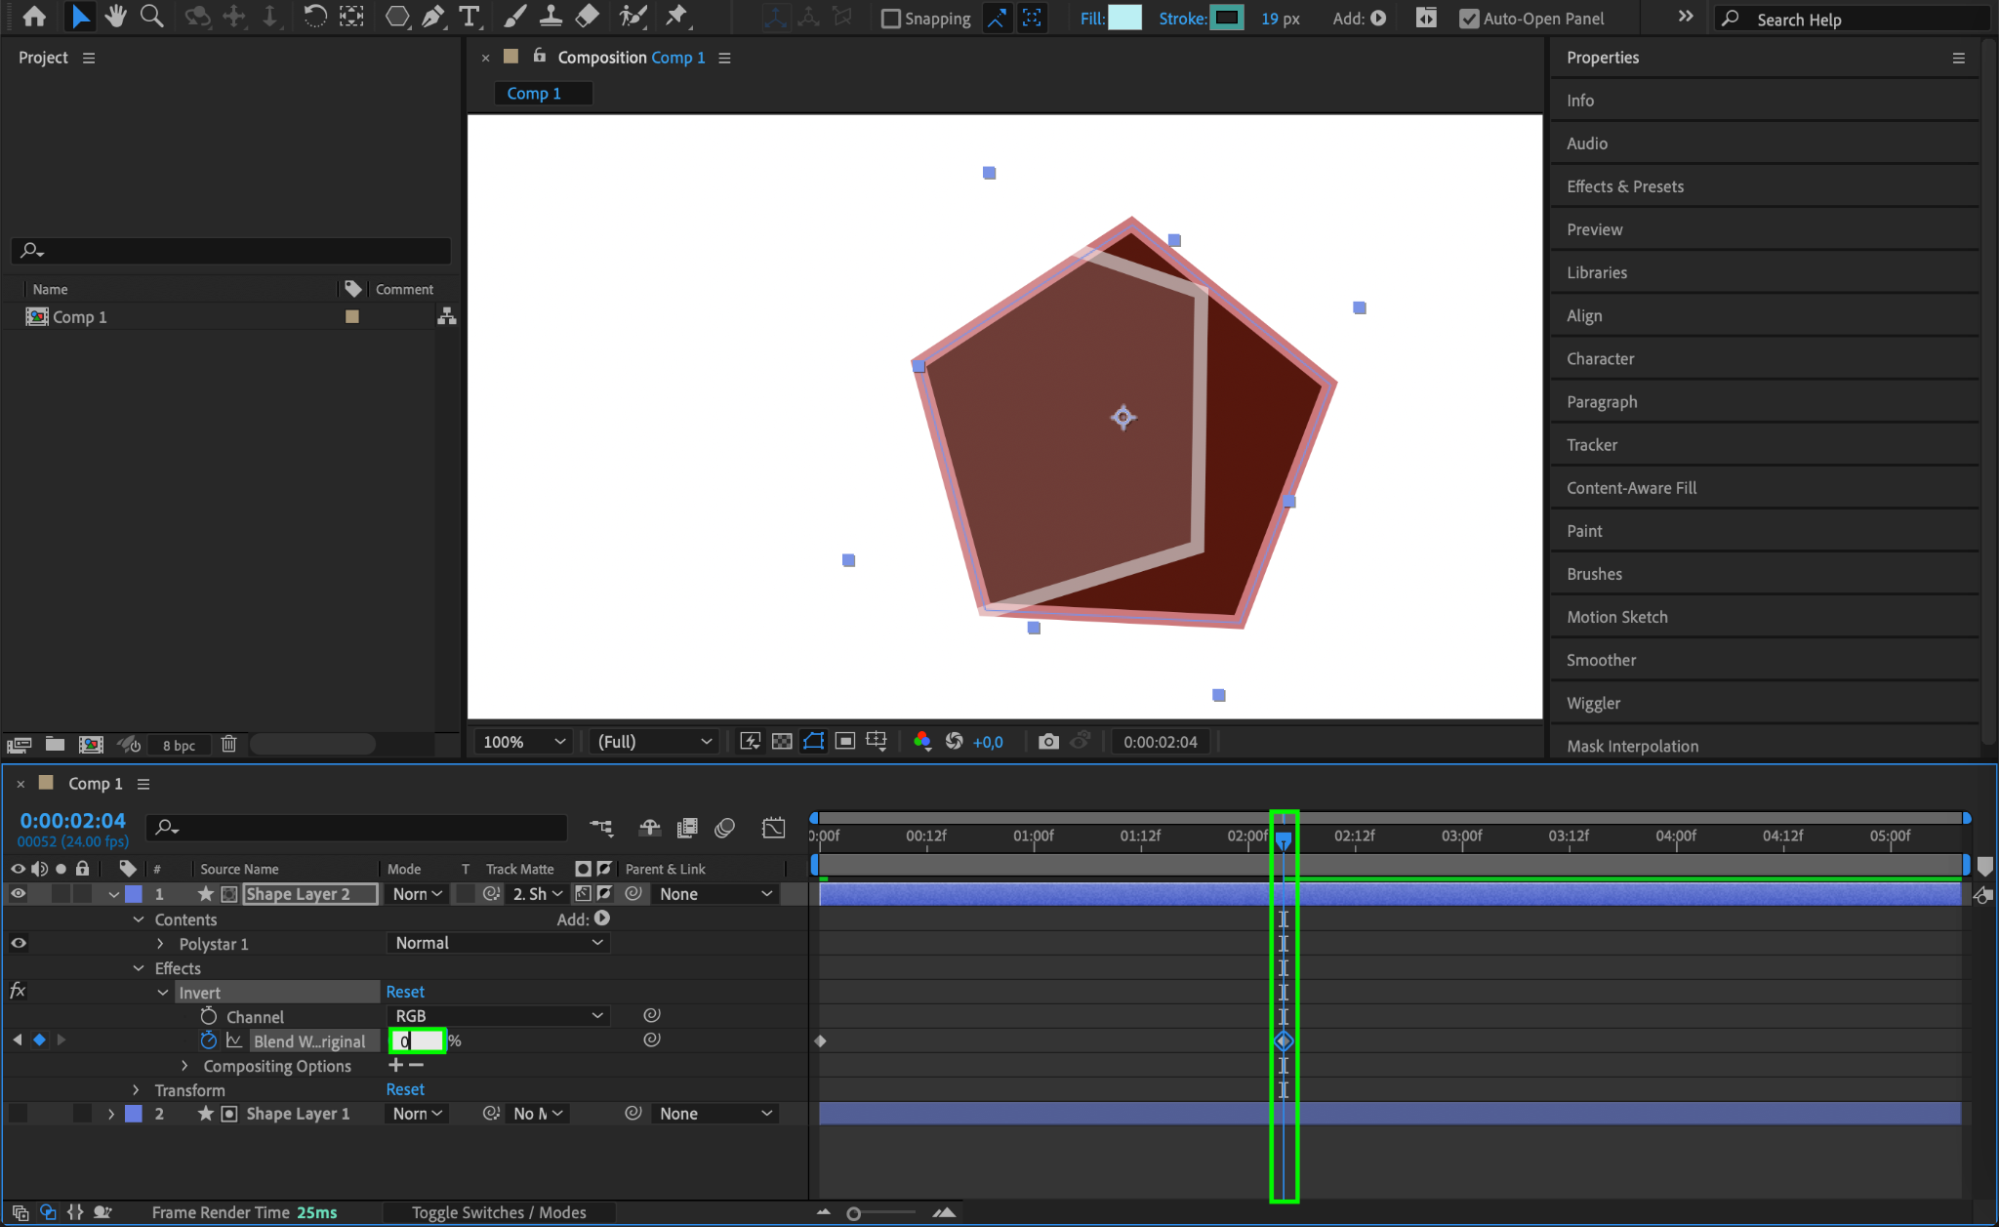
To add movement, animate the inversion by setting keyframes. For instance, animate the Mask Path in the Mask Properties to make the inverted area move across the shape. Alternatively, you can animate the Invert effect by keyframing the Blend With Original setting, blending the original and inverted colors for a smooth transition.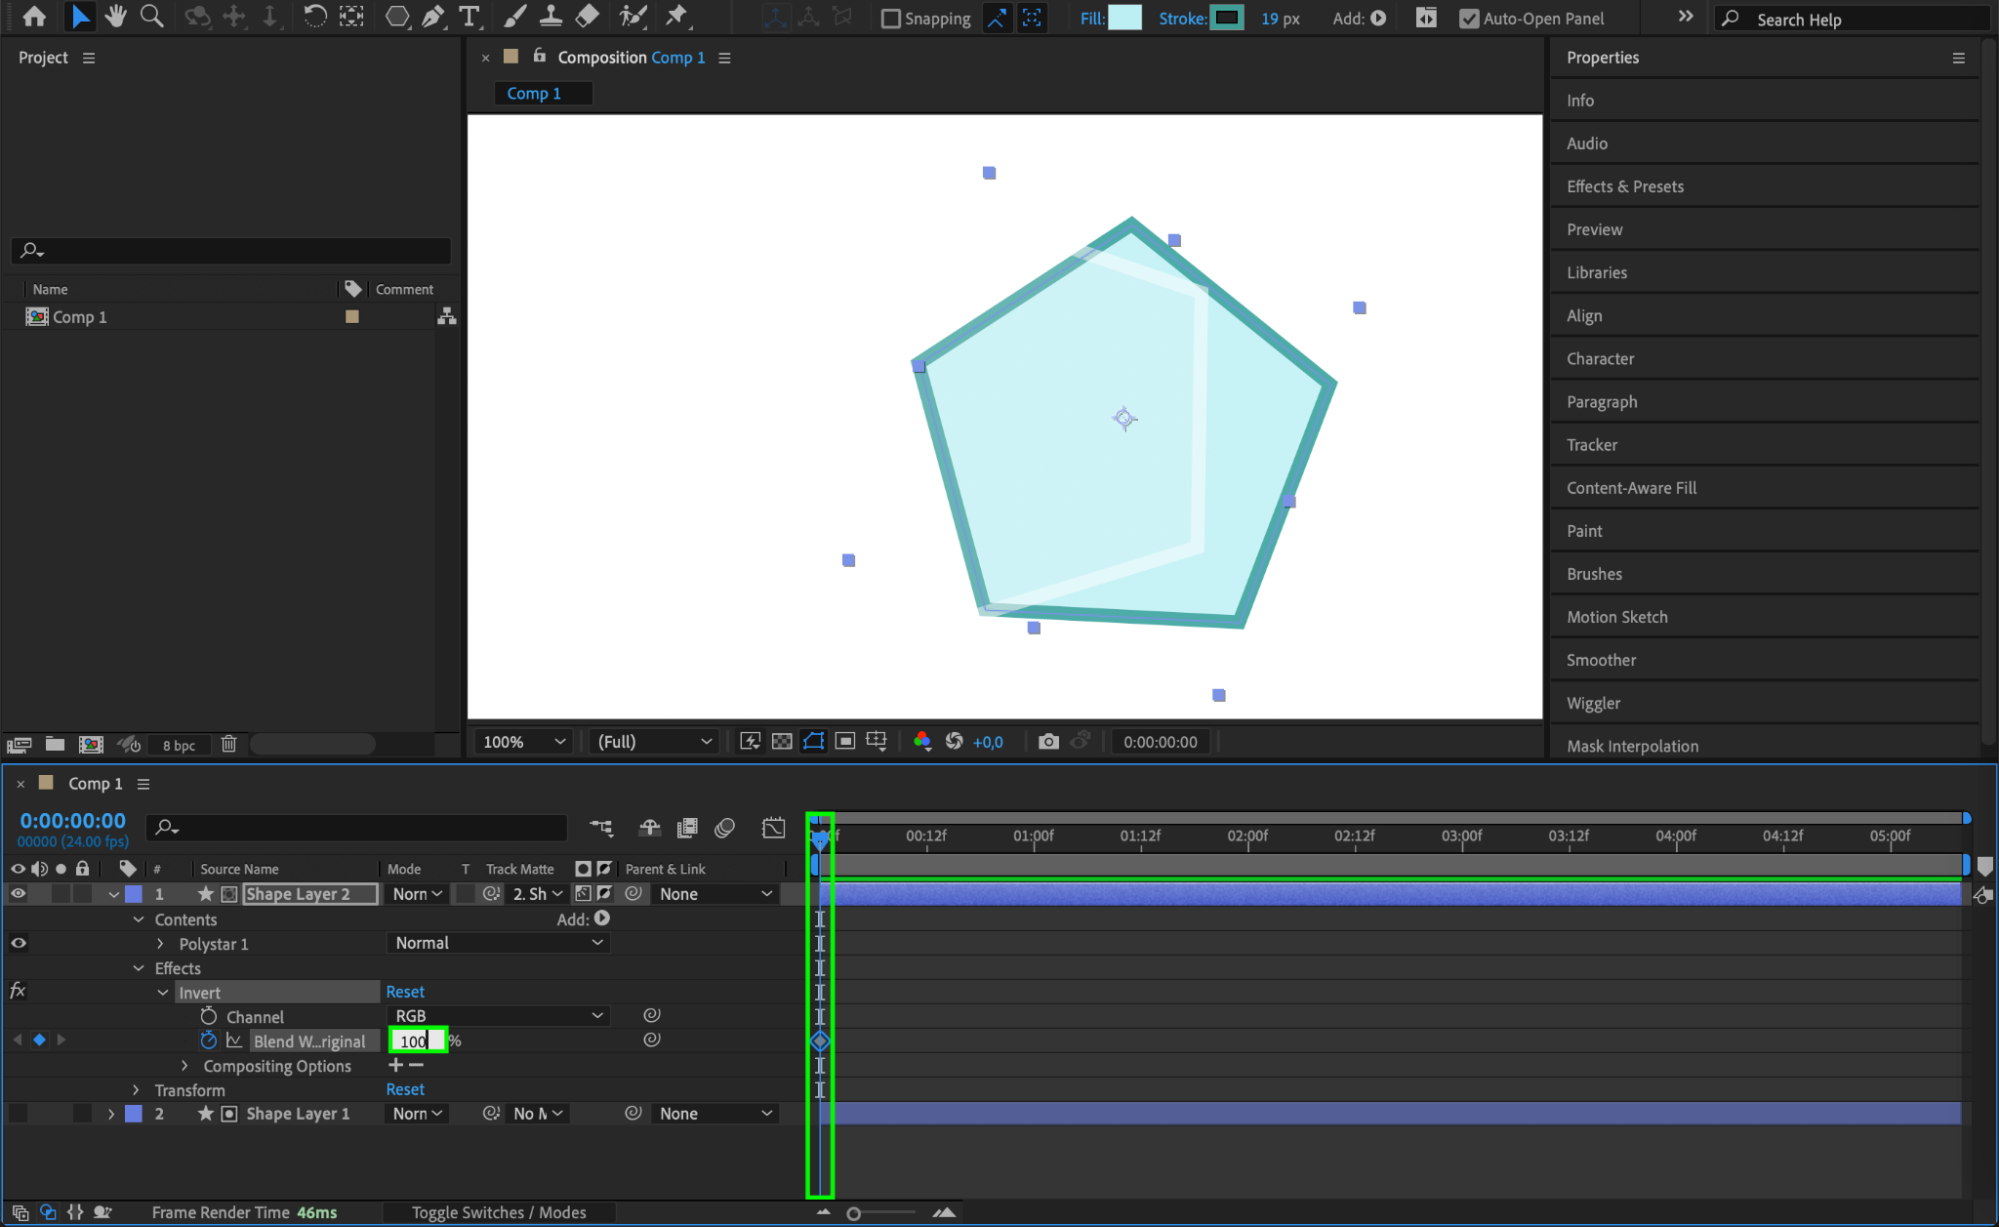
 Step 7: Preview and Adjust the Effect
Press the Spacebar to preview the inversion. Make any necessary adjustments to the mask, color inversion, or animation timing to get the exact look you want. Step 8: Render the Composition
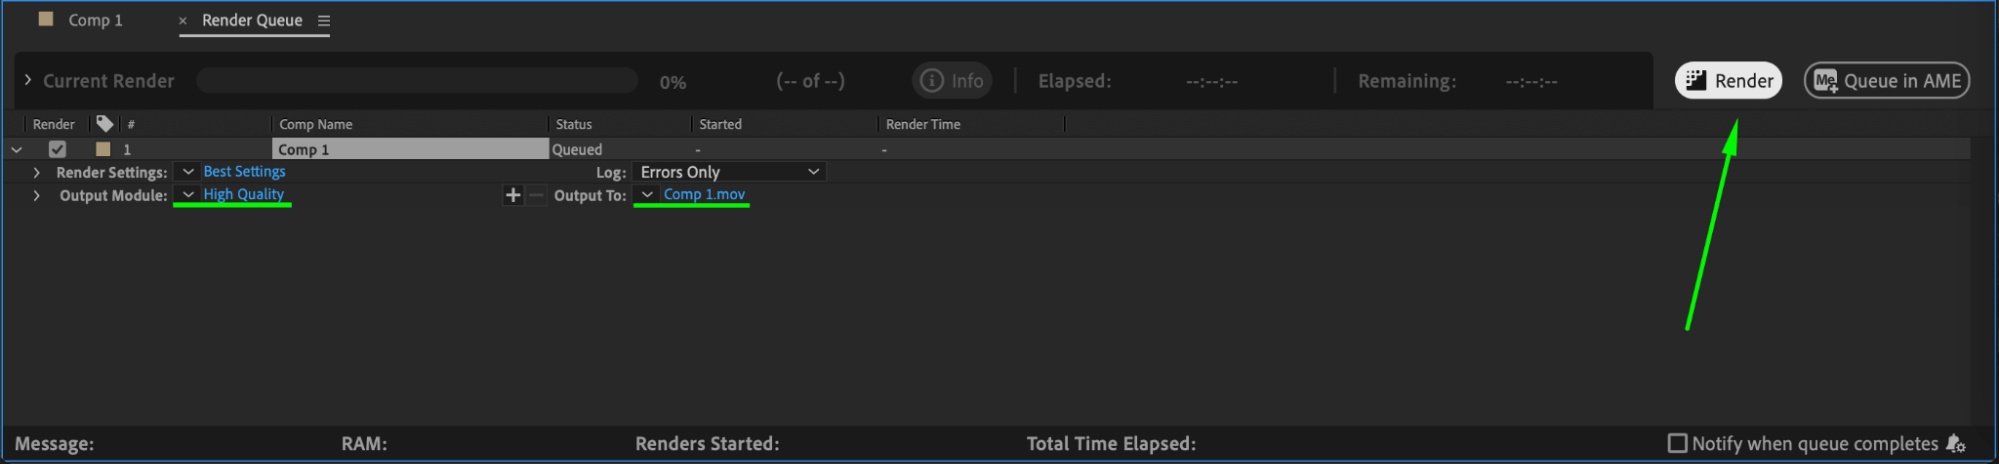
Once you’re happy with your inverted shape, render the composition by going to Composition > Add to Render Queue. Set your preferred output settings and click Render to export your inverted shape effect.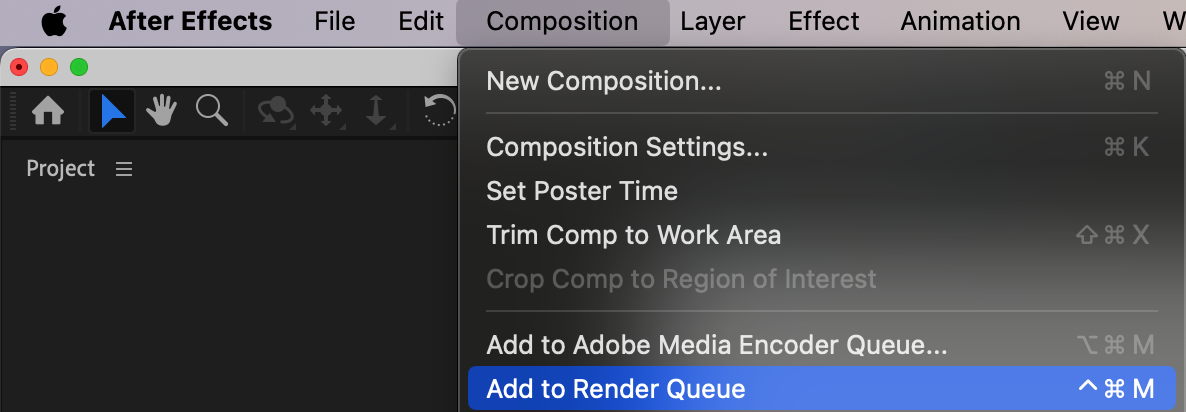
 Conclusion
Inverting shapes in After Effects can transform a simple design into a captivating visual by using color changes, masking techniques, and animated effects. Whether you’re aiming for a striking color contrast or creating unique negative space, each step in this guide provides a new way to experiment with and enhance your shapes. By combining these techniques, you can add depth and movement to your designs, making them truly stand out.
Our Bestsellers


