Mastering Color Inversion in After Effects
Introduction
Inverting colors and footage in After Effects can add a unique and captivating element to your videos. By flipping the colors and tones, you can completely change the mood and atmosphere of your footage. In this step-by-step guide, we will walk you through the process of inverting in After Effects.
Step 1: Import Your Footage
Get 10% off when you subscribe to our newsletter

First, start by importing the footage you want to invert. You can do this by going to File > Import > File or simply dragging and dropping the footage into the project panel.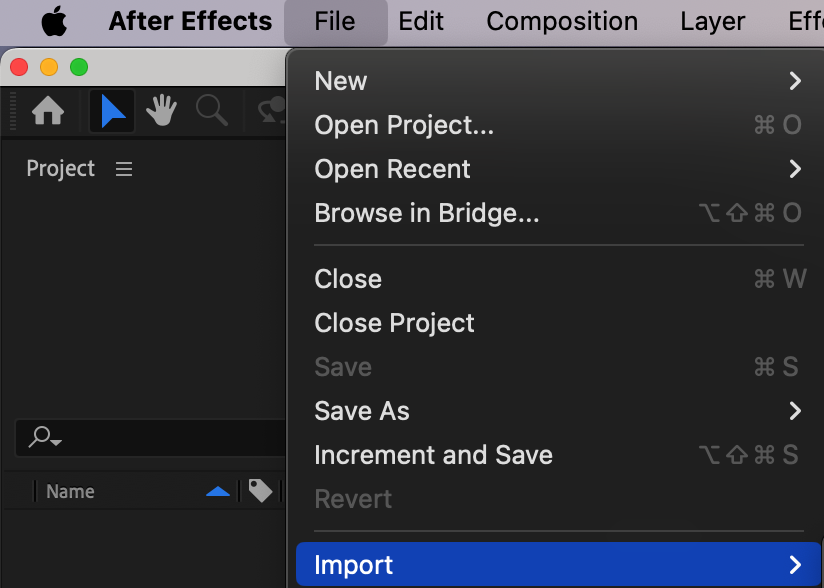 Step 2: Create a New Composition
Next, create a new composition by going to Composition > New Composition. Make sure the dimensions and duration of the composition match your footage settings. This will serve as the canvas for your inverted effect.
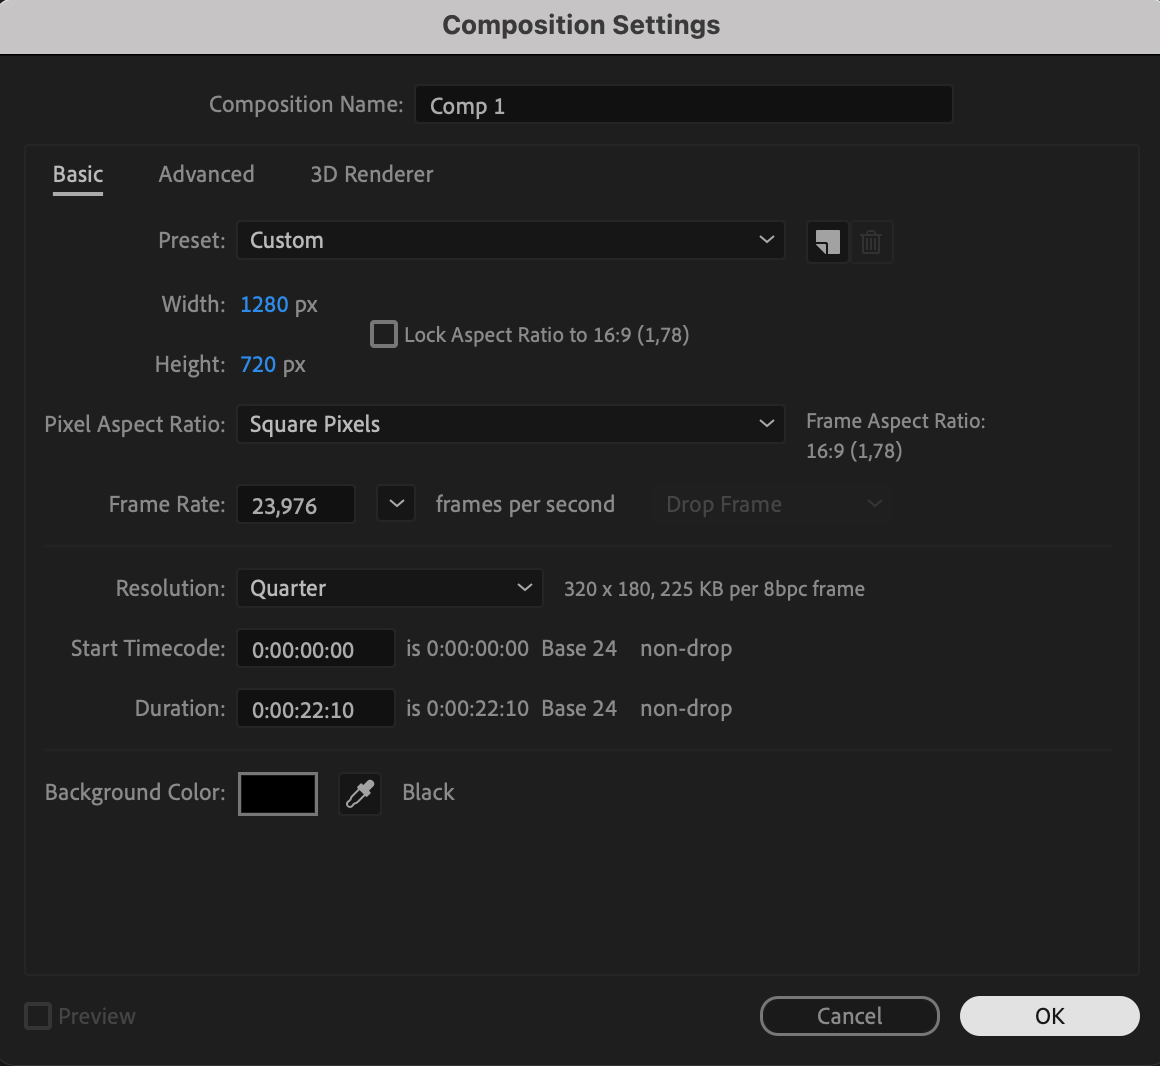 Step 3: Add Footage to the Timeline
After creating your composition, drag and drop the imported footage from the project panel to the timeline panel. This step allows you to start editing your footage directly within the composition.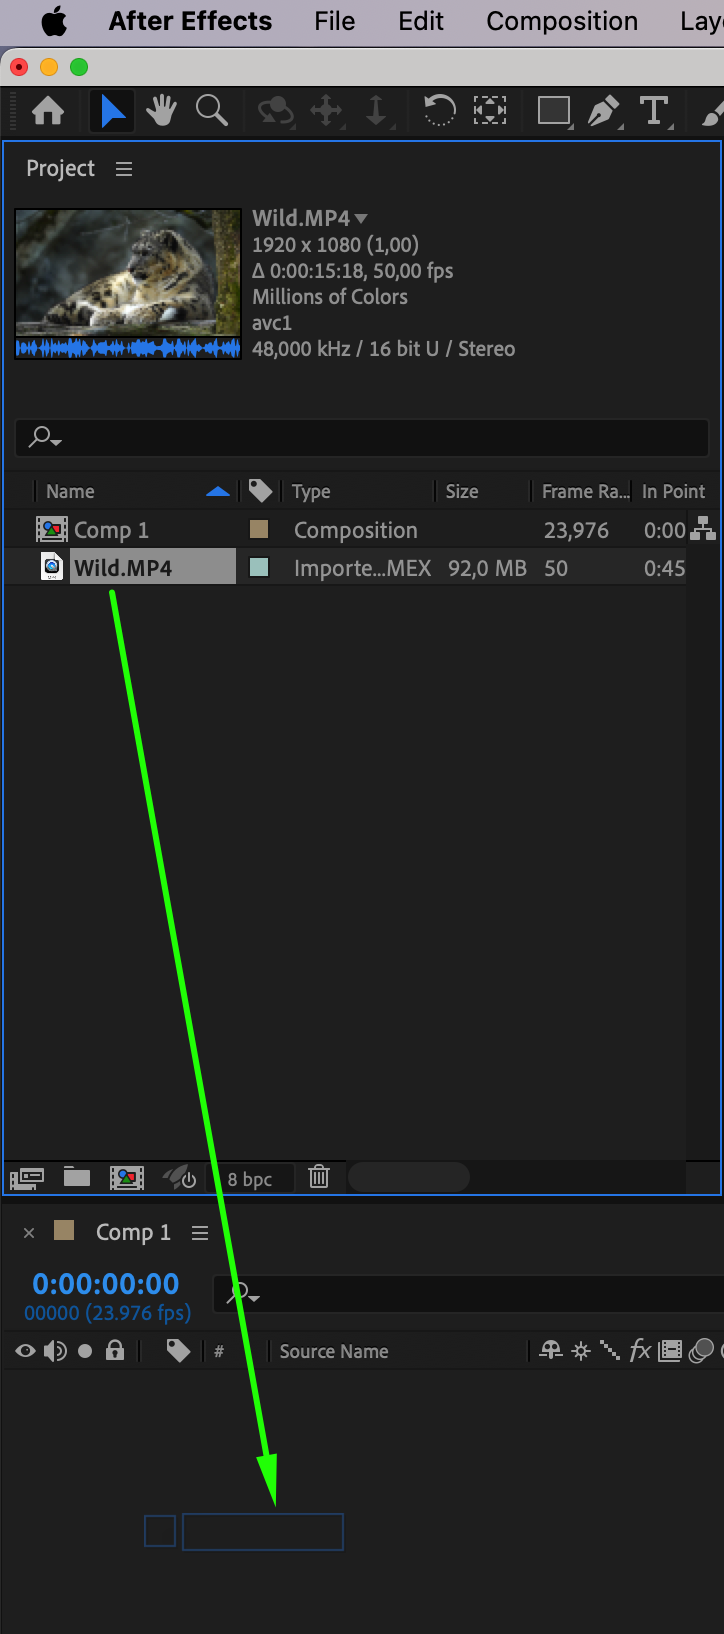 Step 4: Apply the Invert Effect
Now, you can apply the Invert effect. Search for the “Invert” effect in the Effects & Presets panel. Drag and drop the effect onto your footage layer in the timeline. Instantly, your footage will be inverted, with colors and tones reversed.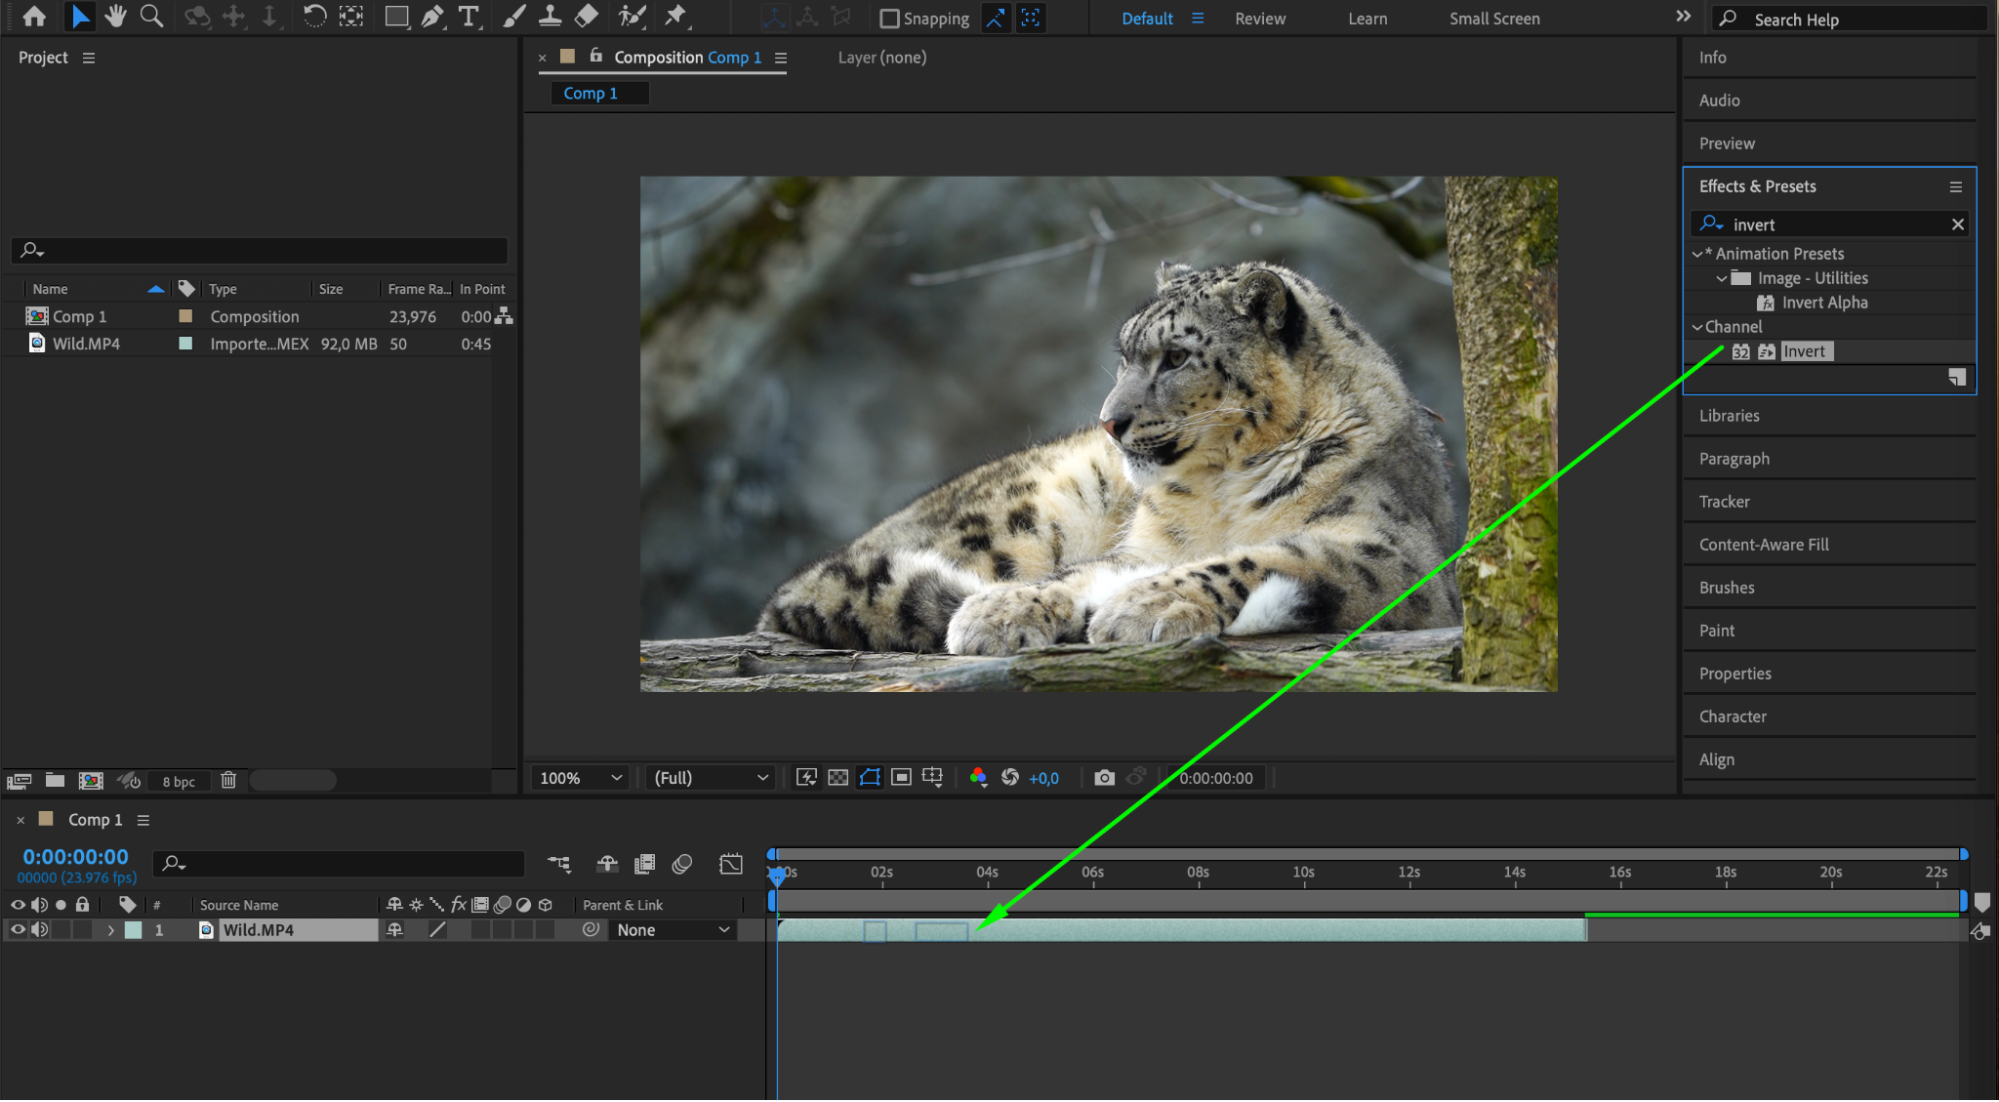 Step 5: Adjust Invert Effect Settings
To further enhance your inverted effect, you can adjust the settings of the Invert effect. Select the inverted layer in the timeline and in the Effect Controls panel, you will find a list of parameters that you can modify. Play around with the channel and blend with original parameters to create the desired look for your project.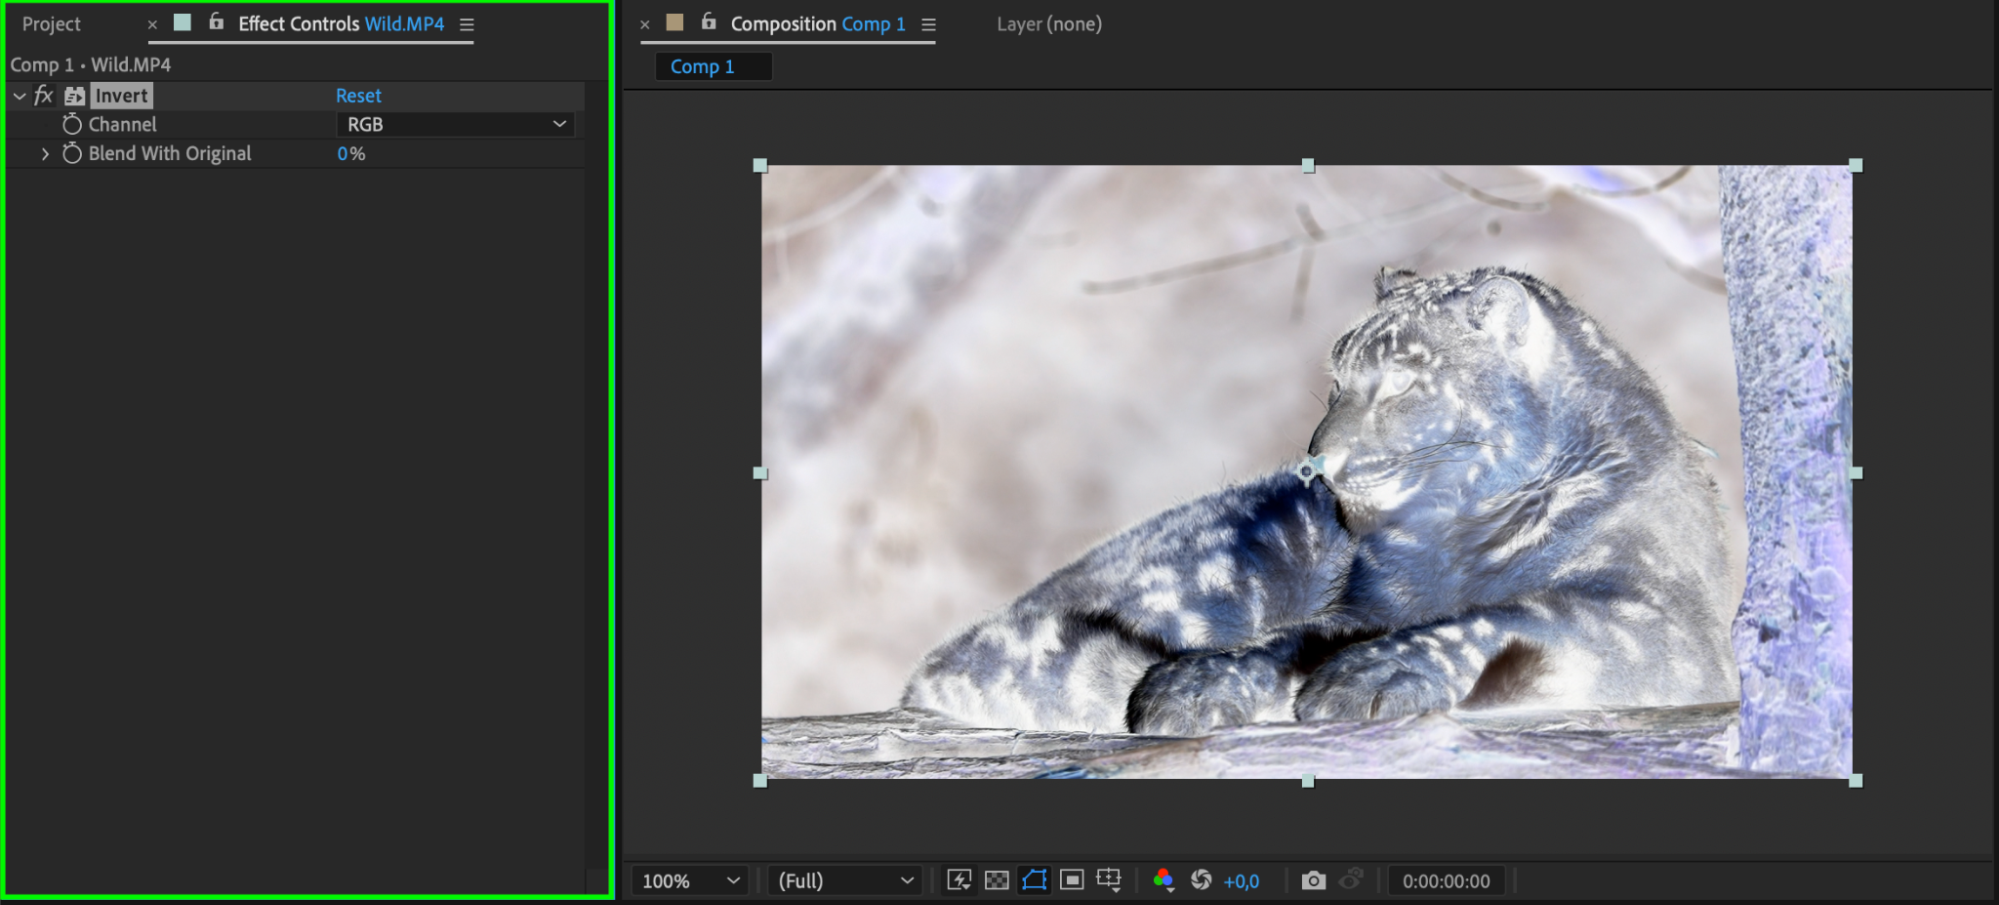 Step 6: Experiment with Blending Modes and Opacity
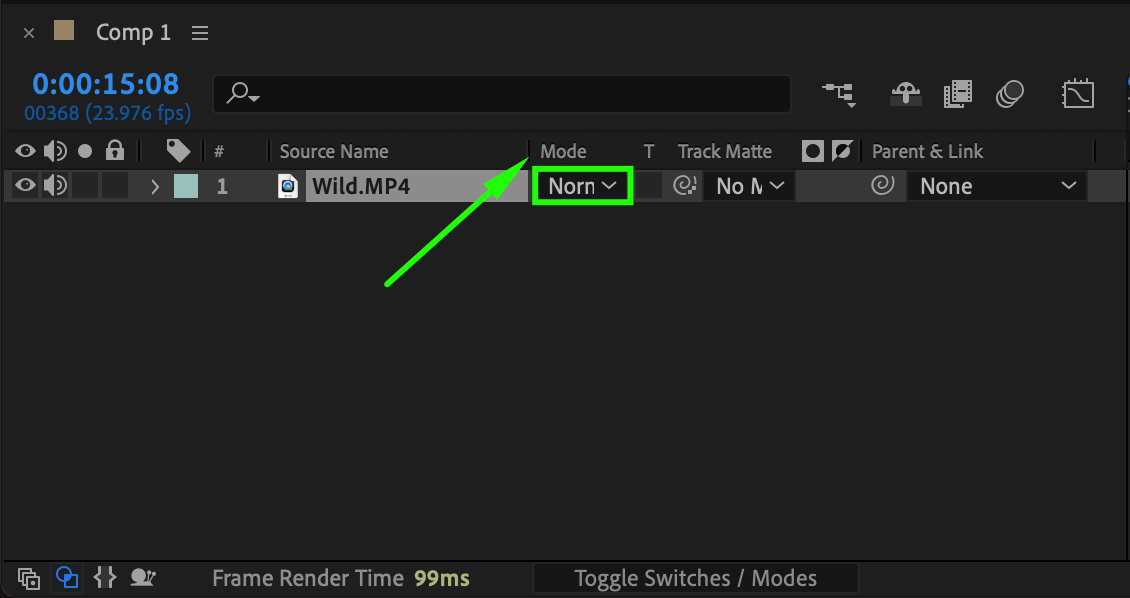
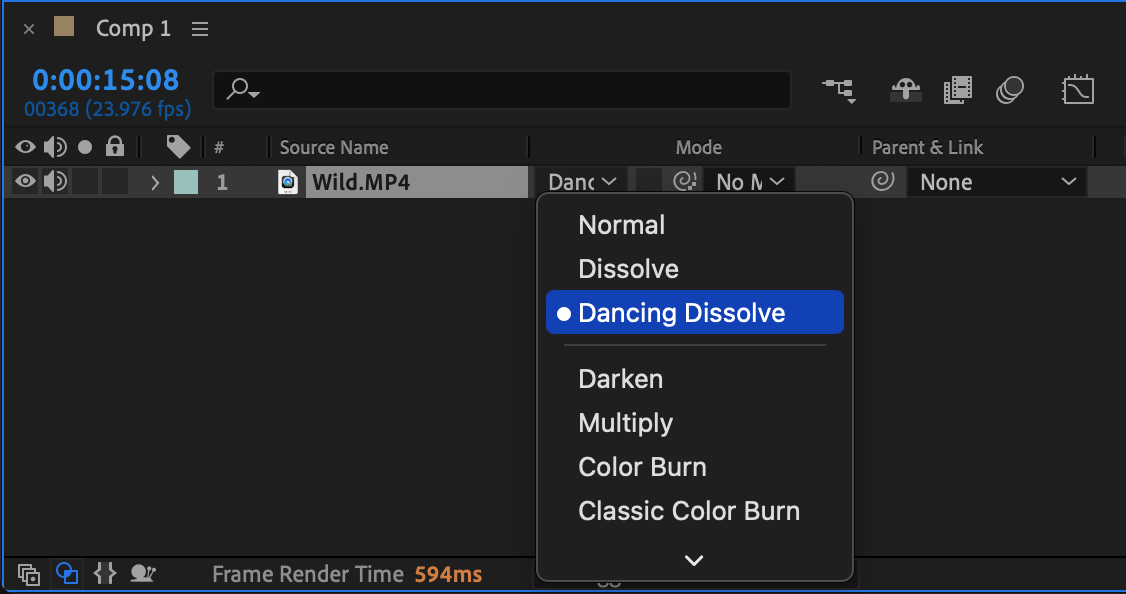
In addition to the Invert effect, you can experiment with blending modes and opacity. By changing the blending mode of your inverted layer, you can create interesting combinations with other layers in your composition. Adjust the opacity to achieve the desired visual impact.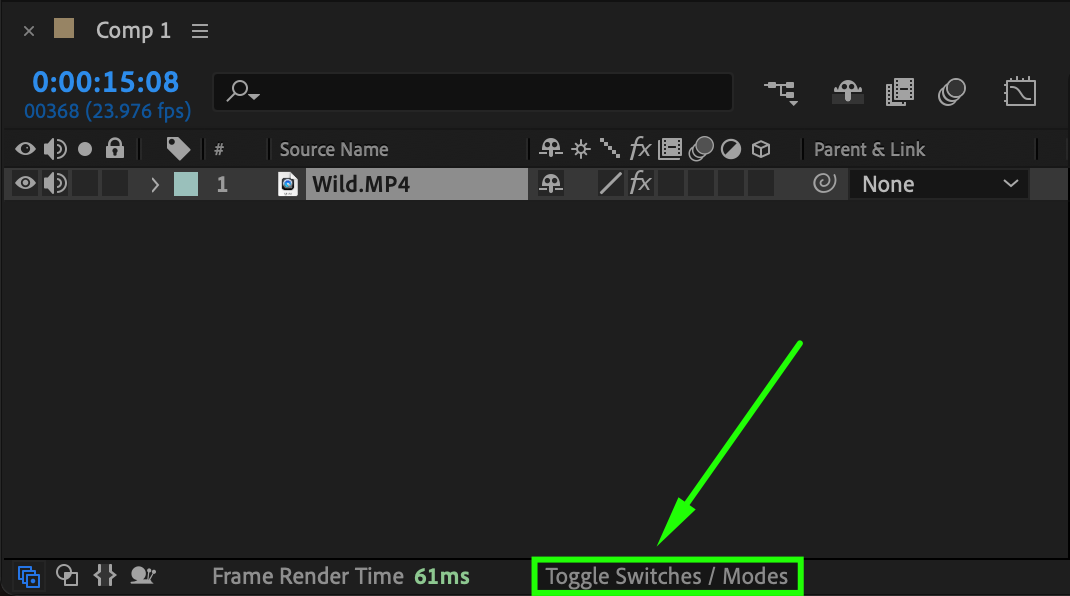
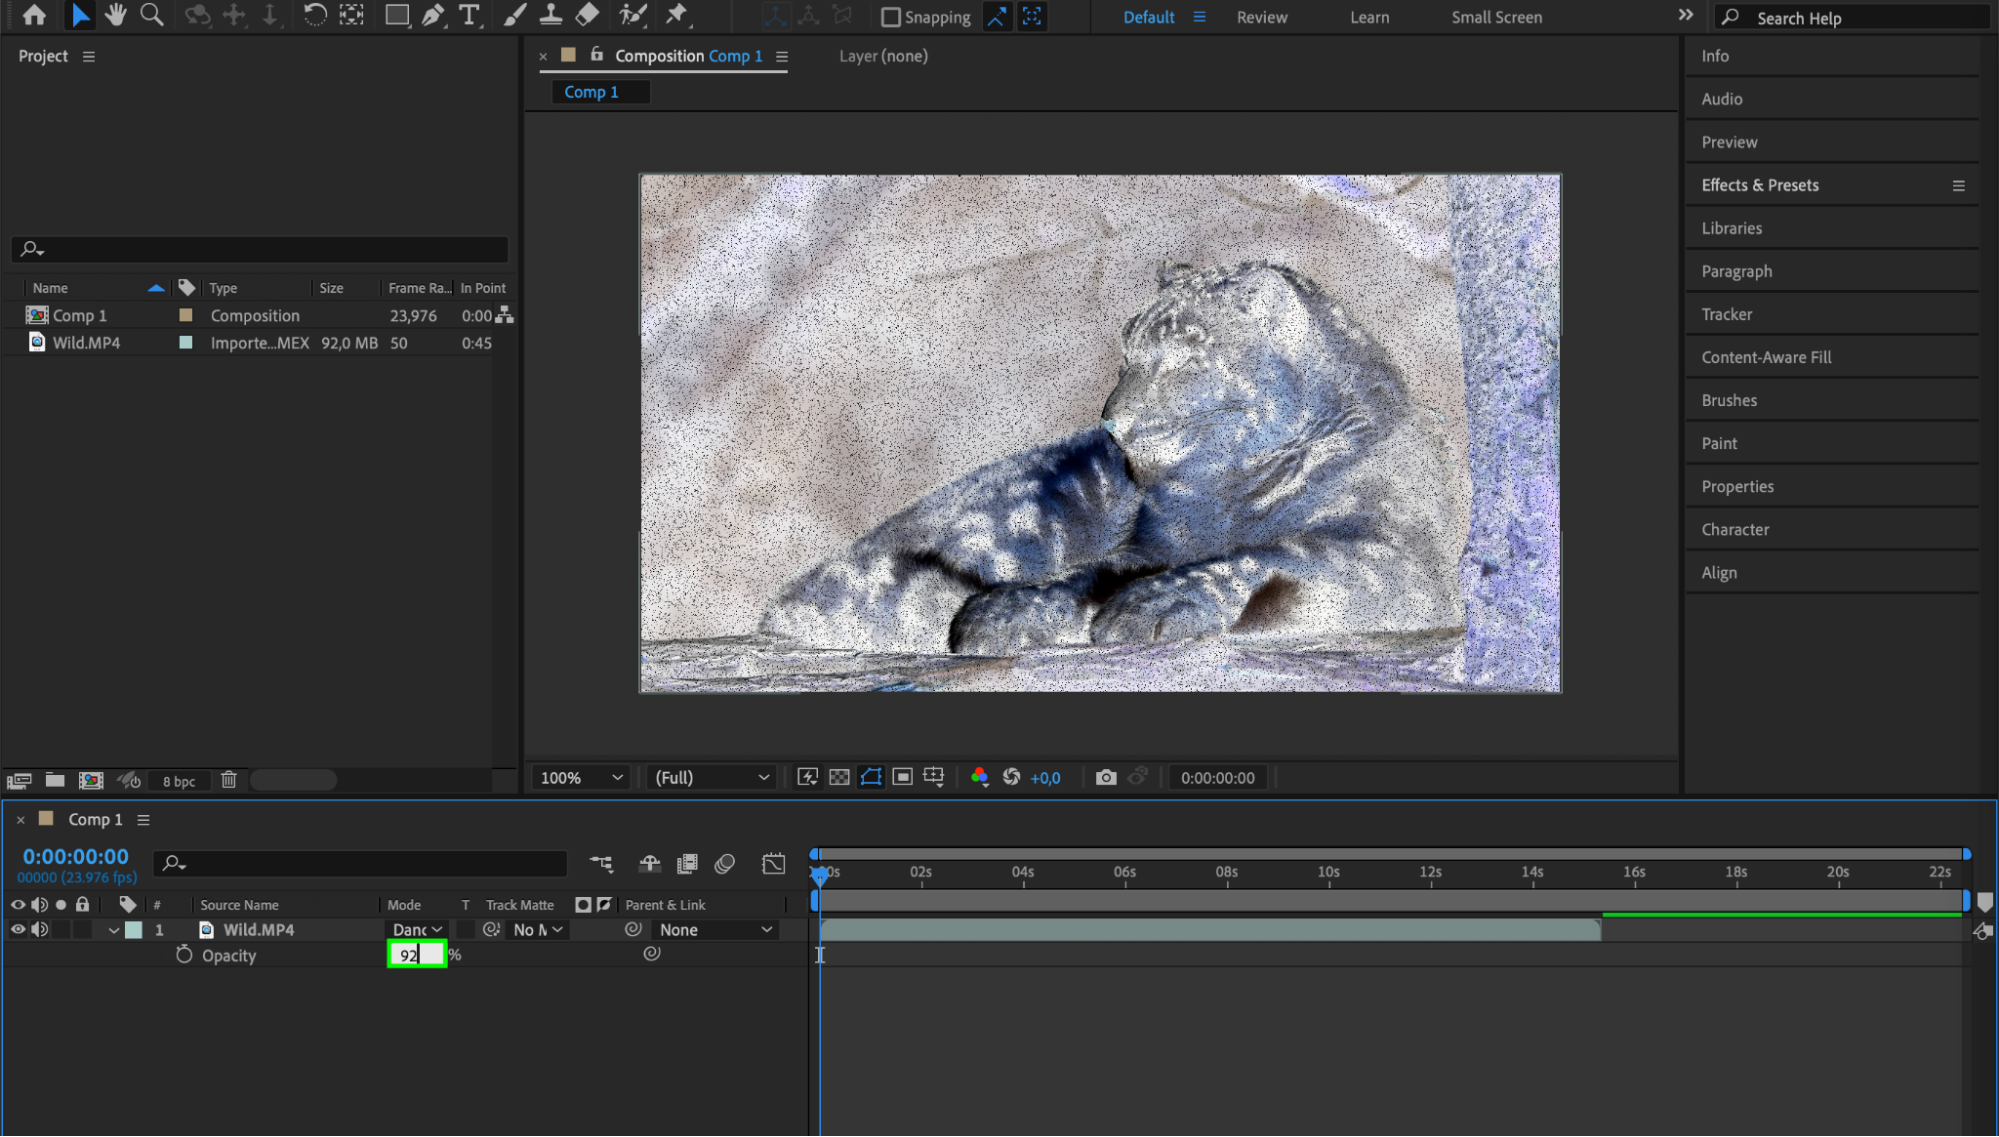 Step 7: Add Additional Effects and Transitions
To take your inverted effect even further, you can layer additional effects and transitions on top. After Effects offers a wide range of built-in effects and presets that you can explore. From color grading to glitch effects, you can push the boundaries of creativity and create truly unique visuals.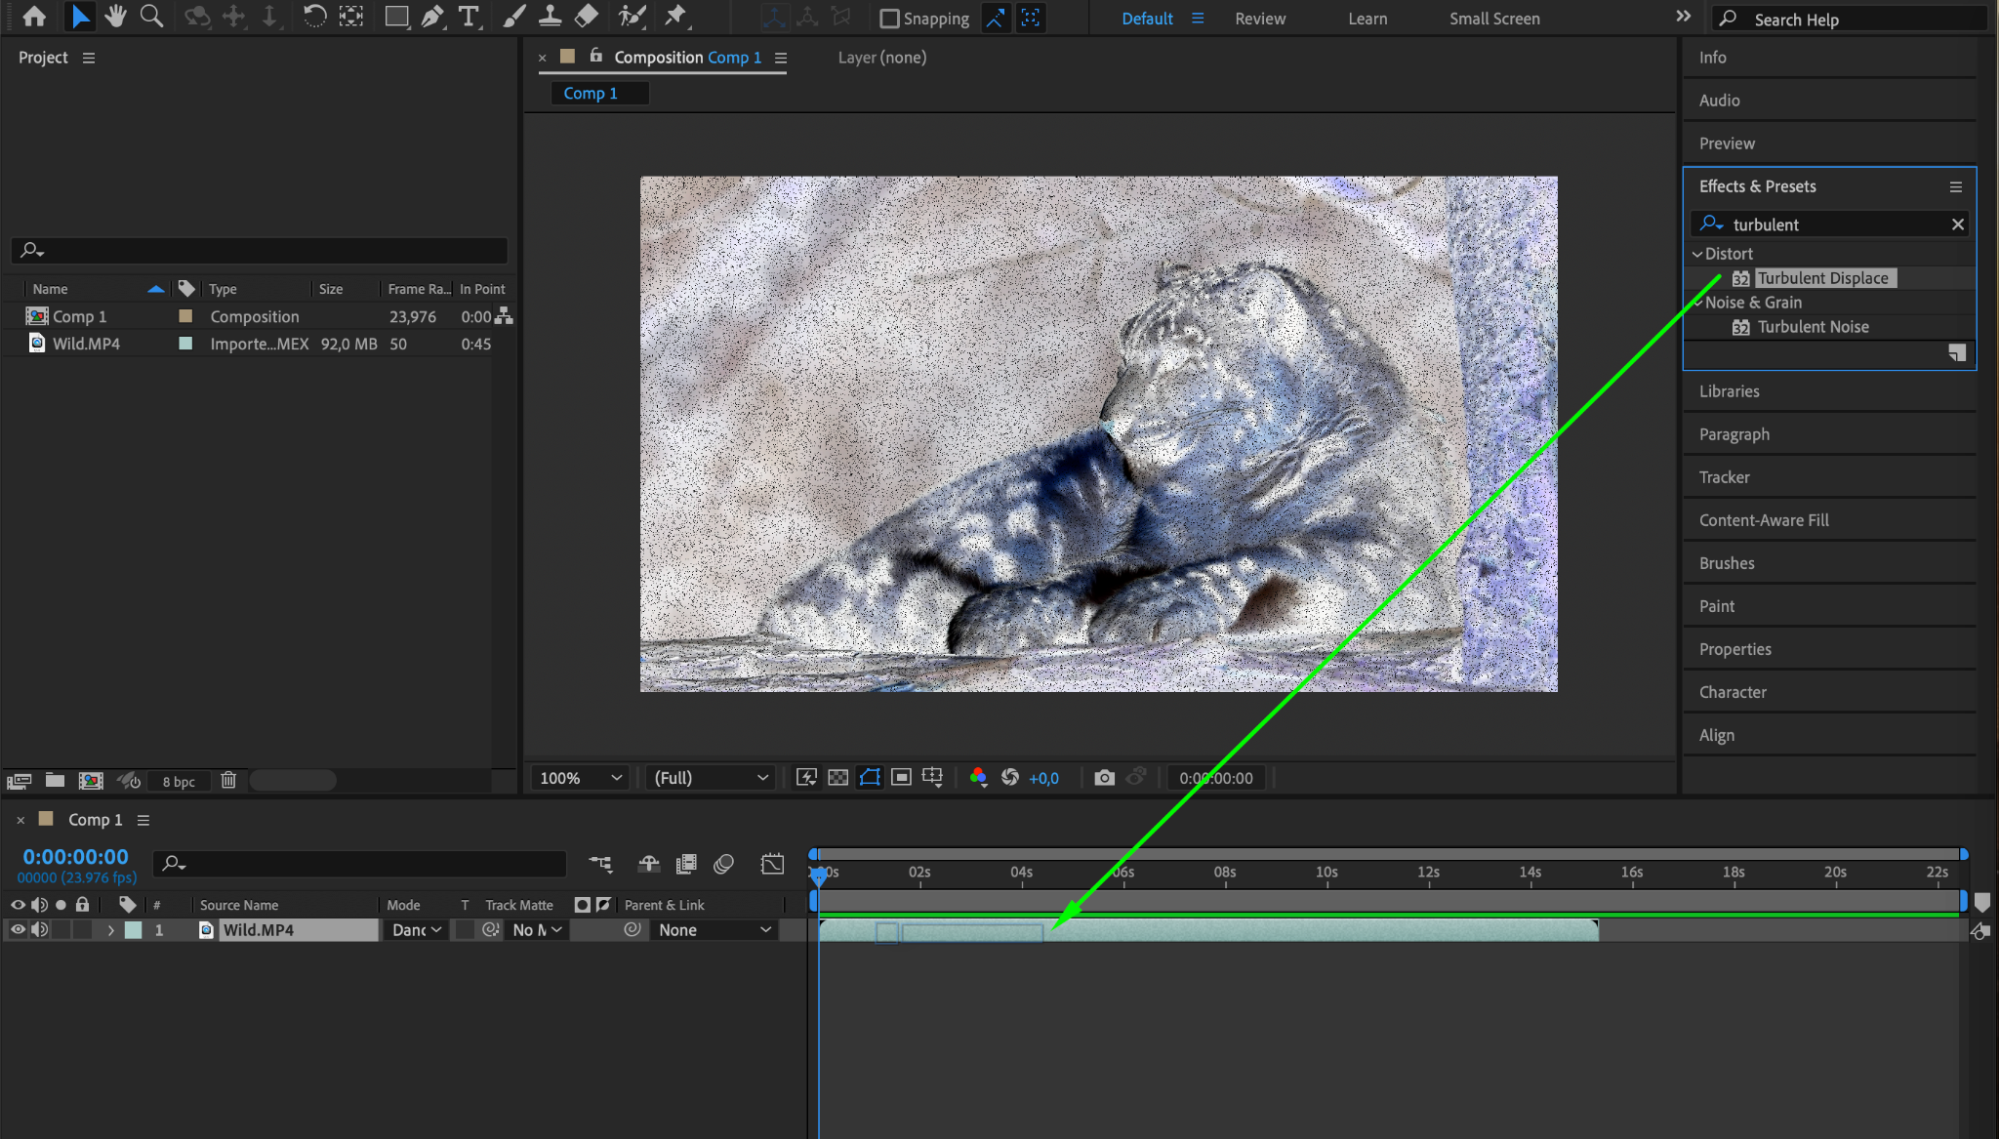
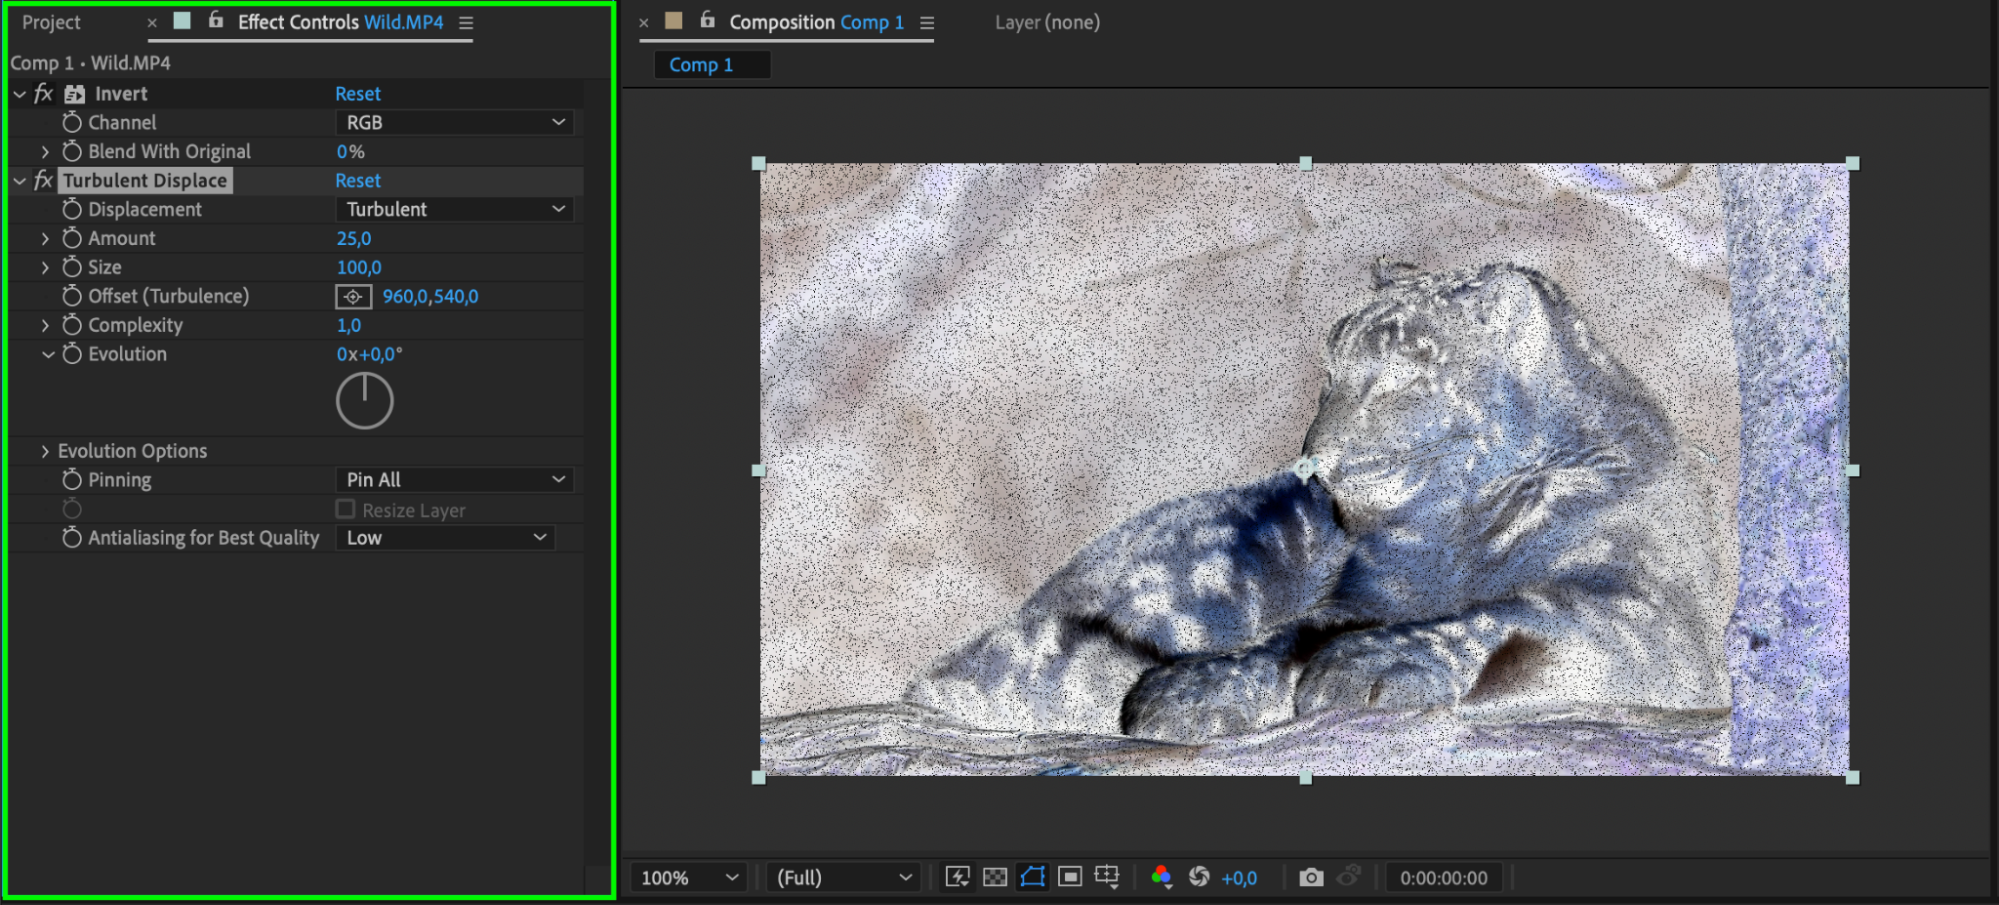 Step 8: Preview and Fine-Tune Your Composition
Once you are satisfied with your inverted effect, preview your composition by pressing the spacebar. Make any necessary adjustments to ensure the desired result. This step allows you to see how the inverted effect interacts with other elements in your project and make final tweaks.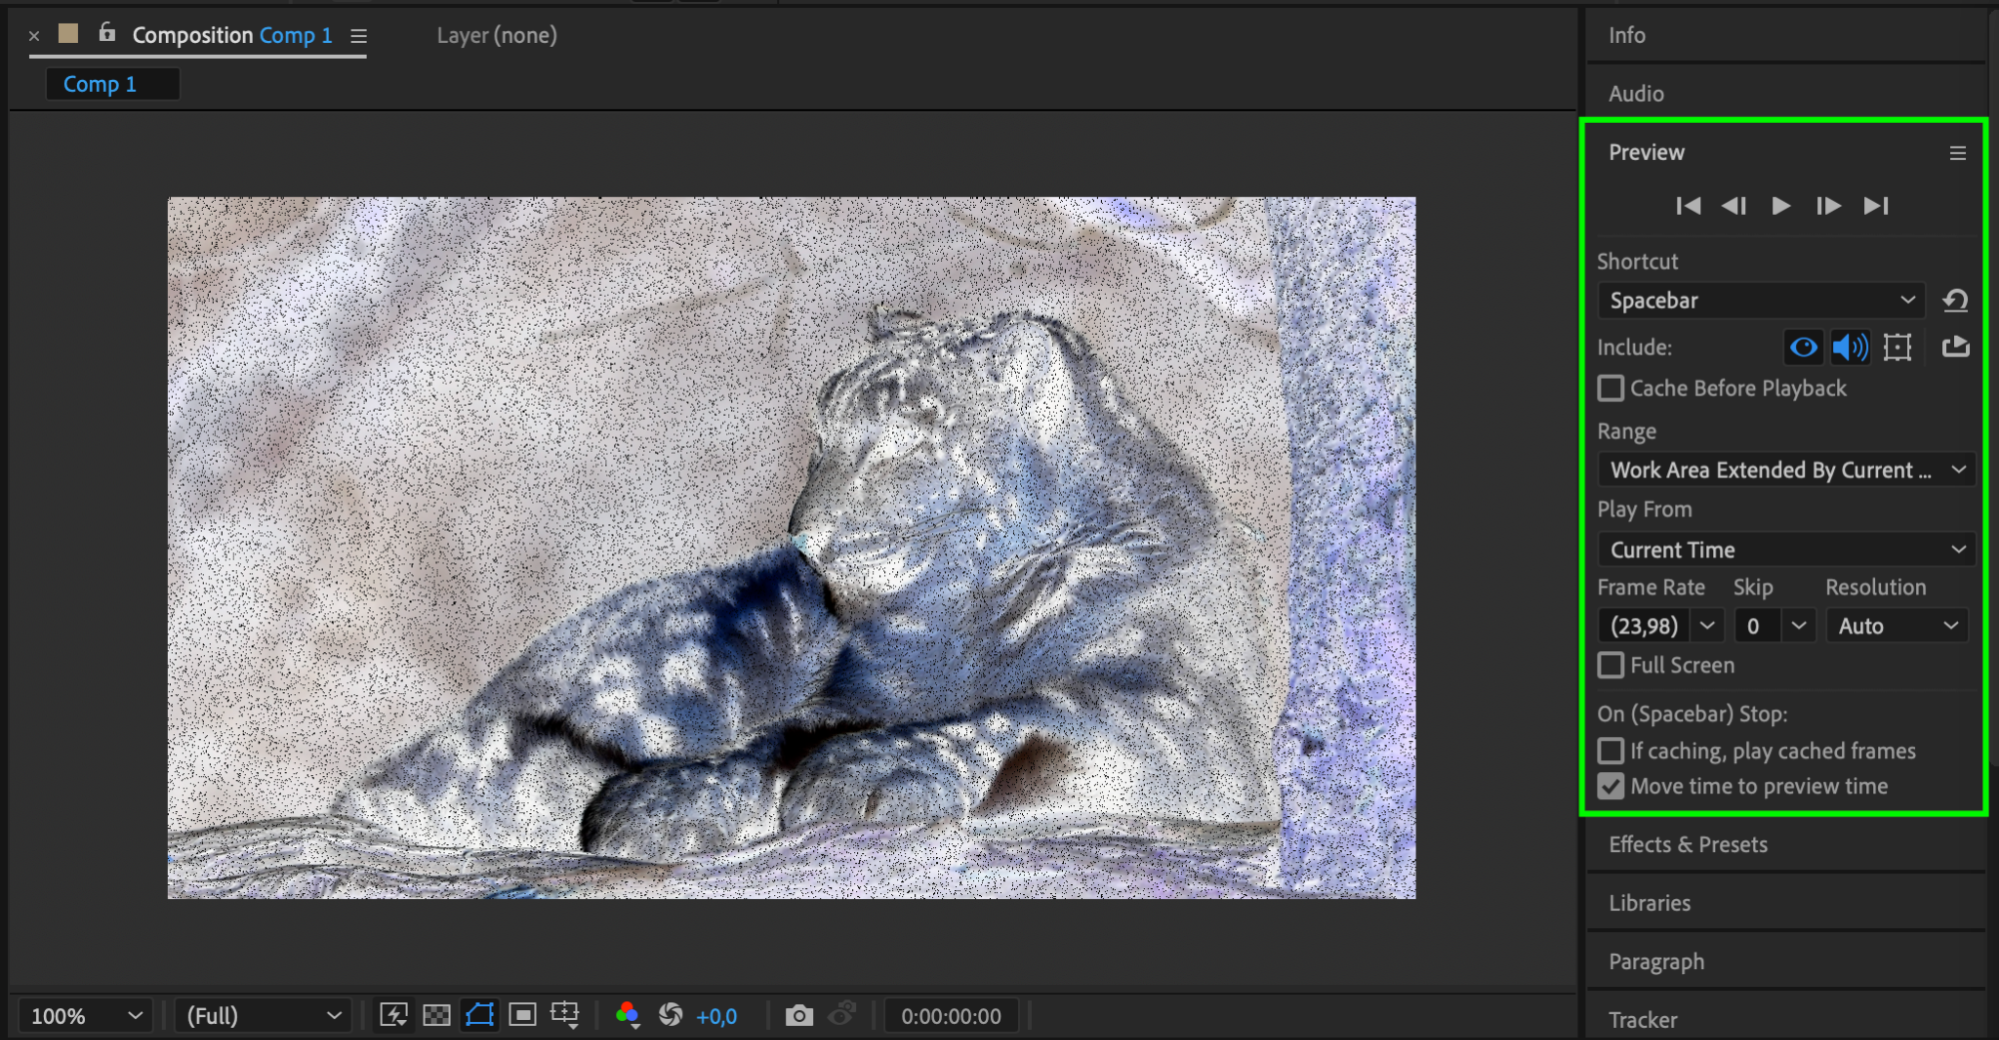 Step 9: Render and Export Your Final Video
When you’re ready, go to Composition > Add to Render Queue. Select the desired output settings, such as format and resolution, and click on the Render button to export your final video. Make sure to choose a suitable format and resolution for your intended use, ensuring the best quality for your audience.

Conclusion
Inverting in After Effects allows you to unleash your creativity and transform your videos. Whether you want to add a touch of surrealism or create an entirely new visual experience, mastering the art of inverting will give you the ability to captivate your audience. So, grab your footage, follow these steps, and let your imagination soar!


