Creating a 3D Photo Effect in After Effects
Introduction
Turning a flat photo into a 3D scene in After Effects can add depth and realism to your animations. This technique is great for dynamic slideshows, cinematic effects, and motion graphics. In this guide, you’ll learn how to separate a subject from the background, adjust depth, and animate a 3D camera for a realistic 3D photo effect.
Get 10% off when you subscribe to our newsletter

Step 1: Import Your Photo into After Effects
Open After Effects and import your photo. Drag it onto the timeline to create a new composition. Make sure the image is properly positioned and scaled for the animation. Step 2: Duplicate the Photo Layer
In the timeline, duplicate the photo layer by pressing “Ctrl/Cmd + D”. Rename the top layer according to your subject (e.g., “Subject”) and rename the bottom layer “BG” (Background) to keep the project organized. Step 3: Extract the Subject with the Roto Brush
Double-click the Subject layer to open it in the Layer Panel. Select the Roto Brush Tool (Alt/Option+W) and paint over the subject to separate it from the background. Once the selection is accurate, click Freeze to lock the mask.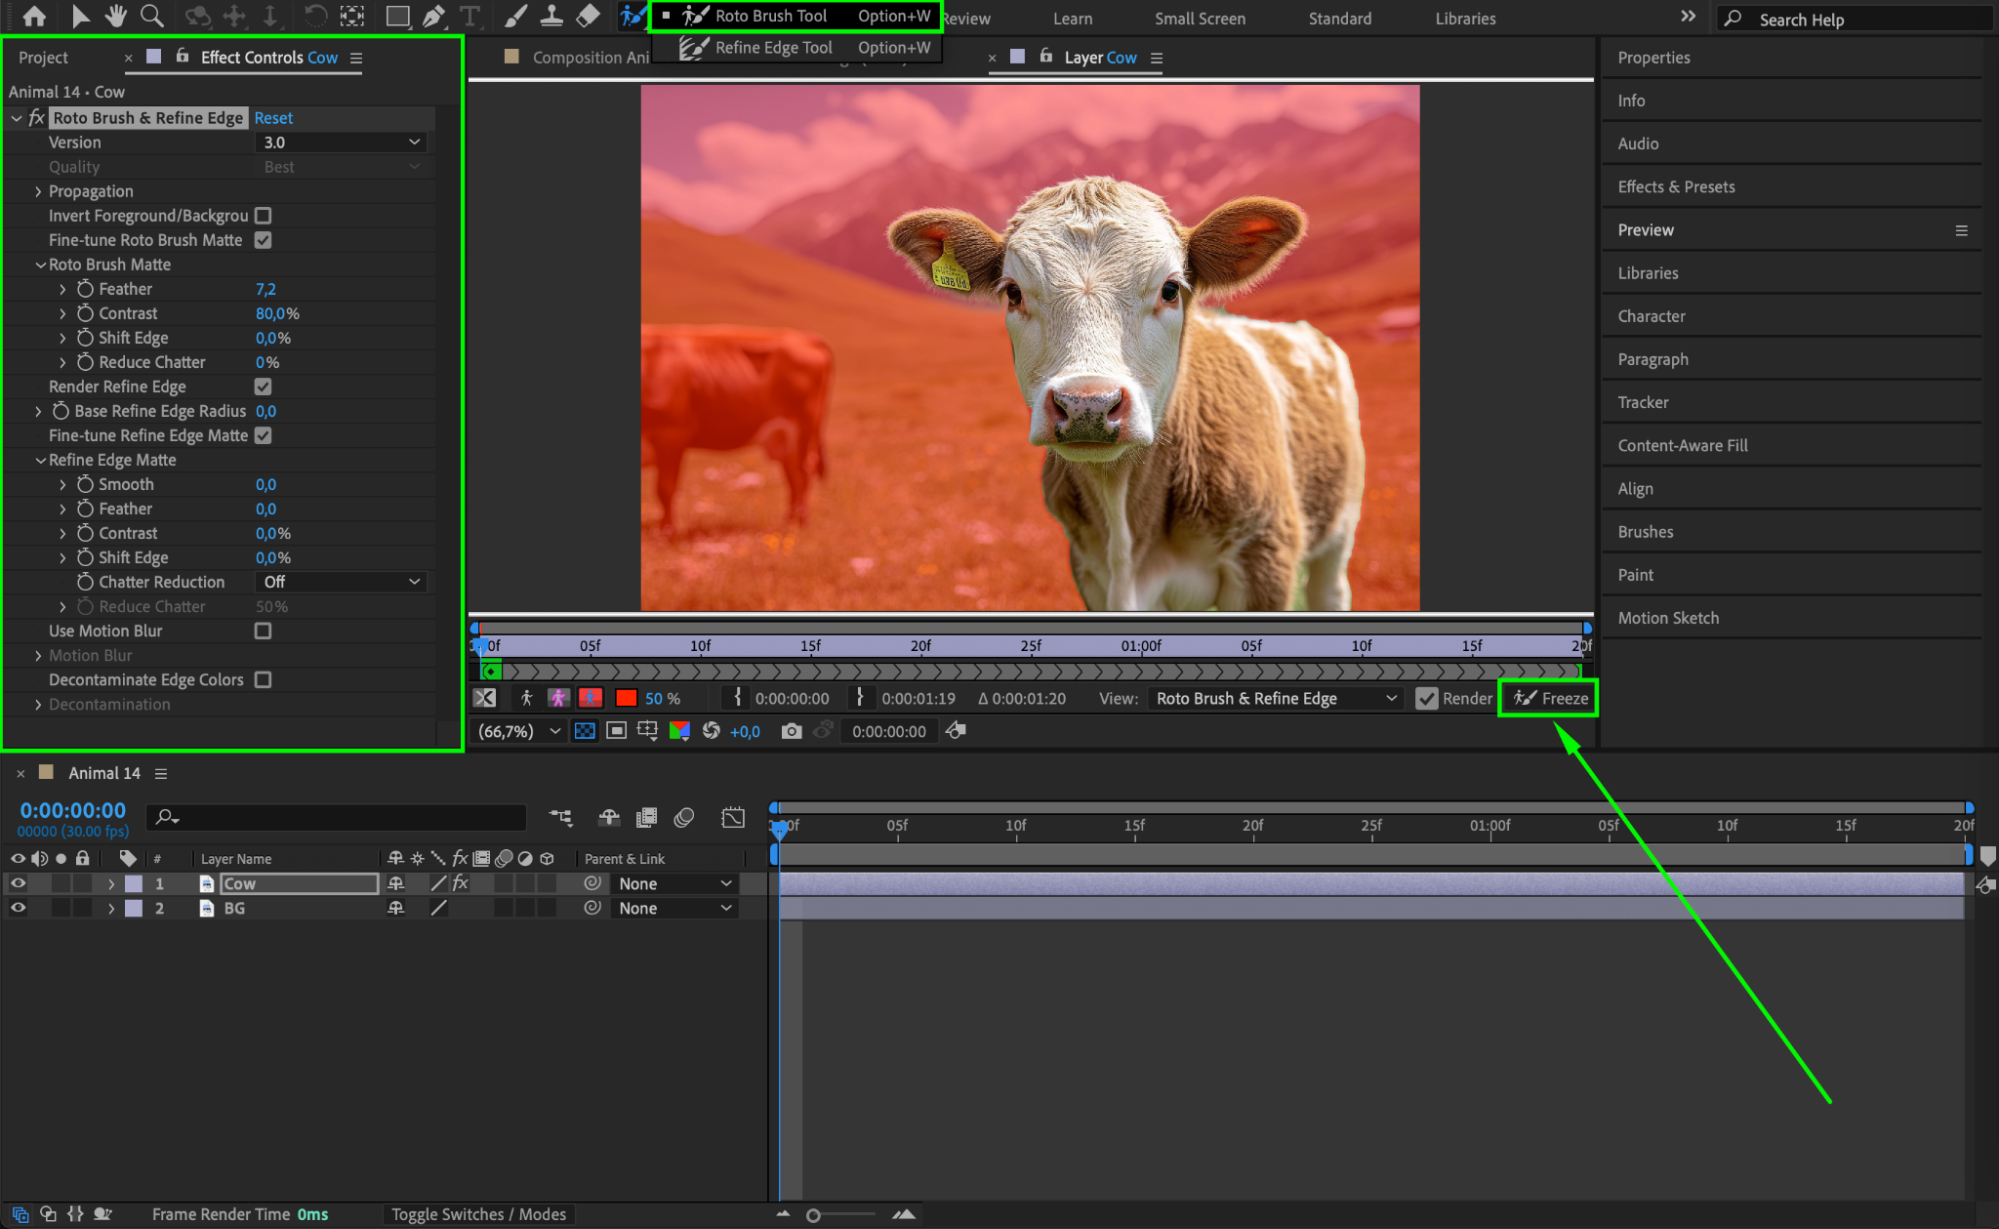 Step 4: Remove the Subject from the Background
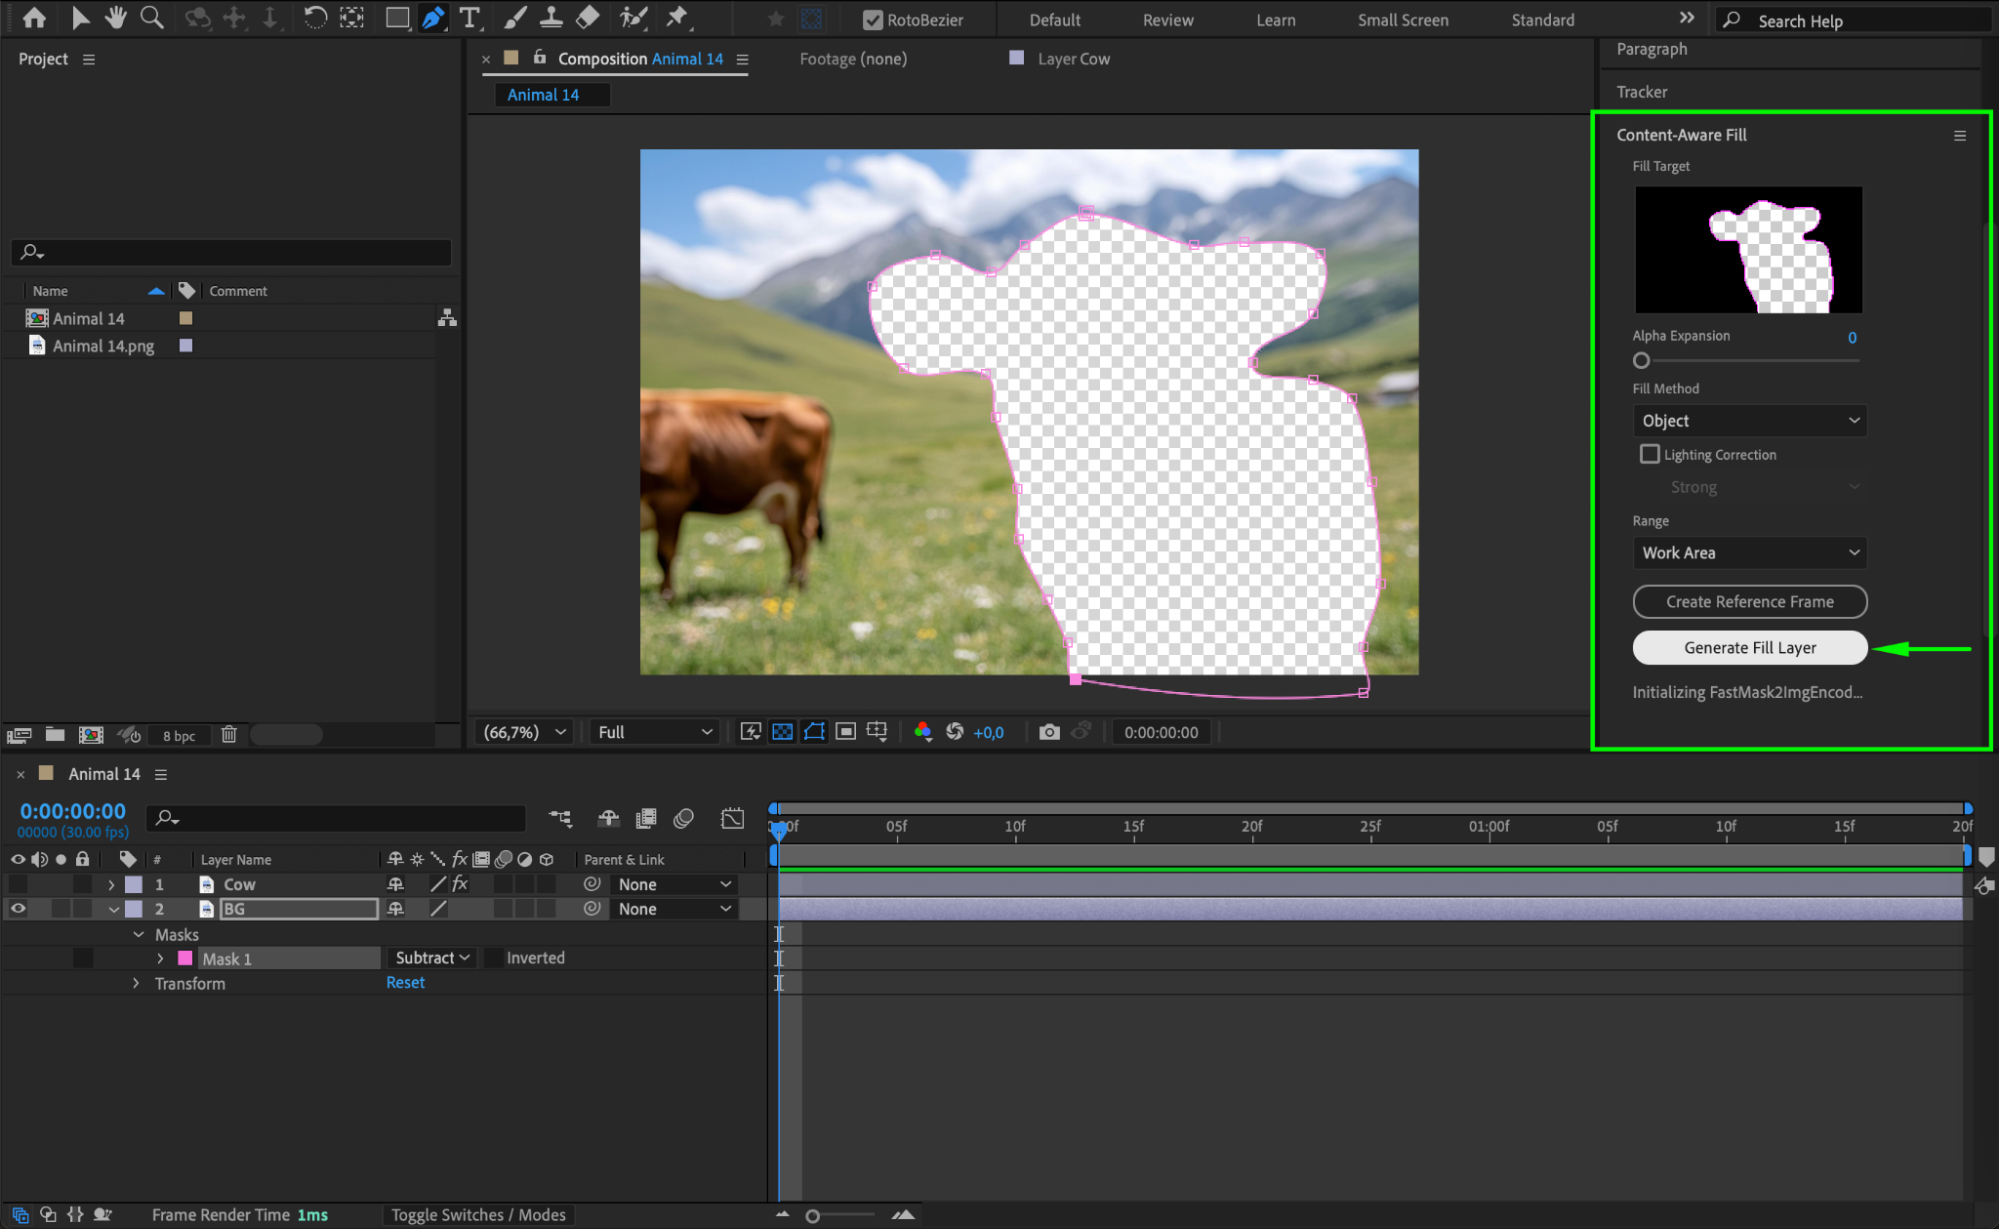
Go back to the Composition Panel and select the BG layer. Use the Pen Tool (G) to create a mask around the area where the subject was, then set the mask mode to Subtract to cut out the subject. Next, go to Window > Content-Aware Fill, choose the Object fill method, and click Generate Fill Layer to create a clean background.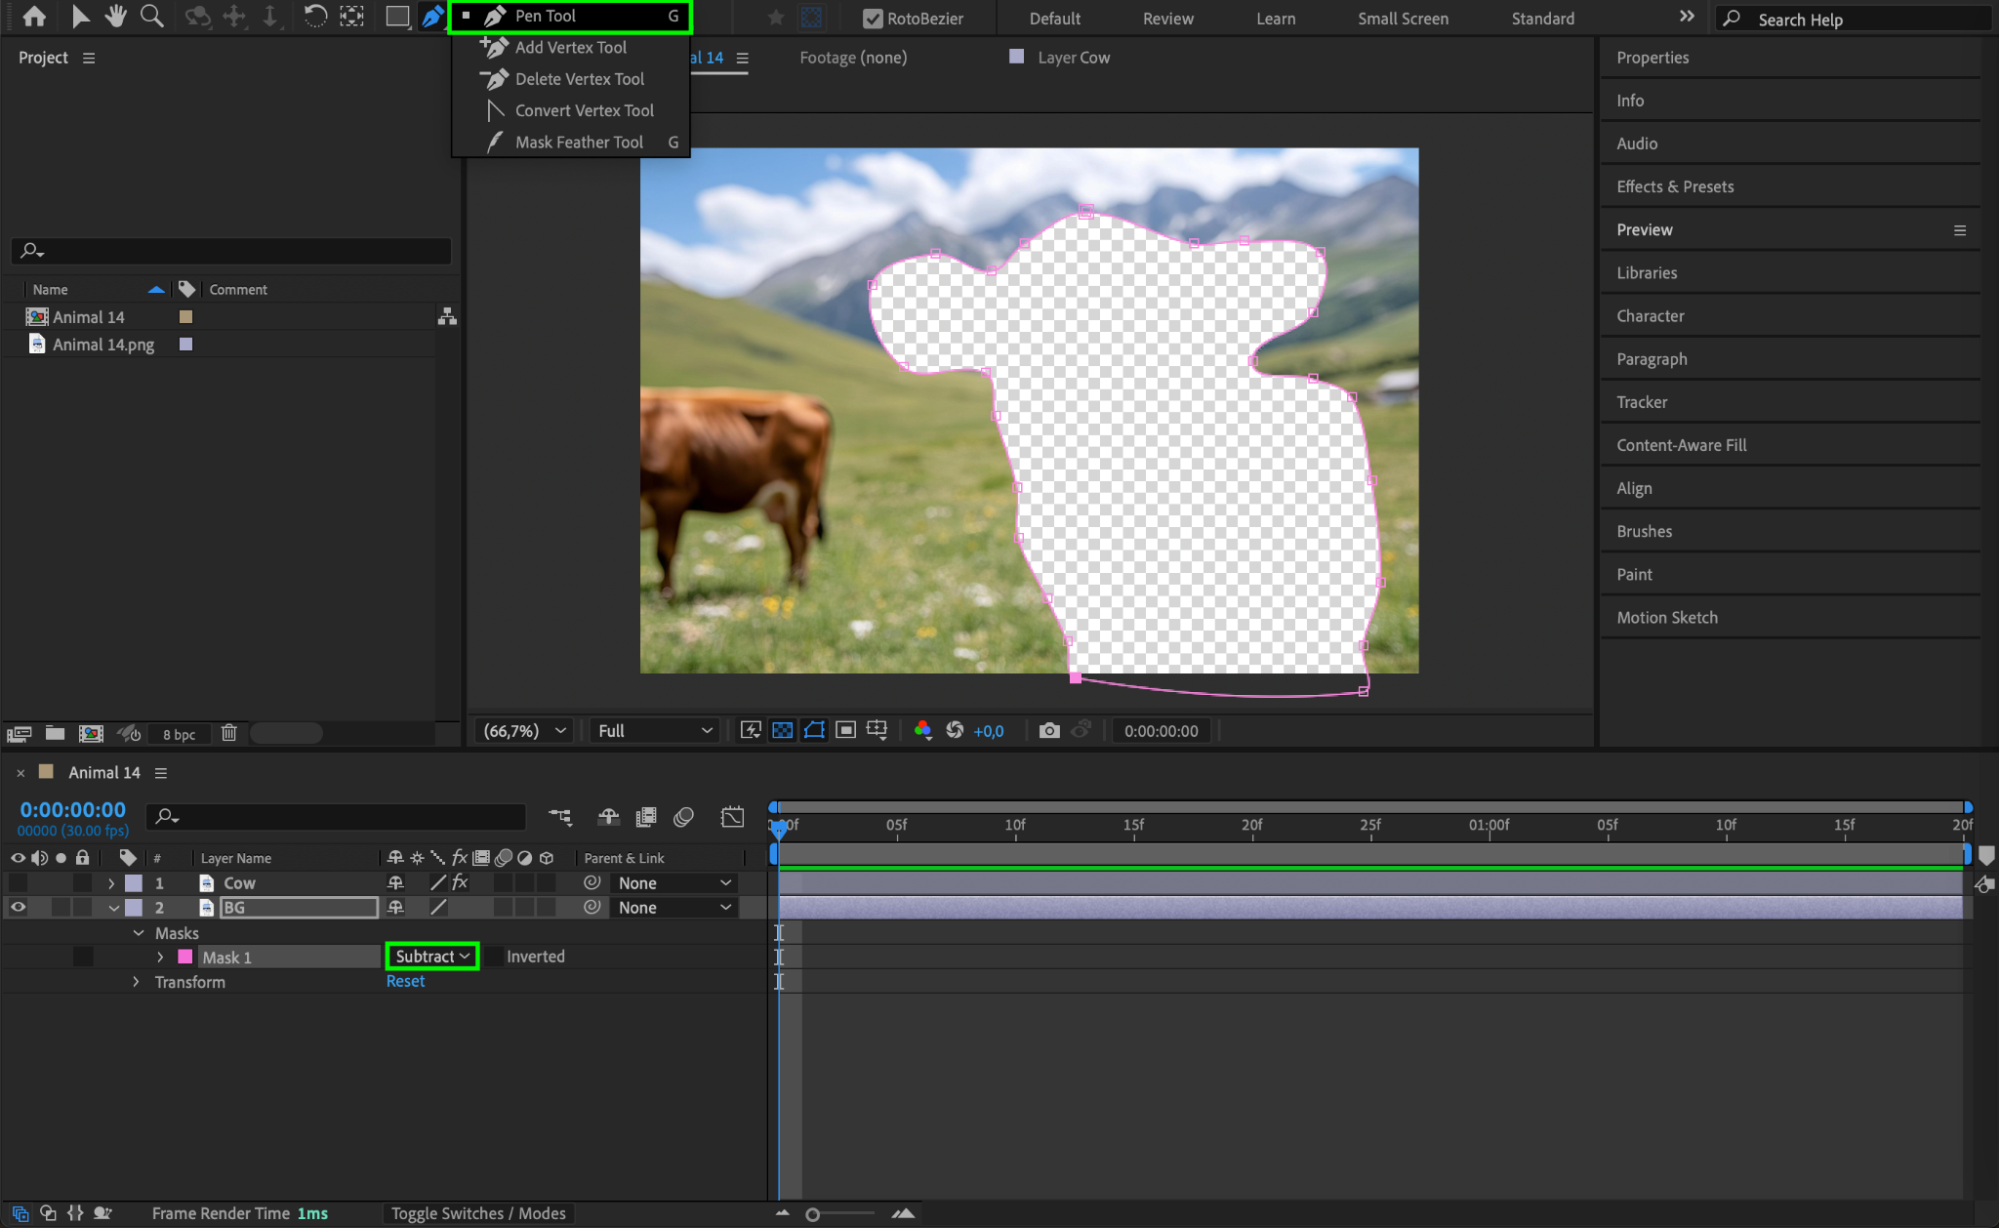
 Step 5: Convert Both Layers to 3D
Select both the Subject and BG layers, then enable the 3D Layer option in the timeline. This allows you to add depth and move the camera around them for a 3D effect.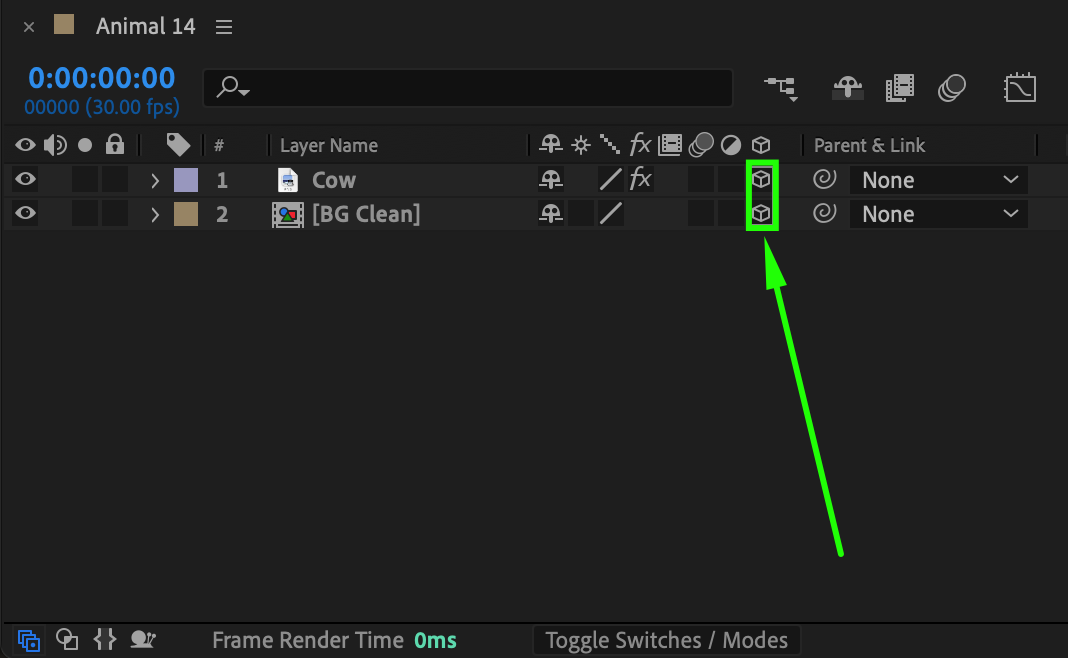 Step 6: Adjust the Background Depth
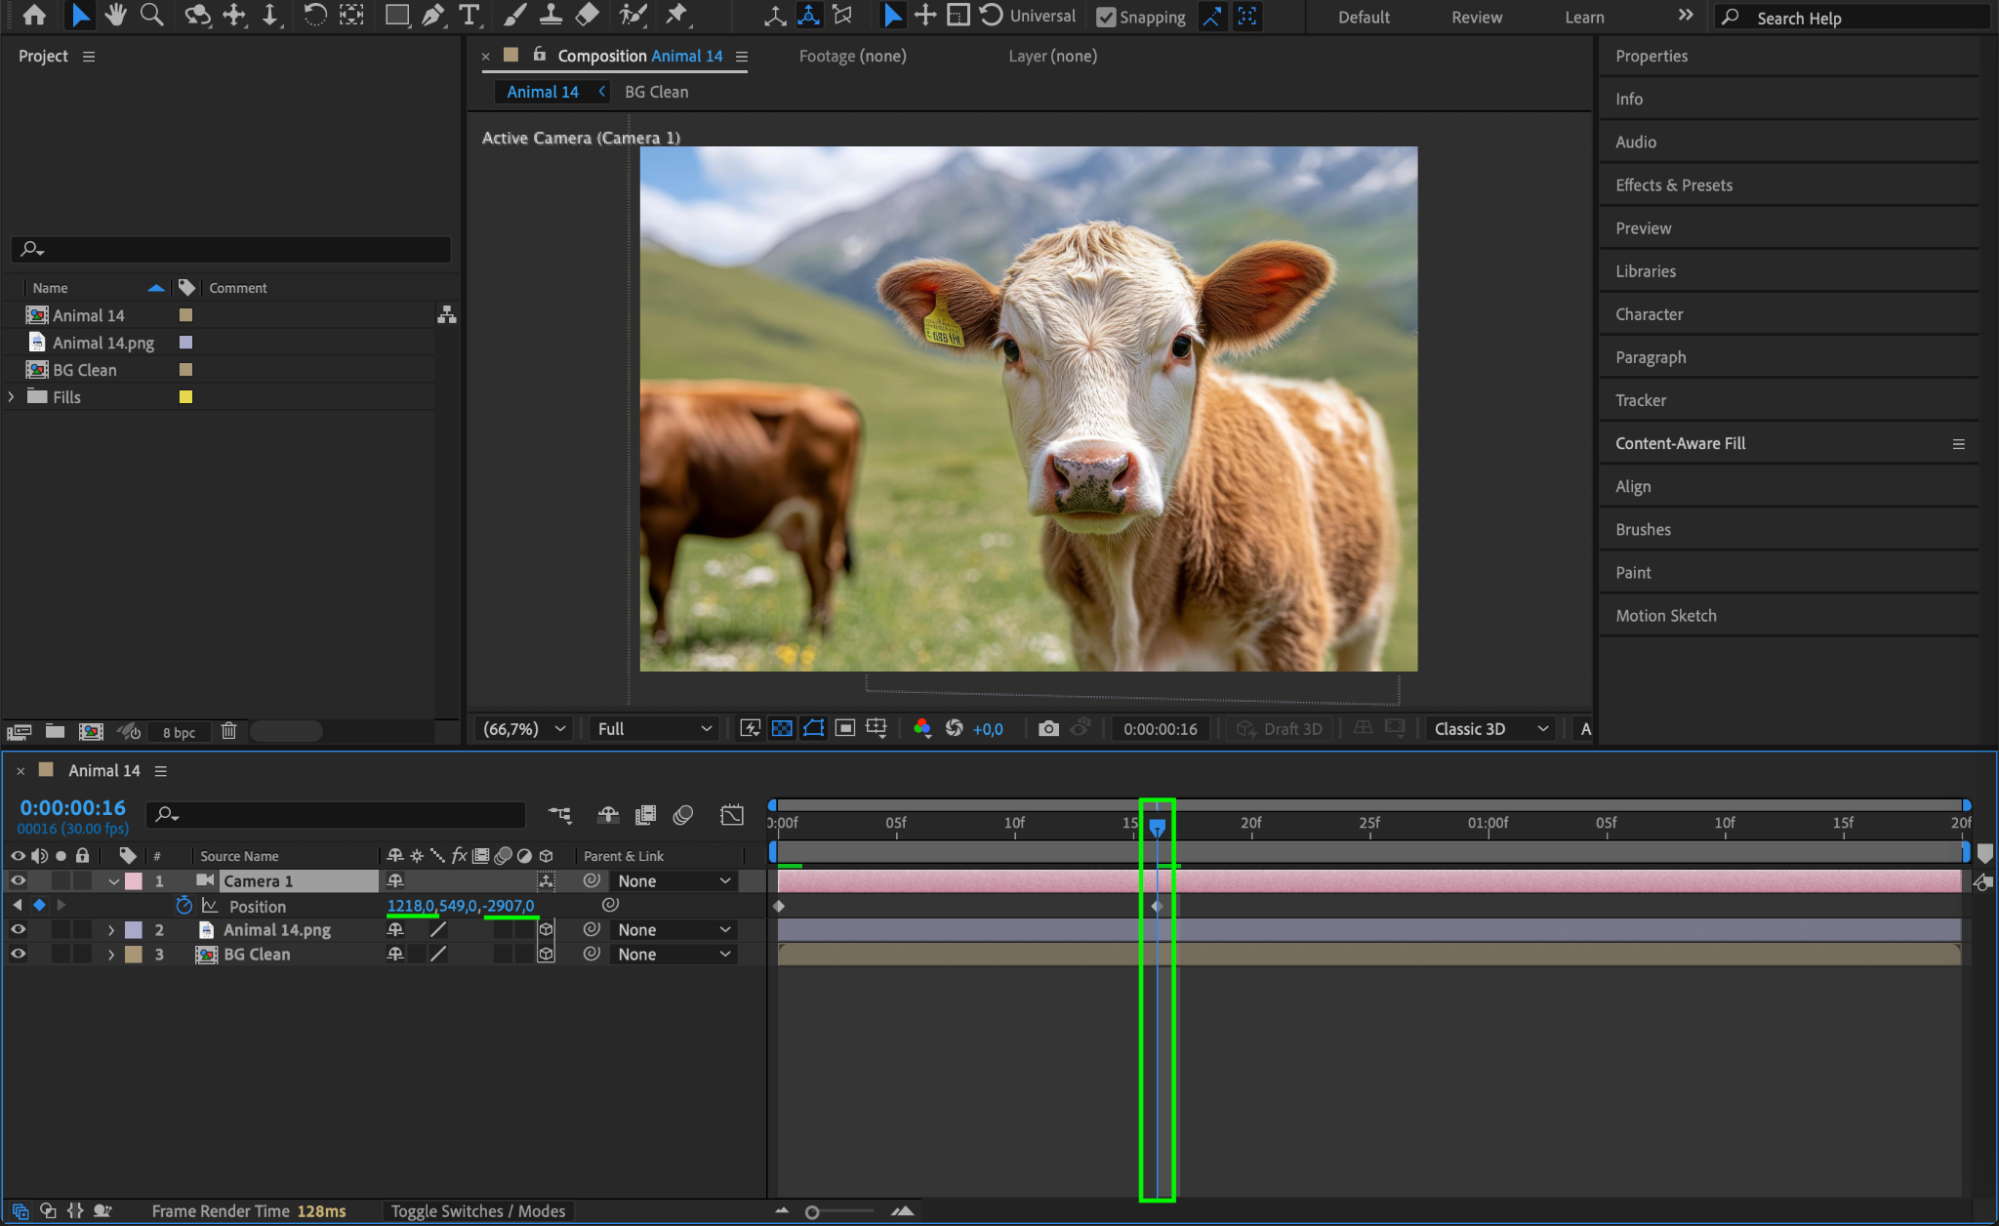
Select the BG layer and increase its Z Position value to 2000 in the Transform settings. Since moving it further back makes it smaller, scale it up to match the original composition size.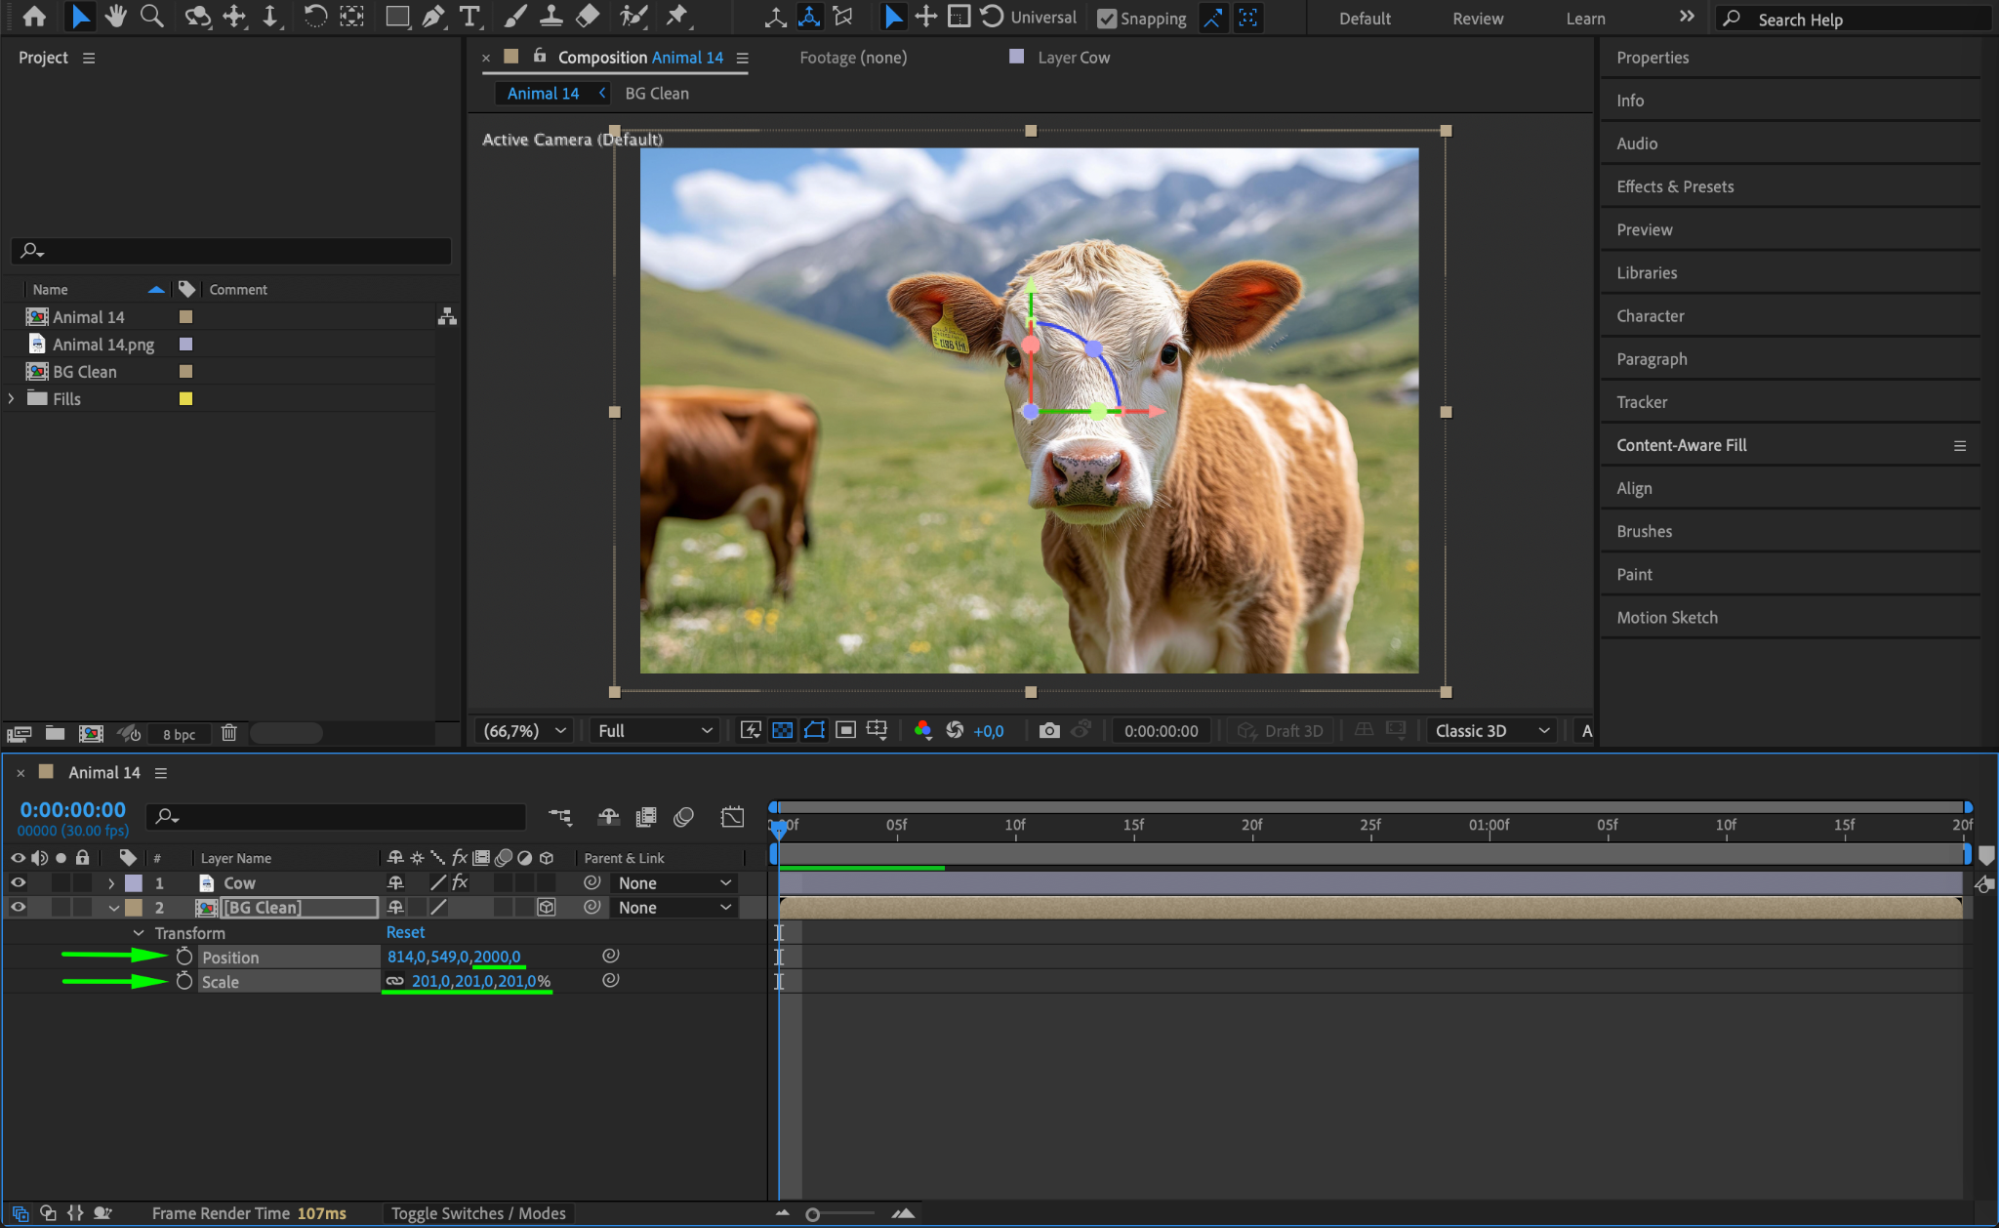 Step 7: Add a 3D Camera and Animate Motion
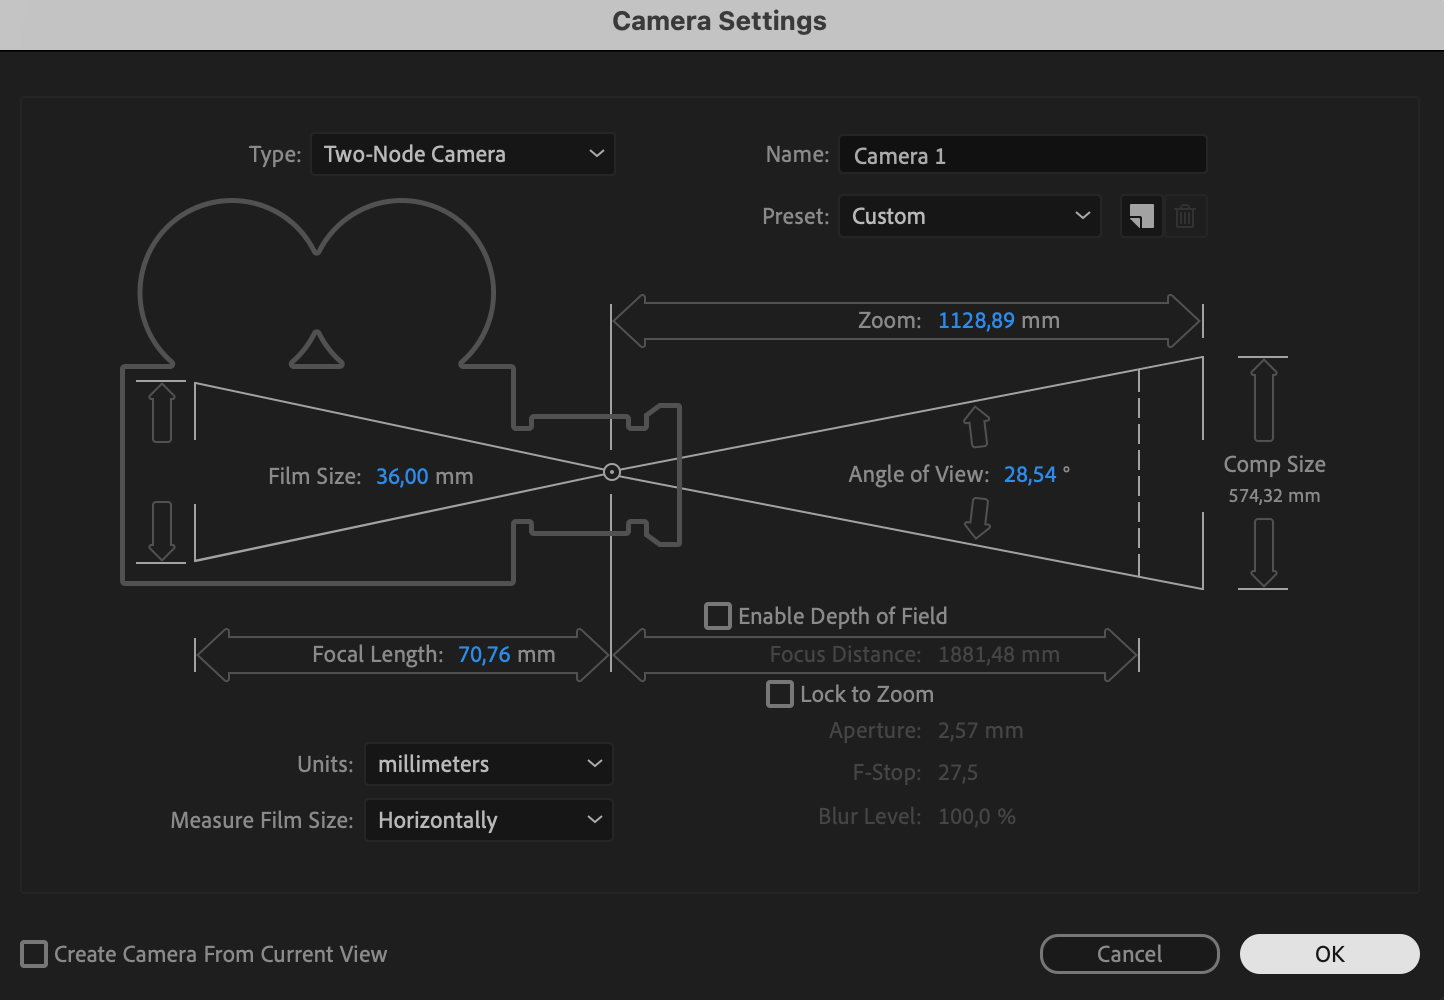
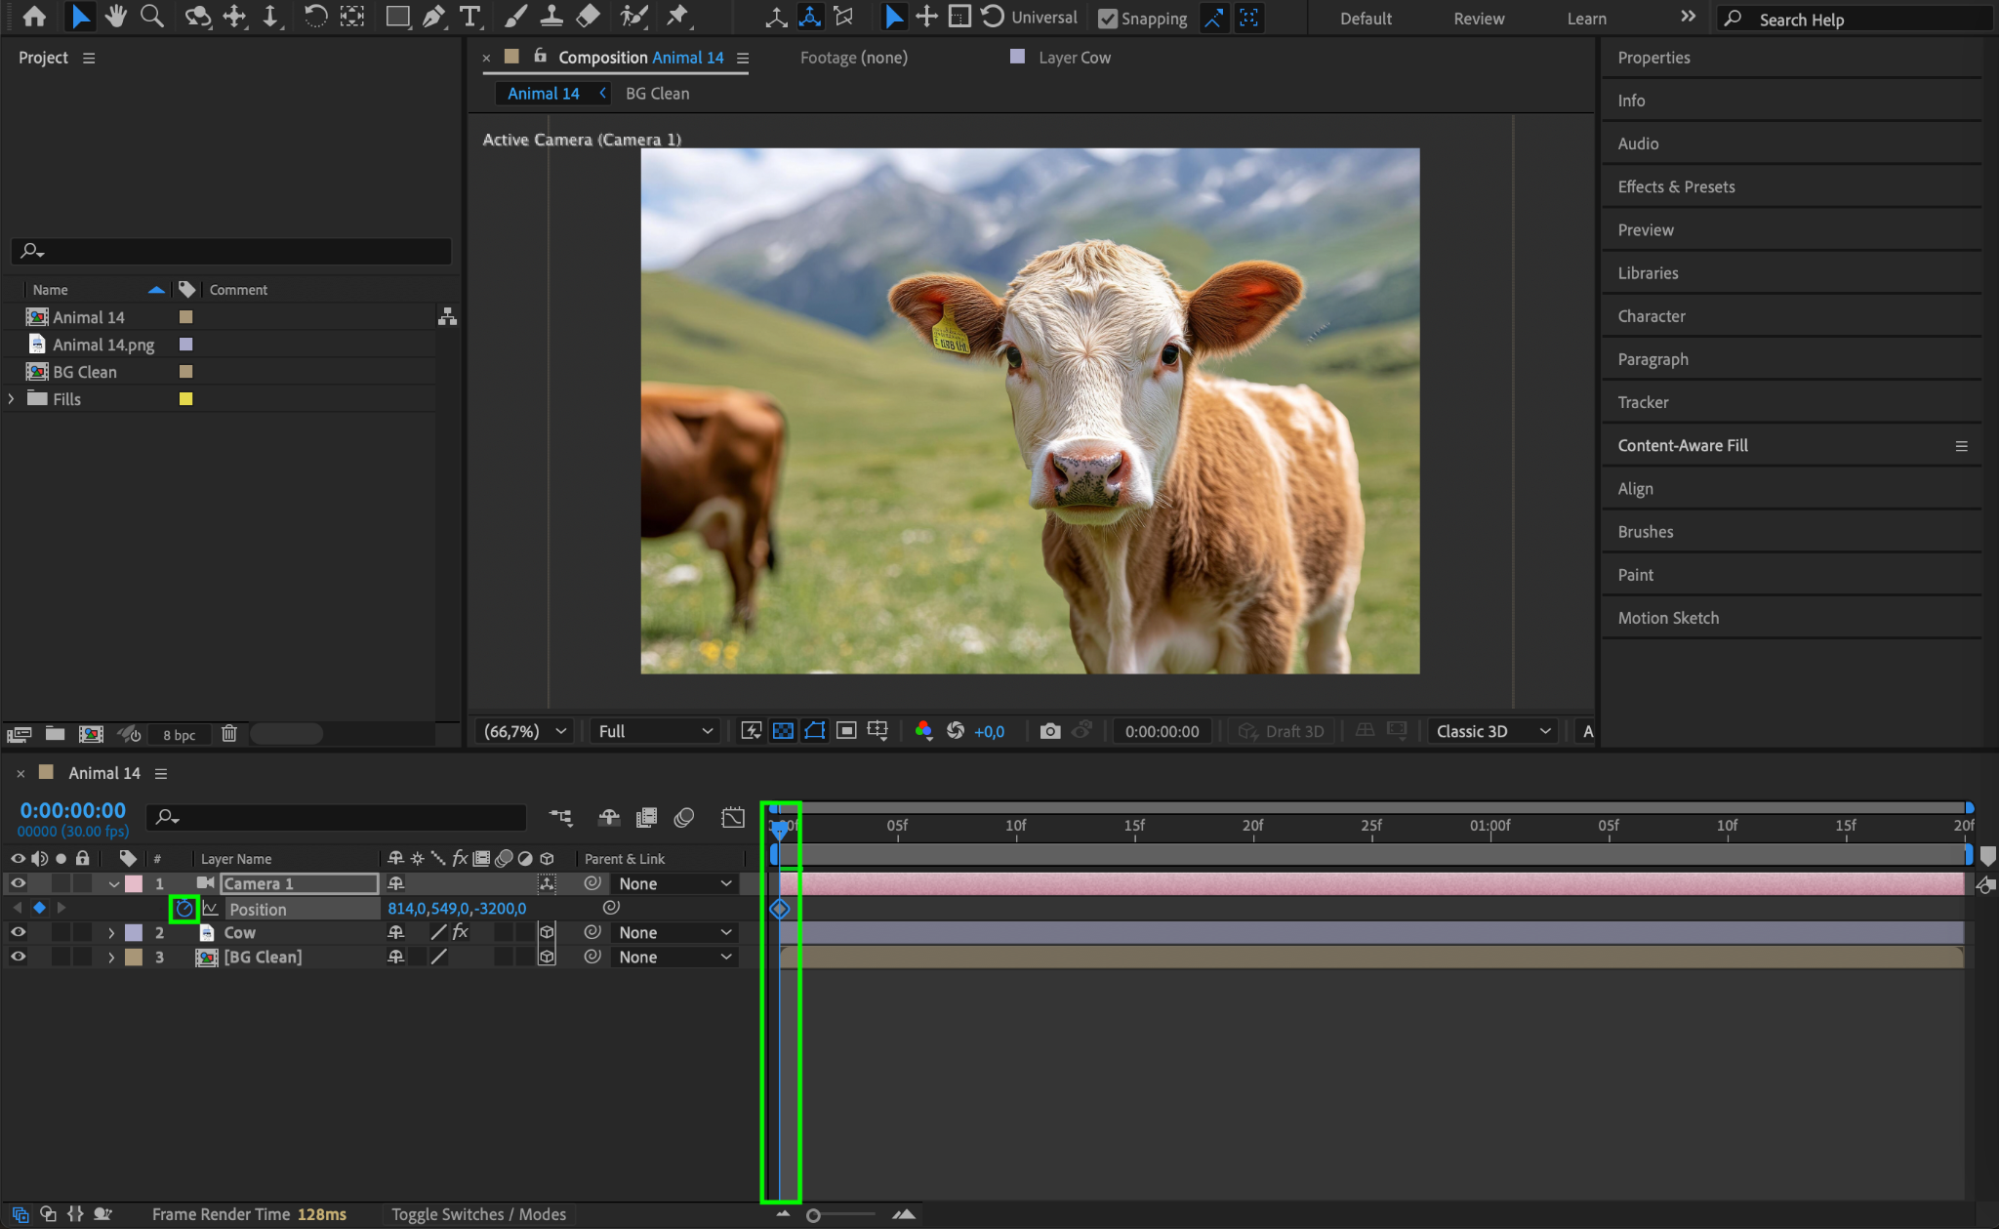
Go to Layer > New > Camera to create a camera layer. Enable keyframes for the Position property, then animate the camera by moving it slightly forward and backward or side to side over time to create a smooth parallax or boomerang motion effect.
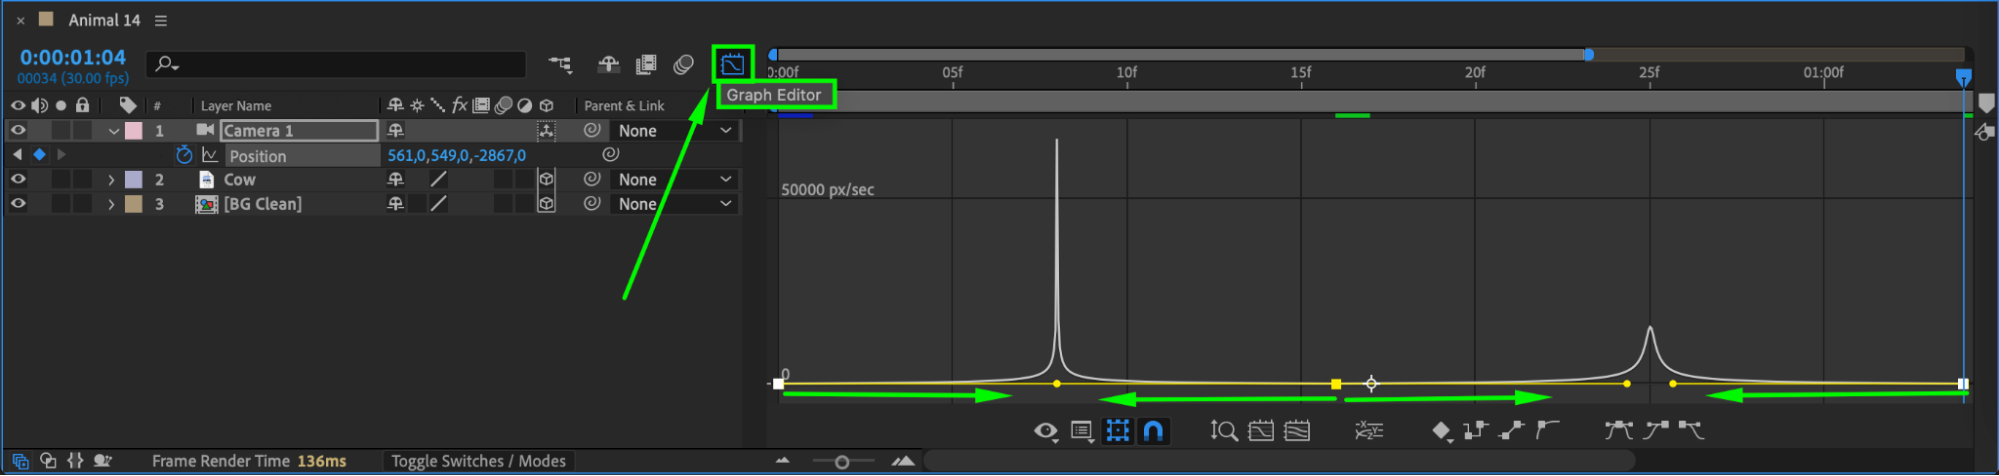
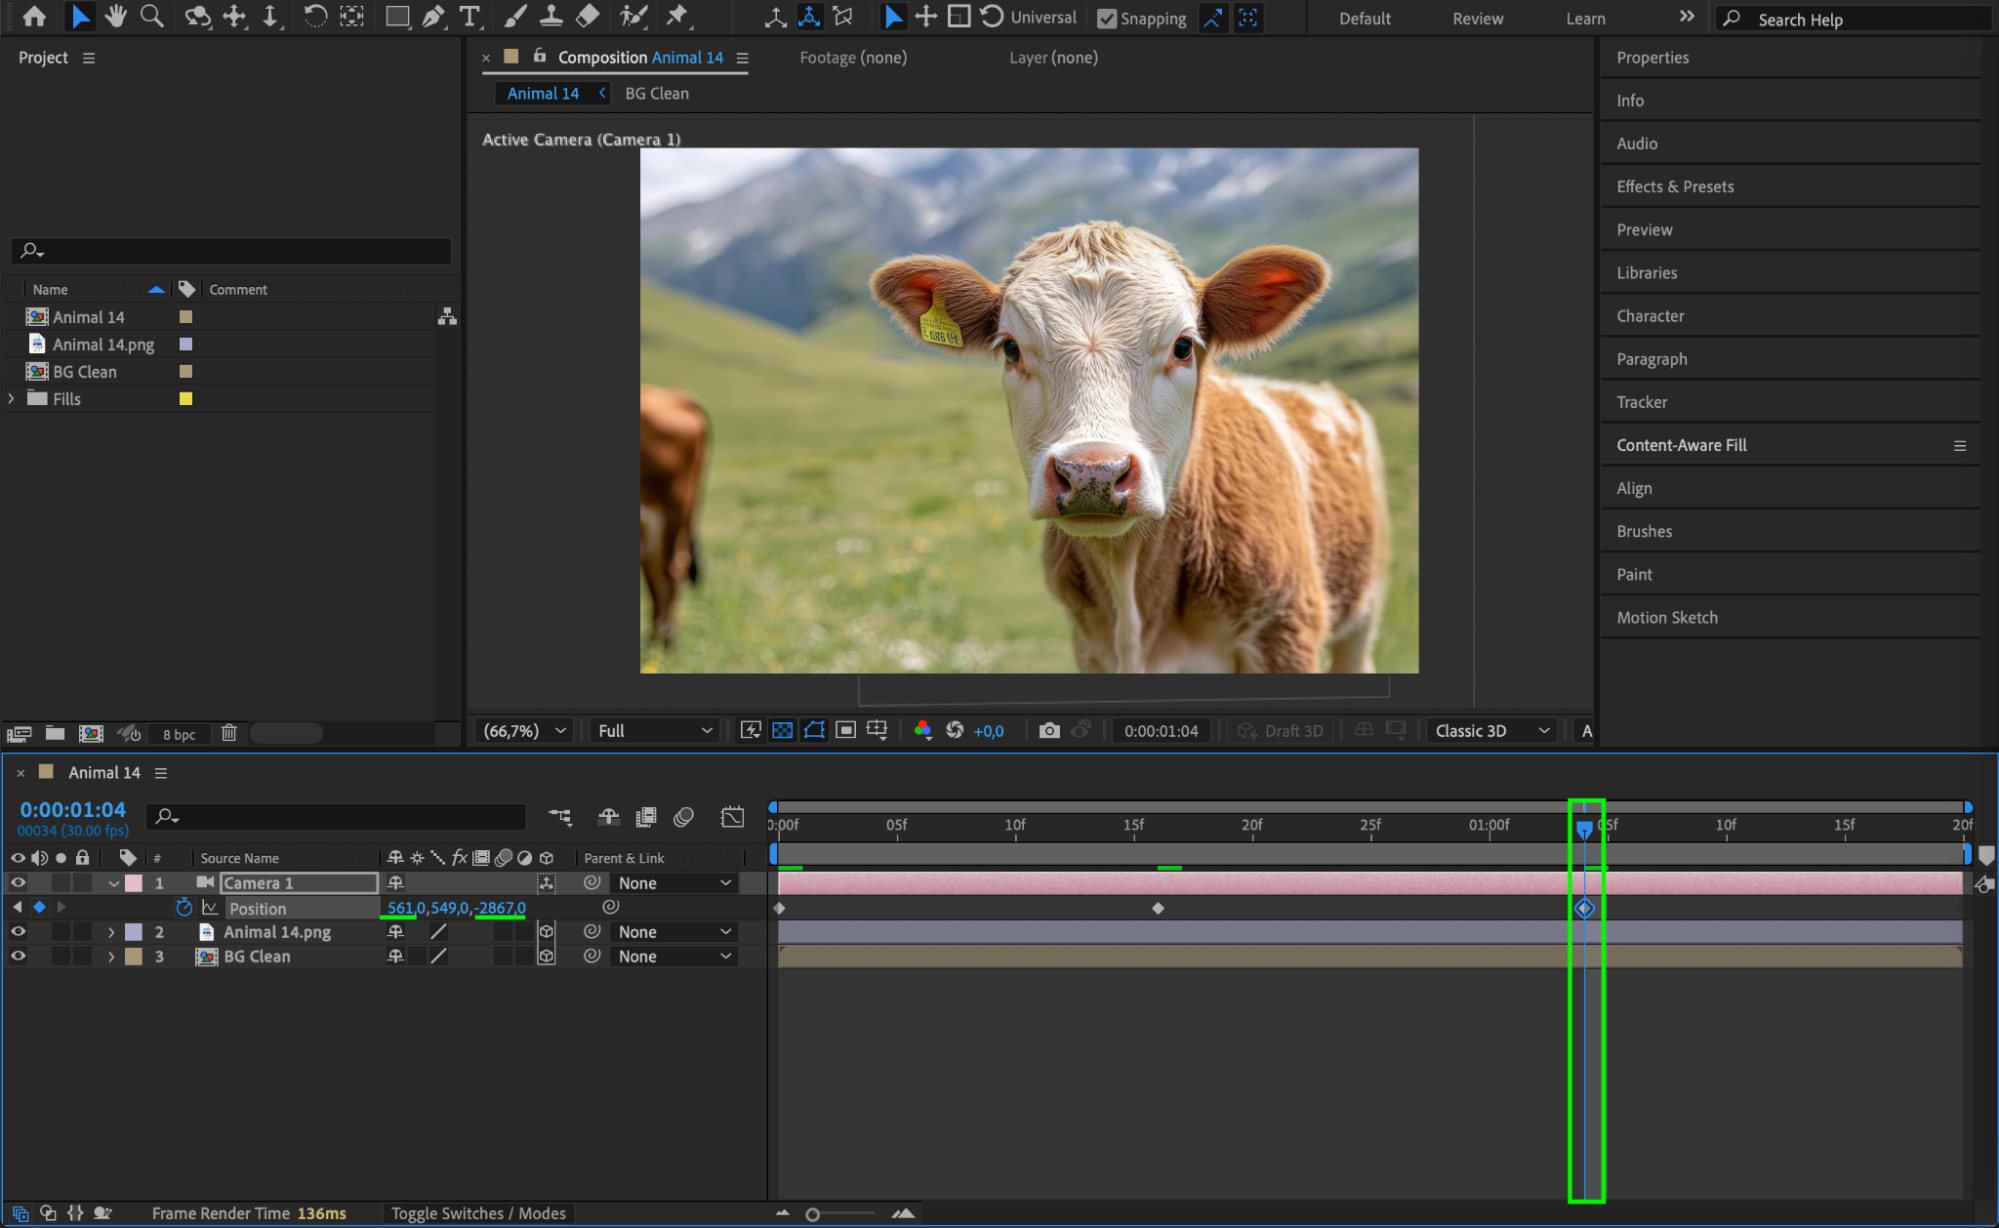 Step 8: Apply Easy Ease for Smooth Animation
Select all camera position keyframes, then right-click and choose Keyframe Assistant > Easy Ease. Open the Graph Editor and adjust the speed curve for a natural movement effect.
 Step 9: Add a Wiggle Expression to the Camera
To make the camera movement feel more dynamic, select the Z Rotation property and type the expression wiggle(2,5). This will add subtle shaking for a more natural effect. Step 10: Add Text Behind the Subject
Create a new text layer using the Type Tool (Ctrl/Cmd+T) and position it behind the subject. Since the subject is cut out, it will appear in front of the text, creating a realistic depth effect.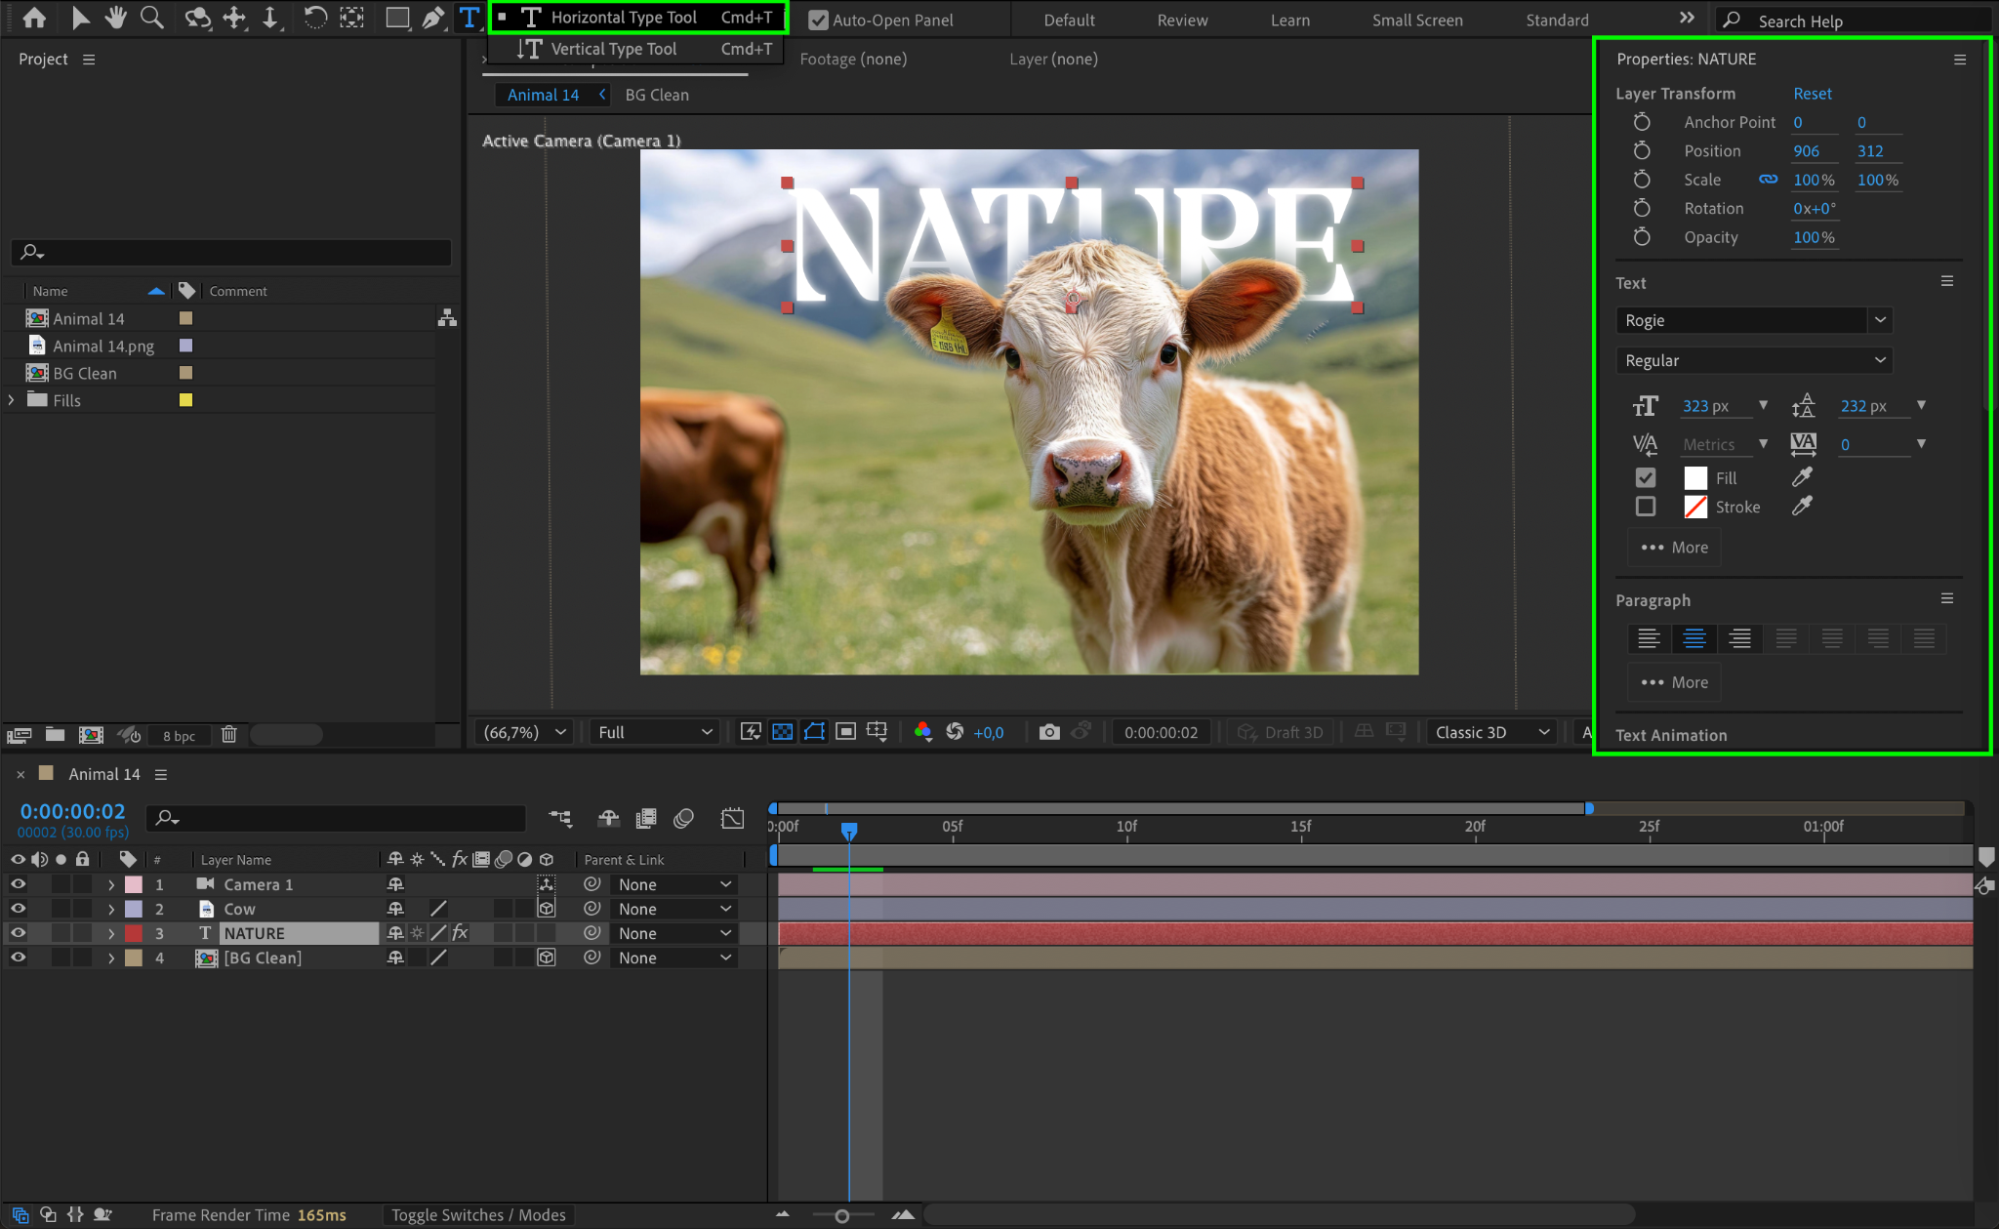 Step 11: Create an Adjustment Layer for Motion Blur
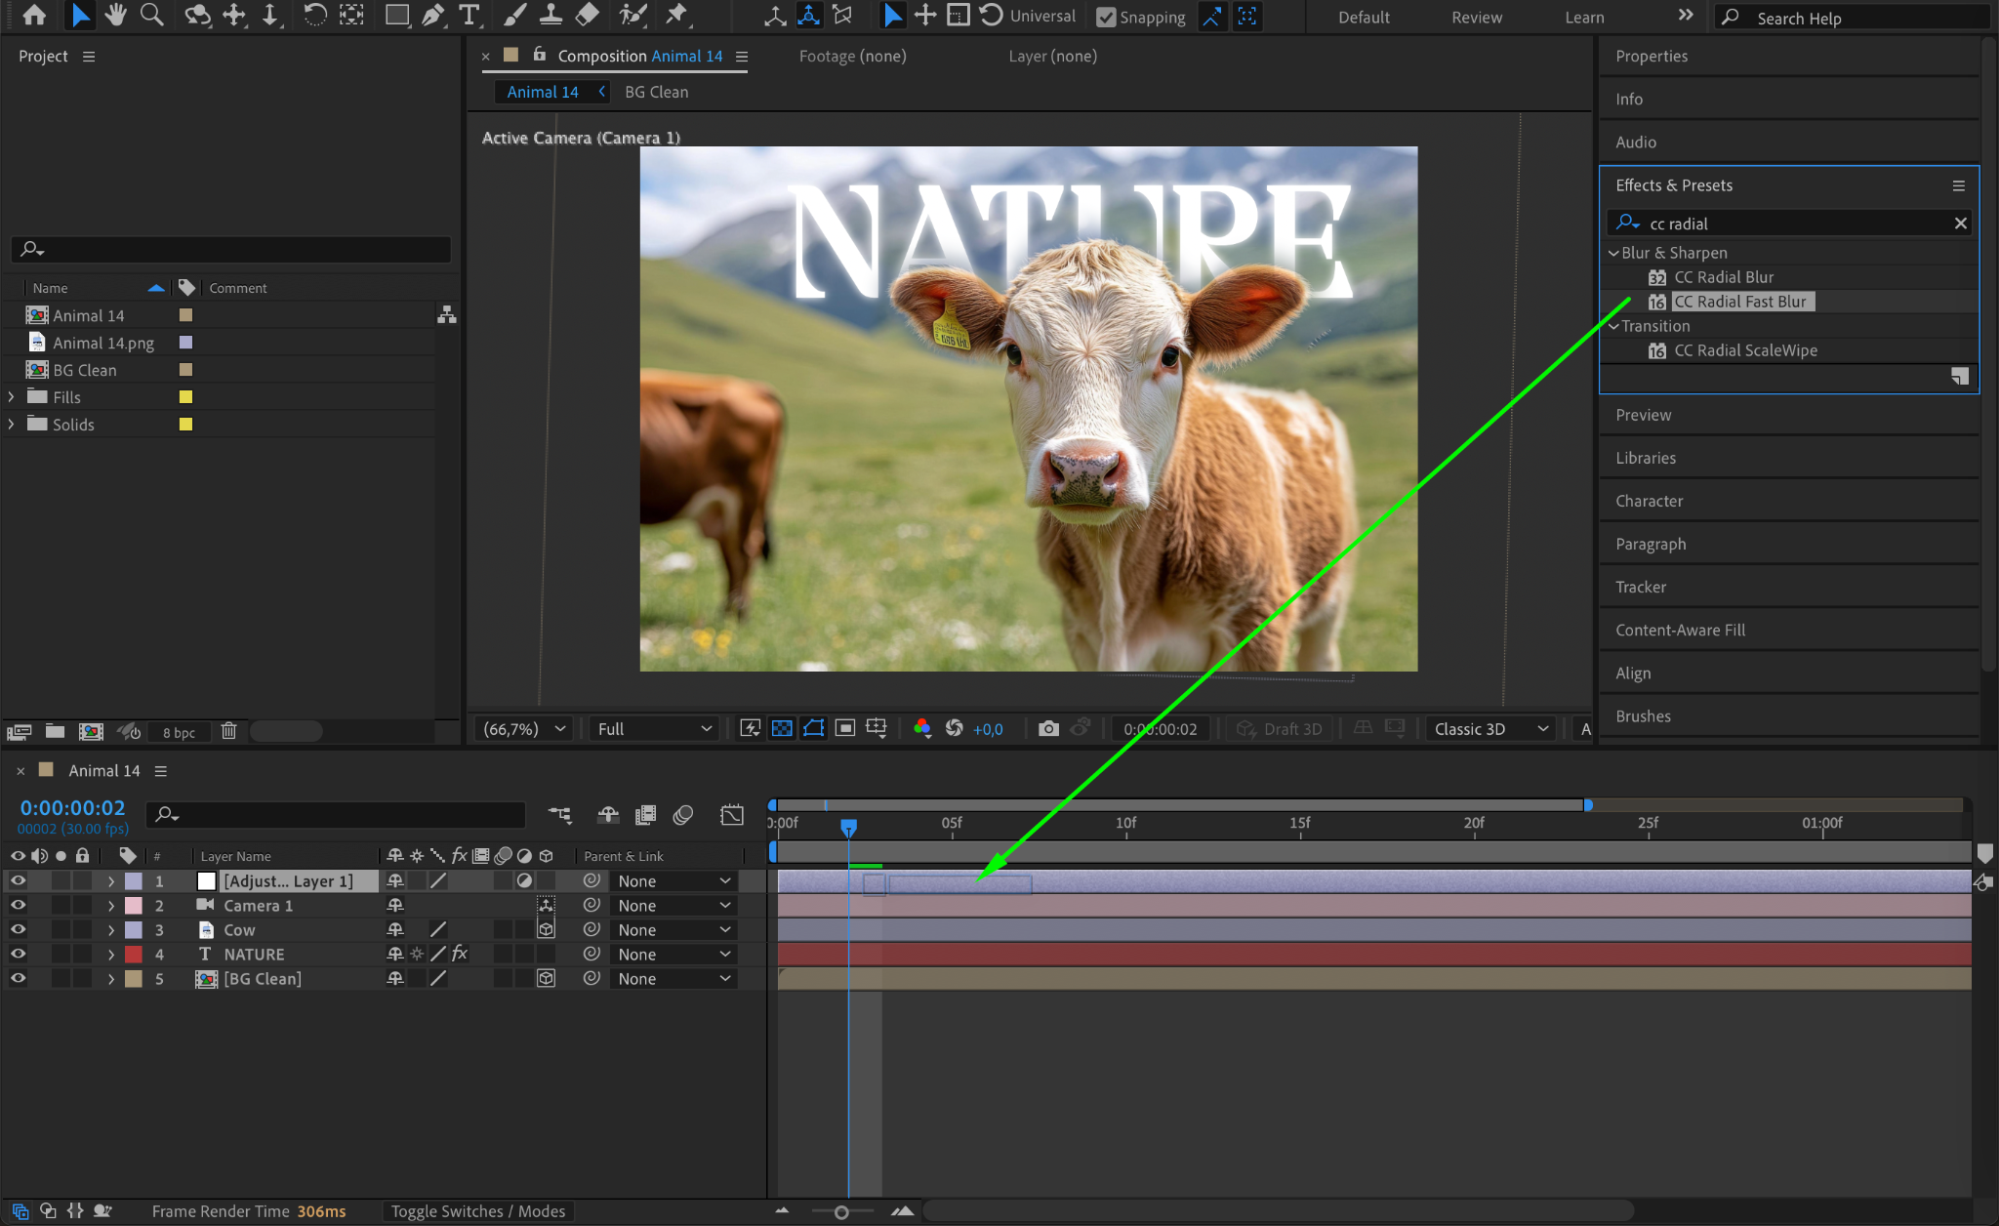
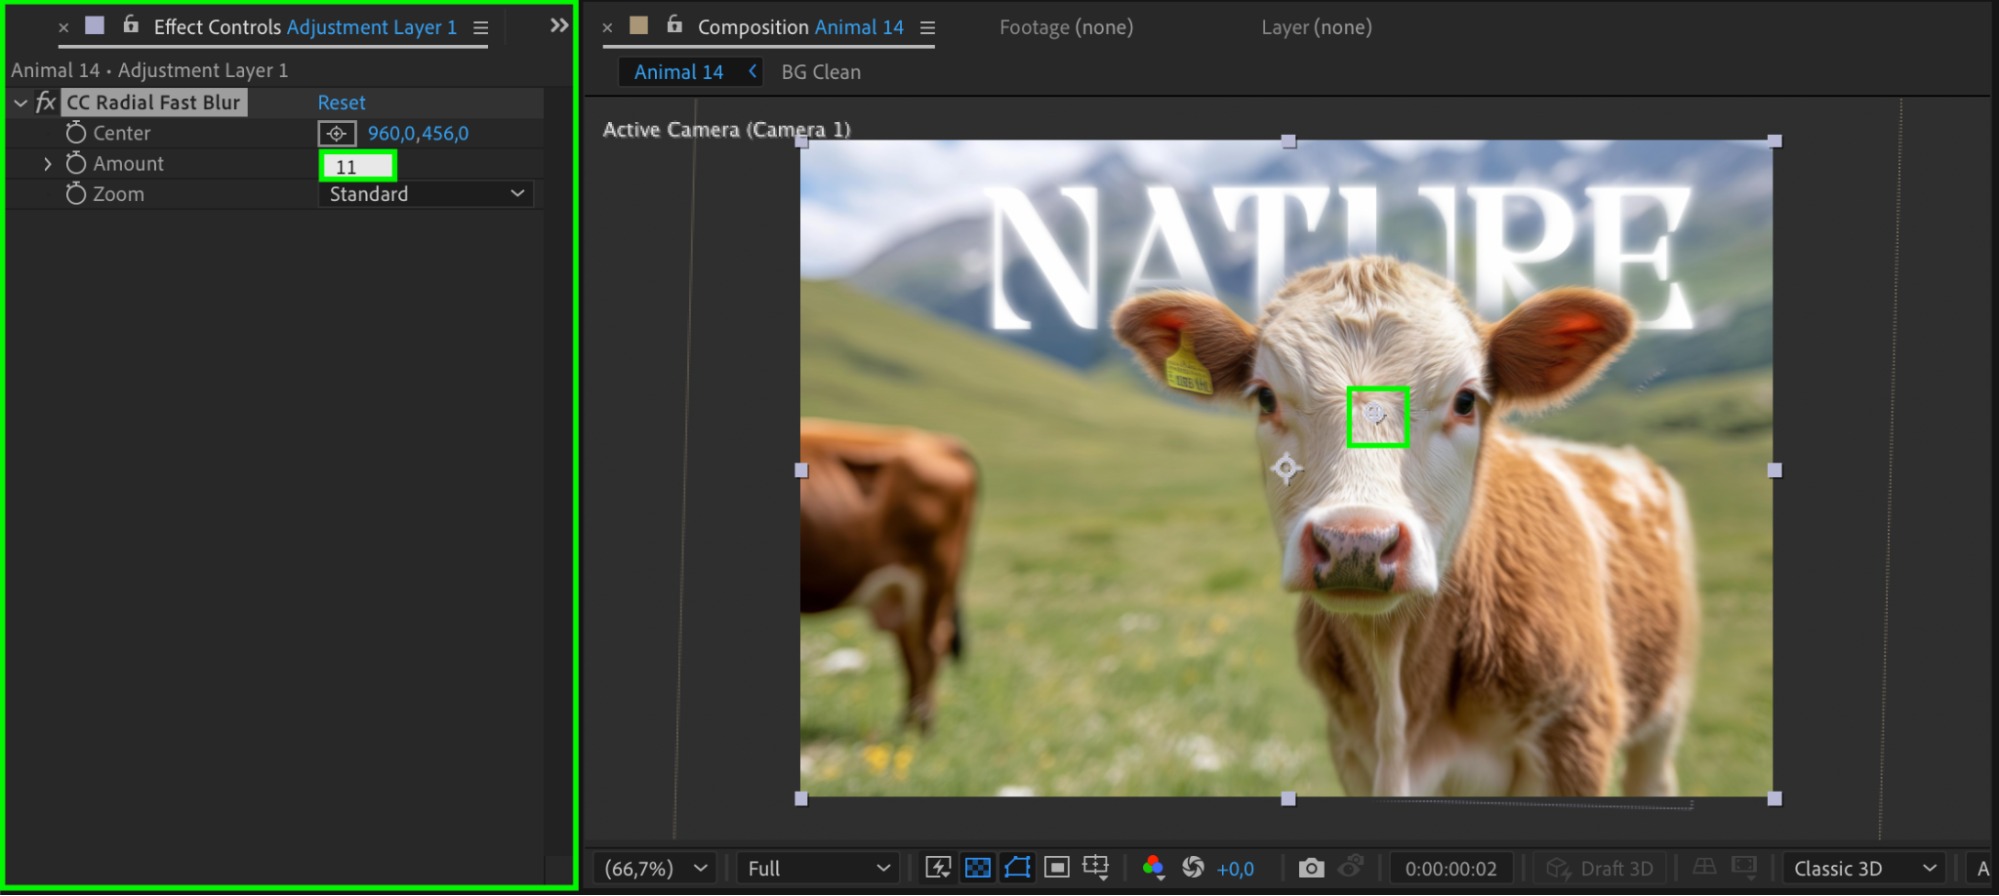
Go to Layer > New > Adjustment Layer and apply the CC Radial Fast Blur effect from the Effects & Presets panel. This will enhance motion and depth perception.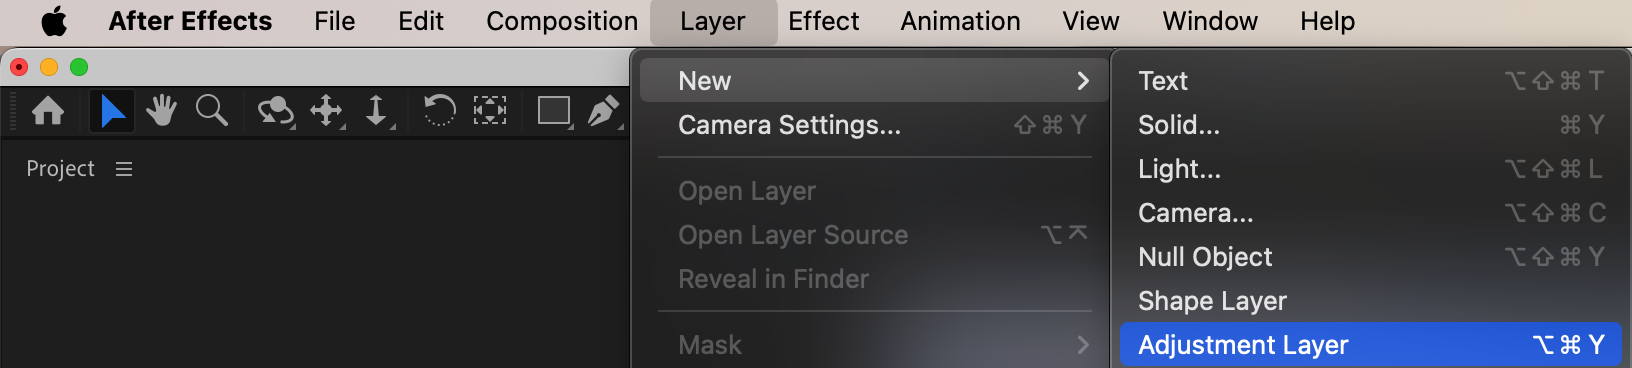
 Step 12: Add a Mask for Selective Blurring
Select the Adjustment Layer, then use the Ellipse Tool (Q) to draw a mask in the center of the composition. Set Mask Feather to 30 for a smooth transition between sharp and blurred areas.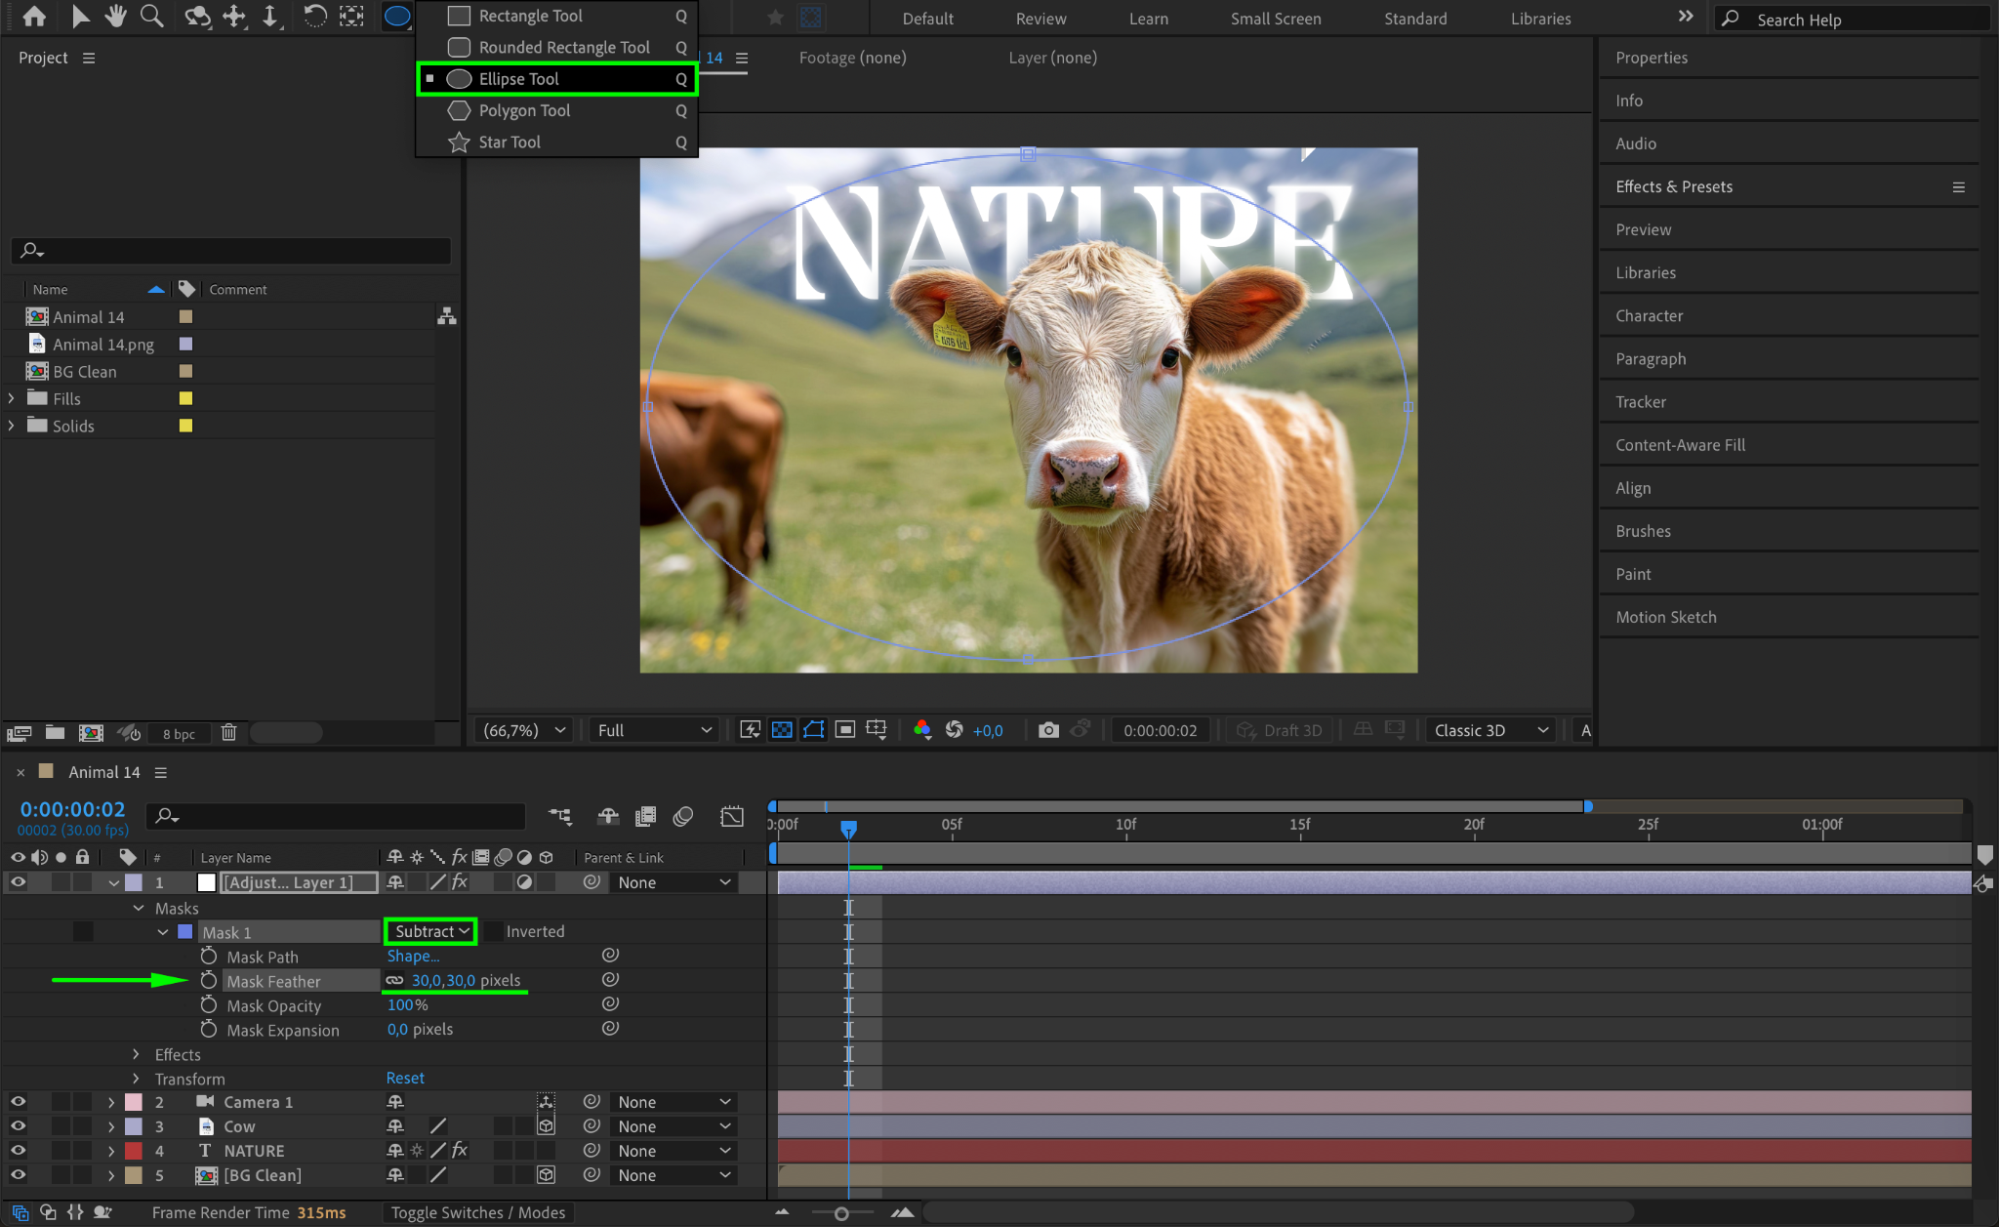 Step 13: Preview the Final Animation
Press Spacebar to preview the animation. Make any necessary adjustments to the camera movement, blur, or depth to achieve a polished 3D effect.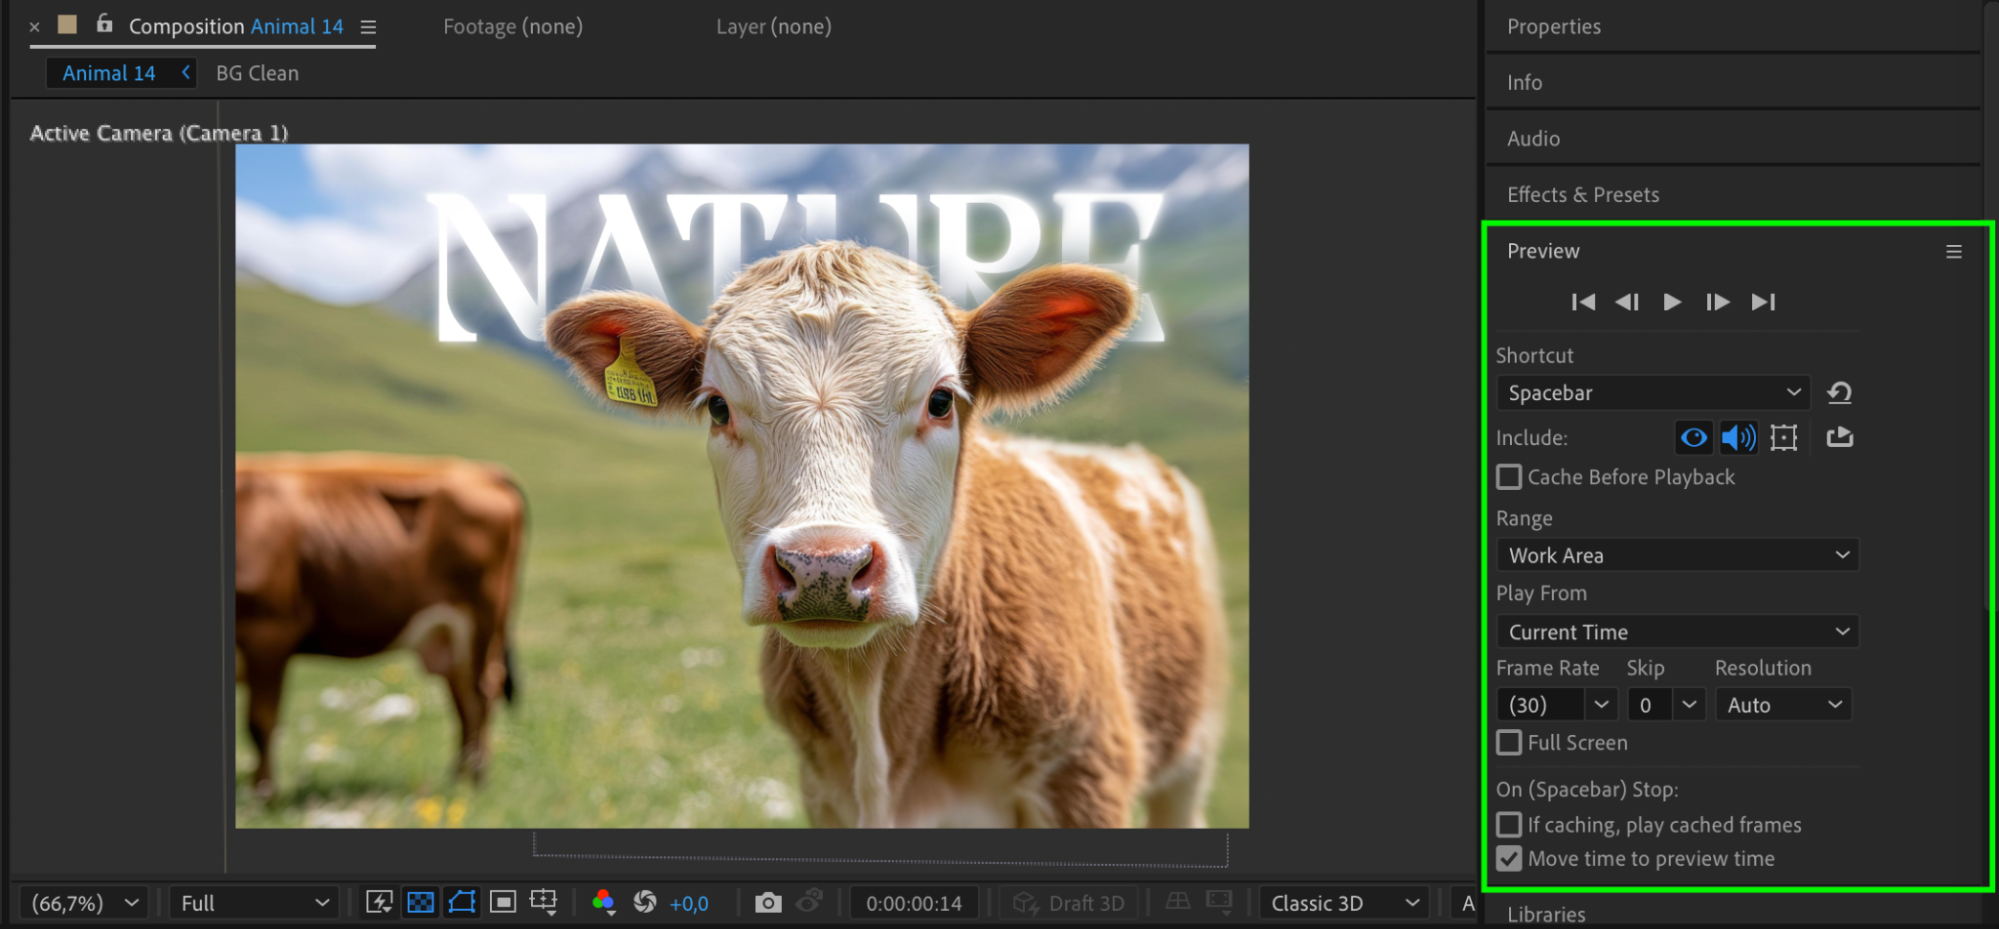
Conclusion
By following these steps, you can transform a flat image into a dynamic 3D scene in After Effects. Using layer separation, camera animation, and depth effects, you can create cinematic motion that enhances any video project.
Our Bestsellers


