Enhancing Motion Graphics with Custom Paths in After Effects
Unveiling the Art of Path Creation in After Effects
In After Effects, creating paths is crucial for enhancing your motion graphics and visual effects projects. Paths help you control how elements move within your compositions, adding depth and interest to your animations. Whether you’re working on elaborate motion graphics sequences or subtle effects, knowing how to create and animate paths in After Effects can elevate your projects.
In this guide, we’ll walk you through the process of creating custom paths step by step. We’ll cover the tools and techniques available for drawing and adjusting paths in After Effects. By the end of this tutorial, you’ll have a good grasp of creating and animating paths in After Effects, empowering you to bring your creative vision to life through engaging motion graphics projects. Let’s explore the power of paths in After Effects together!
Guide to Creating a Path in After Effects:
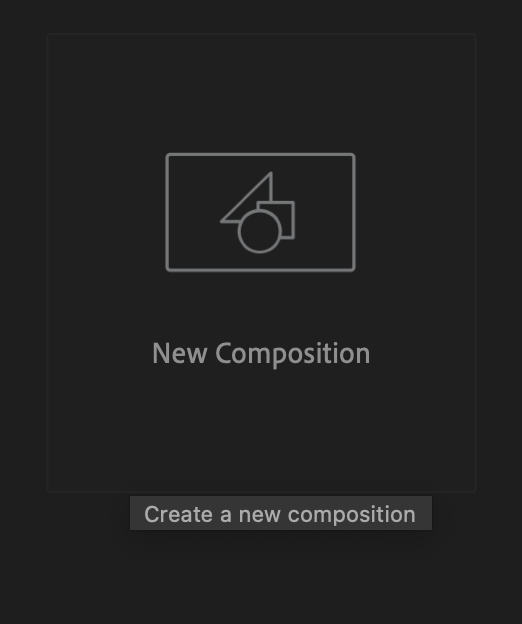
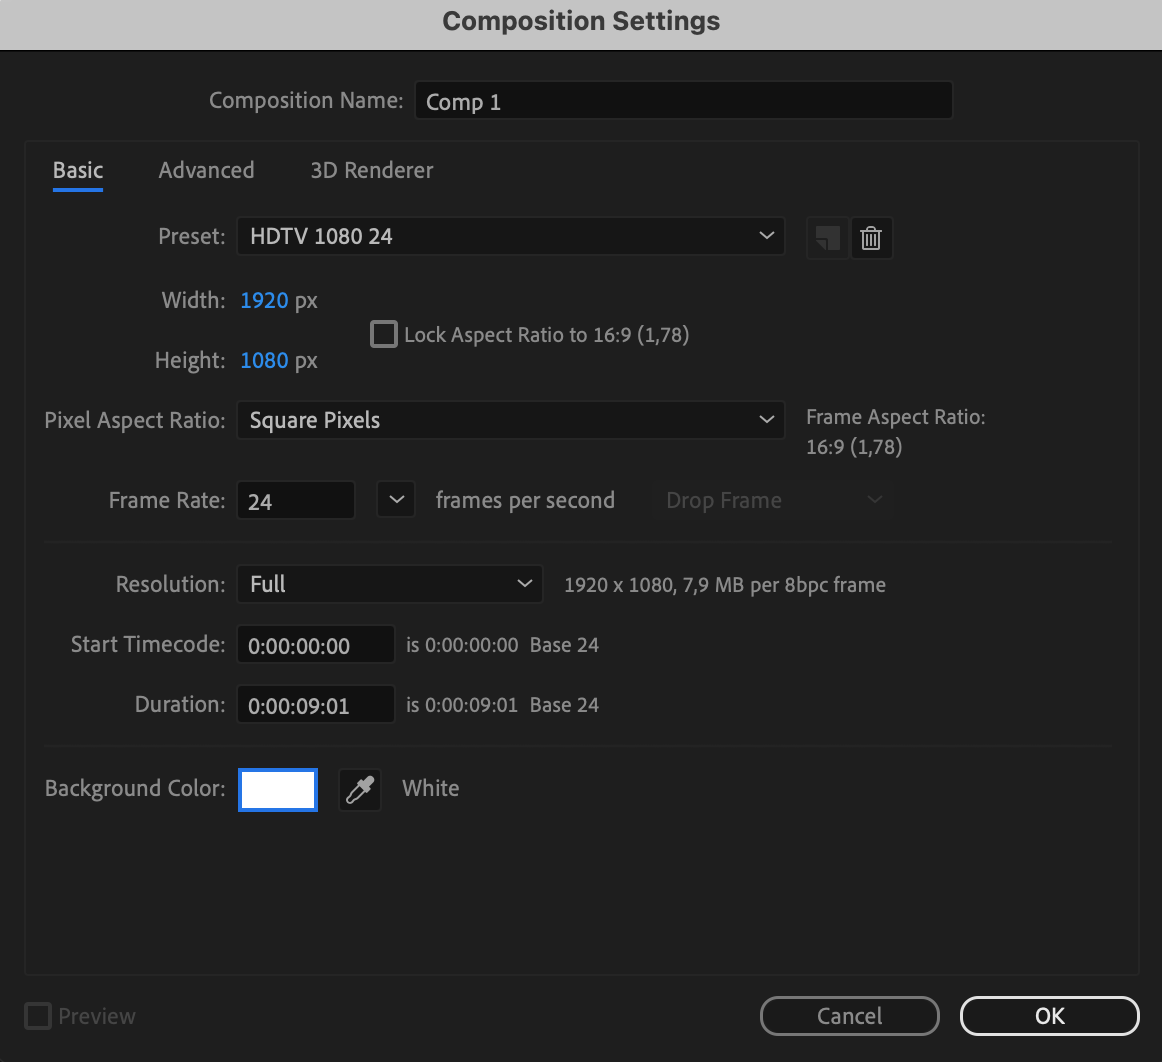
1. Create a new composition and adjust the settings:
Create a new composition and adjust its settings according to your project requirements.
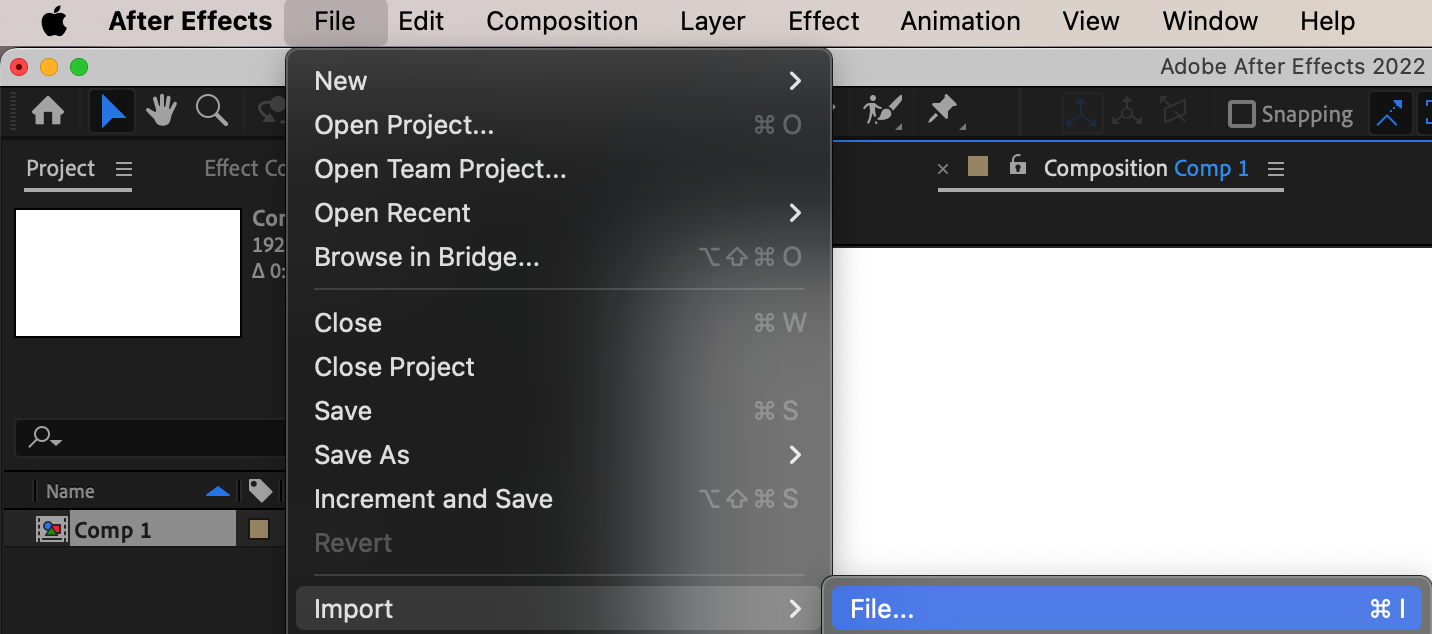
 2. Import the file:
Import the necessary file and drag it onto the composition panel.
3. Create a new Shape Layer:
Select “Layer” > “New” > “Shape Layer”.

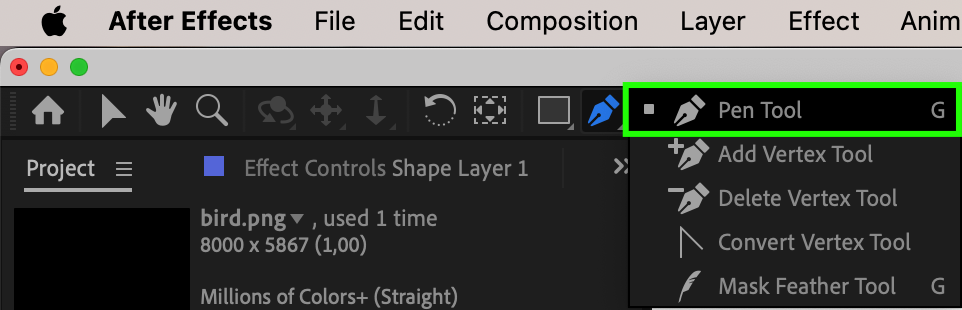
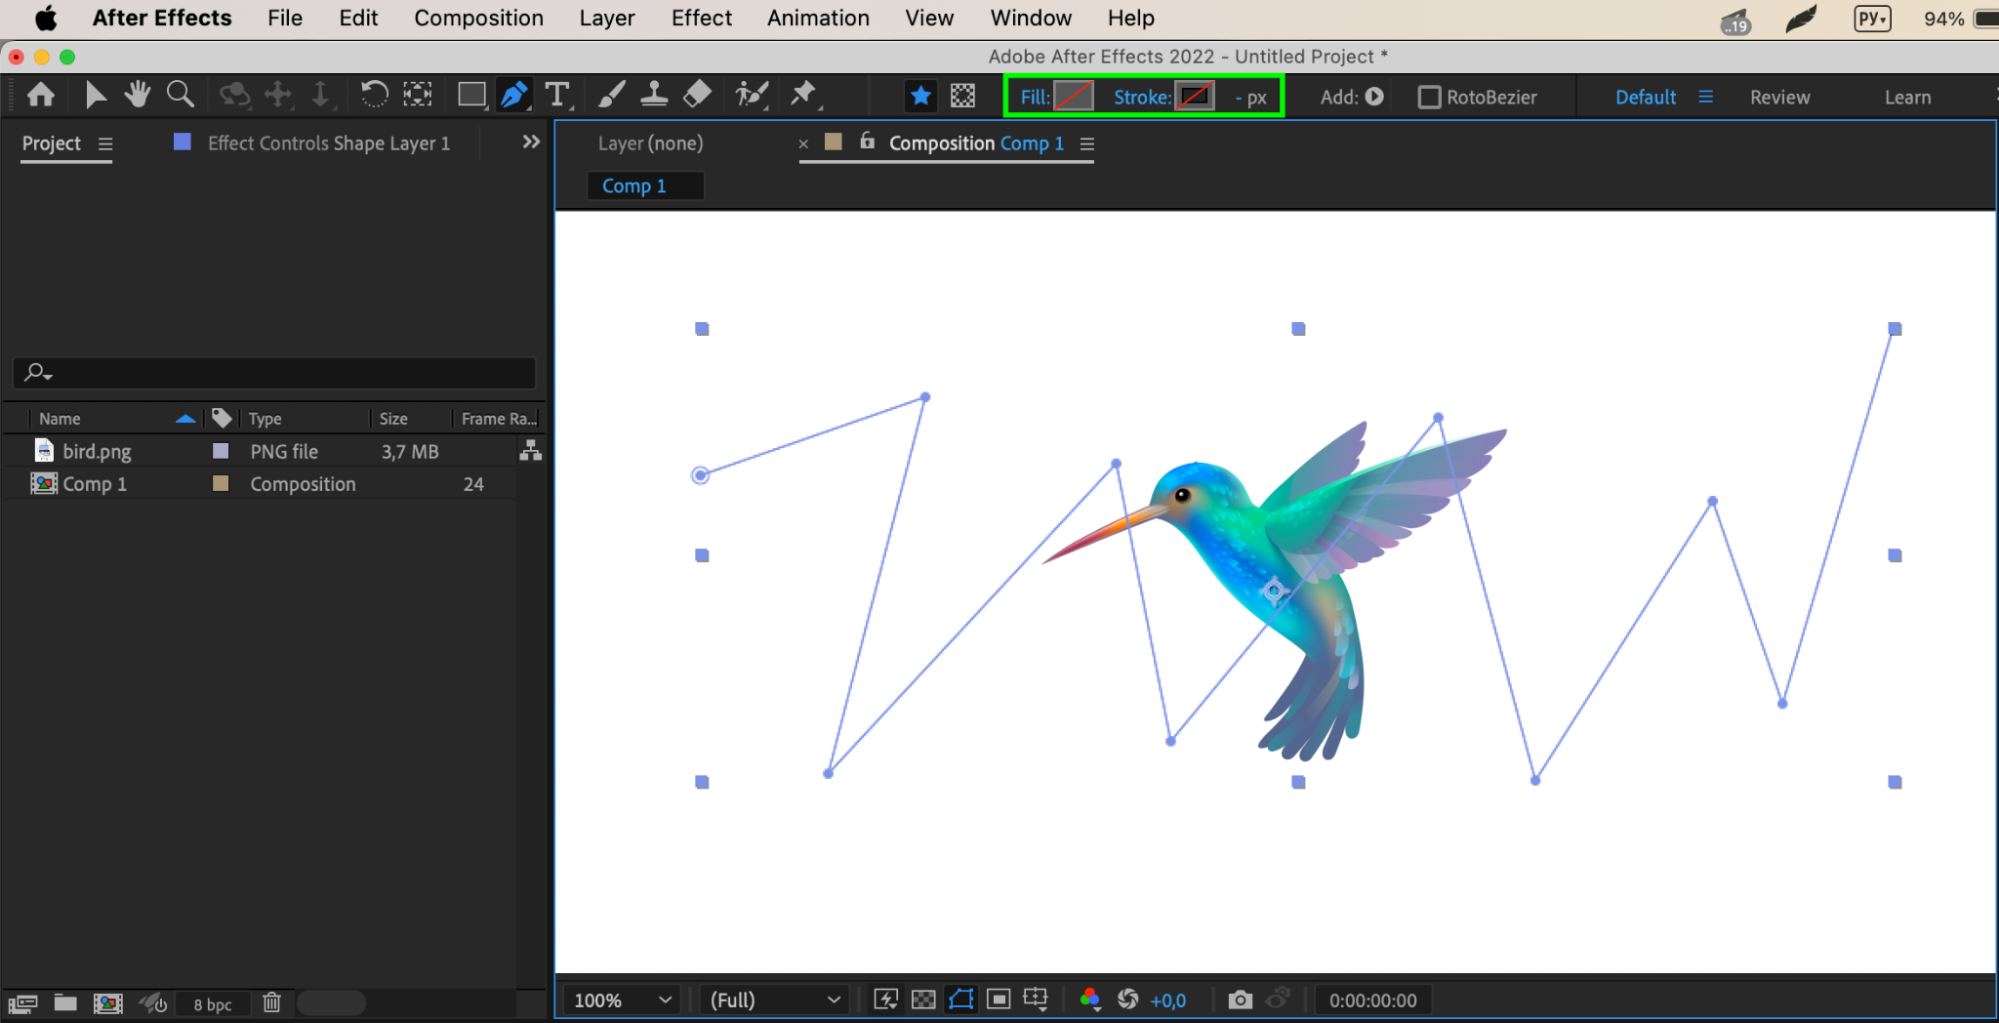
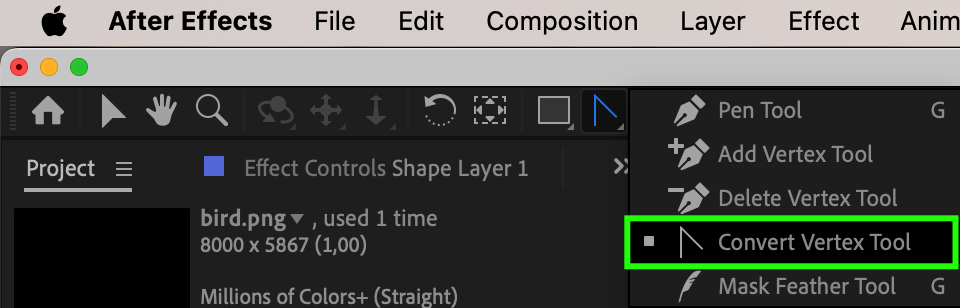
4. Use the Pen Tool (G) to create a path:
Use the “Pen Tool” (G) to create the desired path and use the “Convert Vertex Tool” to smooth out the lines.
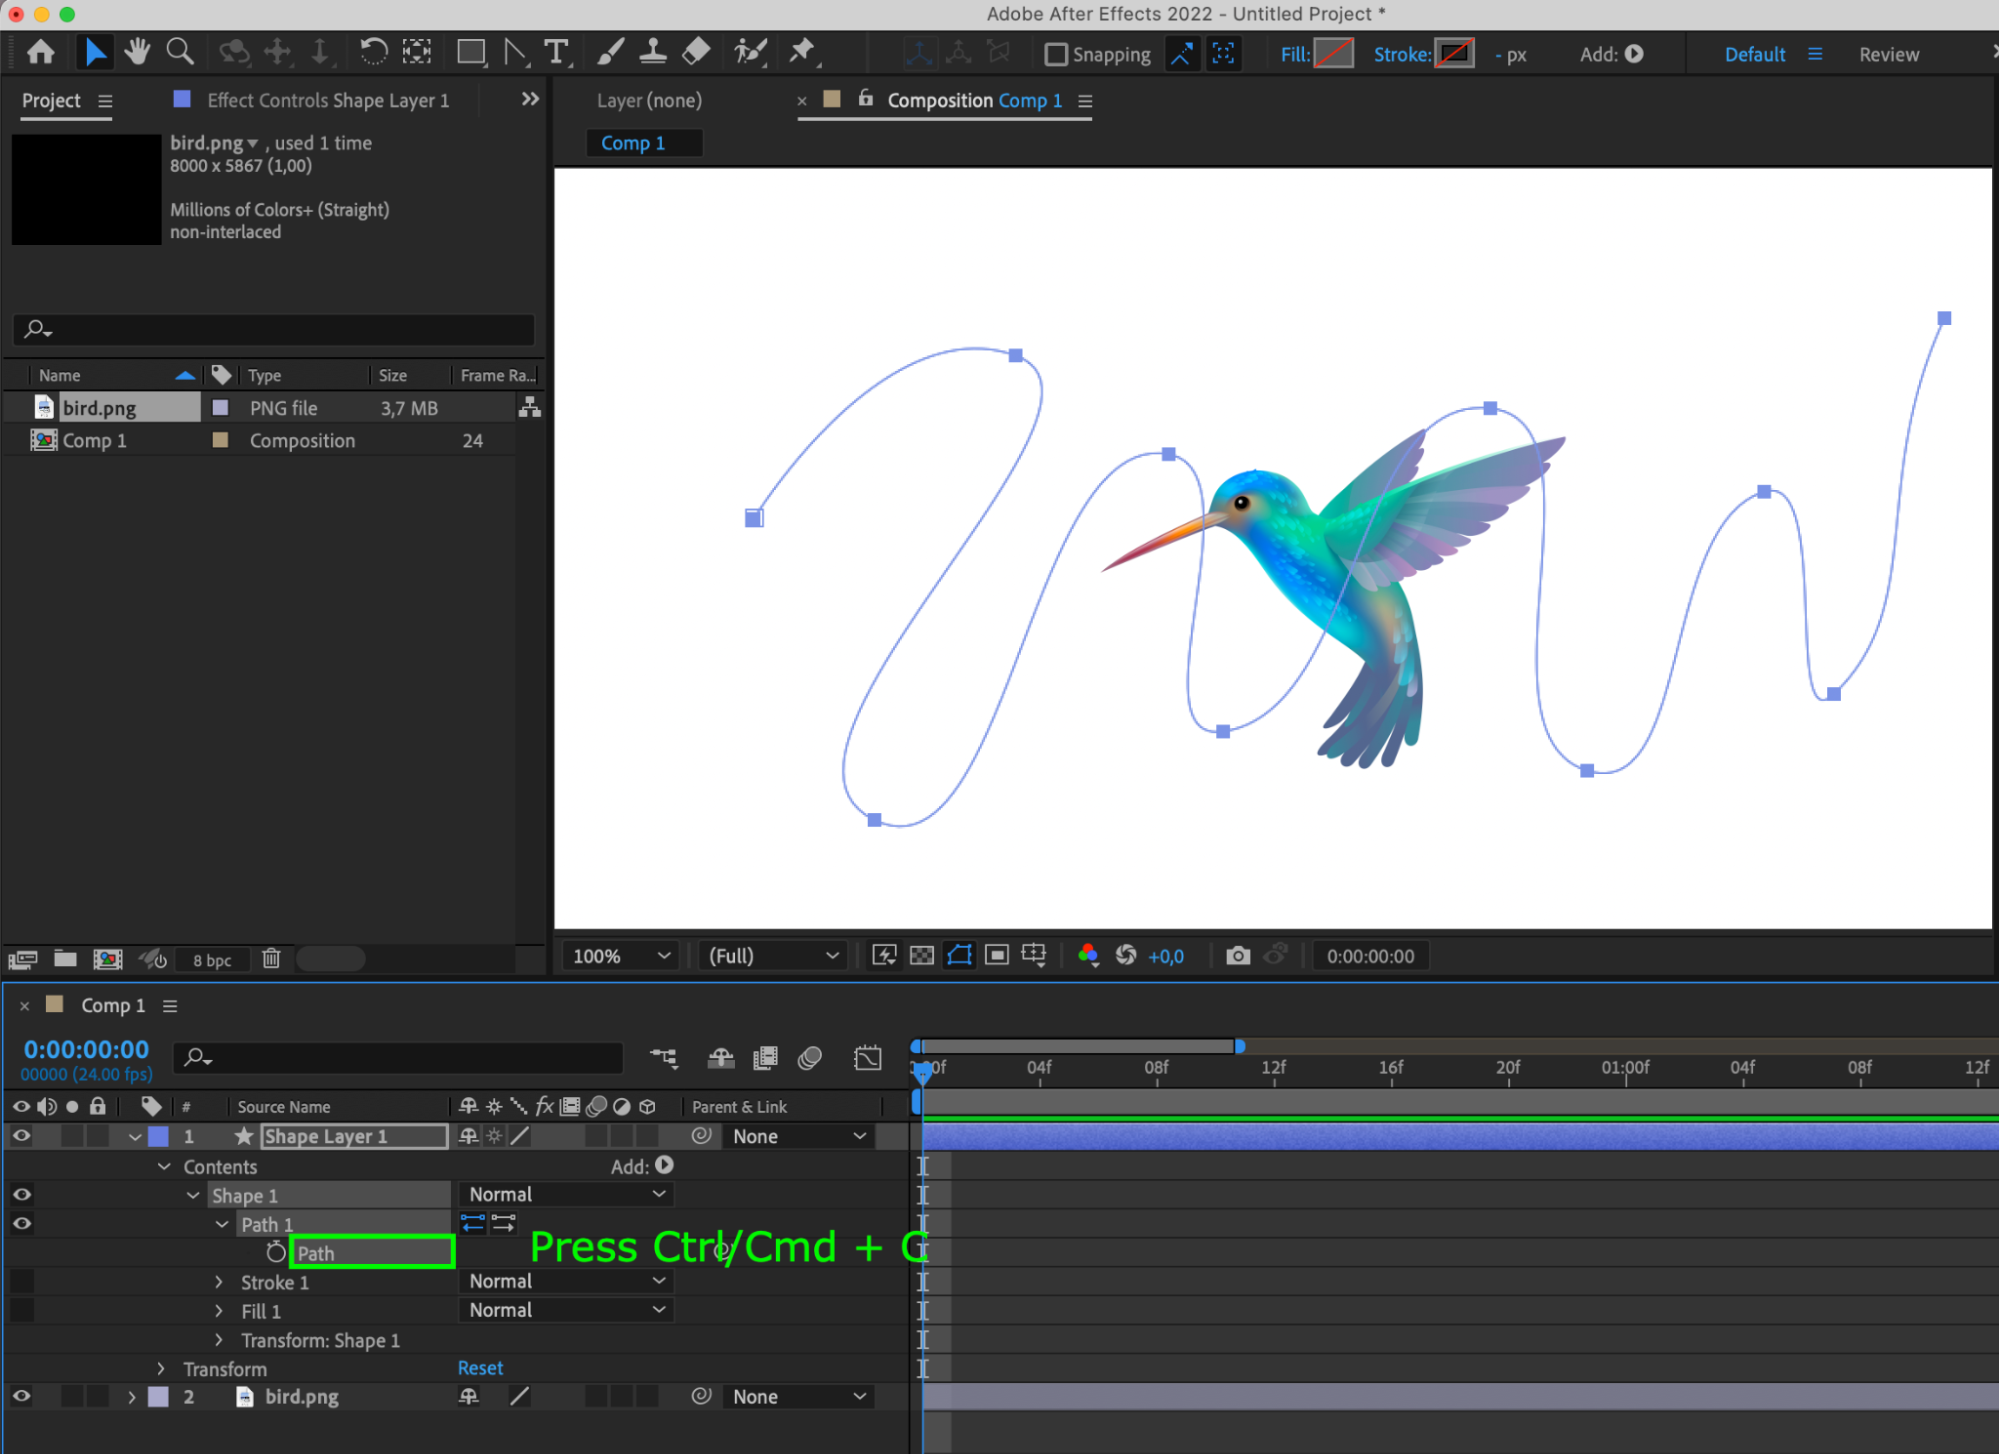
5. Copy the path to the layer’s properties:
Expand the layer’s properties, then “Contents” > “Shape 1” > “Path 1” > “Path” and copy it (Ctrl/Cmd + C).
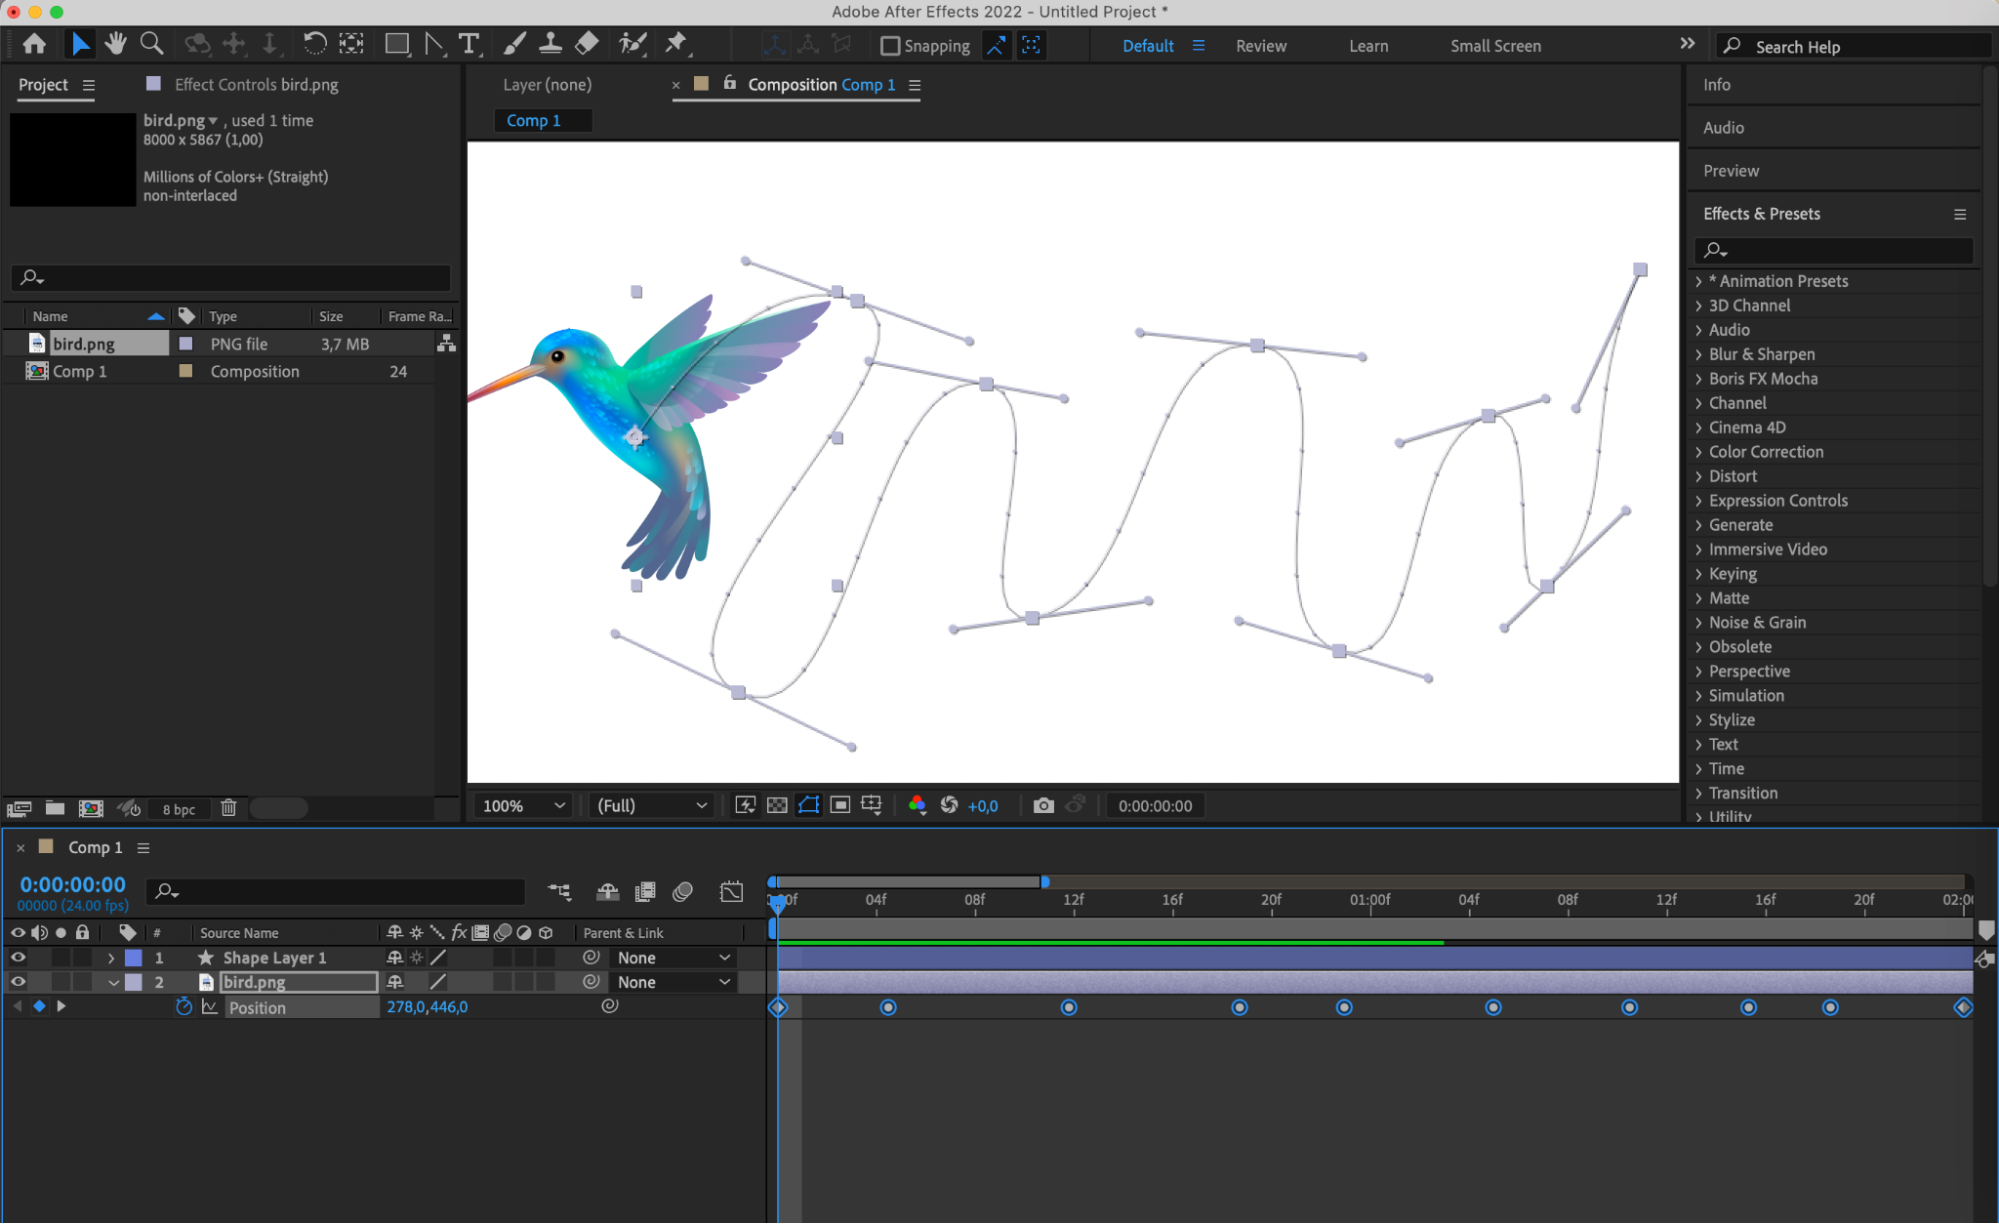
6. Attach the path to the Position property:
Select the layer with the file, open the “Position” (P) properties, select it, and paste the copied path (Ctrl/Cmd + V).

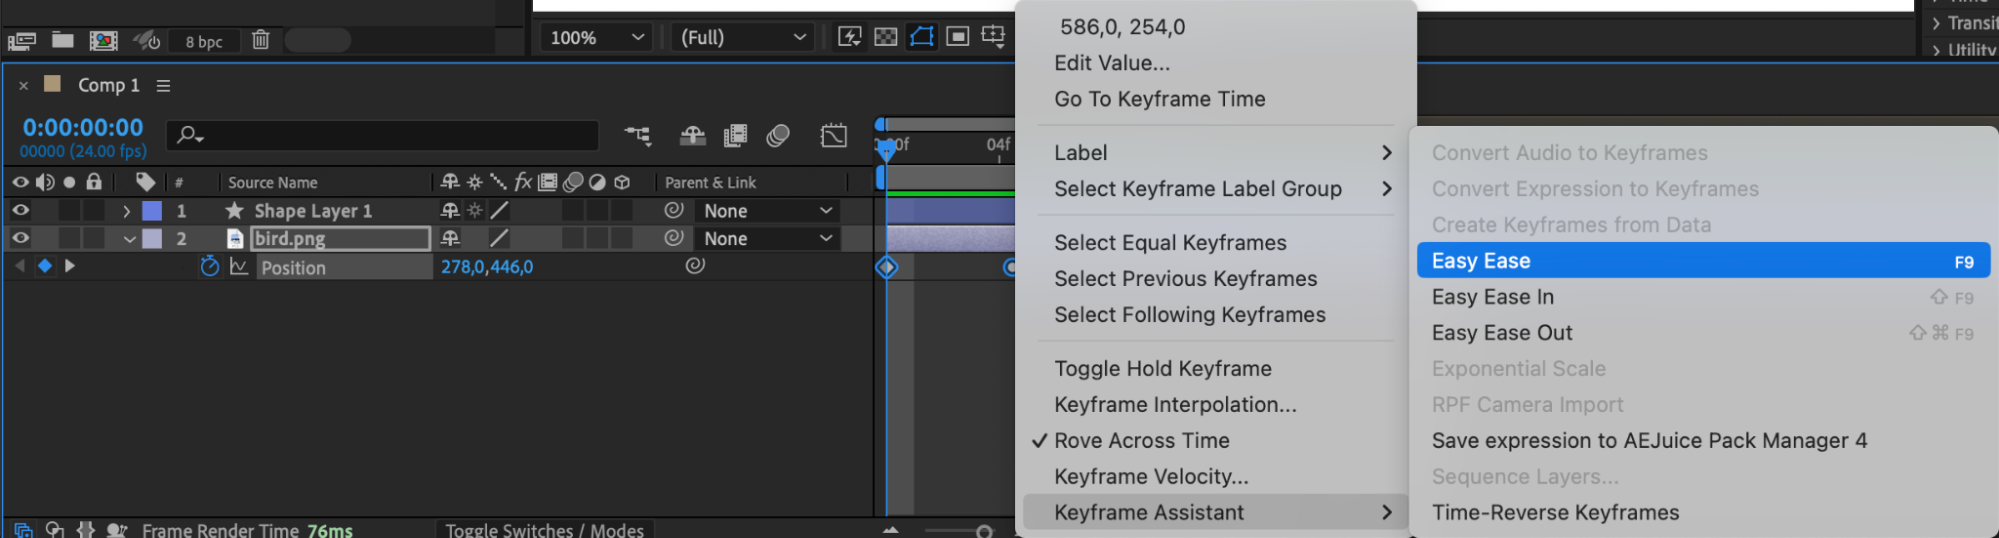
7. Apply “Easy Ease” to the keyframes:
Select all keyframes, right-click, and choose “Keyframe Assistant” > “Easy Ease”.
8. Use the Graph Editor for smoother animation:
Open the Graph Editor and adjust the animation for smoother movement.


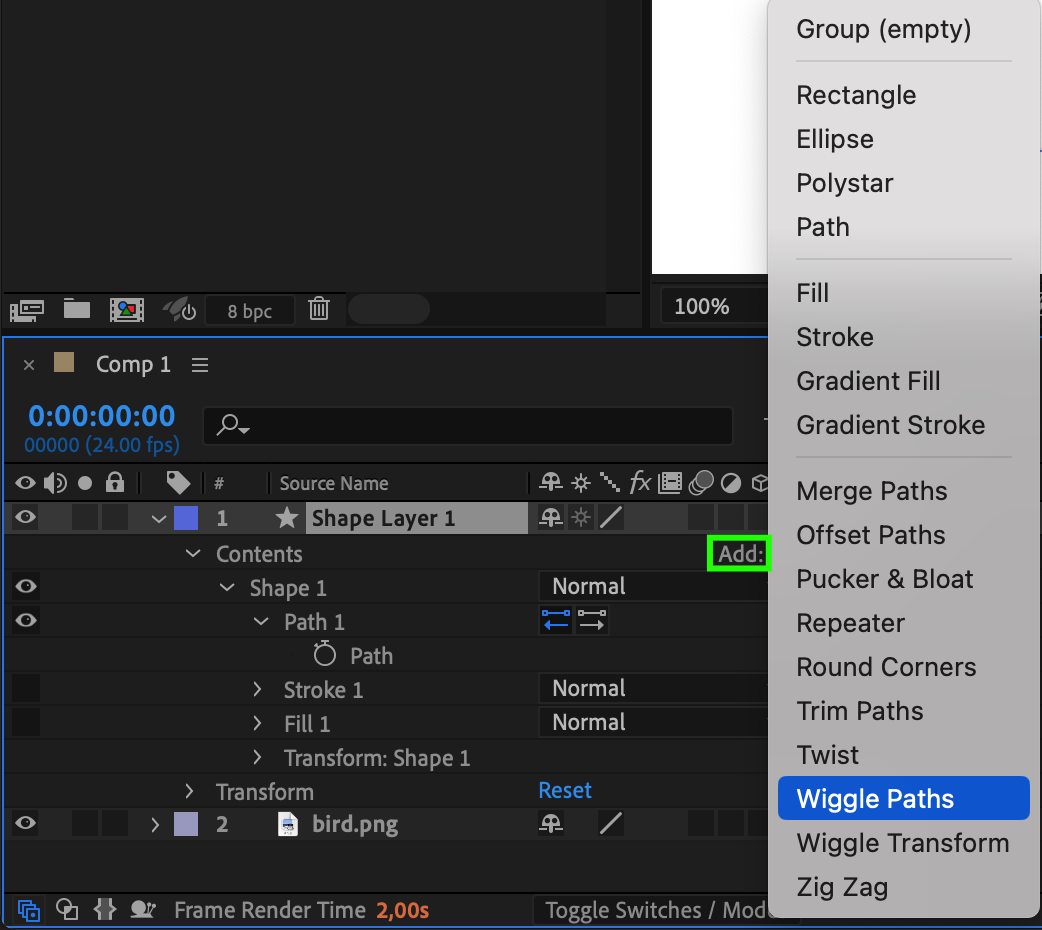
9. Add Wiggle Path for animated motion:
Select “Shape Layer 1”, click on “+ (Add)” to the right of “Contents”, and choose “Wiggle Path”.
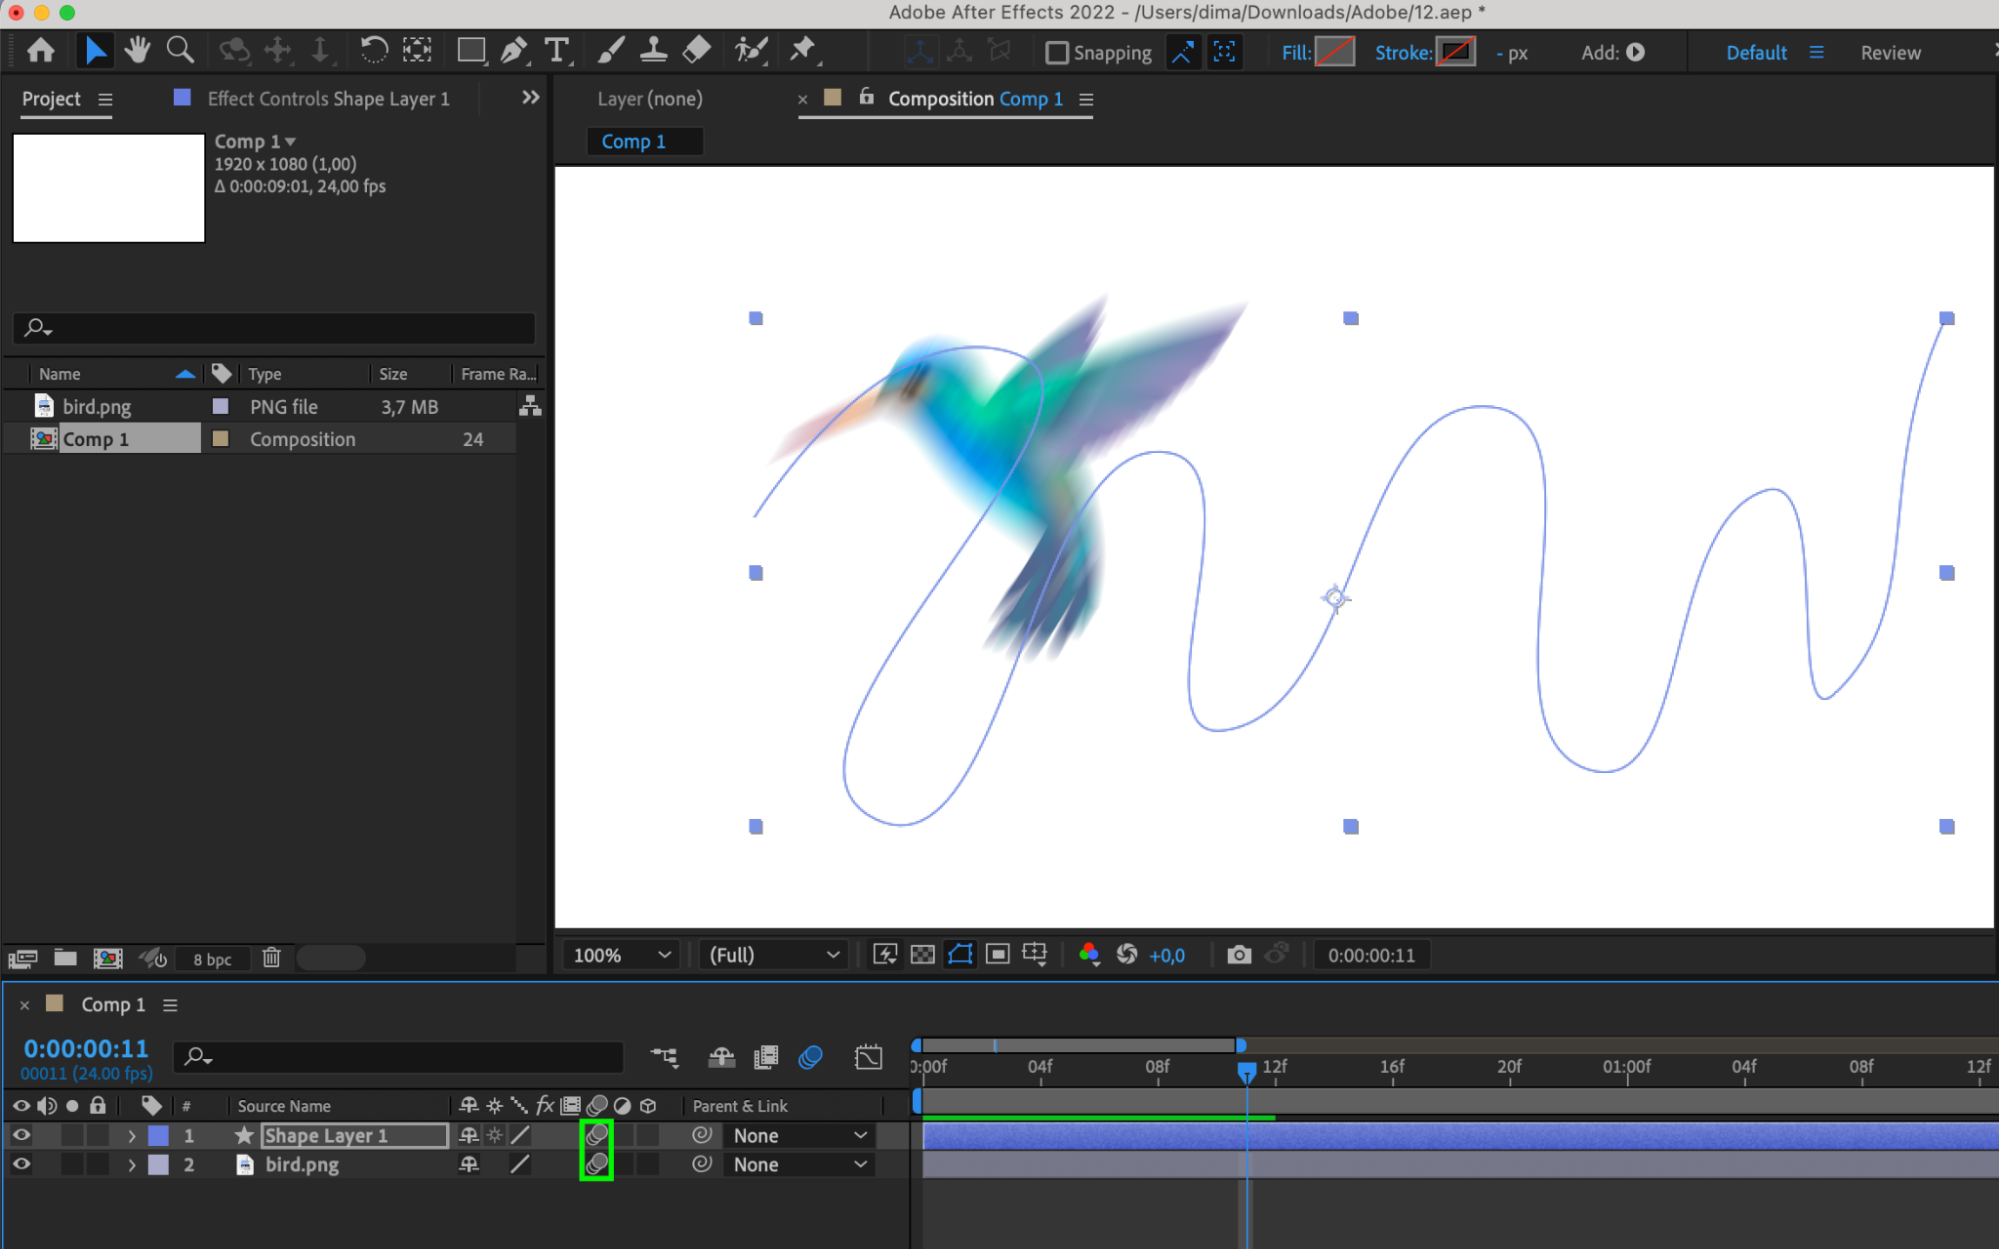
10. Enable Motion Blur for realism:
Click on the “Enable Motion Blur” button and enable it for each layer where necessary.

11. Use previews to evaluate the result:
Preview the animation to evaluate the final result.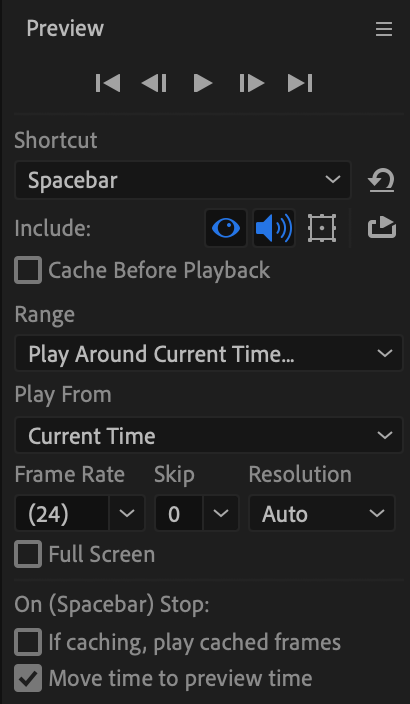 Done! Now you have a path that can be animated in After Effects.
Conclusion
Mastering path creation and animation in After Effects unlocks a world of creative possibilities for your motion graphics projects. With the ability to craft custom paths, control movement, and add depth to your compositions, you’re empowered to bring your ideas to life with precision and finesse. Whether you’re creating dynamic motion graphics sequences or subtle visual effects, understanding the nuances of path creation elevates the impact of your work, captivating your audience and immersing them in your storytelling. Embrace the power of paths in After Effects, and let your creativity soar.
Our Bestsellers

