How to Make a Photo Slideshow in Adobe After Effects”
Introduction: “Transform Your Photos into an Eye-Catching Slideshow”
Are you tired of looking at your plain, static photos? Do you want to make them come alive and grab everyone’s attention? Well, you’re in luck because Adobe After Effects is here to help! With this powerful software, you can transform your photos into an eye-catching slideshow that will leave your audience in awe.
Get 10% off when you subscribe to our newsletter

Creating a slideshow in Adobe After Effects may seem daunting at first, but don’t worry, we’ve got you covered. In this step-by-step tutorial, we’ll walk you through the entire process, from planning and gathering your photos to adding transitions, effects, and animations that will make your slideshow truly captivating.
Step 1: Planning and Organizing Your Photos
First things first, carefully curate the photos that will tell your story. Organize them in a logical sequence to maintain a cohesive narrative flow throughout your slideshow.
Step 2: Importing and Setting Up in After Effects
Import your selected photos into After Effects. Create a new composition, adjusting dimensions and duration to match your photo specifications for optimal display.
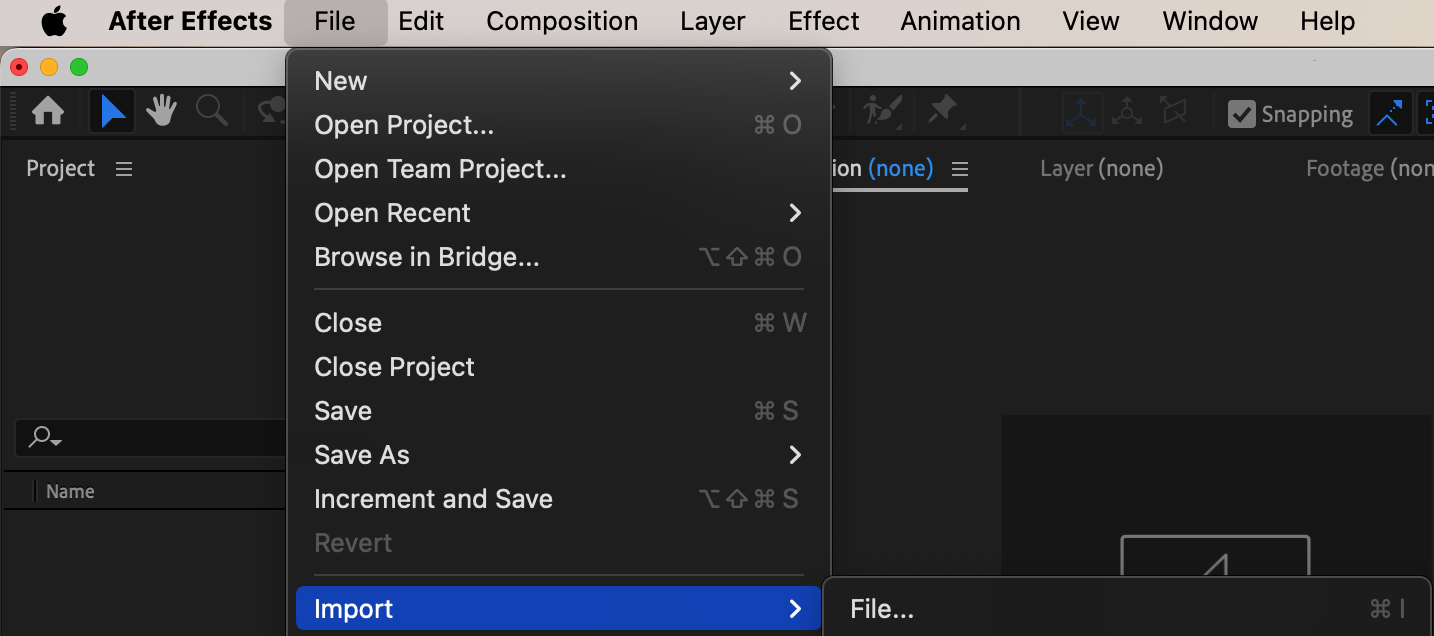

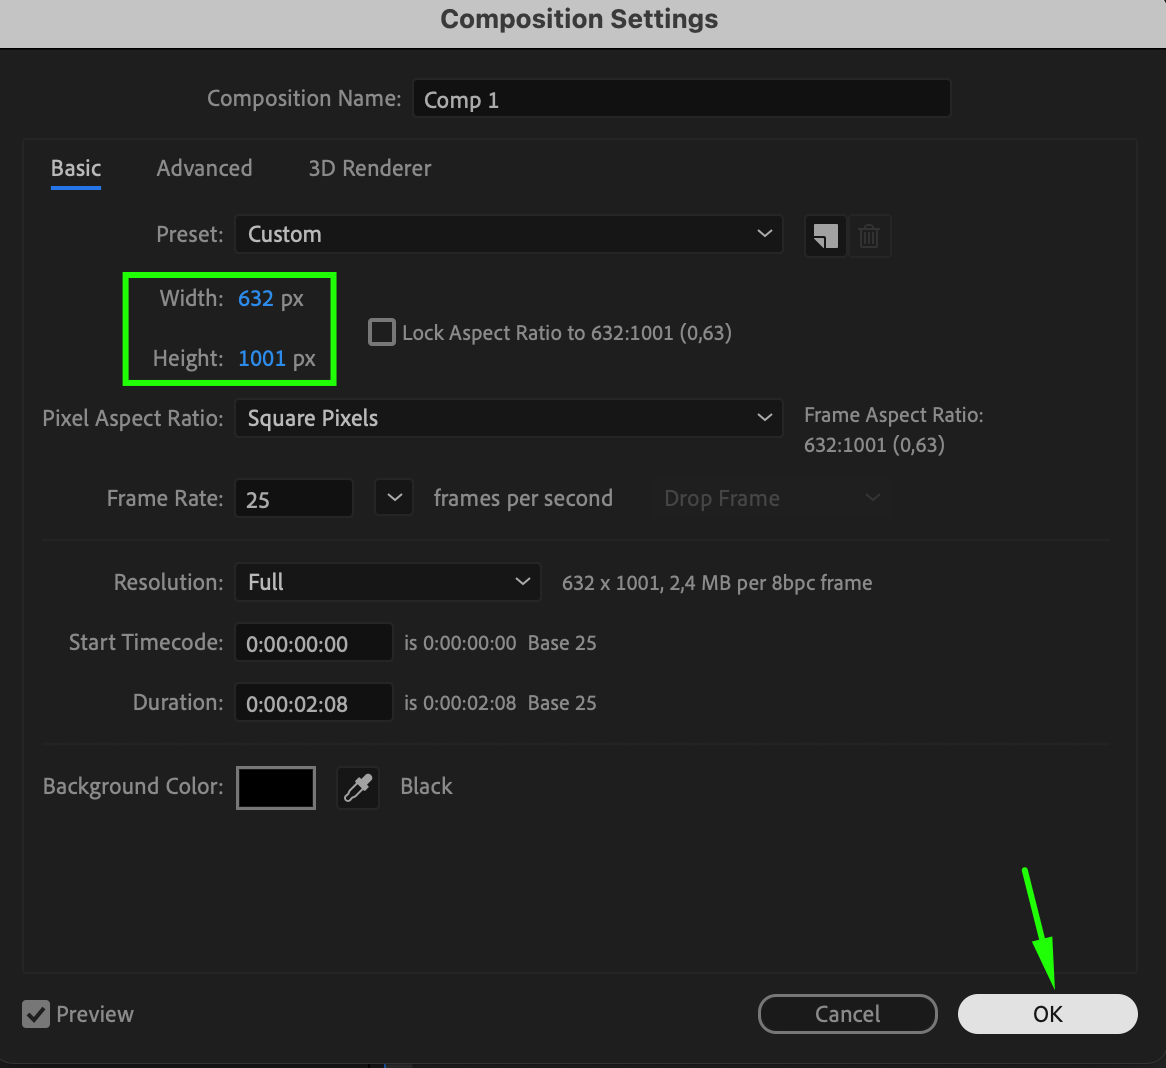
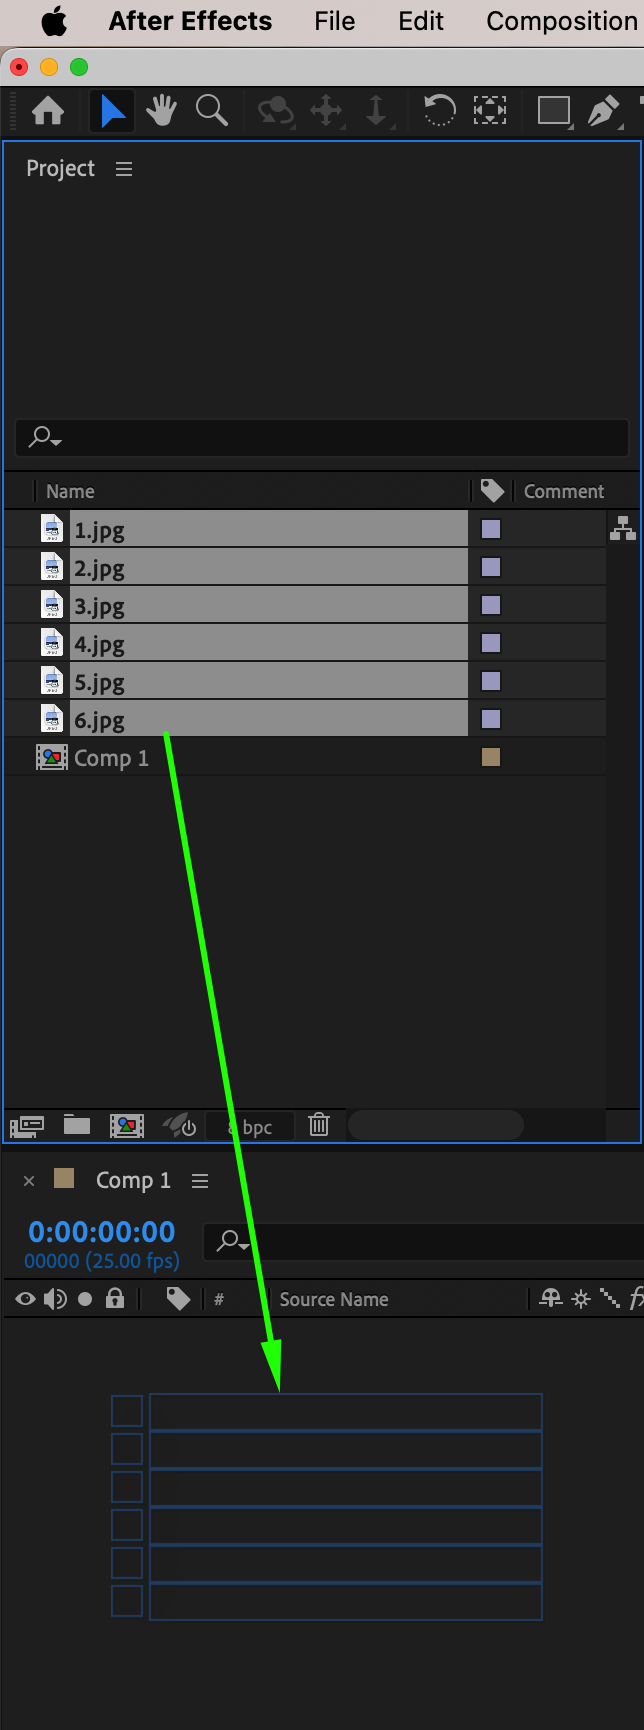 Step 3: Trimming and Arranging Photos
Use the “Alt/Option + [” and “Alt/Option + ]” shortcuts to trim your photo layers using the current time indicator. Arrange each photo layer within the composition panel as desired.


 Step 4: Positioning Photos with Transform Controls
Use the Transform section under each image layer to adjust the placement of each photo on the composition panel as needed.
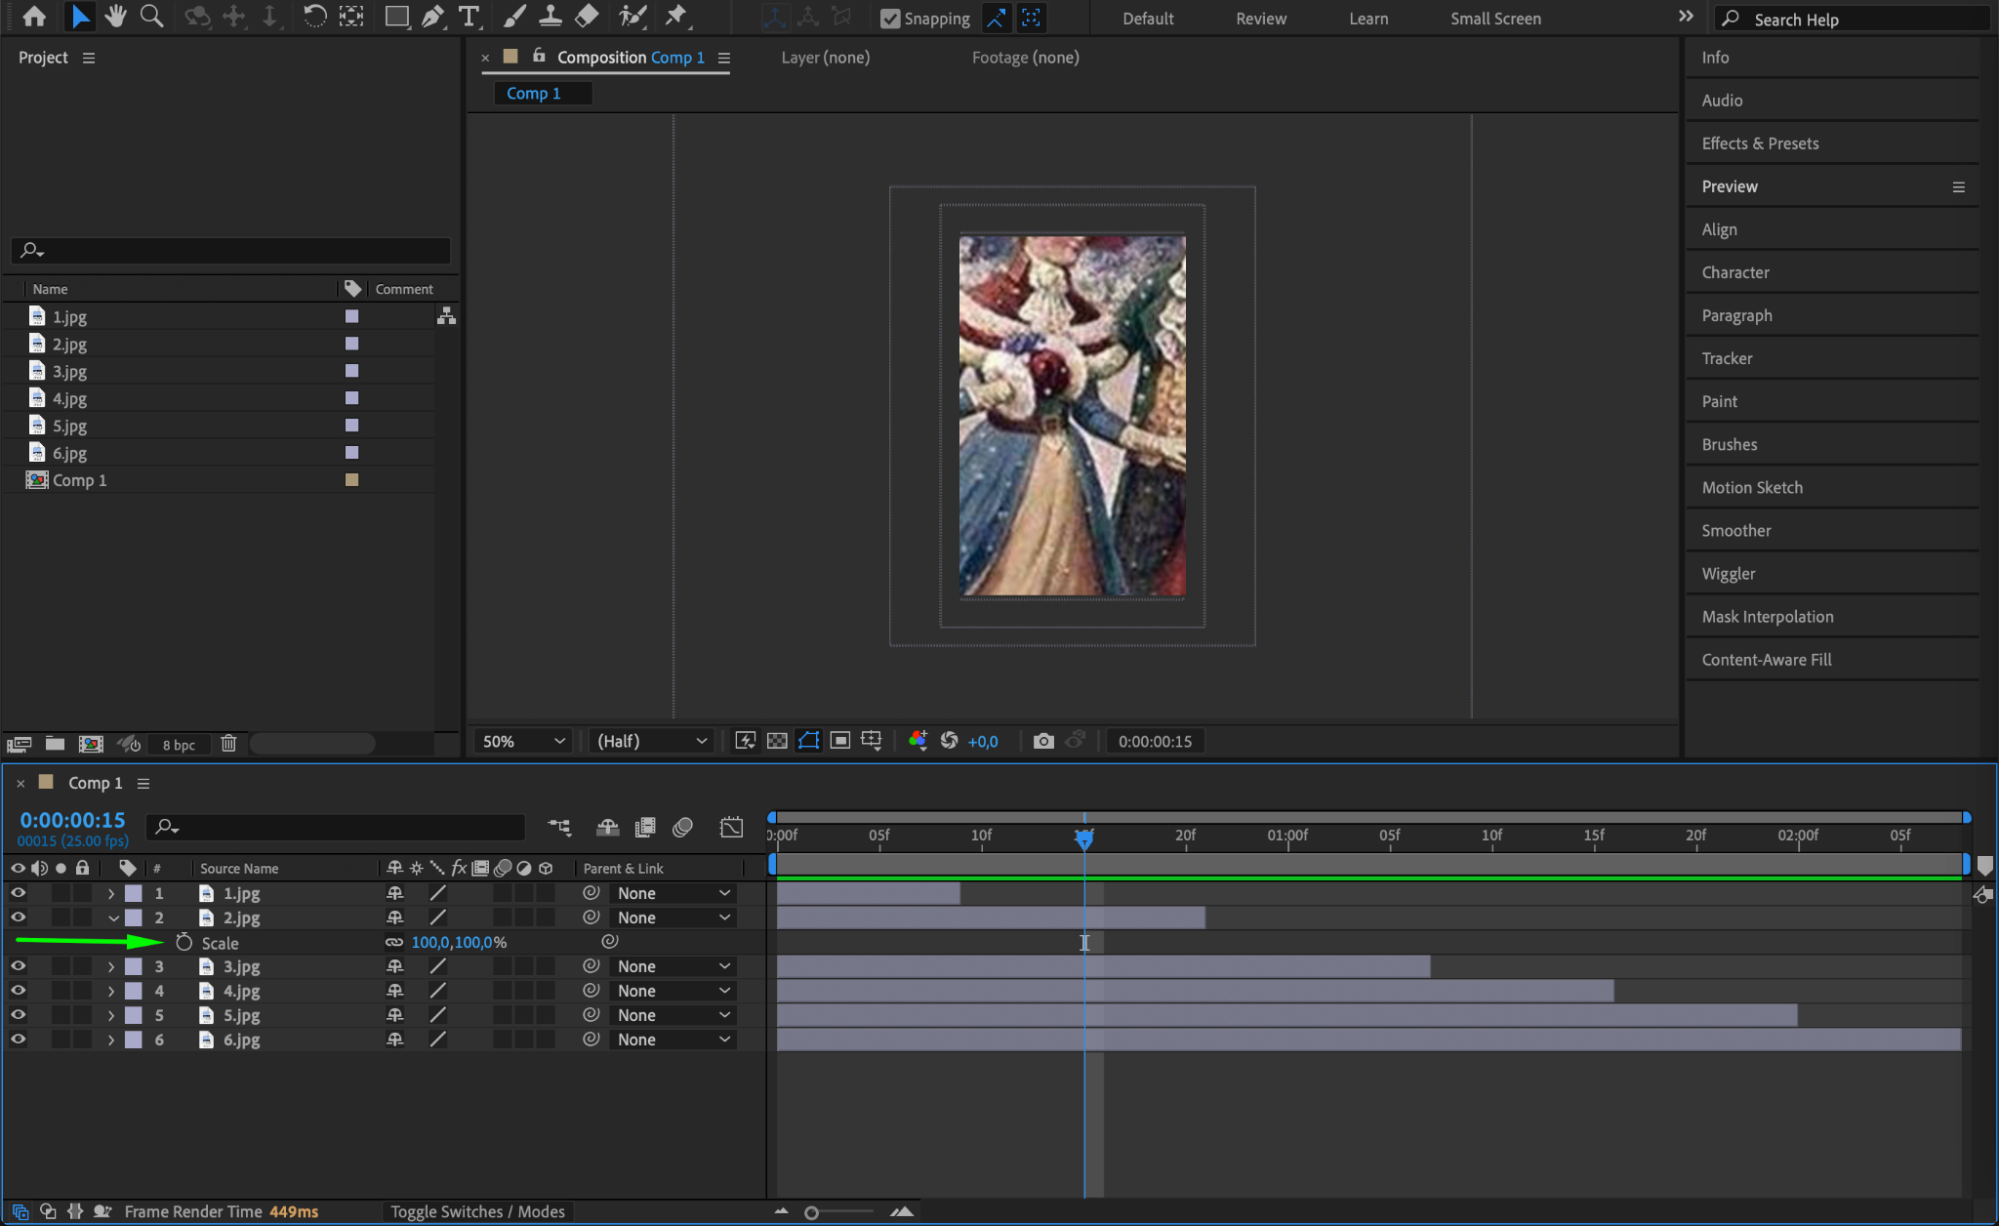
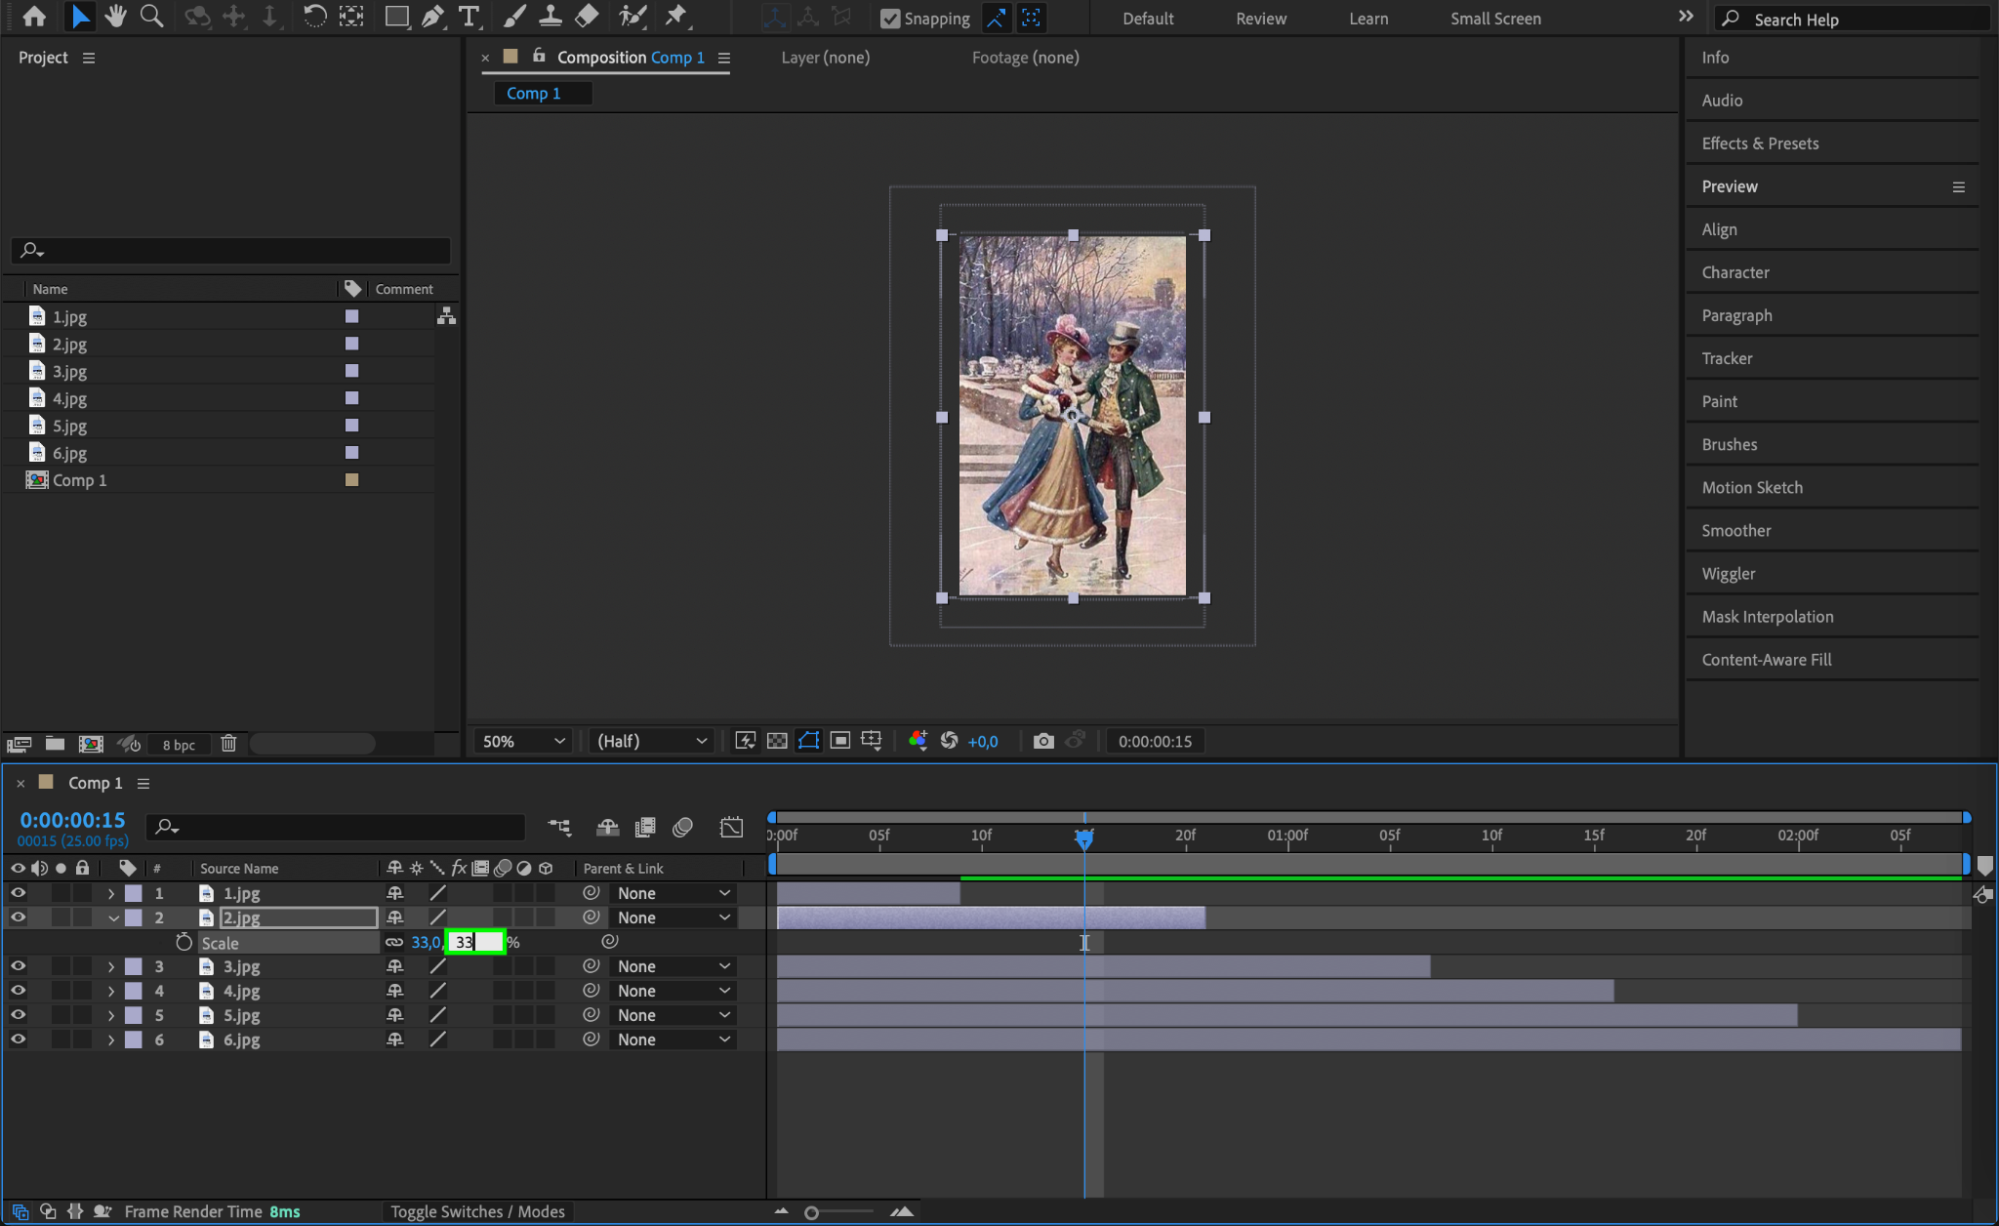 Step 5: Adding Transitions and Effects
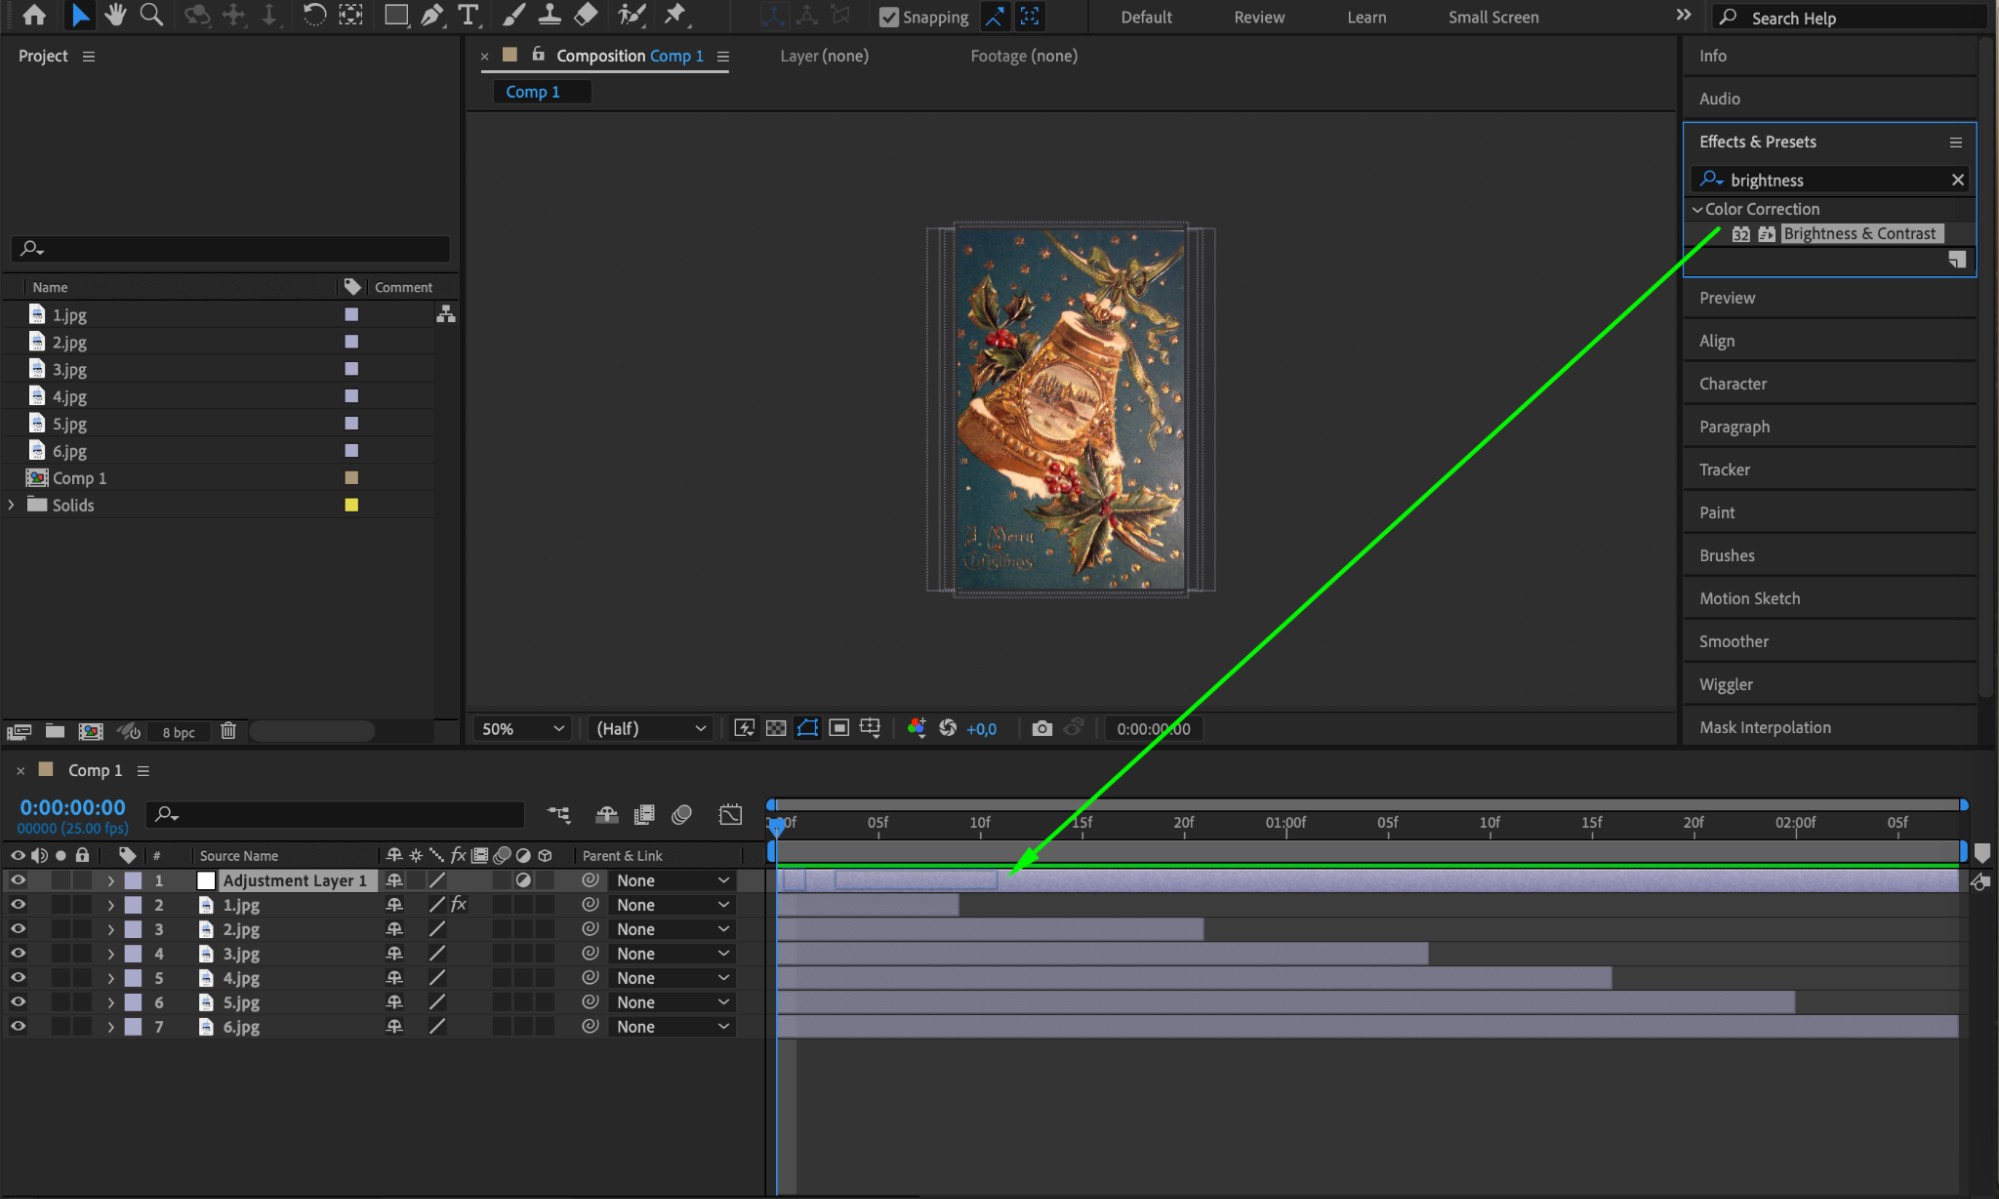
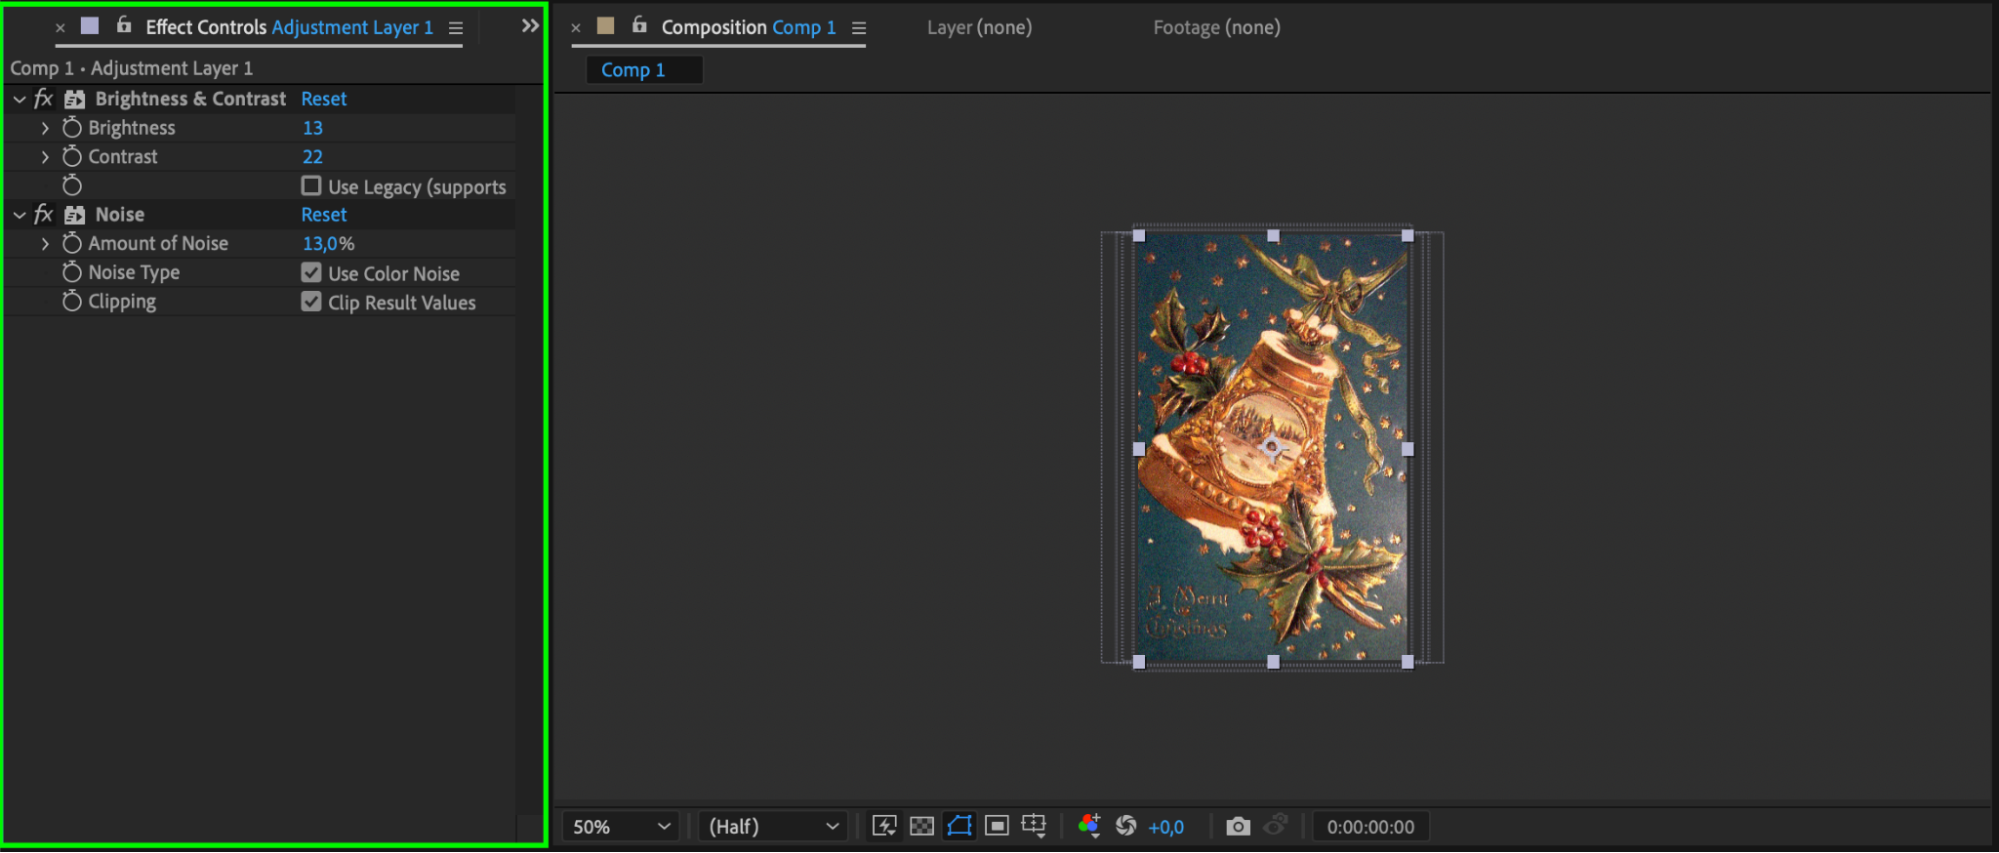
Enhance your slideshow with animated transitions like fades and wipes. Experiment with various effects such as filters and color correction to enhance visual appeal. To give all photos a consistent look, create an adjustment layer placed above the photos you want to apply uniform processing to, then add effects to the adjustment layer.
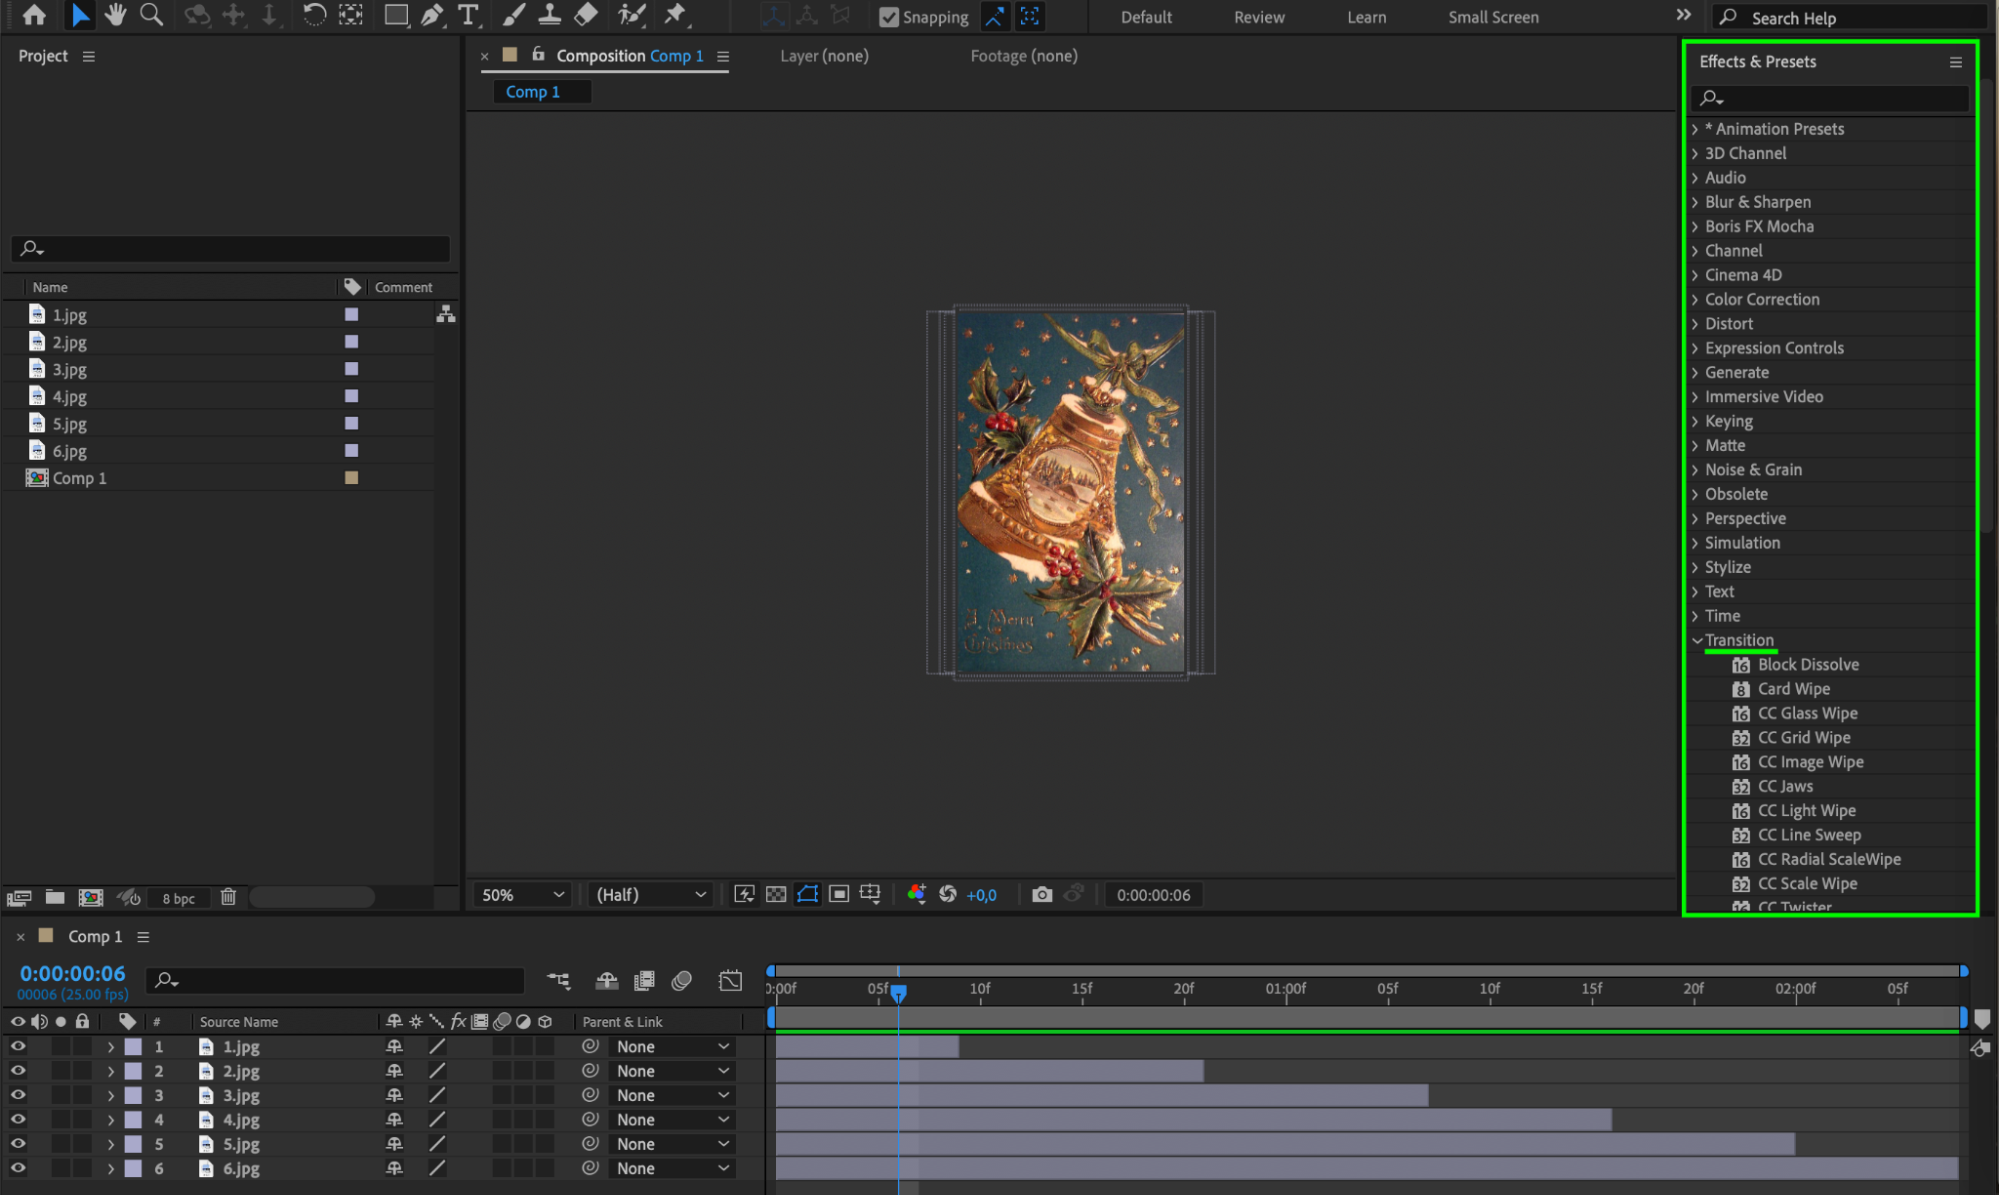

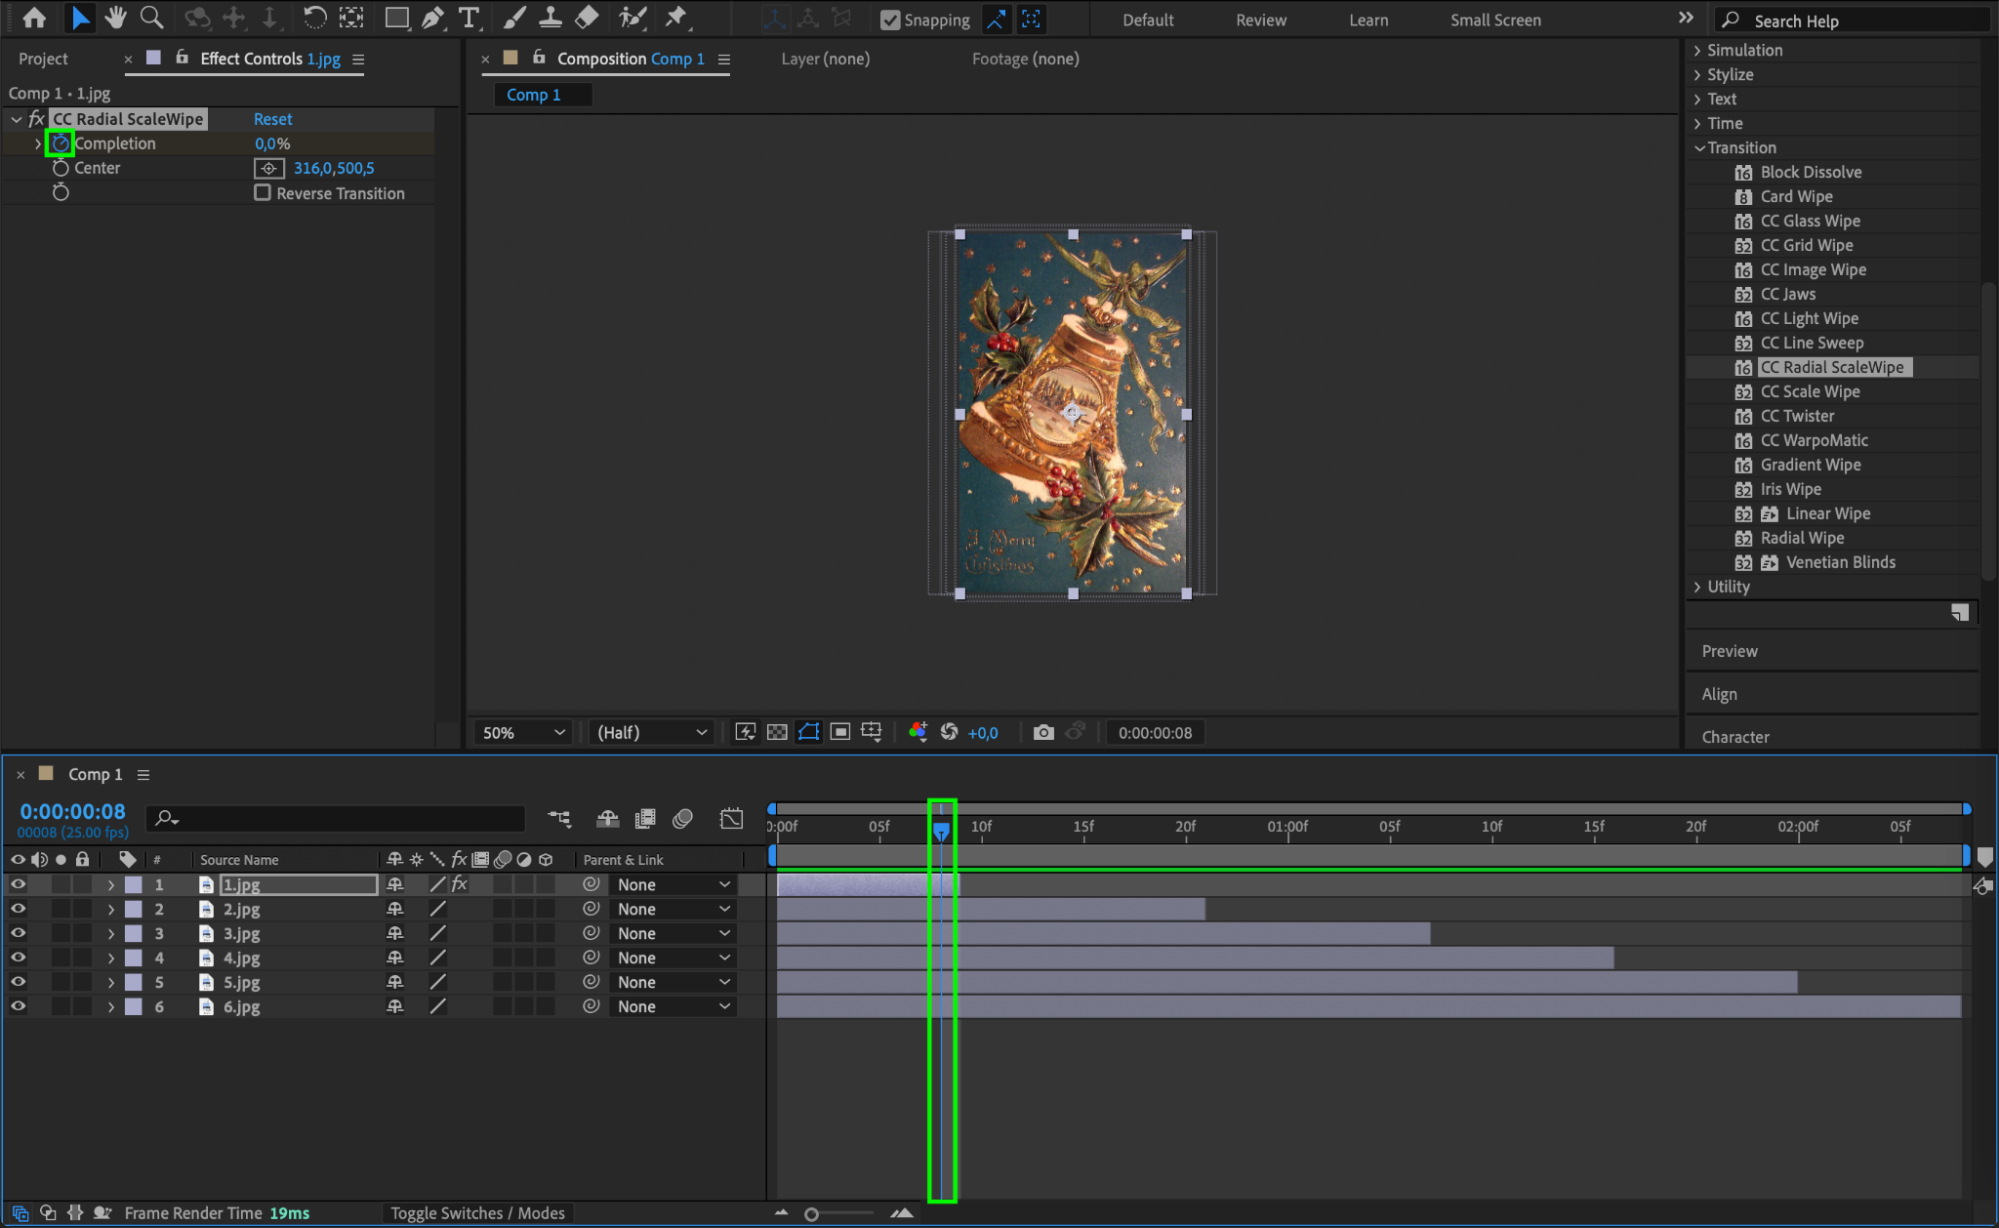

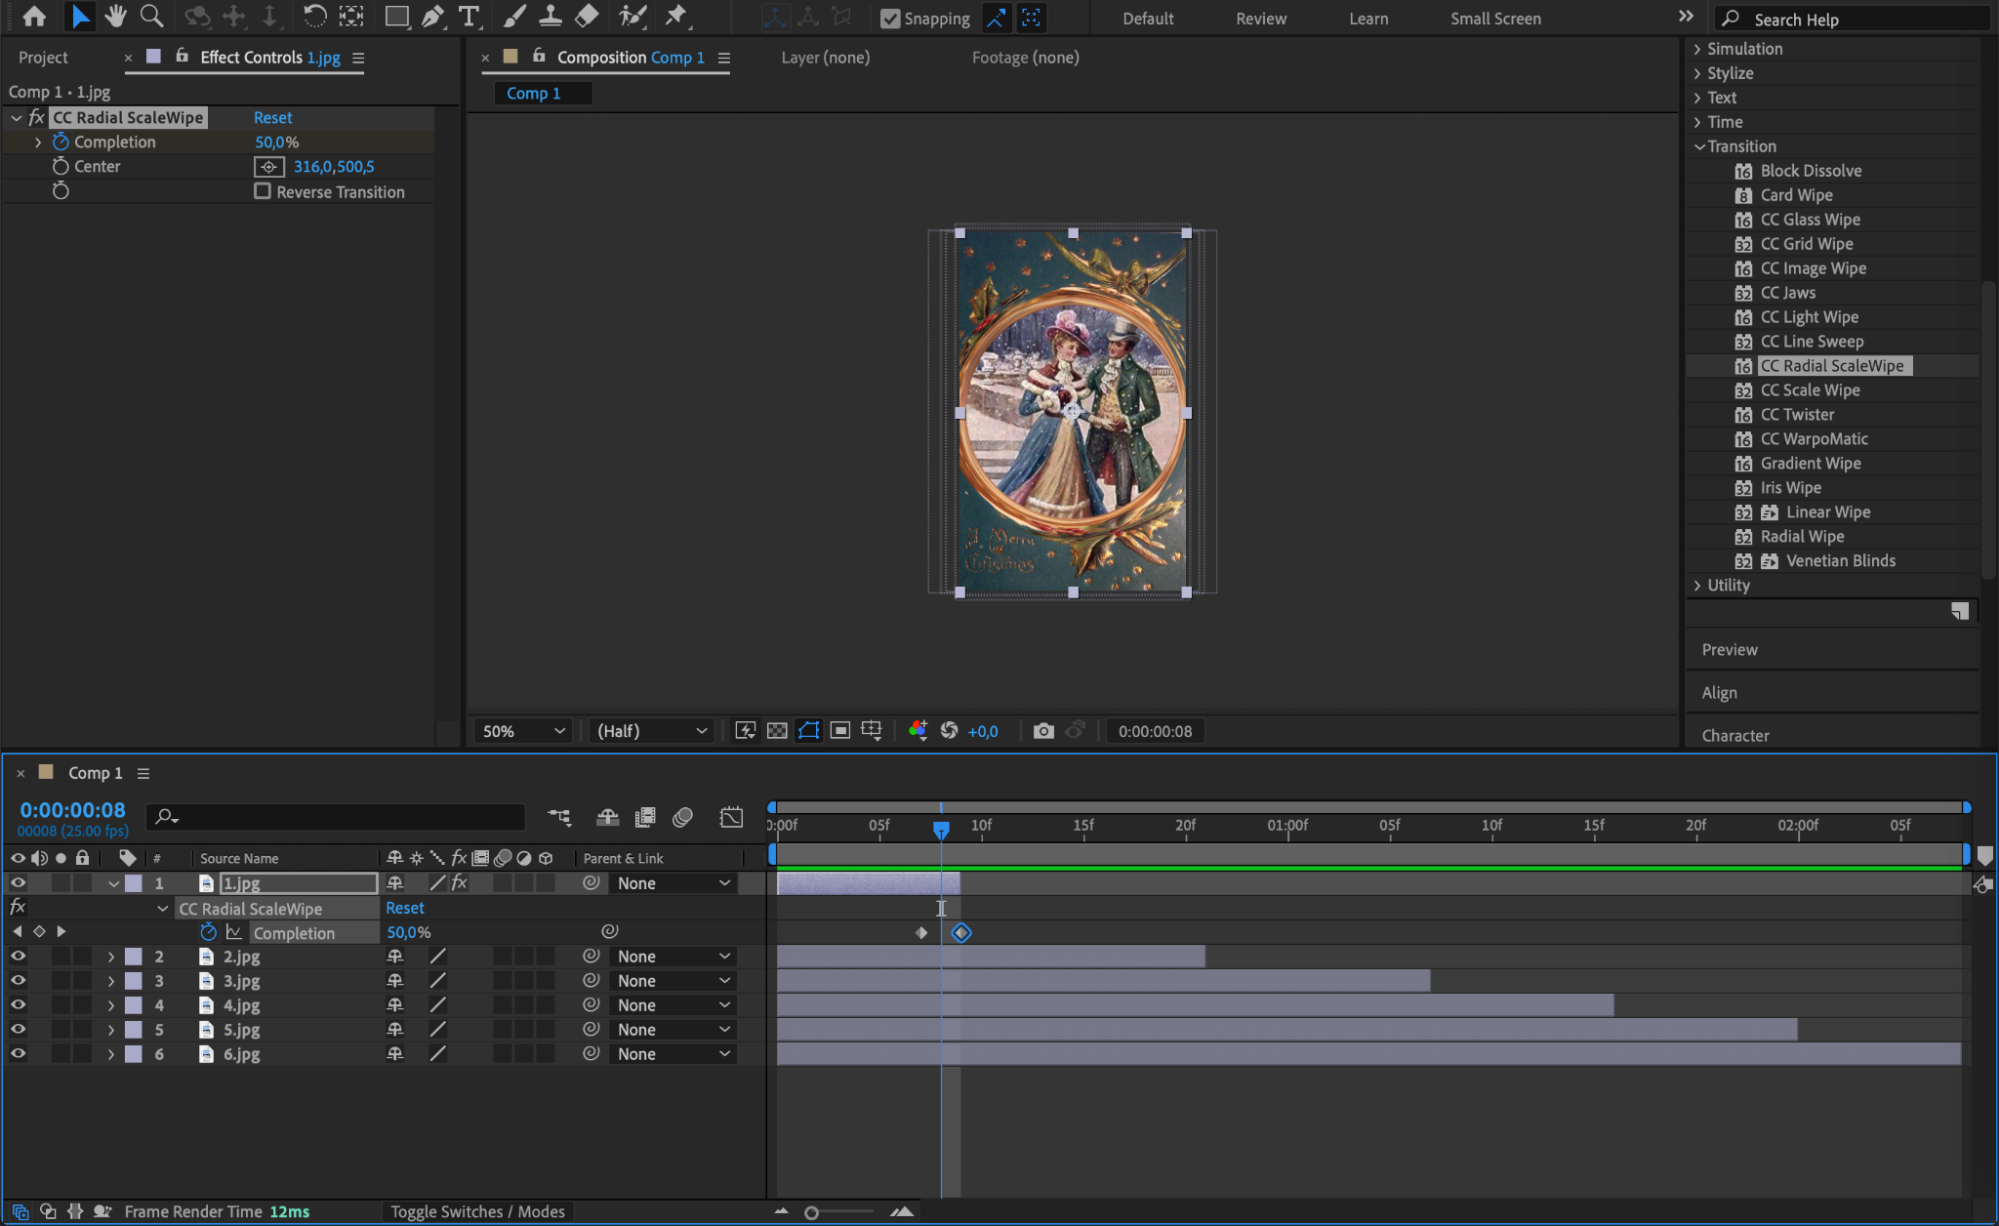
Step 6: Animating Your Photos
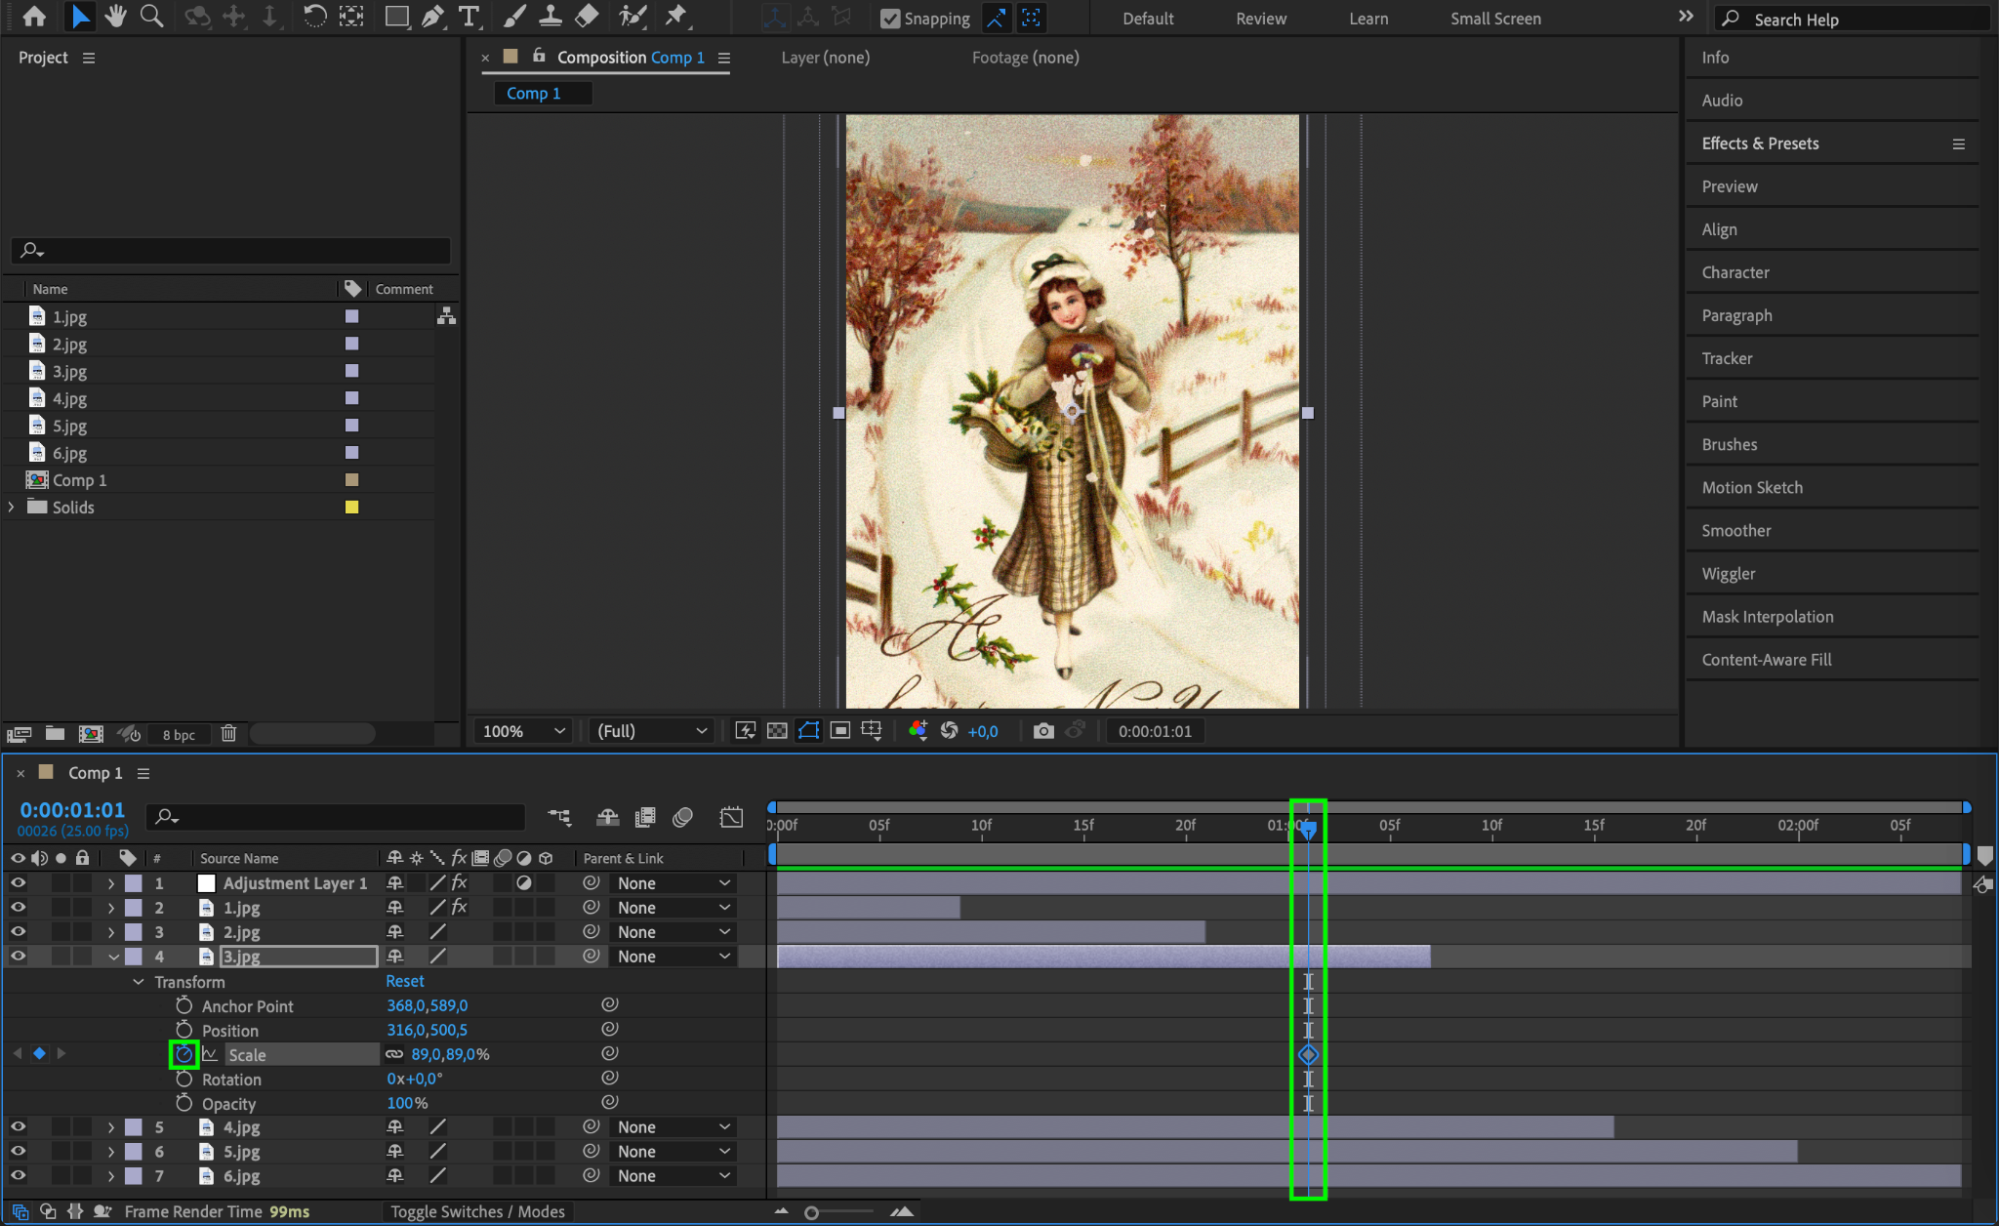
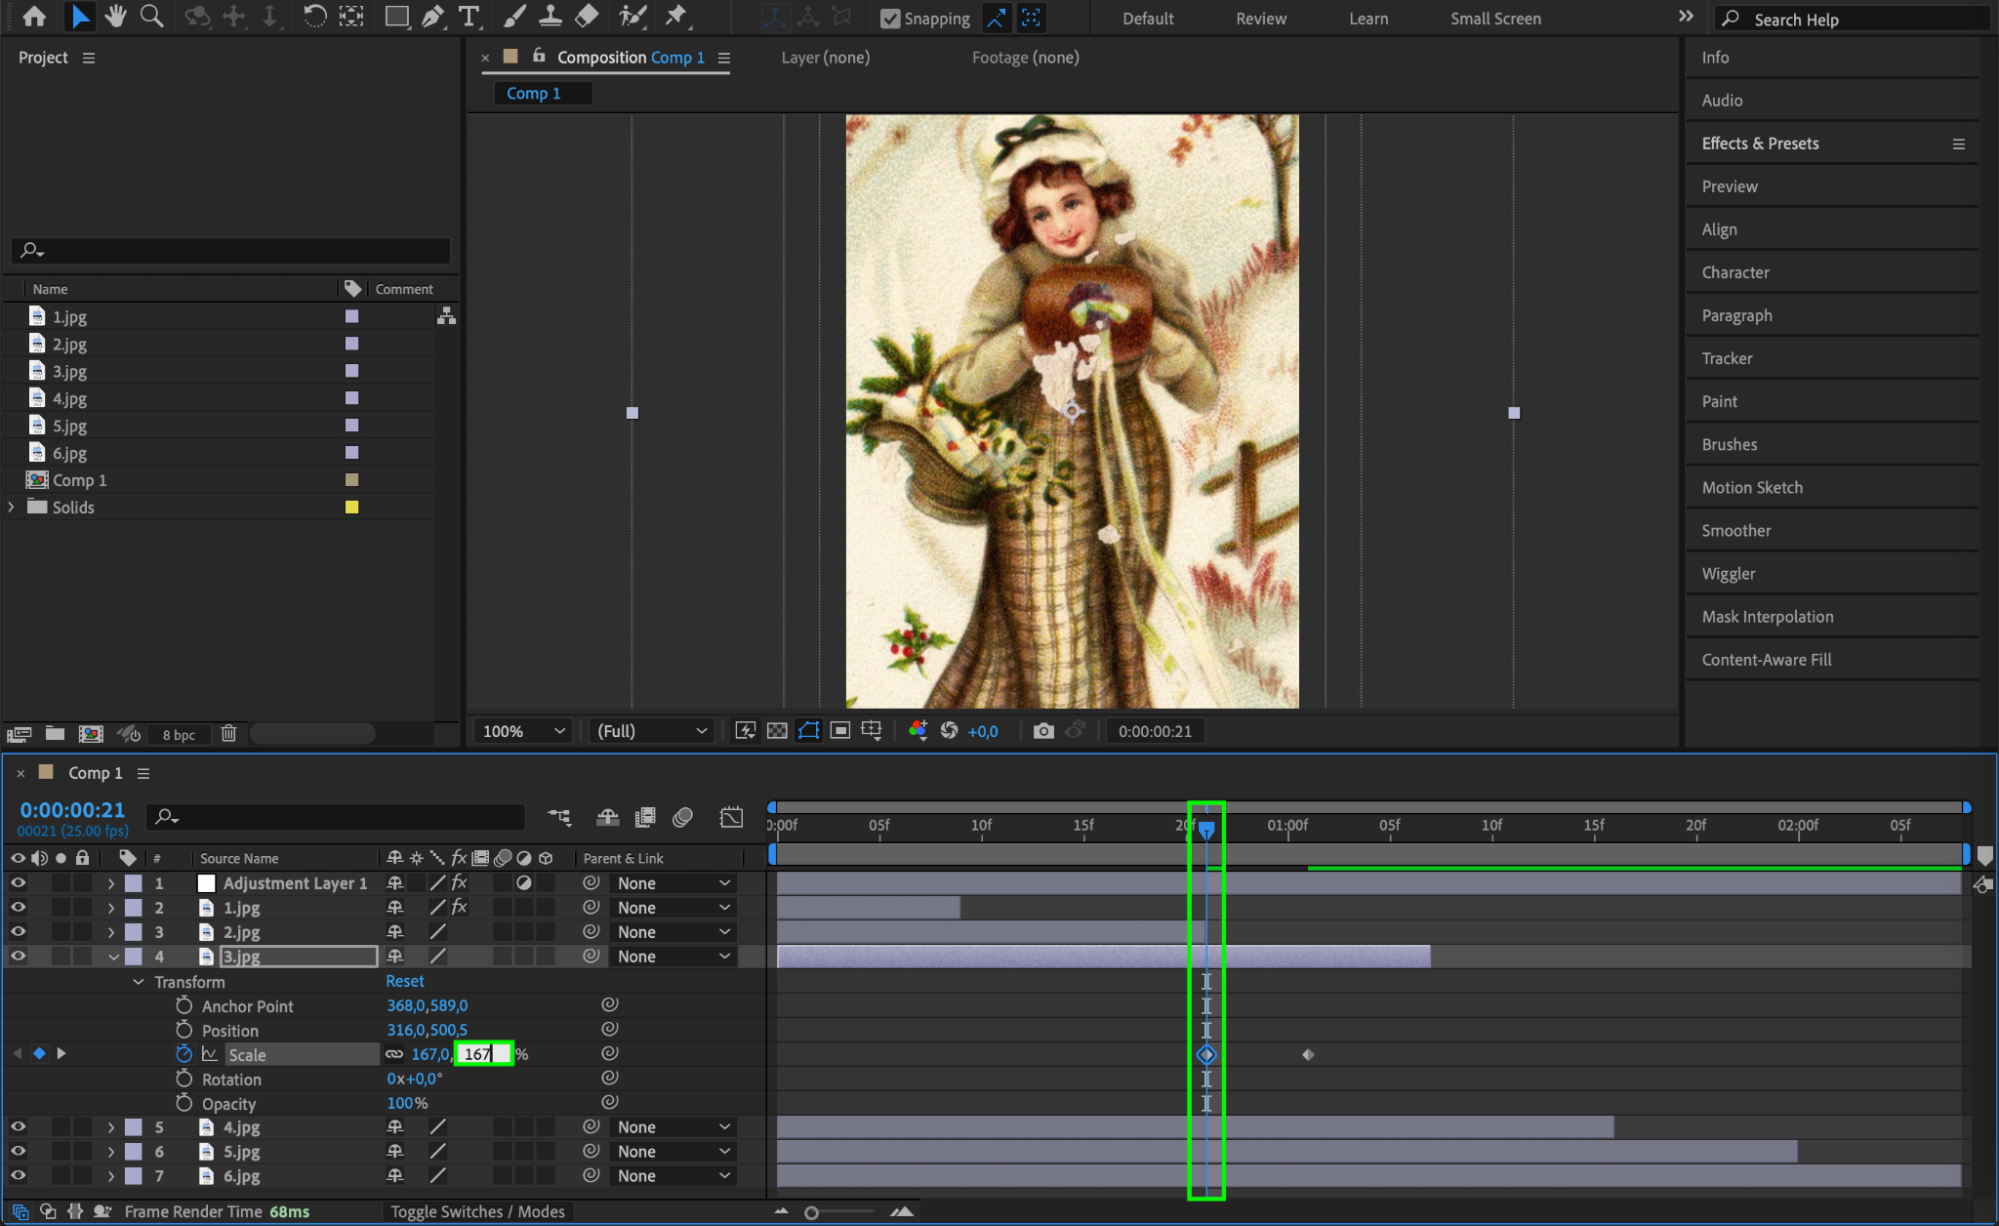
Animate individual photos using scaling, panning, rotations, and other techniques available in After Effects. Create dynamic movements across the composition to keep viewers engaged.
 Step 7: Incorporating Text and Captions
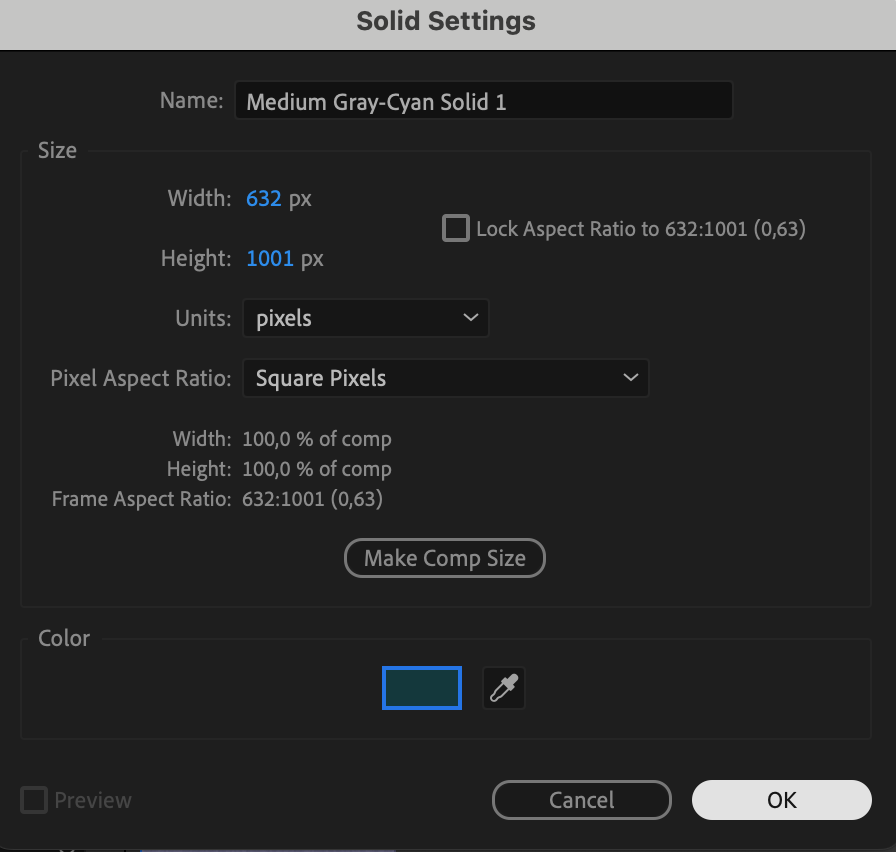
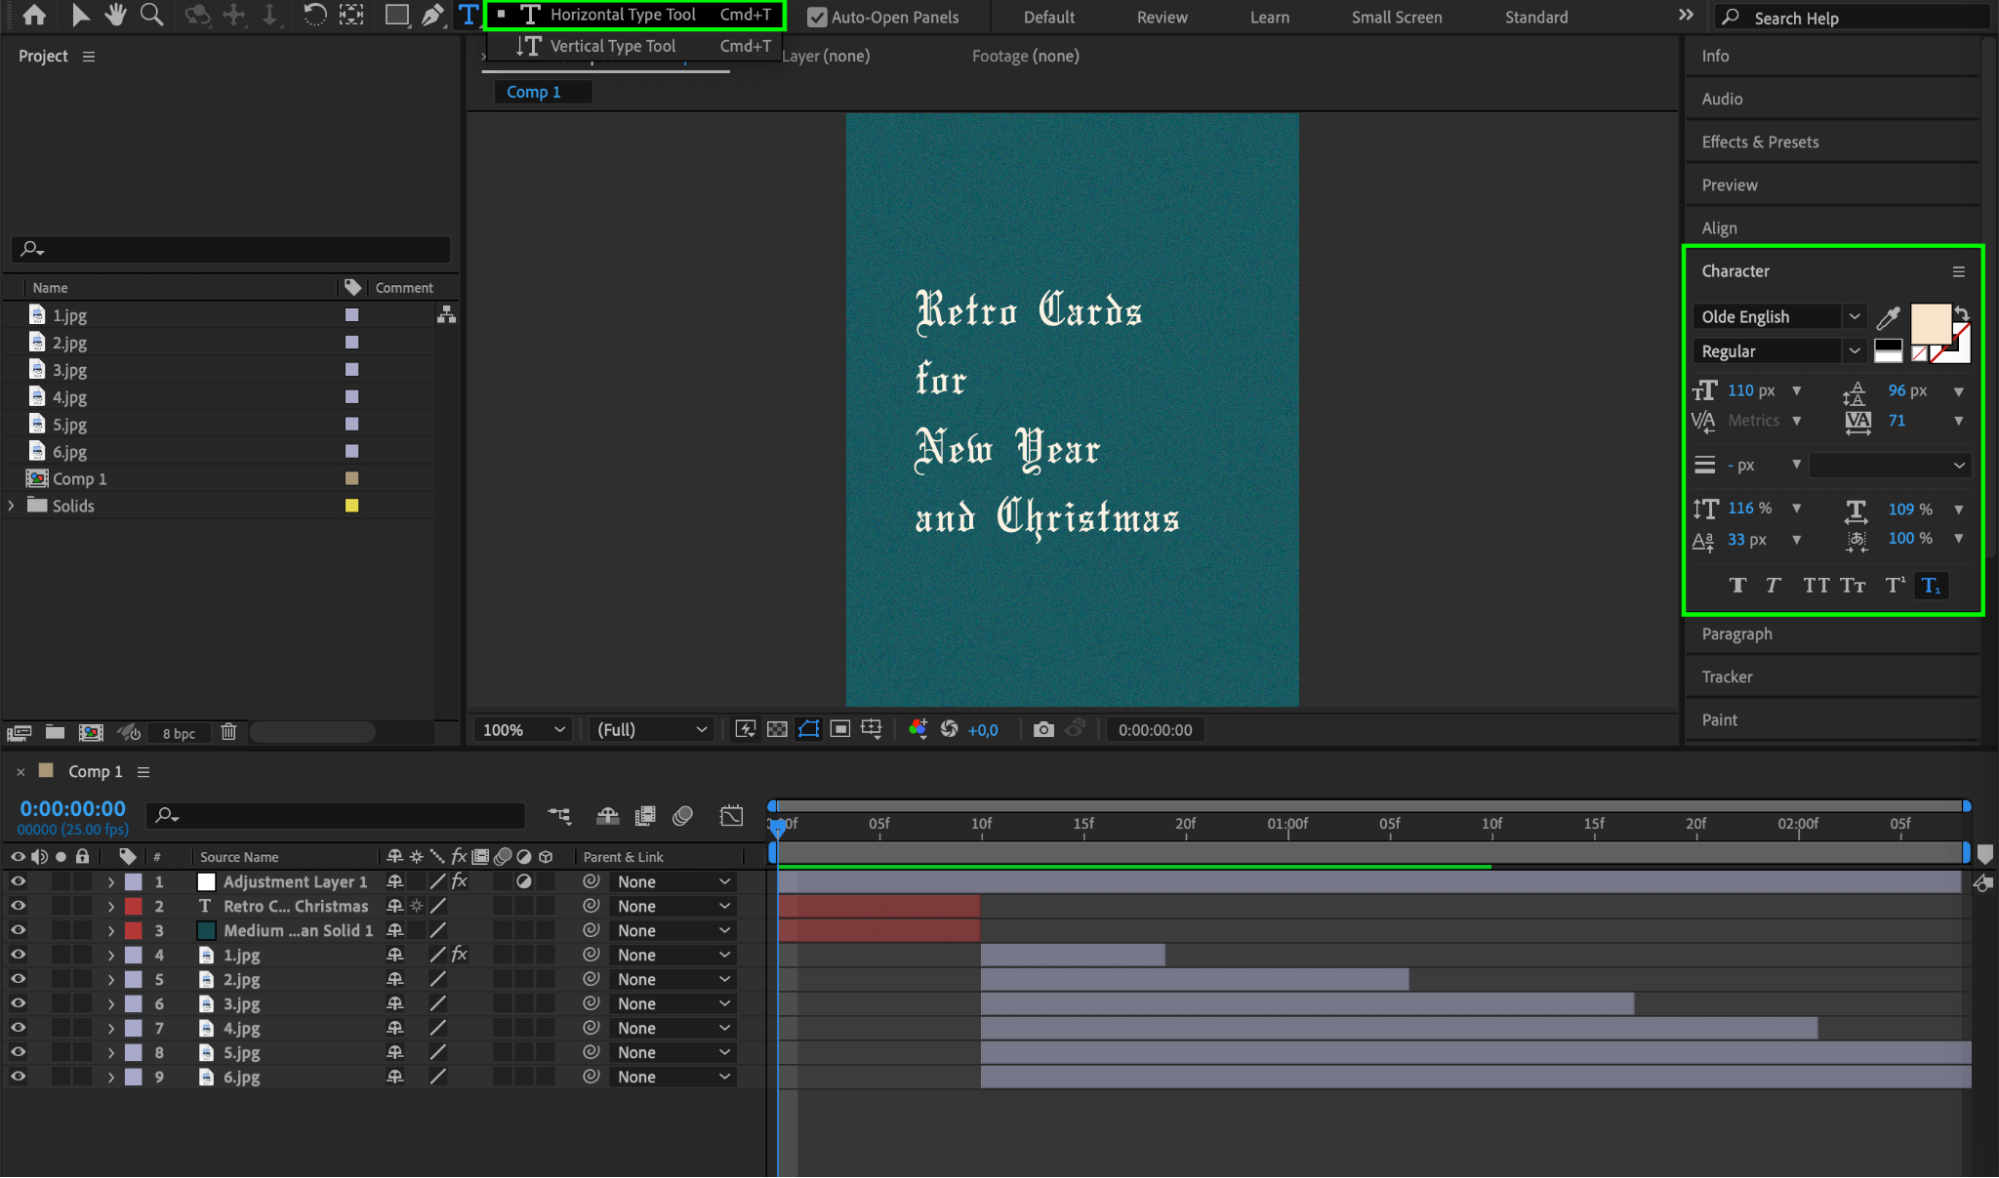
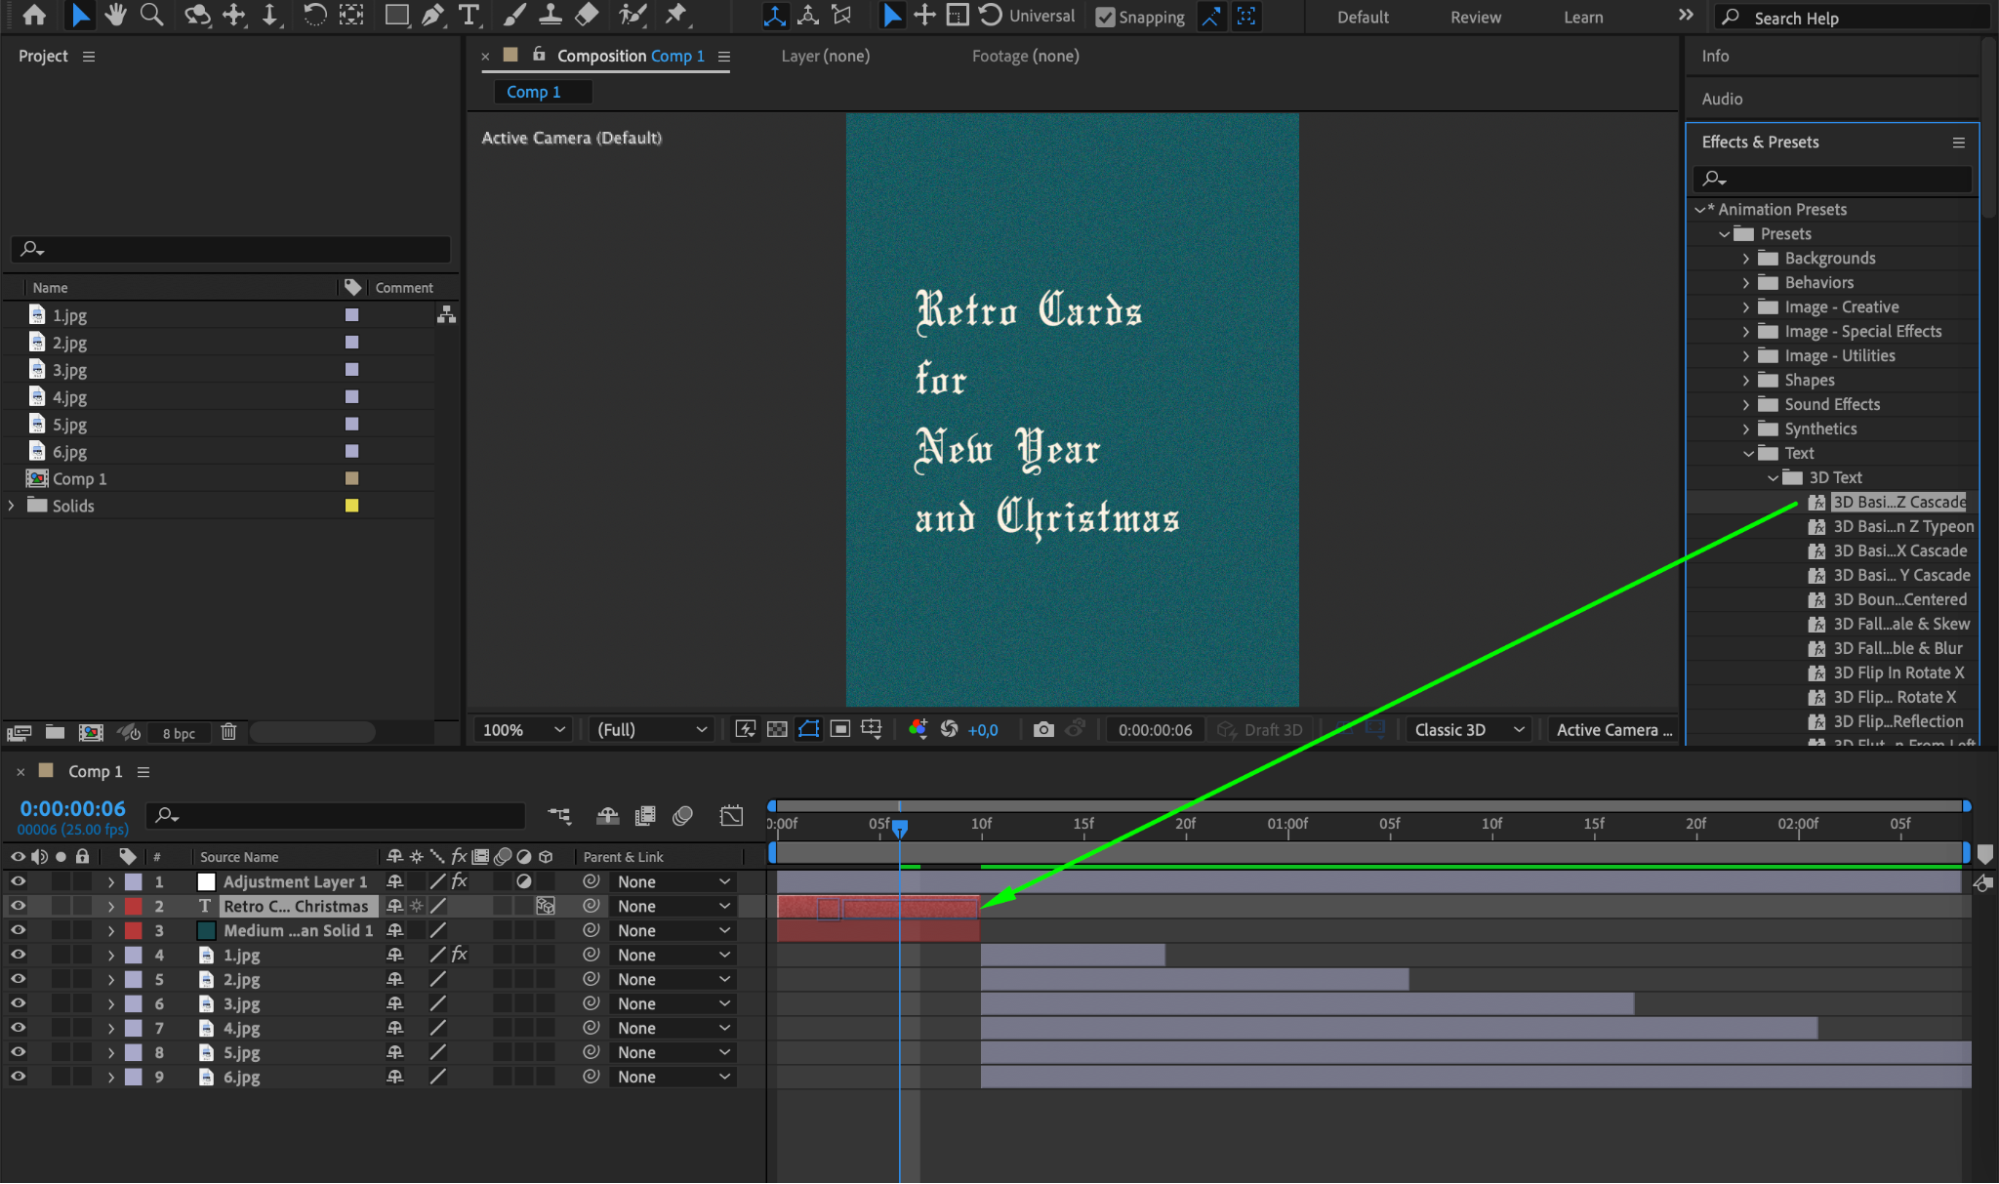
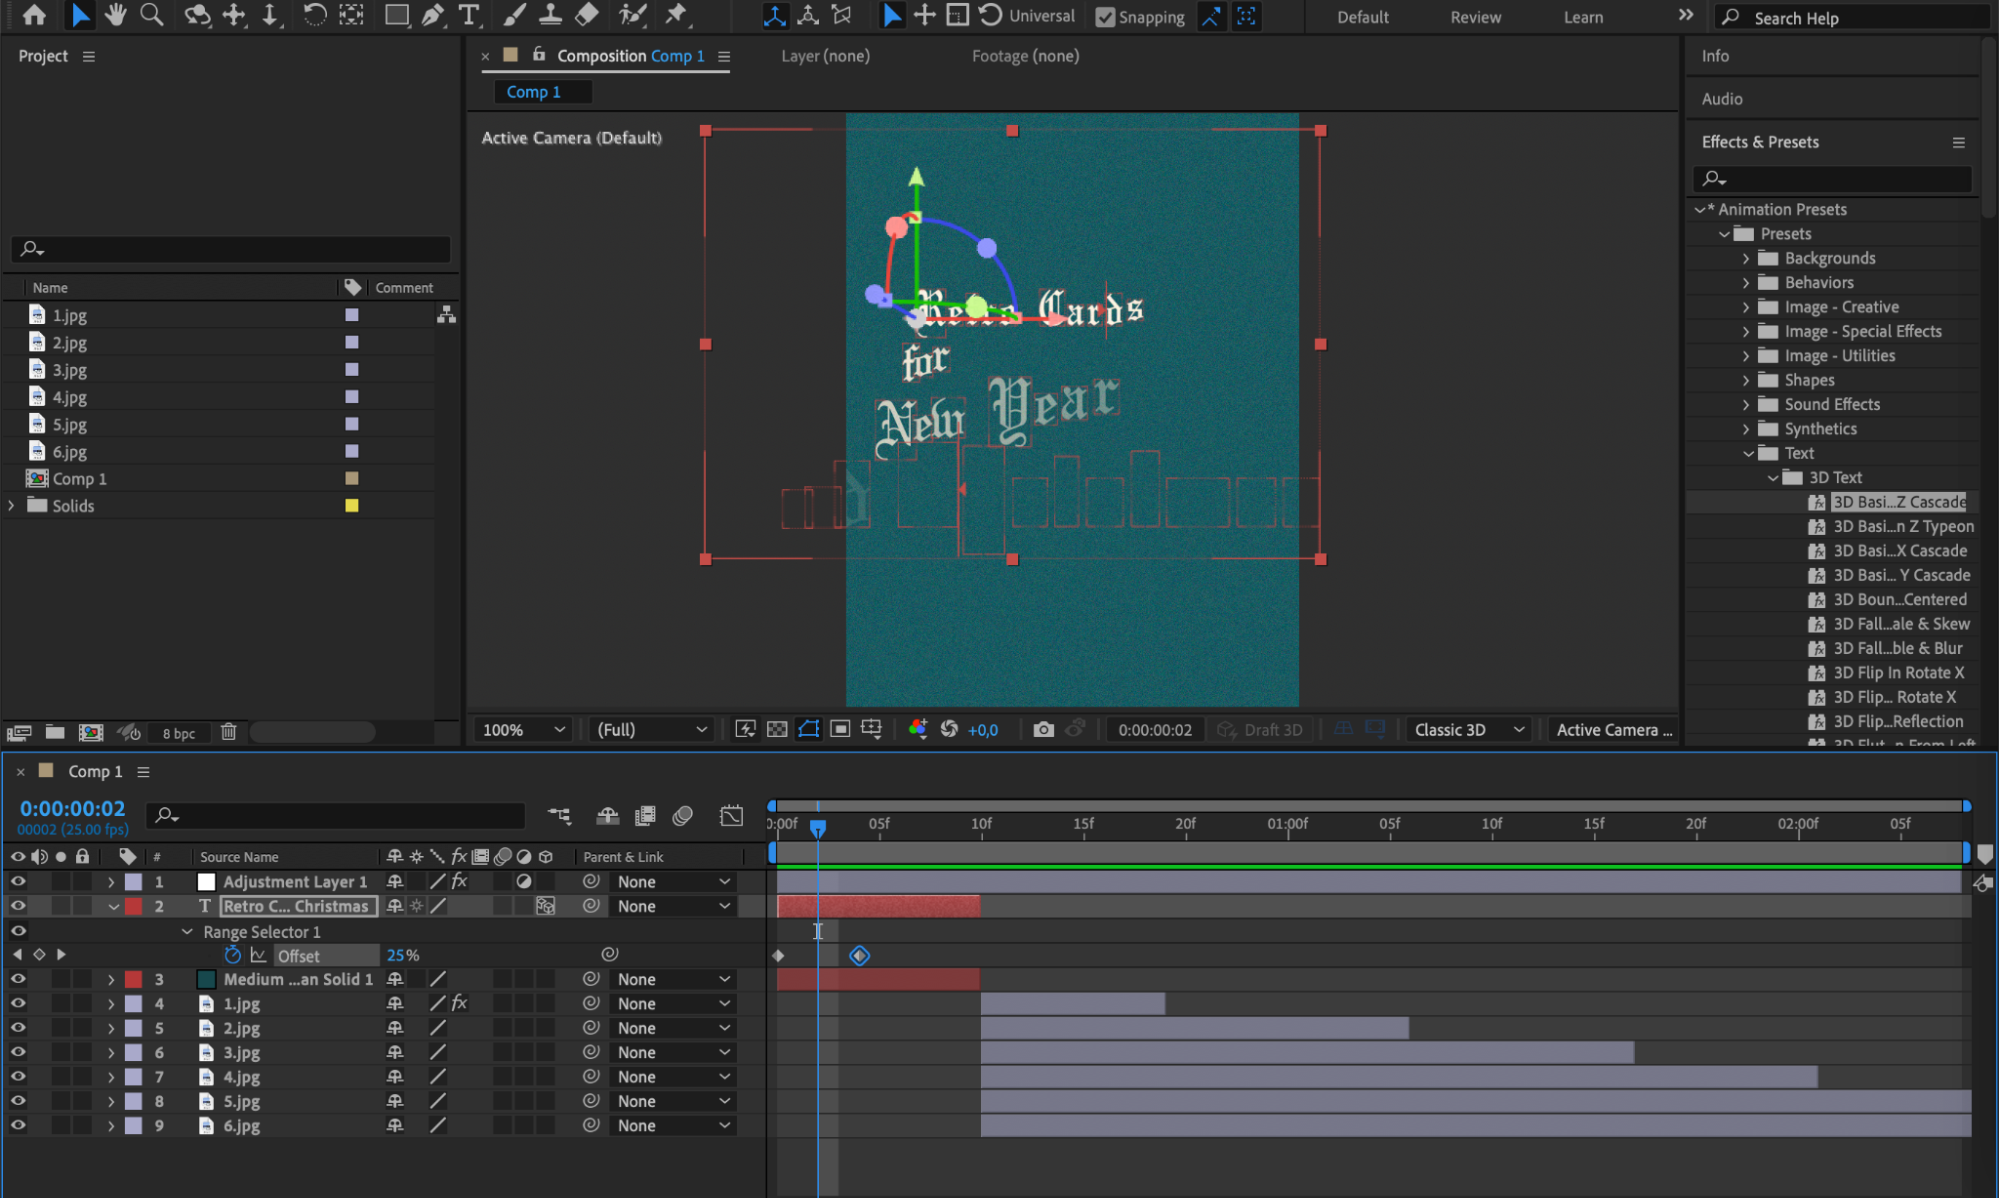
Add context and captions to your photos using animated text layers. Utilize keyframes and effects to animate text, enhancing visual interest and storytelling.
 Step 8: Adding Audio Elements
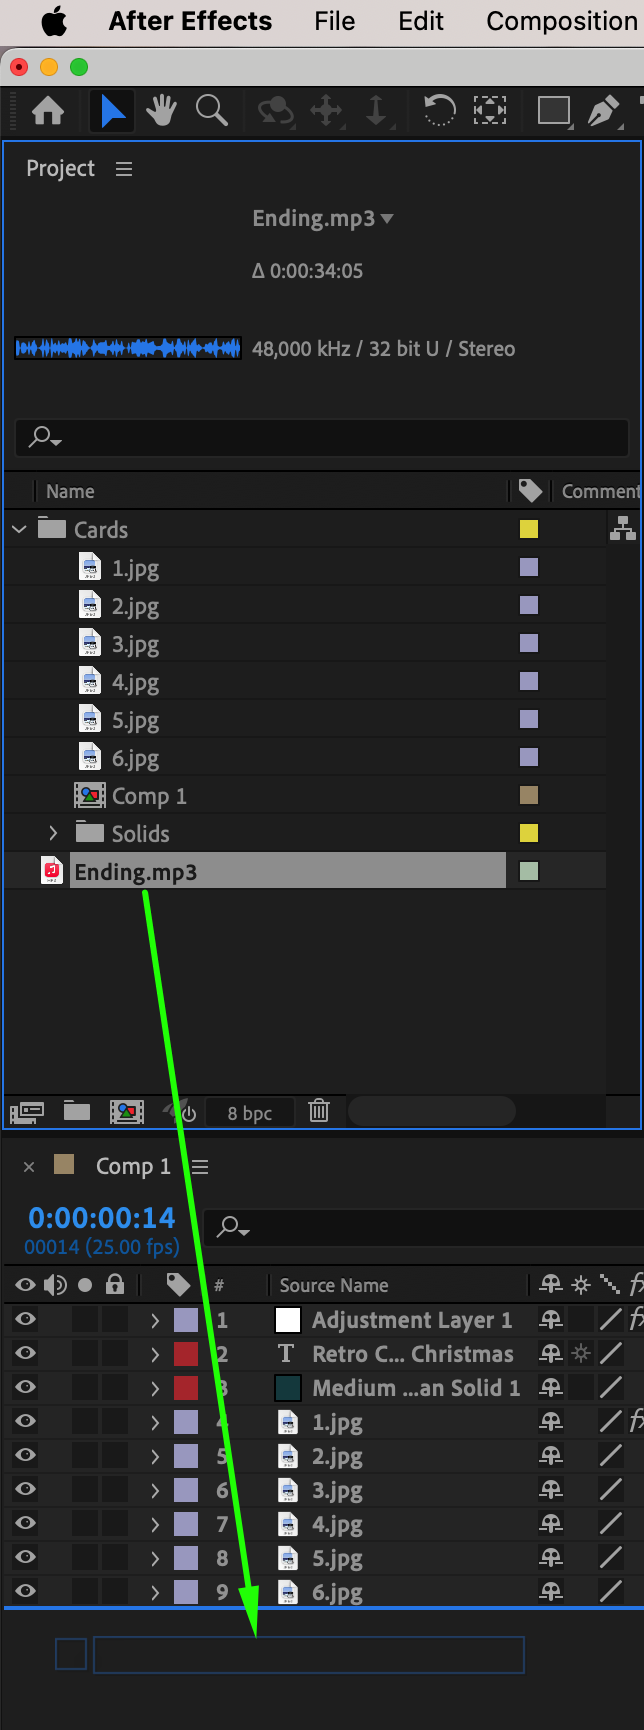
Select a fitting soundtrack and sound effects to complement your slideshow. Ensure music timing aligns with transitions for a seamless viewer experience.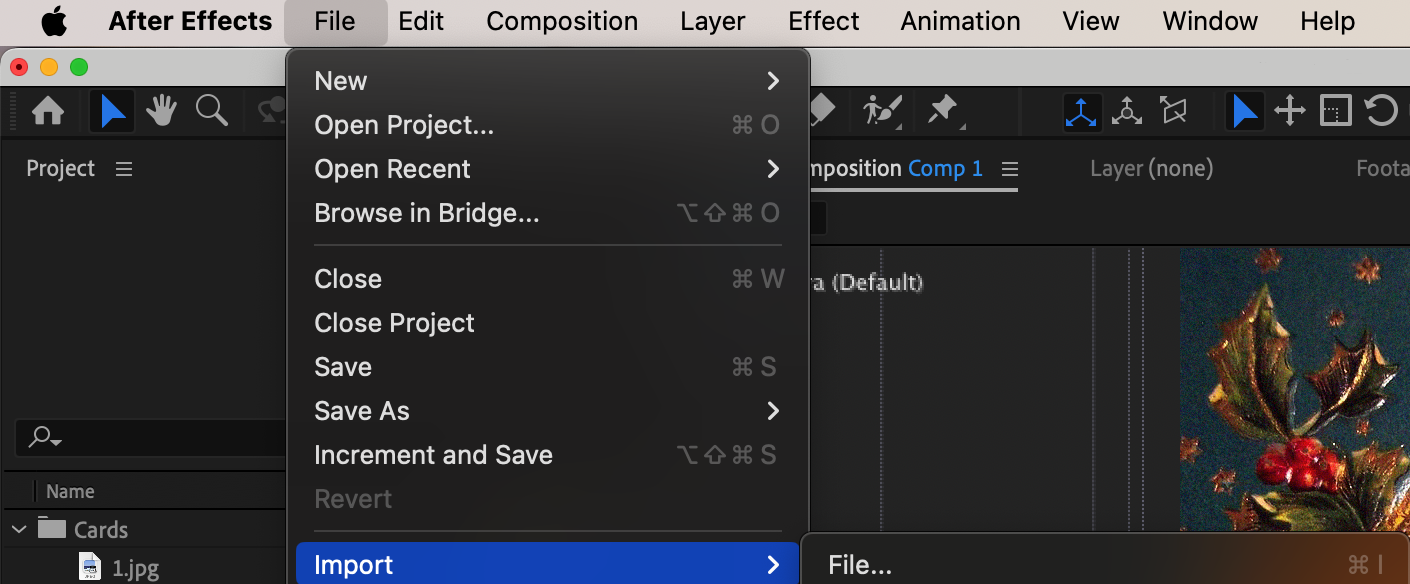
 Step 9: Rendering and Exporting
When satisfied with your creation, export your slideshow using appropriate file formats and compression settings. Consider the platform where it will be viewed for compatibility.
 Conclusion
Unleash your creativity and transform your photos into an extraordinary visual journey with Adobe After Effects. Create a slideshow that captures the essence of your memories and leaves a lasting impression. Dive into After Effects today and see how you can bring your photos to life!


