Adjusting Shape Transparency in After Effects
Introduction
Transparency is an essential aspect of motion graphics and visual effects. In After Effects, you can control a shape’s transparency using opacity settings, blending modes, or track mattes. This guide will walk you through different methods to make a shape transparent while keeping control over its visibility and interaction with other layers.
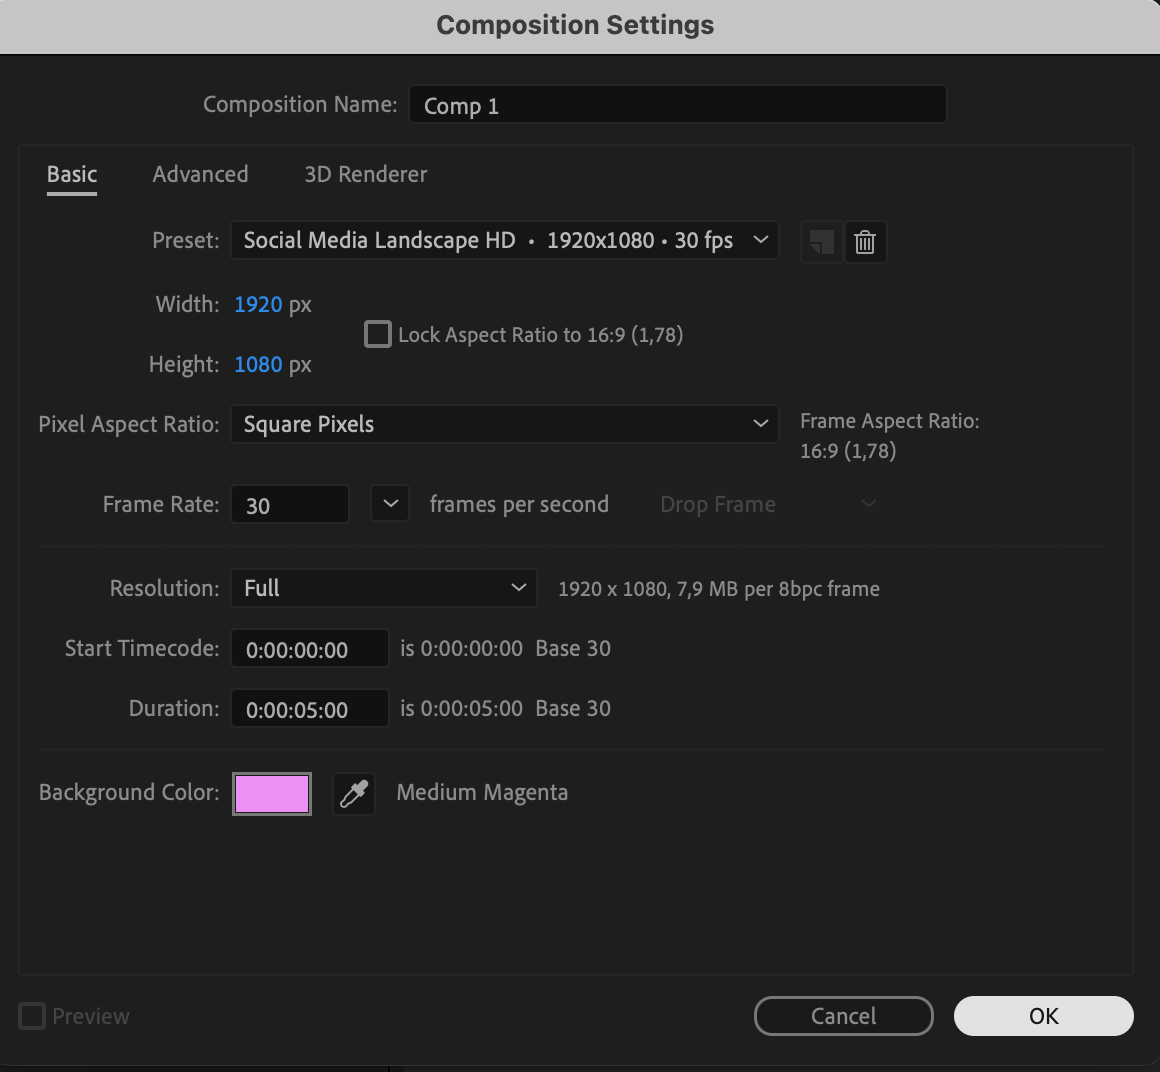
Step 1: Create a New Composition
Open After Effects and go to Composition > New Composition. Set the resolution to 1920×1080 pixels, frame rate to 30 fps, and duration as needed.
 Step 2: Add a Shape Layer
Go to Layer > New > Shape Layer, or select the Shape Tool (Q) from the toolbar. Click and drag on the composition to create a shape. You can modify its size, color, and stroke in the Properties Panel.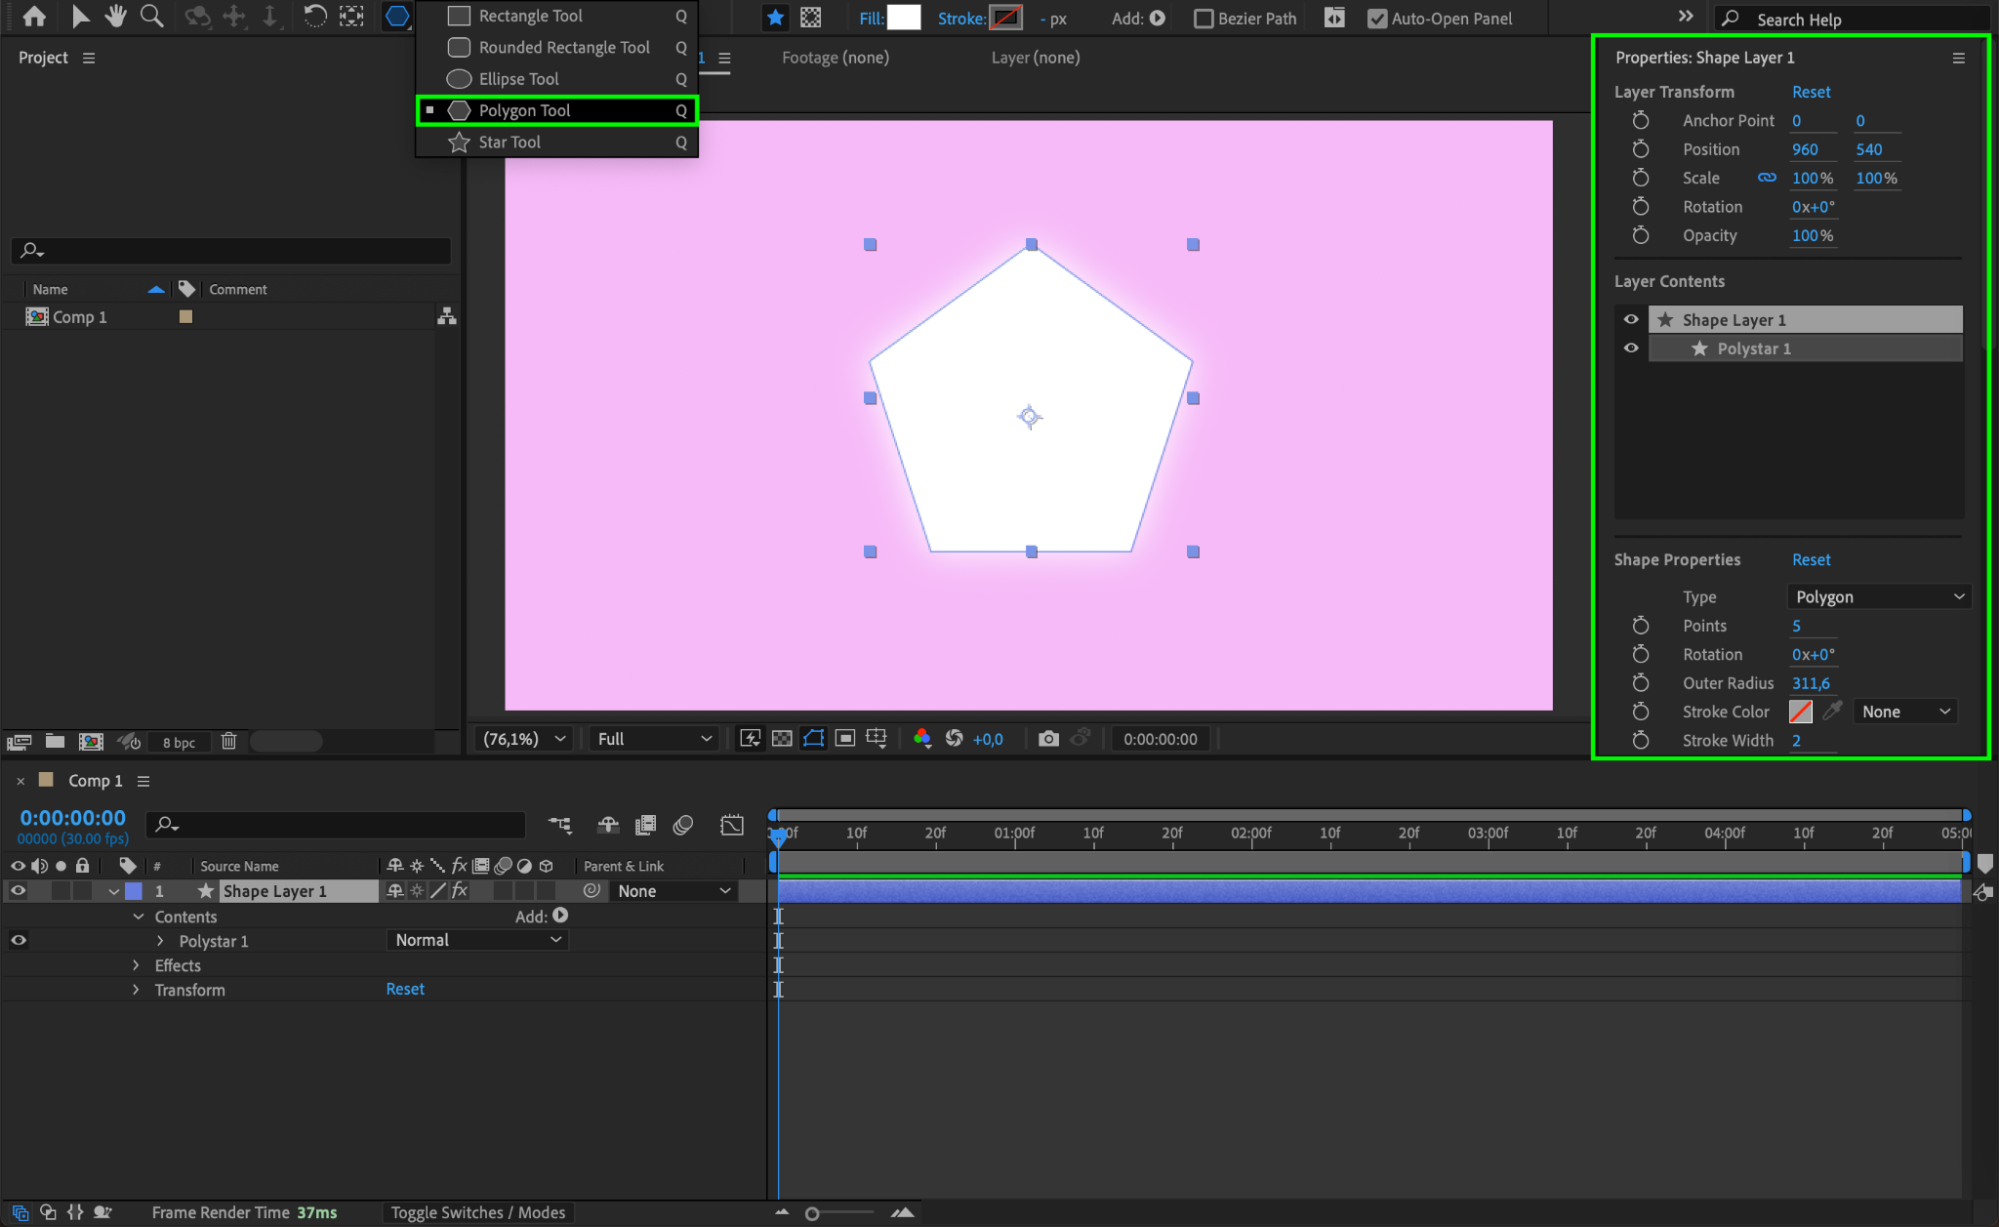 Step 3: Adjust Opacity in Transform Settings
Select the shape layer and press “T” on your keyboard to reveal the Opacity property. Lower the value from 100% (fully visible) to the desired transparency level. A lower percentage makes the shape more transparent. Step 4: Use Blending Modes for a Semi-Transparent Effect
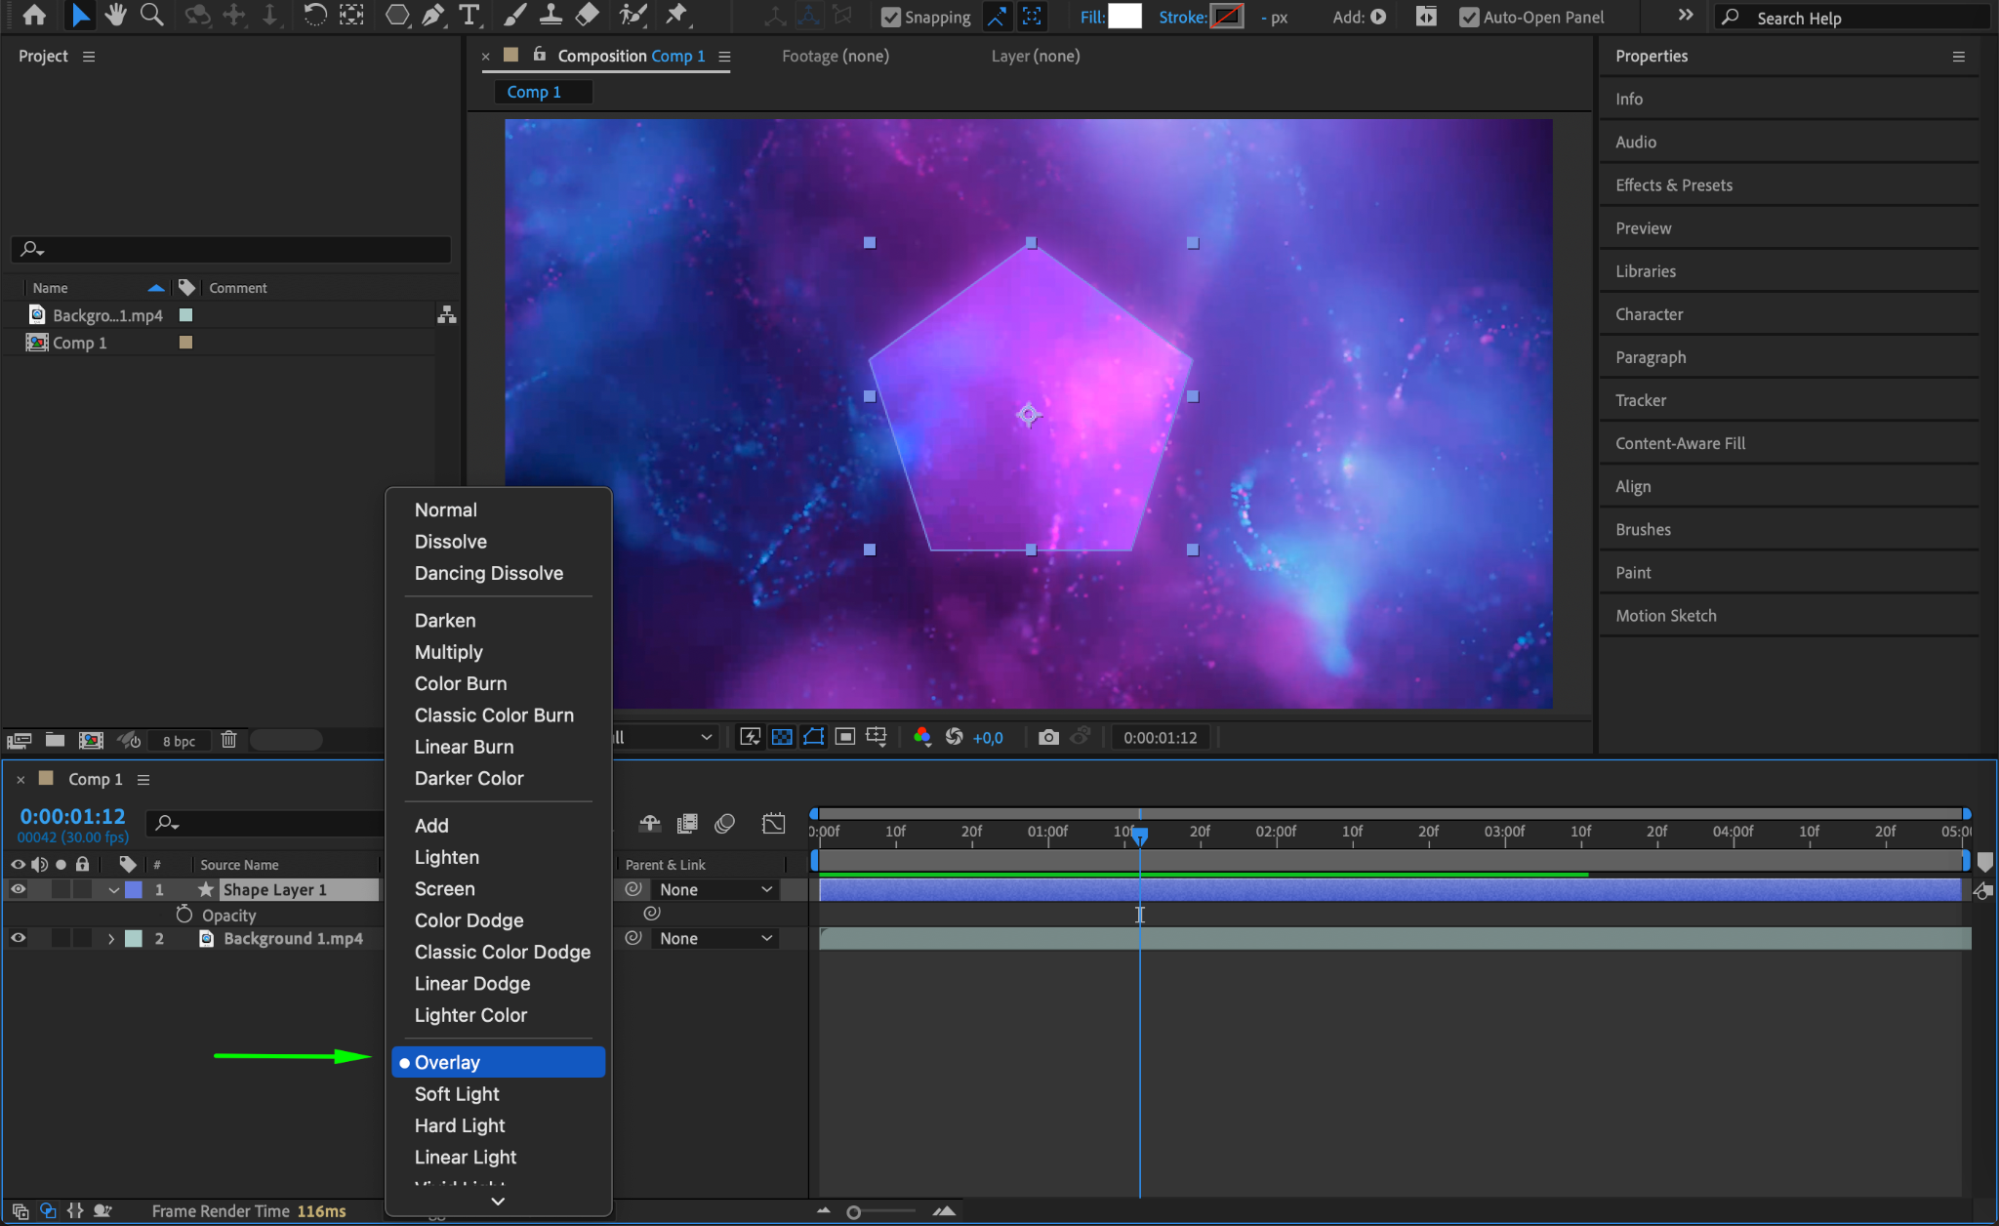
Get 10% off when you subscribe to our newsletter

If you want the shape to interact with the background, open the Mode column in the timeline panel (toggle switches if needed) and change the Blending Mode to Screen, Multiply, Overlay, or another mode. Each mode interacts differently with the layers beneath it.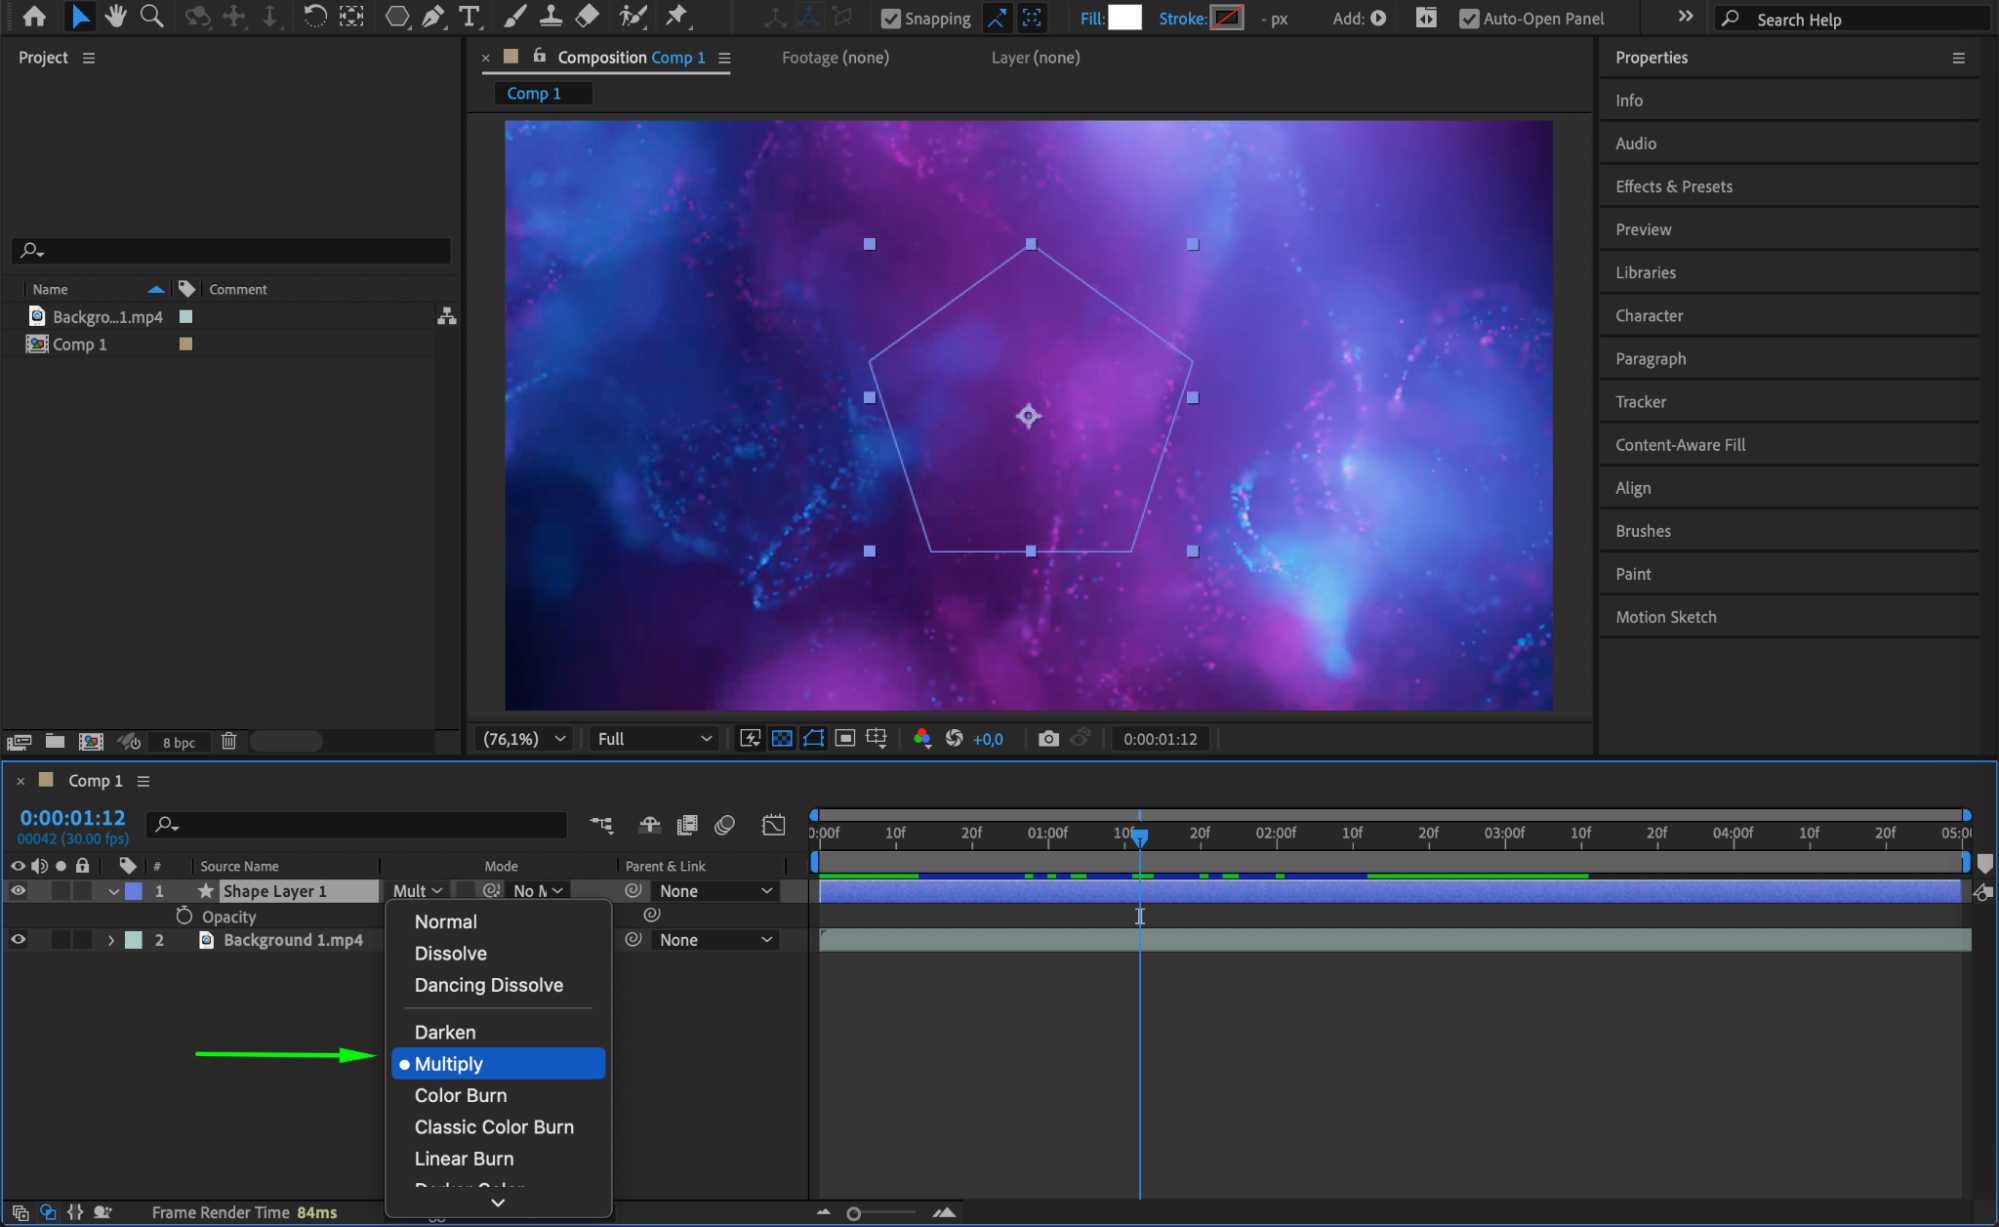
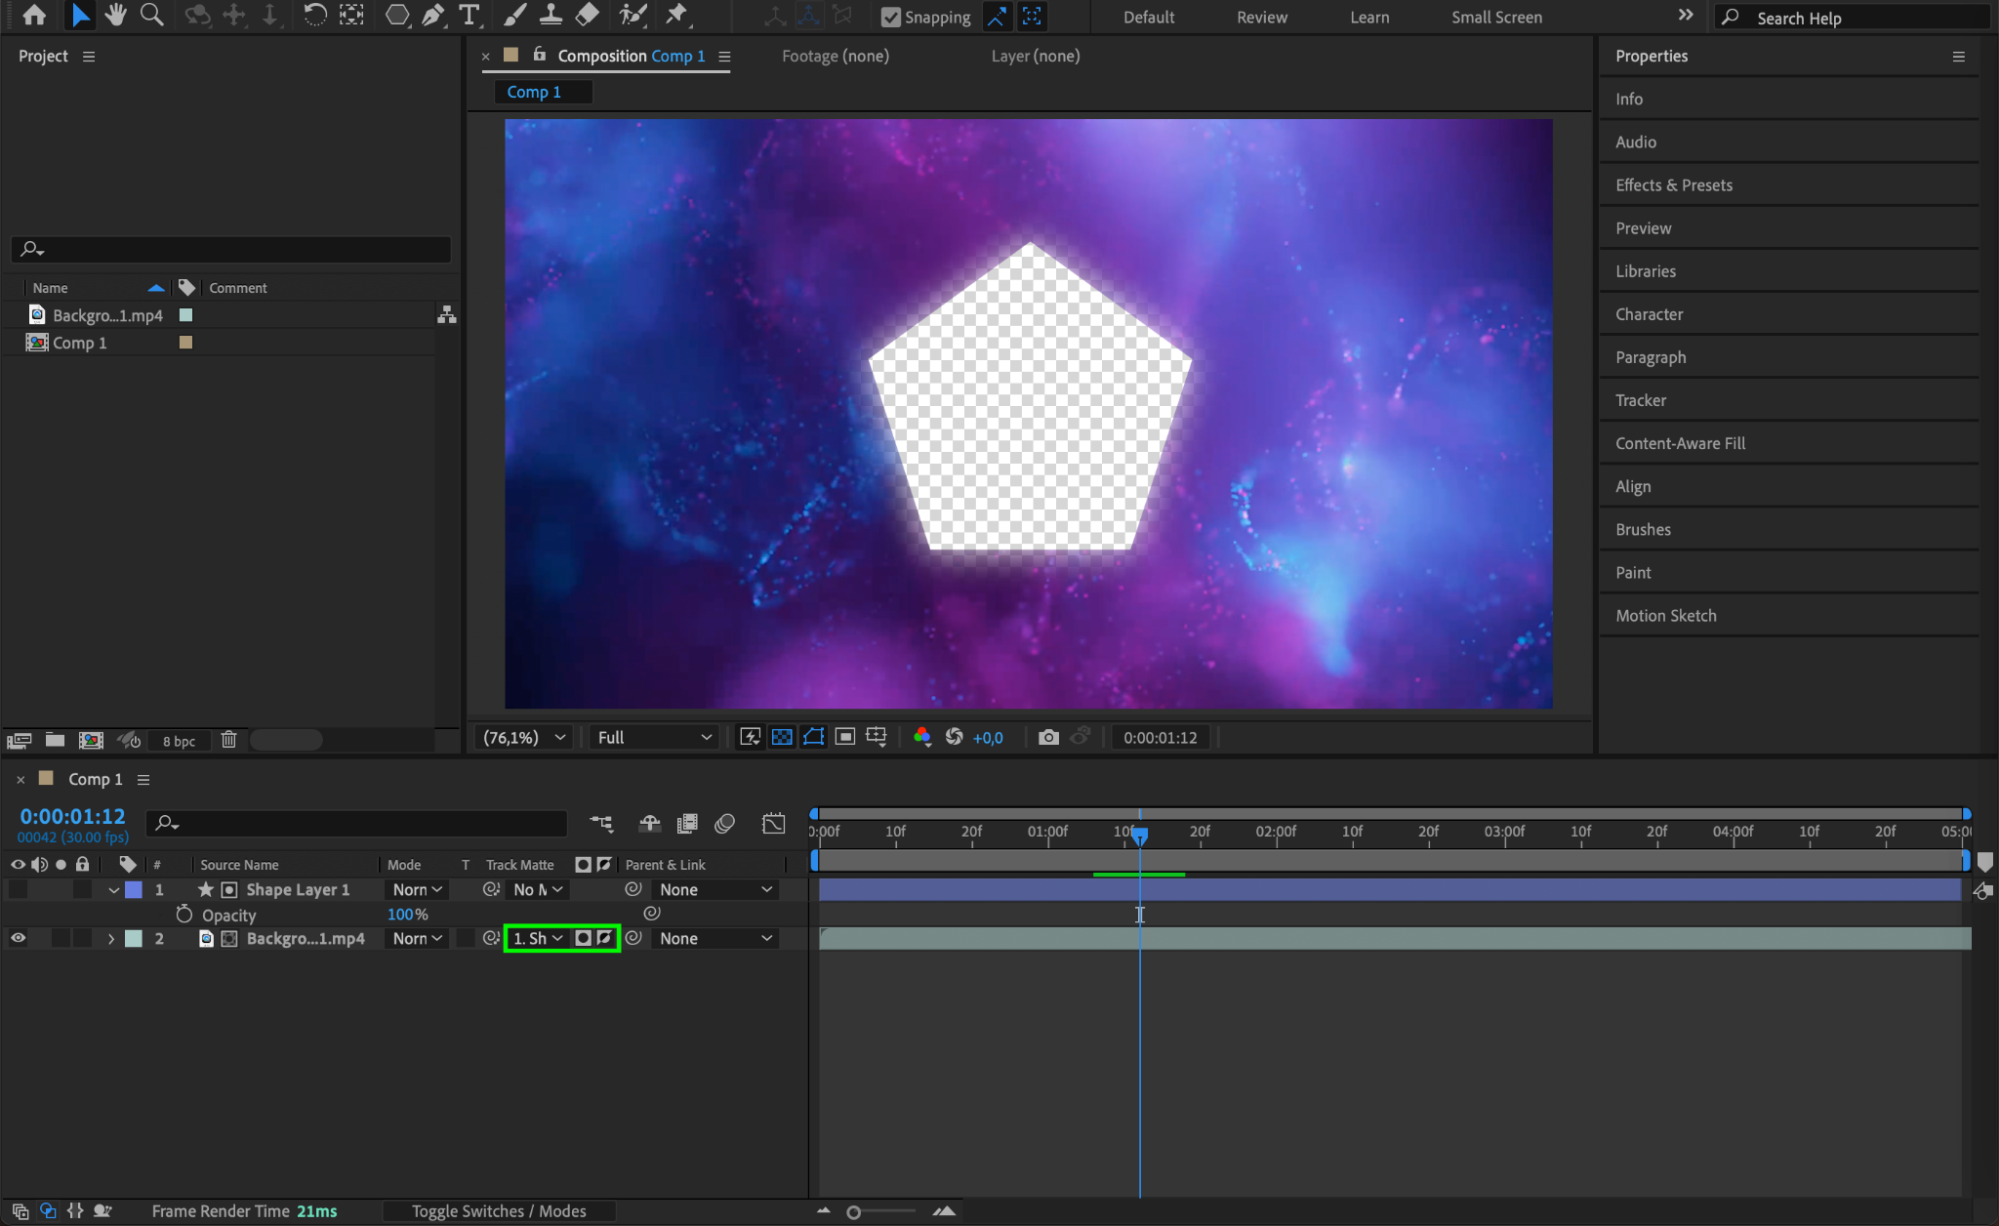
 Step 5: Use a Track Matte for Advanced Transparency
You can place the shape layer above a video layer and use it as a track matte. In the Timeline panel, locate the Track Matte column for the video layer. You can choose Alpha Matte for transparency based on the shape’s outline or Luma Matte for transparency based on brightness. This will make the video visible only where the shape is present, creating a masked effect.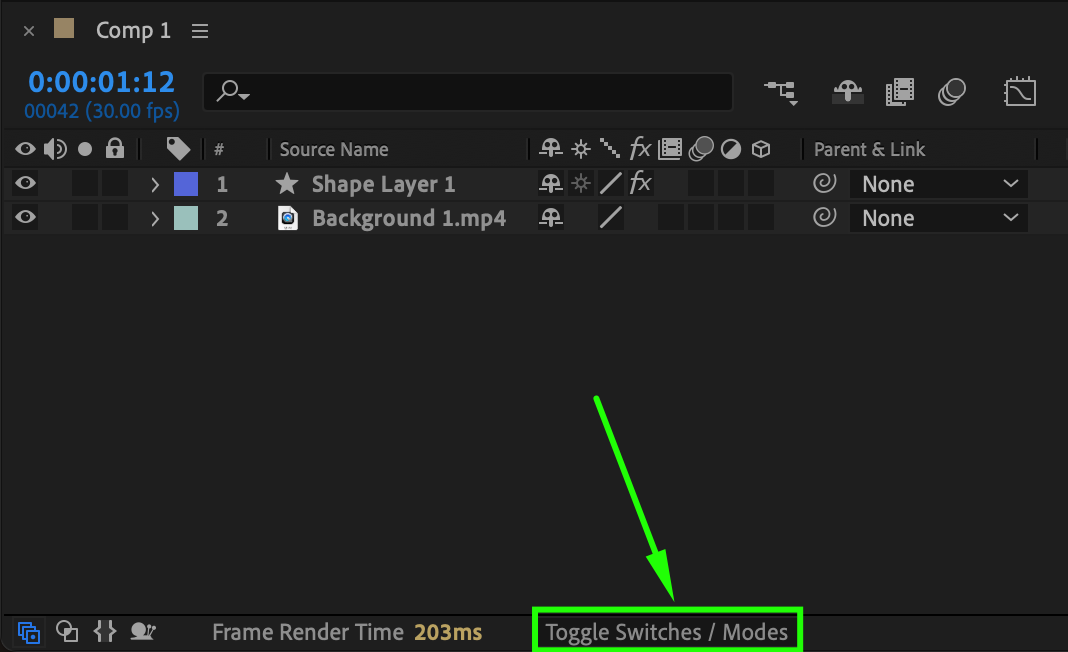
 Step 6: Apply a Mask to Control Transparency
Select the shape layer, then use the Pen Tool (G) to draw a custom mask. Open the Mask Properties and adjust the Mask Opacity or Feather to create a gradual transparent effect.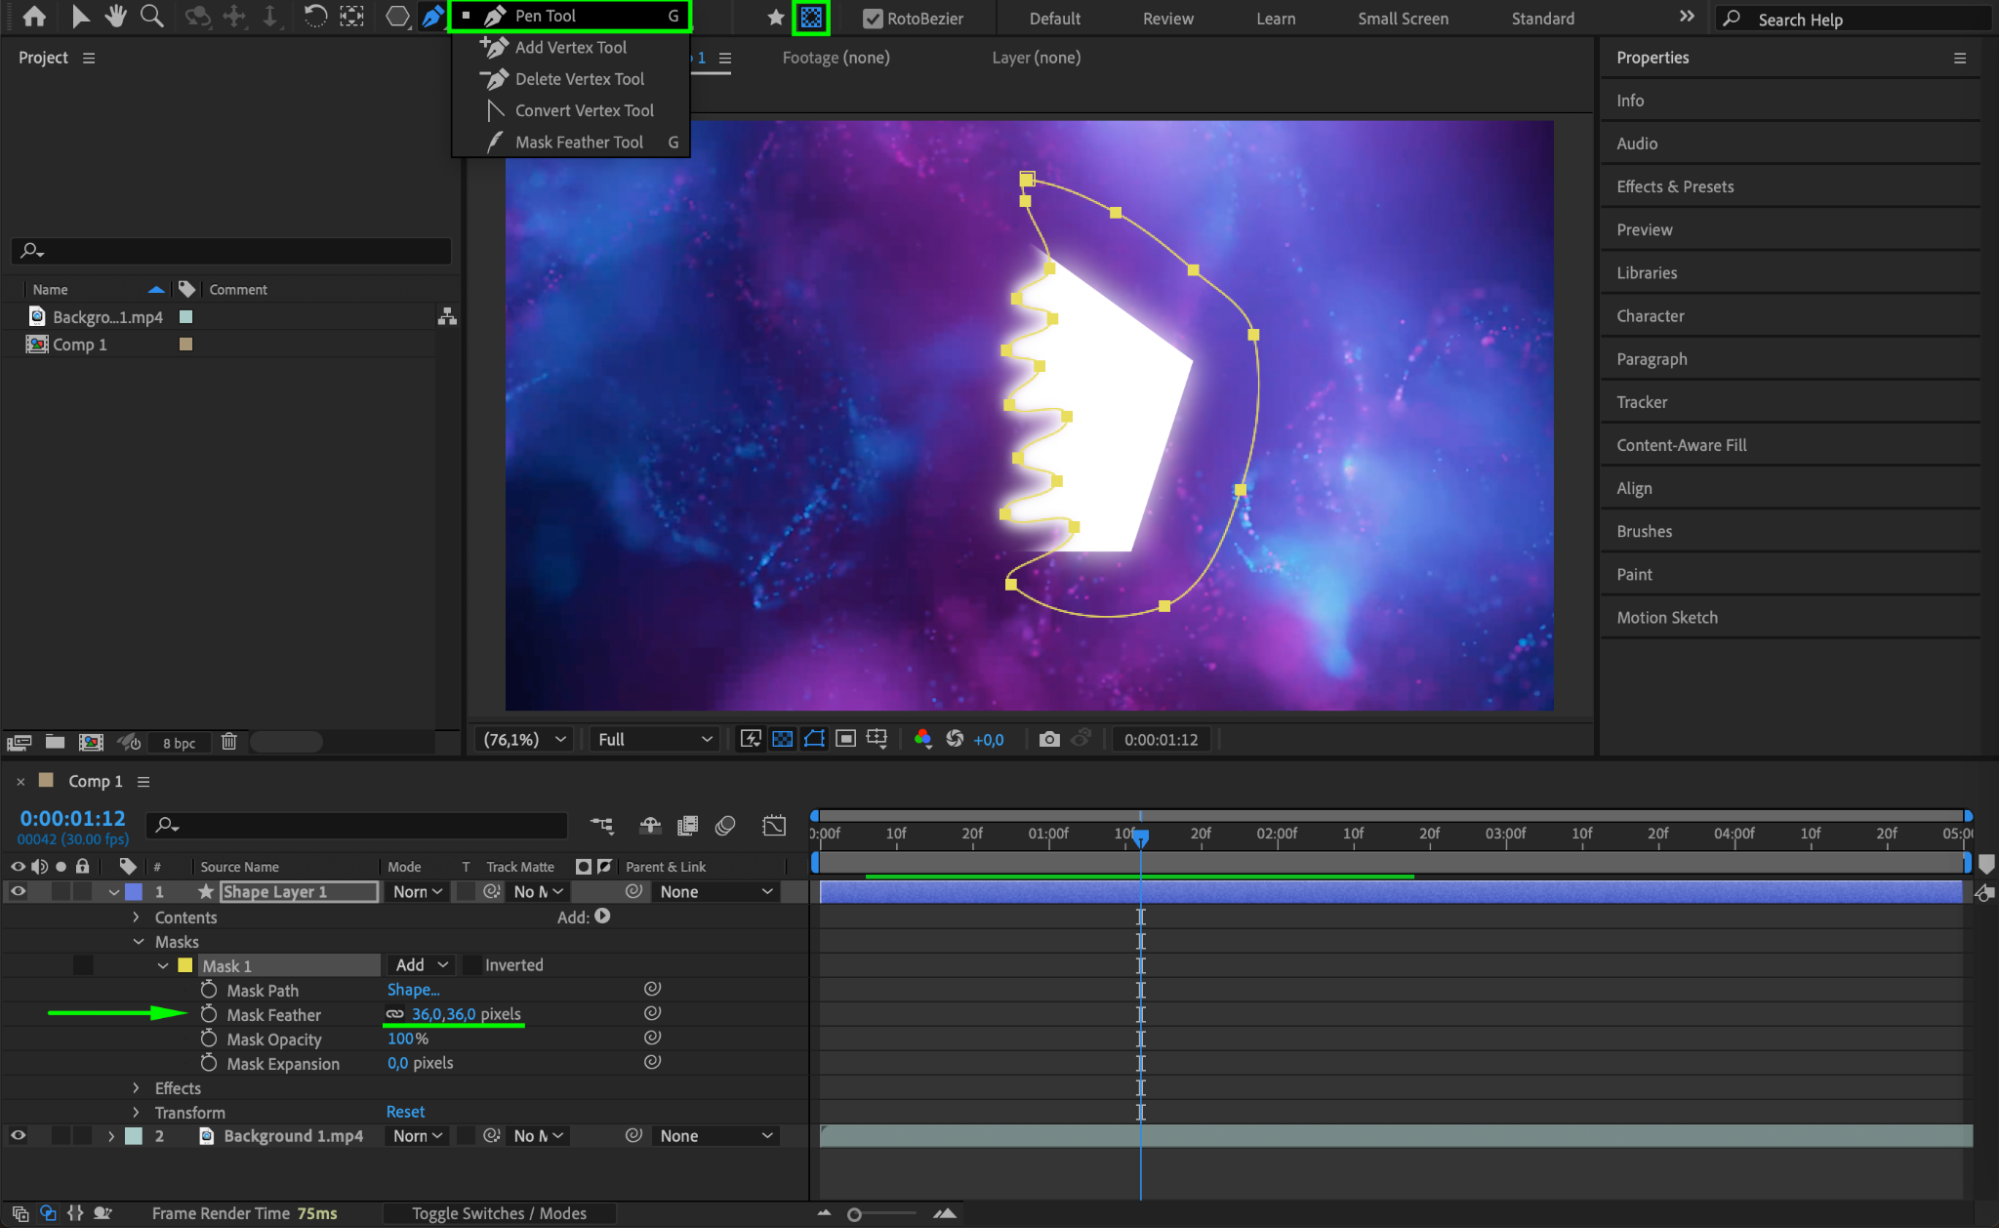 Step 7: Preview the Changes
Press Spacebar to preview your animation and ensure the transparency effect is applied correctly. Adjust the opacity, blending modes, or masks as needed.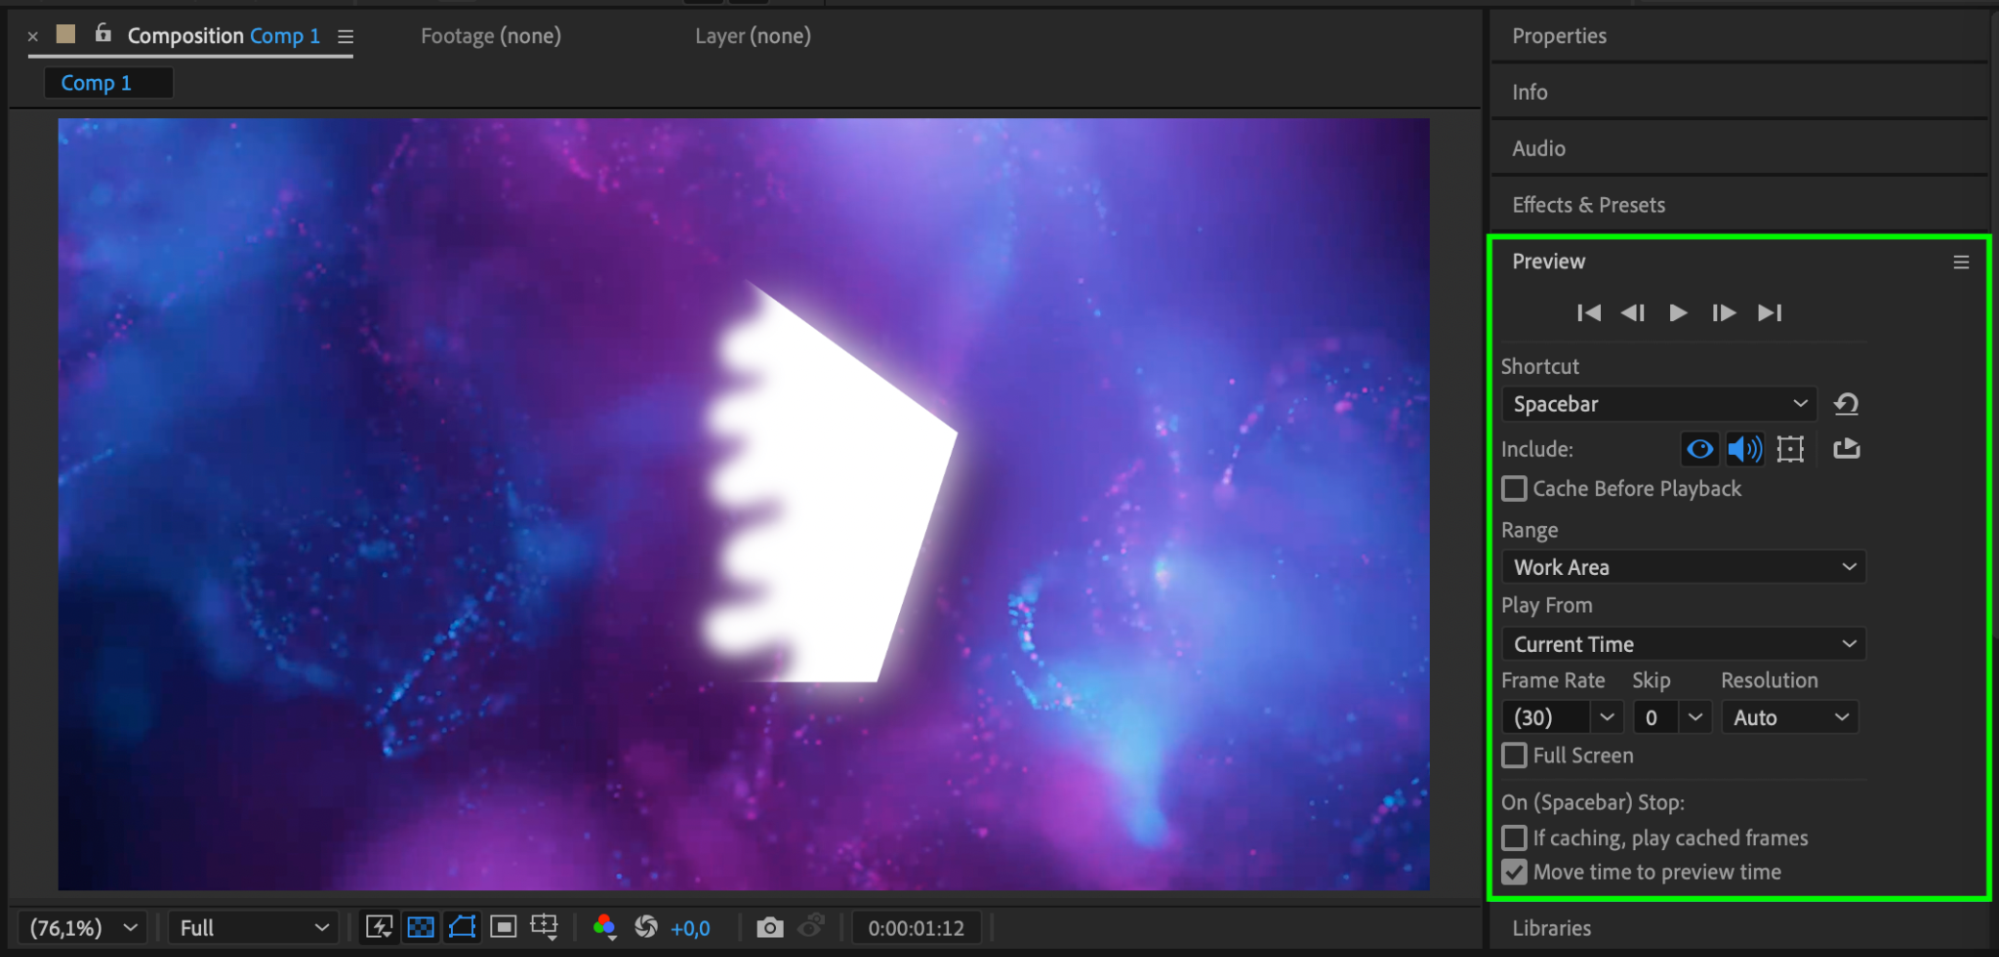 Step 8: Render the Final Composition
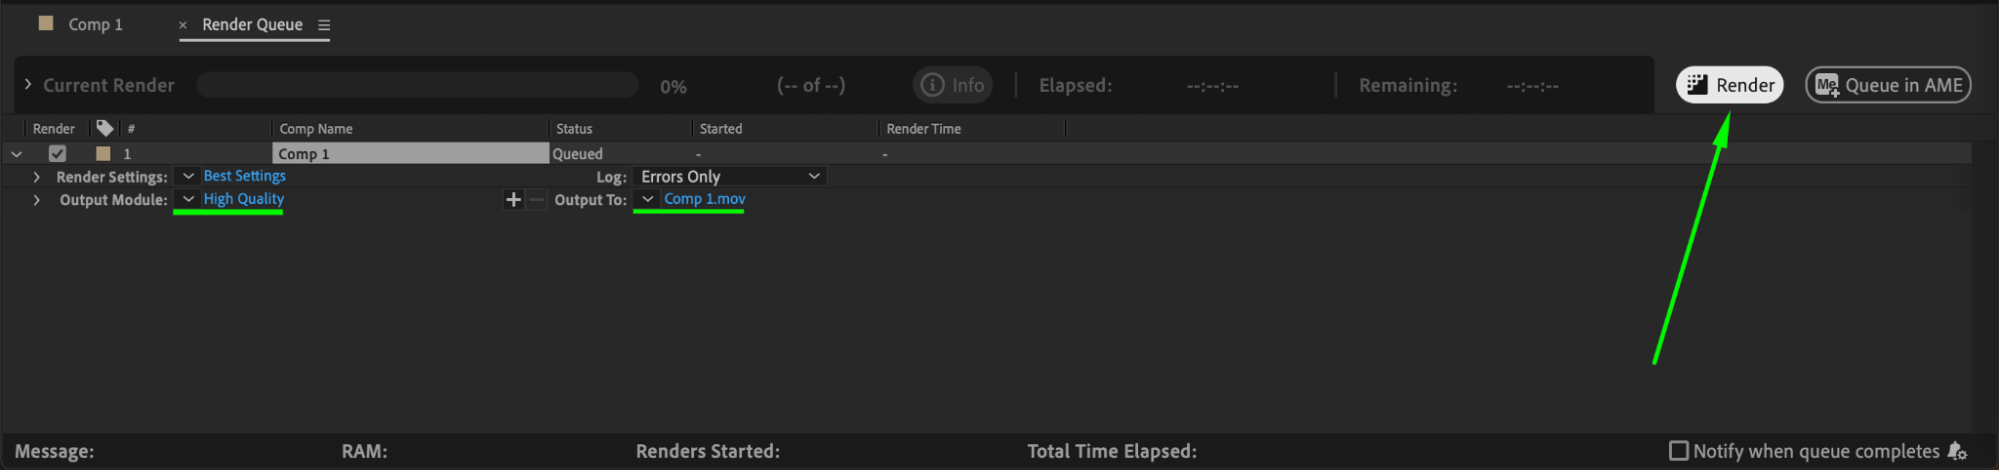
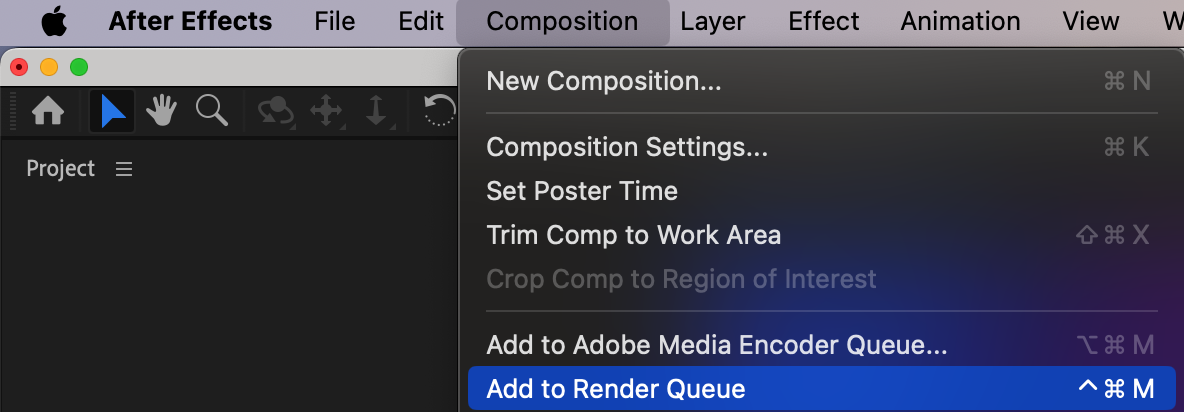
Once satisfied, go to Composition > Add to Render Queue, select the desired format, and click Render to save your project.
 Conclusion
Making a shape transparent in After Effects is simple with Opacity, Blending Modes, Track Mattes, and Masks. These methods allow for creative control over transparency, helping you blend elements seamlessly in your project. Experiment with different settings to achieve the desired effect.
Our Bestsellers


