Step-by-Step Guide to Adding a Glow Effect to an Image in After Effects
Introduction – Add Radiance to Your Images with the Glow Effect
The Glow effect in After Effects is a versatile tool that allows you to add an attractive radiance to your images, enhancing their visual appeal. This guide will walk you through the process of applying a glow effect to an image, customizing the settings to suit your project, and achieving professional-looking results.
Get 10% off when you subscribe to our newsletter

Step 1: Create a New Composition
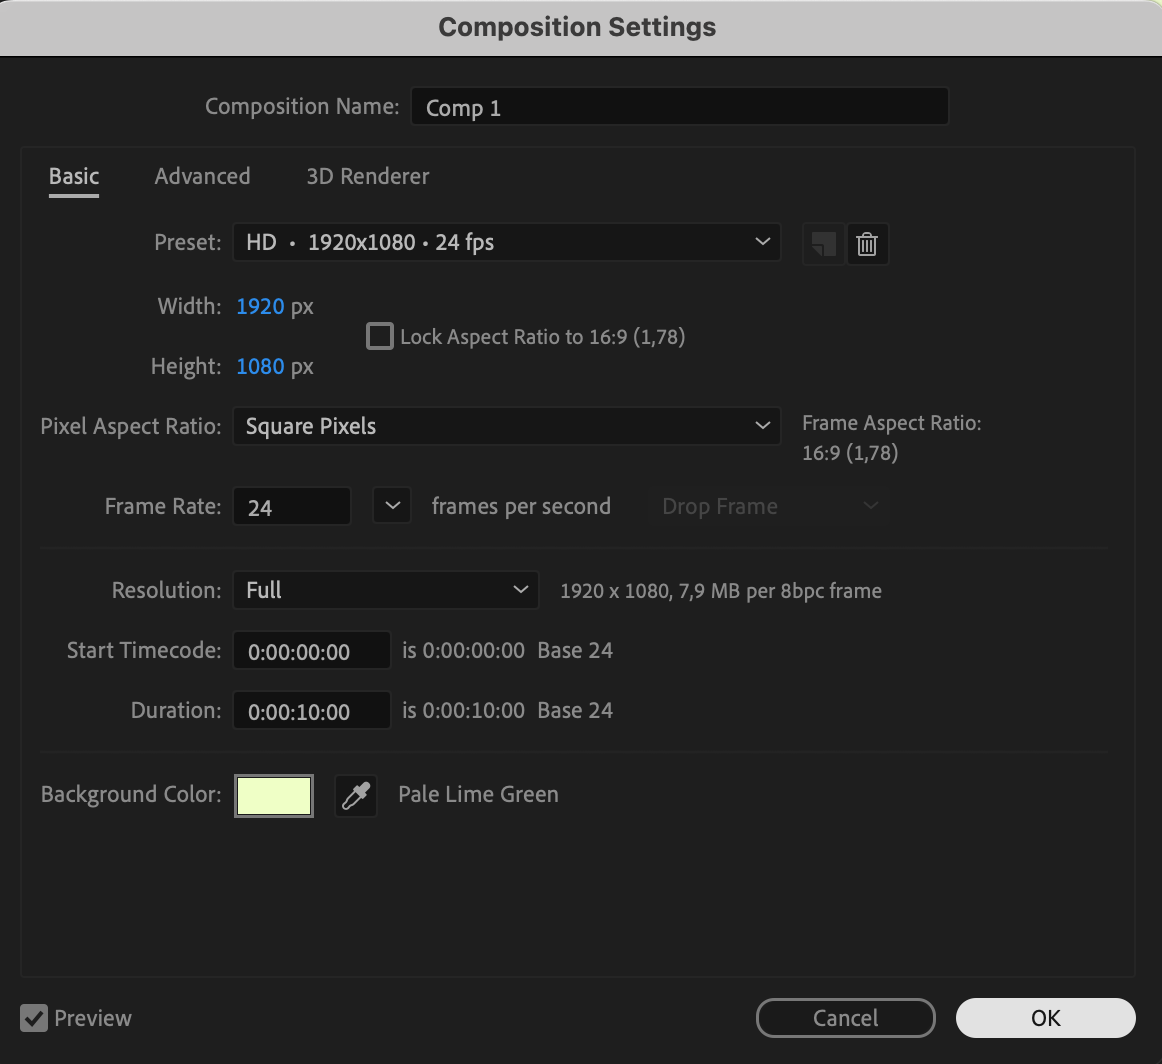
Start by creating a new composition to serve as your workspace. Go to Composition > New Composition, set the resolution (e.g., 1920×1080), frame rate, and duration, then click OK. A new composition will appear, ready for your glow effect.
 Step 2: Import Your Image
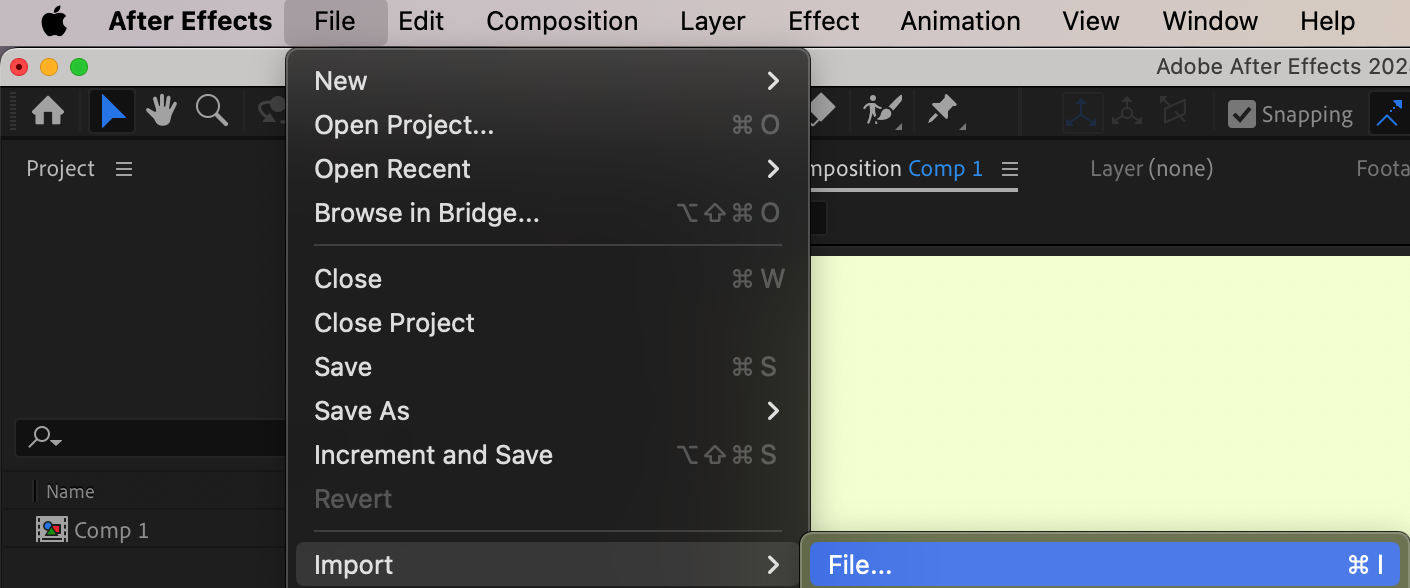
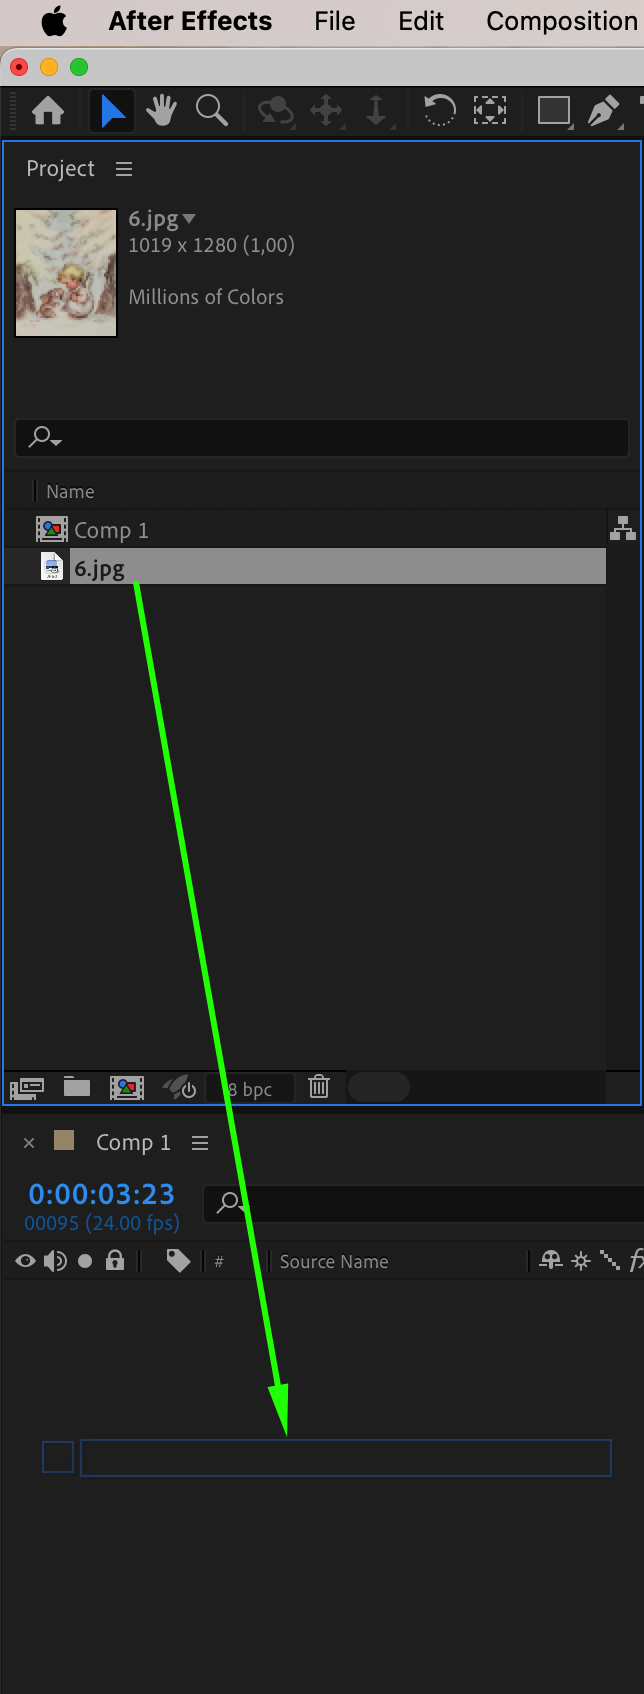
Import the image you want to enhance with a glow effect. Go to File > Import > File, select your image, and click Open. Drag the imported image from the Project Panel onto the timeline to add it to your composition.
Step 3: Adjust the Image (Optional)
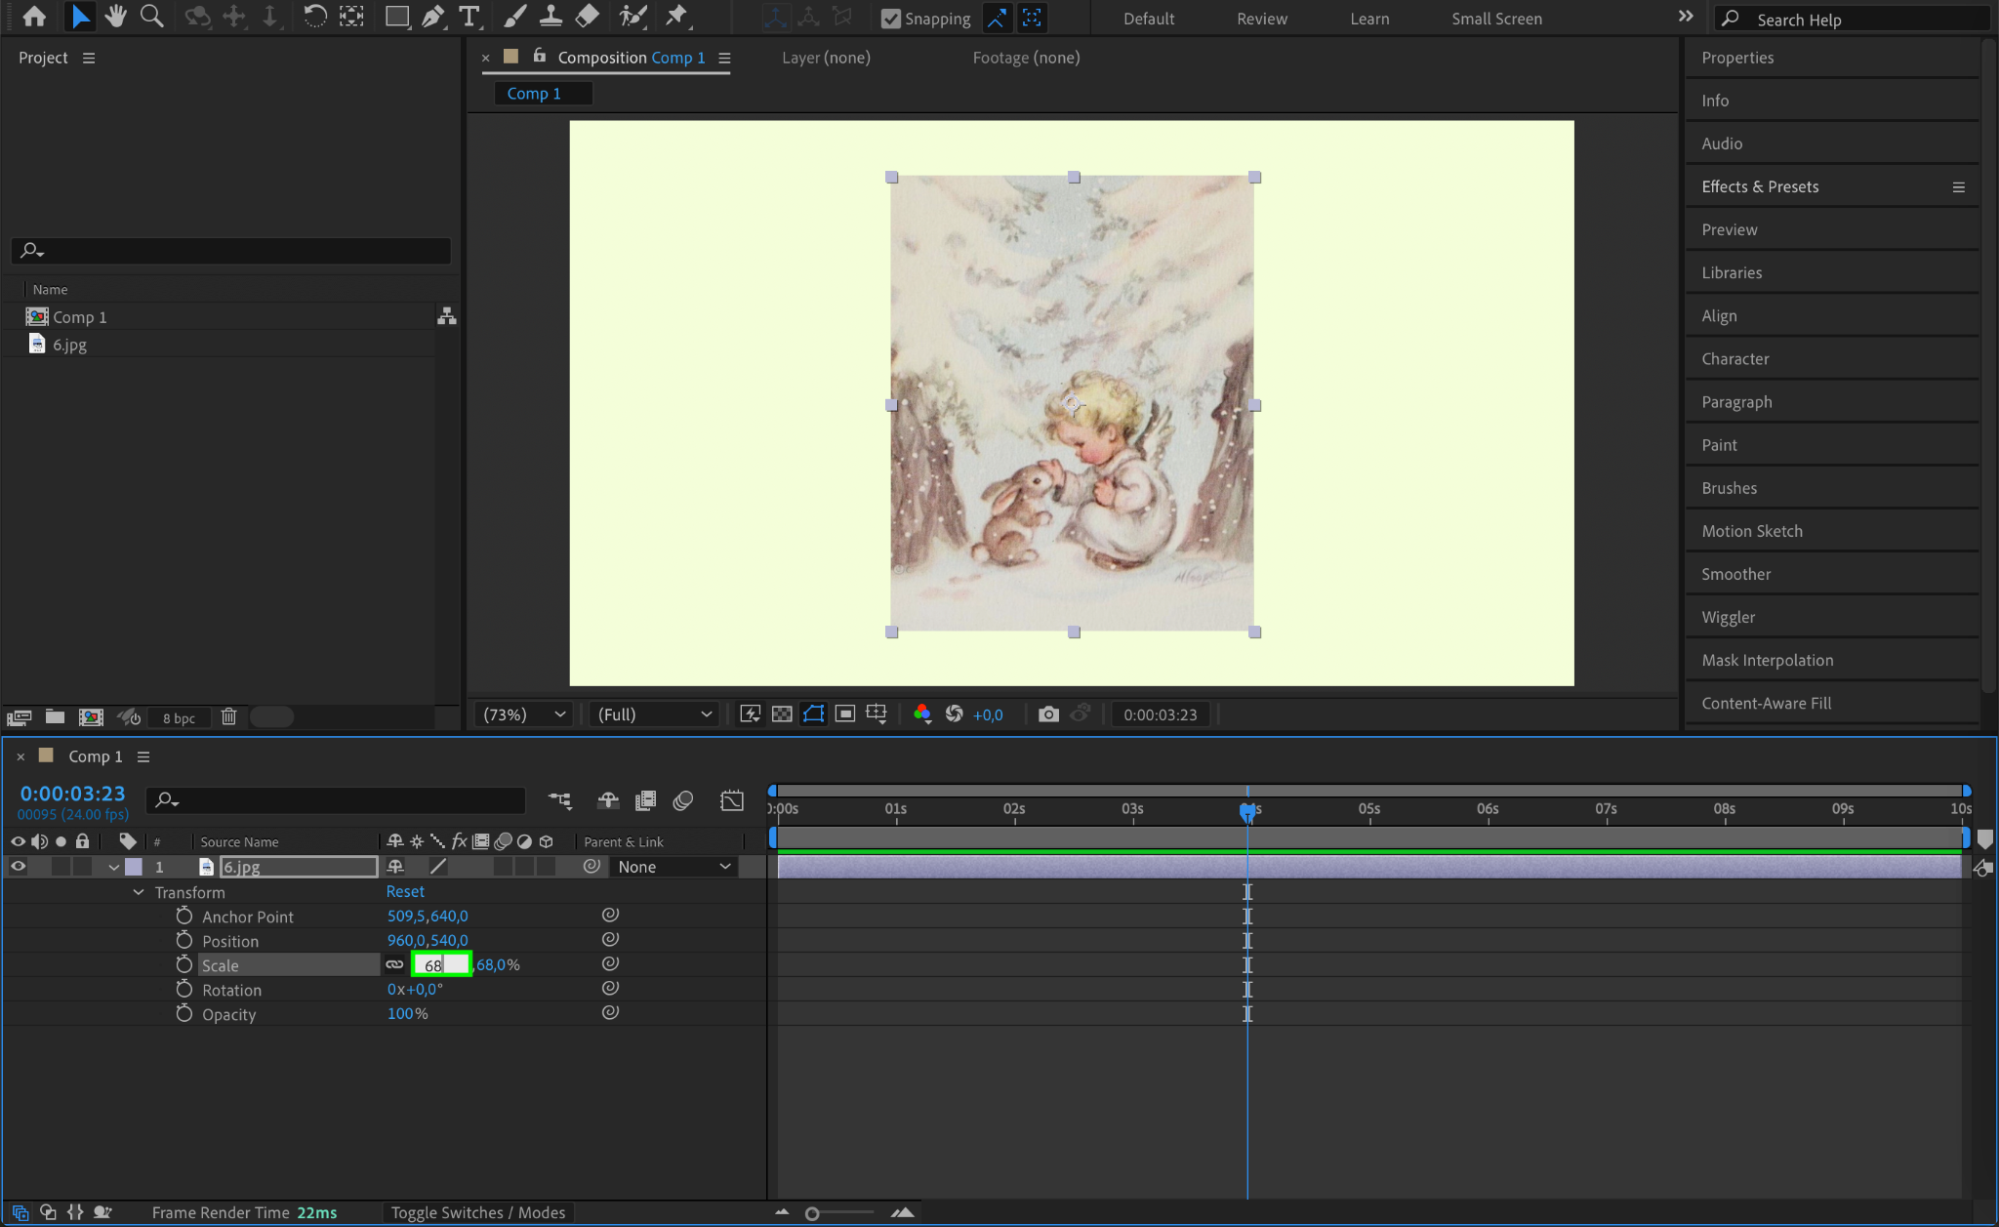
Before applying the glow effect, you can adjust the image’s position and scale to fit your composition. Select the image layer in the timeline, press P to bring up the Position property, or S for Scale. Use these properties to reposition or resize your image as needed.
Step 4: Apply the Glow Effect
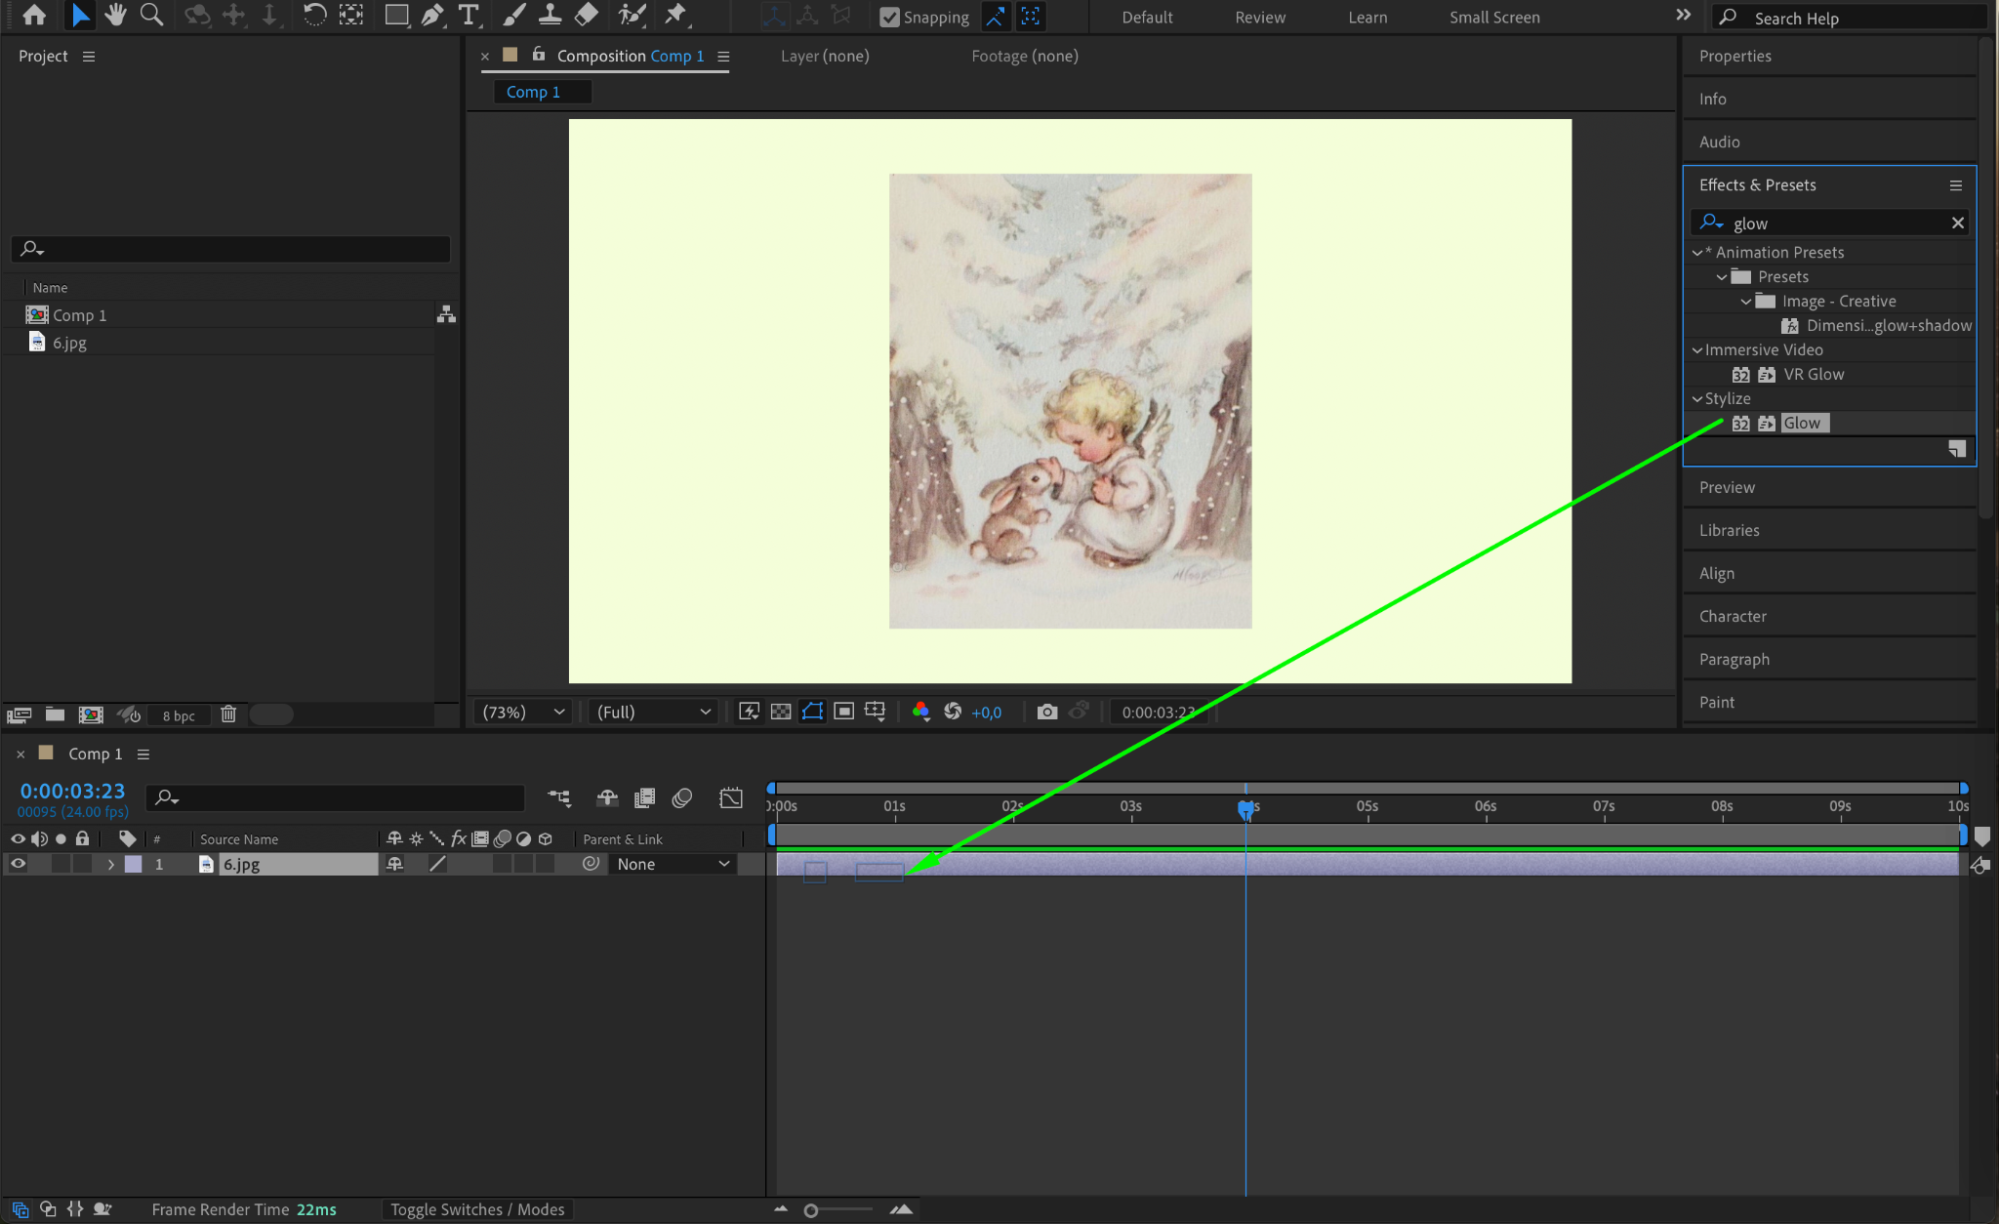
To add the glow effect, follow these steps:
Go to the Effects & Presets Panel and search for Glow.
Drag the Glow effect onto your image layer in the timeline.
You’ll see the glow effect parameters appear in the Effect Controls Panel. The default settings will add a subtle glow, but further adjustments will refine the effect to your liking.
Step 5: Customize the Glow Settings
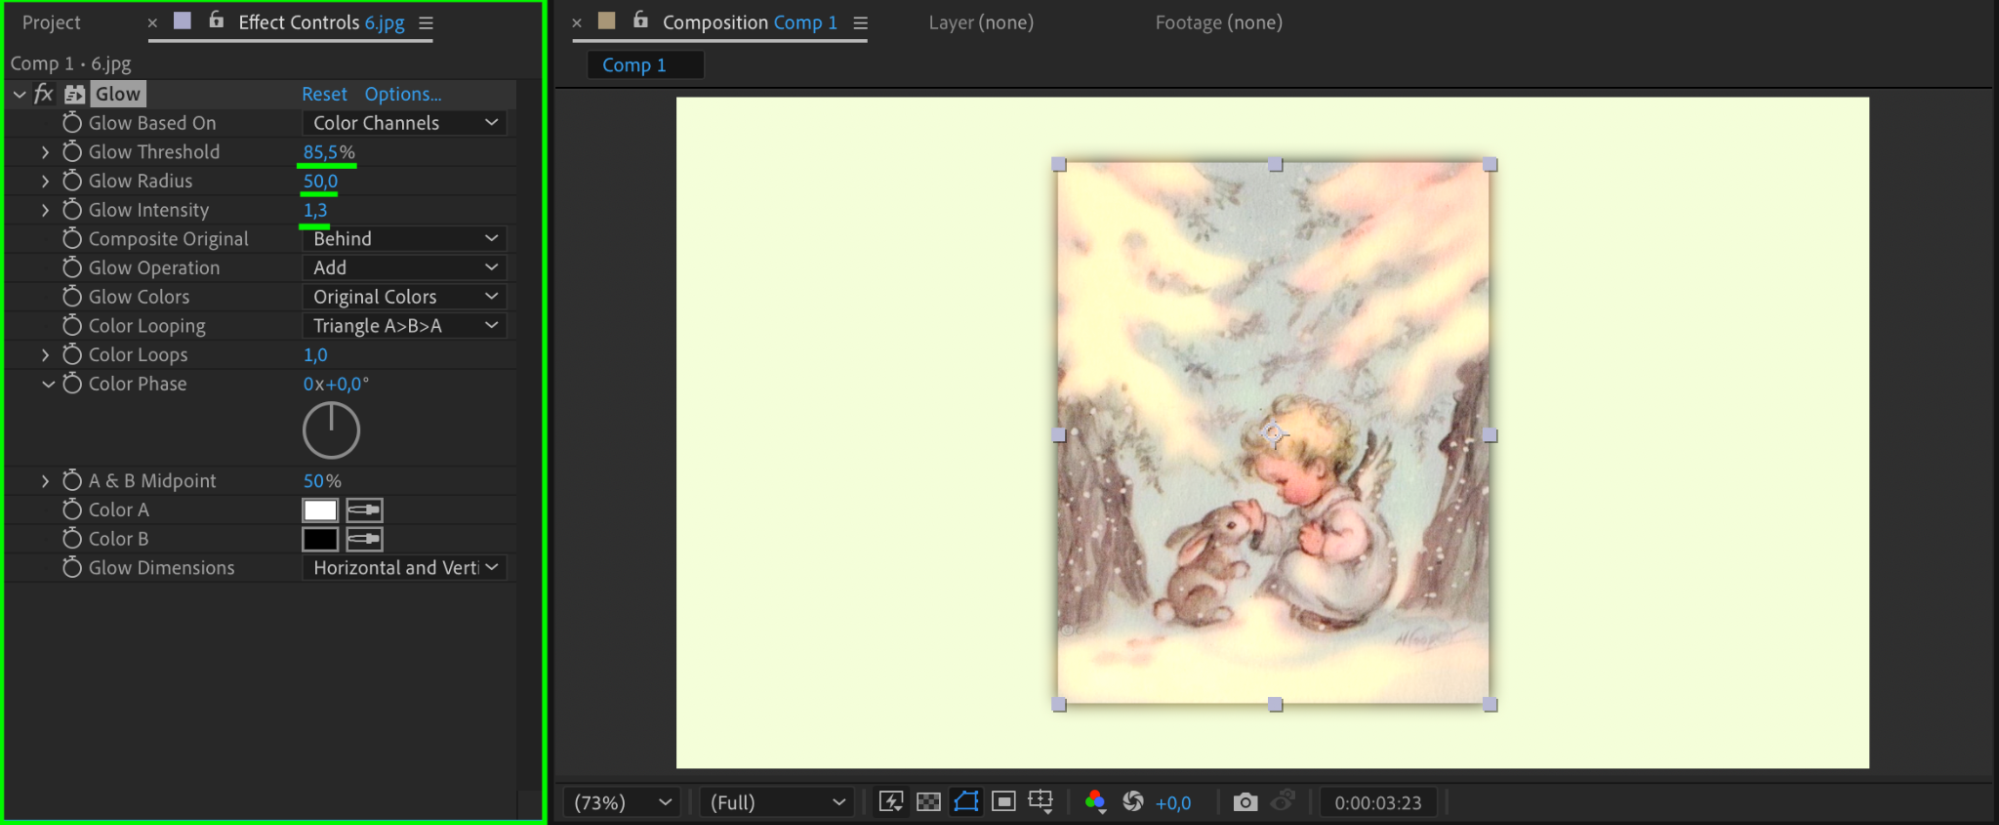
In the Effect Controls Panel, fine-tune the Glow parameters:
Glow Threshold: Adjust this setting to determine which parts of the image will glow. Lower values make more areas glow.
Glow Radius: Increase this value to make the glow spread out more for a softer, larger effect.
Glow Intensity: Set the brightness of the glow. Higher values make the glow more vibrant.
Experiment with these parameters to achieve the desired look. For example, a low Glow Threshold combined with a high Glow Radius can create a dreamy effect.
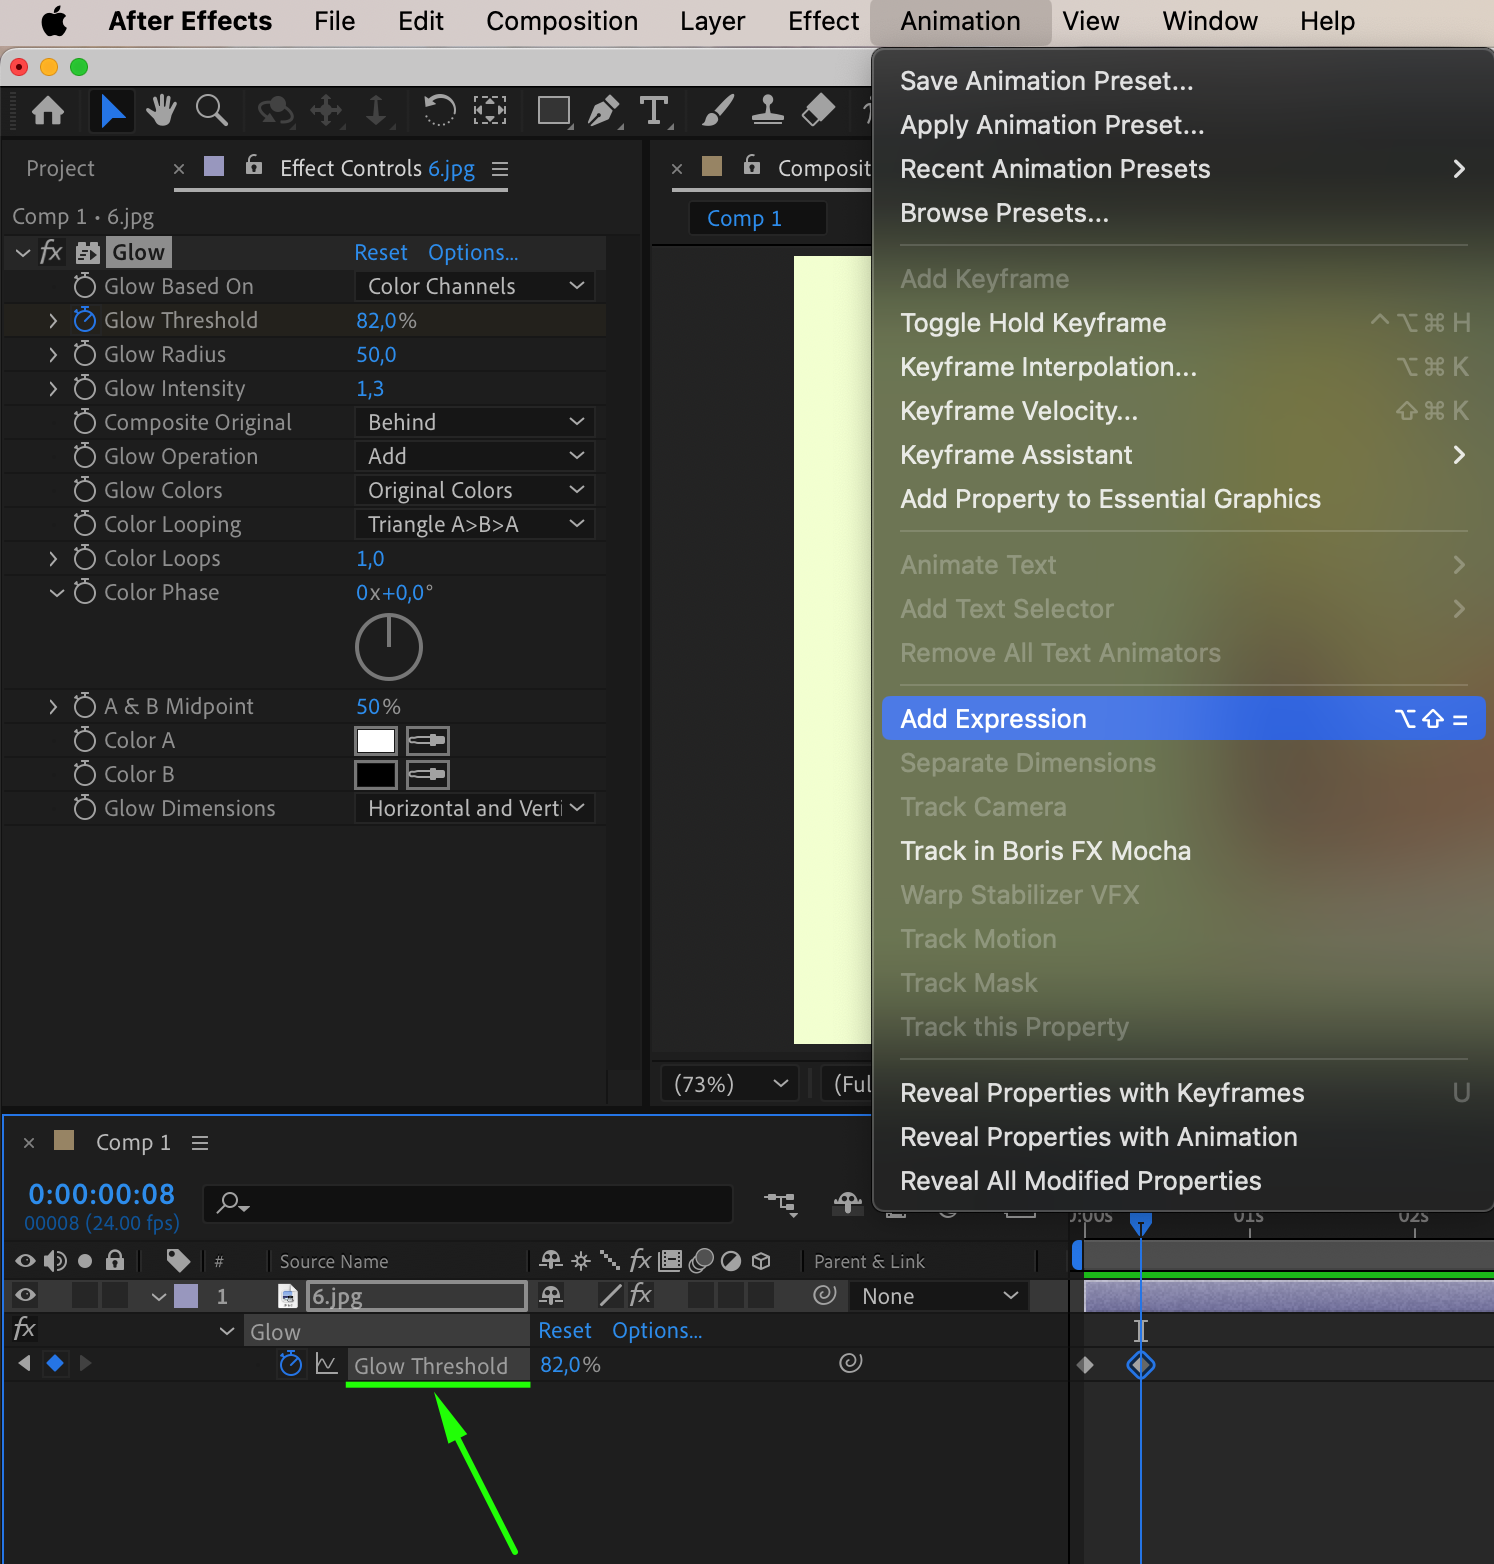
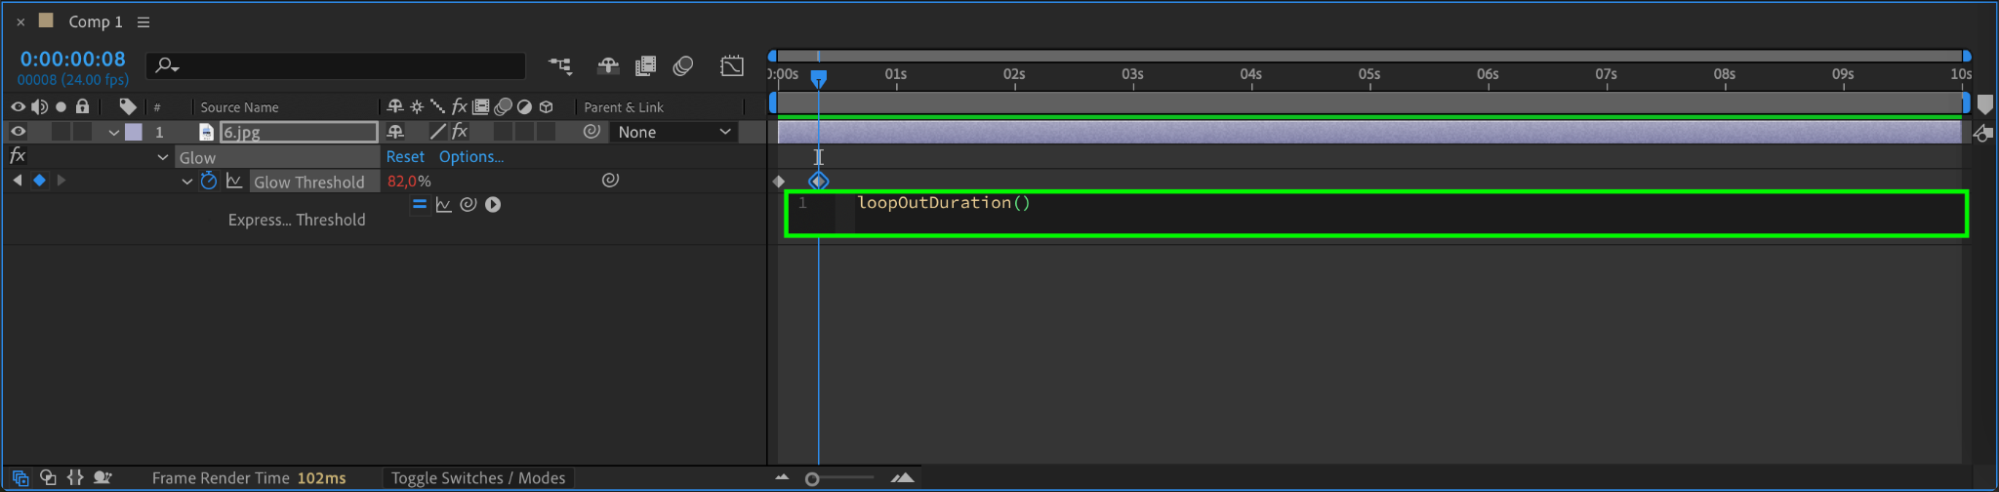
Step 6: Add Keyframes for Flickering Glow Effect
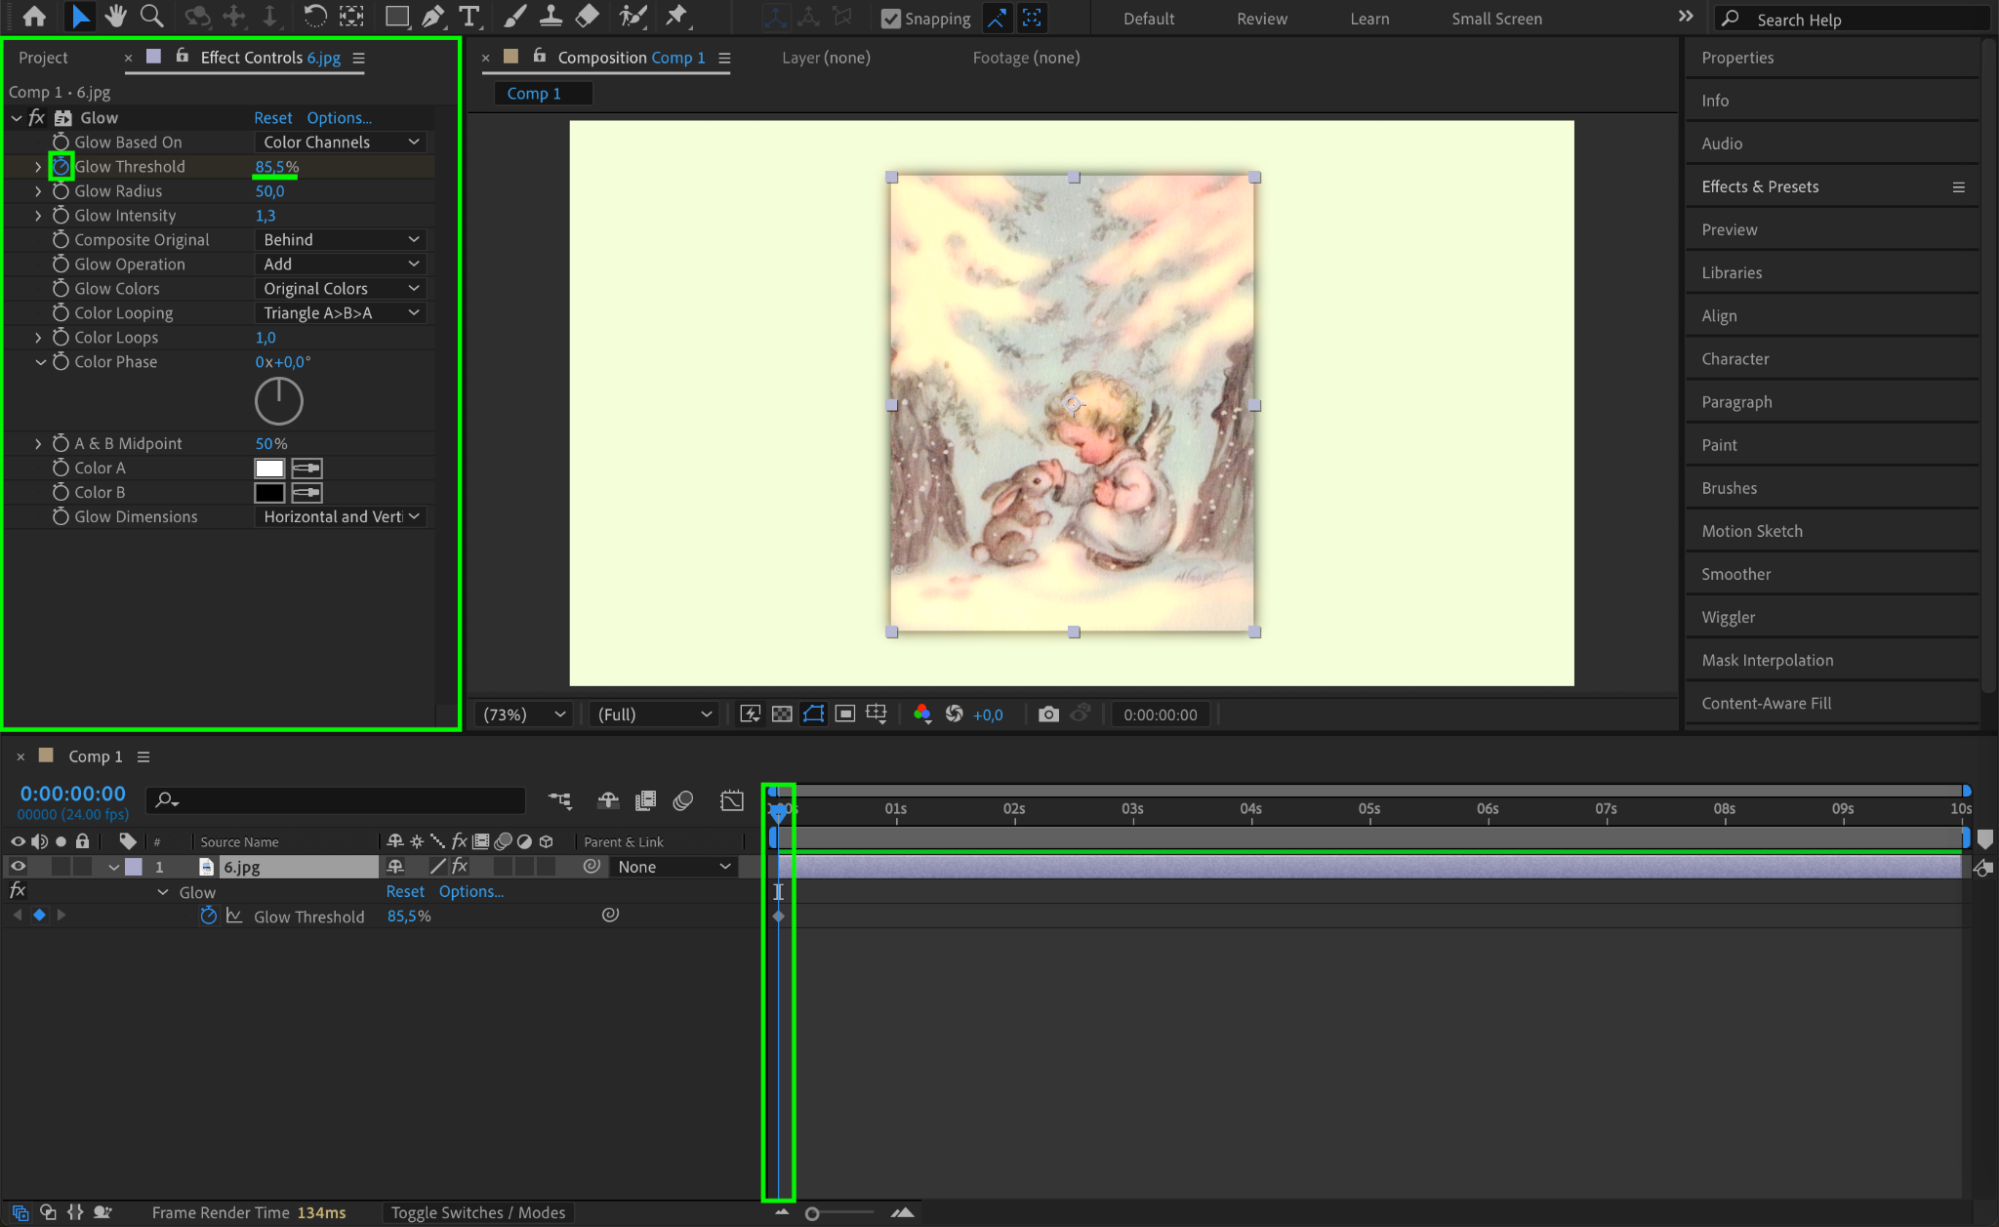
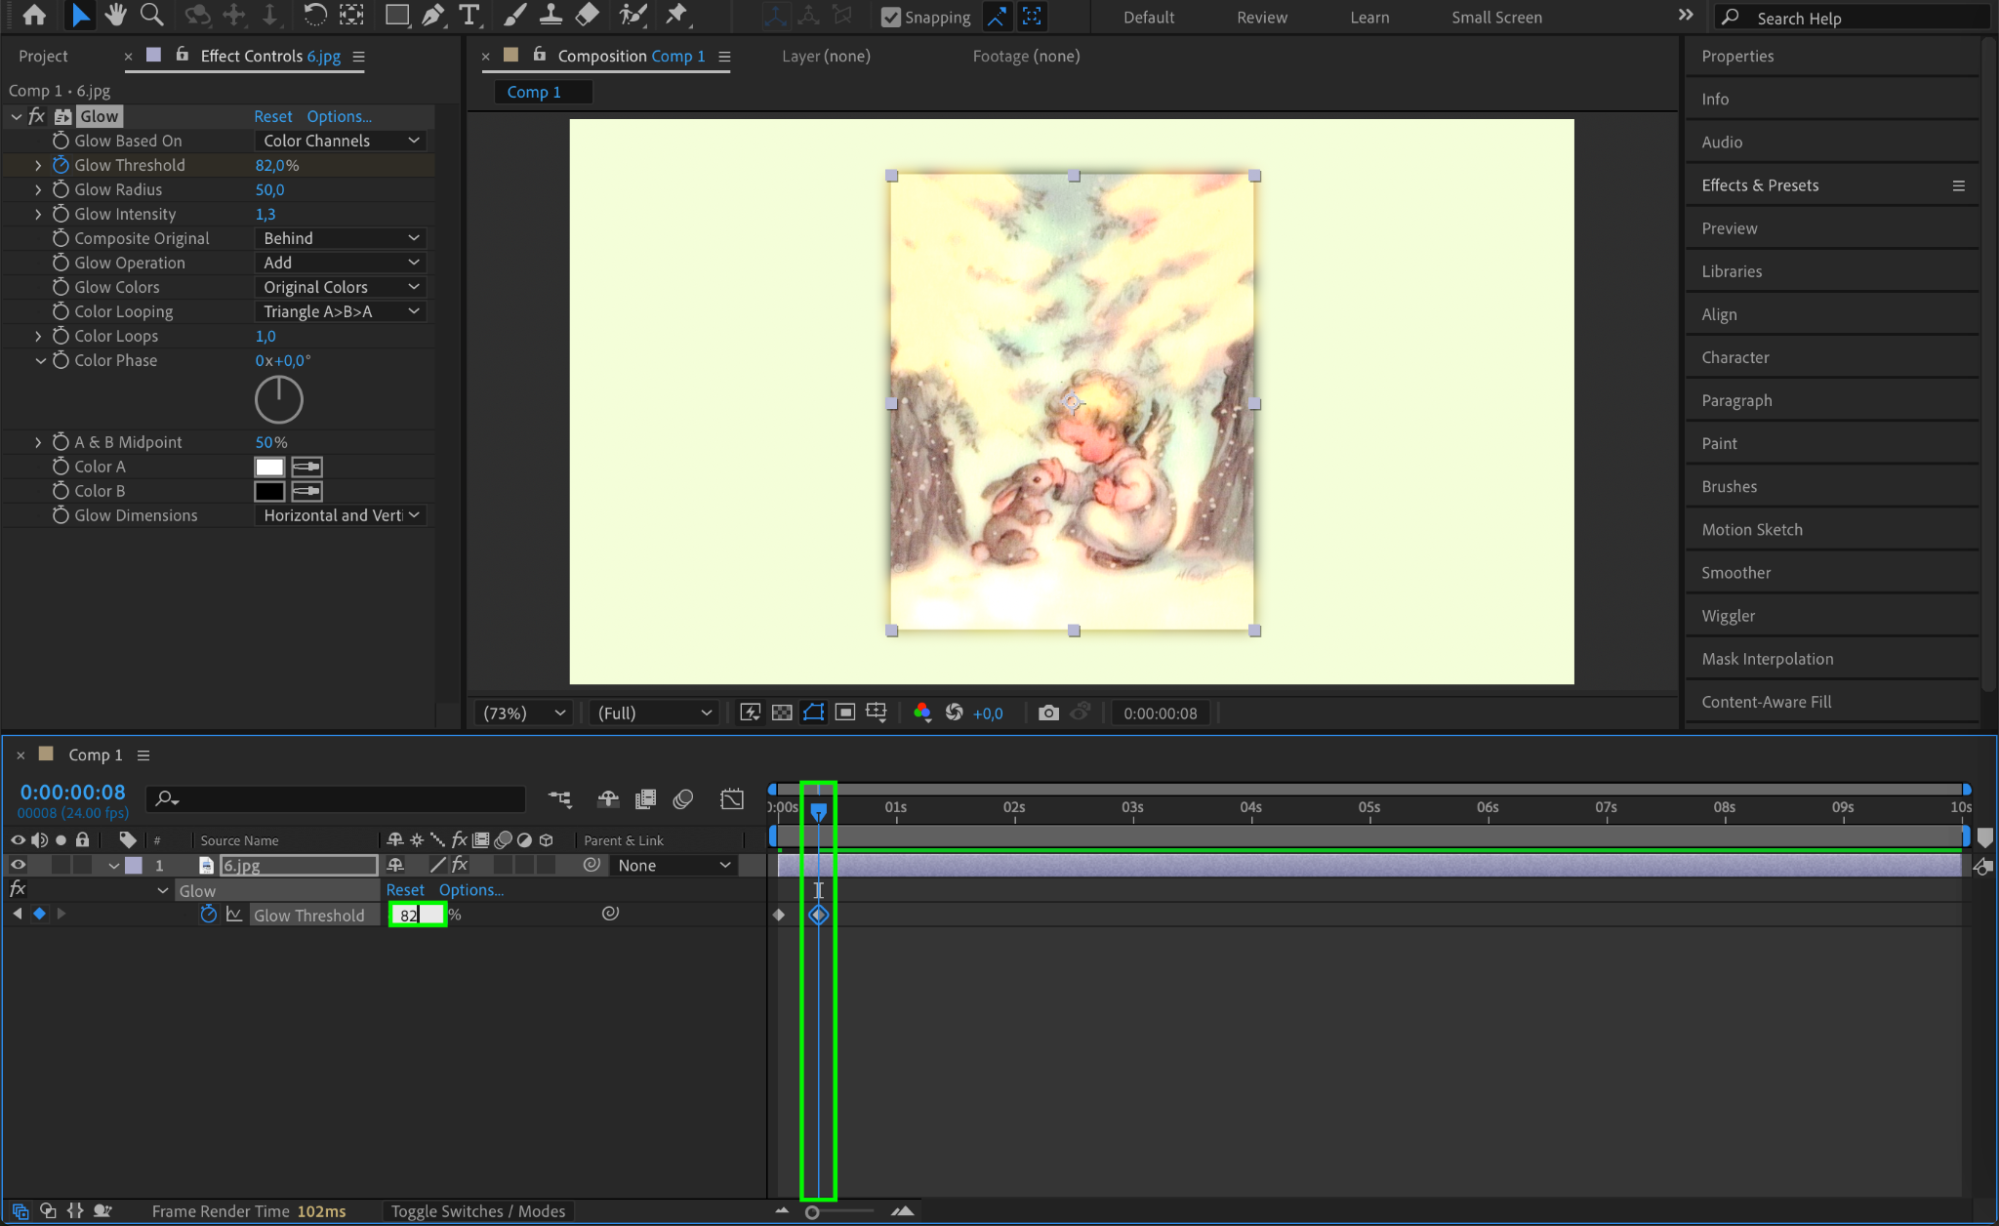
To create a flickering glow effect, move the CTI to the beginning and click the stopwatch next to Glow Threshold to create a keyframe. Then, move the CTI a few frames forward and change the Glow Threshold value. To loop the animation, Alt-click (Option-click on Mac) the stopwatch to open the expression editor and type loopOutDuration(). This will create a continuous, pulsing glow effect that repeats smoothly throughout the composition.
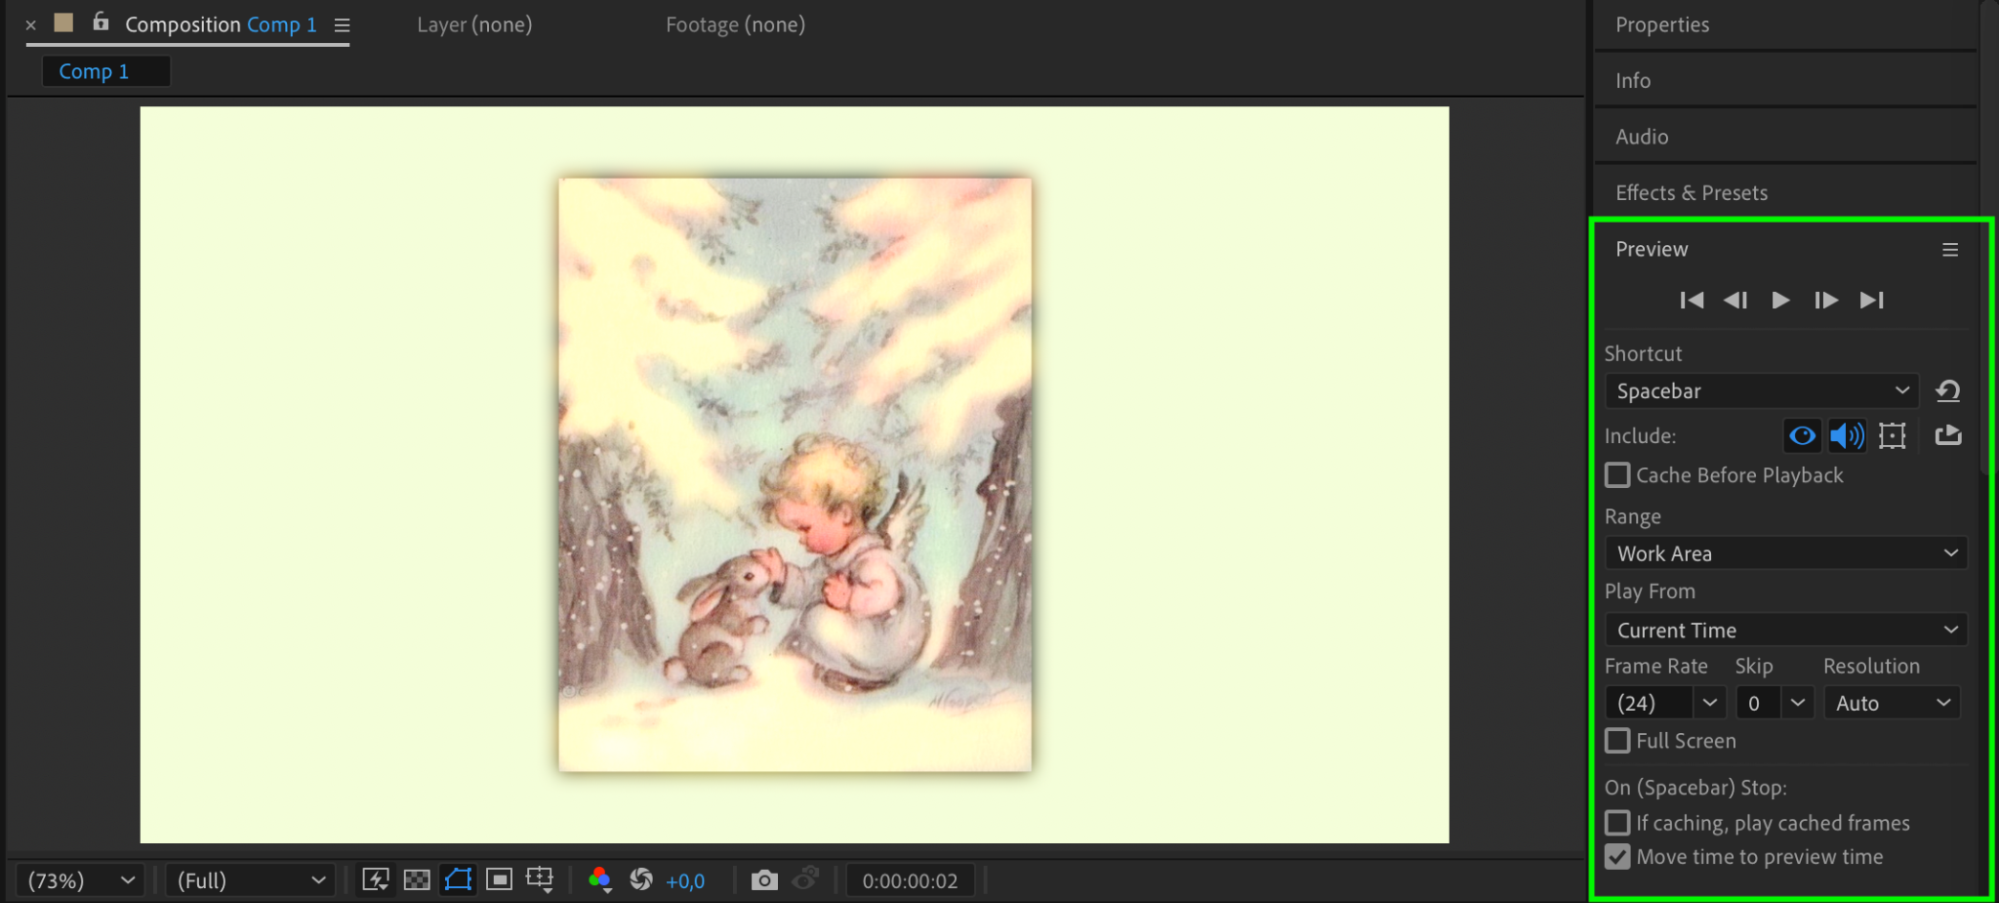
Step 7: Preview Your Glow Effect
Press the Spacebar to preview your composition. Review how the glow interacts with the image and make adjustments to the effect settings if necessary. You can also experiment with combining the Glow effect with other effects for more creative results.
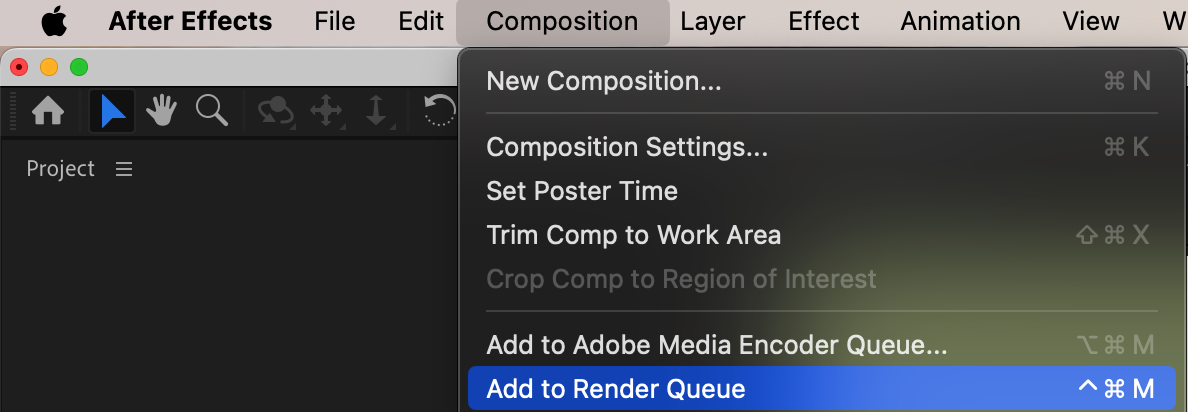
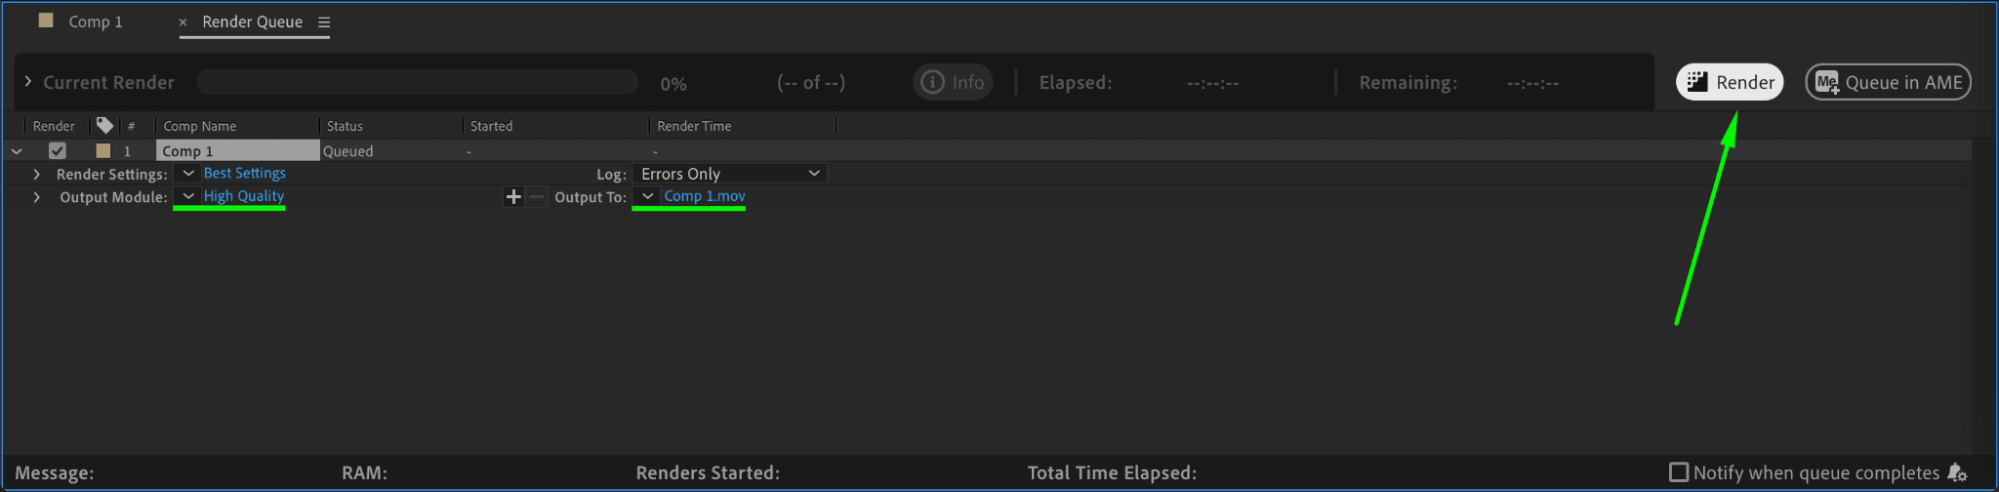
Step 8: Render Your Final Composition
When you’re satisfied with the effect, render your project. Go to Composition > Add to Render Queue, set your output format and file location, and click Render. Your glowing image is now ready to be used in your project.
Conclusion
Adding a glow effect to an image in After Effects is a simple yet impactful way to enhance its visual appeal. Whether you’re creating a vibrant highlight or a soft, dreamy aura, the Glow effect offers plenty of customization options to suit your creative vision. Experiment with the settings and additional effects to make your glowing image stand out in any composition!
Our Bestsellers


