“Step-by-Step Guide to Creating Falling Petals in After Effects”
“Introduction – Add Realistic Falling Petals to Your Animations”
Falling petals can add a poetic and whimsical effect to your video project. Whether you’re creating an animated scene or enhancing live-action footage, this guide will walk you through how to achieve a realistic falling petal effect using After Effects.
Step 1: Import Your Petal Image
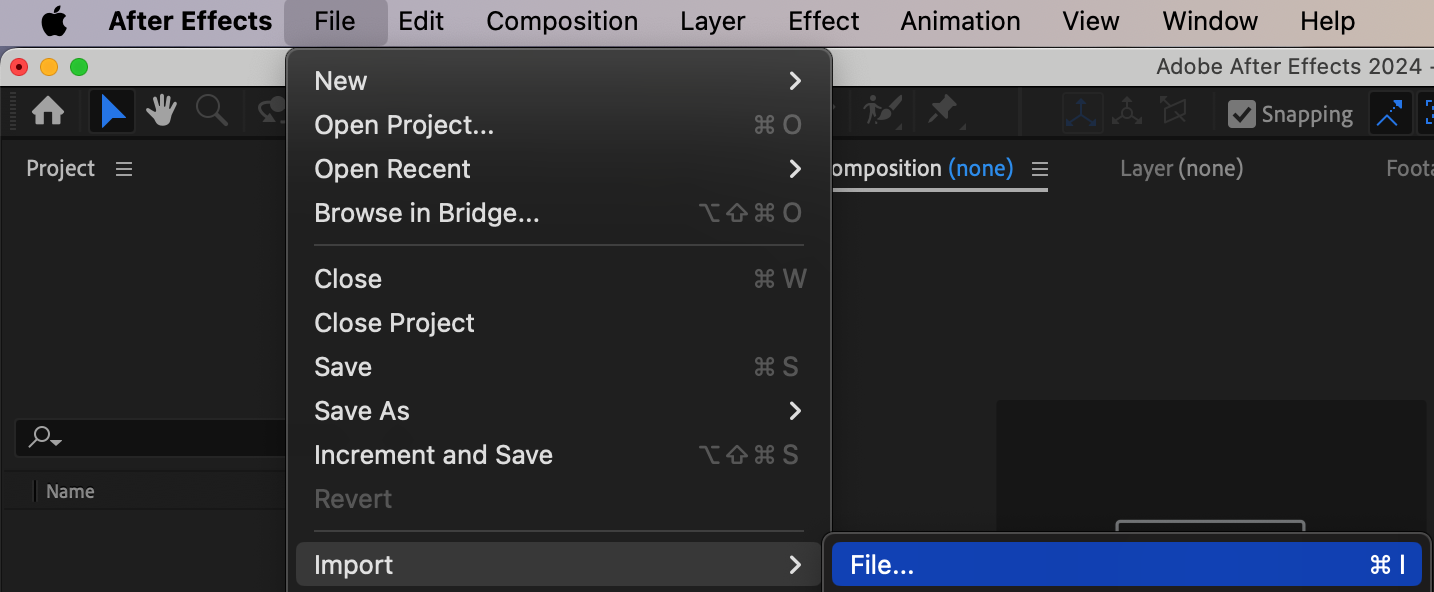
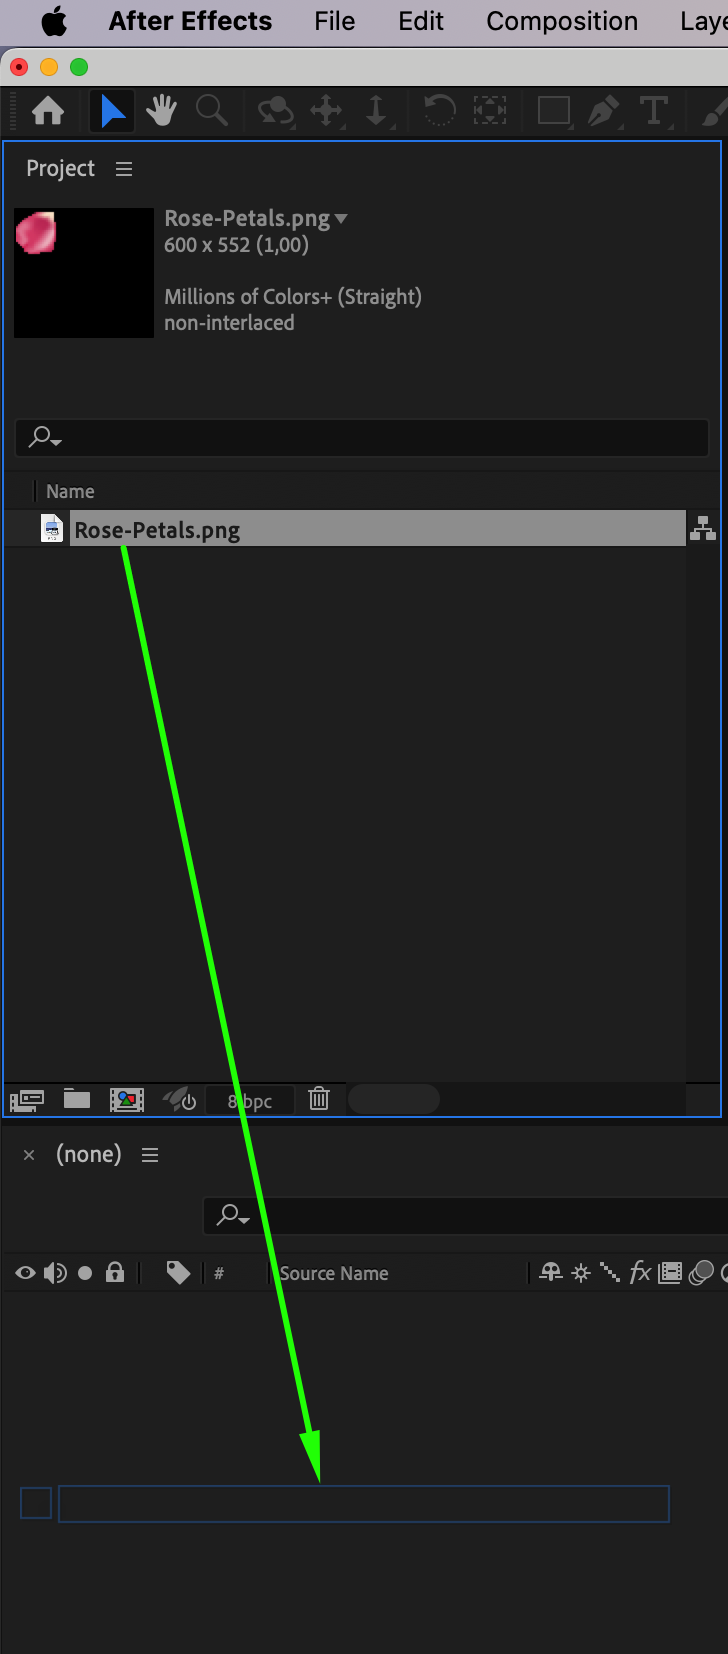
Start by importing the petal image you want to animate. Go to File > Import > File, select the image, and click Open. Drag the imported image onto the timeline to automatically create a composition with the image. Adjust its scale to fit within the frame by selecting the layer, pressing “S” on your keyboard, and modifying the Scale property.
Get 10% off when you subscribe to our newsletter


Step 2: Create a New Composition
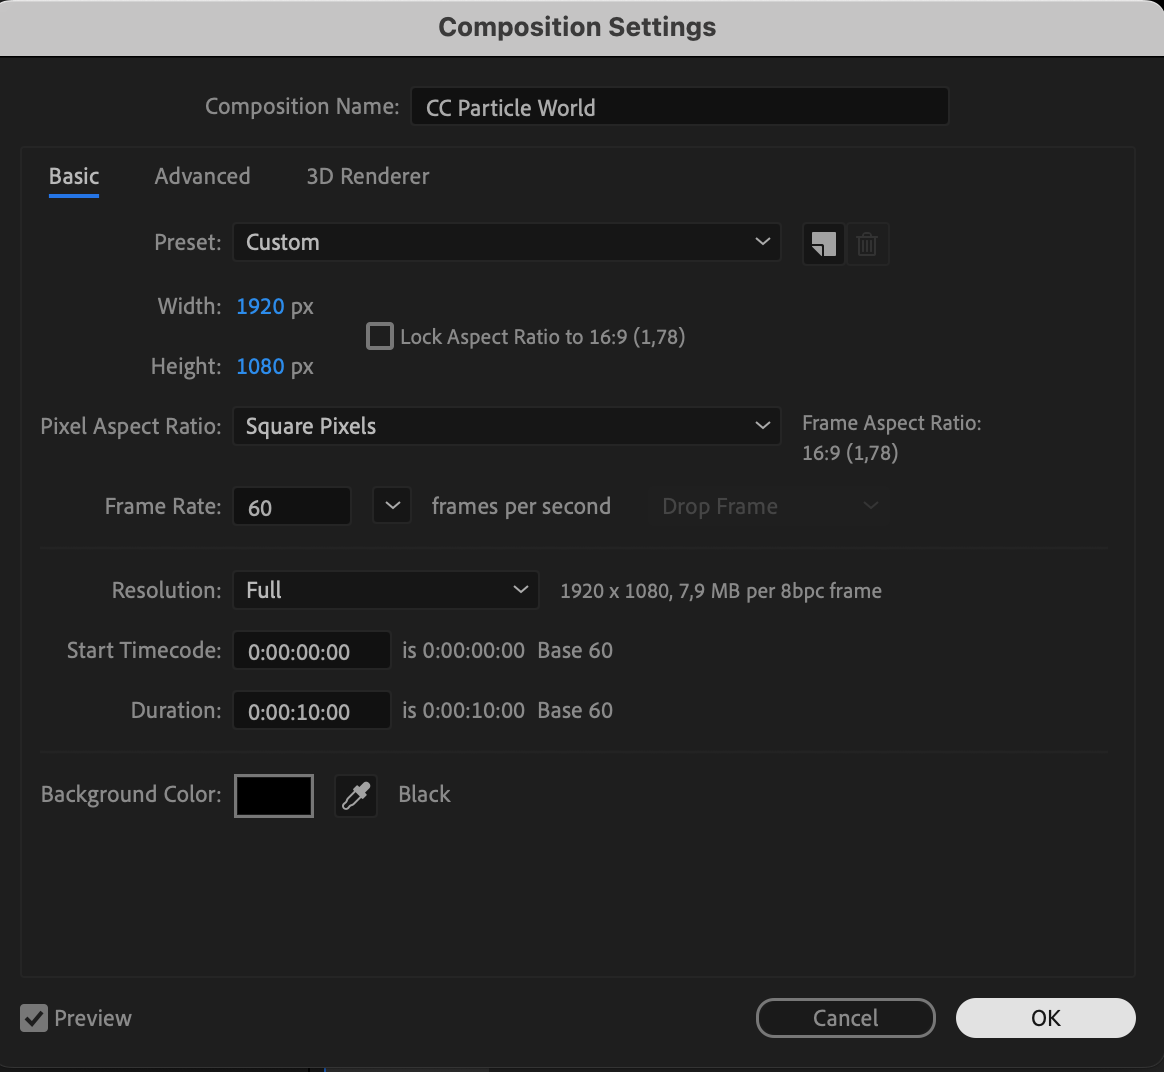
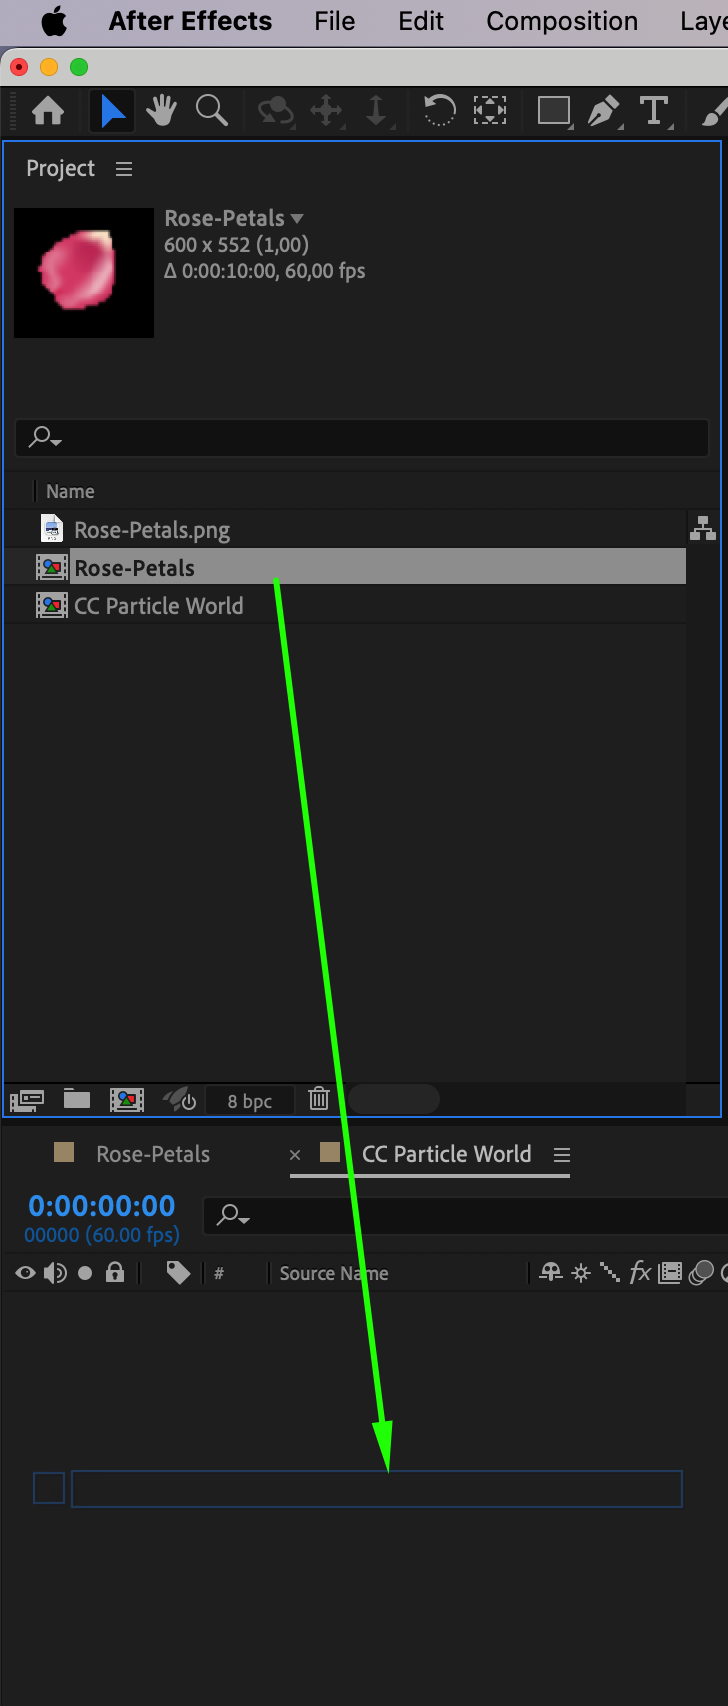
Go to Composition > New Composition, name it CC Particle World, and set the resolution and frame rate according to your project requirements. After creating the new composition, drag the composition containing your petal image from the Project Panel onto the timeline of the new composition. This will allow you to use the petal image as the texture for the particle effect.

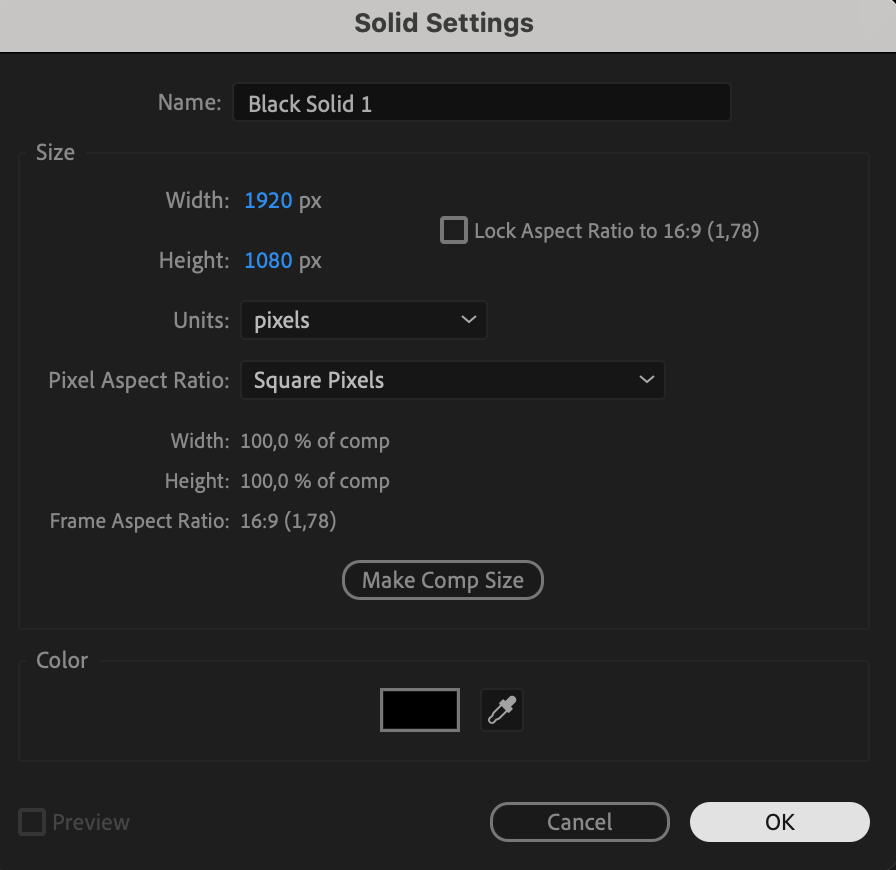
Step 3: Add a Solid Layer for the Particle System
Go to Layer > New > Solid to create a new solid layer. Place it above the composition with the petal image or disable the visibility of the petal composition by clicking the eye icon next to it in the timeline. This solid layer will serve as the base for applying the CC Particle World effect.

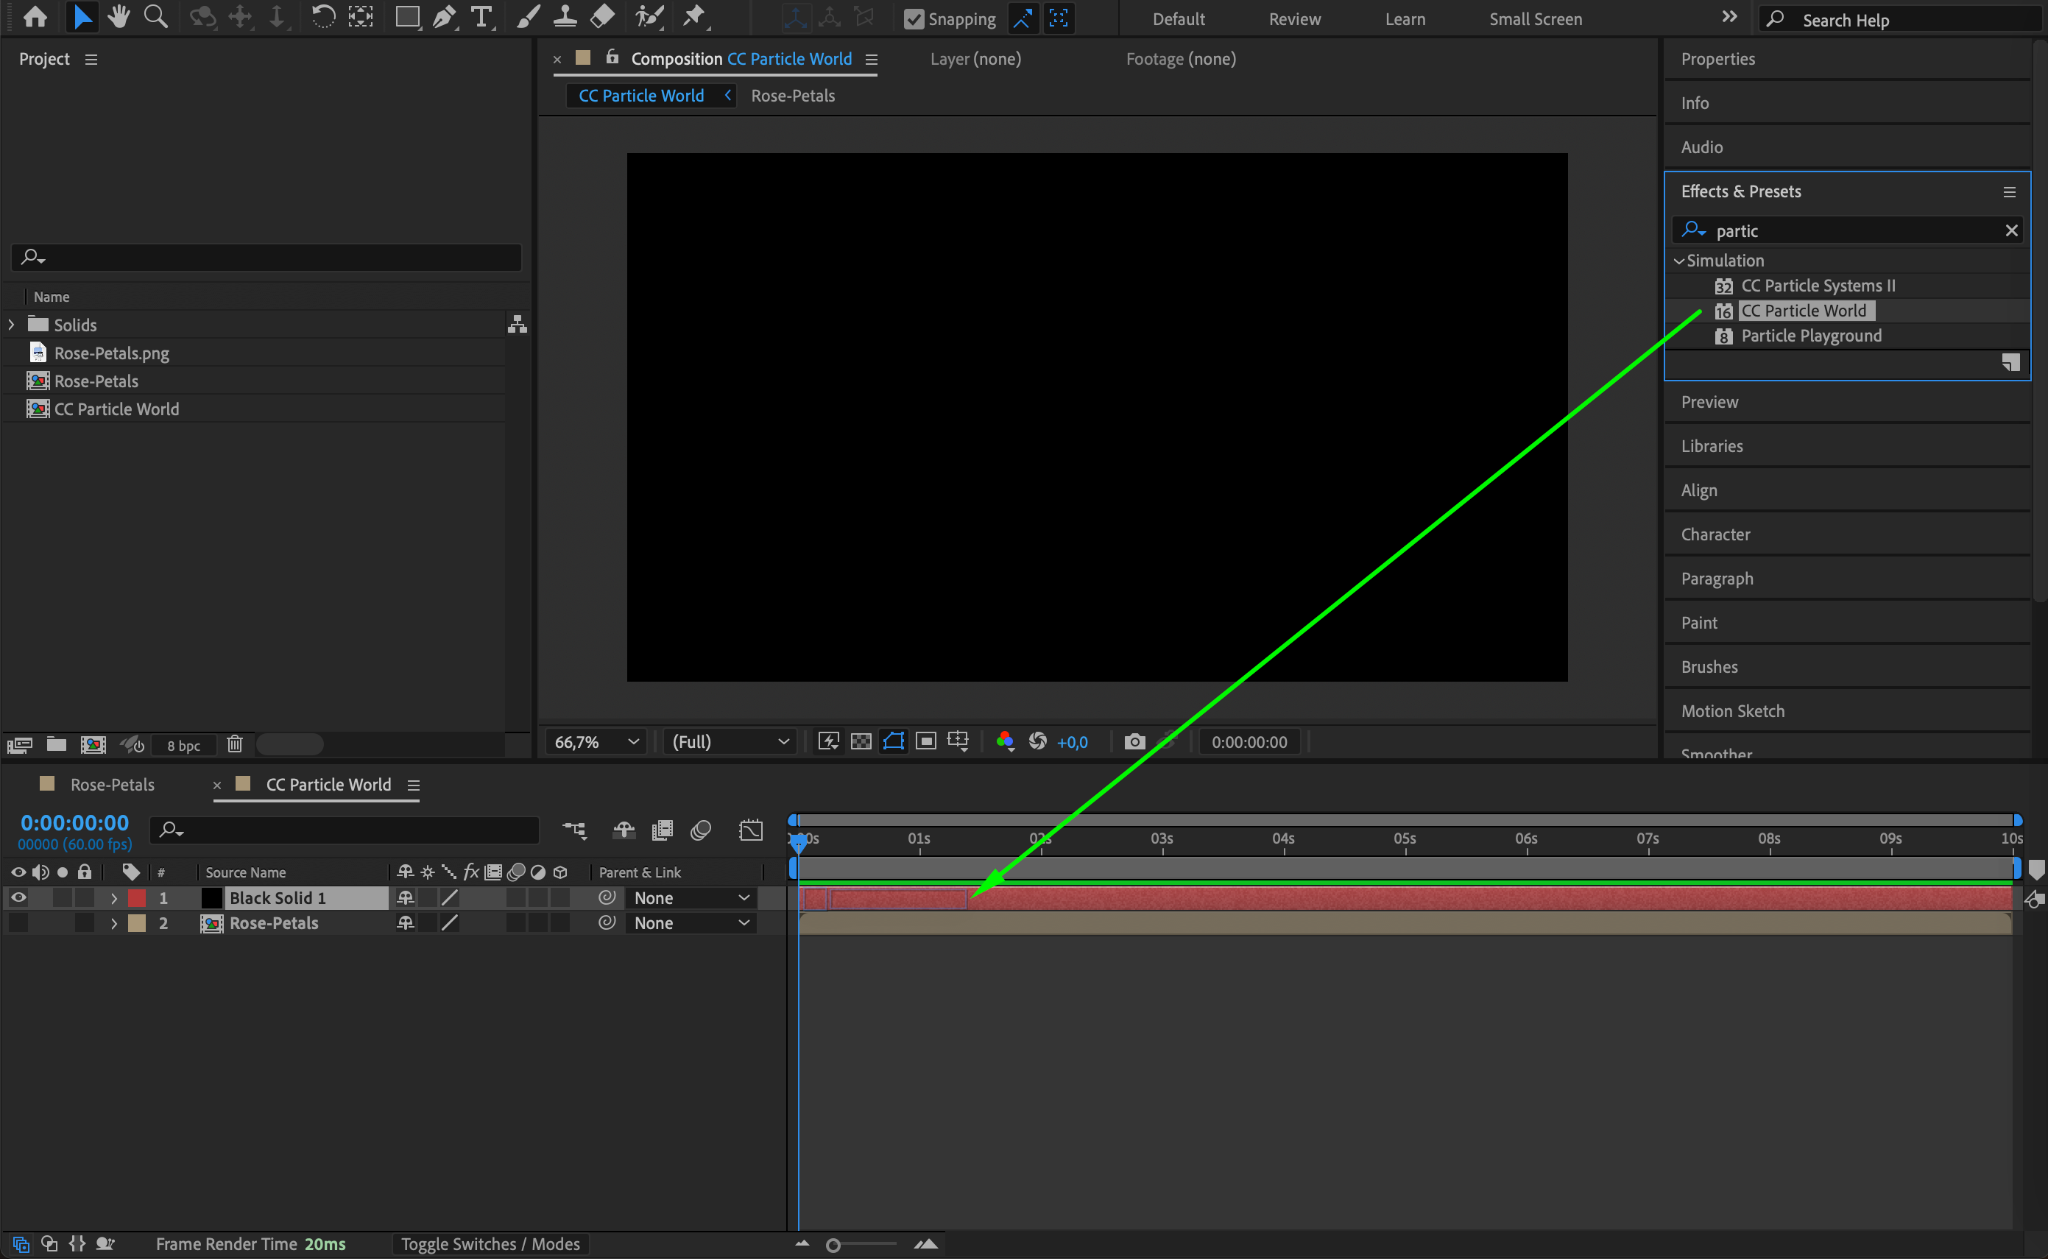
Step 4: Apply the CC Particle World Effect
Go to the Effects & Presets panel, search for CC Particle World, and drag it onto the solid layer. This effect generates particles that will simulate the falling petals.
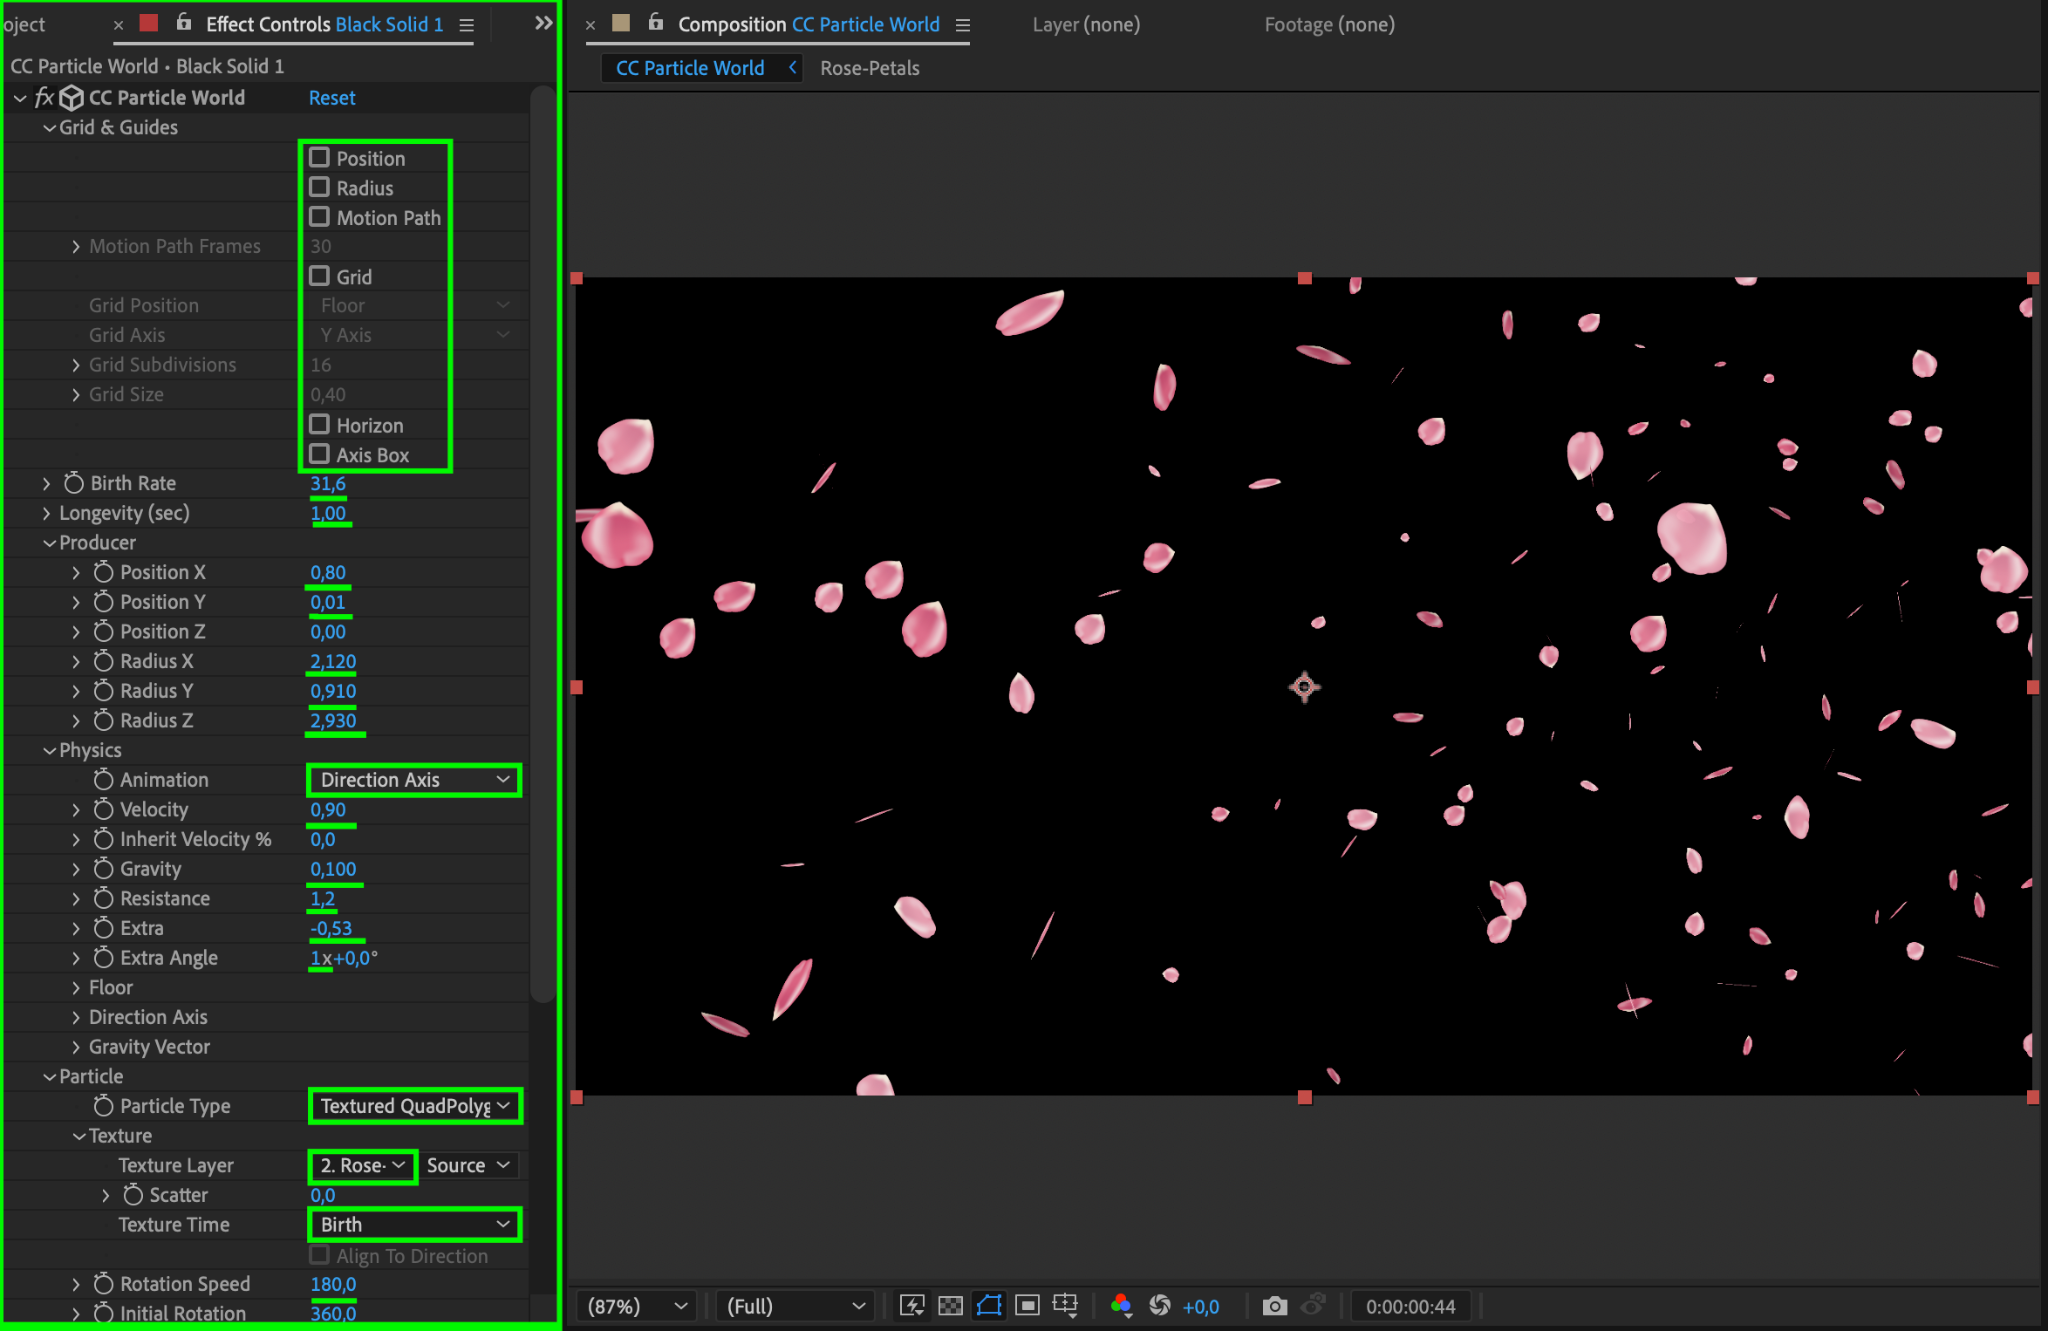
Step 5: Customize the Particle Effect Settings
In the Effect Controls panel, adjust the following parameters to create the falling petal effect:
Birth Rate: Set to 31.6 to control the number of petals.
Longevity: Set to 1 to define how long each petal remains visible.
Position X: 0.8, Position Y: 0.01 to set the initial position of the particles.
Radius X: 2.12, Radius Y: 0.91, Radius Z: 2.93 to define the spread of the petals.
Animation Type: Set to “Direction Axis” for downward movement.
Velocity: Set to 0.9 for a gentle falling speed.
Gravity: Set to 0.1 to simulate natural falling.
Resistance: Set to 1.2 for realistic motion.
Extra: Set to -0.53 for random movement variations.
Particle Type: Set to “Textured QuadPolygon.”
Texture Layer: Select the petal image composition created earlier.
Texture Time: Set to “Birth” for consistent appearance.
Rotation Speed: Set to 180 to add rotation to the petals.
Initial Rotation: Set to 360 for random orientations.
Birth Size: 0.59, Death Size: 0.81 for gradual scaling.
Max Opacity: Set to 95 to make the petals nearly opaque.
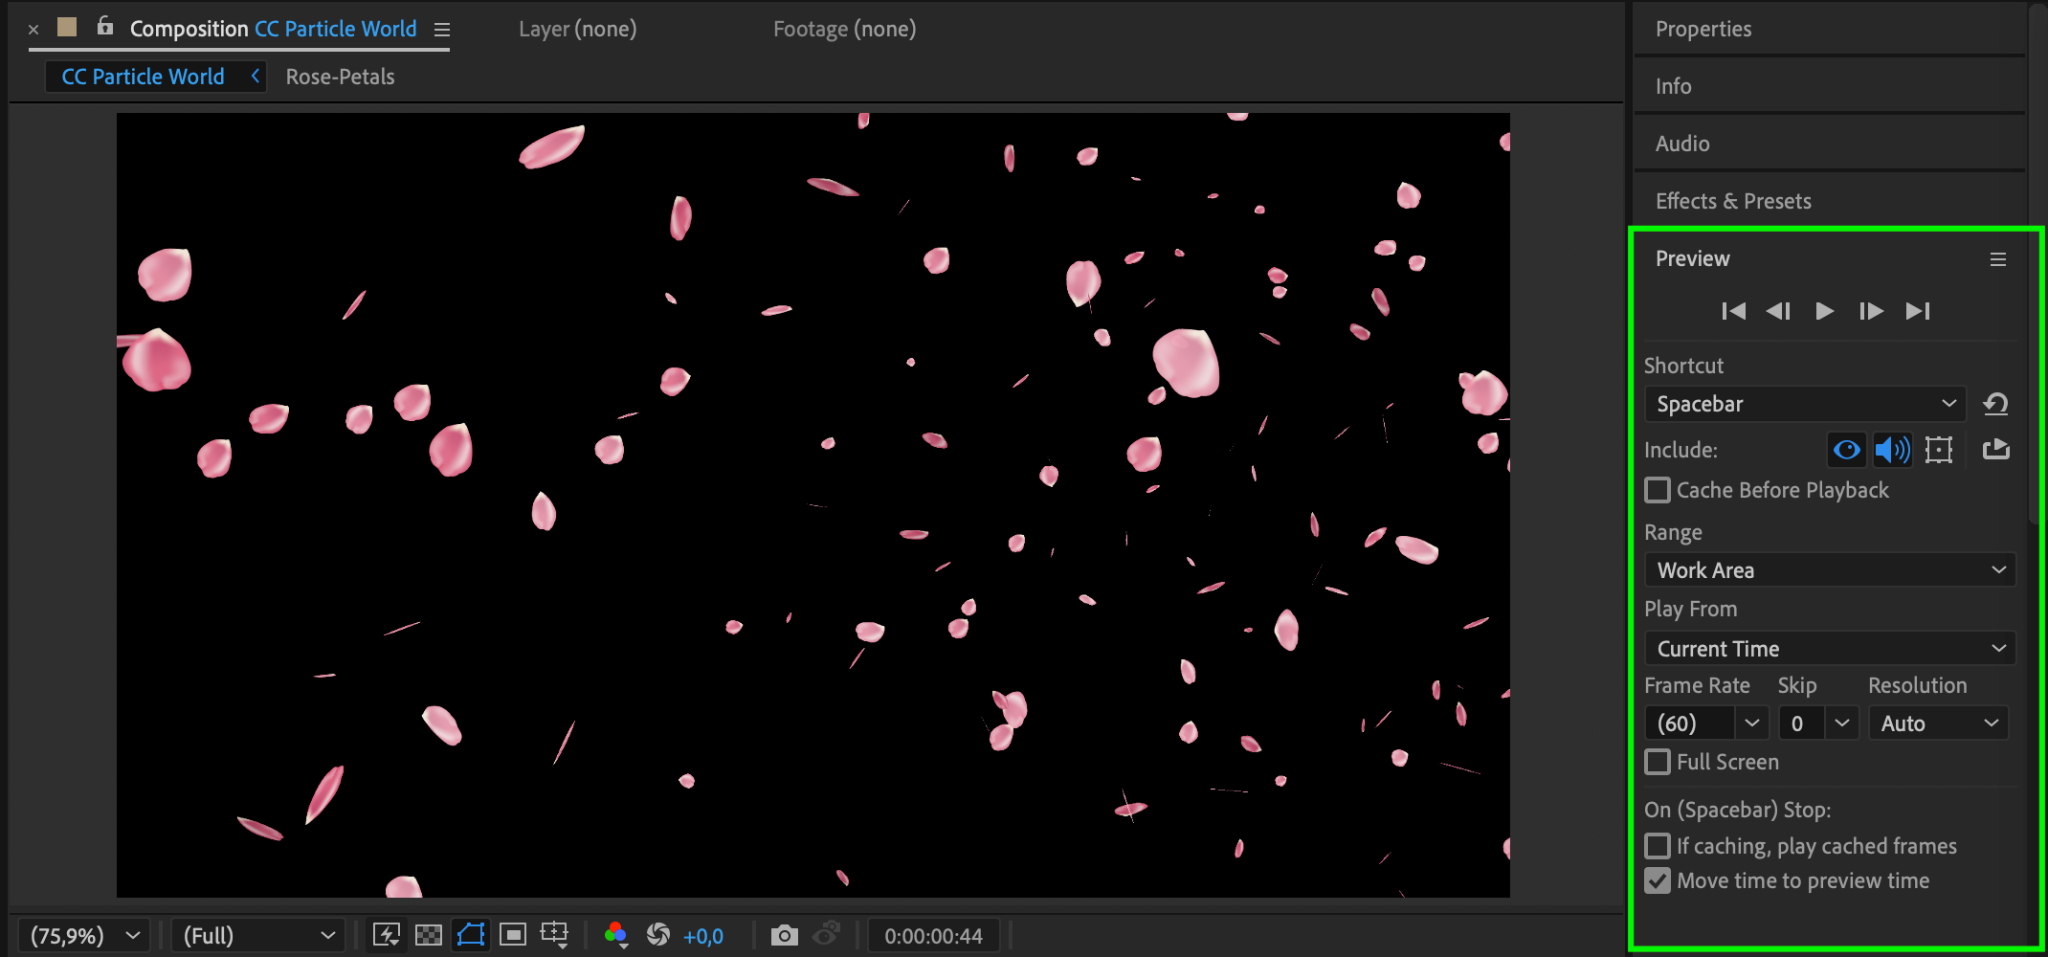
Step 6: Preview the Animation
Press the spacebar to preview your animation. Ensure the petals fall naturally and the motion looks smooth. Adjust the Effect Controls settings if needed to fine-tune the animation.
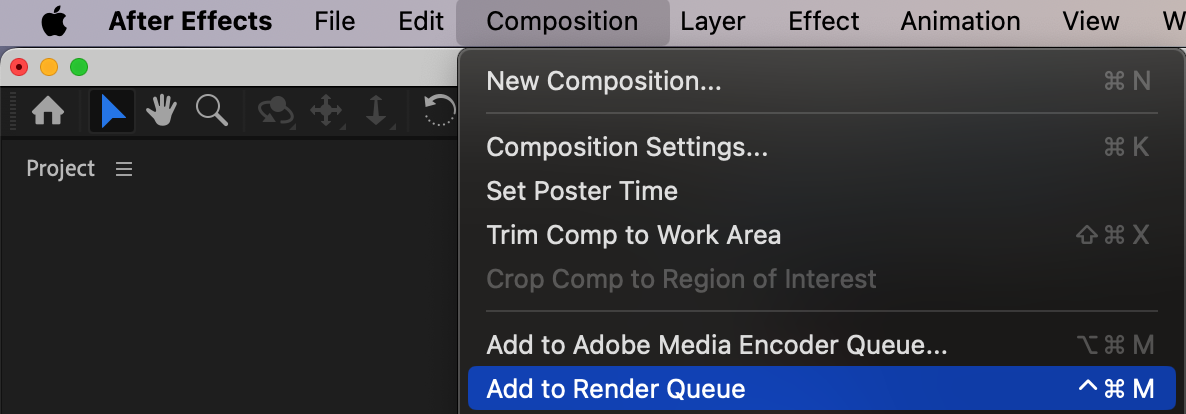
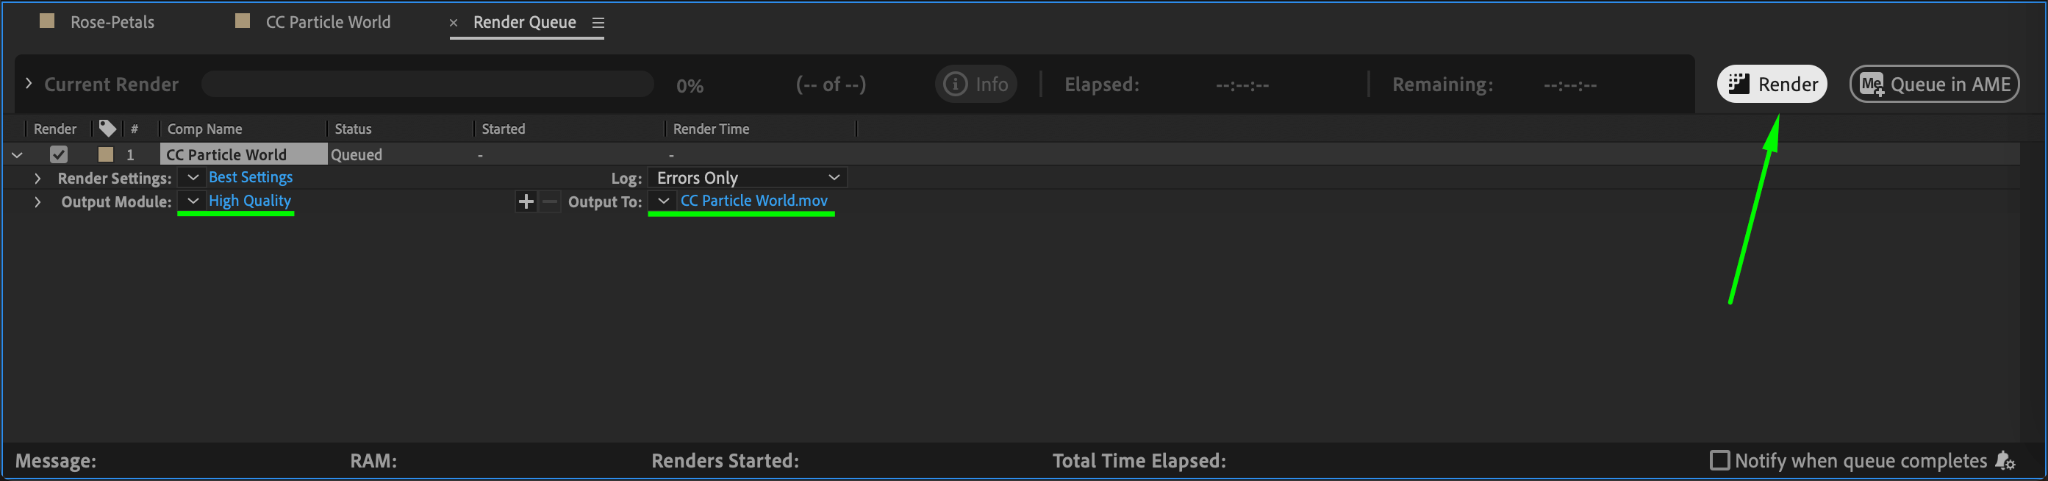
Step 7: Render the Animation
Once you’re satisfied with the effect, go to Composition > Add to Render Queue. Choose your desired output settings and click Render to export your animation.
Conclusion
Creating falling petals in After Effects is a simple and rewarding way to enhance your project. With CC Particle World and a few tweaks, you can achieve a mesmerizing and realistic animation that adds depth and elegance to your compositions. Follow these steps to bring your vision to life!
Our Bestsellers


